


This post may contain affiliate links. Please read my disclosure policy.
In This Article Show
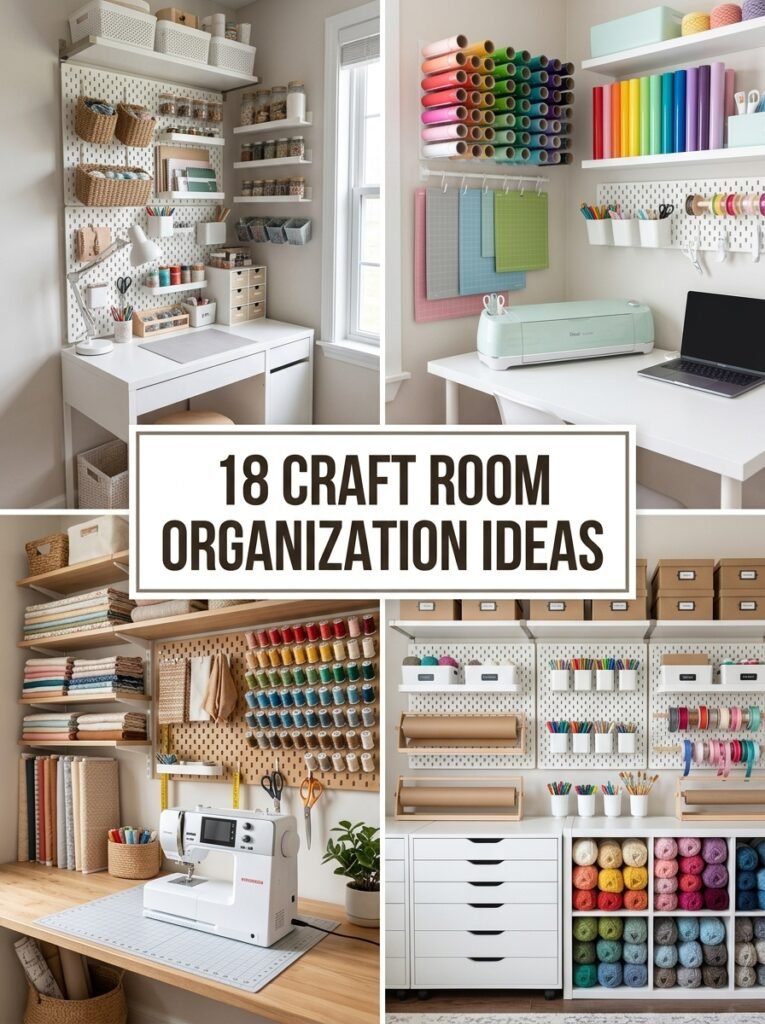
A creative room should make it easy to start a project, find your supplies, and enjoy making something new without spending half your time searching for tools. With the right storage, even a tiny corner can become a practical space for sewing, Cricut projects, painting, yarn crafts, and DIY activities. These craft room organization ideas combine clever storage solutions, budget-friendly hacks, and attractive modern styling to help you create a workspace that suits your room, supplies, and creative routine.
1. Create a Craft Table With Built-In Storage
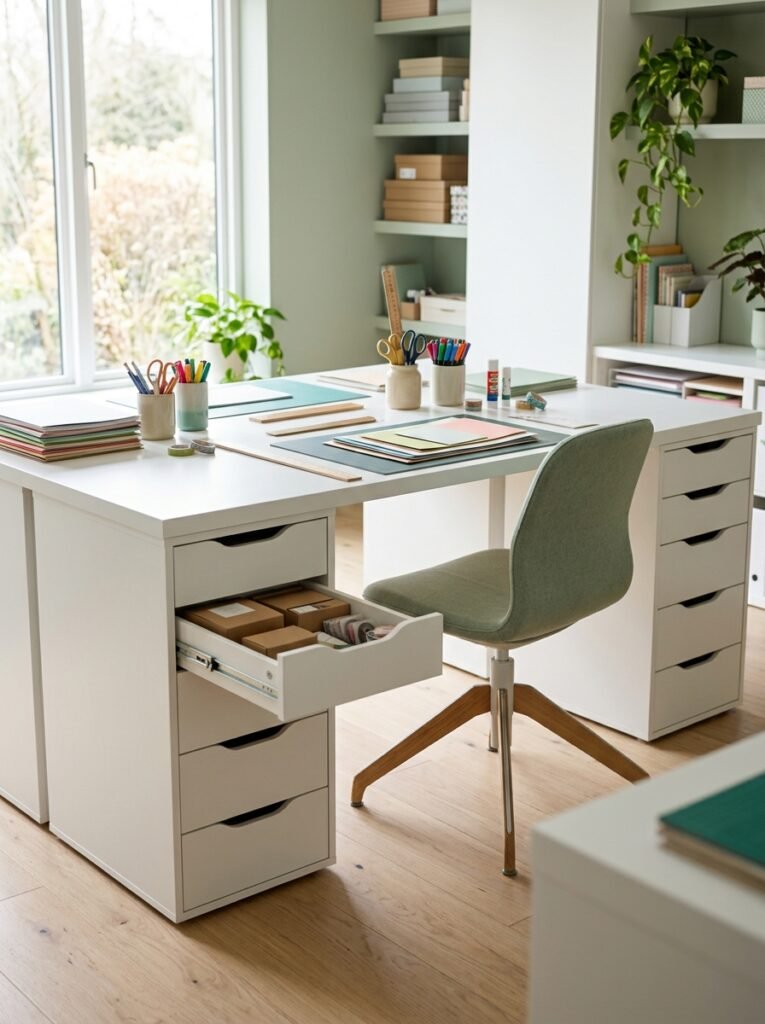
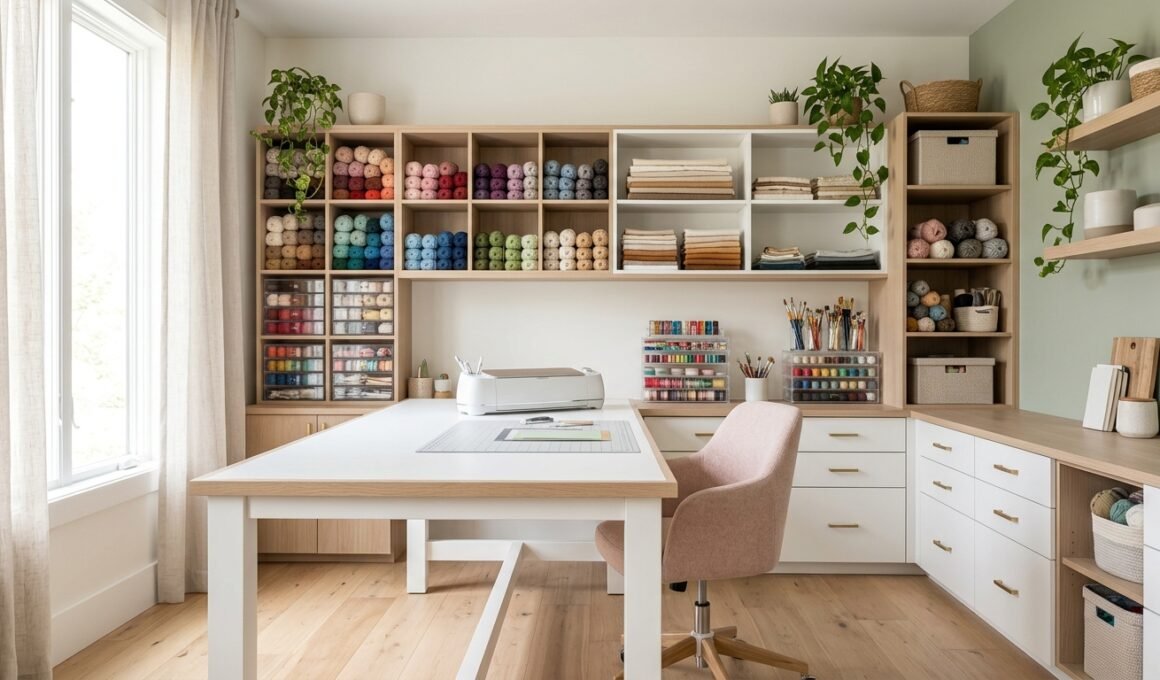
A craft table with built-in storage gives you a dedicated surface for making projects while keeping your most-used supplies close at hand. Choose a sturdy tabletop with drawer units or storage cabinets underneath, and assign each drawer a specific category, such as paper, adhesives, scissors, cutting tools, or unfinished projects. Leave the center of the table open for cutting, assembling, and decorating. This is one of the most practical craft room organization solutions because it combines everyday workspace and storage without requiring additional furniture.
2. Maximize Storage in a Tiny Craft Room
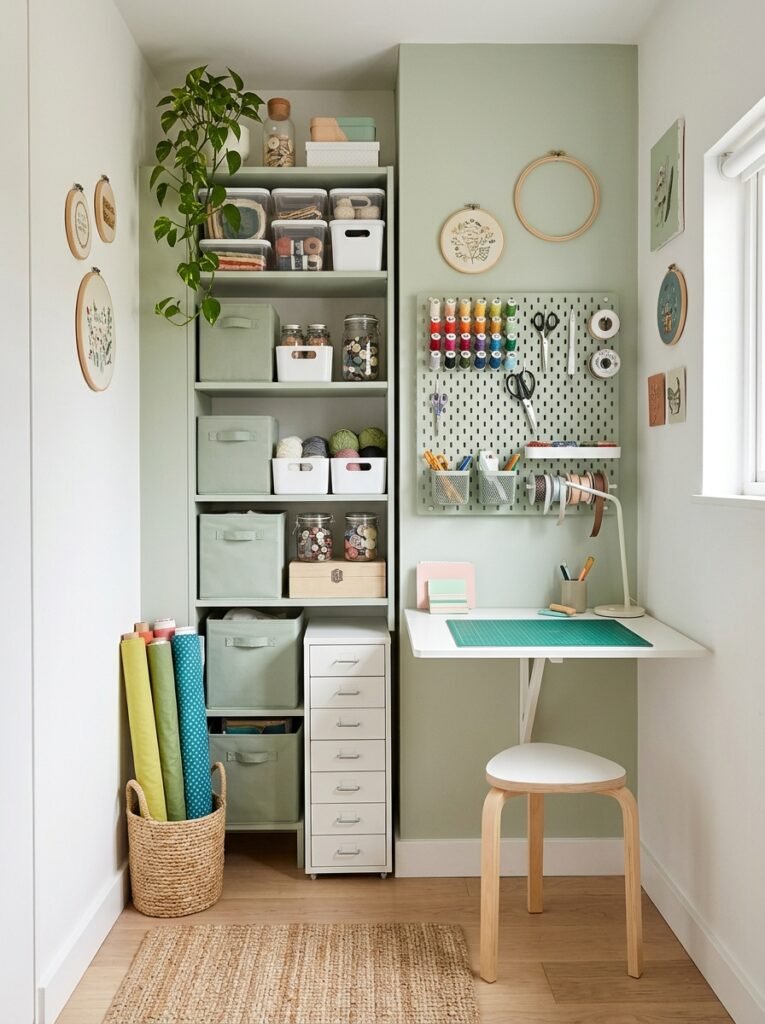
A tiny craft room requires careful planning because bulky furniture can quickly consume the space needed to work. Start with a compact desk, narrow drawer units, and wall-mounted shelves that use the height of the room rather than filling every available floor area. Store rarely used materials on higher shelves and keep daily essentials within easy reach. Folding work surfaces and stackable containers can also help the room serve multiple purposes. The goal is to create enough organized storage while preserving comfortable movement and a clear working area.
3. Use Dollar Tree Containers for Budget Storage
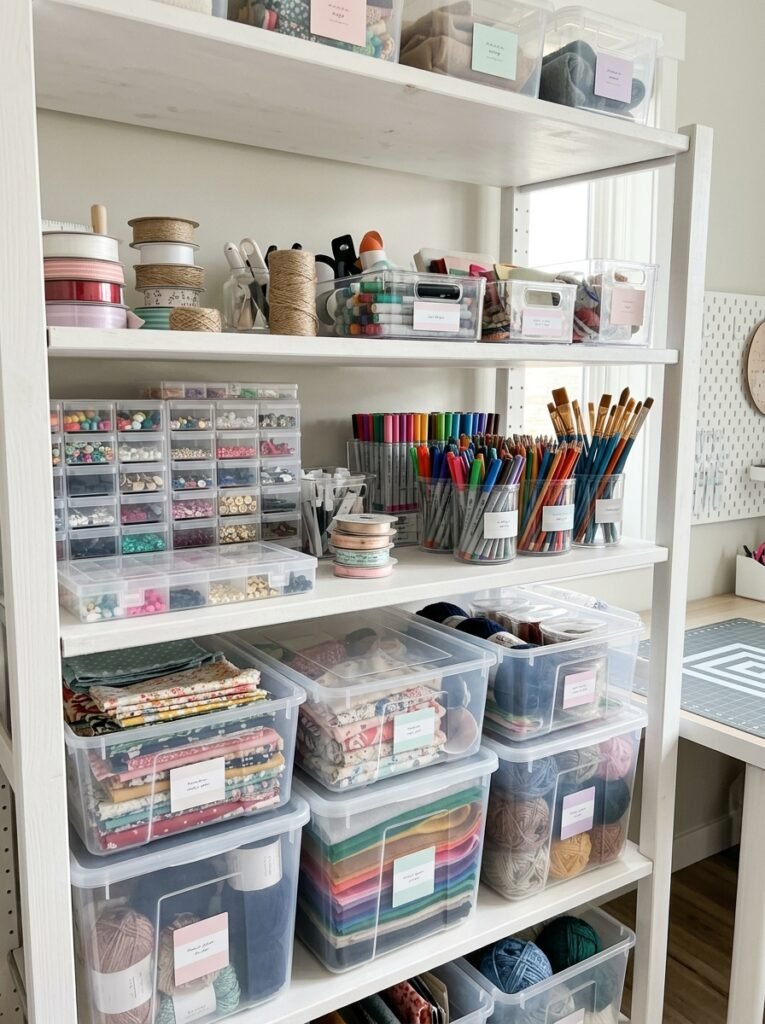
You do not need expensive organizers to create a tidy craft space. Budget-friendly containers from discount stores, including Dollar Tree, can help separate markers, beads, paintbrushes, buttons, glue sticks, and other small supplies. Choose containers that fit your shelves and drawers before buying them, and use matching styles where possible for a more coordinated appearance. Small divided boxes work especially well for tiny accessories, while larger bins can hold fabric scraps or unfinished projects. Focus your budget on storage that solves a real problem rather than buying containers simply because they look attractive.
4. Organize Craft Supplies on an IKEA Billy Bookcase
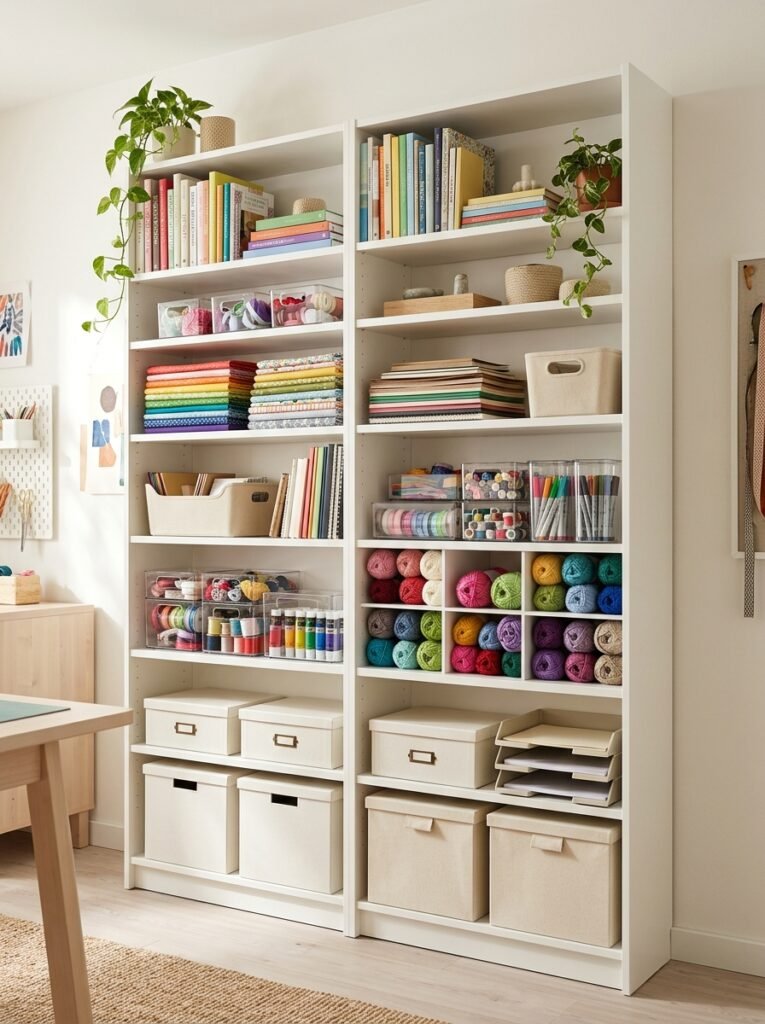
An IKEA Billy bookcase can provide tall, accessible storage for books, craft paper, project boxes, yarn, and lightweight containers. Arrange supplies by category rather than mixing everything together, and place attractive materials on the most visible shelves while keeping miscellaneous items inside matching boxes. Adjustable shelves make it easier to accommodate different-sized supplies as your collection grows. If you store heavy equipment or dense materials, follow the manufacturer’s weight and installation guidance, and secure the bookcase appropriately to the wall. This approach is particularly useful when you need substantial storage without a custom-built cabinet.
5. Build a Dedicated Cricut Craft Station
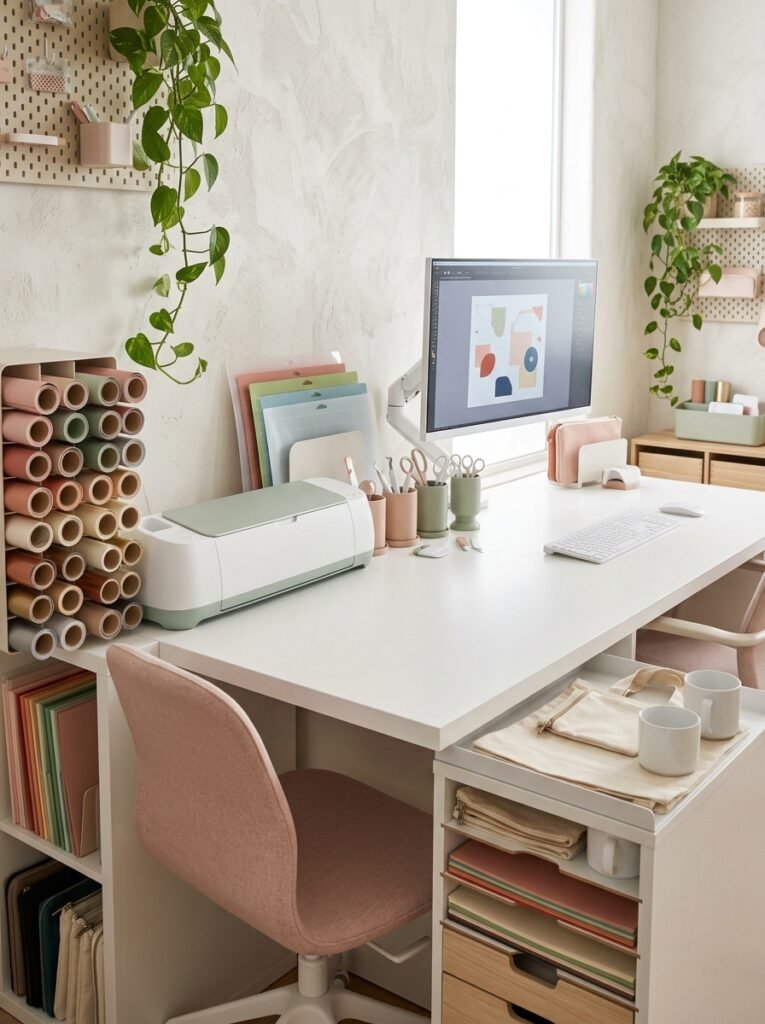
A Cricut workstation works best when the cutting machine, tools, vinyl, transfer materials, and project blanks each have a designated place. Keep the machine on a stable surface with enough clearance for its operating space, and store frequently used vinyl rolls vertically or in a dedicated rack. Use shallow drawers for blades, weeding tools, mats, and accessories, while larger bins hold blanks such as mugs, shirts, or cardstock. Separating materials by project type makes it easier to begin custom labels, cards, and personalized gifts without searching through mixed supplies.
6. Sort Sewing Supplies Into Clear Categories
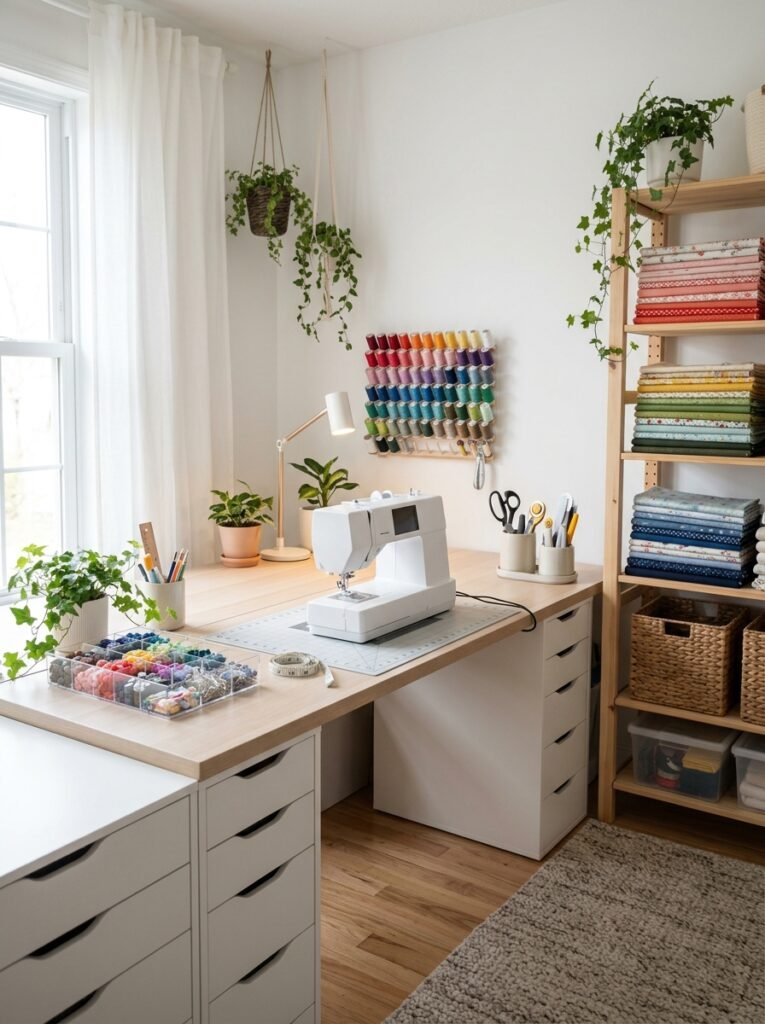
Sewing becomes more enjoyable when thread, needles, fabric scissors, measuring tapes, pins, buttons, and fabric pieces are easy to locate. Use compartmentalized drawers for small notions, vertical holders for cutting tools, and separate shelves or bins for fabrics sorted by type, color, or project. Keep delicate or frequently used items protected from dust when appropriate, and store sharp tools safely. Leave enough clear tabletop space for measuring and cutting fabric, because a sewing station needs room to work as well as room to store supplies.
7. Use IKEA PAX-Style Cabinets for Hidden Storage
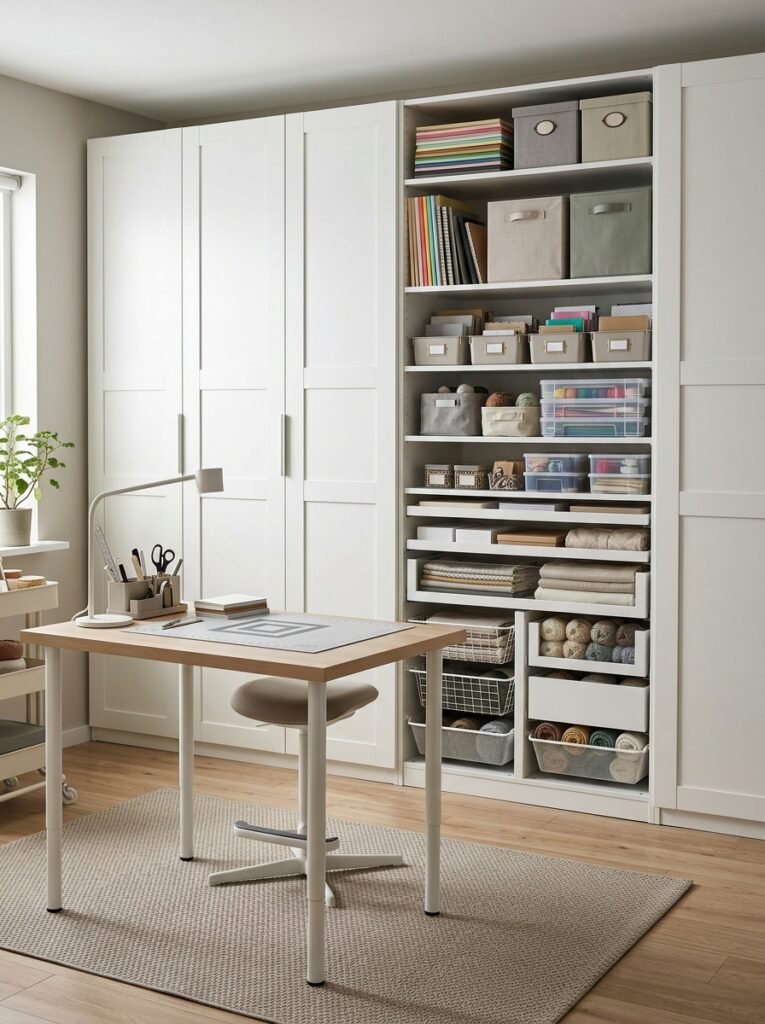
Tall wardrobe-style cabinets inspired by IKEA PAX can turn a cluttered craft room into a streamlined workspace by hiding supplies behind closed doors. Adjustable shelves, drawers, and storage boxes can accommodate fabric, seasonal decorations, paper, tools, and larger project materials. Reserve one section for frequently used items and another for bulk supplies or materials used only occasionally. Closed storage is especially useful when your craft room also serves as a guest room or home office, because you can tidy the space quickly without displaying every container.
8. Create a Yarn Storage Wall
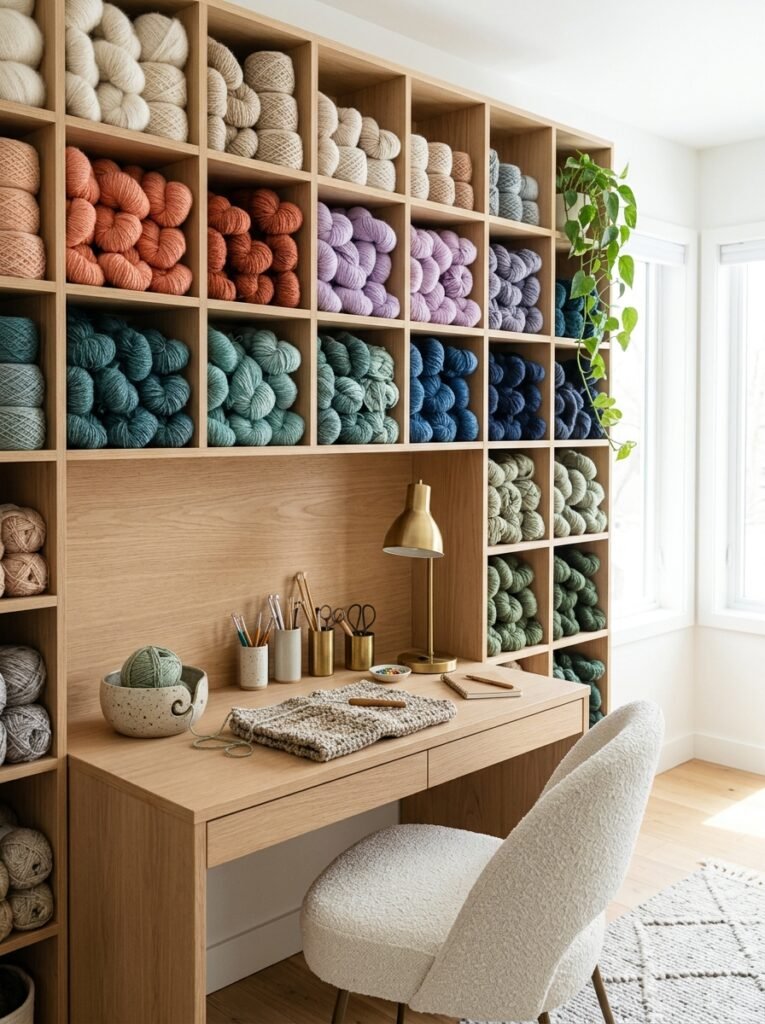
Yarn can become a beautiful part of your craft room when it is arranged deliberately rather than piled into bags. Use cubbies or shelving to group skeins by color, fiber type, or project, making it easier to find matching yarn when knitting or crocheting. Keep yarn away from excessive sunlight, dust, and potential pests, and place delicate or valuable skeins in suitable closed containers when necessary. Leave enough room between groups to remove a skein without disturbing the rest. A well-planned yarn wall provides both practical access and an attractive display.
9. Organize Art Supplies With Vertical Storage
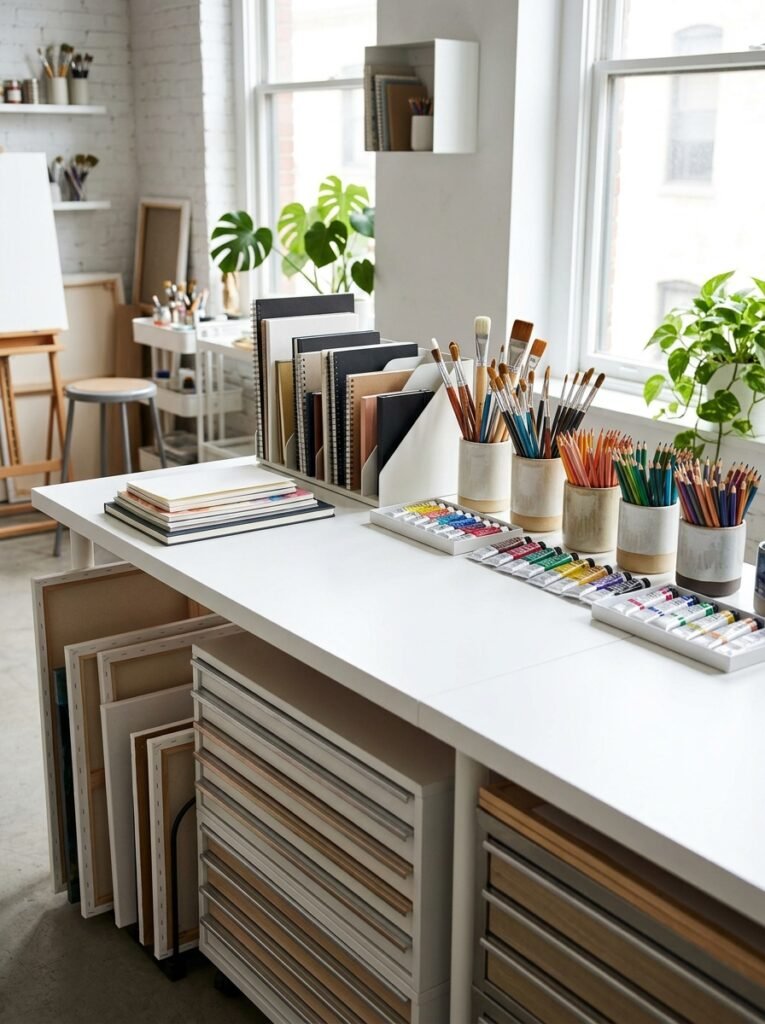
Paintbrushes, pencils, markers, sketchbooks, canvases, and paint tubes need different kinds of storage, so combining vertical and horizontal organizers can make an art corner much more efficient. Keep frequently used brushes and pencils upright in washable holders, arrange sketchbooks in a standing file organizer, and store paints together in a shallow drawer or suitable tray. Place delicate paper away from moisture and keep wet materials separate from finished artwork. This arrangement allows you to see your tools quickly while preserving a clear surface for drawing, painting, and mixed-media projects.
10. Make a DreamBox-Inspired Craft Storage System
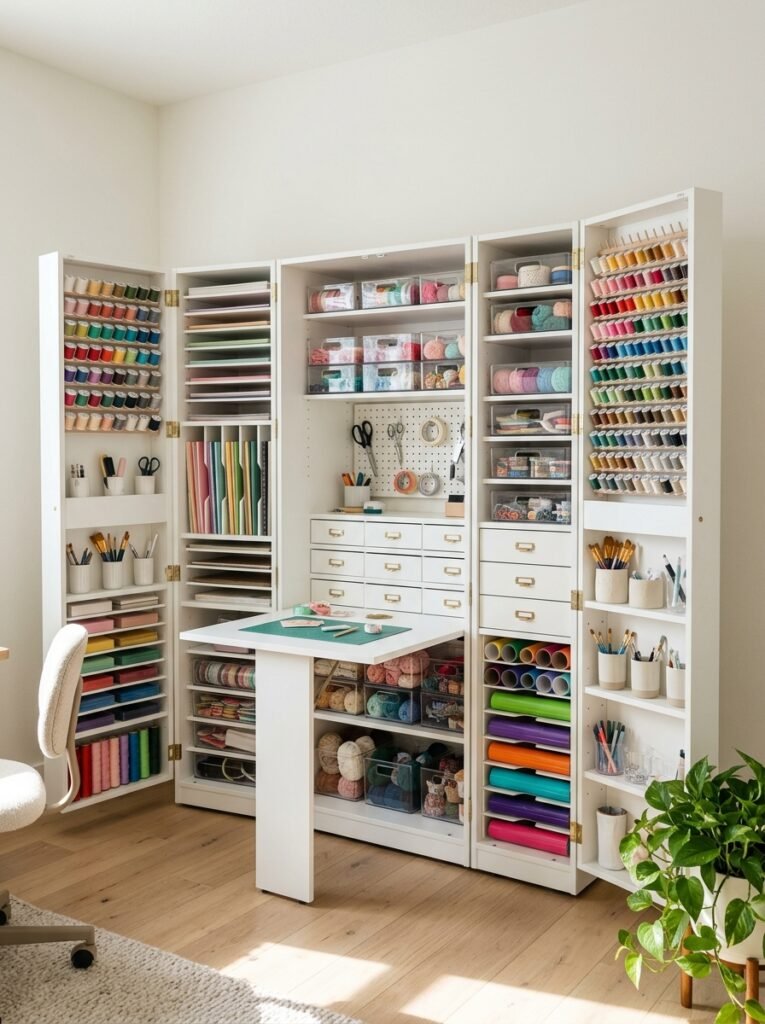
A DreamBox-inspired setup is designed around the idea of keeping a large variety of craft supplies organized in one compact, accessible area. You can recreate a similar approach with a tall cabinet, adjustable shelves, small drawers, pull-out bins, and a fold-out or nearby work surface. Group materials by activity, such as paper crafting, sewing, vinyl projects, and painting, so each category has its own section. This type of system is especially helpful for people who own many supplies but do not have enough room for separate workstations for every hobby.
11. Add a Rolling Cart for Flexible Storage
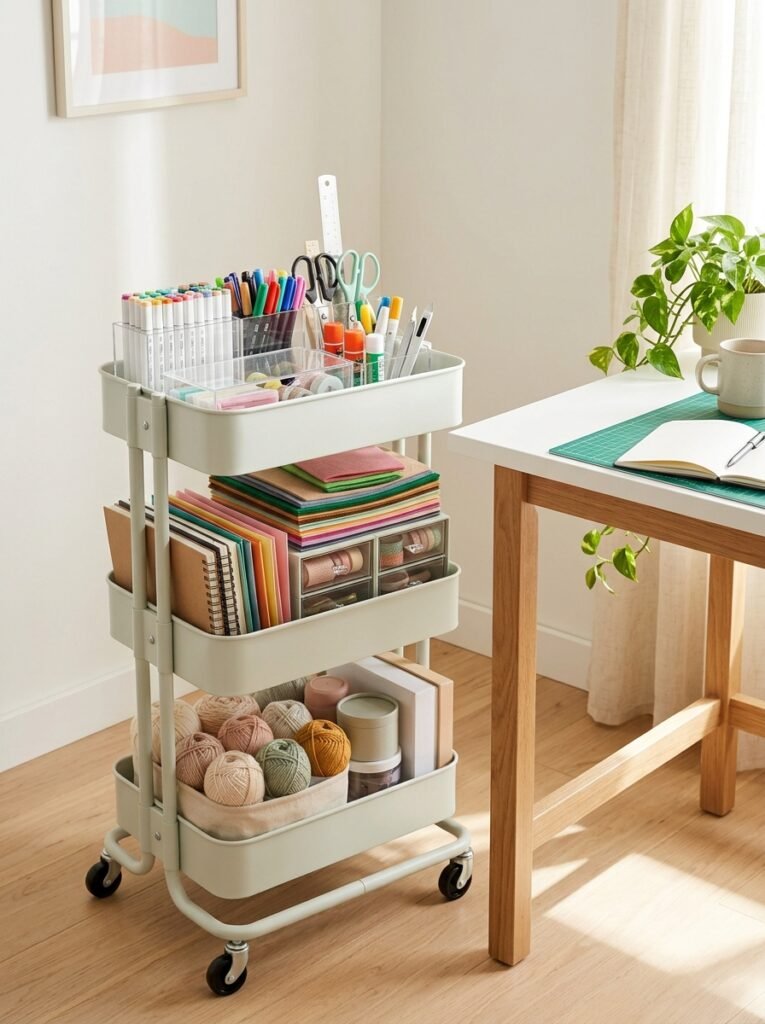
A rolling cart is a smart option when your craft supplies change depending on the project. Keep one level for current materials, another for tools, and a lower shelf for larger items or project boxes. A cart can sit beside the desk while you work and move into a closet or corner when the room needs to be cleared. Choose a stable cart with appropriate weight capacity and, if you store tiny supplies, use containers that fit securely on the shelves. This solution works particularly well in shared rooms and small apartments.
12. Use Pegboards for Frequently Used Tools
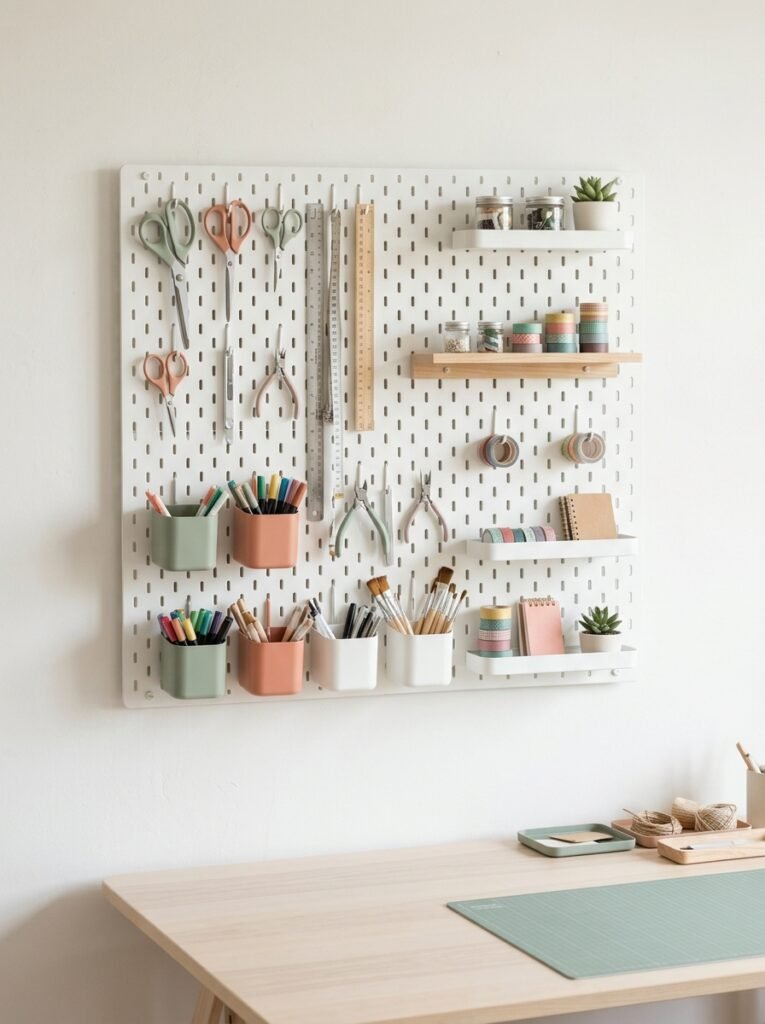
A wall-mounted pegboard keeps lightweight tools visible and accessible without using valuable desk space. Arrange scissors, rulers, tape dispensers, small baskets, cutting tools, and frequently used accessories according to your working routine. Keep similar items together and leave a little space around each tool so it is easy to remove and replace. You can also position a small shelf beneath the board for current projects. Secure the board correctly and use hooks designed for the tools you plan to hang, especially when storing sharp or heavier equipment.
13. Organize 3D Printing Supplies and Accessories
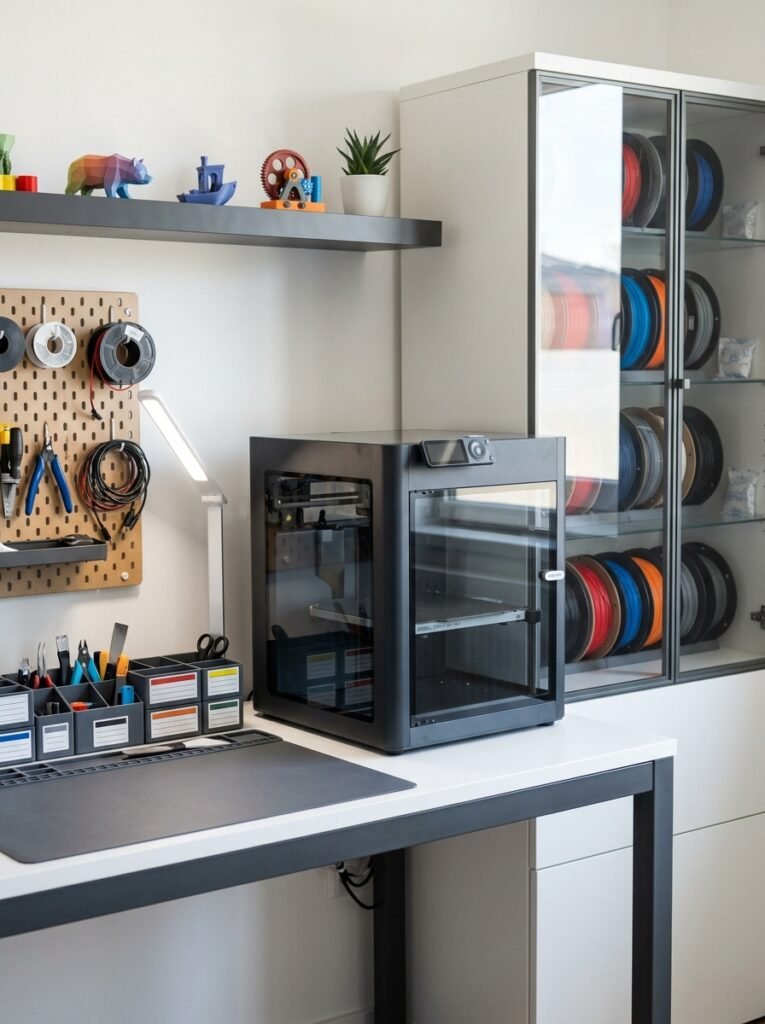
A craft room with a 3D printer needs a different storage approach because filament, spare nozzles, tools, printed parts, and maintenance supplies can quickly become mixed together. Keep the printer on a stable, suitable surface with the clearance and ventilation recommended by its manufacturer. Store filament according to its material requirements, using sealed or dry storage where appropriate, and separate sharp tools and small components into dedicated containers. Give finished prints their own shelf or bin so completed projects do not get confused with spare parts or materials awaiting use.
14. Create an Aesthetic Storage Wall With Matching Bins
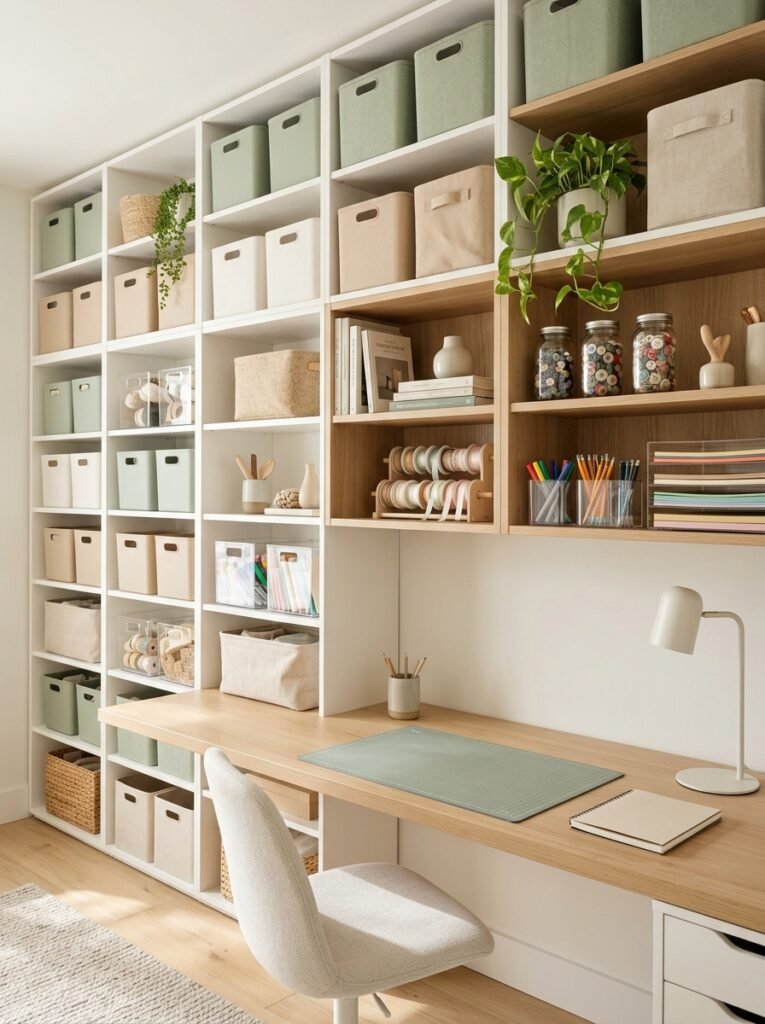
Matching storage bins make an open shelving system look intentional even when it holds many different supplies. Choose a consistent combination of colors and container styles, then group items by category so each bin has a clear purpose. Small transparent boxes are useful for items you need to see, while opaque containers can conceal less attractive packaging and miscellaneous materials. Place the most frequently used categories at eye level and reserve upper shelves for lightweight or occasional-use items. This approach keeps the room visually calm without sacrificing accessibility.
15. Add a Small Floral and Paper Craft Station
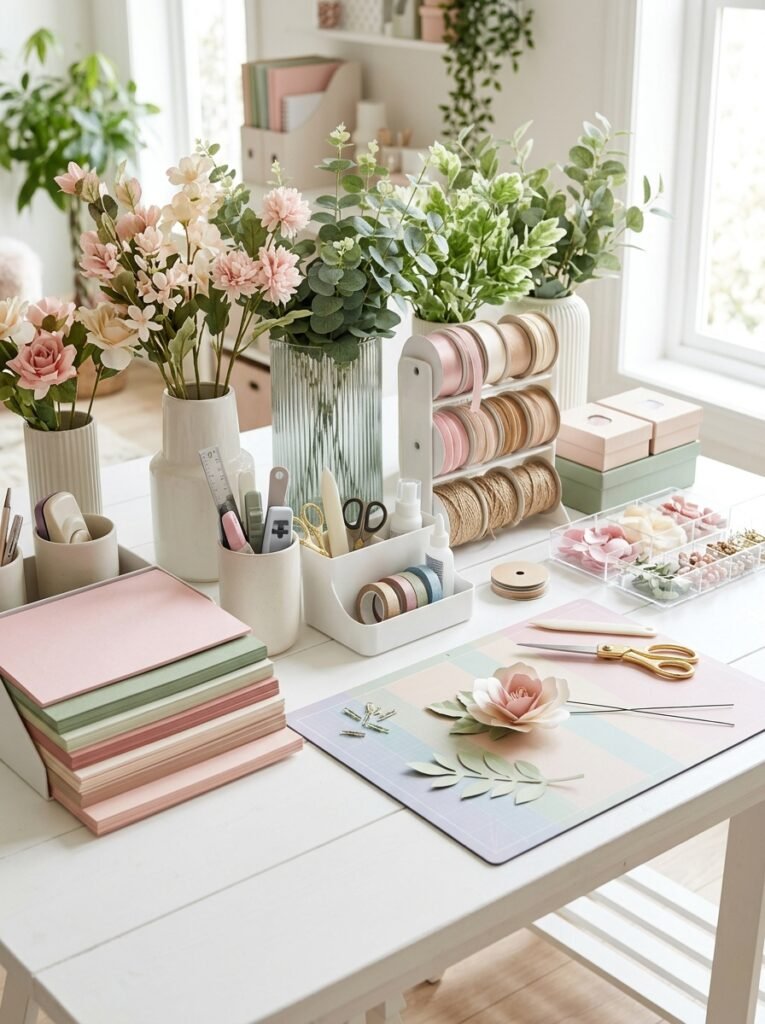
Floral arranging, card making, scrapbooking, and paper crafts often require ribbon, decorative paper, artificial stems, cutting tools, adhesives, and small embellishments. Give these materials separate storage areas so delicate decorations are not crushed and adhesives remain properly closed. Store paper upright or flat according to its size and keep floral stems in tall containers that prevent bending. A small dedicated station allows you to switch between making cards, decorating gifts, and creating floral arrangements without having to unpack every supply each time.
16. Try a Budget-Friendly DIY Shelf System
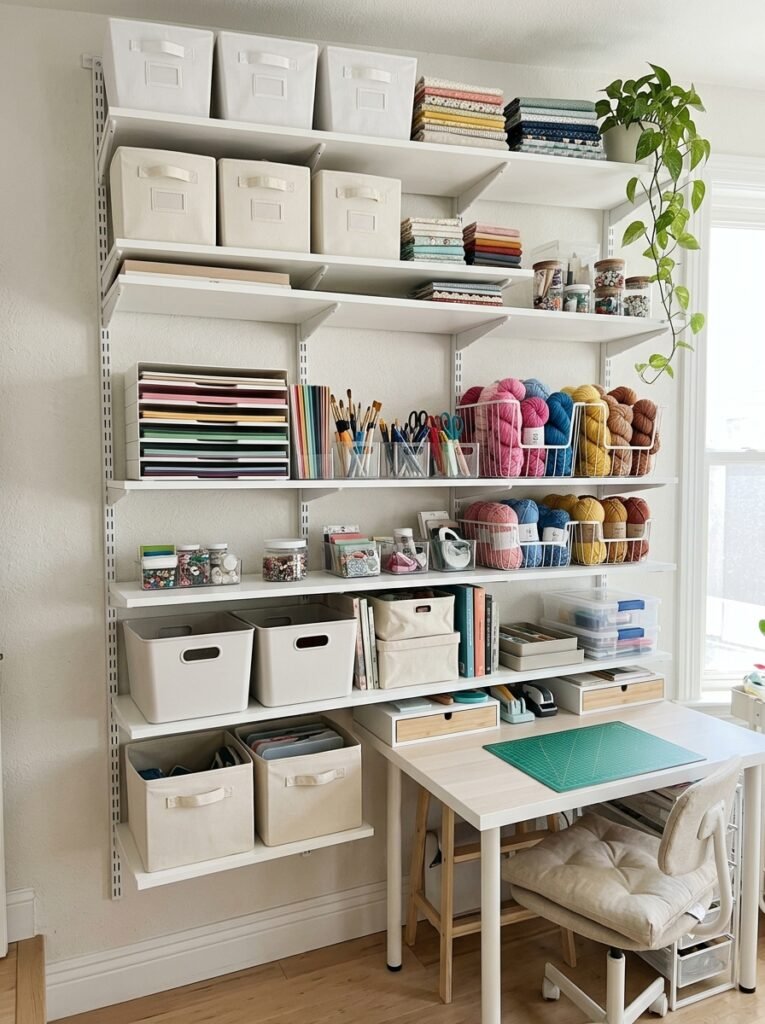
DIY shelving can provide customized storage when ready-made furniture does not fit your room or budget. Measure the wall carefully, decide what each shelf needs to hold, and select materials and supports appropriate for the intended load. Use smaller bins to prevent beads, thread, paint accessories, and other tiny materials from spreading across the shelves. Keep heavy supplies lower and lightweight items higher for easier access. A thoughtfully planned shelf system can grow with your hobbies and be rearranged as your collection changes, making it a practical long-term project.
17. Design a Modern Vintage-Inspired Craft Corner
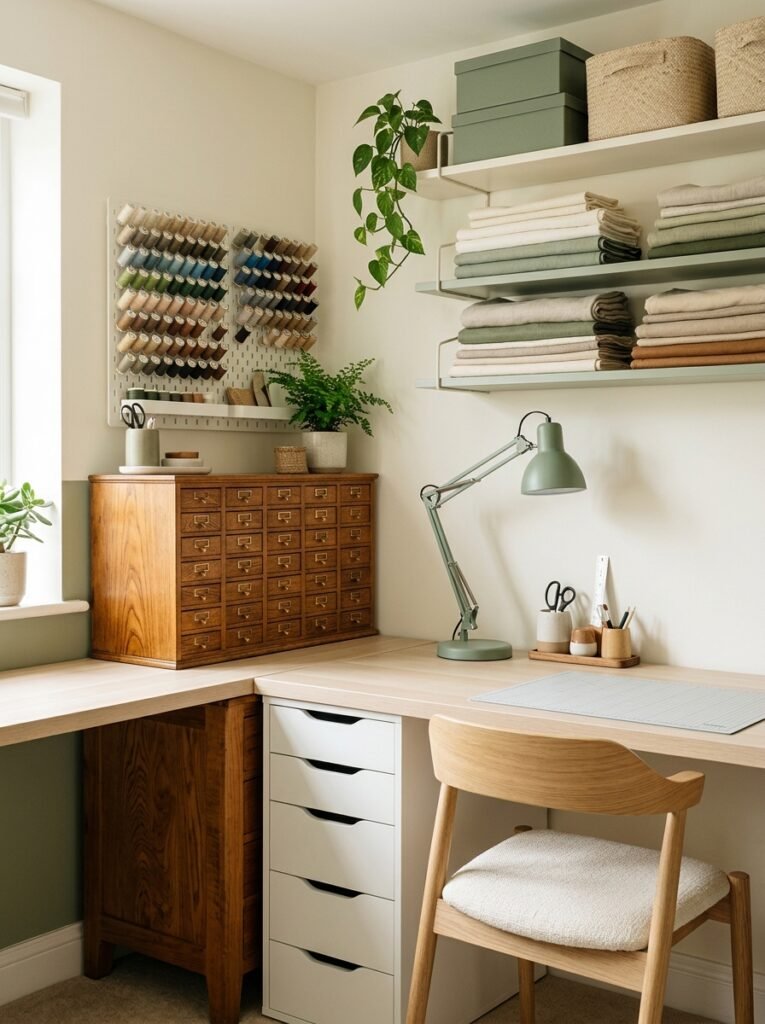
If you enjoy vintage-inspired details, you can incorporate them without making the entire room look old-fashioned. Choose one or two characterful elements, such as a refined wooden notions cabinet or a classic-style thread holder, and pair them with modern drawers, clear containers, contemporary lighting, and a clean work surface. Keep colors fresh and supplies carefully arranged so the space still feels bright and current. This balanced approach adds personality while maintaining the practical storage and uncluttered appearance needed for everyday crafting.
18. Divide the Room Into Dedicated Craft Zones
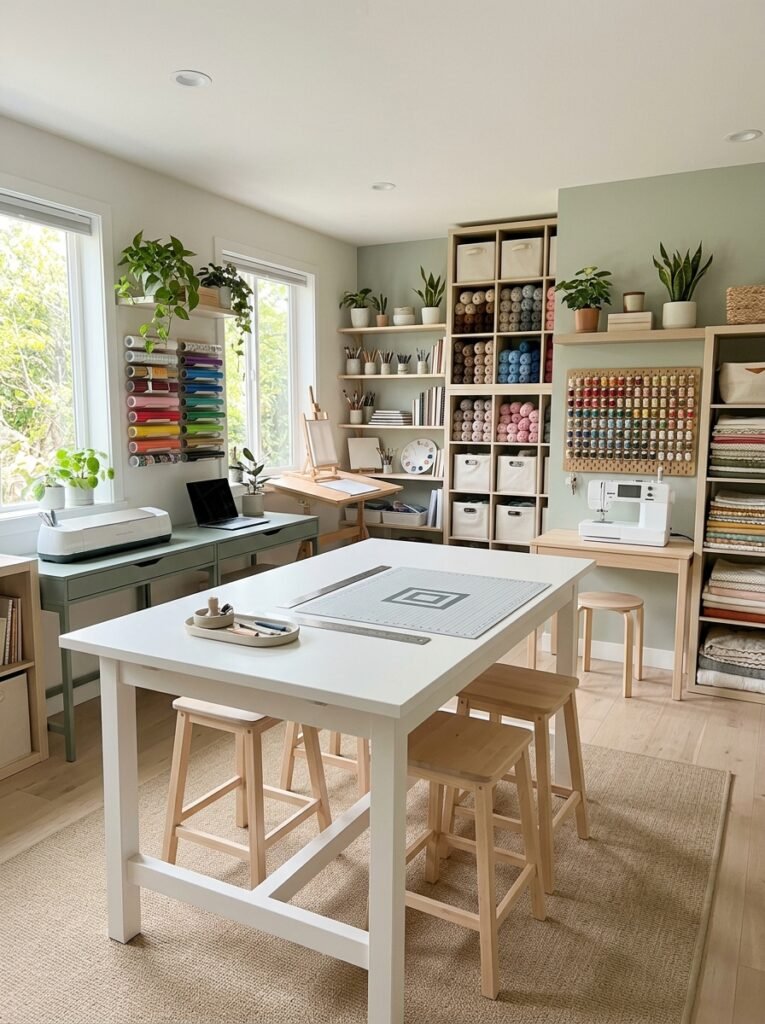
When you enjoy several hobbies, dividing the room into zones prevents supplies from mixing and makes it easier to move from one activity to another. Create separate areas for sewing, Cricut projects, painting, yarn crafts, or general DIY work, using storage suited to each activity. You do not need a separate table for every hobby; small trays, labeled-looking containers, and movable carts can define zones on one shared surface. Keep the most demanding activities near suitable lighting and leave the central work area flexible for larger or unusual projects.
How to Organize a Craft Room in Small Spaces
Organizing a small craft room starts with understanding which supplies you actually use and how much room each activity requires. Empty one drawer or shelf at a time, group similar materials together, and remove duplicates or supplies you no longer need. Measure your furniture and available wall space before purchasing storage, then prioritize vertical shelving, stackable containers, and compact drawer units. If the room serves another purpose, choose closed cabinets and movable carts that allow you to put your craft supplies away quickly.
Smart Craft Room Organization Tips on a Budget
- Shop your home first: Reuse suitable containers, drawer dividers, and boxes you already own.
- Buy storage by category: Measure the space and choose containers for specific supplies instead of purchasing random organizers.
- Use vertical space: Shelves and pegboards can free up valuable tabletop area.
- Keep similar materials together: Separate paper, sewing notions, yarn, tools, and electronic crafting supplies.
- Protect special materials: Store paper, filament, fabric, and delicate supplies according to their needs.
- Reset after every project: Return tools to their designated places before starting something new.
Final Thoughts
A well-designed craft room organization system makes creative work easier, keeps supplies in better condition, and helps you use your available space more effectively. Whether you are organizing a tiny corner with budget containers or creating a complete studio with modular cabinets, the most important step is giving every category a clear home. Start with the supplies you use most often, build storage around your actual projects, and adjust the setup as your hobbies change. With a little planning, your craft room can be both practical and inspiring.