





This post may contain affiliate links. Please read my disclosure policy.
In This Article Show
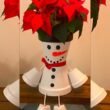
A polymer clay Christmas snowman is one of the friendliest first clay projects you can try. The whole design is just balls of white clay stacked together, plus a scarf, a nose and a smile, yet the finished pieces look like proper little characters.
This list gathers 13 polymer clay Christmas snowman ideas, from a classic standing figurine and flat tree ornaments to tiny earrings, pastel charms and a full tray of batch baked gifts. The first three ideas include full materials and step by step guidance.
Polymer clay stays soft until you bake it, so there is no rush and no wasted material. If a nose goes on crooked, you simply take it off and try again.
Grab white clay and a few colors for scarves, and work through the list at your own pace. By the end you will have a whole snow family.
Quick Picks
- 1. Best first make: Classic Polymer Clay Snowman Figurine (idea 1) uses only stacked balls and a scarf.
- 2. Best for the tree: Flat Snowman Ornaments (idea 2) bake in one batch and hang light on any branch.
- 3. Cutest gift: Polymer Clay Snowman Earrings (idea 3) turn the same shapes into wearable gifts.
1. Classic Polymer Clay Snowman Figurine

A sampler pack is the cheapest way to get every scarf and hat color in one box. The Sculpey III sampler pack with 30 colors covers reds, greens and oranges for a whole batch of snowmen.
⏱ About 1 hour plus baking💲 Low cost🛠 Beginner friendly
Materials Needed
- White polymer clay
- Small amounts of black, orange and red clay
- Toothpick or needle tool
- Tiny twigs or brown clay for arms
- Baking tray lined with parchment
How to Make It
Step 1: Condition the white clay until soft, then roll two balls, a larger one for the body and a smaller one for the head. Stack and gently press them together.
Step 2: Roll a tiny orange cone for the nose and press it into the head. Add two small black balls for eyes and a row of tiny dots for the smile.
Step 3: Roll a thin red sausage, flatten it slightly and wrap it around the neck as a scarf. Pinch two short ends hanging down the front.
Step 4: Add three tiny black balls down the body for buttons, and press twig or brown clay arms into the sides.
Step 5: Bake following the temperature and time on the clay package, then let the snowman cool completely before moving it.
Tip: A toothpick pushed through the body and head before baking works like a skeleton and stops the head from popping off later.
2. Flat Snowman Ornaments
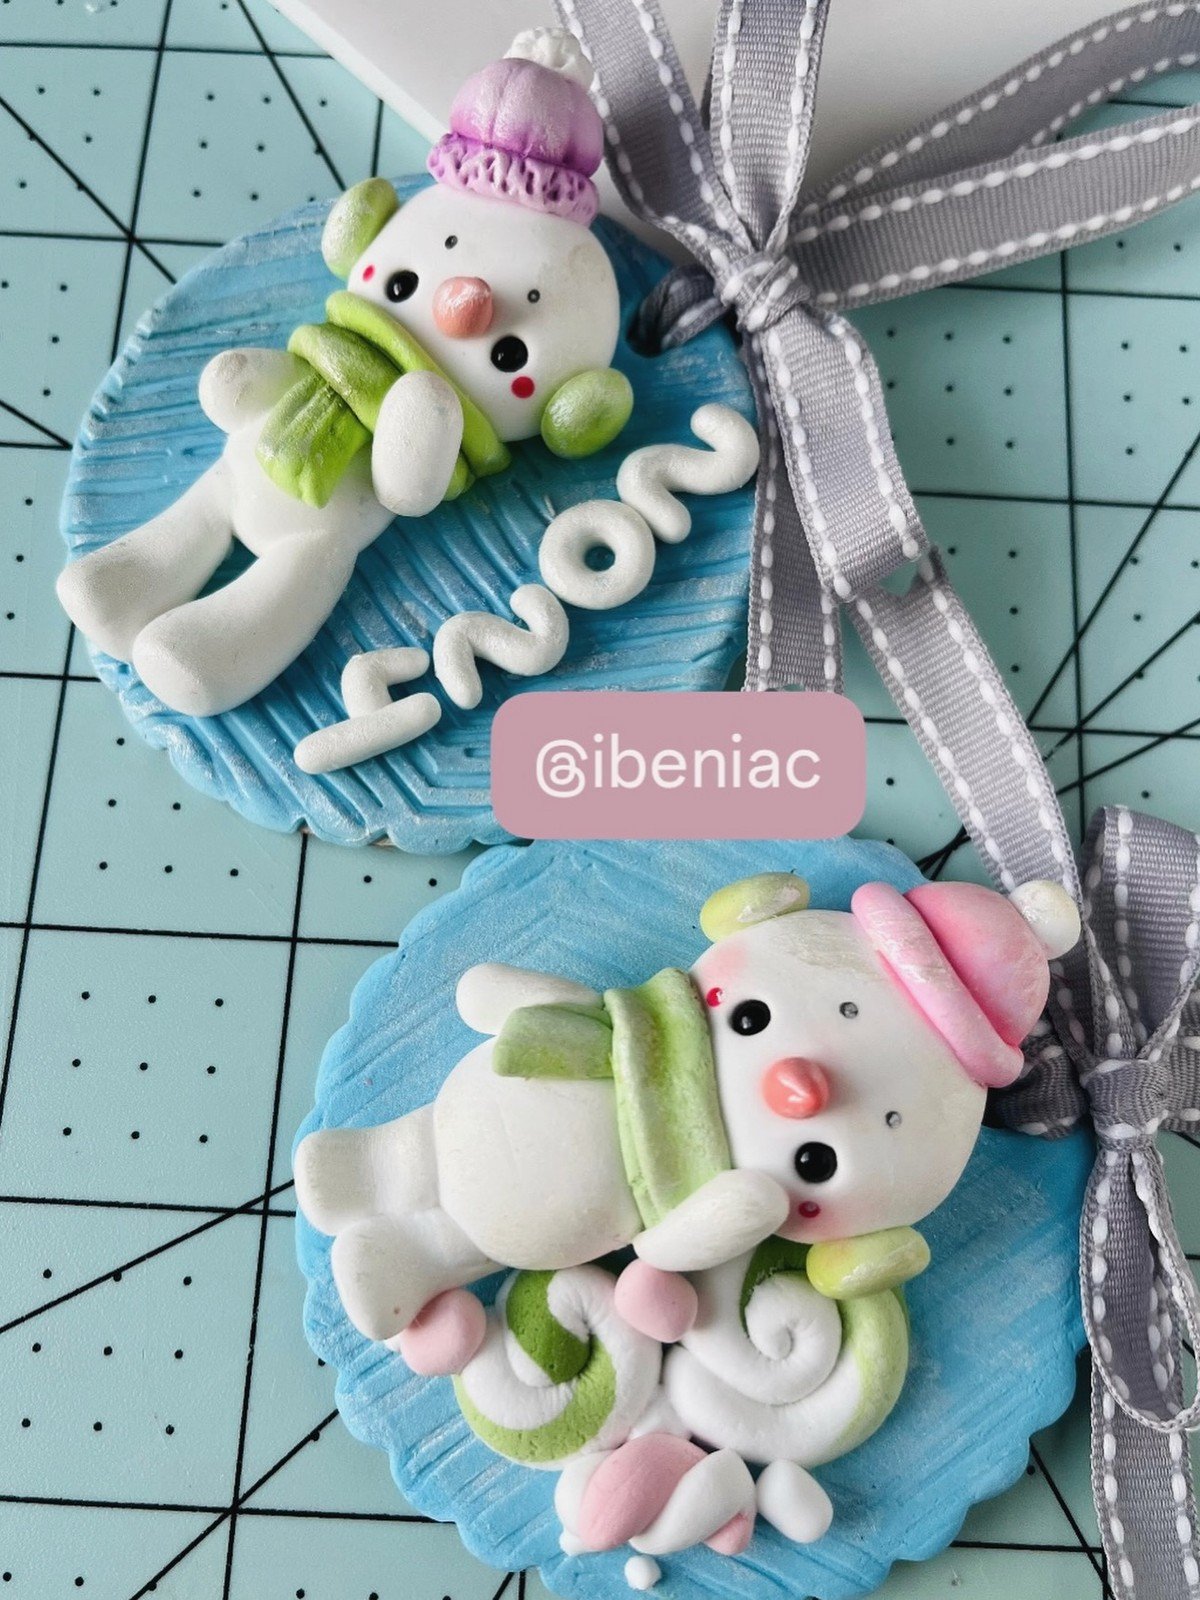
Flat ornaments hang best when the clay itself is light. Super Sculpey Ultralight bakes up feather light, so even a big snowman will not pull a branch down.
⏱ 45 minutes plus baking💲 Low costGreat for batch making
Materials Needed
- White ultralight polymer clay
- Rolling pin or acrylic roller
- Round cookie cutter or a glass
- Black and orange clay or paint pens
- Eye pin or ribbon for hanging
How to Make It
Step 1: Roll the white clay to about 4 mm thick and cut a round or wavy puddle shape for the snowman body.
Step 2: Roll a smaller circle for the head and lay it at the top of the body, pressing the join smooth with a fingertip.
Step 3: Add clay eyes, a tiny cone nose and a scarf made from a thin rolled strip of colored clay.
Step 4: Push an eye pin into the top before baking, or poke a hole with a straw for ribbon.
Step 5: Bake flat on parchment, cool fully, then thread ribbon through the loop and hang.
Tip: Roll clay between two wooden skewers laid on either side. The skewers act as rails so every ornament comes out the same thickness and bakes evenly.
3. Polymer Clay Snowman Earrings

Earrings need clay that holds tiny detail and stays strong at small sizes. Sculpey Premo in white is firmer than most clays, so little noses and hats keep their shape in the oven.
⏱ 1 hour plus baking💲 Low costSmall scale sculpting
Materials Needed
- White polymer clay
- Red and black clay for hats and details
- Earring posts or hooks and jump rings
- Strong craft glue for findings
- Eye pins
How to Make It
Step 1: Roll two matching pairs of small white balls for bodies and heads. Work both earrings at the same time so the pair stays the same size.
Step 2: Stack each head on its body and add micro details: black dot eyes, a tiny orange nose and a mini scarf or hat in red clay.
Step 3: Push an eye pin into the top of each snowman before baking.
Step 4: Bake, cool, then attach jump rings and earring hooks. Use a dab of strong glue on post style backs instead.
Step 5: Check the pair side by side and trim any rough edge with a craft knife before wearing.
Tip: Weigh the clay for each earring on a kitchen scale. Matching weights means a balanced pair that hangs evenly.
4. Hanging Snowman Ornament with Ribbon

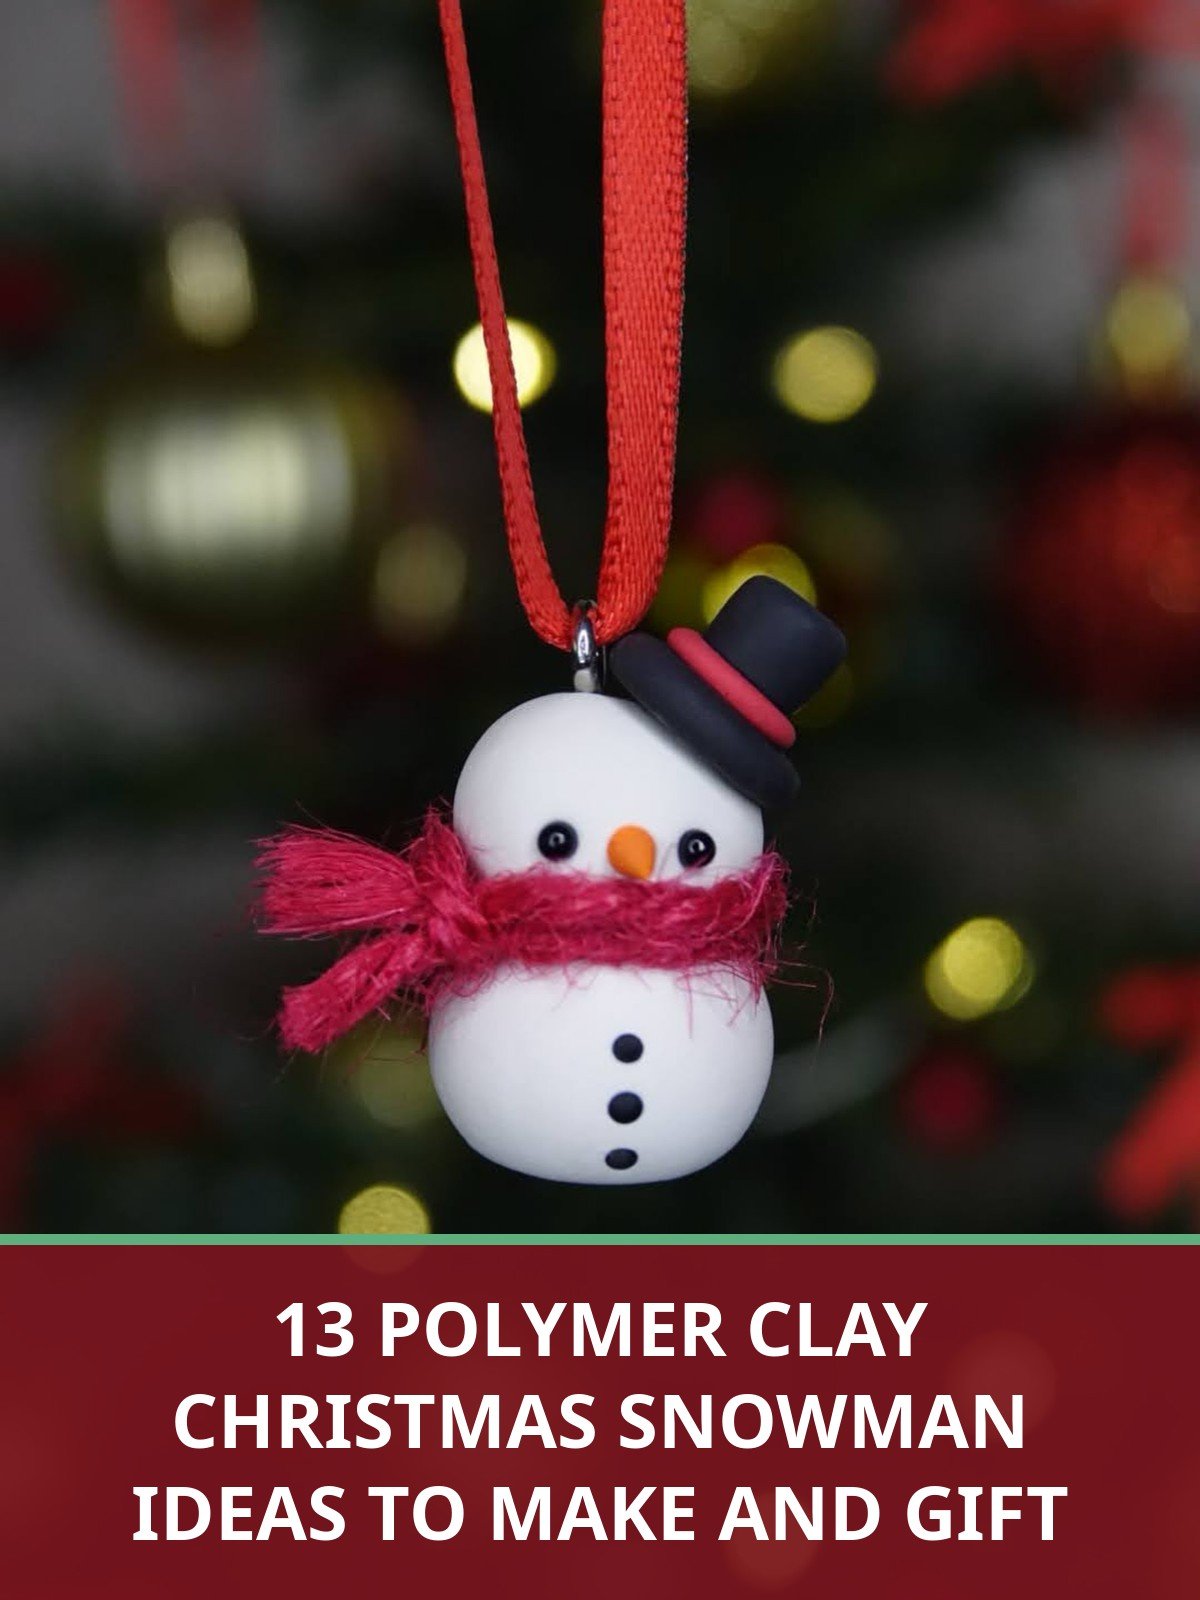
This close up shows how much charm fits into one small hanging snowman. A simple stacked body, a painted or clay face and a bright red ribbon loop turn a few grams of clay into an ornament that looks lovely against dark green branches. Make one in every scarf color for a matching set.
You’ll need: white polymer clay, red ribbon, eye pin, black and orange clay for the face
Best for: tree ornaments and gift toppers
5. Pastel Snowman Charms

Not every snowman needs a red scarf. This little crew wears pink, purple and blue, which makes them perfect for pastel trees, winter birthdays and charm bracelets. The small size means one block of white clay stretches to a whole handful of charms.
Soft pastel shades are hard to mix by hand, so a classics set helps. The Sculpey III Classics 10 pack includes the bright mixing colors you need for scarves and hats.
You’ll need: white clay plus pink, purple and blue clay, eye pins, jump rings
Best for: spring and winter color themes beyond classic red
6. Row of Standing Snowman Figures

Four snowmen in a row make an instant mantel display. Each figure shares the same simple stacked shape, and the personality comes from different hats, scarves and expressions. Make one per family member and line them up in height order for a sweet holiday photo prop.
You’ll need: white polymer clay, assorted scarf and hat colors, flat base or stand
Best for: family photos and mantel displays
7. Snowman Diorama in a Clear Ornament

A whole winter scene hides inside this clear ball. Build a miniature snowman small enough to fit the opening, add fake snow and a tiny tree, then close the ornament and hang it where the light catches it. It looks like a snow globe and a keepsake in one.
A little liquid clay brushed inside the ball holds the fake snow in place like frost. Liquid Sculpey in white bakes clear enough to keep the scene looking snowy, not cloudy.
You’ll need: clear fillable ornament, mini clay snowman, fake snow, tiny bottle brush tree
Best for: a wow factor gift that looks harder than it is
8. Snowman and Friends Clay Board

This wooden board of festive clay pieces shows how a snowman fits into a bigger Christmas set with trees, candy canes and stockings. If you are already making clay decorations, add two or three snowmen to the tray so every theme has a matching character.
You’ll need: white, red and green polymer clay, wooden board for display, assorted small cutters
Best for: mixing snowmen into a wider clay craft session
9. Three Snowmen on Pink
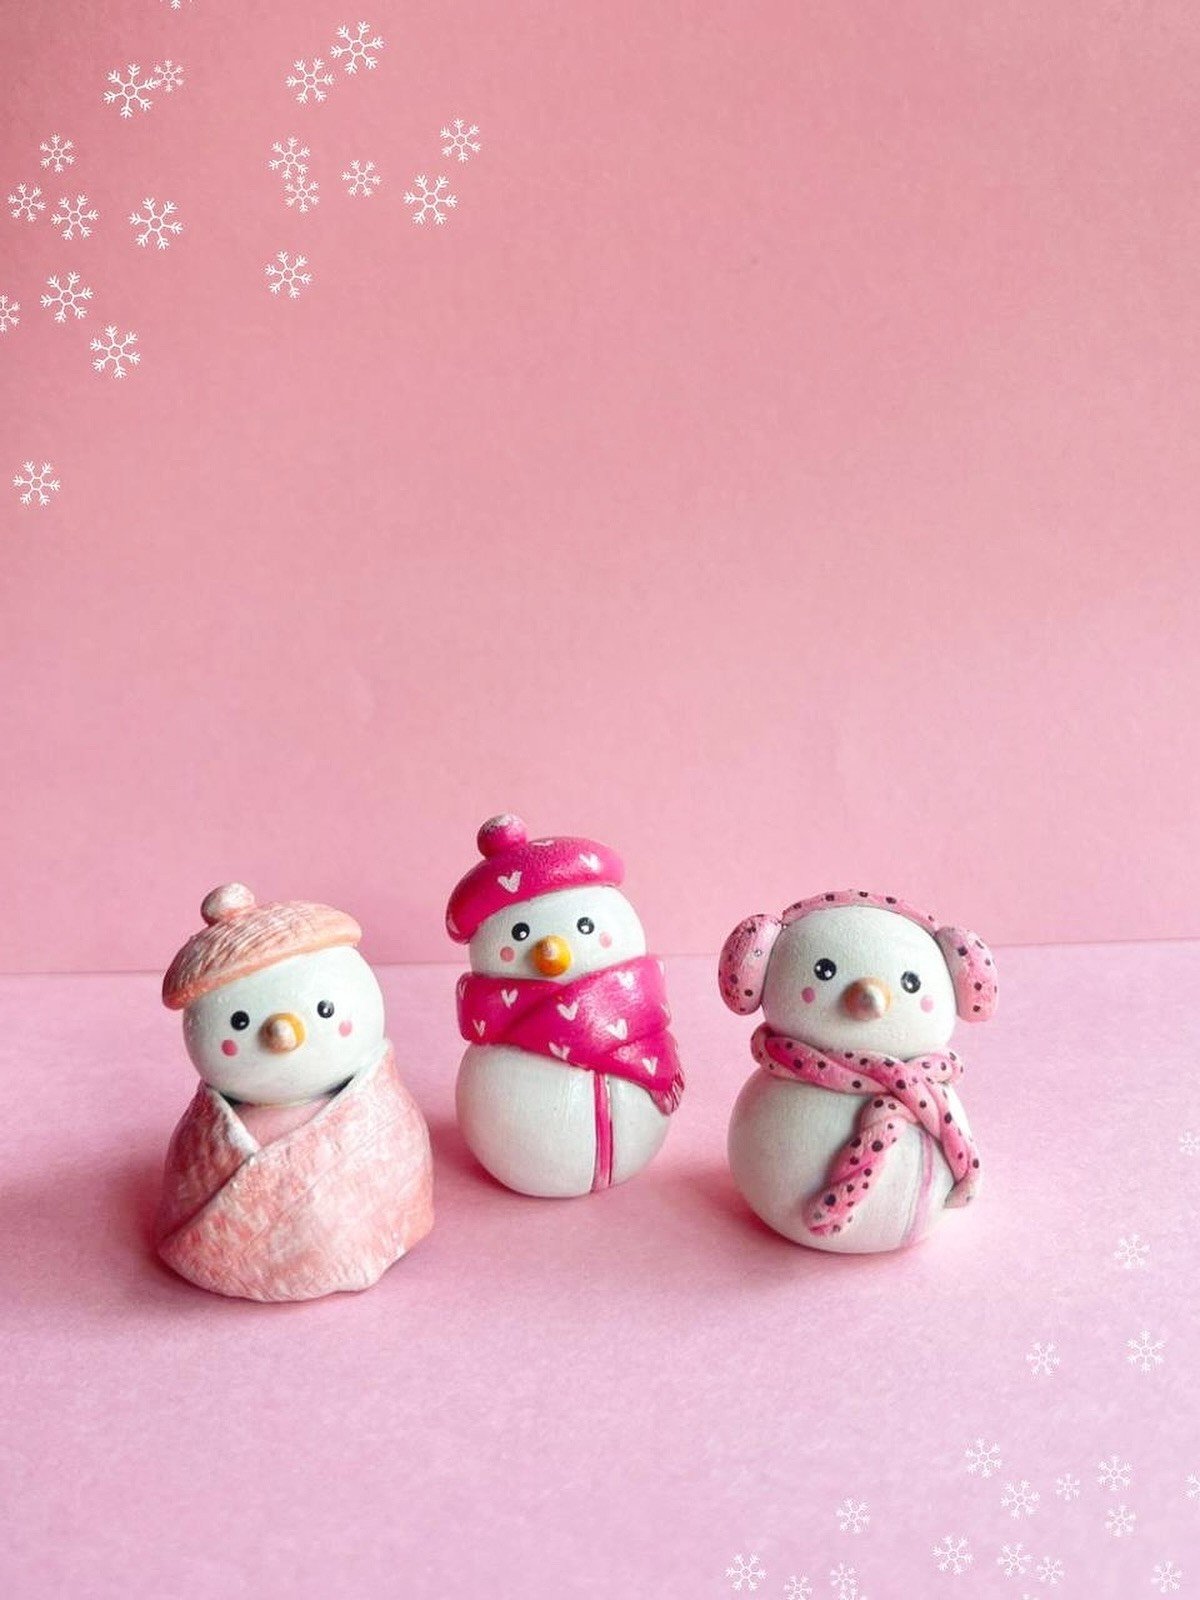
A pink background and three cheerful snowmen prove that Christmas clay does not have to stick to the usual colors. These figures have soft rounded shapes and simple faces, which makes them a good template for beginners who want a tidy, modern look.
You’ll need: white polymer clay, colored clay for scarves, paint pens for faces
Best for: playful, less formal decorating styles
10. Tray of Baked Snowman Ornaments

Nine ornaments on one parchment lined tray is the smart way to make clay snowmen. Shape them all first, decorate production line style, then bake the whole batch in one go. It is the fastest route to a box of handmade gifts.
Batch baking uses clay quickly, so a big basic block is good value. Original Sculpey in white is the classic oven bake clay most of these tray projects start with.
You’ll need: white polymer clay, parchment paper, baking tray, ribbon, assorted clay colors
Best for: craft fairs, class gifts and big families
11. Mini Snowman Ornaments in a Row
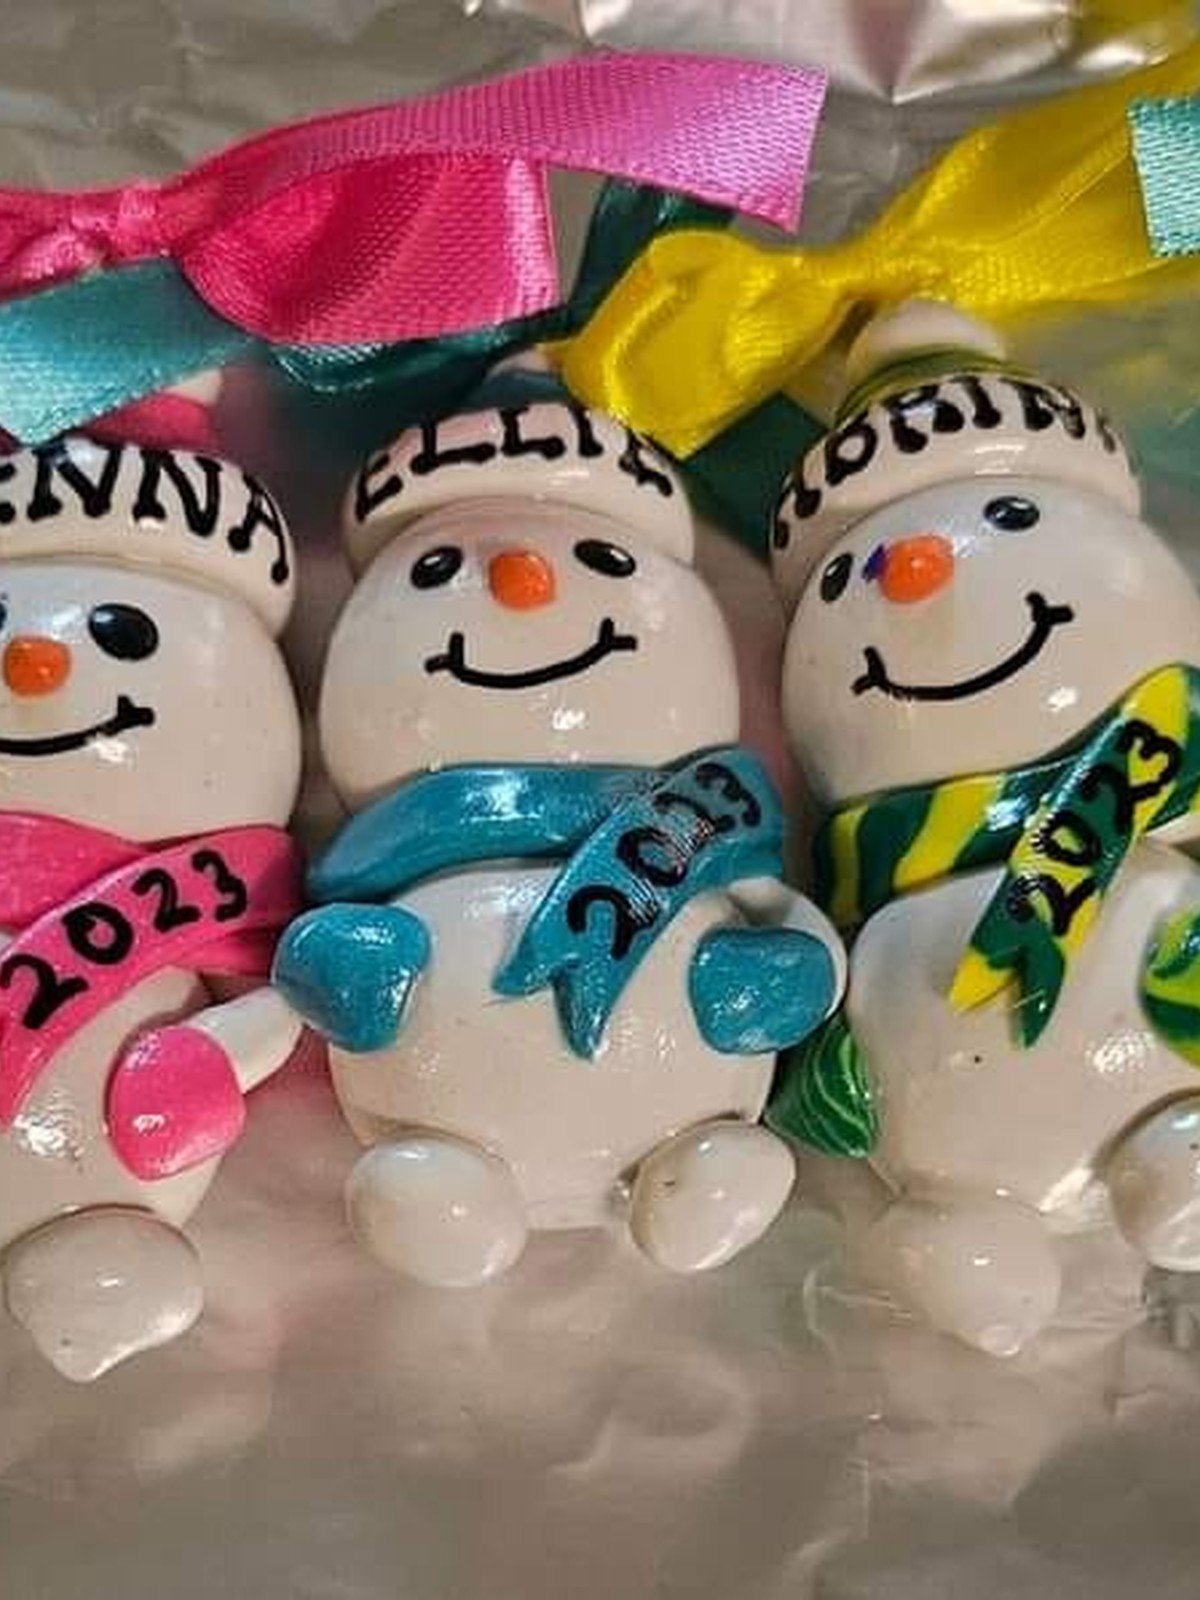
These five mini snowmen show the same design repeated with tiny changes, which is a relaxing way to build skill. Small ornaments like these fill gaps on the tree, tuck into advent calendars and tie onto wrapped presents as reusable gift tags.
You’ll need: white polymer clay, fine brush, ribbon or cord, gloss glaze (optional)
Best for: tiny tree trims and advent calendar pockets
12. Snowman Among Christmas Clay Decorations
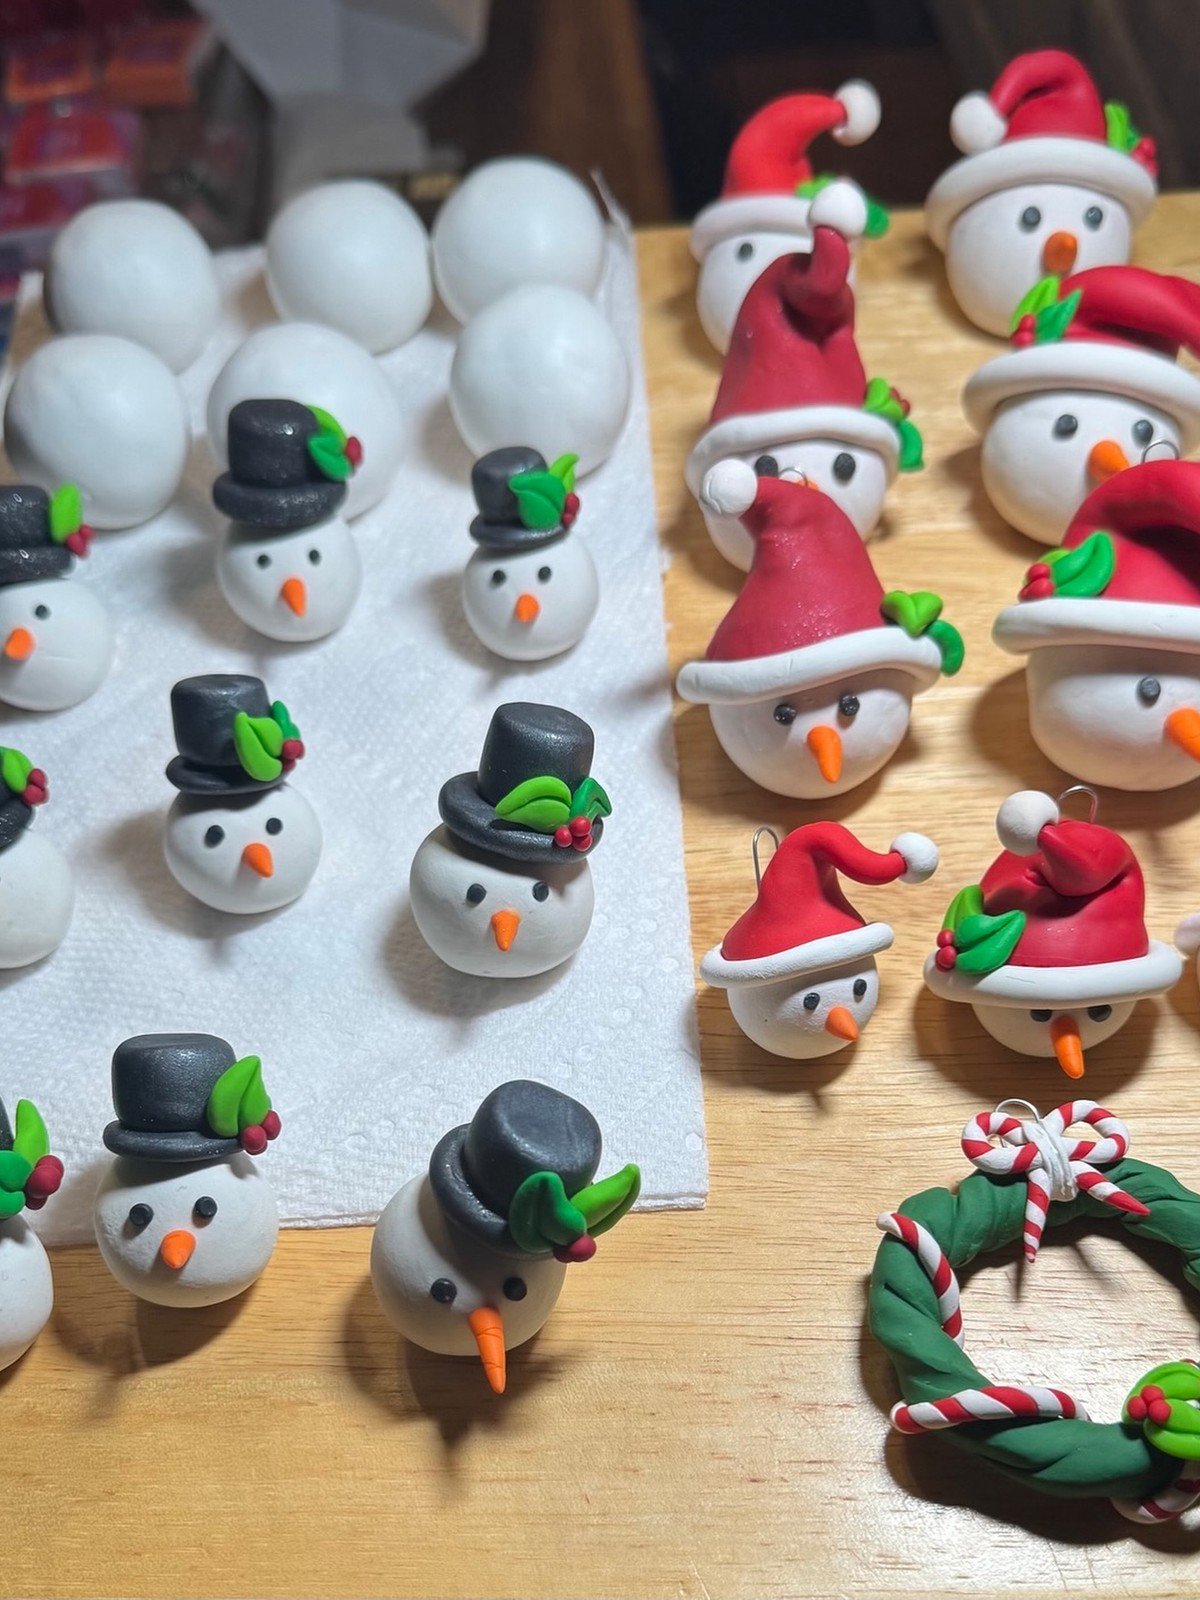
Laying a snowman among trees, reindeer and other clay decorations is a good reminder to think in sets. One shared color palette across different characters makes a handmade collection look planned rather than random, and it photographs beautifully for a craft stall or gift photo.
You’ll need: white, red, green and brown polymer clay, eye pins or ribbon
Best for: pairing snowmen with other Christmas characters
13. Snowman Head Decorations in a Grid

Twenty four snowman heads in neat rows show what happens when one simple design gets repeated with care. Heads alone are quicker than full bodies, and the grid makes a satisfying before baking photo. Use paint pens after baking for fast, tidy faces on every single one.
Safety note: An adult should always handle the oven step, and polymer clay should only be baked at the temperature printed on its own package. Never use the same trays or tools for food afterwards, and wash hands after handling raw clay.
You’ll need: white polymer clay, round cutter, paint pens, ribbon
Best for: production style making for markets and gifts
Frequently Asked Questions
What is the best polymer clay for snowman ornaments?
Polymer clay is a good pick because it stays soft until you bake it, so beginners can fix mistakes as they go. Sculpey III is soft and easy to condition for small figures, and ultralight clay keeps ornaments from dragging branches down.
How long do I bake polymer clay snowmen?
Bake at the temperature on your clay package, usually around 275°F (130°C), for about 15 minutes per quarter inch of thickness. Use an oven thermometer if you can, and let pieces cool fully before handling.
Can kids make polymer clay snowmen?
Yes. This is one of the best clay projects for kids because the shapes are just balls stacked together. Adults should handle the oven step, and hands should be washed after playing with raw clay.
How do I stop clay ornaments from being too heavy for the tree?
Roll the body thinner than you think, around 3 to 4 mm, and use a light clay like an ultralight formula. A wide flat shape spreads the weight across the branch.
Can I use liquid clay as glue and snow?
Yes, liquid polymer clay works as both. Squeeze a thin layer between the parts before baking for glue, or brush it on after baking for a snowy, glossy finish. It does need to be baked to set.
How should I store clay snowmen between Christmases?
Store them wrapped in tissue inside a sturdy box, away from heat and direct sun. Polymer clay is plastic based, so keep pieces away from other plastics and painted surfaces that they could stick to over time.
Final Thoughts on Polymer Clay Christmas Snowman
A polymer clay snowman is a small project with a long life. One afternoon of rolling balls and adding scarves can stock your tree, your gift wrapping and your earring box all at once.
Start with the classic figurine, then batch bake a tray of ornaments while the oven is on. By next Christmas you will be glad you made extras.