

This post may contain affiliate links. Please read my disclosure policy.
In This Article Show
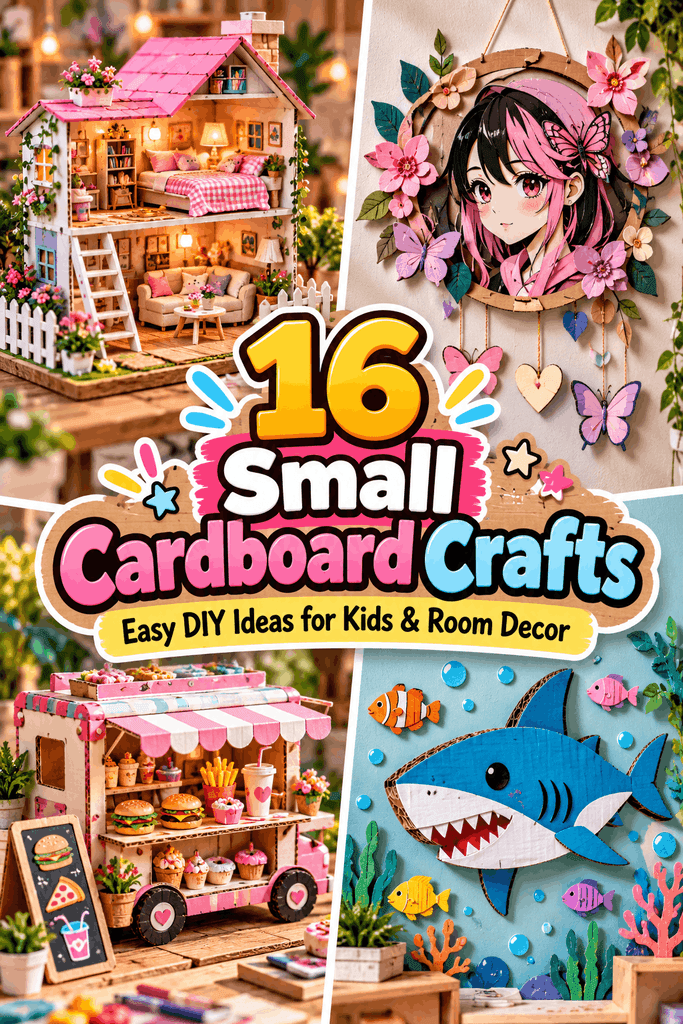
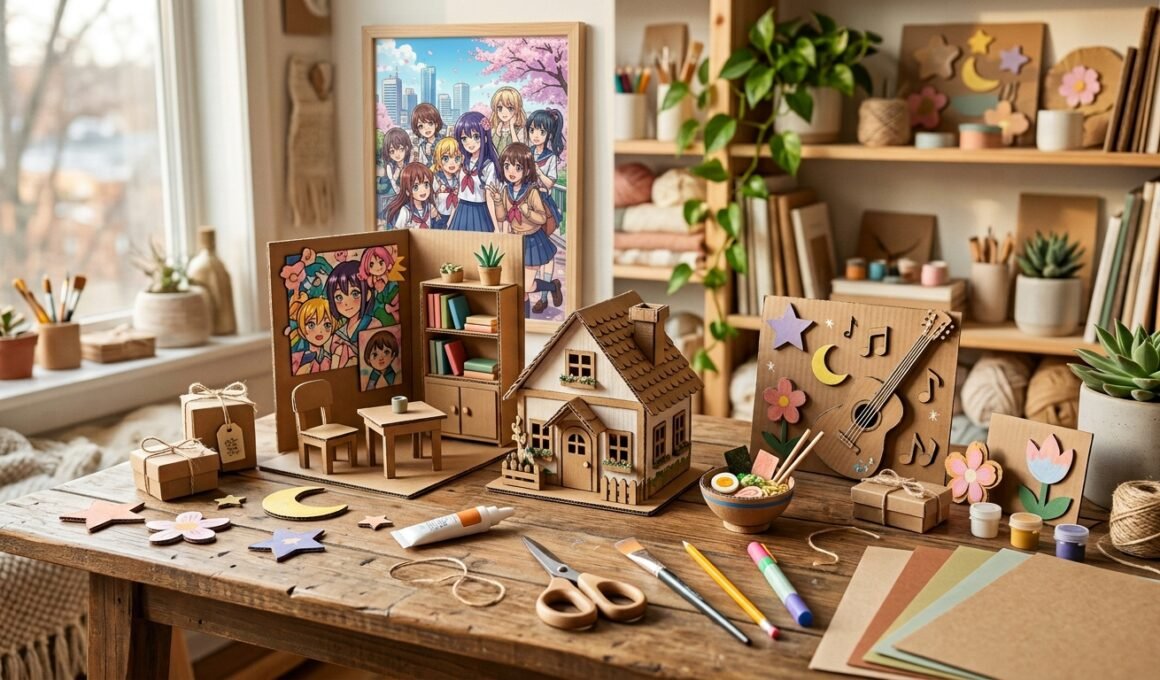
A small piece of cardboard can become something surprisingly special. One minute it is part of an old box. The next, it becomes a tiny house, a cute gift box, a wall decoration, or a miniature room. That simple transformation is what makes small cardboard crafts so enjoyable. You do not need expensive supplies. A few cardboard scraps, glue, paint, scissors, and a pencil can take you a long way. Kids can enjoy simple projects, while teens can create Aesthetic Room decor, Anime-inspired artwork, music displays, and handmade gifts. The ideas below keep the process practical, creative, and fun.
1. Easy Mini Cardboard House
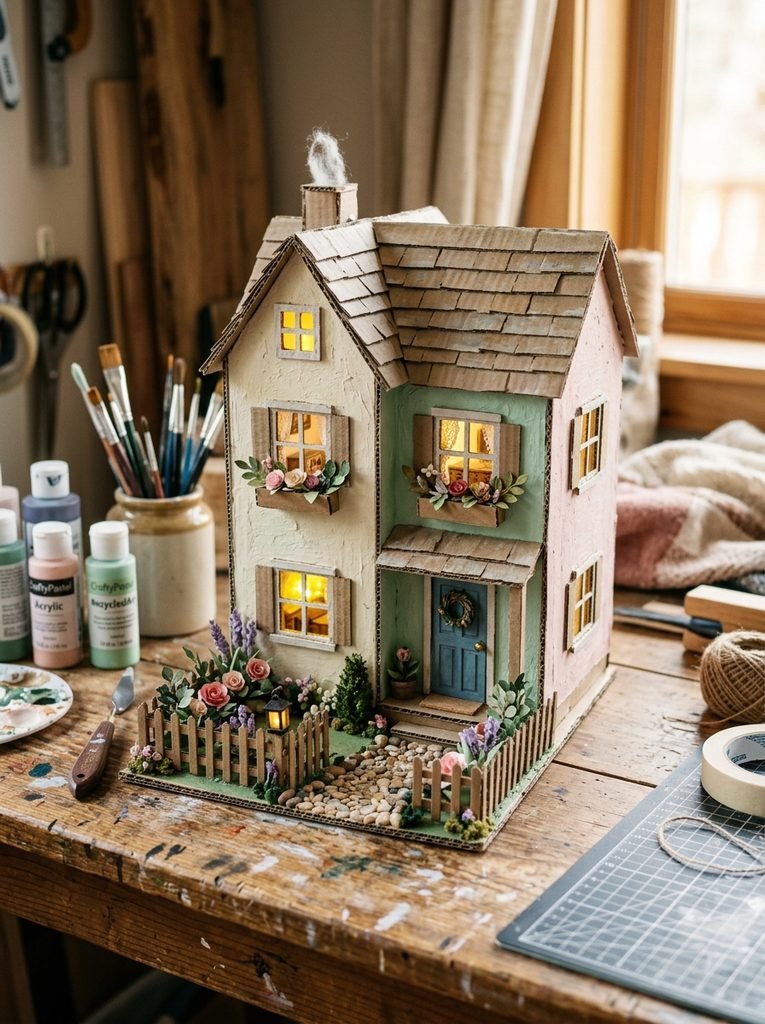
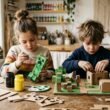
Start with a simple house shape. Cut two side walls, a front panel, a back panel, and two roof pieces. Join them with glue and reinforce the corners with thin cardboard strips. Once the structure feels strong, add windows, a door, tiny plants, and a painted roof. Kids can keep the design simple, while older crafters can create an entire neighborhood. Try pastel walls for a soft look or bold colors for a playful display. A few tiny details can make the house feel surprisingly realistic.
2. Cute Cardboard Gift Box
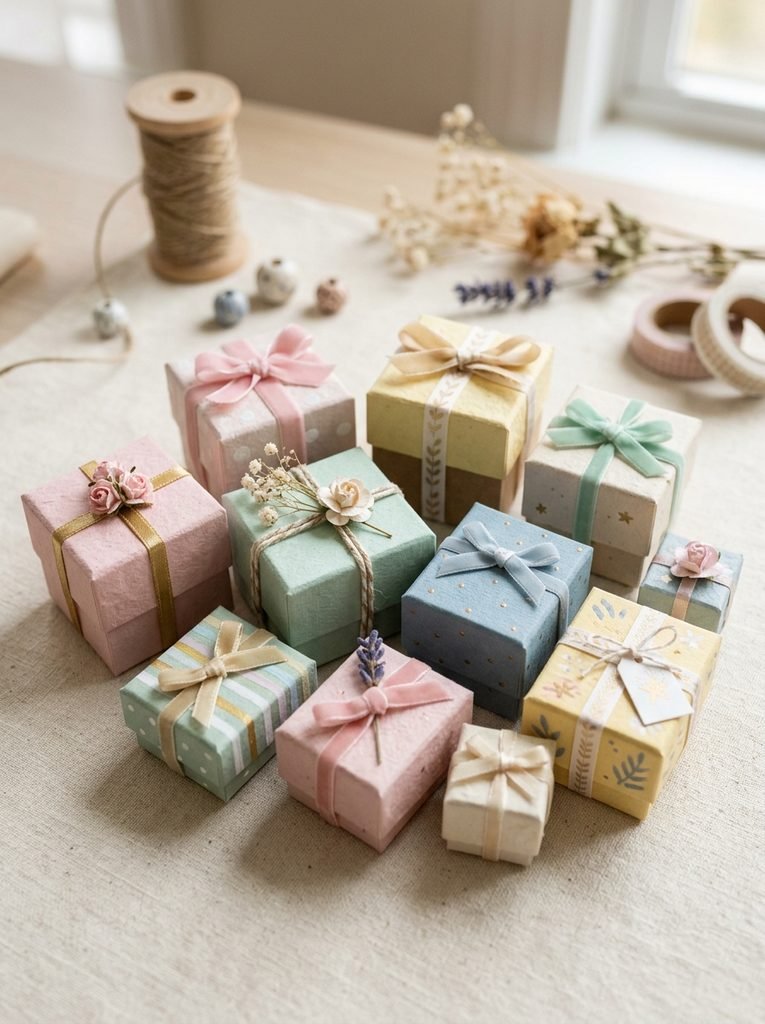
A tiny gift box makes a simple project with a useful result. Measure a small square, score the folding lines, and cut the corners carefully. Fold the sides upward and secure them with glue. Finish it with paper, ribbon, a tiny bow, or a hand-painted pattern. You can make several boxes in different sizes. They work beautifully as Gifts for dolls, miniature room displays, birthday decorations, or Christmas scenes.
3. Aesthetic Cardboard Wall Decor
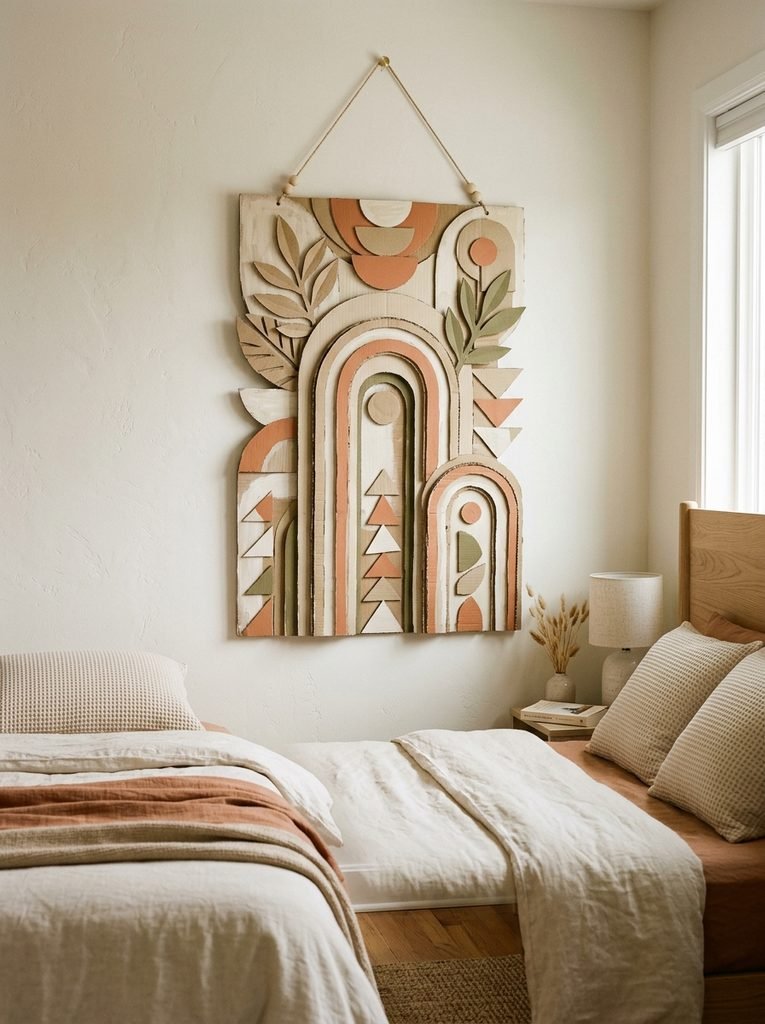
Turn a flat cardboard piece into attractive wall art. Cut circles, arches, stars, leaves, or geometric shapes and layer them to create depth. Paint the pieces in cream, beige, terracotta, soft pink, or muted green for an Aesthetic look. This project works well in a bedroom, study corner, or creative workspace. Add string to the back and you have an inexpensive hanging decoration that feels personal rather than mass-produced.
4. Mini Doll Room
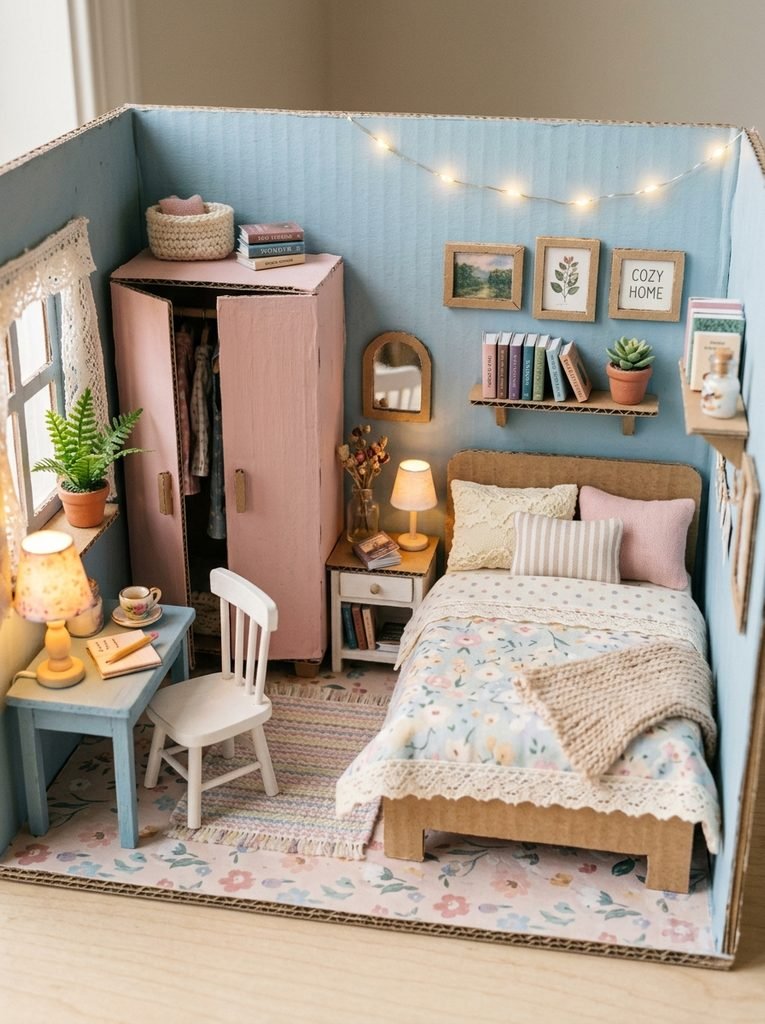
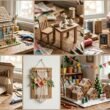
A cardboard box can become a complete little bedroom for a doll. Use one large piece as the floor and smaller pieces for walls. Add a miniature bed, wardrobe, chair, table, picture frames, and tiny storage boxes. Fabric scraps can become curtains or blankets. Paper can become wallpaper. Small cardboard rectangles can become books or picture frames. Let the room tell a story. Maybe the doll loves music, painting, reading, or fashion.
5. Anime-Inspired Cardboard Wall Art
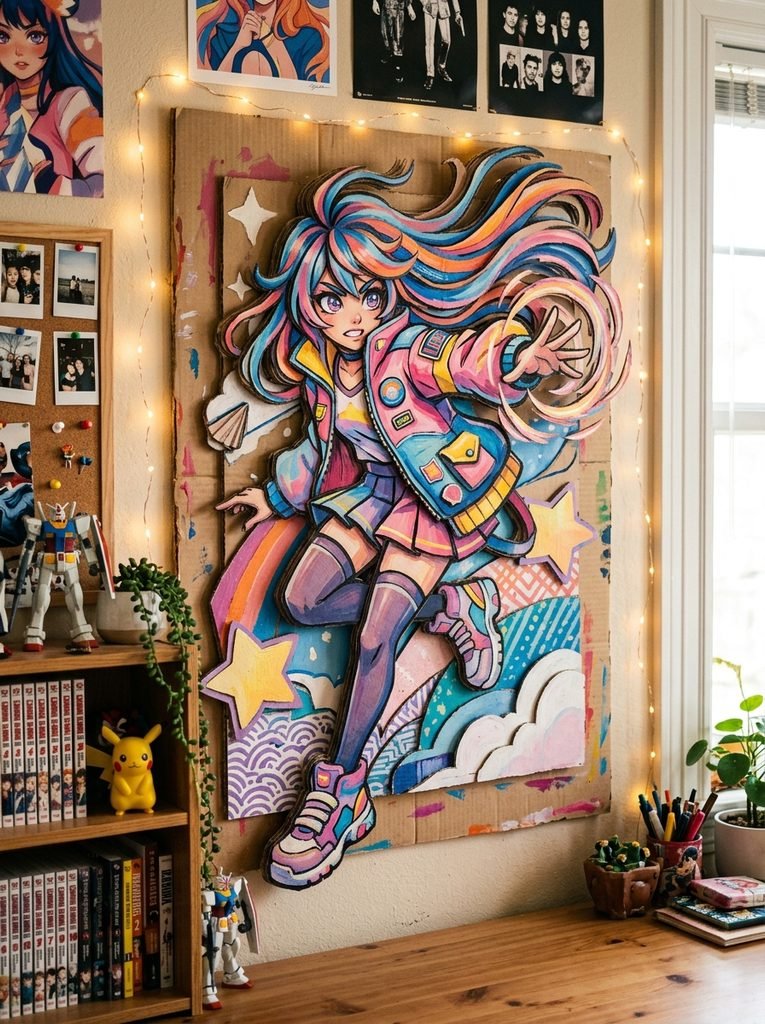
Anime-inspired artwork can add personality to a teen room. Instead of copying an existing character, design an original character with expressive eyes, dramatic hair, a colorful outfit, and a strong pose. Layer several cardboard pieces behind the drawing to create a raised 3D effect. Paint the background first, then add the character and smaller decorative elements. This technique gives flat cardboard a much more interesting appearance.
6. Halloween Cardboard Monster
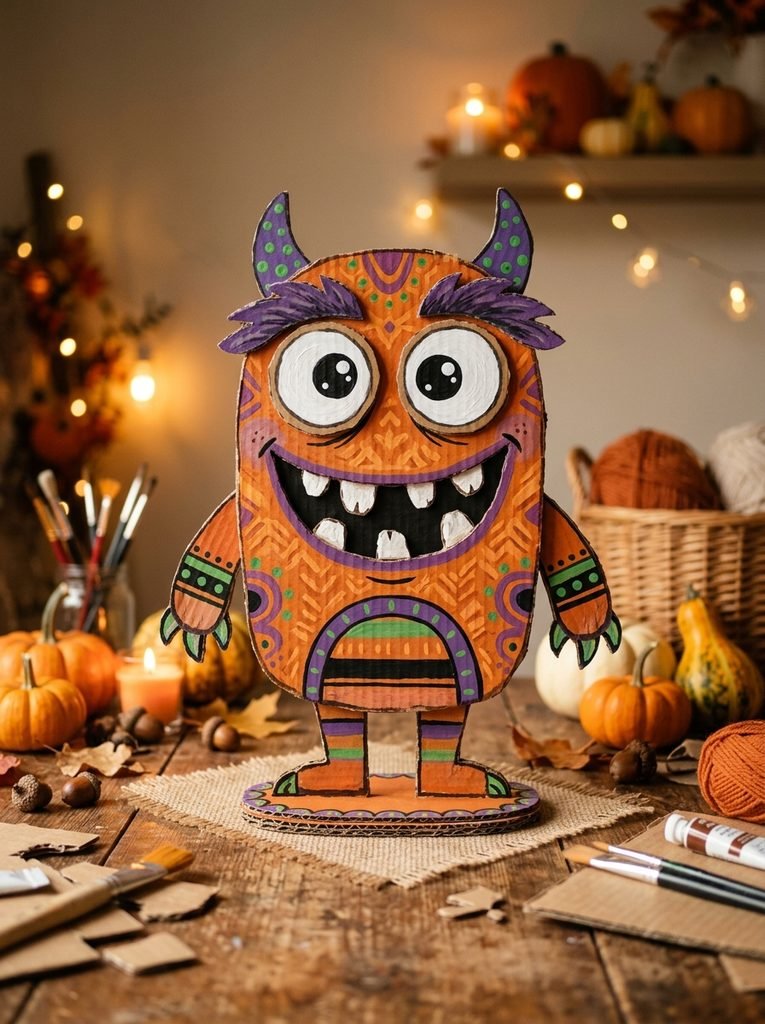
Halloween gives cardboard a chance to become spooky and playful. Cut a monster face from thick cardboard and add large eyes, funny teeth, horns, ears, or exaggerated eyebrows. Paint it orange, black, purple, green, or any combination you enjoy. For younger kids, keep the monster friendly. Older children can create a more dramatic design for a bedroom or Halloween party decoration. Add a string to the back and hang it on a wall or door.
7. Mini Cardboard Food Stand
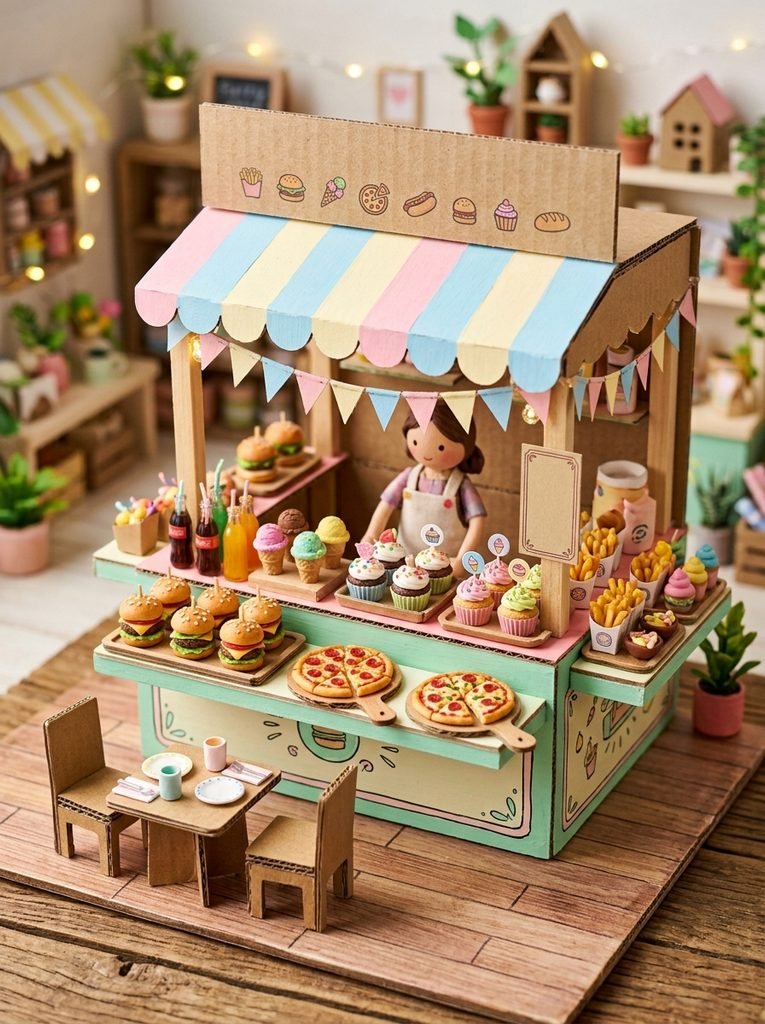
Food models are perfect for miniature scenes. Create tiny burgers, pizza slices, cupcakes, fries, ice cream cones, or drinks from cardboard and colored paper. Then build a small counter around them. You can turn the counter into a bakery, café, burger shop, or dessert stand. Add a striped awning and a few tiny tables to make the scene feel complete.
8. Music-Themed Cardboard Display
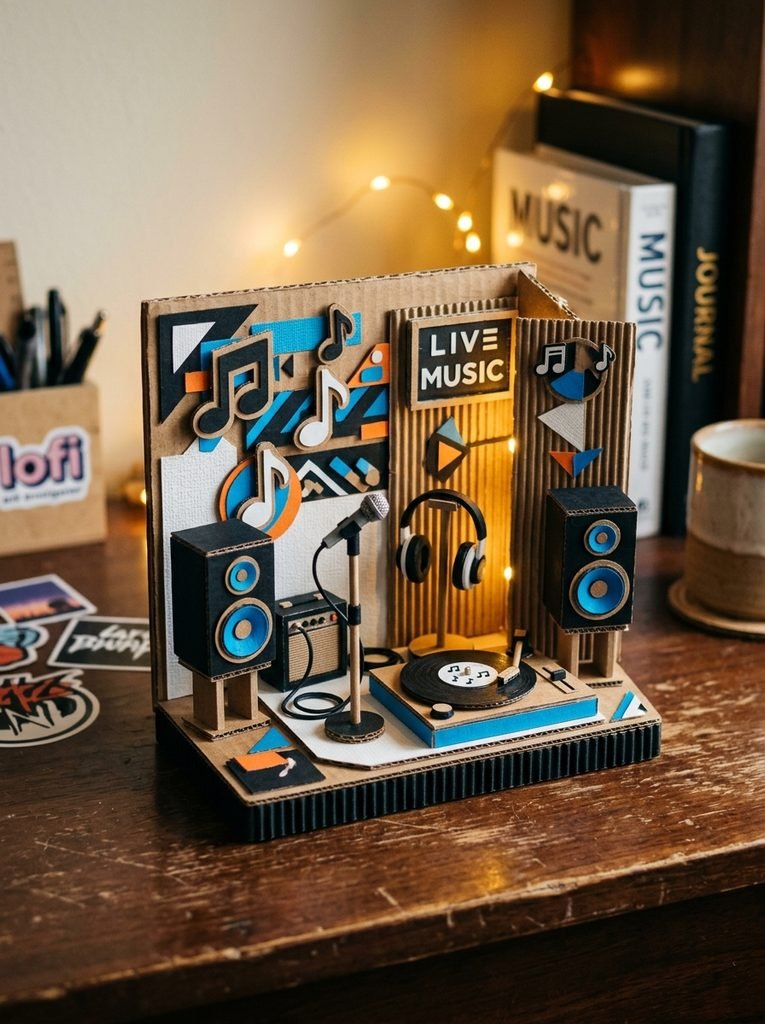
Music fans can turn cardboard into a small display inspired by their favorite hobby. Make miniature speakers, headphones, a microphone, music notes, a tiny stage, or a record-player-inspired decoration. Paint the pieces black, white, silver, or bold colors. Place everything on a small cardboard platform and create a miniature music corner for a desk or shelf.
9. Simple Cardboard Table
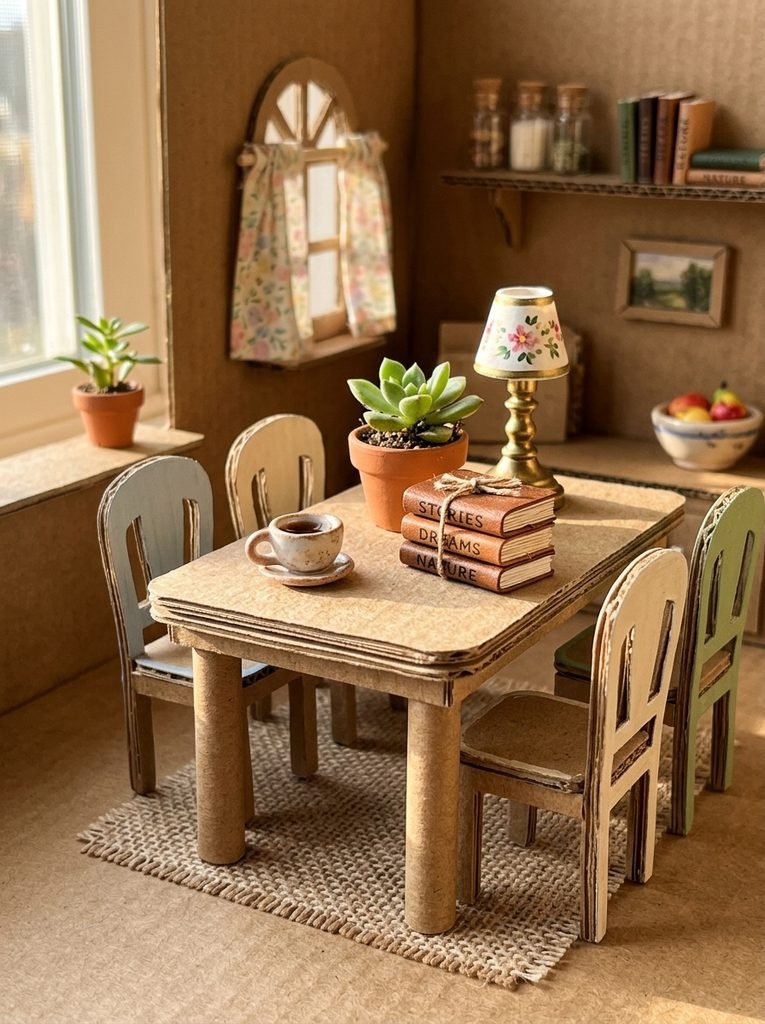
A miniature table is one of the easiest useful projects to build. Cut one rectangle for the top and four narrow pieces for the legs. Reinforce the joints with small cardboard strips so the table stays stable. Paint it to match a doll room, miniature house, or food scene. Add tiny books, cups, plants, or a small lamp to make it feel lived in.
10. Shark Cardboard Wall Art
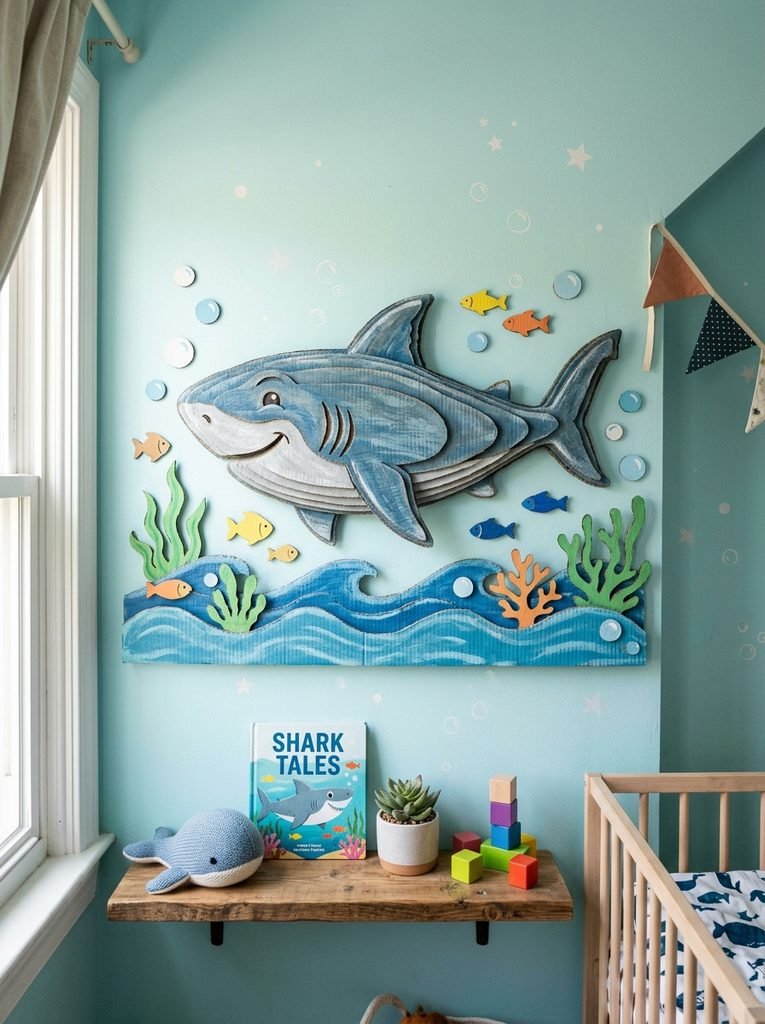
A shark can make an exciting project for kids who love animals and ocean themes. Draw a simple shark silhouette on cardboard and cut it carefully. Layer a second piece underneath to give the body more depth. Paint the shark blue, gray, or a fun fantasy color. Add an ocean background with waves, bubbles, fish, and sea plants. The finished piece can become a playful wall decoration for a child’s room.
11. Mini Room Decoration
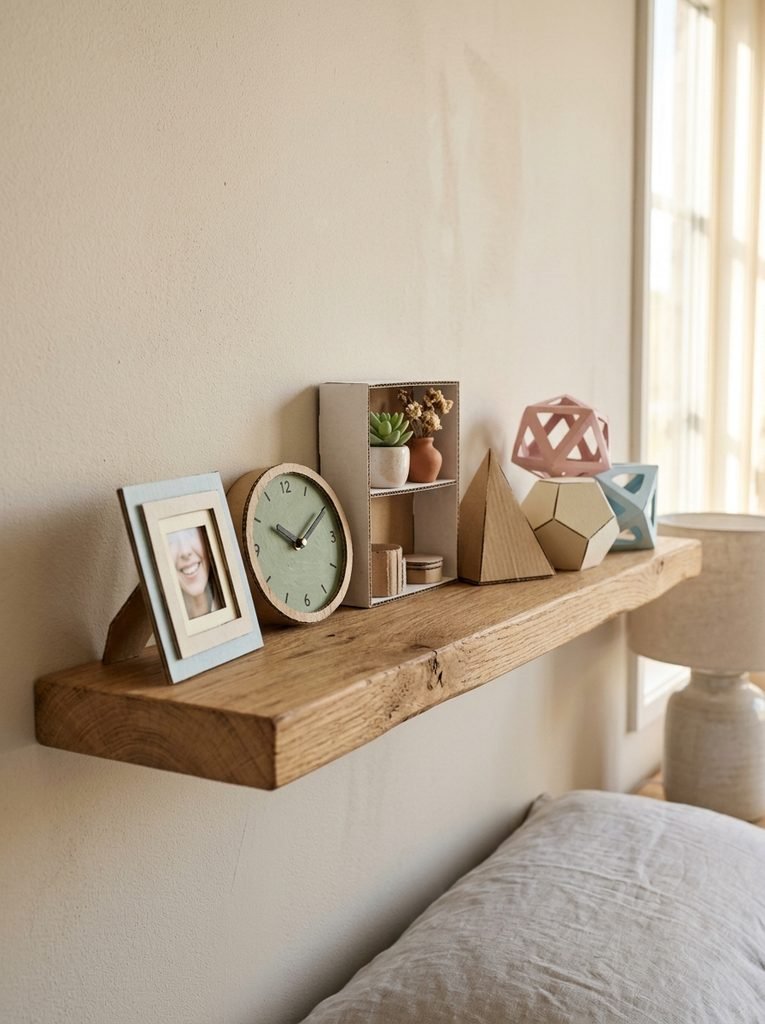
Small cardboard pieces can become practical Room decorations. Try making a miniature mirror frame, photo frame, shelf, plant pot cover, clock face, or decorative sign. Choose one color family to keep everything connected. Soft neutrals create a calm look, while brighter colors work well for kids and teens. A few matching pieces can make a shelf or desk look thoughtfully styled.
12. Cardboard House for Pretend Play
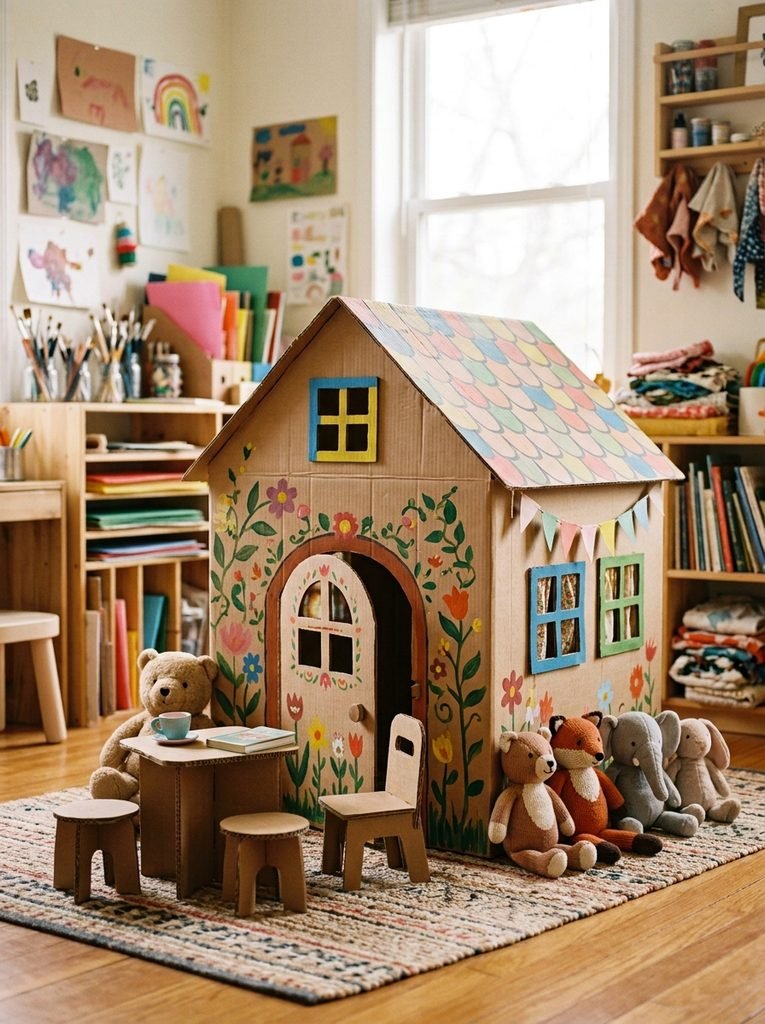
Build a little cardboard house that children can use for pretend play. It does not need complicated furniture. Add a door, windows, roof, and a few painted details. Once the house stands, the child can decide what happens inside. It might become a family home, animal shelter, shop, school, or magical castle. Pretend play gives children space to create characters and stories around the objects they make. The AAP highlights pretend play as a way children can exercise imagination and develop social and language skills.
13. Painted Cardboard Drawing Board
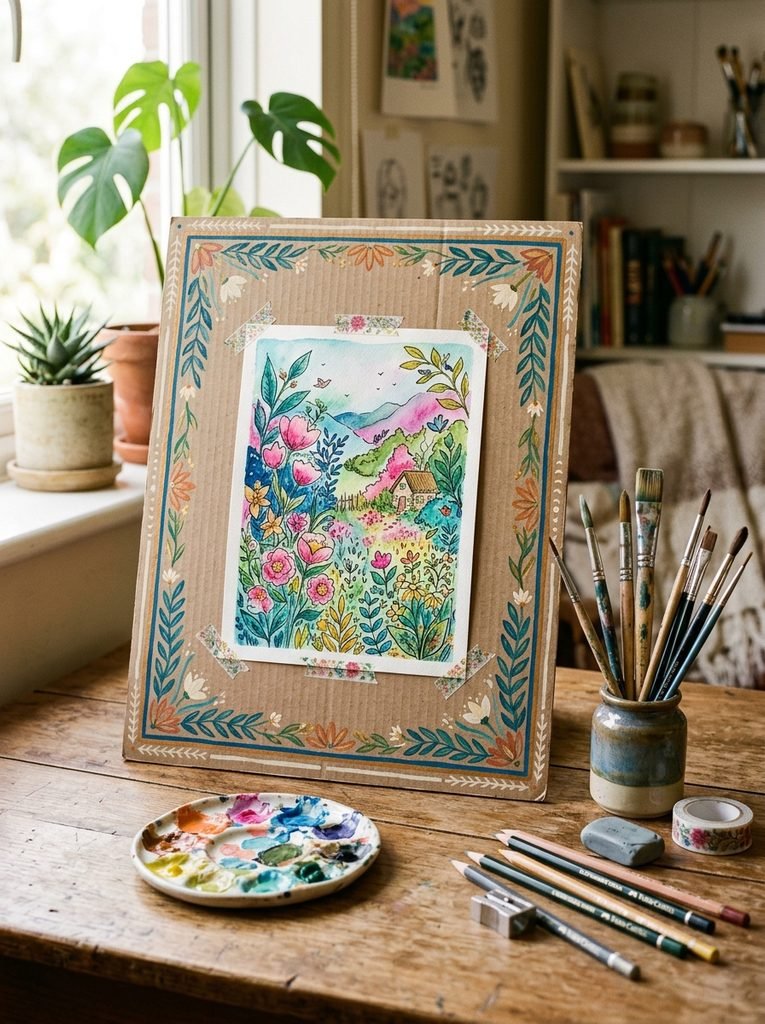
Turn a thick cardboard rectangle into a small drawing board. Paint the front with a solid background color and decorate the border with patterns, stars, leaves, or simple shapes. Kids can use it for small drawings, while teens can create an Anime-inspired art display or a mood-board style decoration. You can even make several boards and arrange them together on a wall.
14. Mini Halloween House
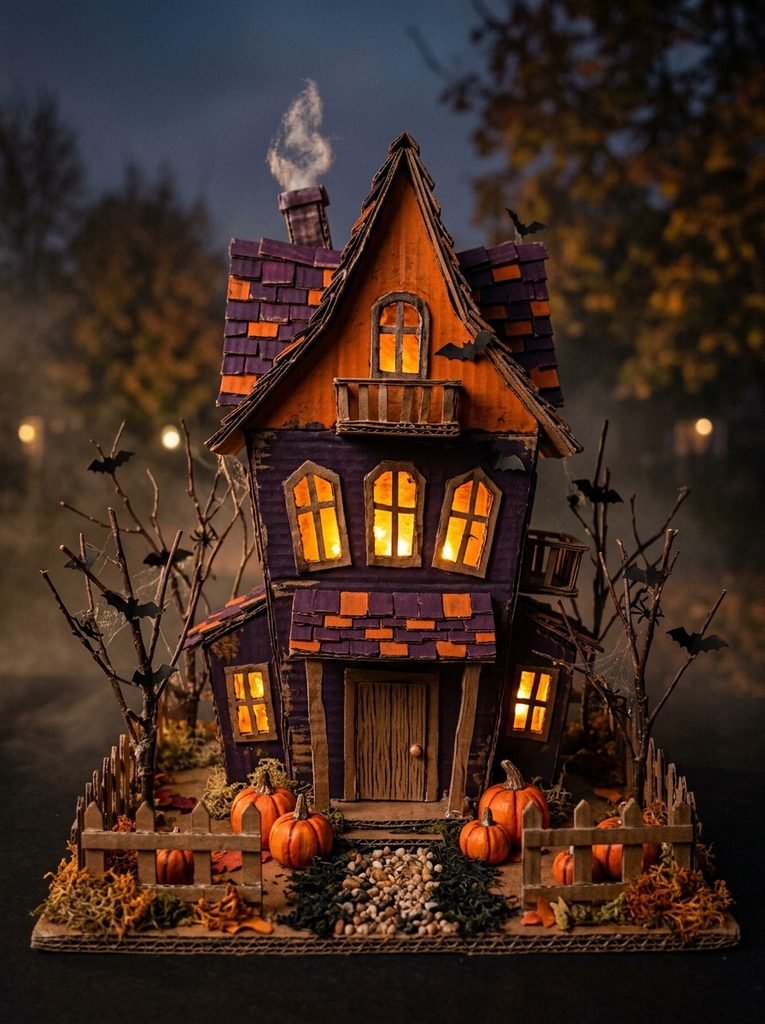
Create a tiny haunted house from cardboard for Halloween. Use uneven roof lines, small windows, a crooked door, and simple cutout shapes to create character. Paint it dark purple, charcoal, orange, or black. Add paper bats, tiny pumpkins, a fence, and a few spooky trees around the base. Keep the details playful rather than frightening if younger children will make the project.
15. Small Cardboard Wall Hanging
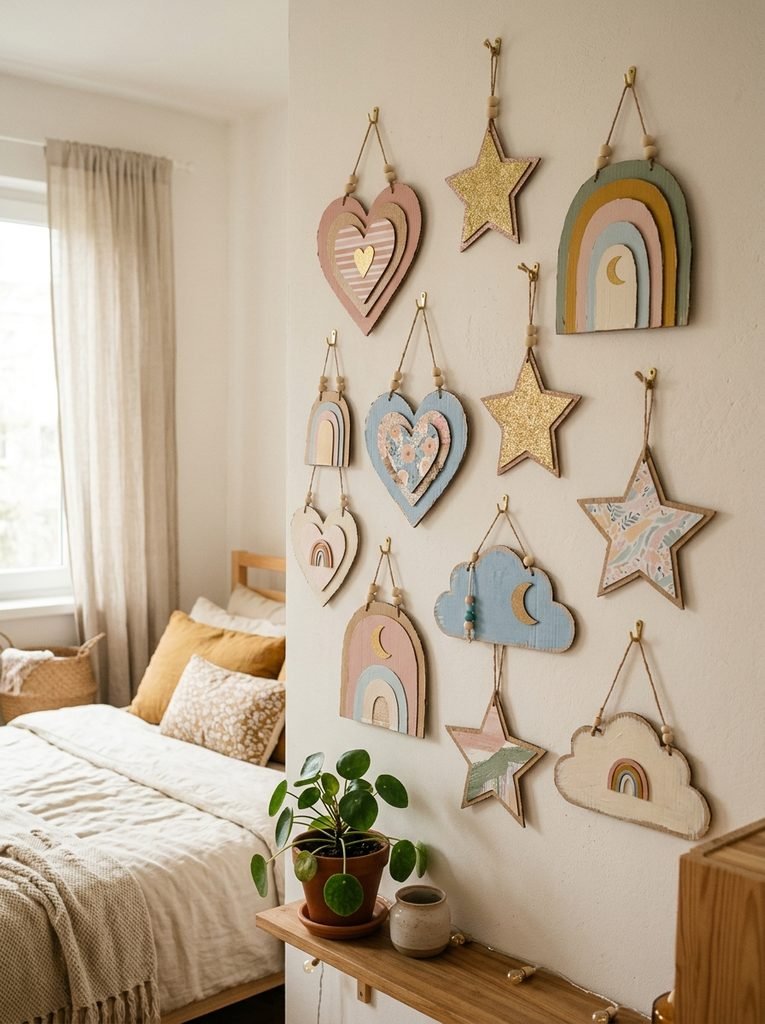
For a quick decoration, cut cardboard into a circle, arch, heart, star, or cloud. Paint the surface and add layered pieces for dimension. Attach a piece of string to the back and hang it on a wall. You can make one large design or several small pieces that form a gallery. This idea also works well as a handmade gift because you can personalize the shape, colors, and decorations.
16. Mini Cardboard Gift Display
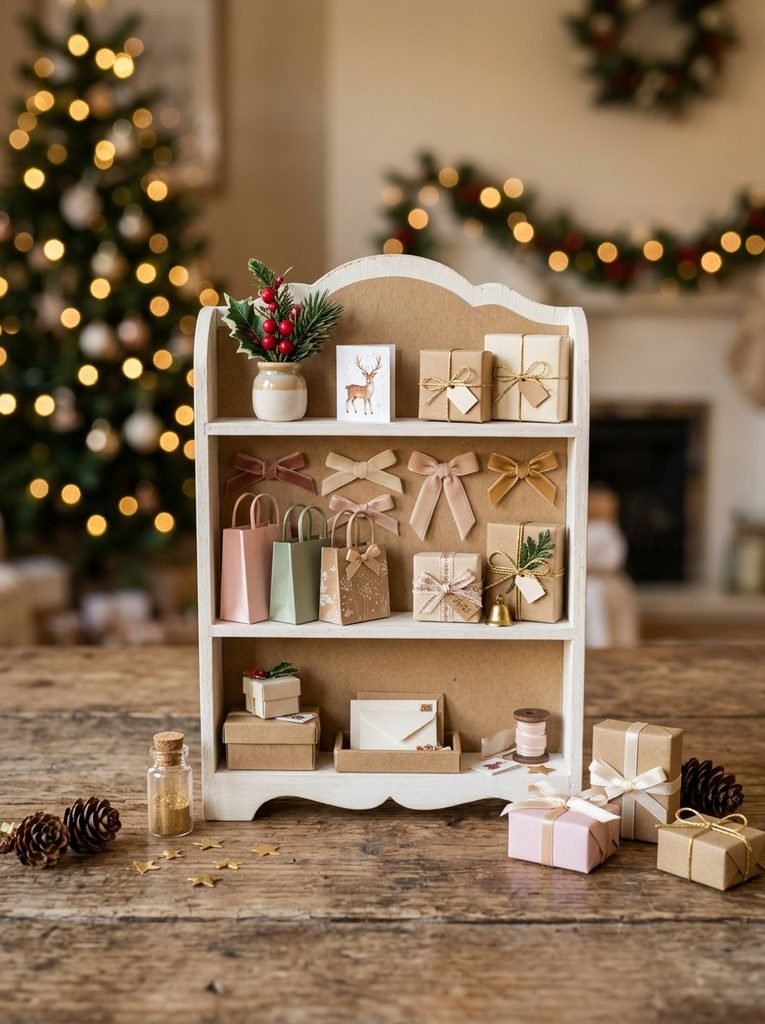
End the project collection with a tiny gift display. Create small boxes, bags, bows, cards, and decorative packages from leftover cardboard and paper. Arrange them on a miniature shelf or table beside a tiny plant or Christmas tree. This project works throughout the year. Change the colors for birthdays, Christmas, Halloween, or special occasions. It is also a clever way to use the small cardboard pieces left over from larger projects.
Let One Cardboard Idea Lead to Another
One small project rarely stays alone. A tiny house can lead to a doll room. The room can need a table. The table needs a lamp. Then you may want a wall hanging, a gift box, or a little food shop to complete the scene. That is the real charm of small cardboard crafts. You do not need perfect materials or advanced skills. Start with one piece of cardboard and one simple idea. Draw it. Cut it. Test it. Change it if needed. NAEYC’s work on making and tinkering emphasizes this cycle of exploring, experimenting, solving problems, and revising. The finished project may sit on a shelf for years, but the creative process can be even more valuable. It teaches patience, planning, imagination, and confidence. Most importantly, it gives you a chance to make something that could not exist until you decided to create it.