

This post may contain affiliate links. Please read my disclosure policy.
In This Article Show
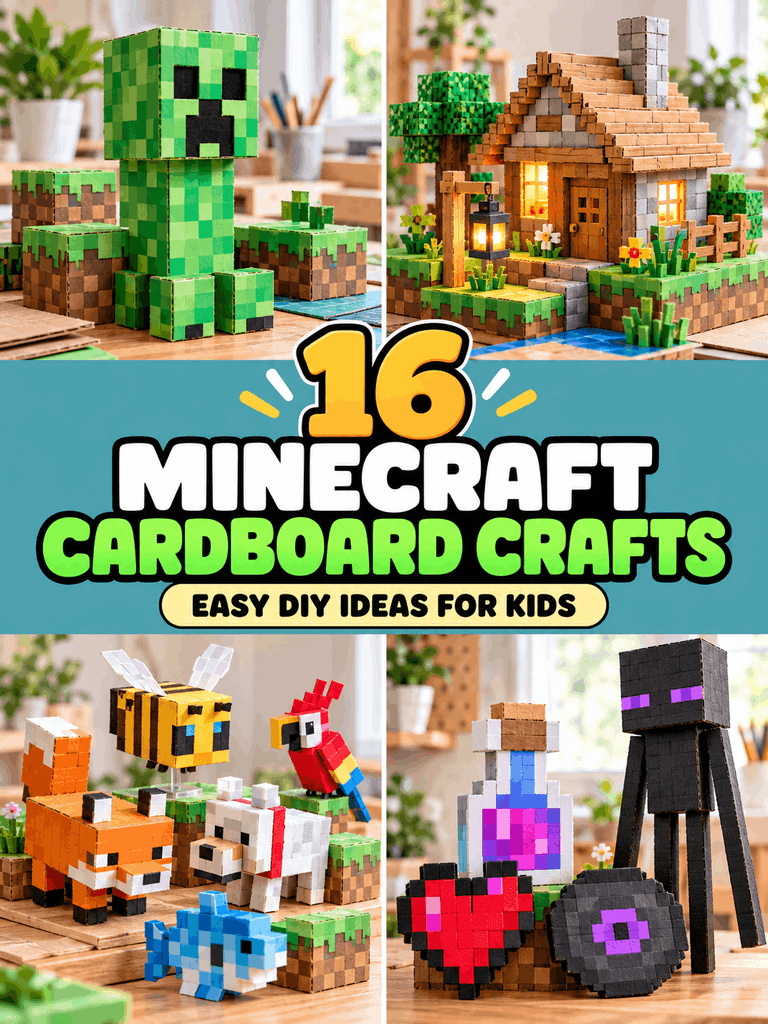
Minecraft makes simple shapes exciting. A square can become a block, a few blocks can become a house, and a strange creature can become a character you want to build. That same feeling works beautifully with cardboard. With a box, paint, glue, and a little imagination, you can bring a blocky game-inspired world into your craft room. Minecraft cardboard crafts are especially fun because the visual style naturally uses squares, rectangles, layers, and simple colors. You can make a Creeper, Enderman, Bee, Fox, Fish, Parrot, Potion, Lantern, music Disc, or even a small 3D scene. Kids can start with easy 2D projects, while older crafters can experiment with templates and larger character builds. Minecraft Education also uses build challenges to encourage creativity, problem-solving, design, collaboration, and storytelling. That makes cardboard building a natural extension of the same creative mindset.
1. Cardboard Creeper Character
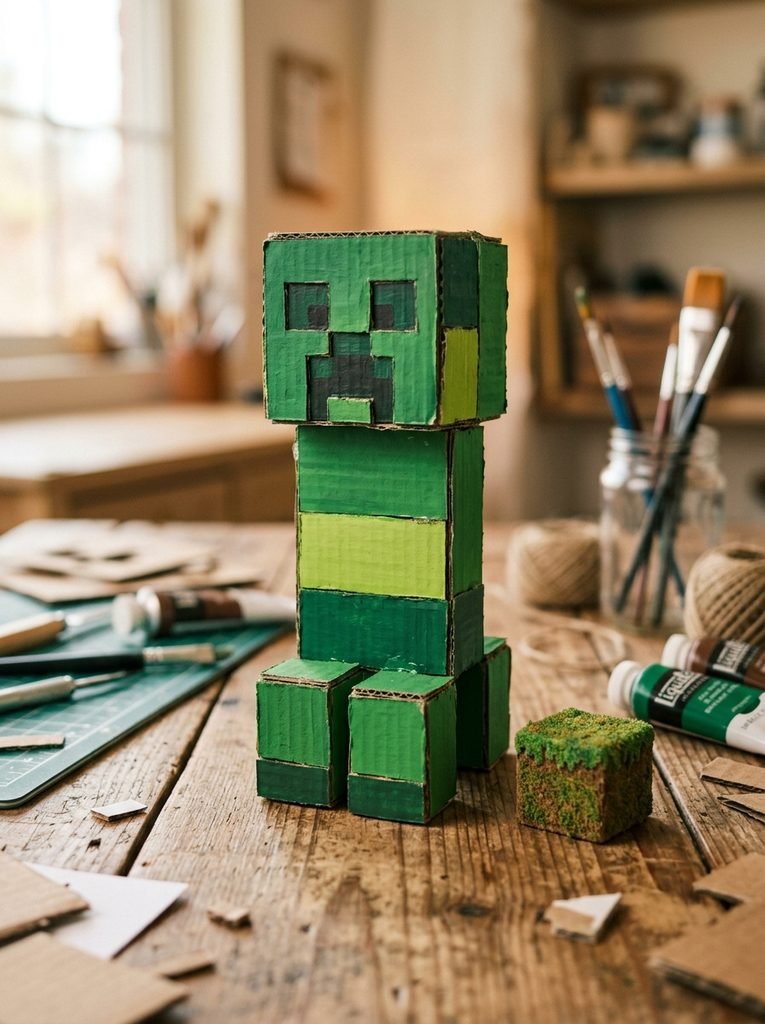
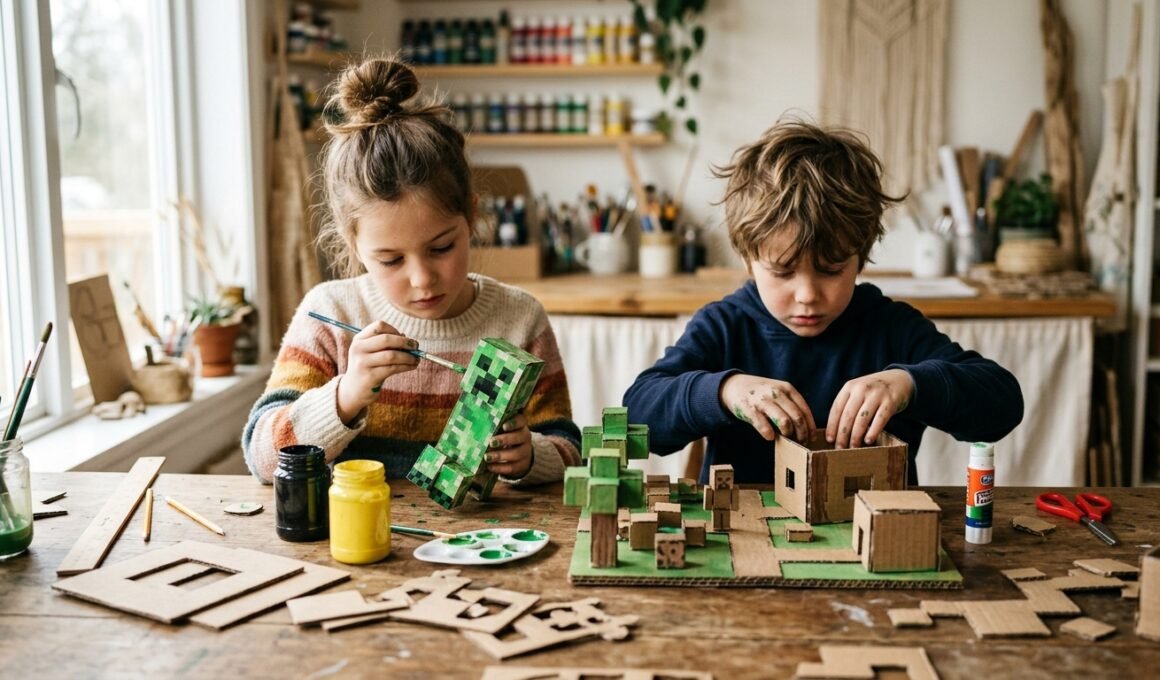
Start with a simple square head and rectangular body. Use green paint in several shades to create the familiar pixel-like pattern, then add dark square eyes and a mouth. Keep the character original rather than trying to reproduce every tiny game detail. For a stronger build, layer two or three pieces of cardboard. This gives the head more depth and makes the finished character stand nicely on a shelf.
2. Enderman Cardboard Figure
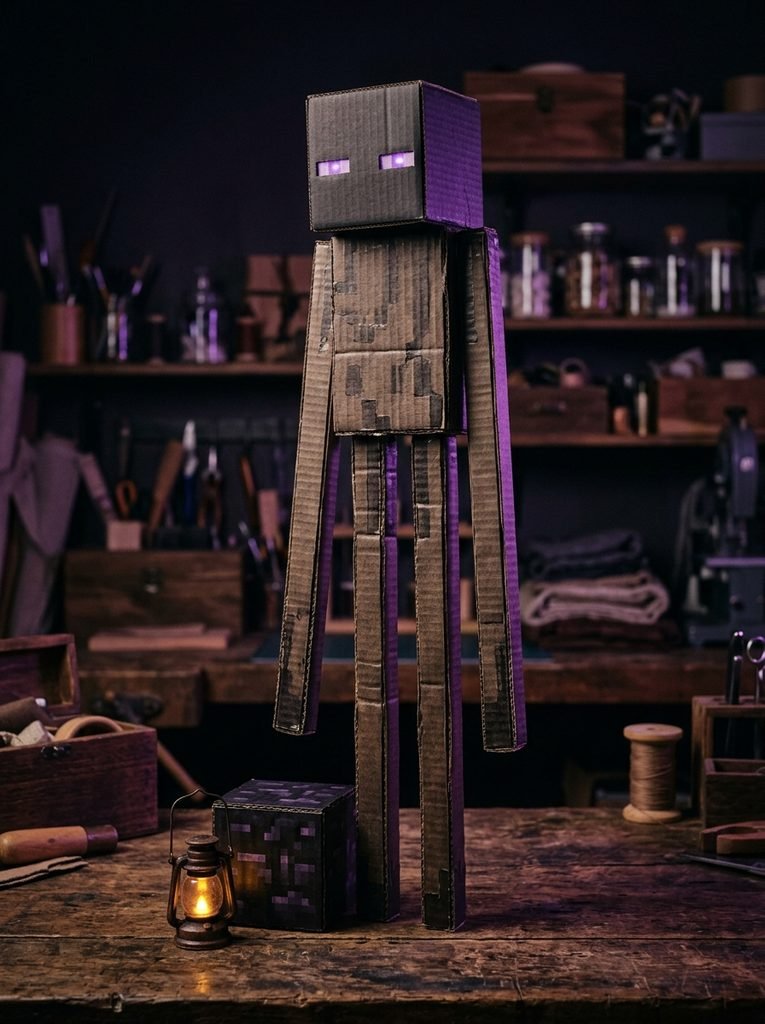
An Enderman-inspired figure works well because its design uses simple shapes. Cut a long rectangular body, thin arms, legs, and a tall square head. Paint everything dark and add subtle purple details around the eyes. Place the figure beside a small cardboard block or glowing paper lantern to create a dramatic display. The tall shape also makes this project fun for teens.
3. 2D Minecraft-Inspired Character Art
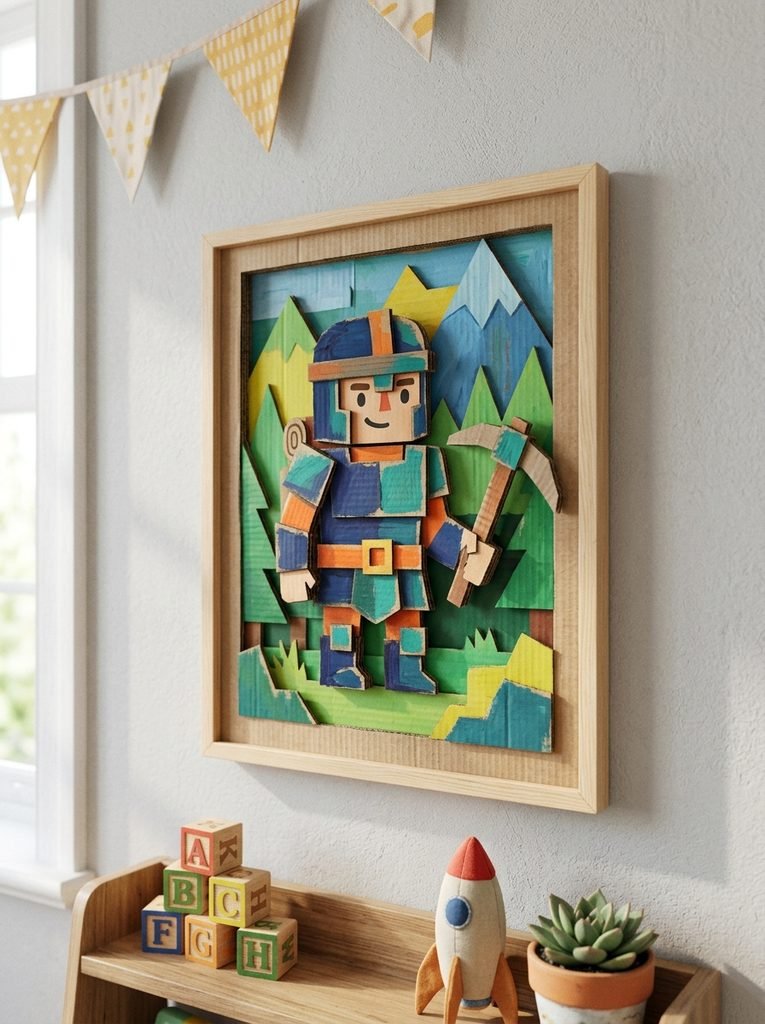
Not every project needs to stand up. A flat cardboard character can become wall art. Draw a blocky character outline, cut it from cardboard, and paint each section separately. Try a character holding a tool, wearing armor, or standing beside an animal. A layered background can make the artwork look almost 3D without requiring a complicated build.
4. Cardboard Bee
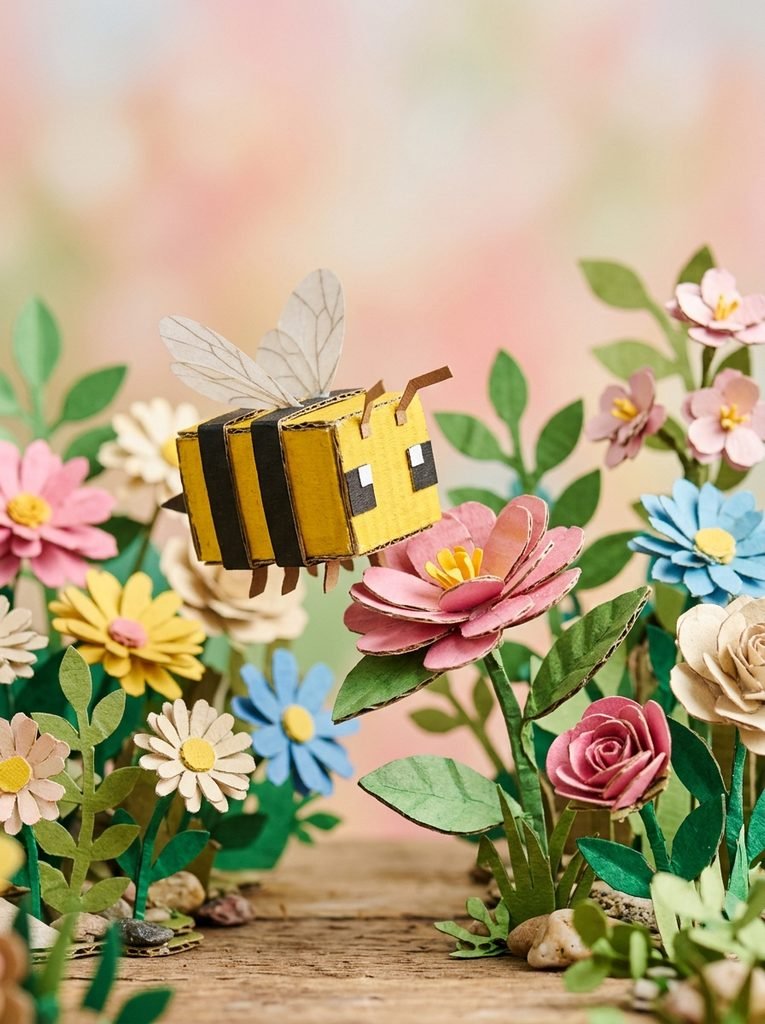
A Bee is an excellent beginner project. Create a yellow rectangular body, black stripes, small wings, and tiny eyes. Use thin cardboard for the wings and thicker cardboard for the body. Add paper flowers around the Bee to create a tiny garden scene. This makes the project more than a character; it becomes a miniature story.
5. Fox Cardboard Animal
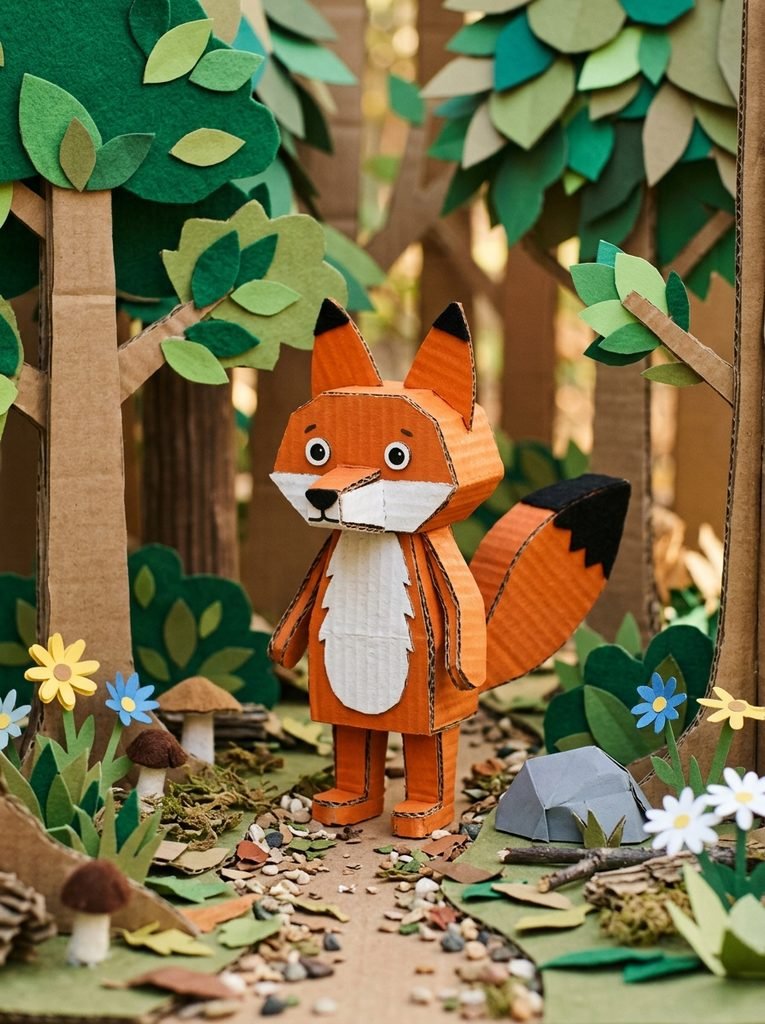
Create a small Fox using orange, white, and black paint. Keep the body made from simple rectangular sections and use folded cardboard for the ears and tail. Kids can build several animals together and create a tiny cardboard forest. Add trees, flowers, rocks, and a small shelter to turn separate projects into one scene.
6. Cardboard Parrot
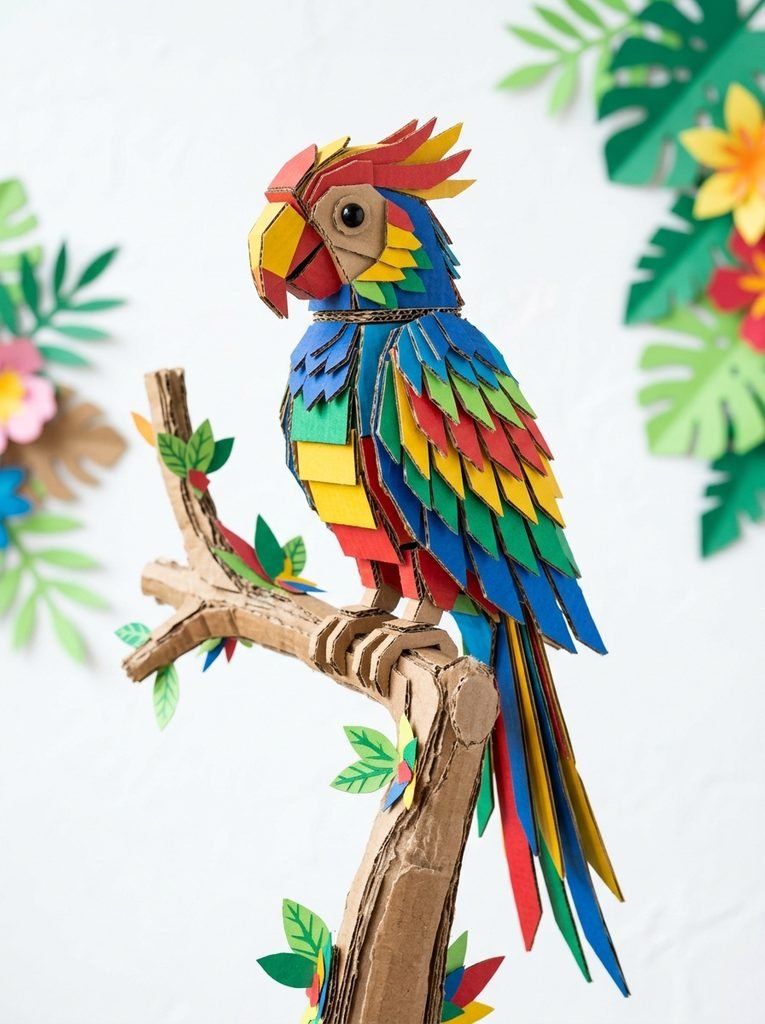
A colorful Parrot can bring more color into the collection. Cut a simple bird shape and layer smaller cardboard pieces for the wings, beak, and tail. Use bright blue, red, yellow, and green paint. Hang the finished bird on a wall or place it beside a miniature tree. Several birds in different colors can create a fun display.
7. Fish Tank Scene
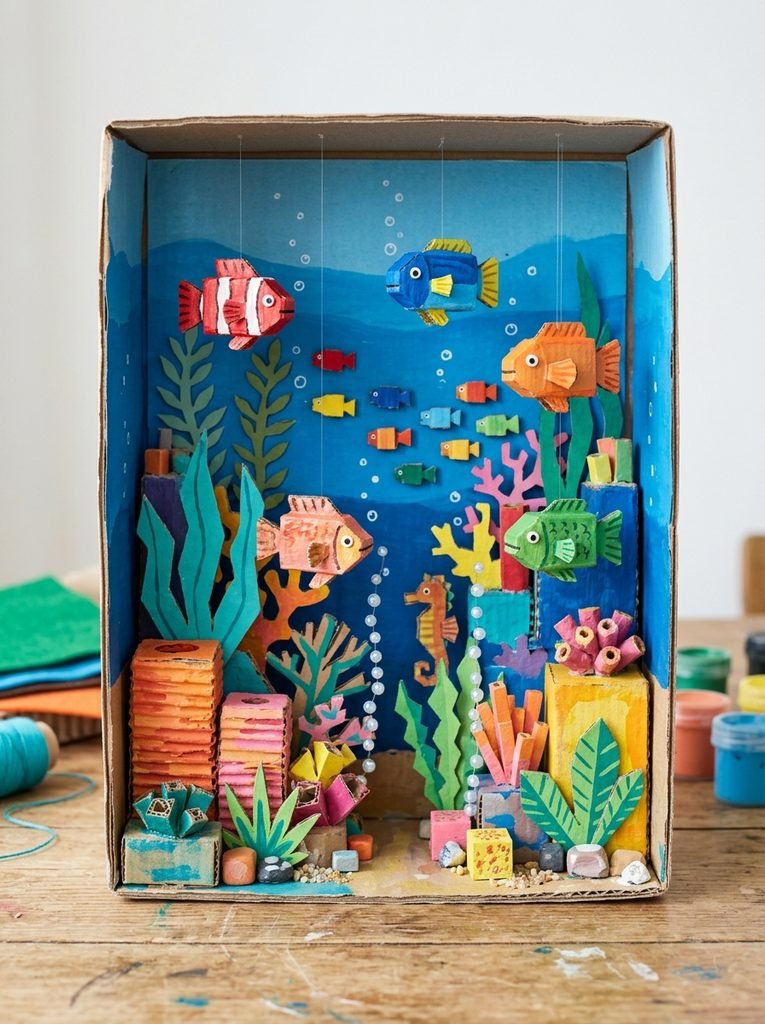
Build a small underwater scene from a shallow cardboard box. Paint the background blue and add layered Fish, bubbles, sea plants, coral, and simple block shapes. This is a great way to introduce depth. Put some pieces close to the background and others farther forward so the scene feels layered.
8. Cardboard Potion Bottle
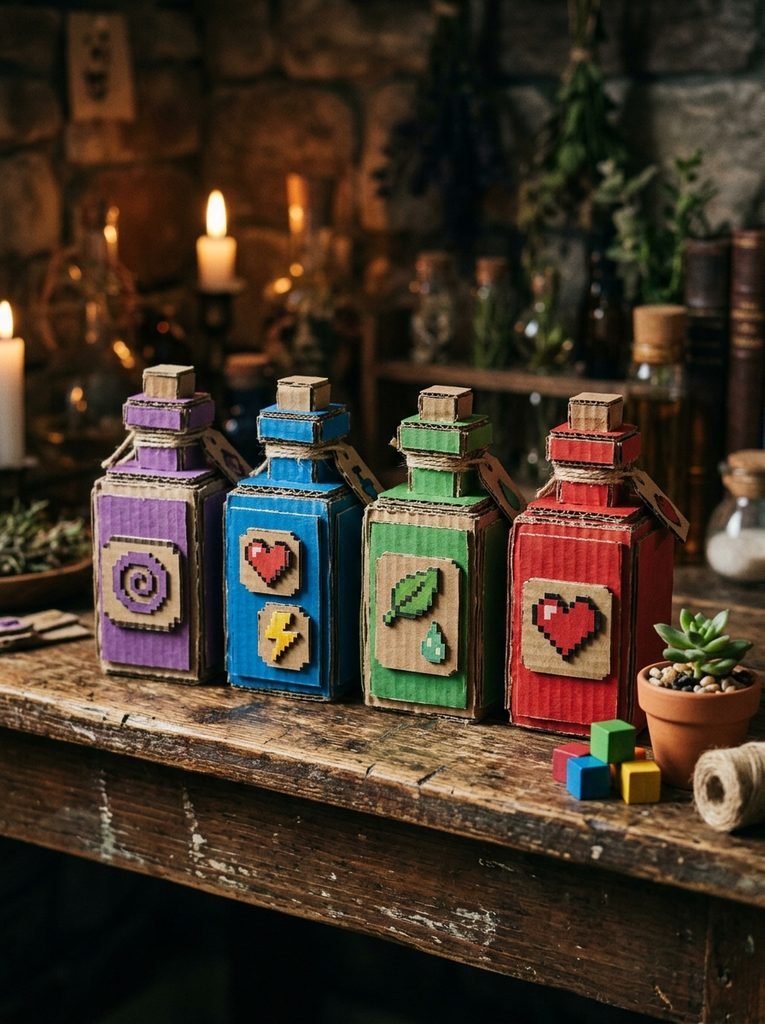
A Potion bottle is a simple project with a strong visual result. Draw a bottle silhouette, cut two matching pieces, and glue a small spacer between them to create thickness. Paint the bottle purple, blue, red, or green. Add a cardboard cap and a small decorative label area. You can make several bottles and arrange them like a tiny fantasy collection.
9. Minecraft-Style Lantern
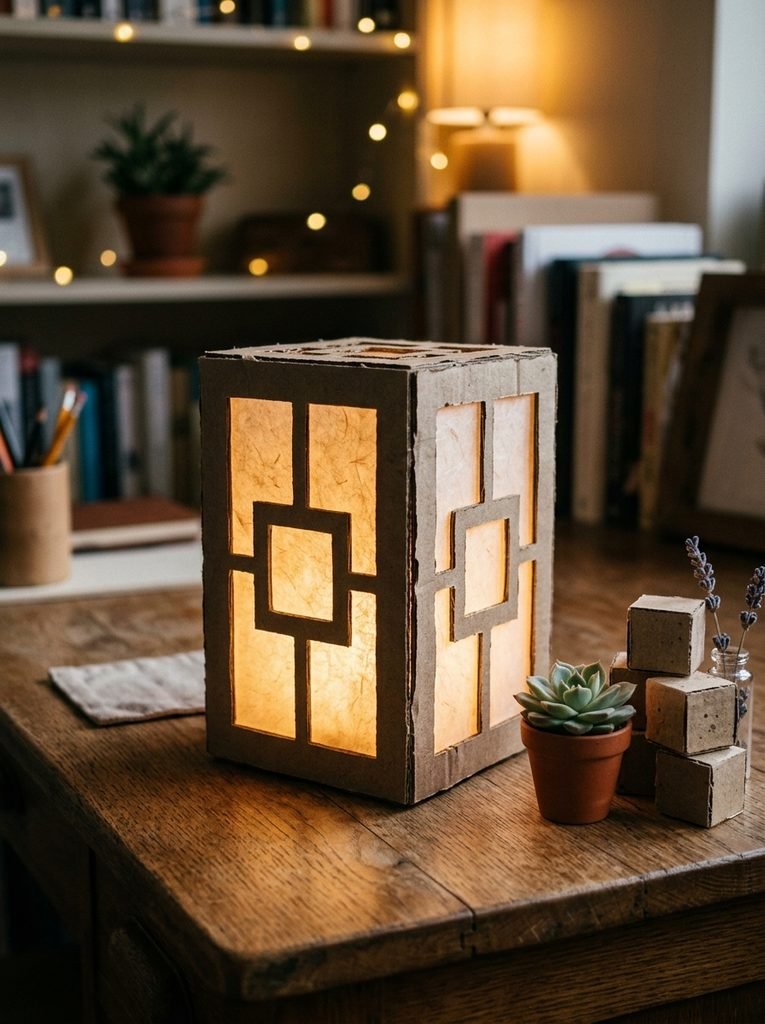
A cardboard Lantern makes a great desk or room decoration. Build a small square frame and cover selected sides with translucent paper so light can glow through the openings. For safety, use a battery-powered LED light rather than a real candle. Add a simple hanging loop at the top and place the finished lantern on a shelf or desk.
10. Cardboard Music Disc
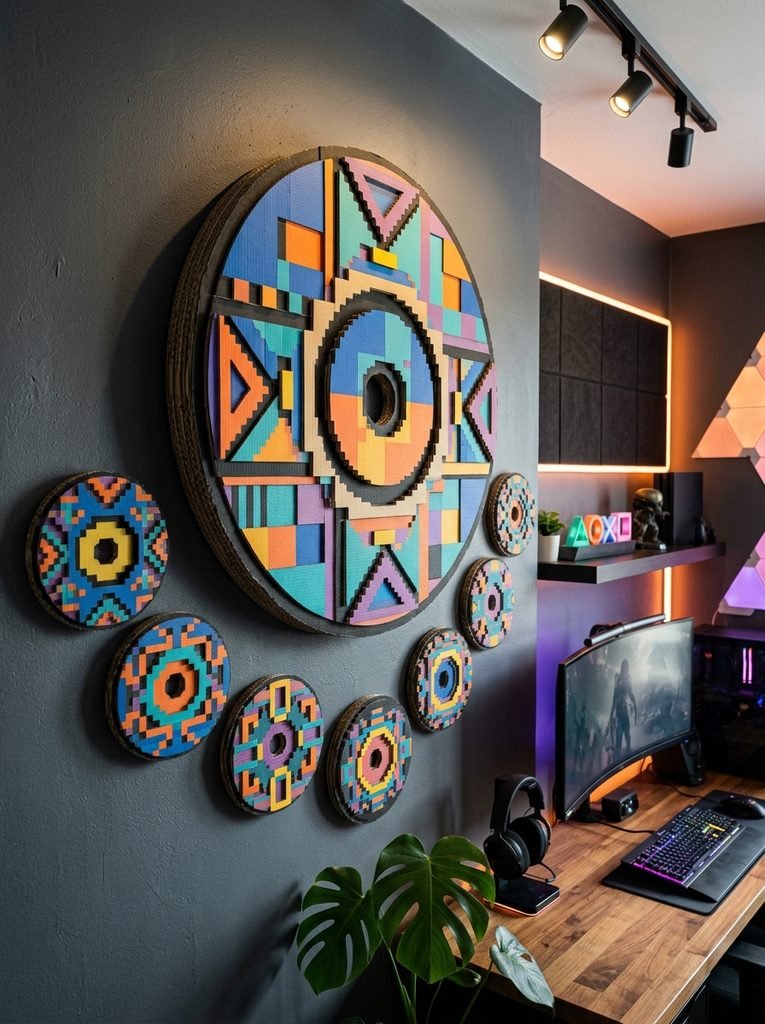
Make a large decorative music Disc from cardboard. Cut a circle, paint the center and outer ring, then add geometric details with smaller cardboard pieces. You can make several discs in different colors and display them together on a wall. They also work well as decorations for a gaming room or teen bedroom.
11. 3D Mobs Display
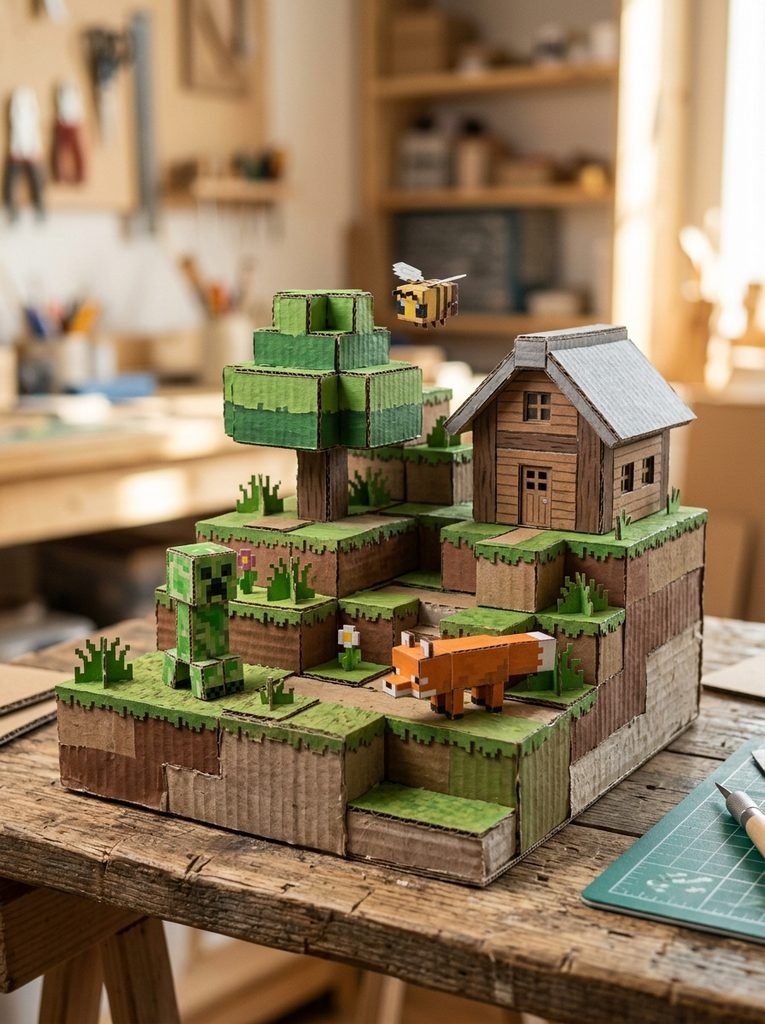
Once basic characters feel easy, combine several of them into one 3D scene. Create a Creeper-inspired character, animal, tree, block, and small structure. Arrange them at different heights so the display has depth. A cardboard base can hold everything together and turn separate projects into one miniature world.
12. Cardboard Animal Collection
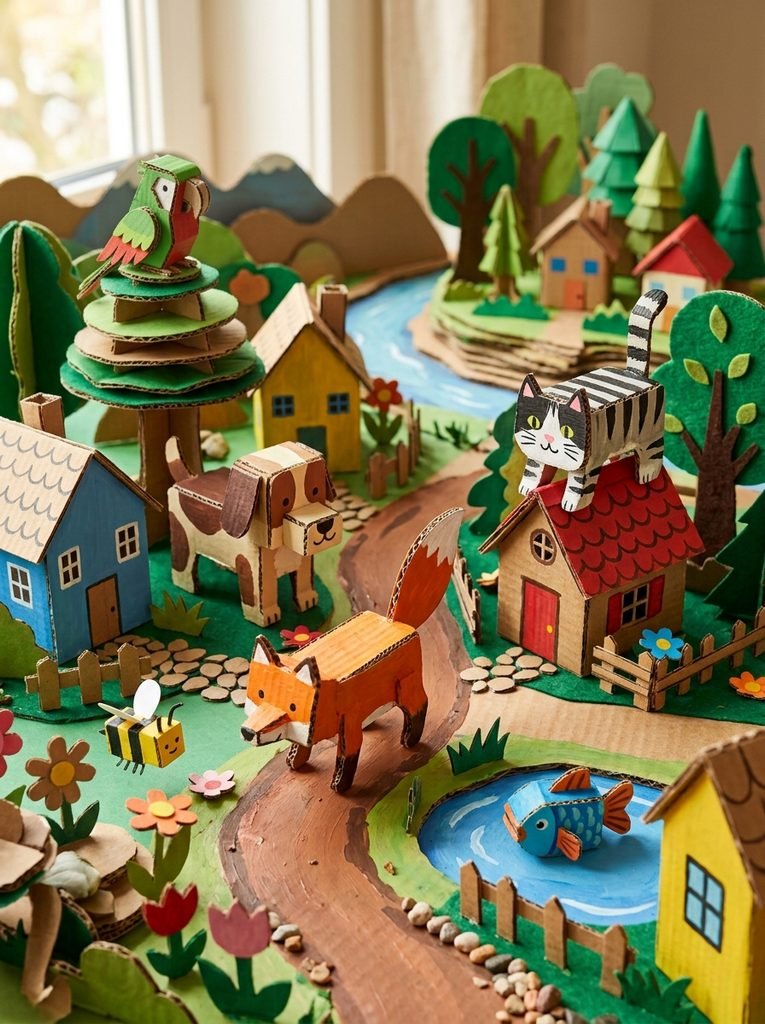
Create several simple Animals using the same block-building method. Try a Dog, Cat, Fox, Fish, Bee, or Parrot. Give each one a slightly different color and pose. Kids can then invent names and stories for the animals. A small cardboard forest, farm, or village can become the setting for their characters.
13. Minecraft-Style Heart Block
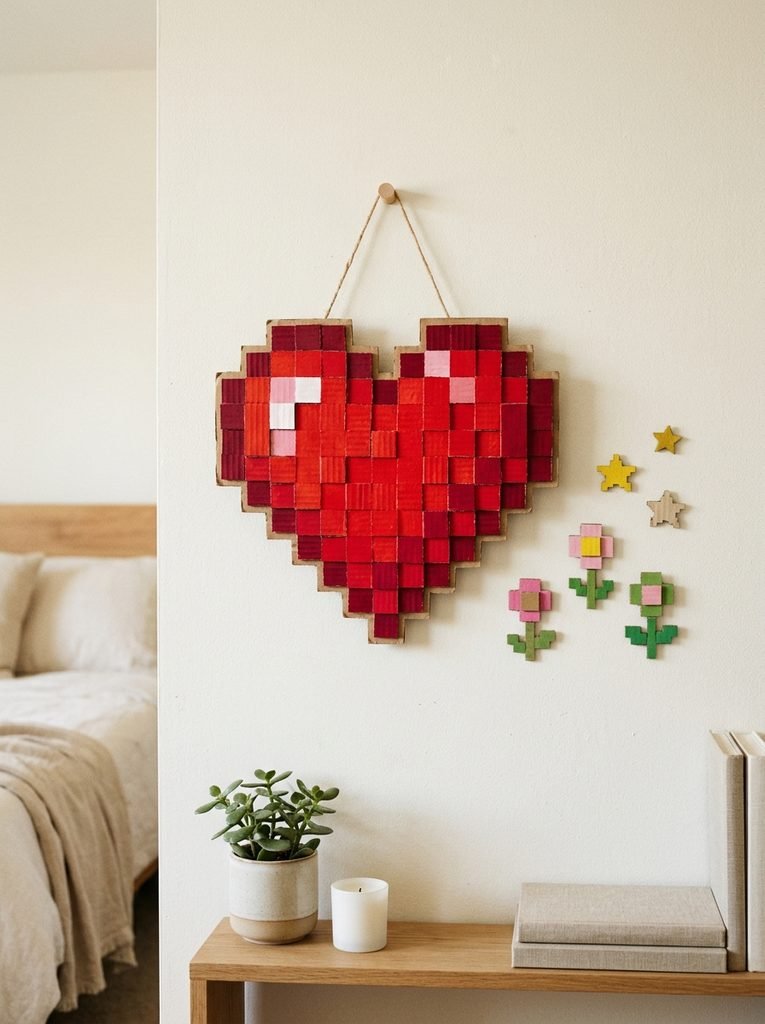
Create a heart using square and rectangular cardboard pieces rather than cutting one smooth curved shape. Paint it red and add smaller pixel-like highlights. The finished heart can become wall art, a gift, or part of a larger character scene. It also gives younger kids an easier project before they move to complex builds.
14. Cardboard Mob Template
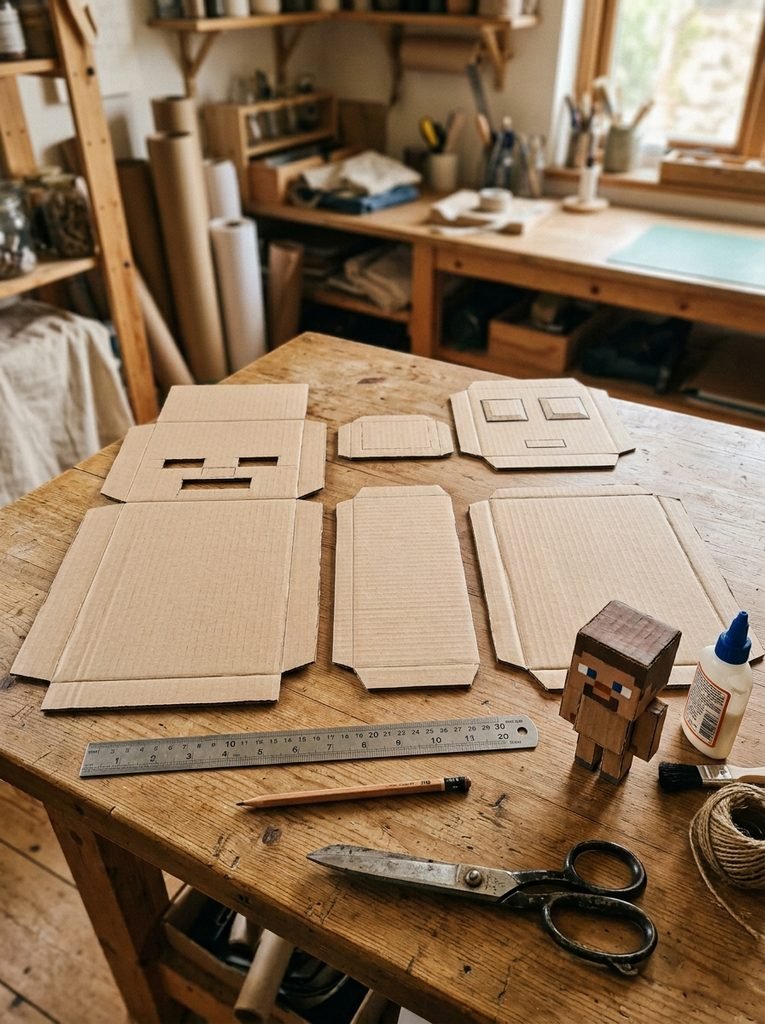
Templates can make larger projects much easier. Draw the front, back, side, and top sections separately before cutting. Add small tabs where pieces will connect. This method works especially well for blocky Mobs because their shapes are mostly geometric. Keep the template simple, label each piece, and test the structure with scrap cardboard before using your best material.
15. Mini Minecraft House
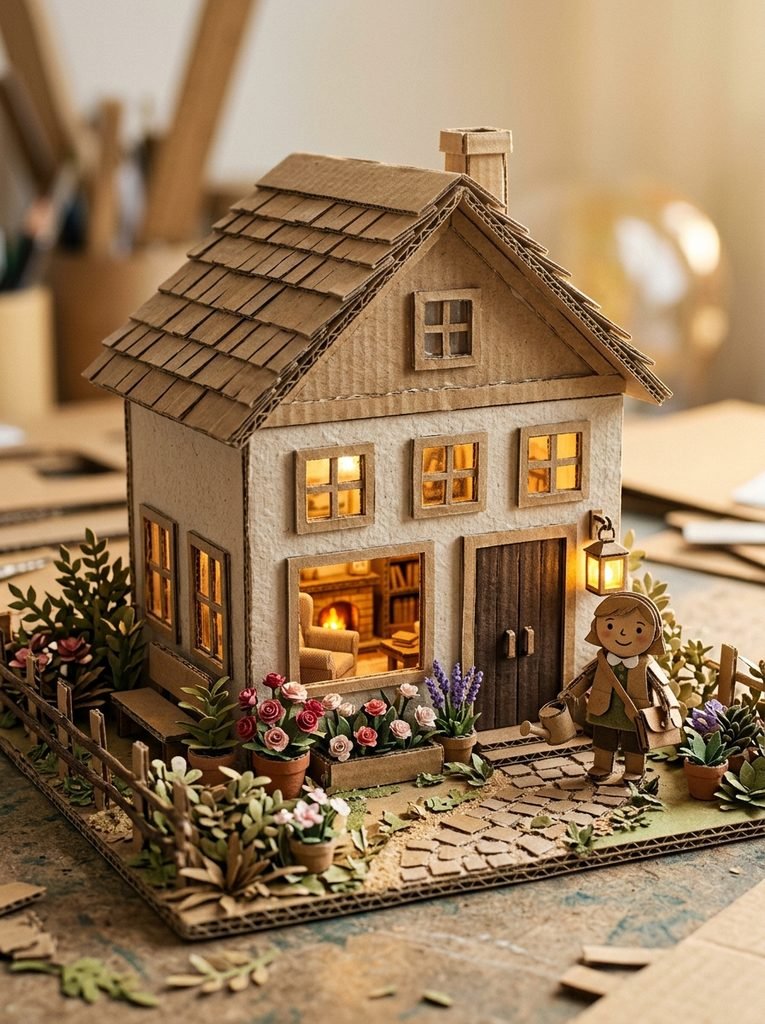
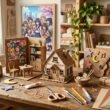
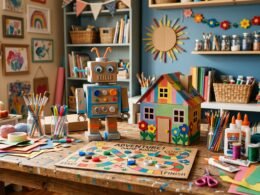
A small cardboard house can bring all the previous ideas together. Build square walls, a simple roof, windows, a door, and a tiny garden. Add a lantern near the entrance and flowers around the path. Inside, you can place a small table, bed, storage box, or character. The result feels like a tiny world rather than one isolated craft.
16. Complete Cardboard Minecraft World
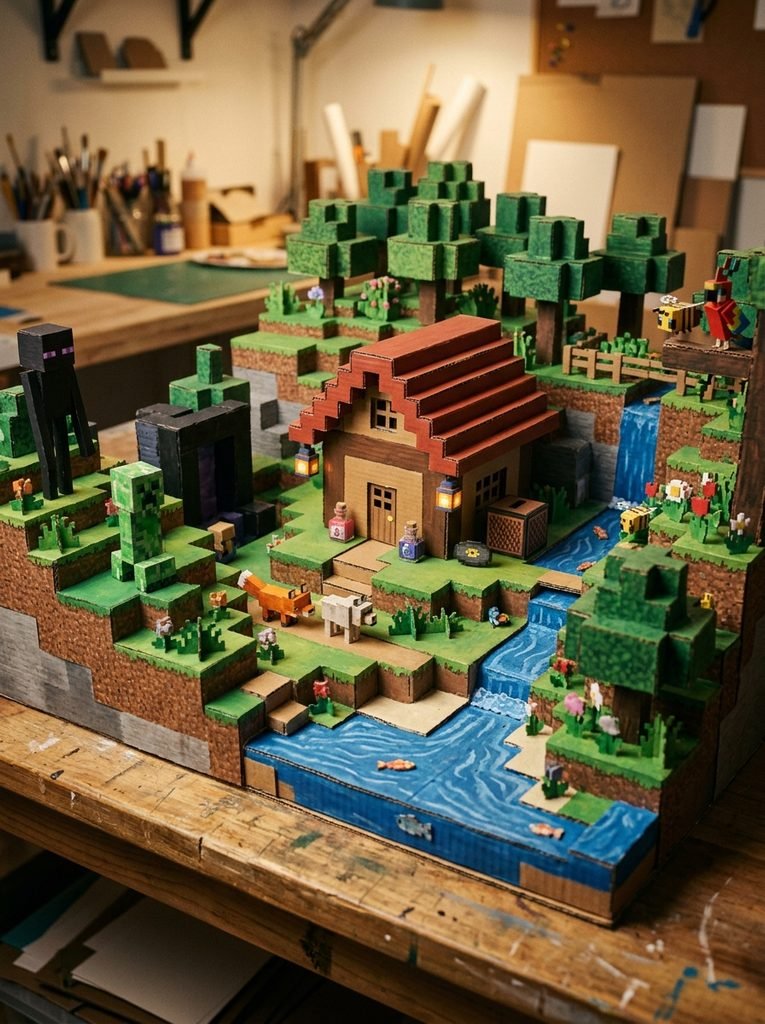
For the final project, build a small cardboard world using several pieces together. Create terrain blocks, trees, animals, characters, a house, lanterns, flowers, and a tiny water area. Give each section a clear place. Put the house near the center, animals around the edges, and trees behind the main structures. This turns your craft table into a miniature block-based adventure.
From Game Blocks to Real-World Creativity
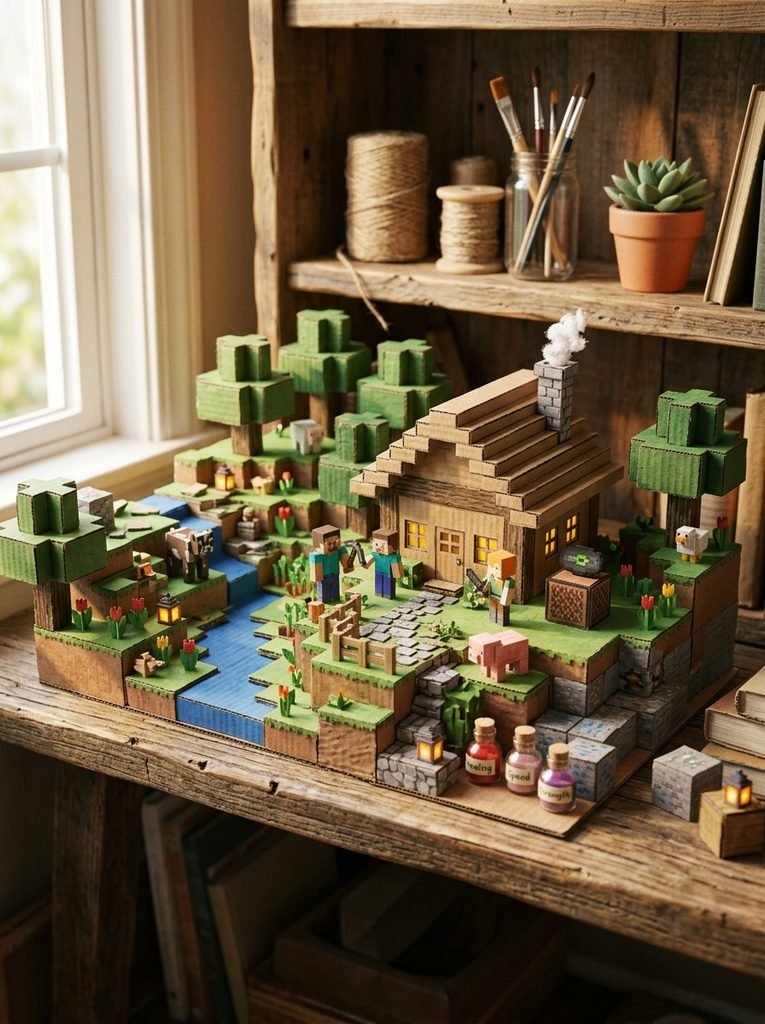
The best part of Minecraft cardboard crafts is that the project does not need to end when the character is finished. A Creeper can become part of a village. A Bee can lead to a flower garden. A Potion can become part of a fantasy shop. One small idea can grow into an entire scene. That process mirrors the build-and-improve approach used in Minecraft Education. Its project-based learning resources emphasize planning, experimentation, problem-solving, collaboration, and iteration. You can start with one square piece of cardboard today. Draw a block. Cut it. Paint it. Then ask the most important question: what should come next?