


This post may contain affiliate links. Please read my disclosure policy.
In This Article Show
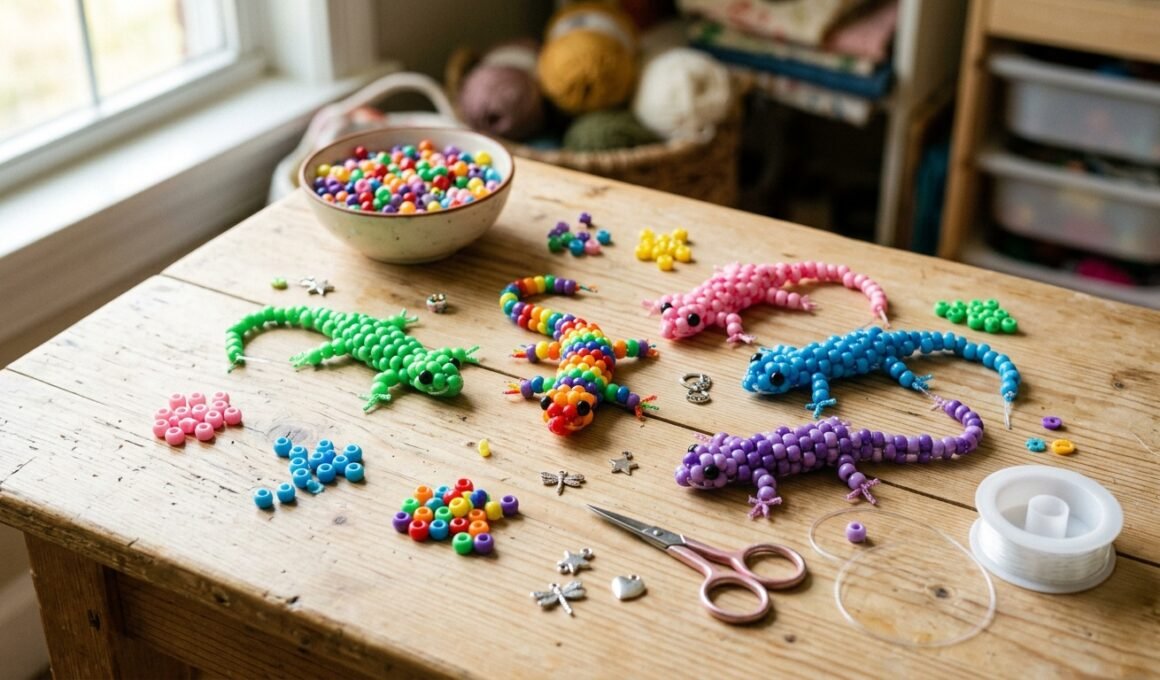
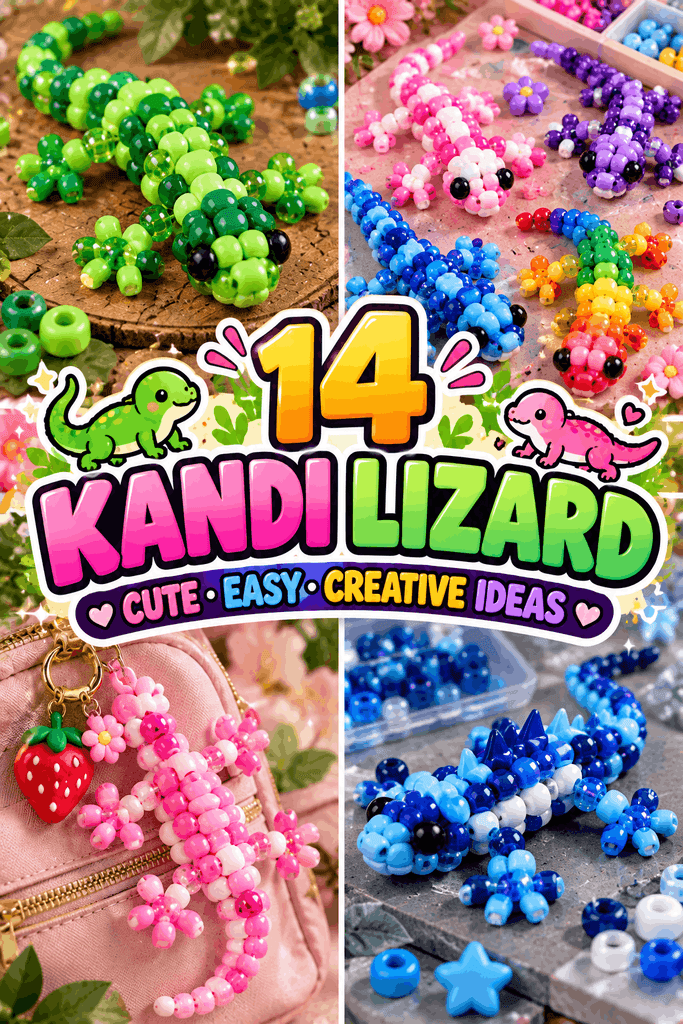
A tiny green lizard made from colorful pony beads can look surprisingly charming. You start with a few beads, choose a body color, add contrasting eyes, and slowly watch a little creature take shape in your hands. That simple process makes kandi lizard crafts popular with beginners and experienced bead artists alike. You can make one tiny lizard for a bracelet, turn another into a keychain, or create a whole collection using rainbow, pride, pink, blue, and other color ideas. The best part is that you can change the pattern to match your own style.
1. Simple Green Lizard
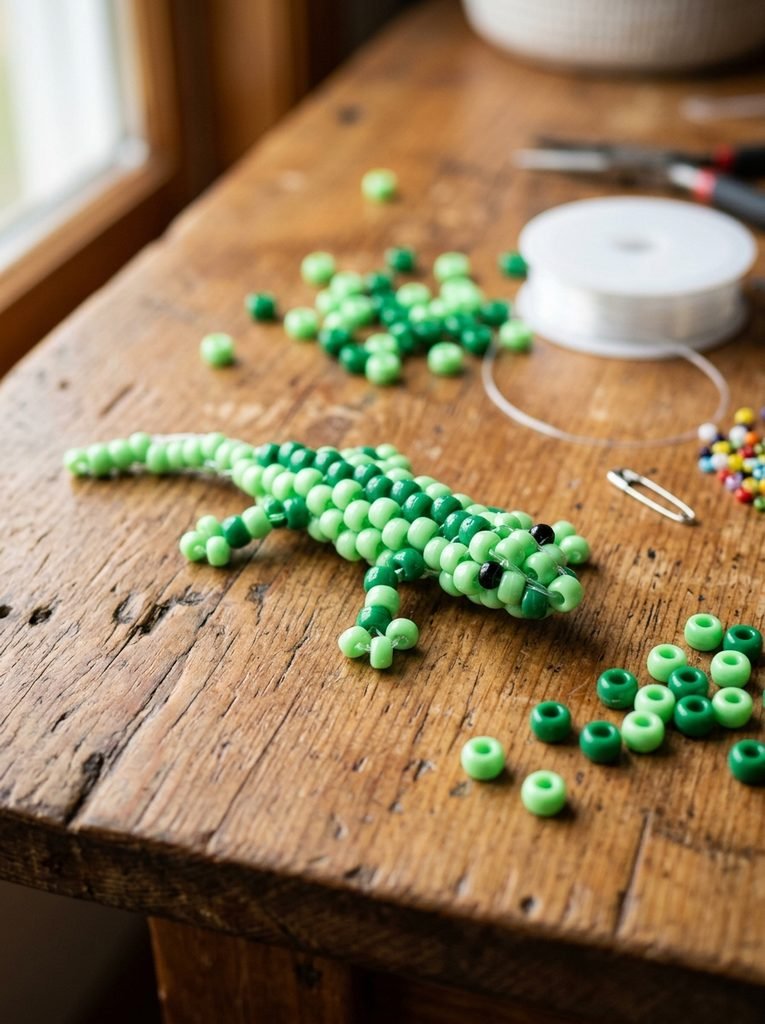
Begin with the classic look. Use two shades of green for the body, then add black or dark beads for the eyes. A lighter green belly can make the shape easier to see. Keep the tail slightly longer than the body so the finished lizard looks balanced. This simple design works well as a first bracelet charm or standalone bead figure.
2. Rainbow Lizard
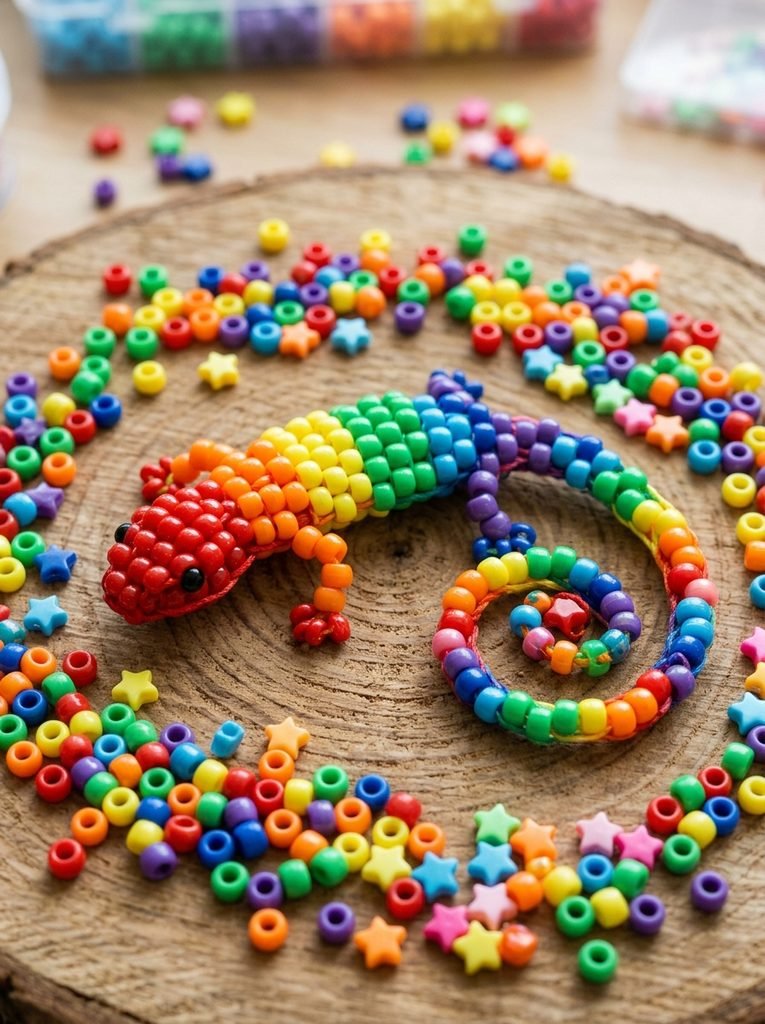
A rainbow version turns a small bead animal into a bright statement piece. Arrange red, orange, yellow, green, blue, and purple beads along the body. You can repeat the colors through the tail or make each body section a different shade. This design also works nicely for a pride-inspired project when you want a colorful piece with a clear visual rhythm.
3. Pink Kandi Lizard
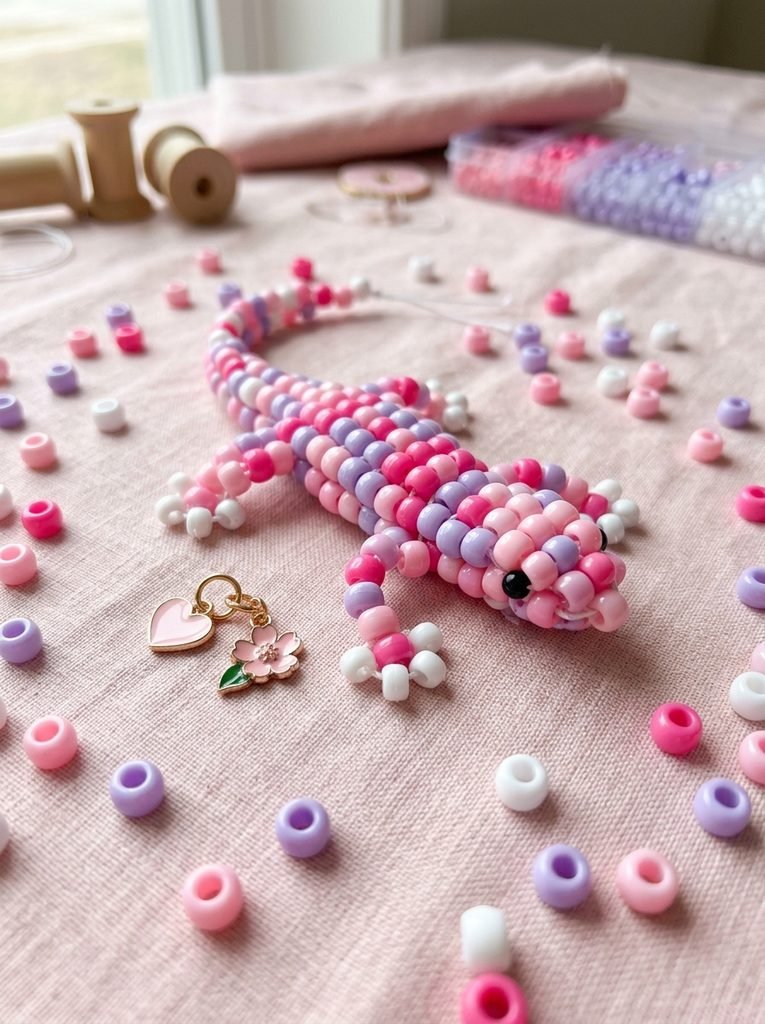
Pink does not have to mean one shade. Mix hot pink, pastel pink, white, and a little purple for a soft layered effect. Add darker eyes so the face remains easy to see. A small heart or flower charm beside the finished lizard can make the design even sweeter. This color palette works especially well for a cute bag charm.
4. Pride-Inspired Lizard
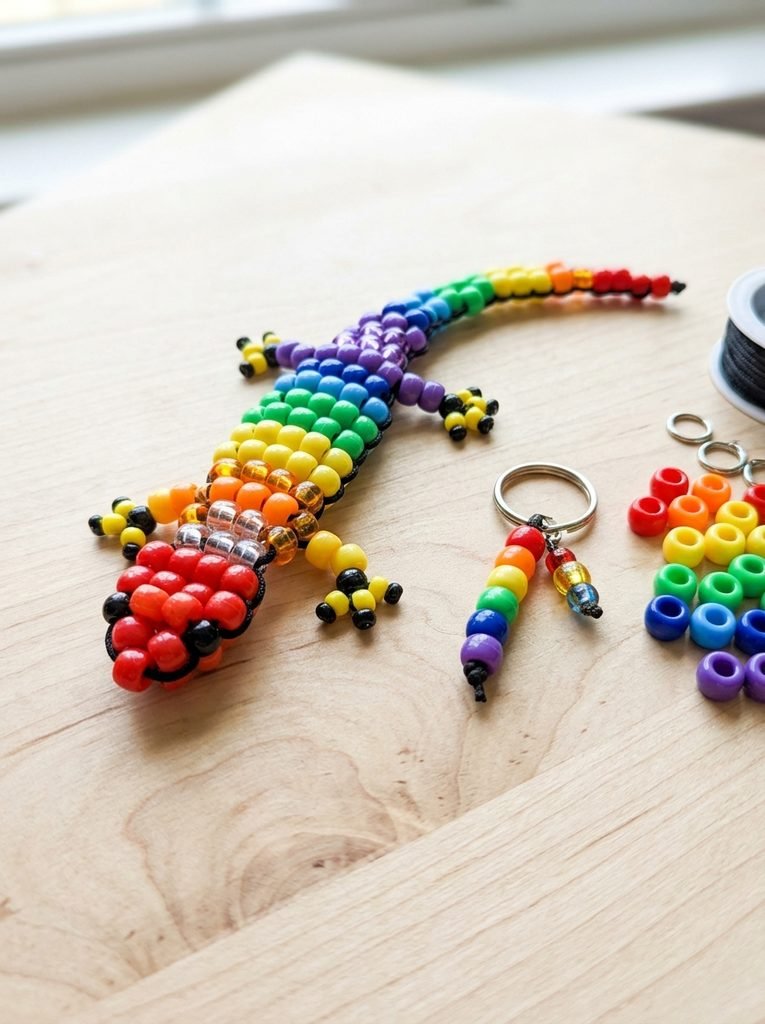
Use a rainbow palette to create a pride-inspired lizard with a strong color sequence. Keep each section neat so the colors remain easy to recognize. You can make the body rainbow and use white or black for the eyes and small details. The same pattern can become a bracelet charm, keychain, or tiny gift.
5. Tiny Mini Lizard
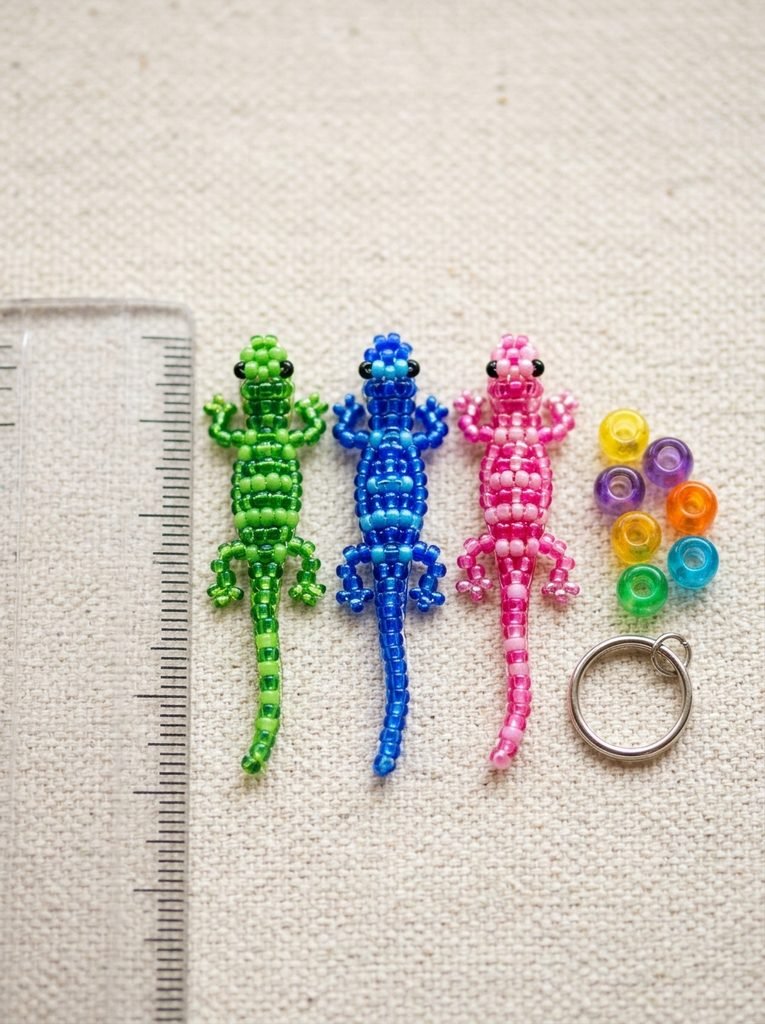
If you want a quick project, make the lizard smaller. Use fewer beads and focus on the basic body, four small legs, and tail. Tiny designs are useful for keychains, zipper pulls, phone charms, or small bag decorations. Because the design uses fewer beads, you can also make several color variations in one sitting.
6. Giant Kandi Lizard
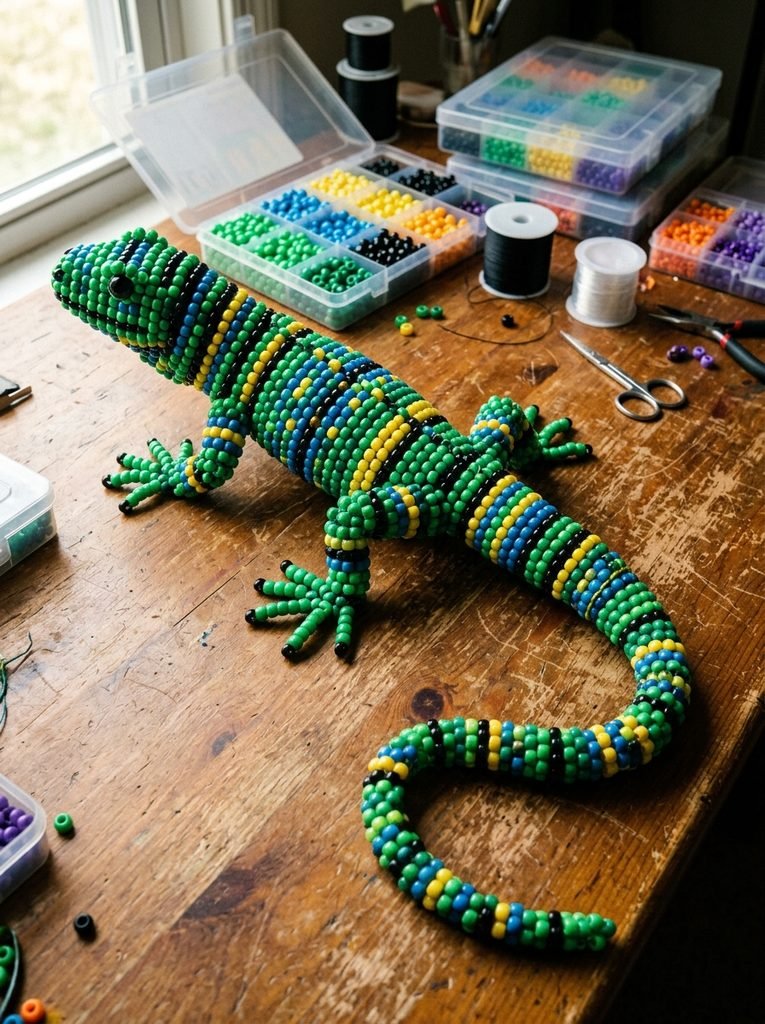
Once the basic pattern feels comfortable, scale it up. A giant lizard gives you more space for color blocks, detailed eyes, larger legs, and a dramatic tail. Use a strong base color and two or three accent colors instead of filling every section with random shades. Large bead projects can take longer, but they make impressive display pieces.
7. Sonic-Inspired Blue Lizard
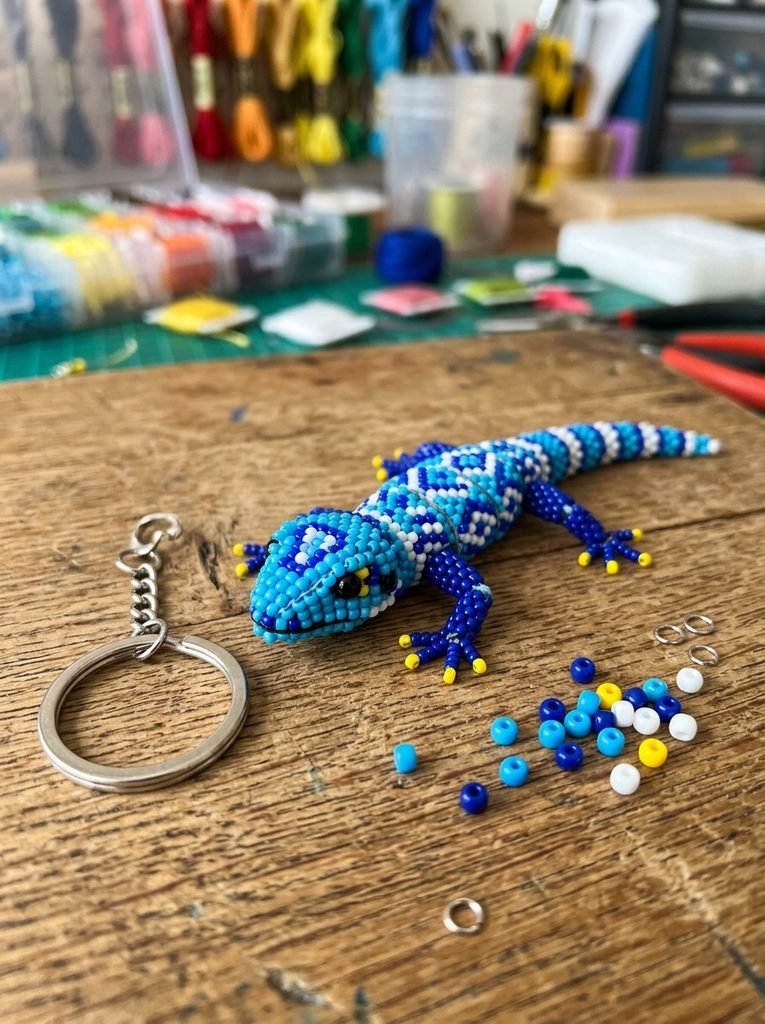
For a Sonic-inspired color theme, blue becomes the main color while white, black, and small yellow accents add contrast. Keep the design original rather than copying an official character. A bright blue body with a darker blue tail can create the energetic look you want. Add a small keyring if you want to turn the finished piece into a bag accessory.
8. Strawberry Lizard
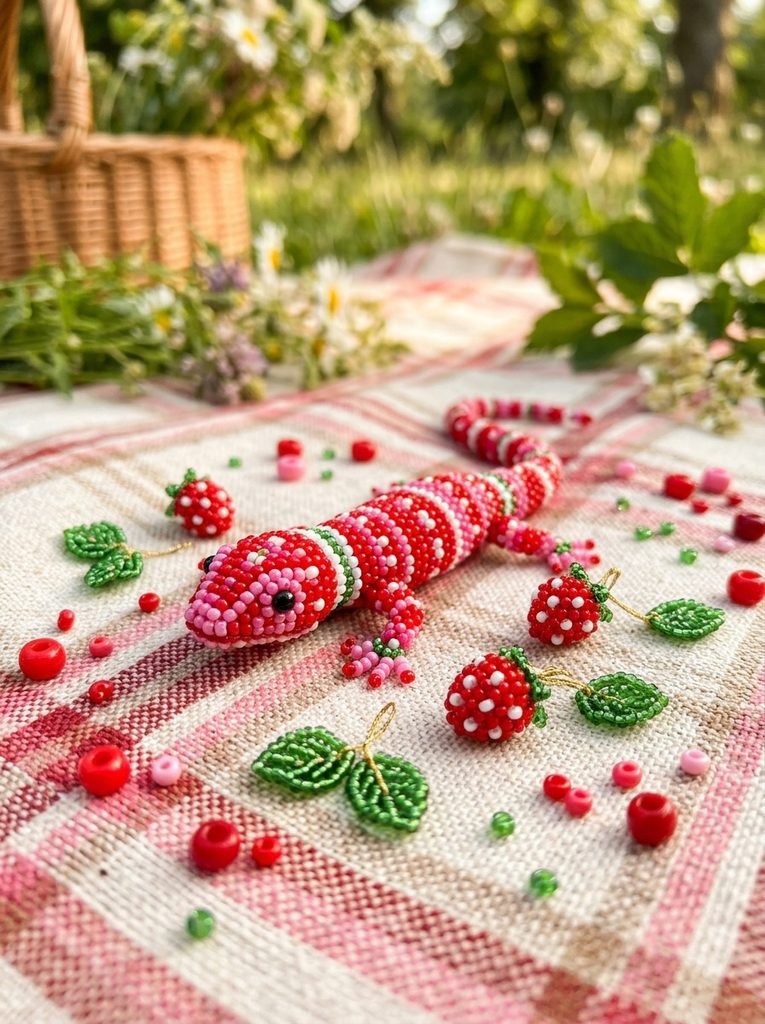
Try something unusual by using strawberry colors. Combine red, pink, white, and green, then use green beads around the head or tail as leafy accents. The result looks playful without needing a literal strawberry shape. You can also make a matching strawberry charm to create a small themed collection.
9. Binary Black-and-White Lizard
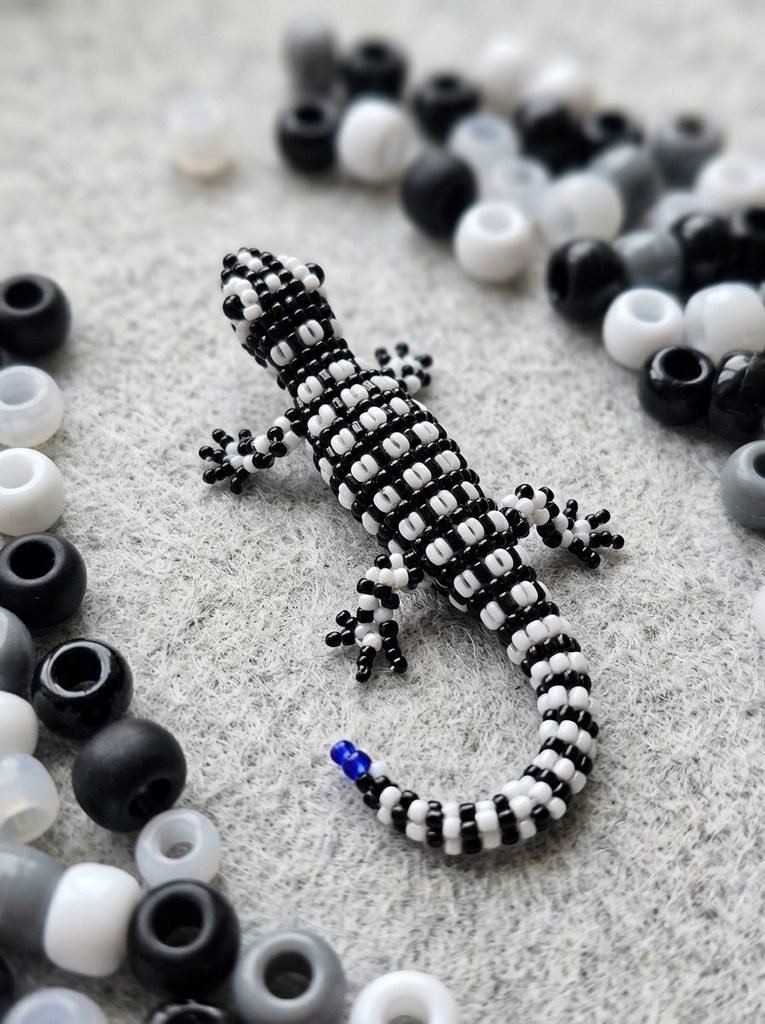
For a completely different look, use only black and white beads. Arrange them in alternating sections to create a clean binary-style pattern. The simple palette makes the lizard shape easy to see. Add a single accent color, such as blue or red, only if you want one small focal point.
10. Lizard Keychain
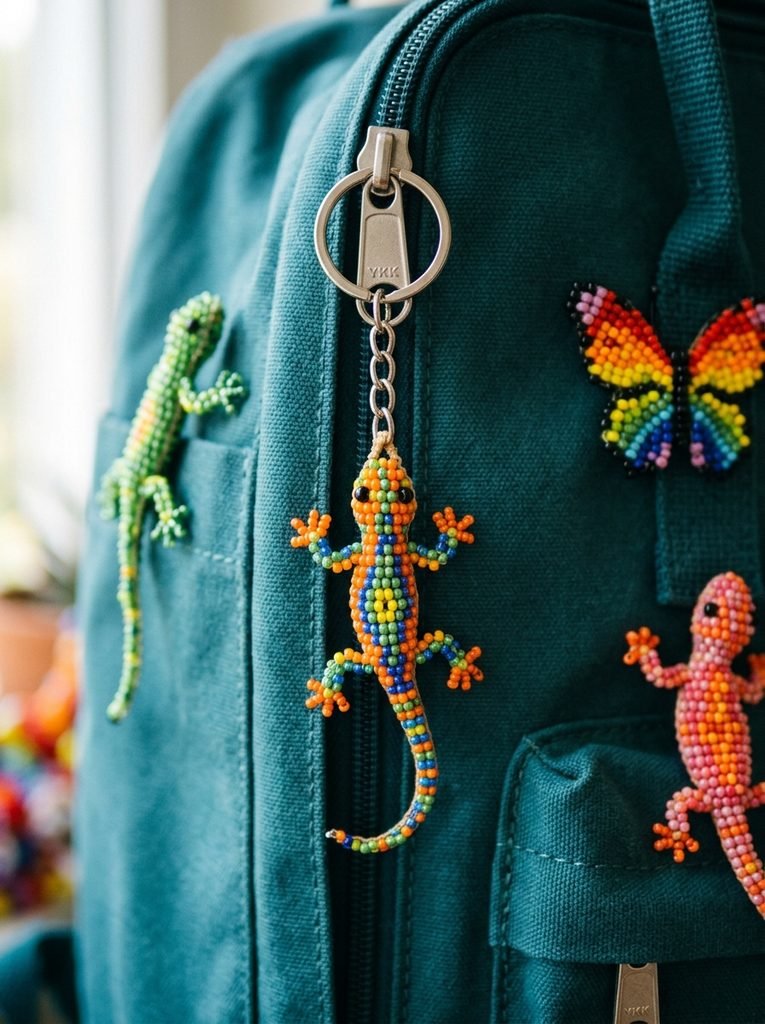
Turn your bead animal into something useful. Attach a secure keyring to the end of the design and use the lizard as a backpack, purse, or zipper charm. A compact body works best because it keeps the accessory light. Green, rainbow, pink, and blue versions can become a matching collection.
11. Lizard Bracelet Charm
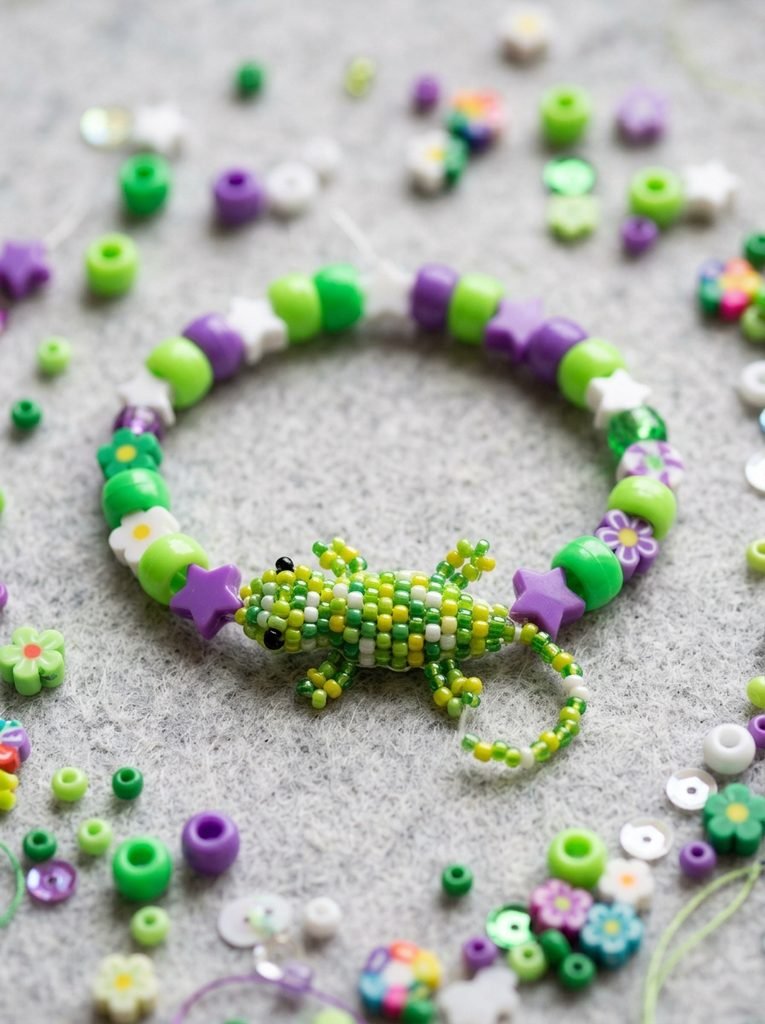
Instead of making the lizard itself into a bracelet, use it as a centerpiece. Create a simple bracelet with matching pony beads and attach the lizard near the middle. Green beads work well with nature themes, while pink and purple create a softer look. This design combines an animal pattern with a traditional bracelet idea.
12. Lizard Cuff Theme
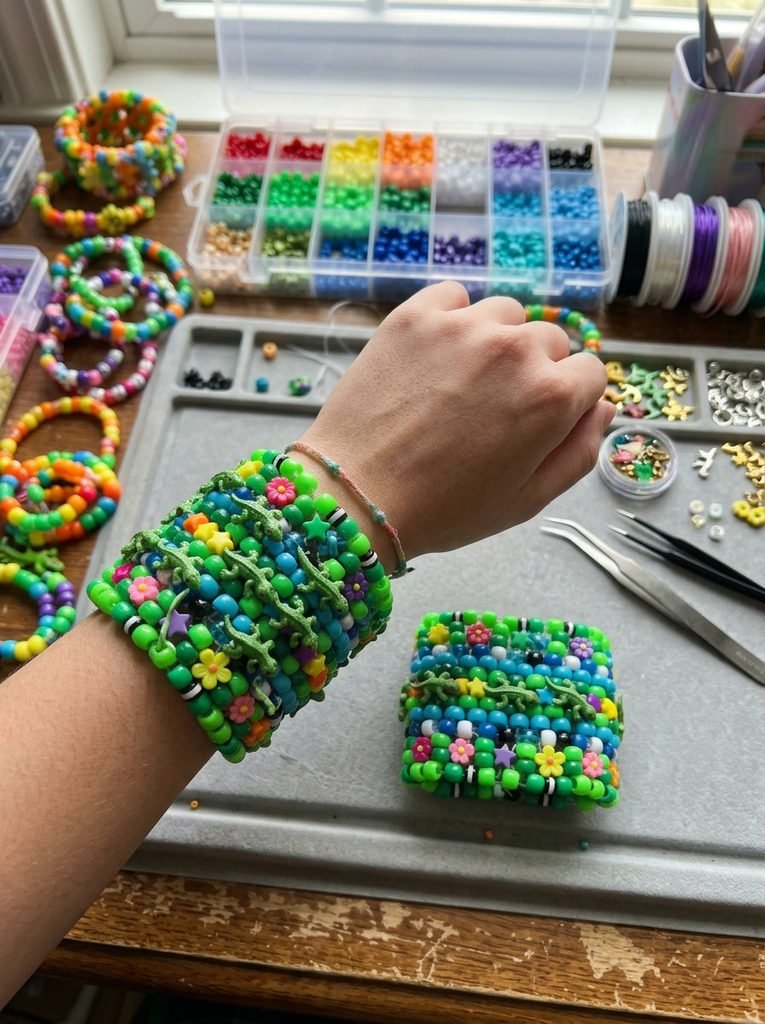
If you already know how to make cuffs, place small lizard shapes into a wider multi-row design. Repeat the same lizard silhouette across the cuff or alternate lizards with stars and flowers. Keep the background colors simple so the animal shapes remain visible. A template can help you plan each row before you start stringing beads.
13. 3D Lizard With Detailed Tail
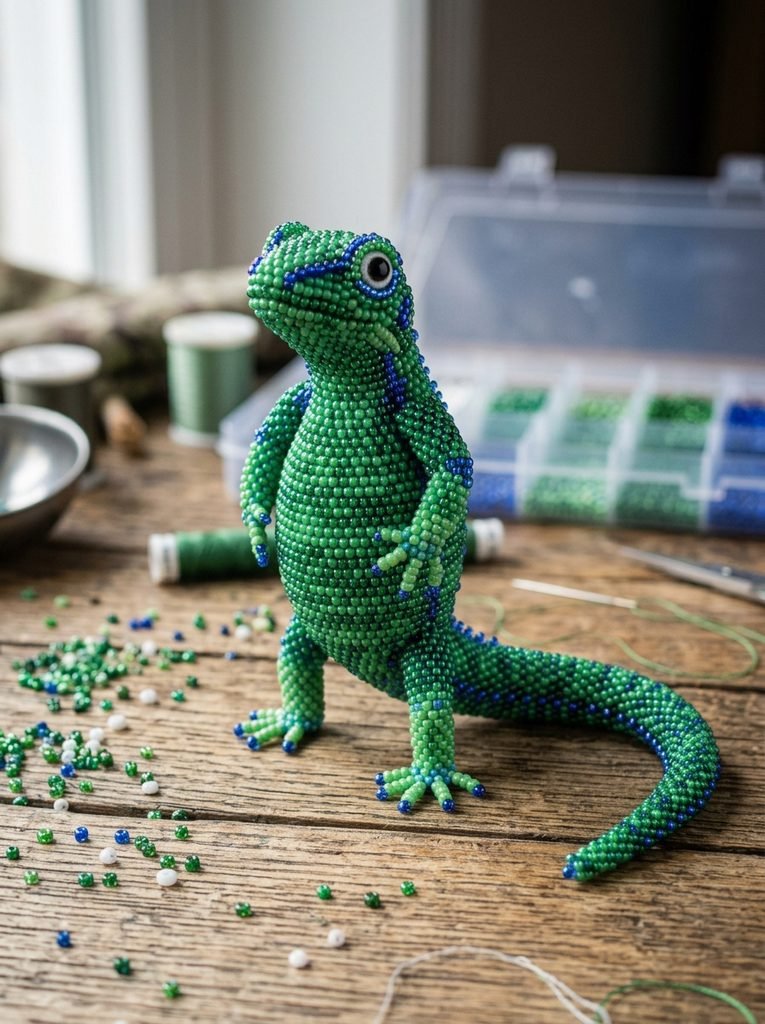
A 3D version gives the animal more shape and depth. Build the body first, then work carefully around the head, legs, and tail. The tail should taper gradually instead of ending abruptly. Use two shades of the same color to make the body look more dimensional. This project takes more patience, but the finished result can become a standout desk or shelf decoration.
14. Mixed Color Lizard Collection
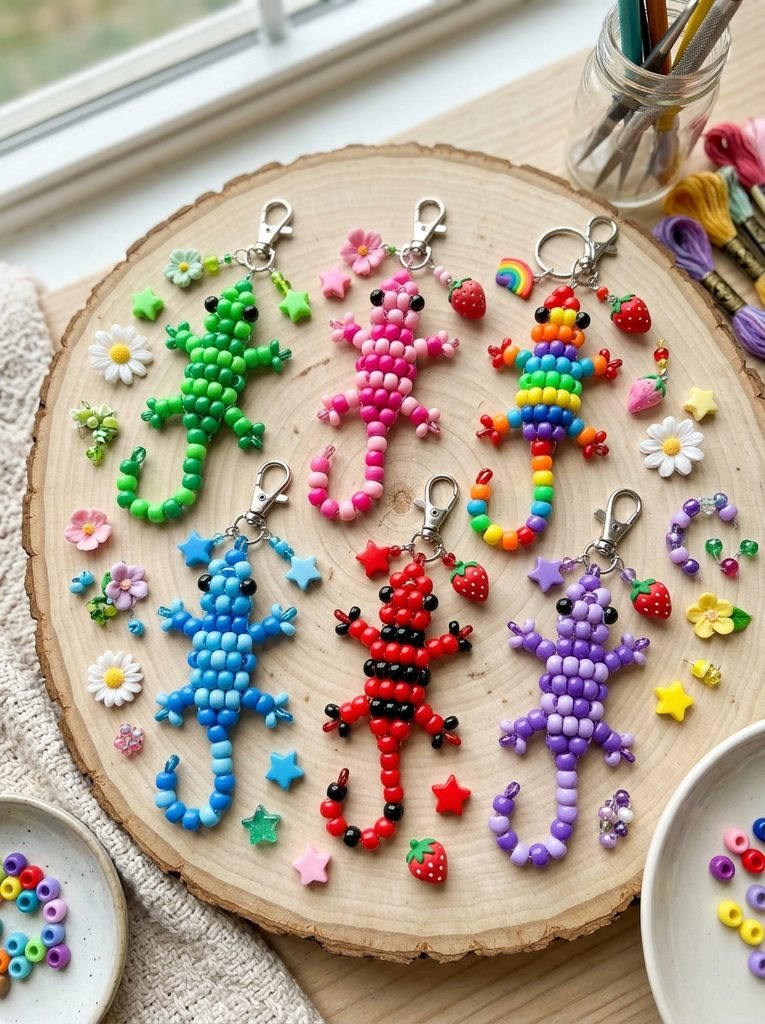
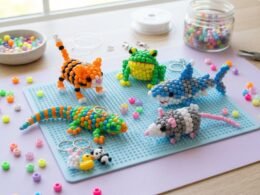
Once you understand the basic structure, make a collection instead of stopping at one. Create green, pink, rainbow, blue, red, and purple versions using the same general template. This helps you compare color ideas while keeping the bead structure familiar. You can give each one a different charm and turn the collection into handmade gifts for friends.
Kandi Lizard Tutorial: How to Make One Step by Step
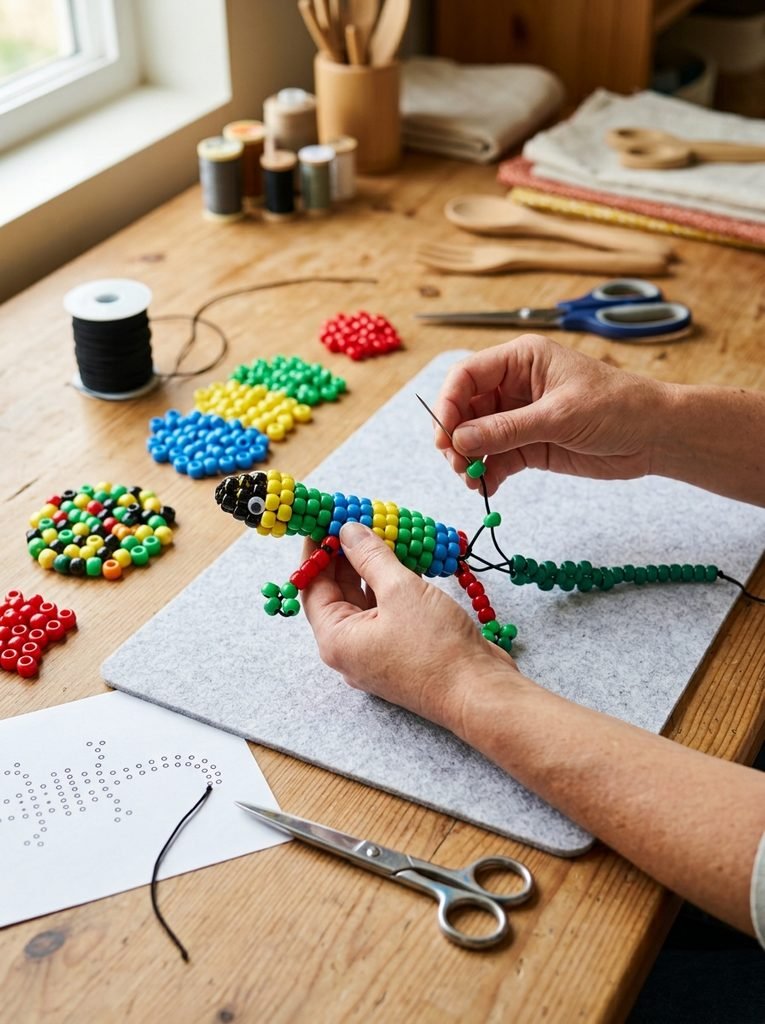
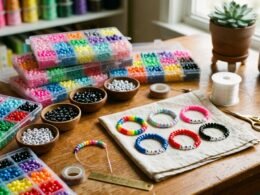
Before starting your first project, gather pony beads, stretchy cord, scissors, and a bead pattern or template. KandiCon describes a basic single as one row of beads on a loop of elastic and notes that pony beads and stretchy cord can also support more complex cuff designs. Start by following your pattern from the head toward the body. Keep the bead order consistent as you add the legs and tail. Check the shape often instead of waiting until the final knot.
Step 1: Choose Your Colors

Pick two or three main colors before you start. Green and dark green create a natural lizard, while pink and white give a softer look. Rainbow colors create a bright design, and black-and-white creates a modern pattern. Limiting your palette makes it easier to follow the template and keeps the final animal visually balanced.
Step 2: Build the Head and Body
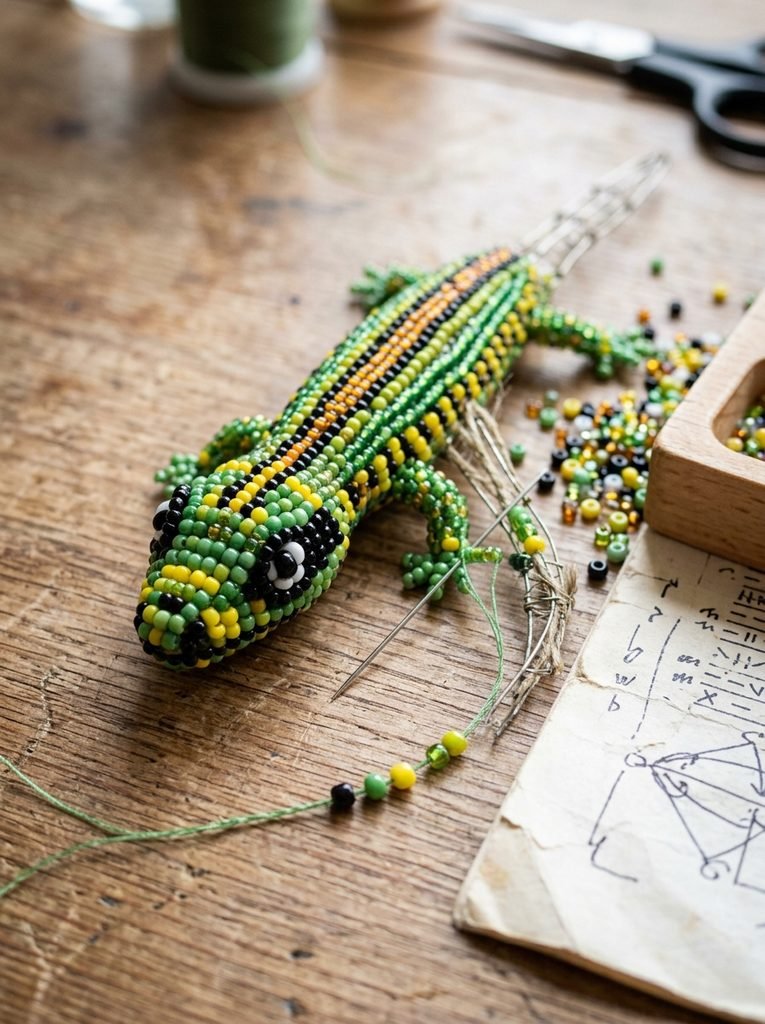
Follow the pattern one bead at a time. Pay close attention to the eye beads because their position controls the expression of the lizard. After the head, continue into the body and check that both sides remain even. Do not rush this stage. A few seconds of checking can prevent you from removing a large section later.
Step 3: Add Legs and Tail
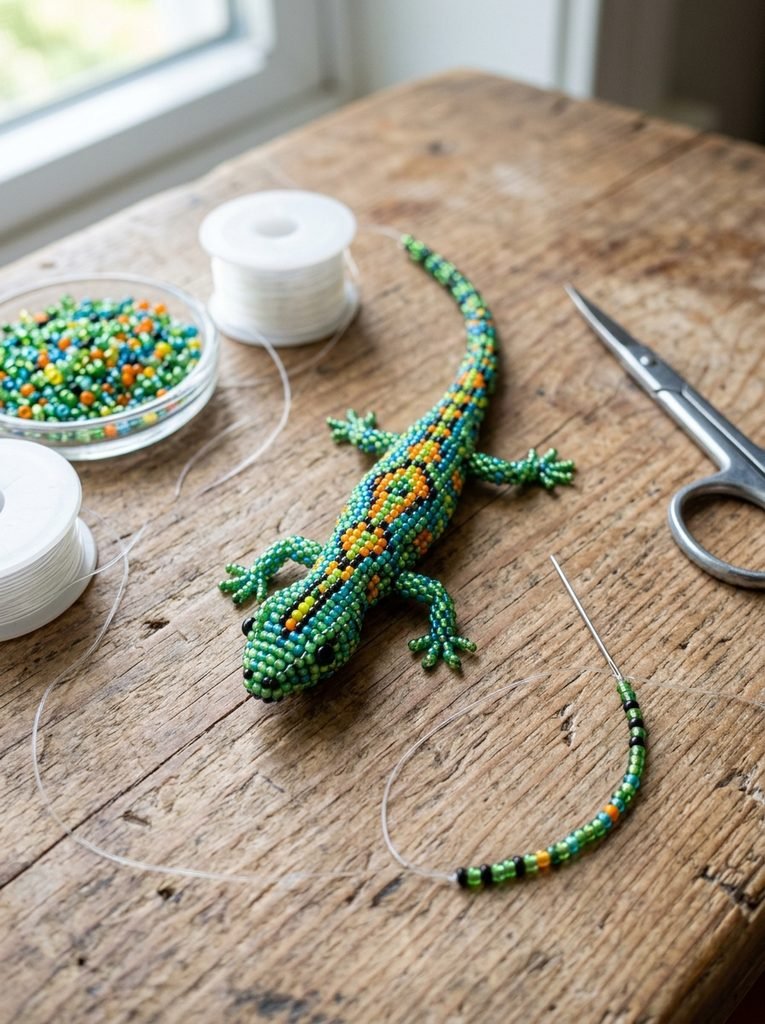
The legs give the lizard its recognizable shape. Follow your template carefully and keep the left and right sides balanced. Then build the tail gradually, using smaller sections if your design requires a taper. Before tying the cord, place the finished lizard flat on the table and check its shape from above.
Final Thoughts
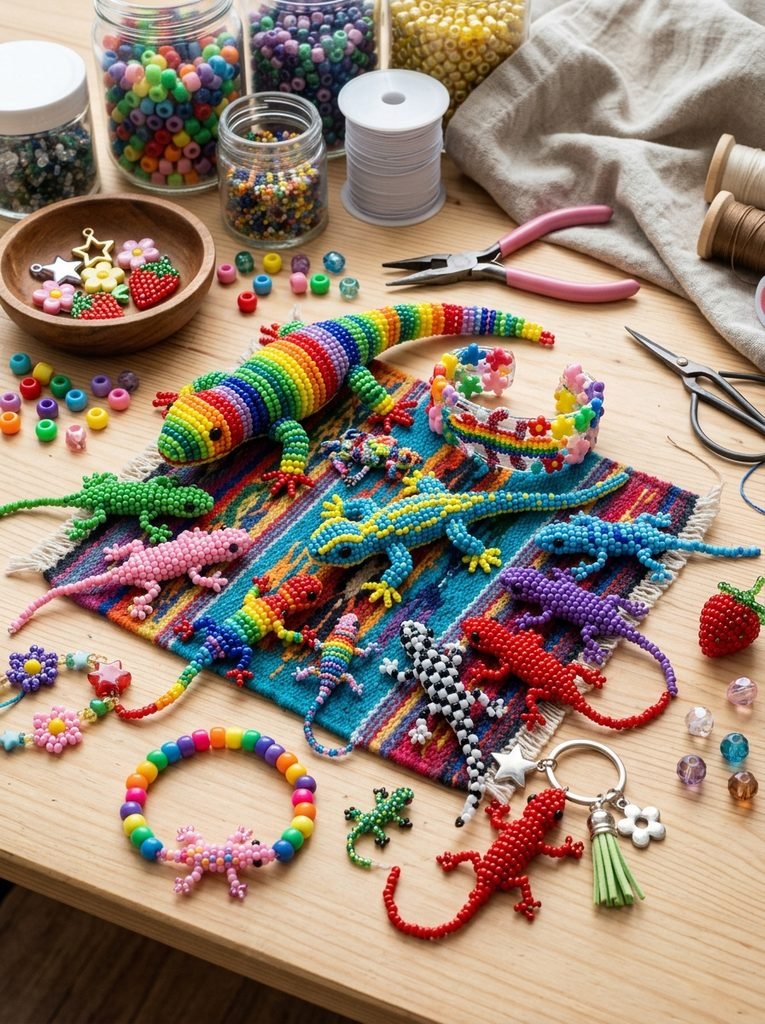
Making a bead lizard starts with a few simple choices: colors, size, pattern, and purpose. You can create a tiny animal in minutes or spend more time building a giant 3D version with a detailed tail. Rainbow, pride, pink, strawberry, Sonic-inspired, black-and-white, cuff, bracelet, and keychain designs all give the same basic idea a different personality. Start with the easiest pattern, learn the structure, and then experiment. Once the first lizard is finished, the next one will feel much easier..