

This post may contain affiliate links. Please read my disclosure policy.
In This Article Show
A melted snowman is the one Christmas craft where a wobbly result is actually the goal. The puddle shape forgives every skill level, so toddlers and older kids can sit at the same table and all end up with something cute.
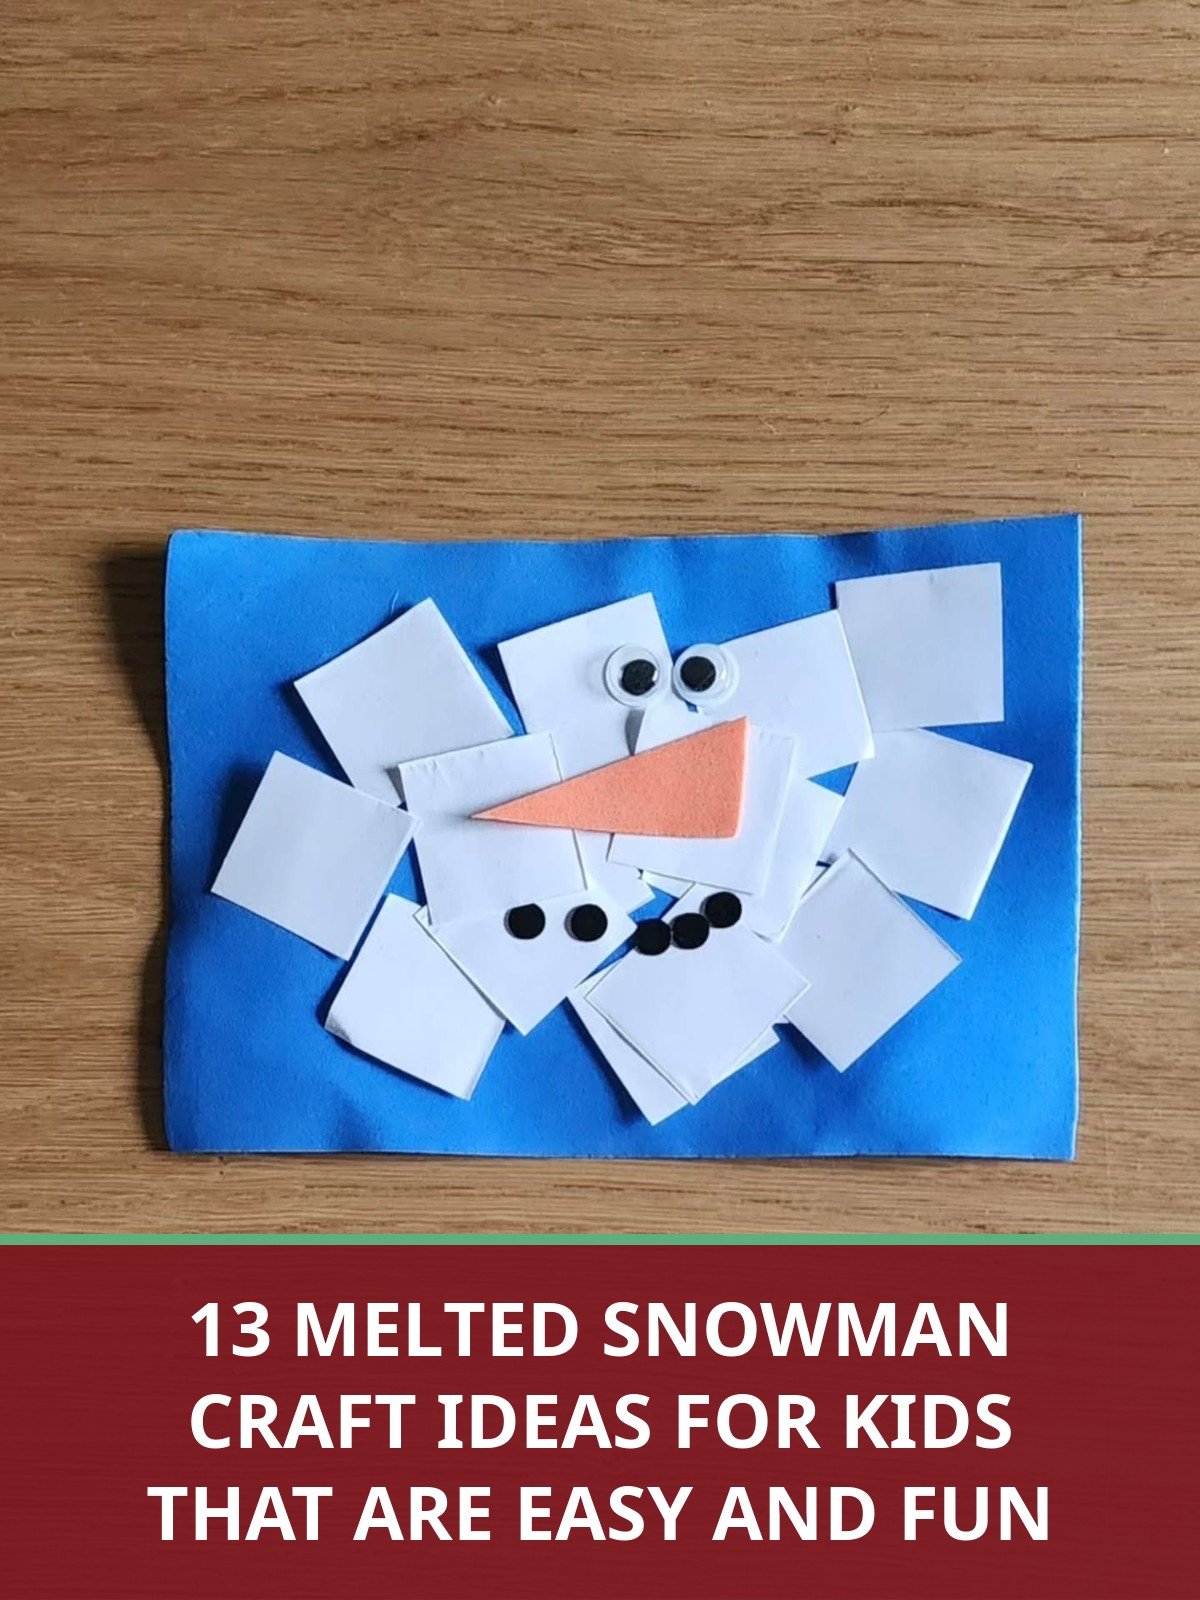
This list gathers 13 melted snowman craft ideas for kids, from classic painted puddles on blue paper to wood slice ornaments, ceramic keepsakes and a stretchy melted snowman slime. The first three ideas come with full materials and steps, and the rest are quick to set up with supplies you probably already own.
Most of these projects take under 30 minutes of hands on time, and almost all of them dry flat, which makes them easy to display on a classroom board or send home in a backpack.
Pick one idea for a quiet afternoon, or set out three stations and let kids rotate. Either way, expect a lot of giggling when the snowman starts to melt.
Quick Picks
- 1. Easiest first craft: Classic Painted Melted Snowman (idea 1) needs only paint, paper and a brush.
- 2. Best keepsake: Melted Snowman Wood Slice Ornament (idea 2) hangs on the tree year after year.
- 3. Most fun to touch: Melted Snowman Slime (idea 3) stretches, squishes and never fully melts away.
1. Classic Painted Melted Snowman
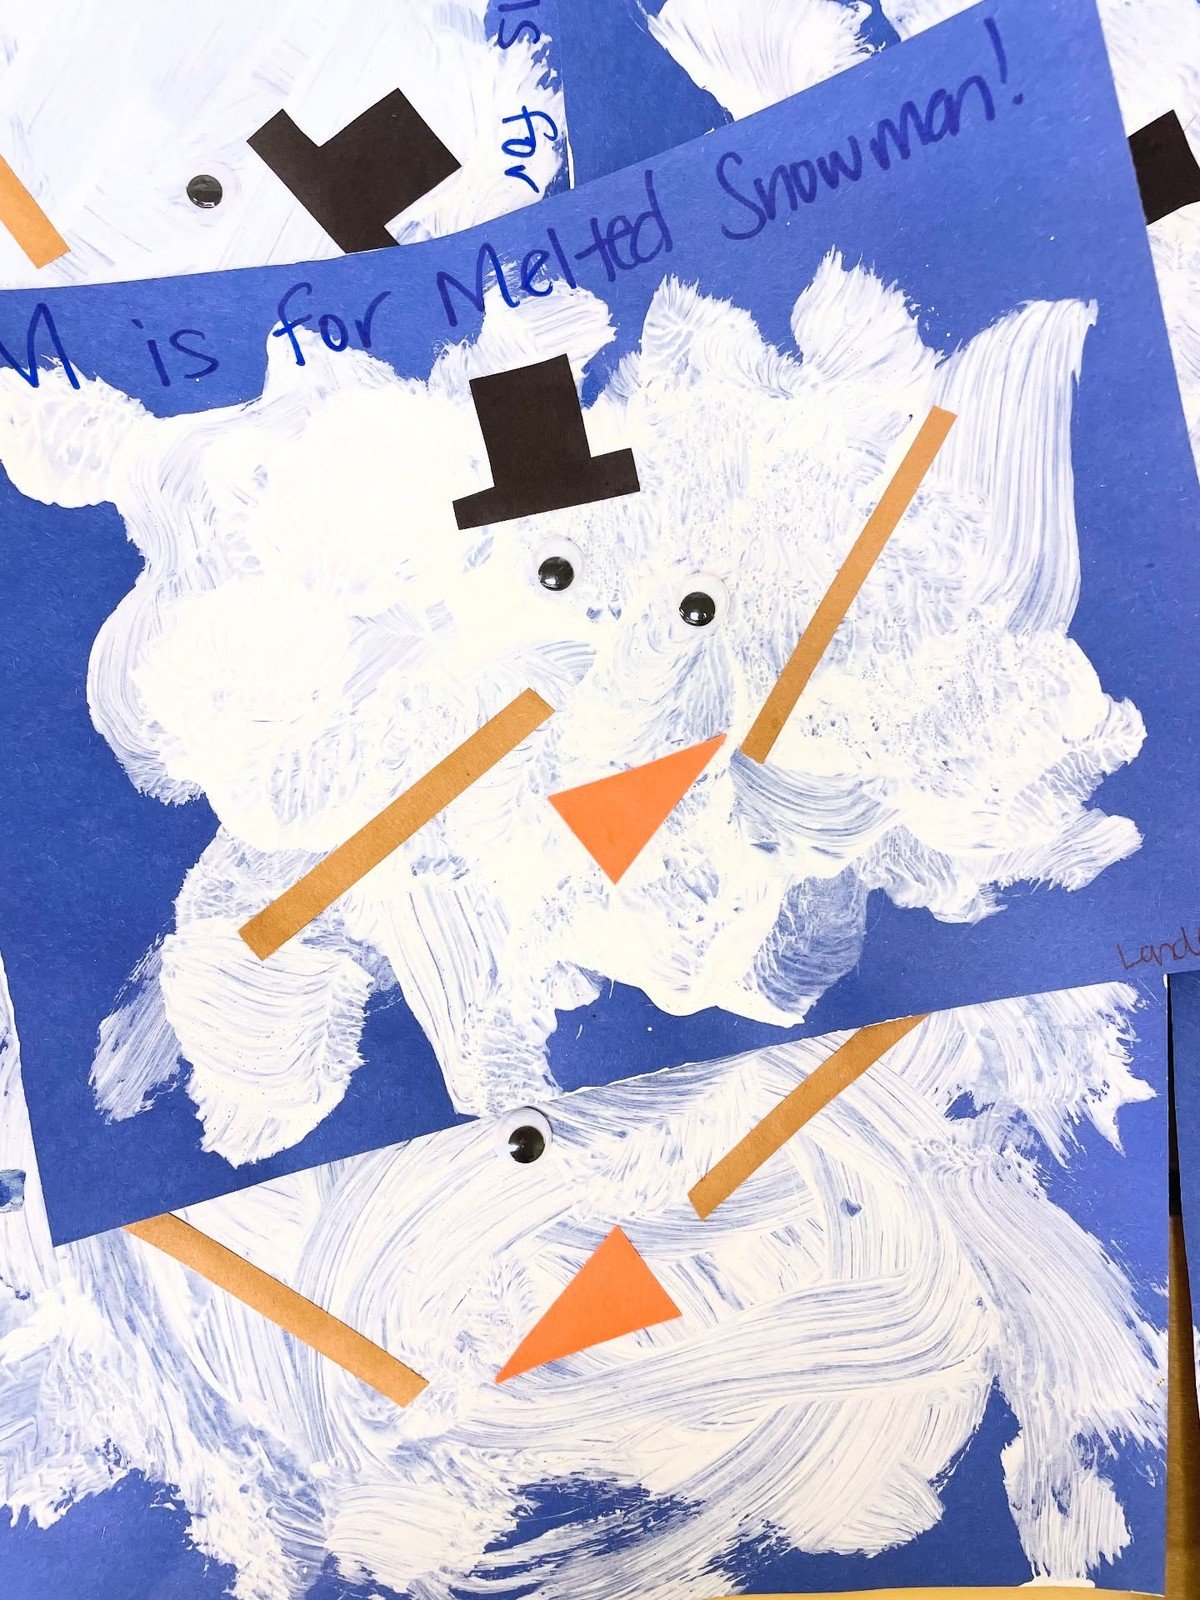
Washable paint matters here because puddles always spread further than planned. Crayola washable kids paint in 16 oz bottles rinses out of clothes and off tables with plain water.
⏱ 30 minutes💲 Low costAges 3 and up
Materials Needed
- Blue construction paper or card stock
- White washable paint
- Black and orange paint or markers
- Paintbrushes and a small sponge
- Googly eyes, buttons and a strip of felt for the scarf
How to Make It
Step 1: Brush or sponge a big white puddle in the middle of the blue paper. A blobby oval with drippy edges looks most like melting snow.
Step 2: While the puddle is wet, press on two googly eyes and three buttons so they look like they slid down into the melt.
Step 3: Paint a crooked orange triangle nose lying on its side, plus two thin brown stick arms that droop into the puddle.
Step 4: Add a felt strip as the scarf, trailing off the puddle as if the snowman melted right out of it.
Step 5: Finish with black dots for a surprised mouth, then let the paint dry flat for about an hour.
Tip: A sponge gives the puddle soft, cloudy edges. A brush gives cleaner drips. Let each child pick their tool and the finished pieces will all look different.
2. Melted Snowman Wood Slice Ornament

A big craft supply chest keeps all the decorating bits in one place. The Blue Squid arts and crafts chest holds thousands of pieces including googly eyes, buttons, pom poms and pipe cleaners for faces and scarves.
⏱ 45 minutes plus drying💲 Low costAges 5 and up
Materials Needed
- Wood slices, about 4 to 5 inches wide
- White acrylic paint
- Small wooden ball or large bead for the head
- Black paint pen and orange paint
- Mini scarf (a strip of felt or knitted trim)
- Twigs or brown pipe cleaners for arms
- Craft glue and twine for hanging
How to Make It
Step 1: Paint the top of the wood slice white with a wavy edge so it looks like a puddle of melted snow. Let it dry.
Step 2: Paint the wooden ball white if needed, then draw on two eyes, a smile and rosy cheeks with the paint pen. Add an orange triangle nose.
Step 3: Glue the head near the top of the slice so the snowman looks like it melted down around it.
Step 4: Wrap the mini scarf where the head meets the puddle, and glue on three small black buttons down the front.
Step 5: Push twig or pipe cleaner arms into the sides with glue, then knot twine at the back for hanging.
Tip: A painted wooden ball gives the raised, friendly head in the photo. A big pom pom or a clay ball works too if that is what you have.
3. Melted Snowman Slime
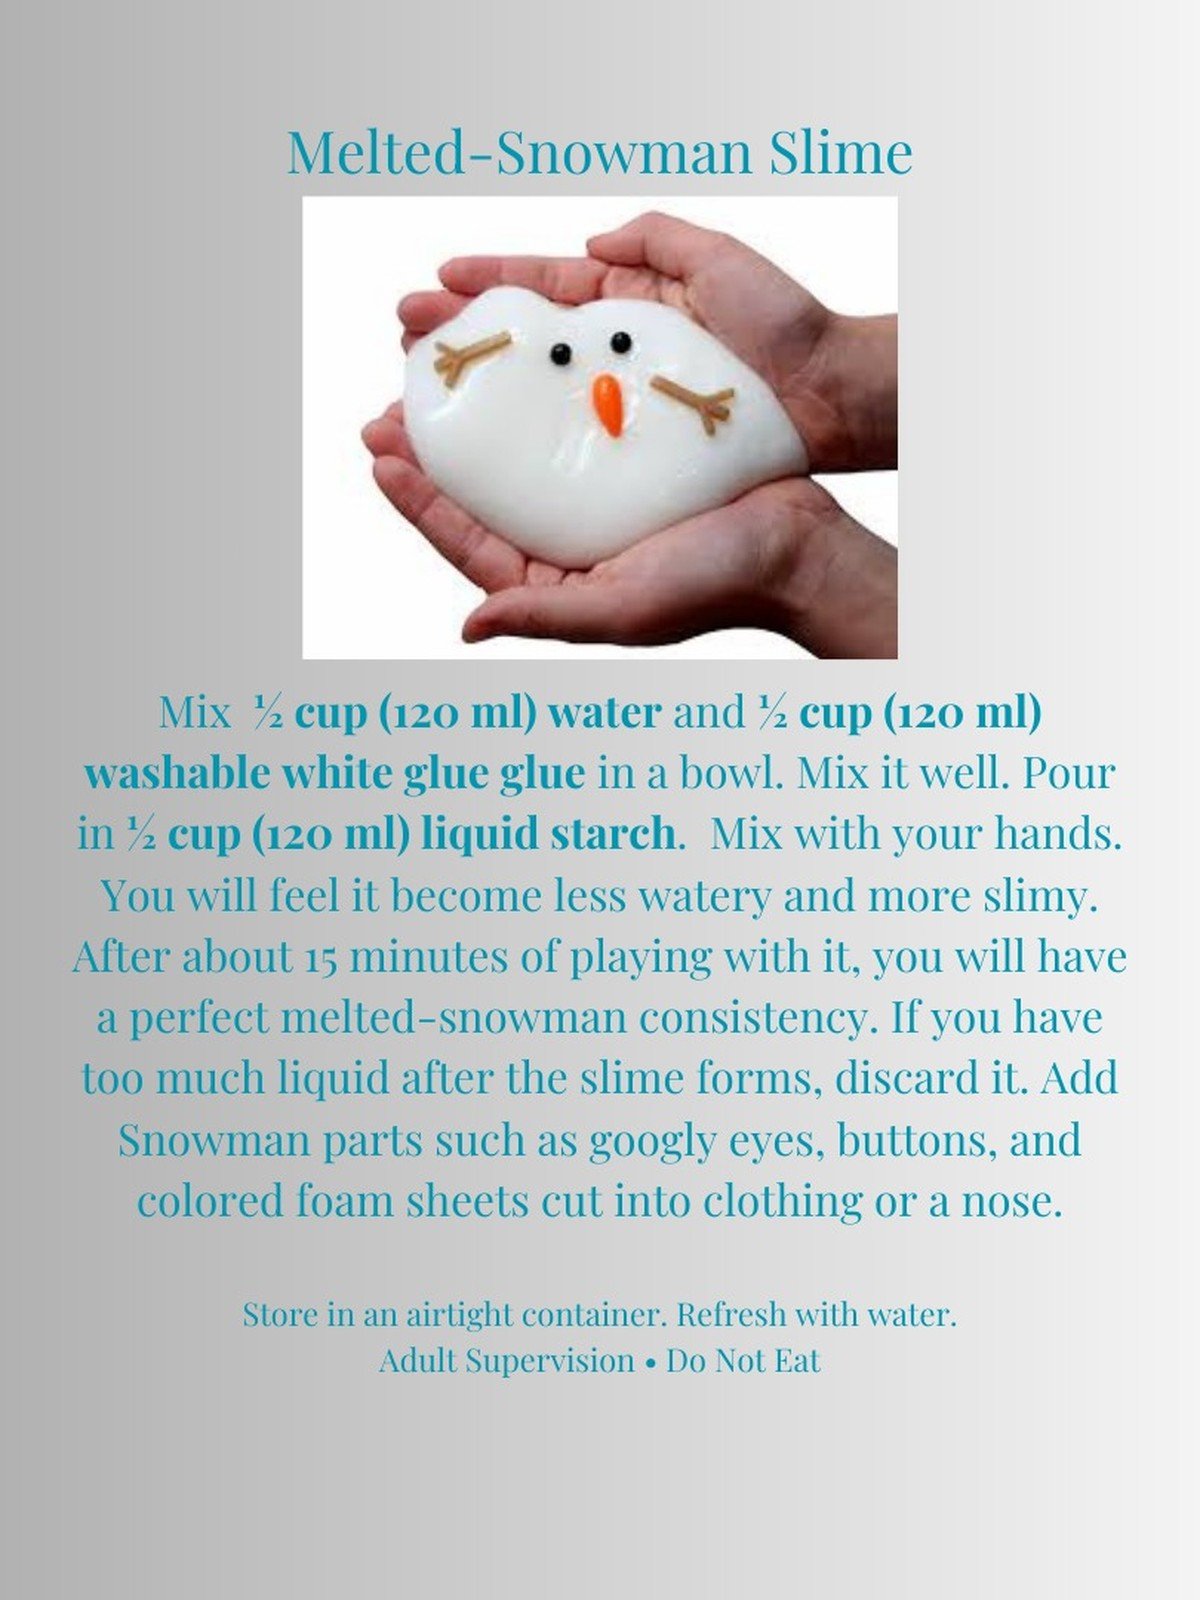
Slime eats glue faster than any other craft. A gallon of Elmer’s white school glue works out far cheaper per batch than small bottles, and it is the same glue the classic recipe is built on.
⏱ 20 minutes💲 Low costAges 4 and up with an adult
Materials Needed
- White school glue
- Slime activator or contact lens solution with baking soda
- Foam beads or fake snow (optional)
- Black beads for eyes and buttons
- Orange foam triangle for the nose
- A mixing bowl and spoon
How to Make It
Step 1: Pour the glue into the bowl and stir in the activator a little at a time until the slime pulls away from the sides.
Step 2: Knead for two minutes. If it sticks, add activator a few drops at a time rather than a big splash.
Step 3: Stretch the slime out flat on a tray so it looks like a melted puddle.
Step 4: Press in black bead eyes and buttons and lay the orange foam nose on top so it looks like the snowman melted into the slime.
Step 5: Store in a sealed container after play so it stays stretchy for the next round.
Tip: Warm hands soften stiff slime. If a batch feels rubbery, let kids hold and stretch it for a few minutes before adding more activator.
4. Step by Step Melted Snowman Ornaments
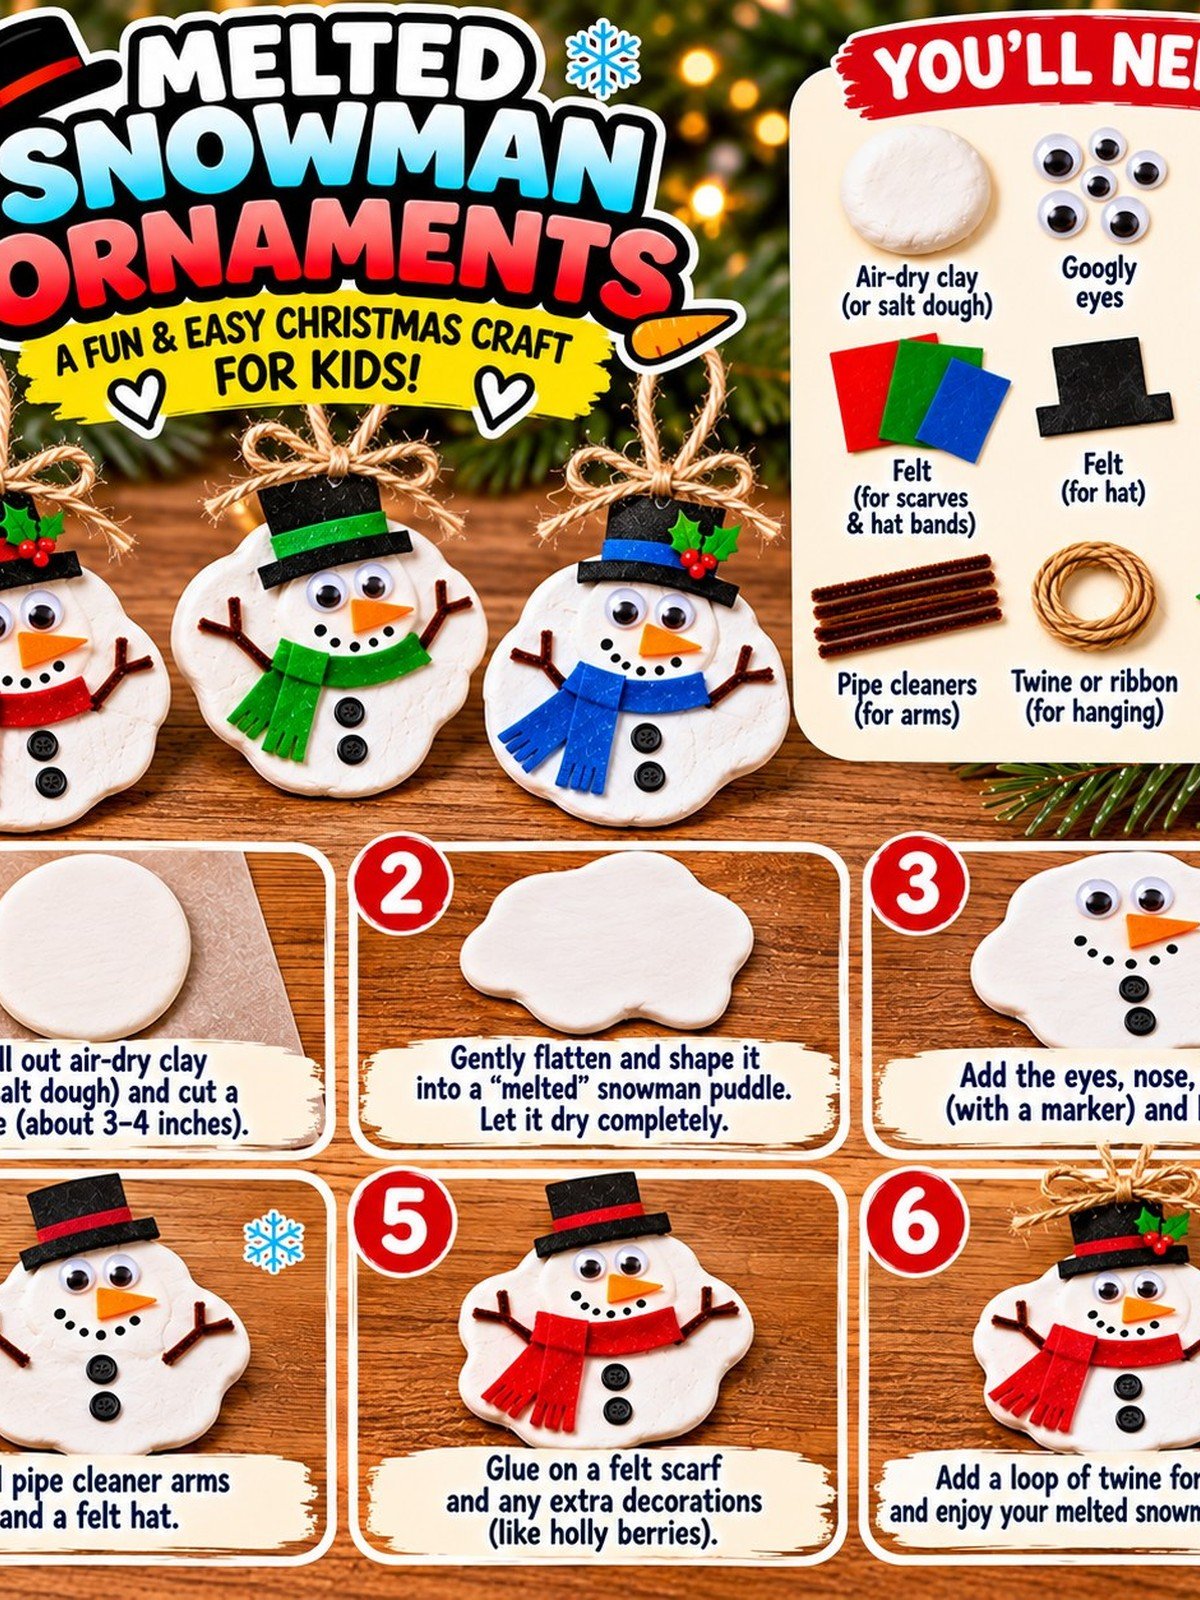
This photo tutorial breaks the melted snowman into four simple stages, which makes it perfect for a classroom table where kids work at different speeds. The finished ornaments use air dry clay or salt dough rolled into a puddle, then decorated with eyes, buttons and felt scarves. Post the steps on the wall and most children can follow along with very little help.
You’ll need: air dry clay or salt dough, googly eyes, small buttons, felt scraps, ribbon for hanging
Best for: classrooms and craft groups that like a visual guide
5. Torn Paper Melted Snowman
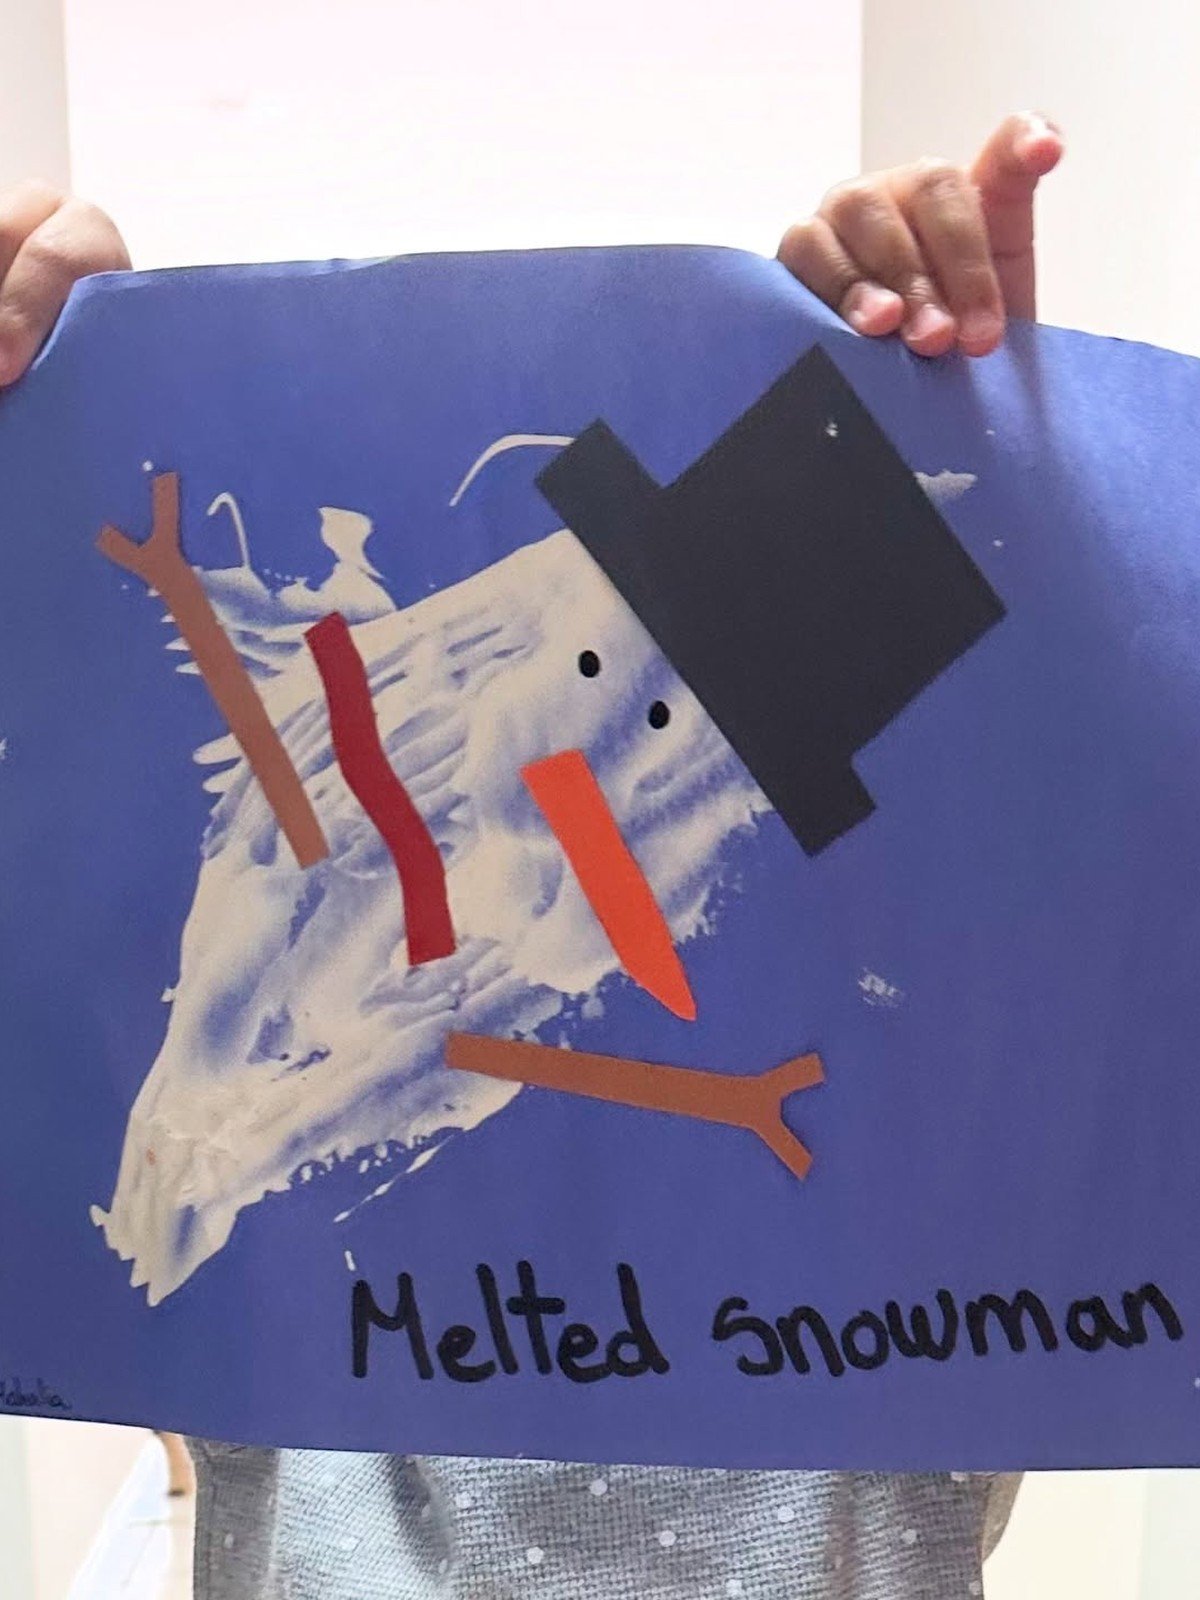
Tearing paper is wonderful fine motor practice, and the ragged edges suit a melting snowman perfectly. Kids tear white paper into a puddle and a round head, glue both onto a wooden board or card, then add drawn or stuck on features. No scissors and no paint means this is the cleanest idea on the whole list.
You’ll need: white paper, glue stick, card or a thin board, markers or paper scraps for the face
Best for: toddlers and preschoolers building scissor free skills
6. Paper Collage Melted Snowman
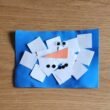
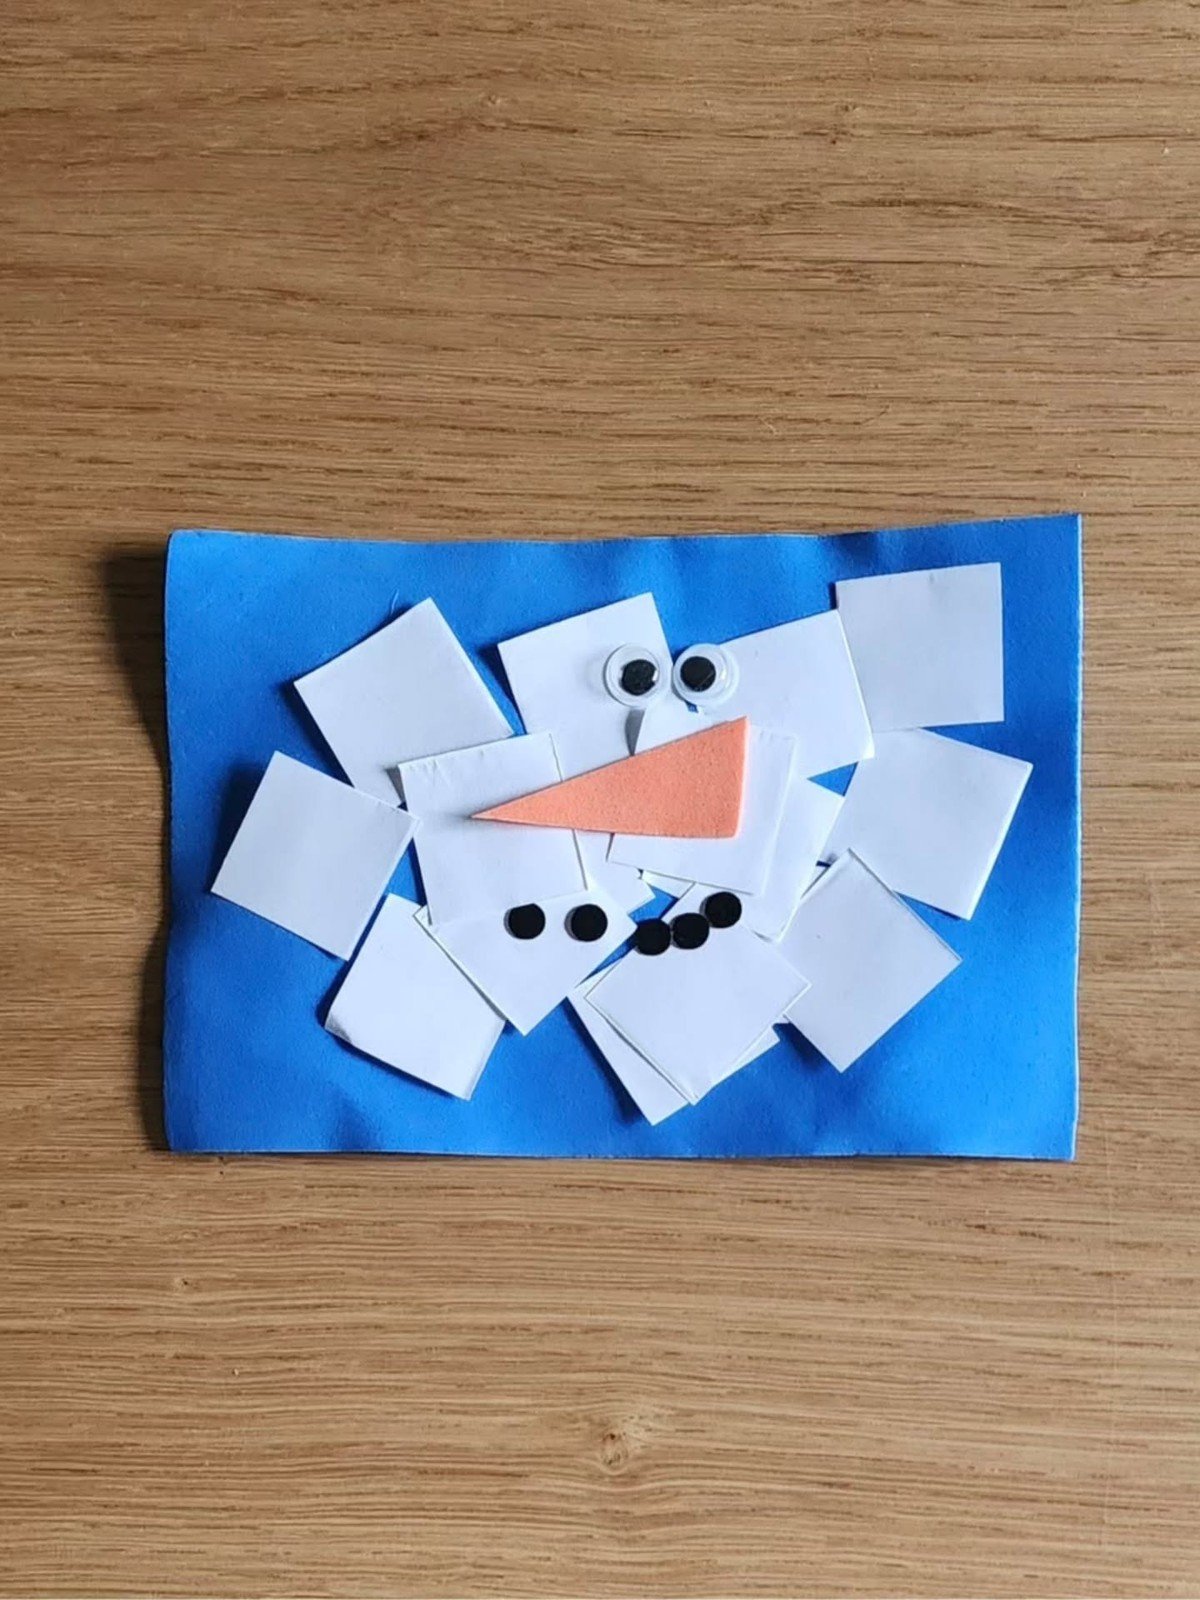
Cutting or tearing white paper into squares and scraps is wonderful fine motor practice, and the jumbled pieces suit a melting snowman perfectly. Kids arrange the white pieces into a puddle shape on blue card, glue them down, then add googly eyes, buttons and a big orange nose on top. No paint means this is the cleanest idea on the whole list.
You’ll need: white paper cut or torn into pieces, blue card, glue stick, googly eyes, buttons, orange paper
Best for: a quick school art lesson with a display ready finish
7. Ceramic Melted Snowman Ornaments
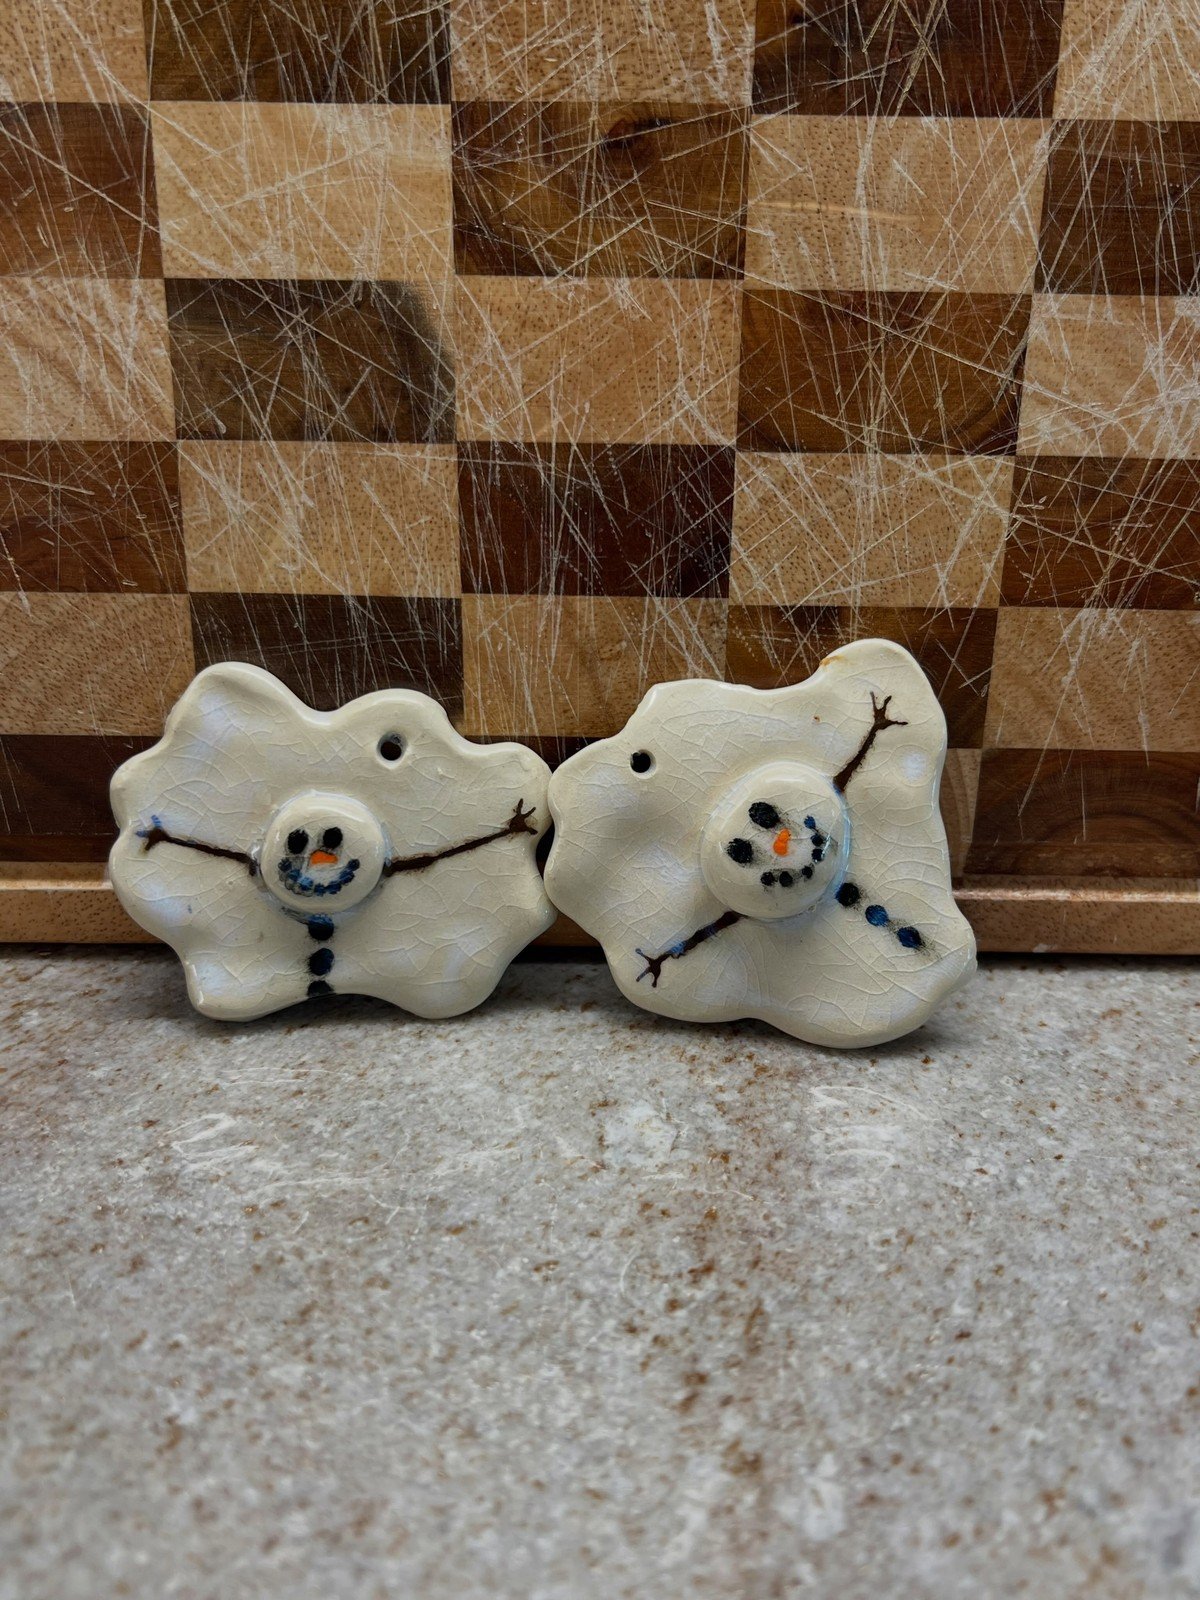
For a longer lasting keepsake, shape the puddle from clay and let it harden into a ceramic style ornament. Each one has an irregular wavy edge, a simple face and a ribbon loop. These take more drying time than the paper versions, so plan them as a two day project with painting on day two.
You’ll need: air dry clay, rolling pin, ribbon, acrylic paint, clear sealer (adult step)
Best for: gifts for grandparents and family keepsakes
8. Close Up Melted Snowman Painting
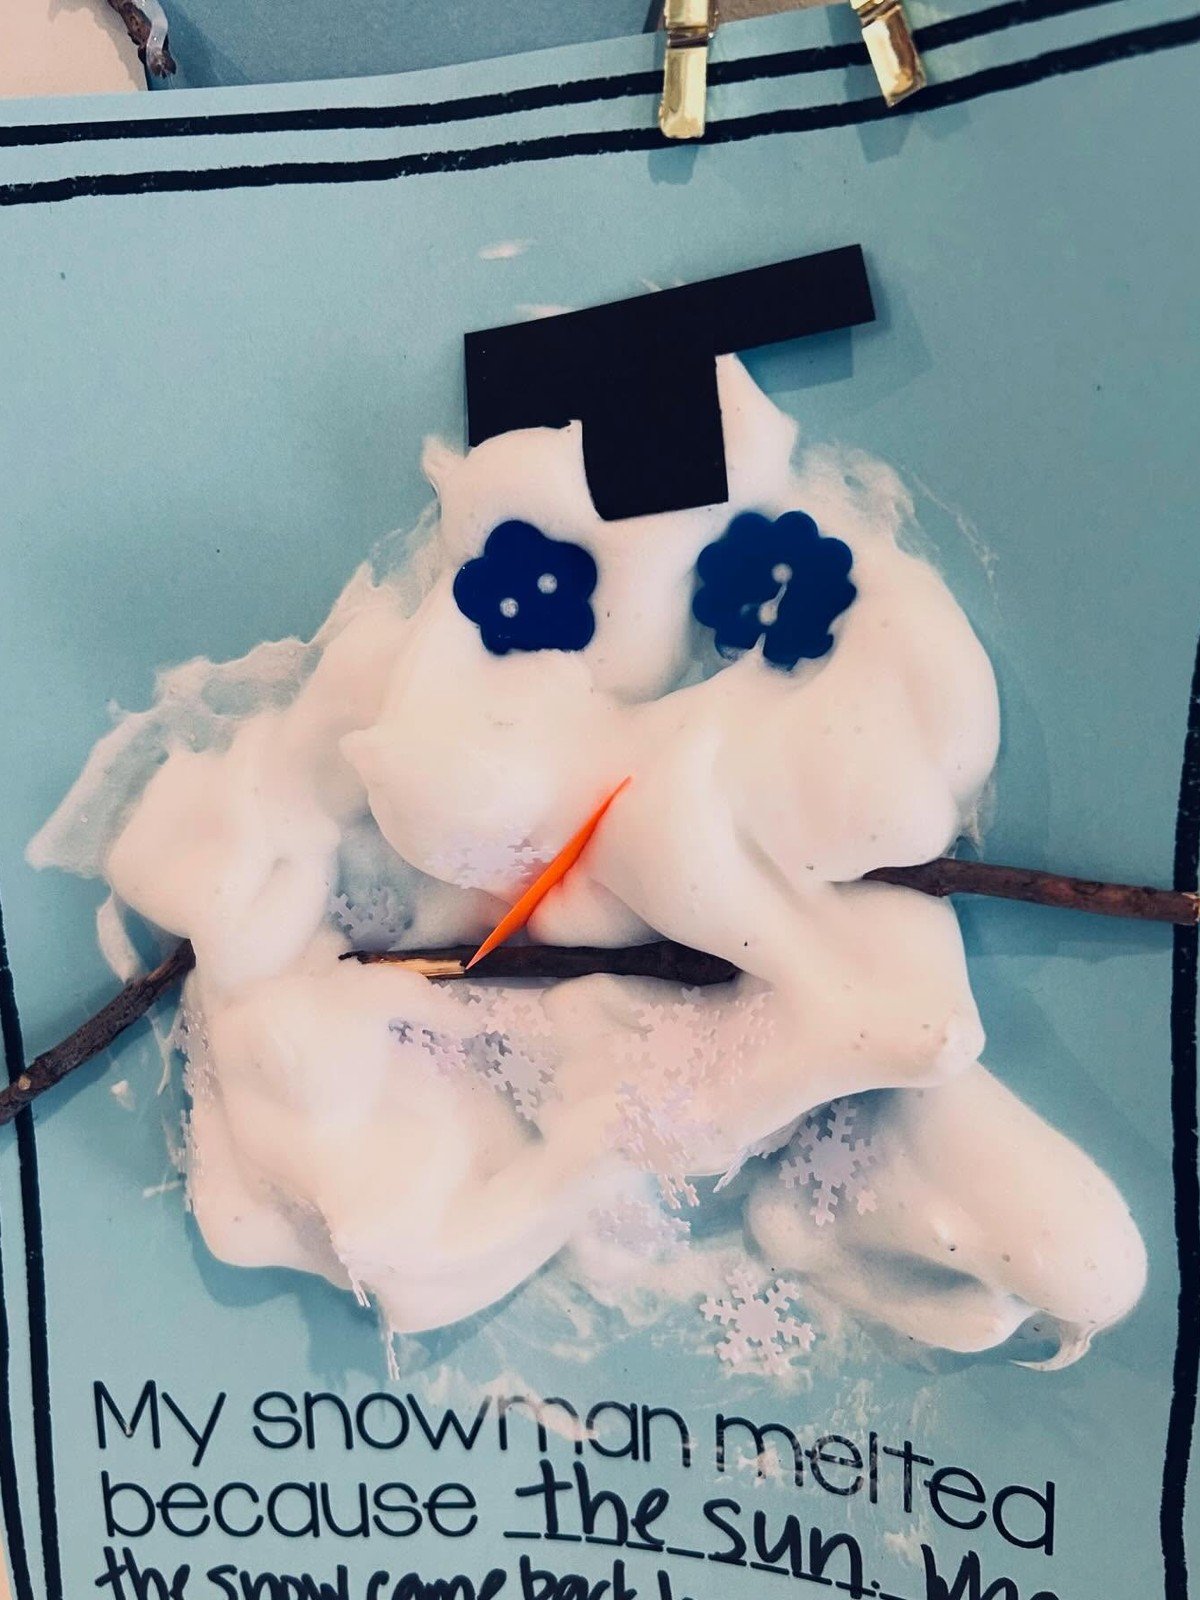
Zooming in on one big snowman face makes this version extra friendly for younger children. One large puddle fills most of the page, leaving plenty of room for oversized eyes, a big carrot nose and chunky buttons that small hands can place without frustration.
You’ll need: light blue paper, white paint, large googly eyes, orange paper, buttons
Best for: young kids who do better with big, simple shapes
9. Class Set of Melted Snowmen
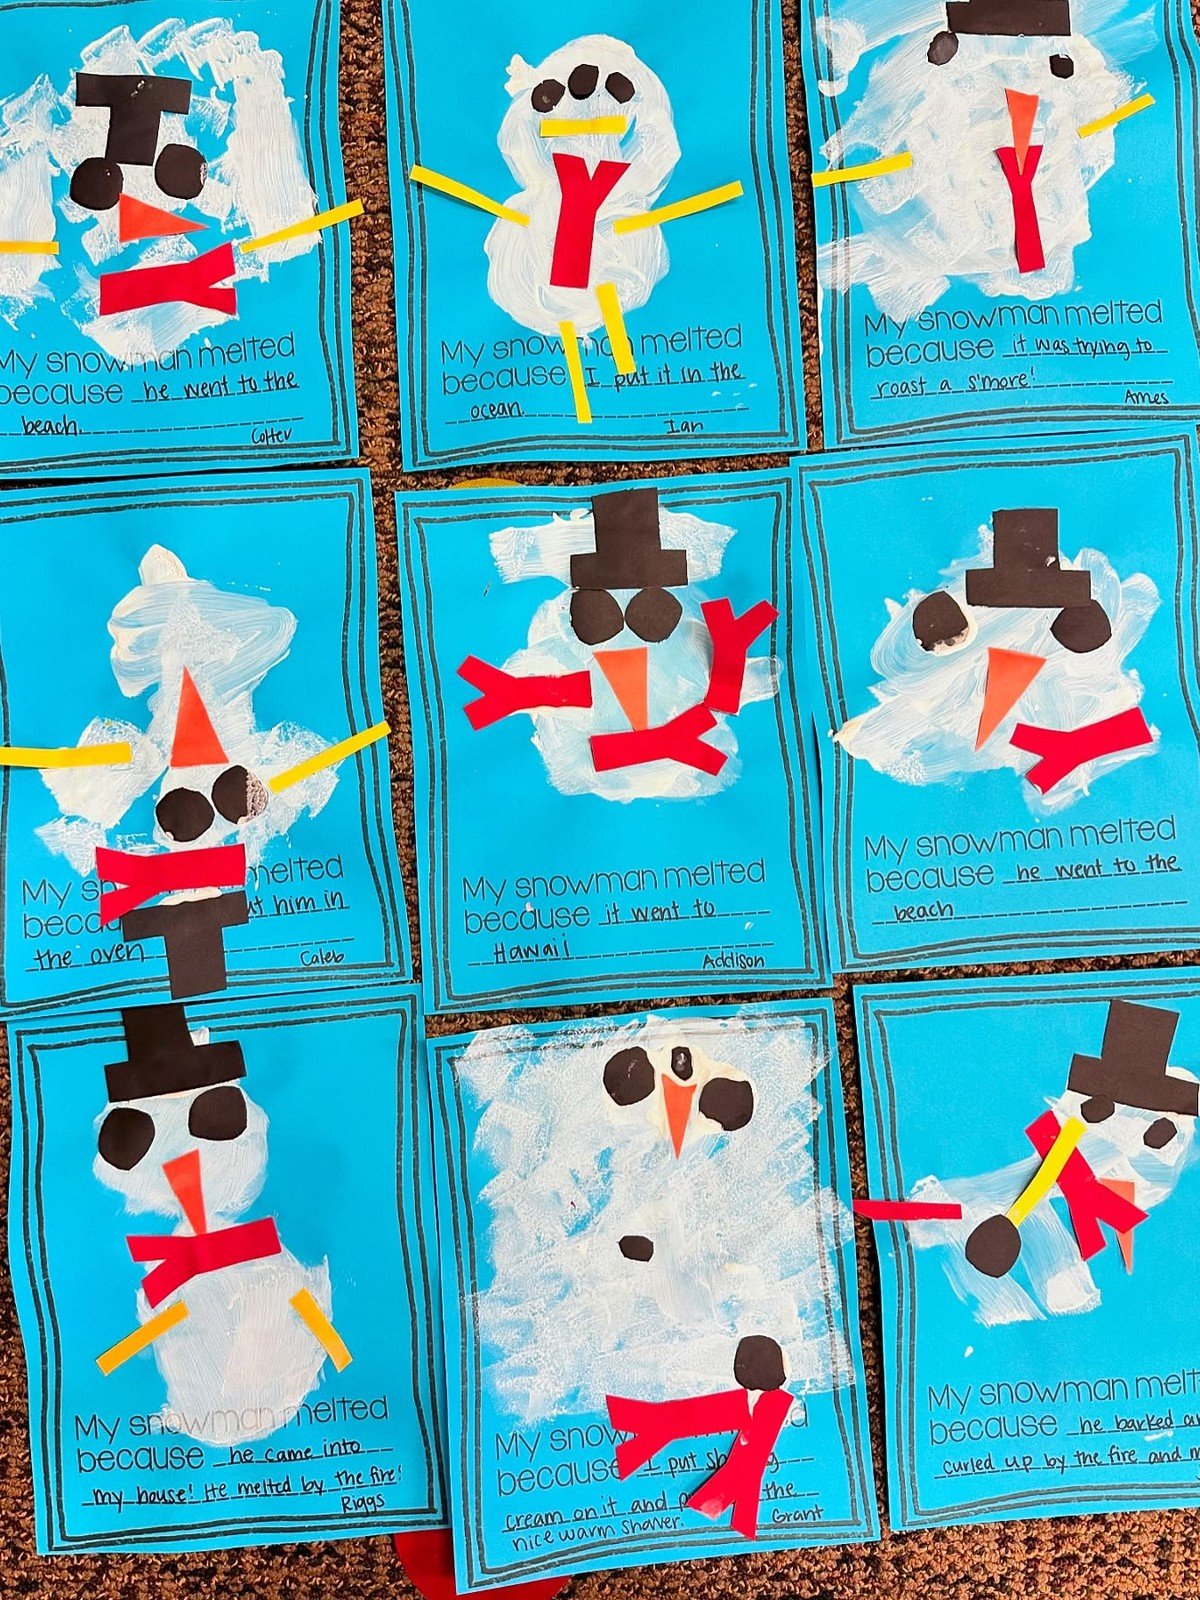
Nine snowmen in a grid show just how different the same simple instructions can turn out. Give every child the same blue paper, white paint and feature basket, then compare the results at the end. It is a lovely way to show that there is no wrong way to melt a snowman.
You’ll need: blue paper for each child, white paint, shared basket of eyes, buttons and paper scraps
Best for: whole class projects and group displays
10. Melted Snowman Glass Ornaments
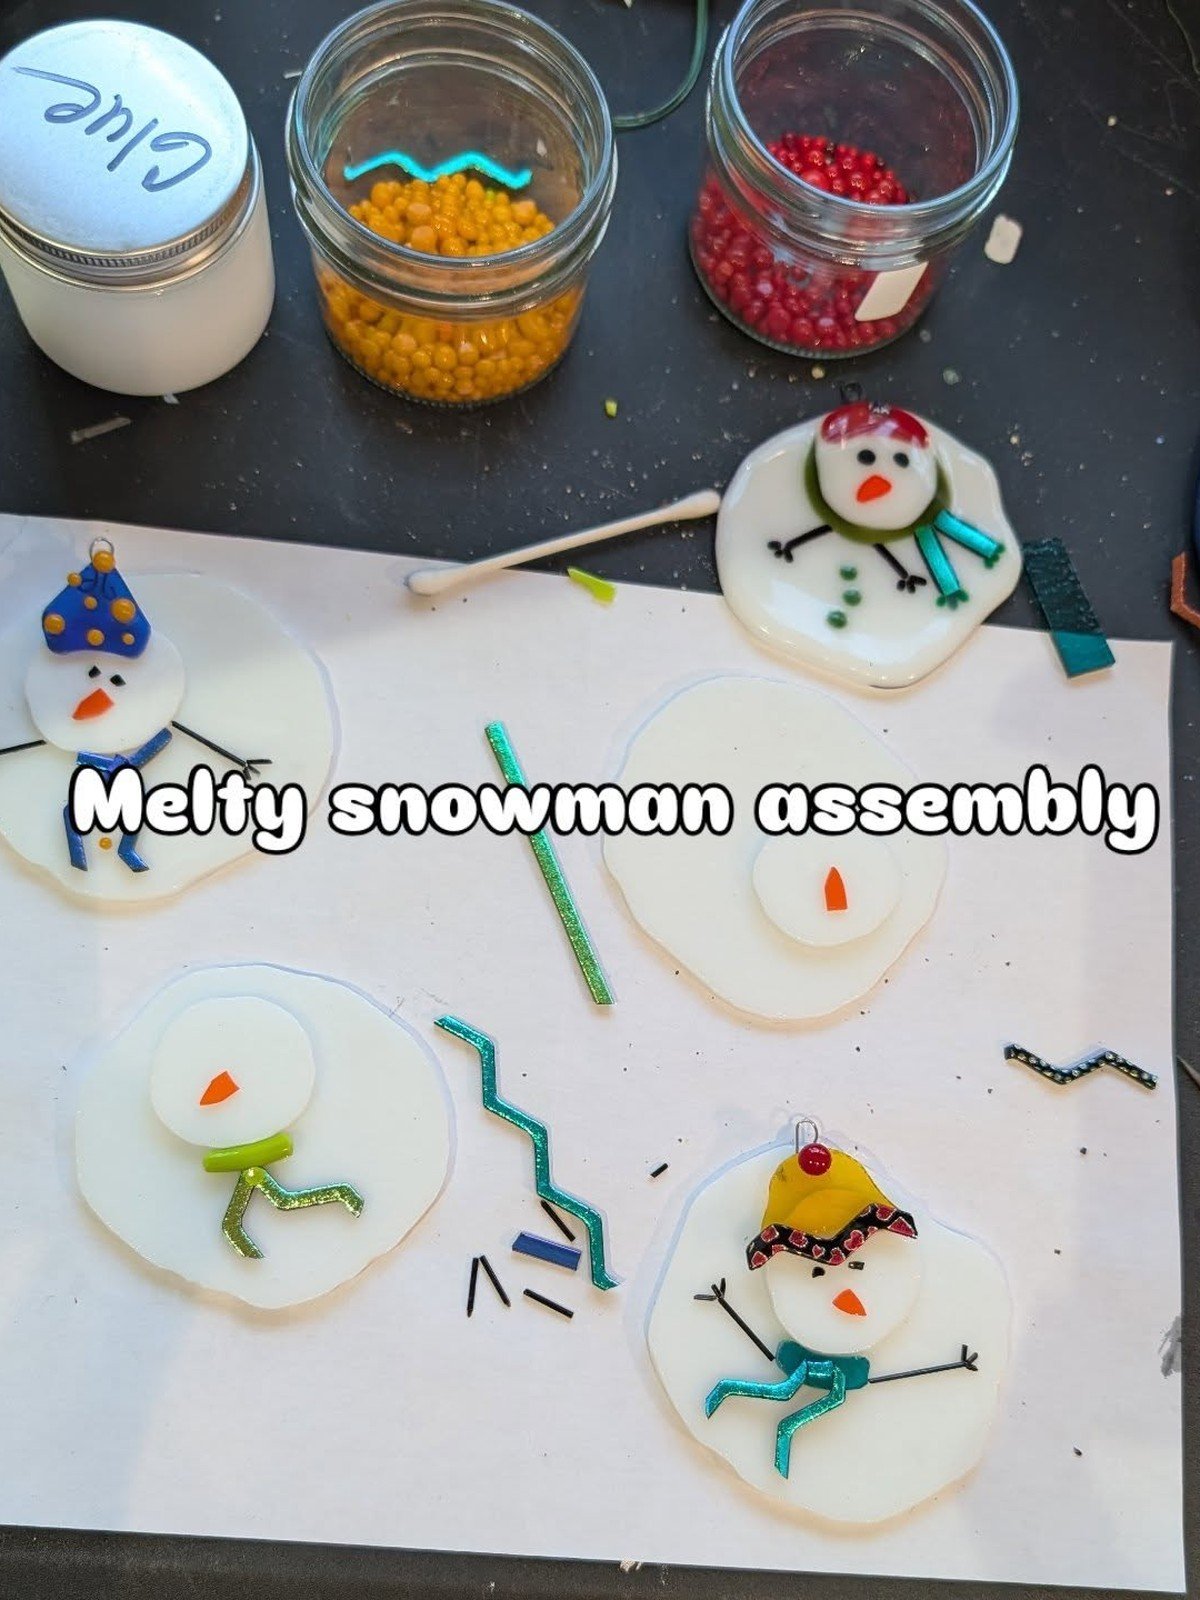
Clear fillable ornaments turn the melted snowman into a 3D scene. White paint or fake snow goes inside the ball, and the face is added with paint pens on the outside so it looks like the snowman melted inside the glass. Keep these for older kids, since the ornaments are breakable.
You’ll need: clear fillable ornaments, white paint or fake snow, paint pens, ribbon
Best for: older kids and family craft nights
11. Melted Snowmen on Black Paper
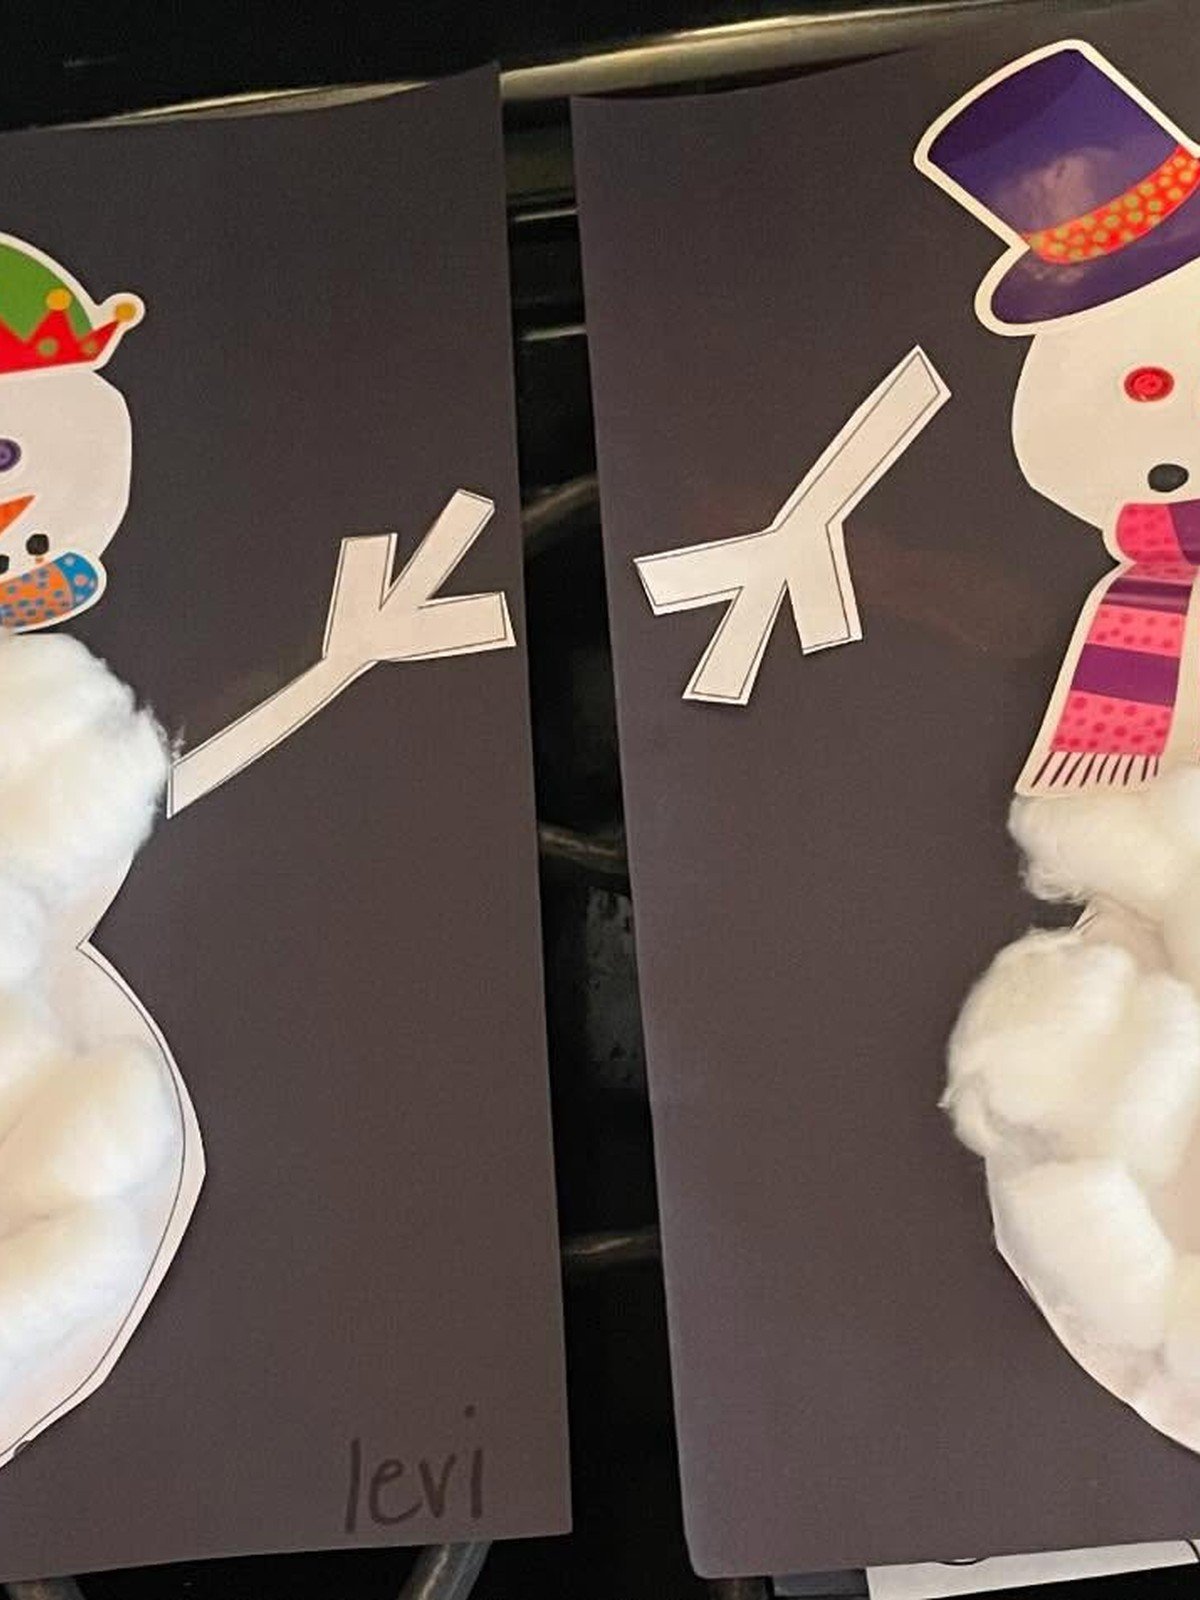
Swapping blue paper for black makes the white snowman glow like a night scene. White paint or chalk style markers give soft edges, and bright scarves and noses stand out even more. This is a fun twist for kids who have already made the classic blue version.
You’ll need: black construction paper, white paint or chalk markers, colored paper scraps, glue
Best for: a fresh second round for kids who loved idea 1
12. Melted Snowman Keepsake Craft
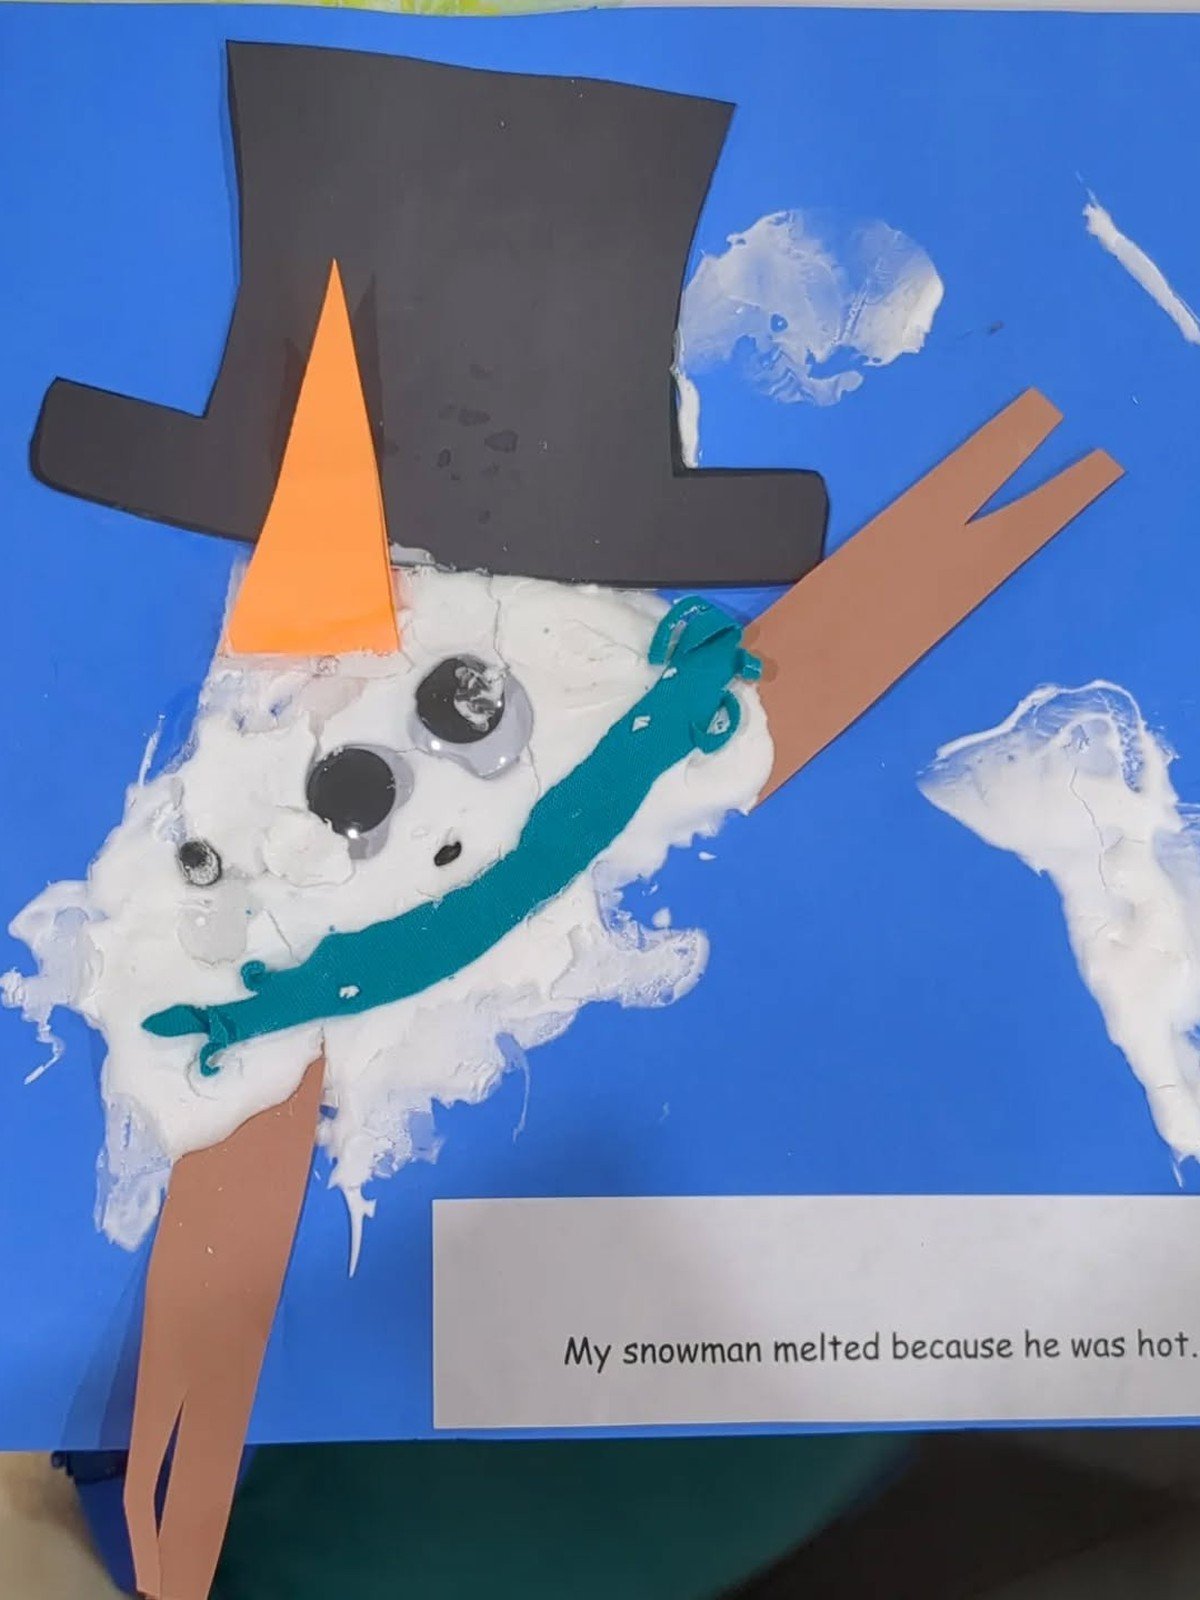
This sweet version on blue paper is made to be kept. The puddle, face and scarf are all simple shapes, and there is room at the bottom to write the child’s name and the year. Slip it into a page protector and it becomes a December memory you can bring out every Christmas.
You’ll need: blue construction paper, white paint, felt or paper scarf, marker for the name and year
Best for: parents who save one craft from every Christmas
13. Four Step Melted Snowman Tutorial Craft
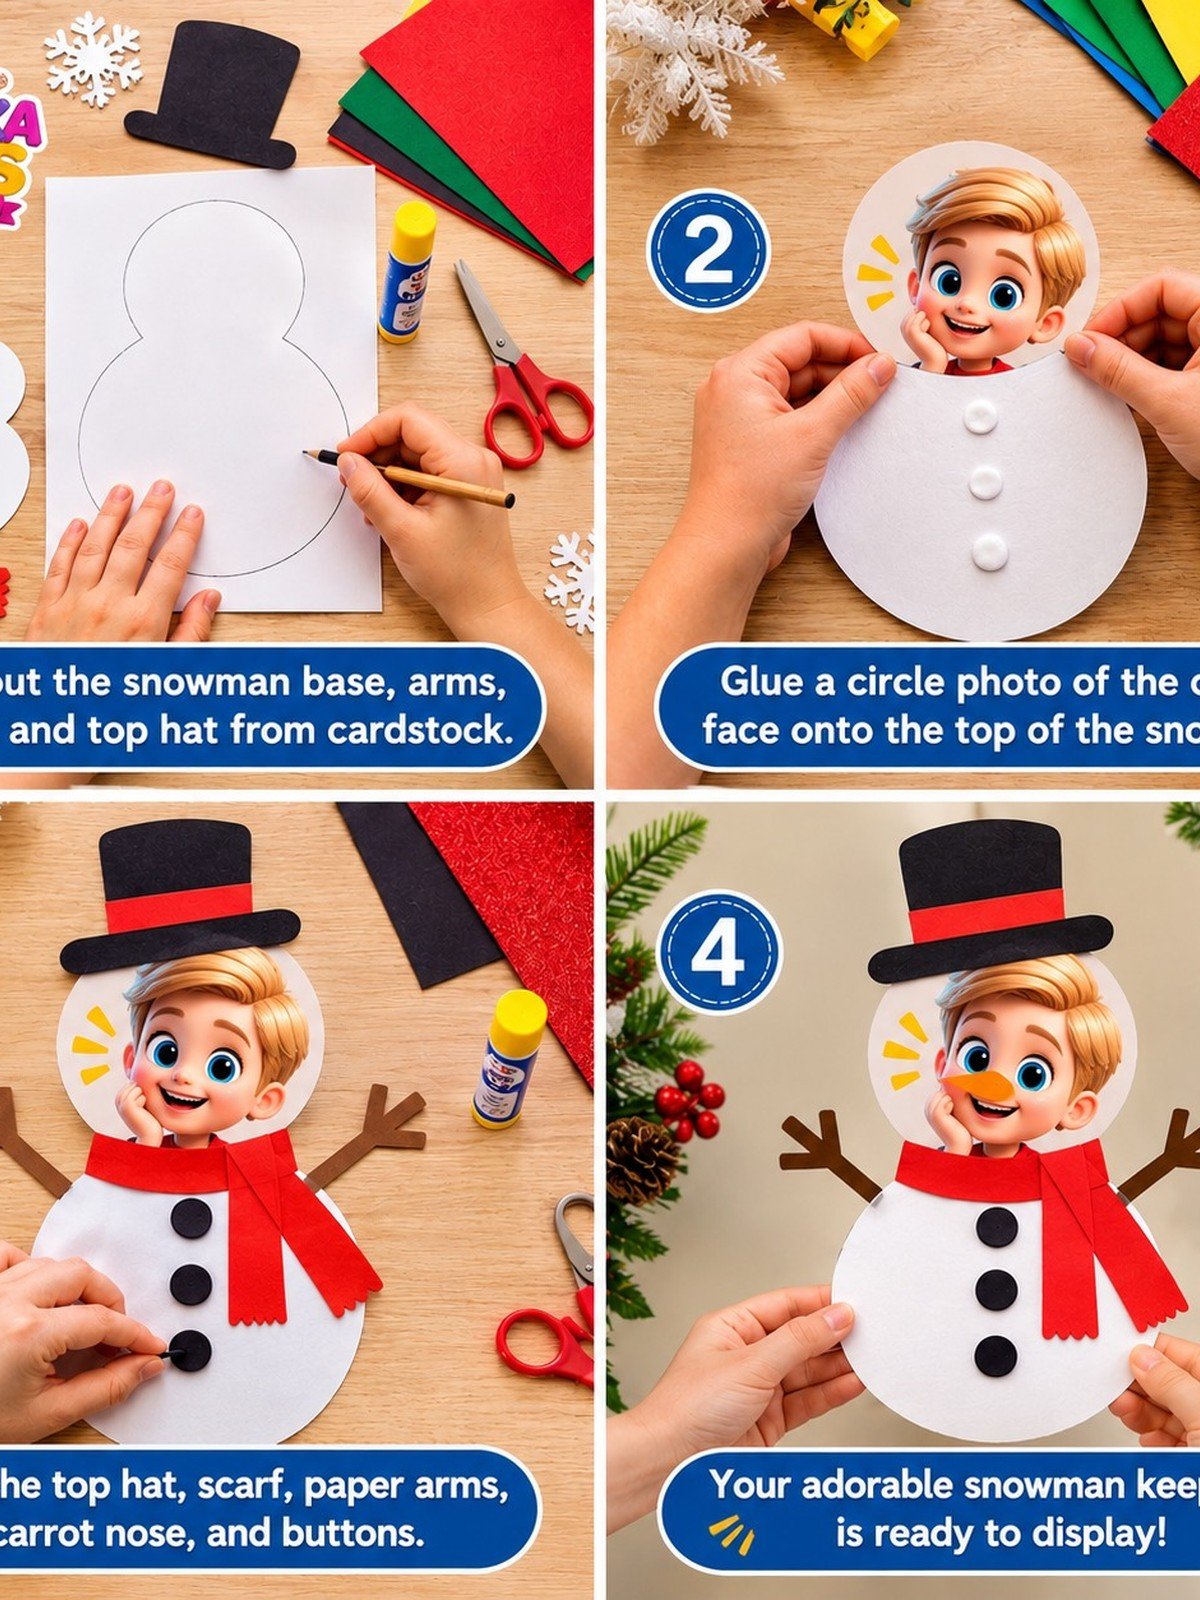
This four step visual tutorial walks kids through puddle, head, face and scarf in order, so nobody gets lost halfway. It works well as a printable station card or a projected guide at the front of the room while everyone crafts along together.
For a group following steps at the same pace, spill proof paint pots stop the usual mid craft spills. The Crayola spill proof paint set has semi solid paint that stays in the pot until the brush touches it.
Safety note: Small parts like googly eyes, beads and buttons are choking hazards for children under 3, so swap them for large paper shapes for toddlers. Slime should be made and supervised by an adult, and hands should be washed after playing with it.
You’ll need: paper, paint, brush, googly eyes and buttons
Best for: guided group crafting and homeschool tables
Frequently Asked Questions
What age are melted snowman crafts best for?
Most of these ideas suit ages 3 and up. Toddlers do best with the torn paper and big painting versions, while wood slices, clay and glass ornaments suit ages 5 and older with an adult nearby.
What is the easiest melted snowman craft for a classroom?
The classic painted version on blue paper is the easiest to run for a group. It needs only paint, paper and a shared basket of eyes and buttons, and every child can finish within one lesson.
How do I make the puddle look like it is really melting?
Give the puddle an uneven edge with two or three drip shapes, tip the nose and scarf sideways, and let the buttons slide down in a loose line. Those small details sell the melted look.
Can I make these without paint?
Yes. The torn paper version uses only paper and glue, and a white paper plate or white felt puddle works too. Collage features cut from colored paper keep the whole project paint free.
How long do melted snowman crafts take to dry?
Thin paint on paper is usually dry within an hour. Clay ornaments need 24 to 48 hours depending on thickness, and slime is ready as soon as it is mixed.
What can I use instead of googly eyes?
Black paper circles, drawn eyes, black beads for older kids, or small black pom poms all work. For toddlers, drawn or large paper eyes are the safest swap.
Final Thoughts on Melted Snowman Craft Ideas for Kids
A melted snowman is proof that a craft does not need to be perfect to be loved. The puddle shape welcomes every age and skill level, and no two snowmen ever melt in quite the same way.
Start with the painted classic, then try the wood slice or slime when you want a second round. Keep a few photos of each year’s snowmen and you will have a funny little timeline of growing hands and growing confidence.