

This post may contain affiliate links. Please read my disclosure policy.
In This Article Show
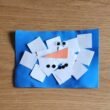
Puffy paint is the craft supply that behaves like snow. It goes on soft and foamy, dries raised and spongy, and makes a melted snowman look like it is genuinely sinking into a puddle.
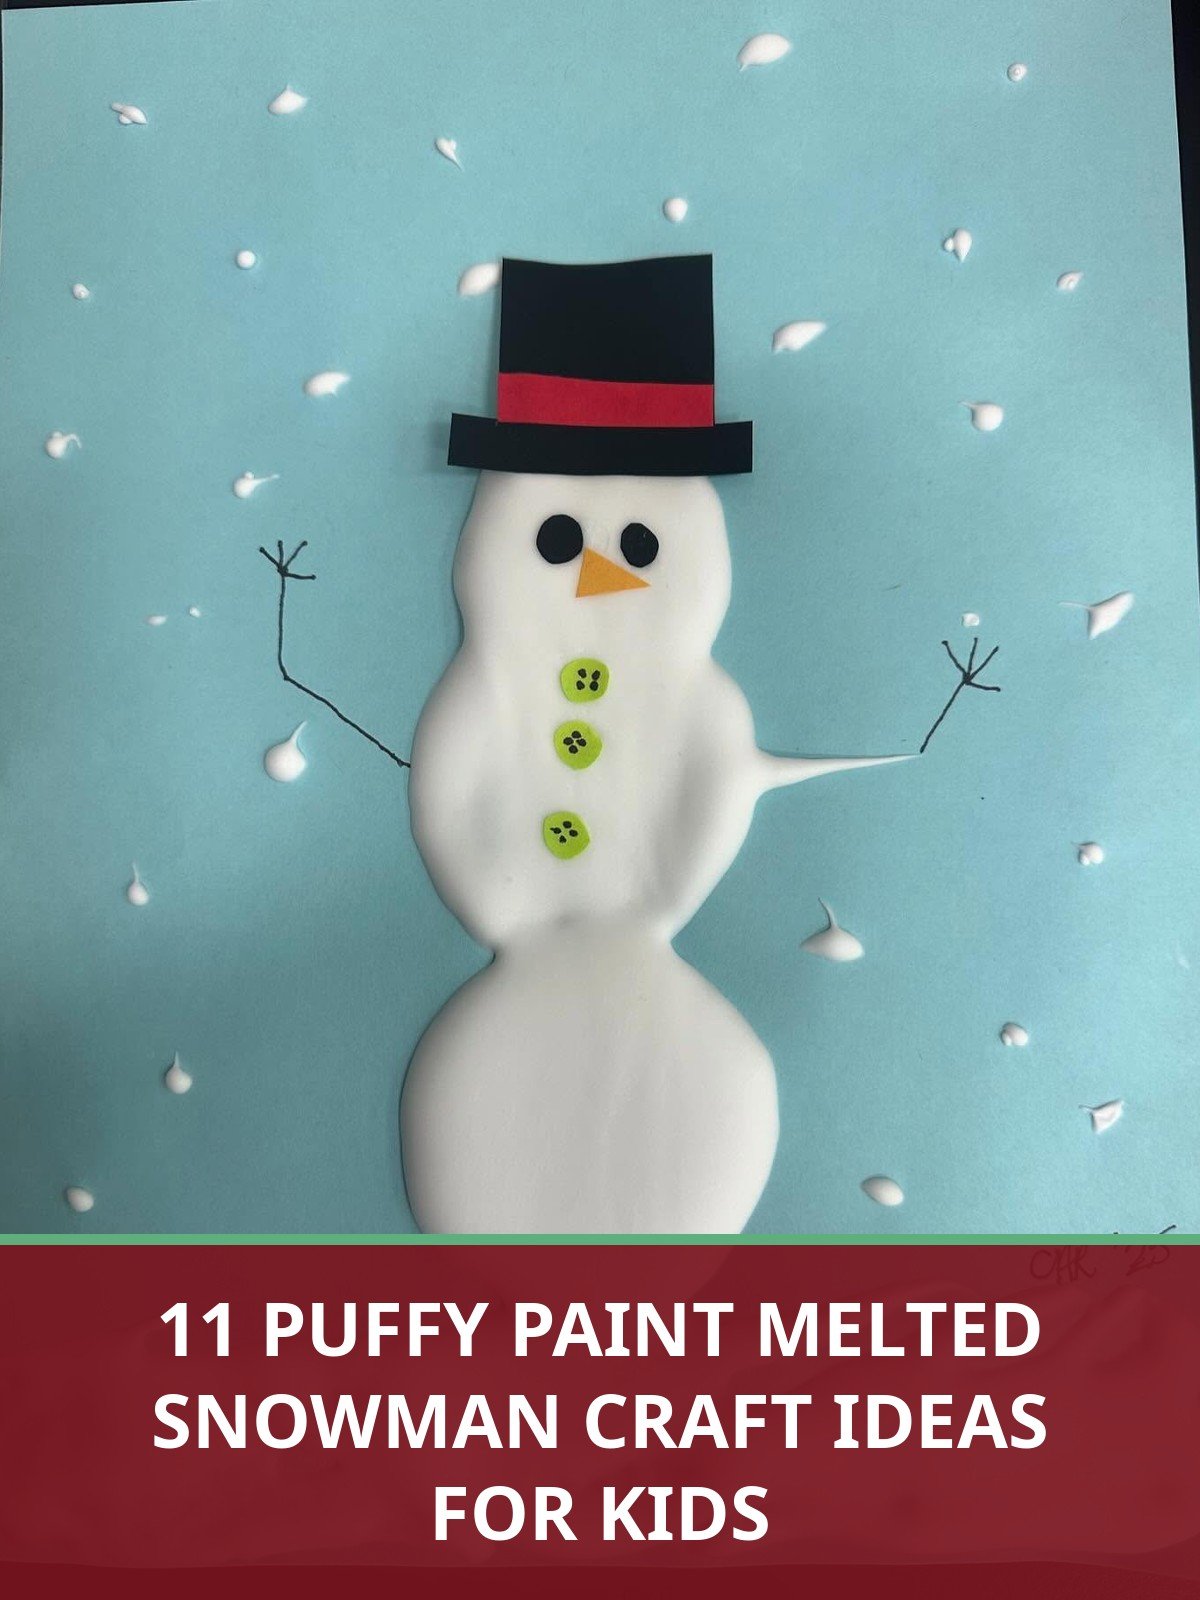
This puffy paint melted snowman craft guide focuses on the technique itself. You will find the classic two ingredient recipe first, then a tray activity and a shaving cream version with full steps, followed by eight more finished looks to copy.
The recipe takes about ten minutes to mix and uses supplies most classrooms and kitchens already have. The one rule that matters is foam shaving cream, never gel, because the foam is where the puff comes from.
Work through the recipe once and every idea after it becomes easy. Thick paper, a flat drying spot and a little patience are all the technique really asks for.
Quick Picks
- 1. Start here: The Classic Puffy Paint Recipe (idea 1) is the two ingredient mix every other idea uses.
- 2. Best for toddlers: Puffy Paint Snowman Tray Activity (idea 2) contains the mess and moves wet art safely.
- 3. Best sensory version: Shaving Cream Puffy Snowman (idea 3) dries soft and spongy with a cotton ball snow base.
1. The Classic Puffy Paint Recipe
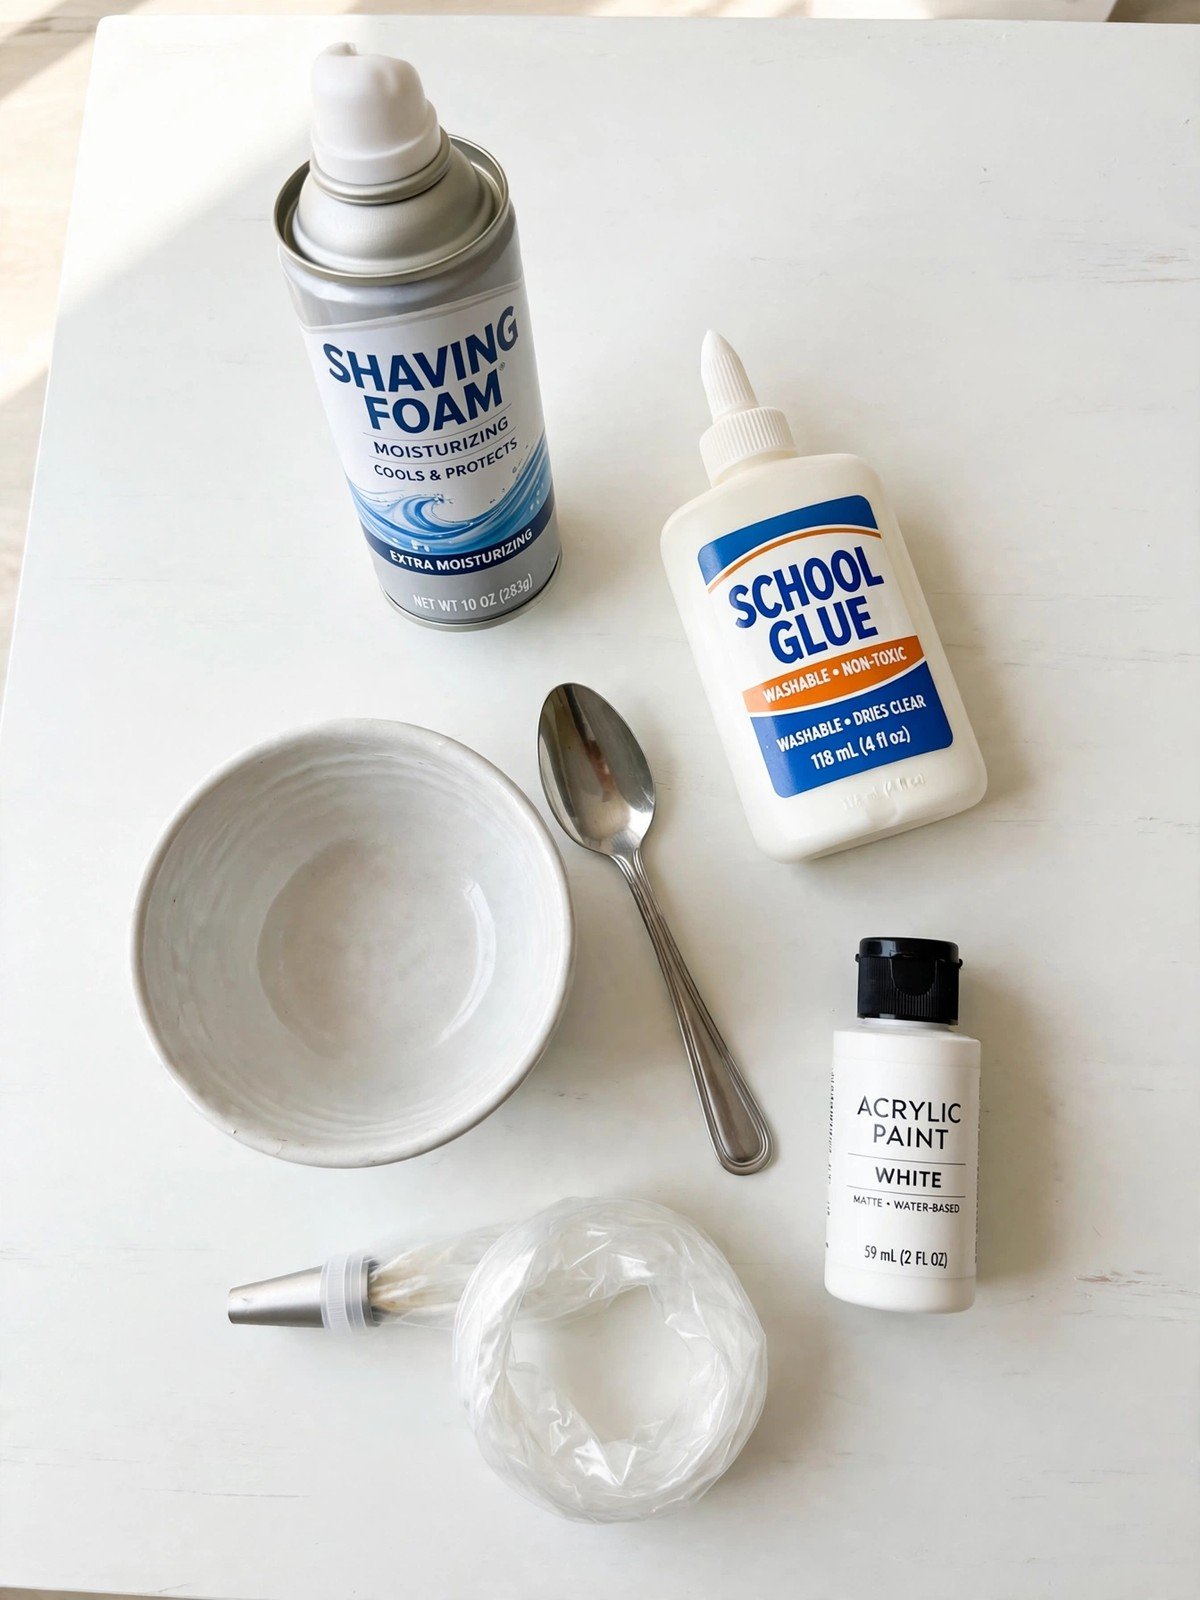
The recipe uses glue by the cupful when a class joins in. Elmer’s white school glue in a gallon size is the economical base, and classic Barbasol foam shaving cream gives the reliable lift that gel formulas cannot.
⏱ 10 minutes to mix💲 Low costThe base for every idea below
Materials Needed
- White school glue
- Foam shaving cream (white foam, not gel)
- A spoonful of white acrylic or tempera paint
- Mixing bowl and spoon
- Thick construction paper or card
- Squeeze bottle or piping bag
How to Make It
Step 1: Measure equal parts glue and shaving foam into the bowl. One cup of each makes enough for several snowmen.
Step 2: Fold the two together gently with the spoon. Stirring hard knocks the air out, and the air is what makes the paint puffy.
Step 3: Fold in a spoonful of white paint. This step is optional, but it makes the dried snow brighter and a little stronger.
Step 4: Spoon the mix into a squeeze bottle or piping bag, or simply use it straight from the bowl with brushes.
Step 5: Test one small puddle on scrap paper. It should hold soft peaks. If it slumps, fold in a little more foam.
Tip: Mix the batch right before the craft session. Puffy paint slowly deflates as it sits, and a fresh mix gives the tallest, softest snow.
2. Puffy Paint Snowman Tray Activity
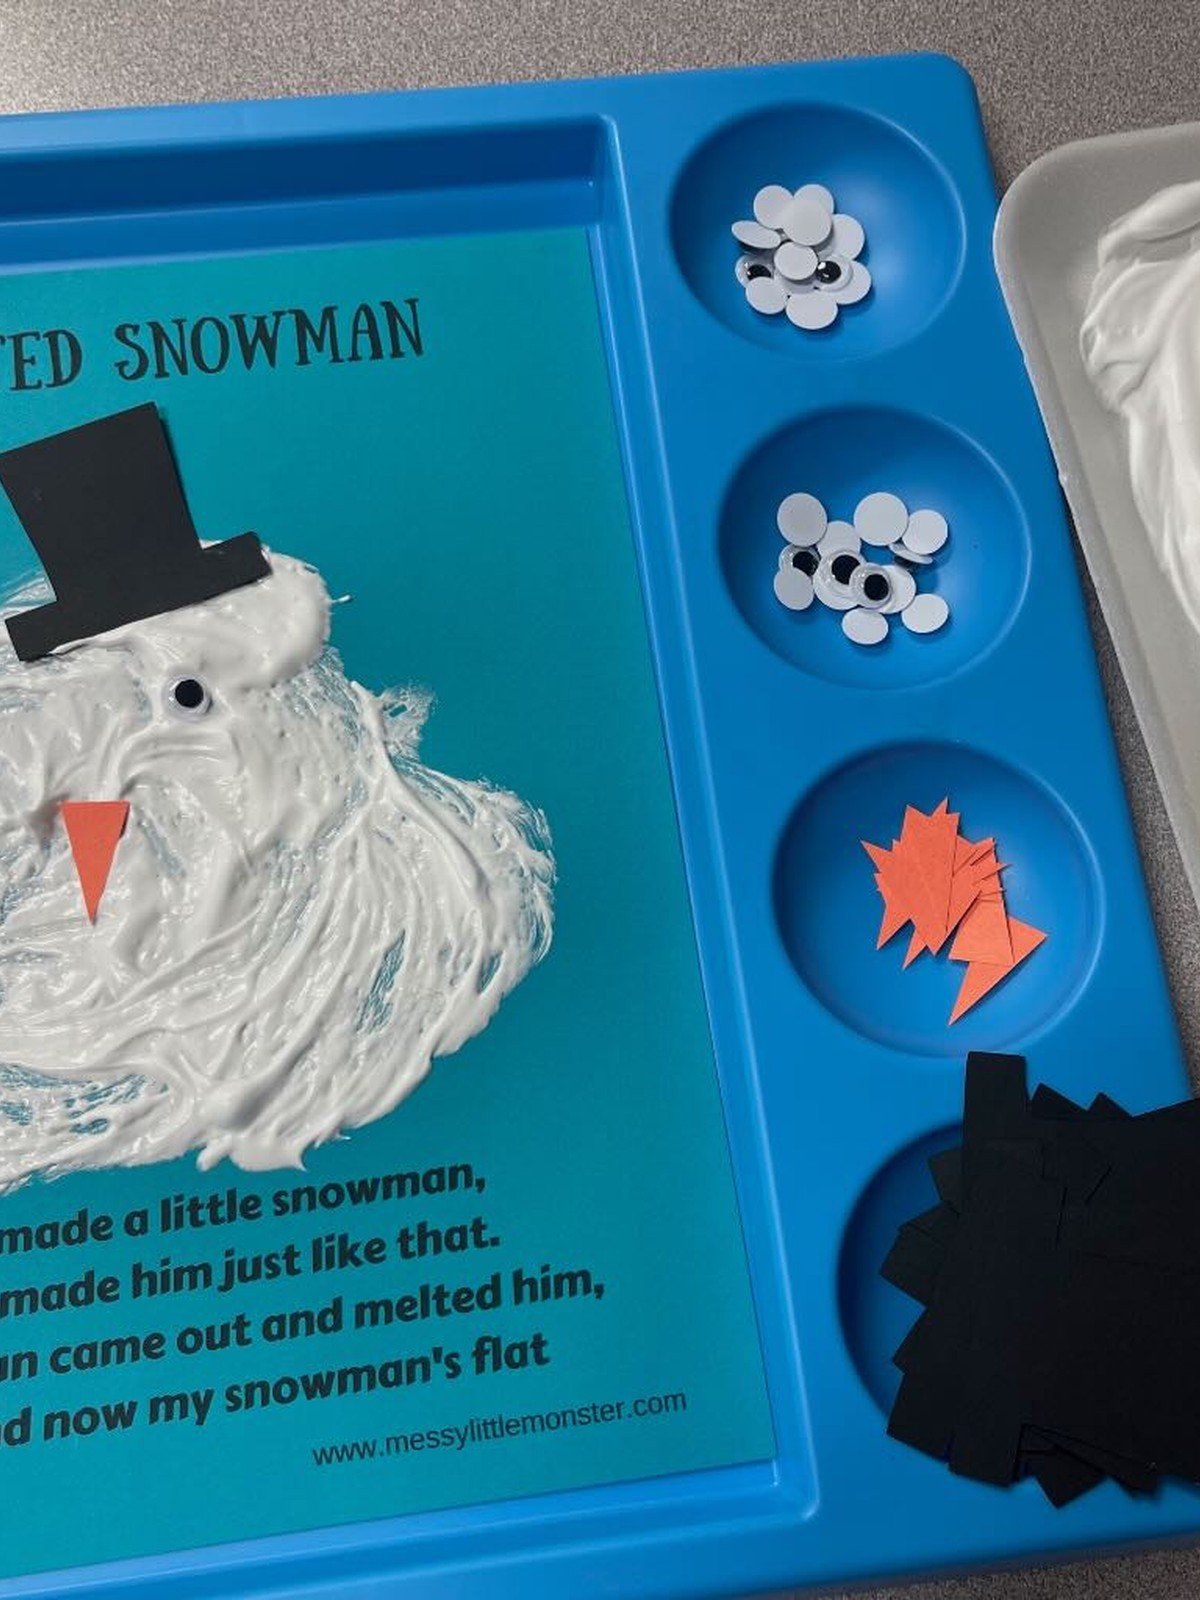
Squeeze bottles turn this from a painting activity into a piping activity, which younger kids control much better. These 4 oz squeeze bottles in a 32 pack are sized for small hands and rinse clean for the next session.
⏱ 25 minutes plus drying💲 Low costAges 3 and up
Materials Needed
- Fresh puffy paint from idea 1
- A tray or shallow box per child
- Blue card or paper taped inside the tray
- Paper scarf, nose and hat cutouts
- Googly eyes and small buttons
How to Make It
Step 1: Tape a sheet of blue card inside each tray. The tray catches drips and makes the artwork easy to move while wet.
Step 2: Pipe or spoon a melted puddle shape in the middle of the card, then add a smaller round puddle above it for the head.
Step 3: Press the paper scarf, nose and hat pieces gently onto the wet paint so they stick as it dries.
Step 4: Add googly eyes and buttons by pressing them into the thickest parts of the paint.
Step 5: Slide the whole tray somewhere flat and leave the snowman to dry for a full day before peeling hands anywhere near it.
Tip: Put the paper face pieces on while the paint is wettest. The drying puffy paint grips them like glue, so no extra adhesive is needed.
3. Shaving Cream Puffy Snowman
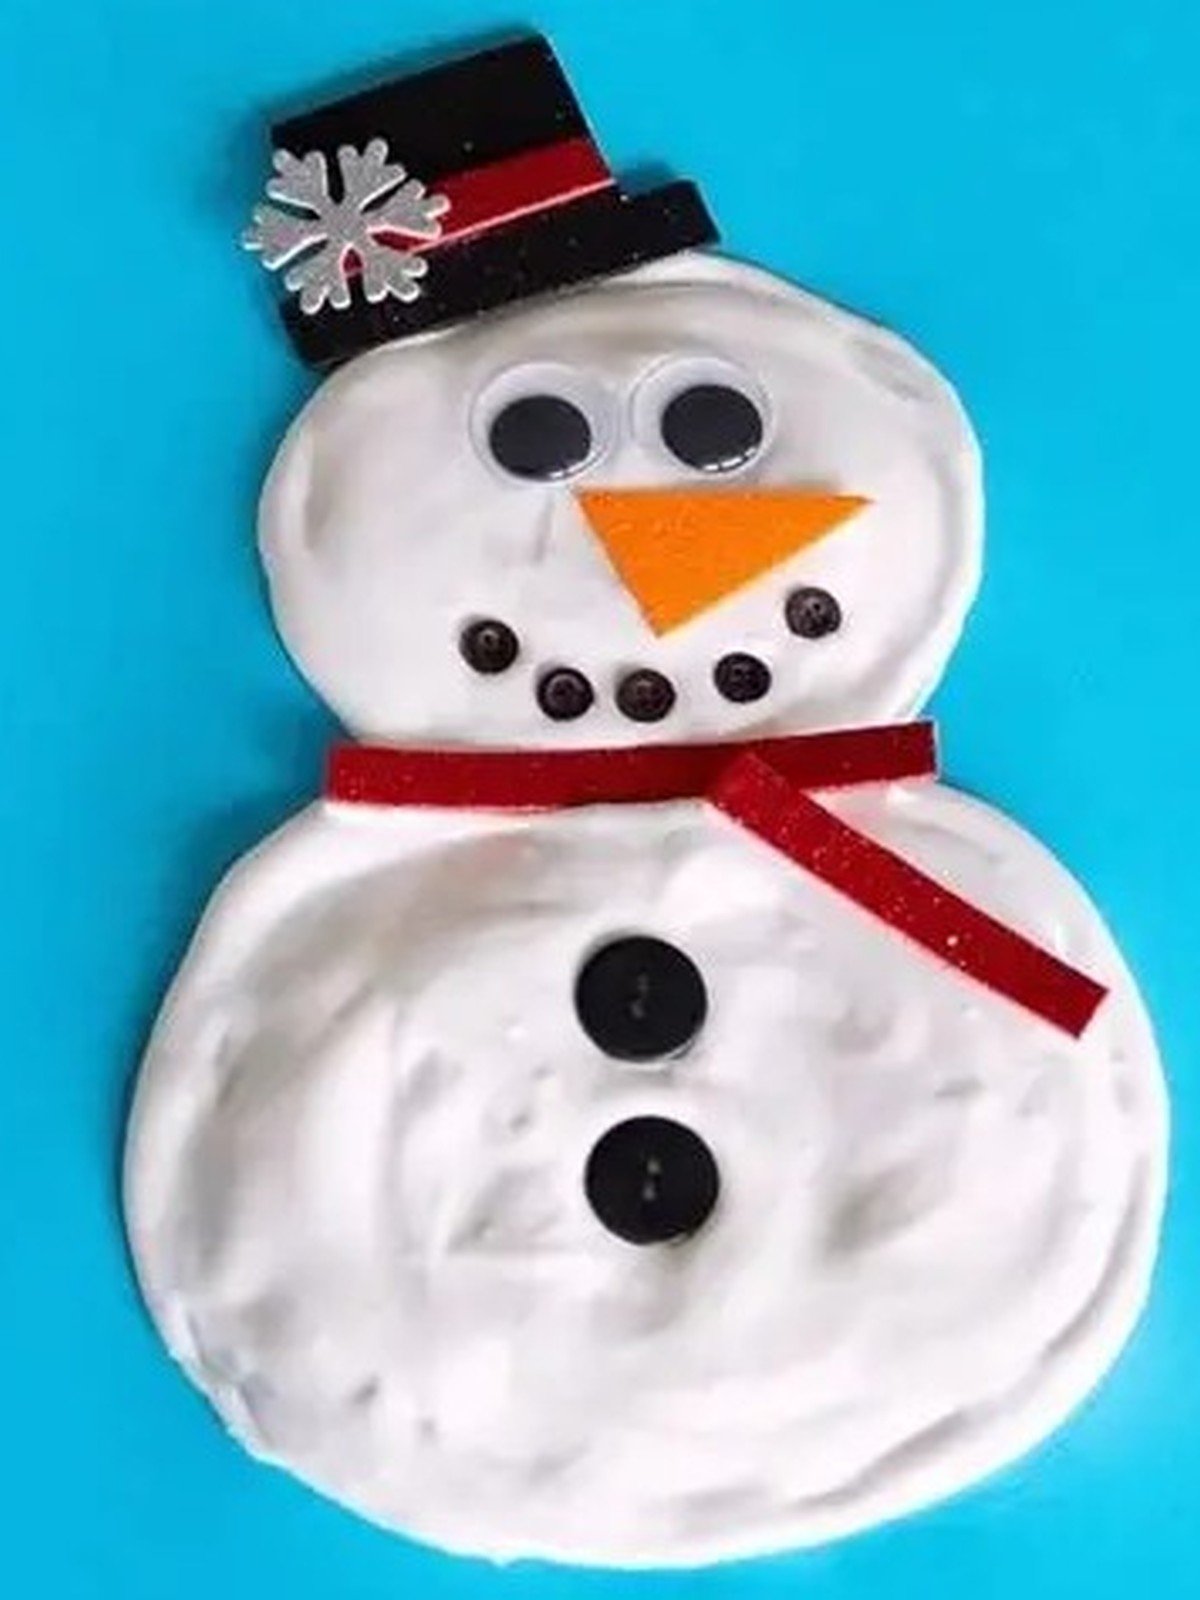
Ready made puff paint is a handy backup for the face details. A fine tip bottle like Tulip Puff fabric paint in black draws tidy eyes and buttons straight onto the dried snowman.
⏱ 20 minutes plus drying💲 Low costGreat sensory craft
Materials Needed
- Foam shaving cream
- White school glue
- Bright blue card
- Cotton balls
- Paper nose, hat and scarf pieces
How to Make It
Step 1: Mix a batch of puffy paint from idea 1, keeping the foam ratio high so the snowman dries extra fluffy.
Step 2: Spread or pipe three overlapping circles on the blue card to build a simple stacked snowman shape.
Step 3: Stretch a few cotton balls and press them around the base as snow drifts while the paint is wet.
Step 4: Add the paper hat, nose and scarf pieces, pressing each one lightly into the foam paint.
Step 5: Leave to dry flat overnight. The snowman will feel soft and spongy when it is ready.
Tip: This version is as much sensory play as art. Let kids spread the foam paint with their fingers on a practice sheet first, then make the keeper snowman second.
4. Classic Stacked Puffy Snowman
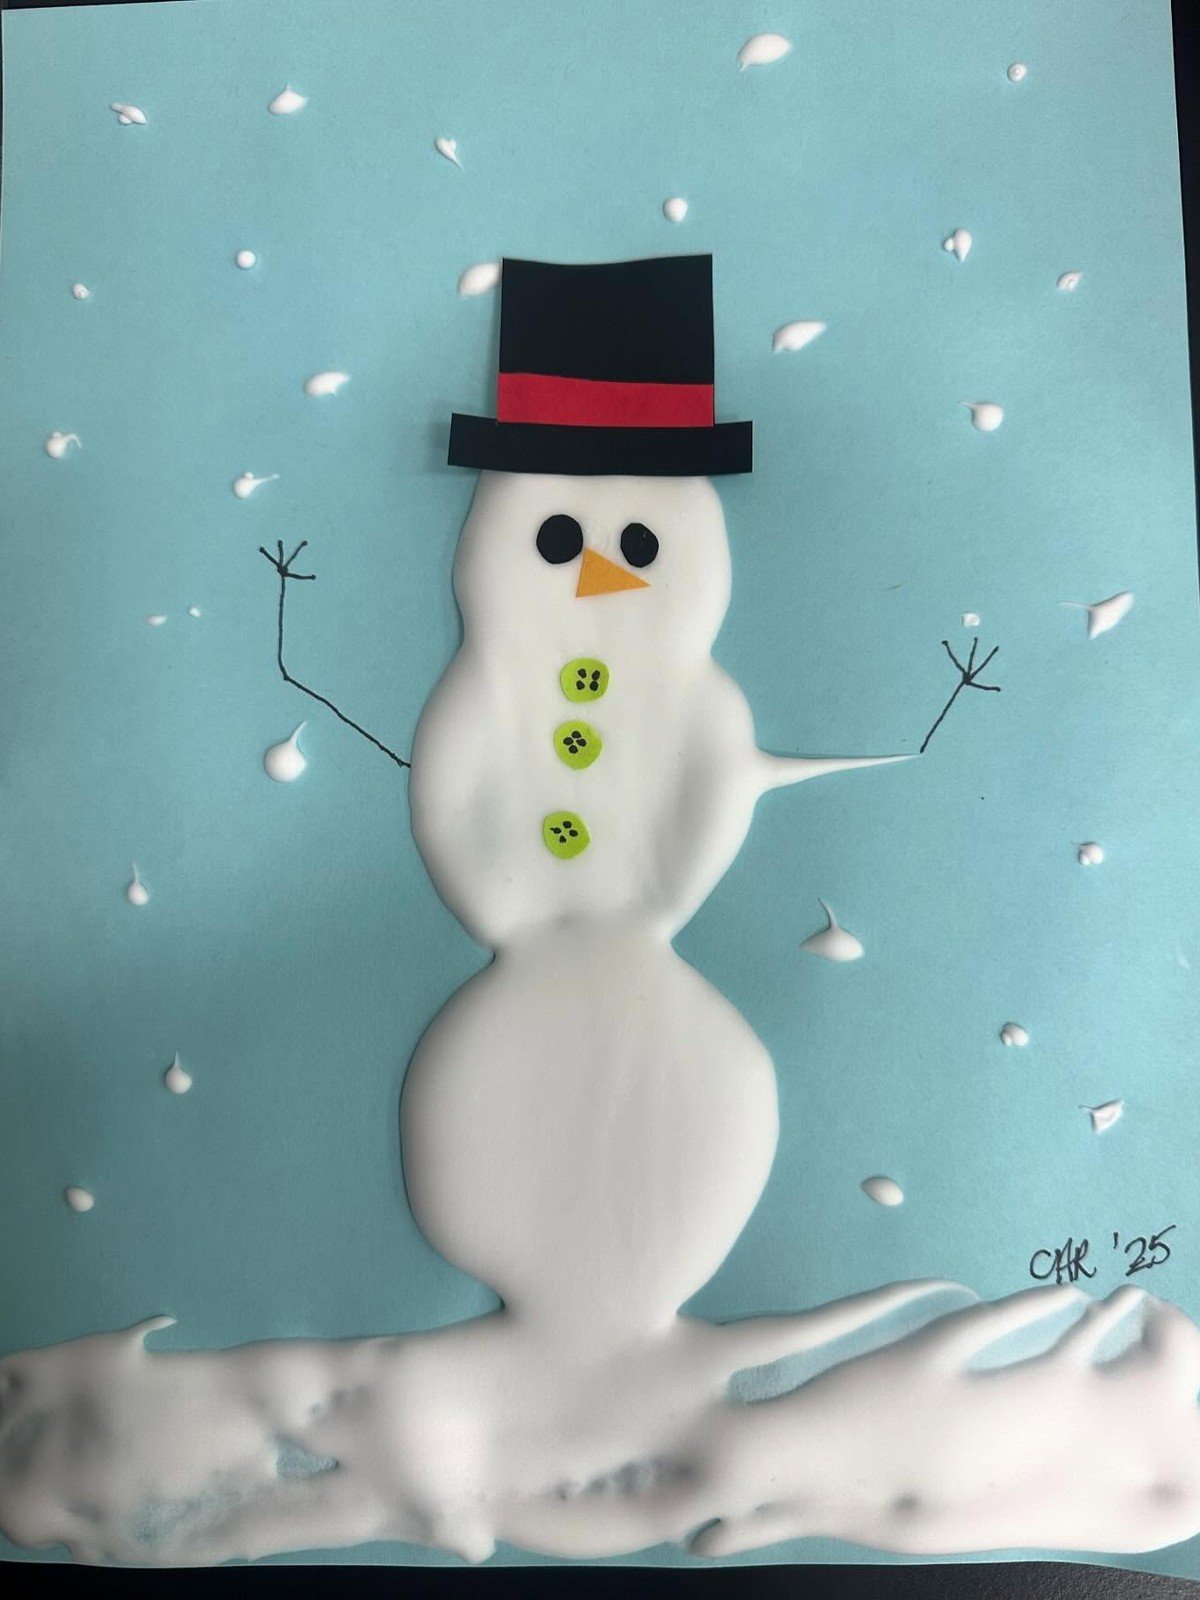
This is the puffy paint melted snowman craft in its best known form: a white stacked snowman on light blue paper with a carrot nose and a scarf, the body already sliding into a puddle. The raised paint gives the snow real texture, so even a simple outline looks finished.
You’ll need: puffy paint from idea 1, light blue construction paper, paper scarf and nose, markers
Best for: the classic classroom version everyone recognises
5. Pair of Puffy Paint Snowmen
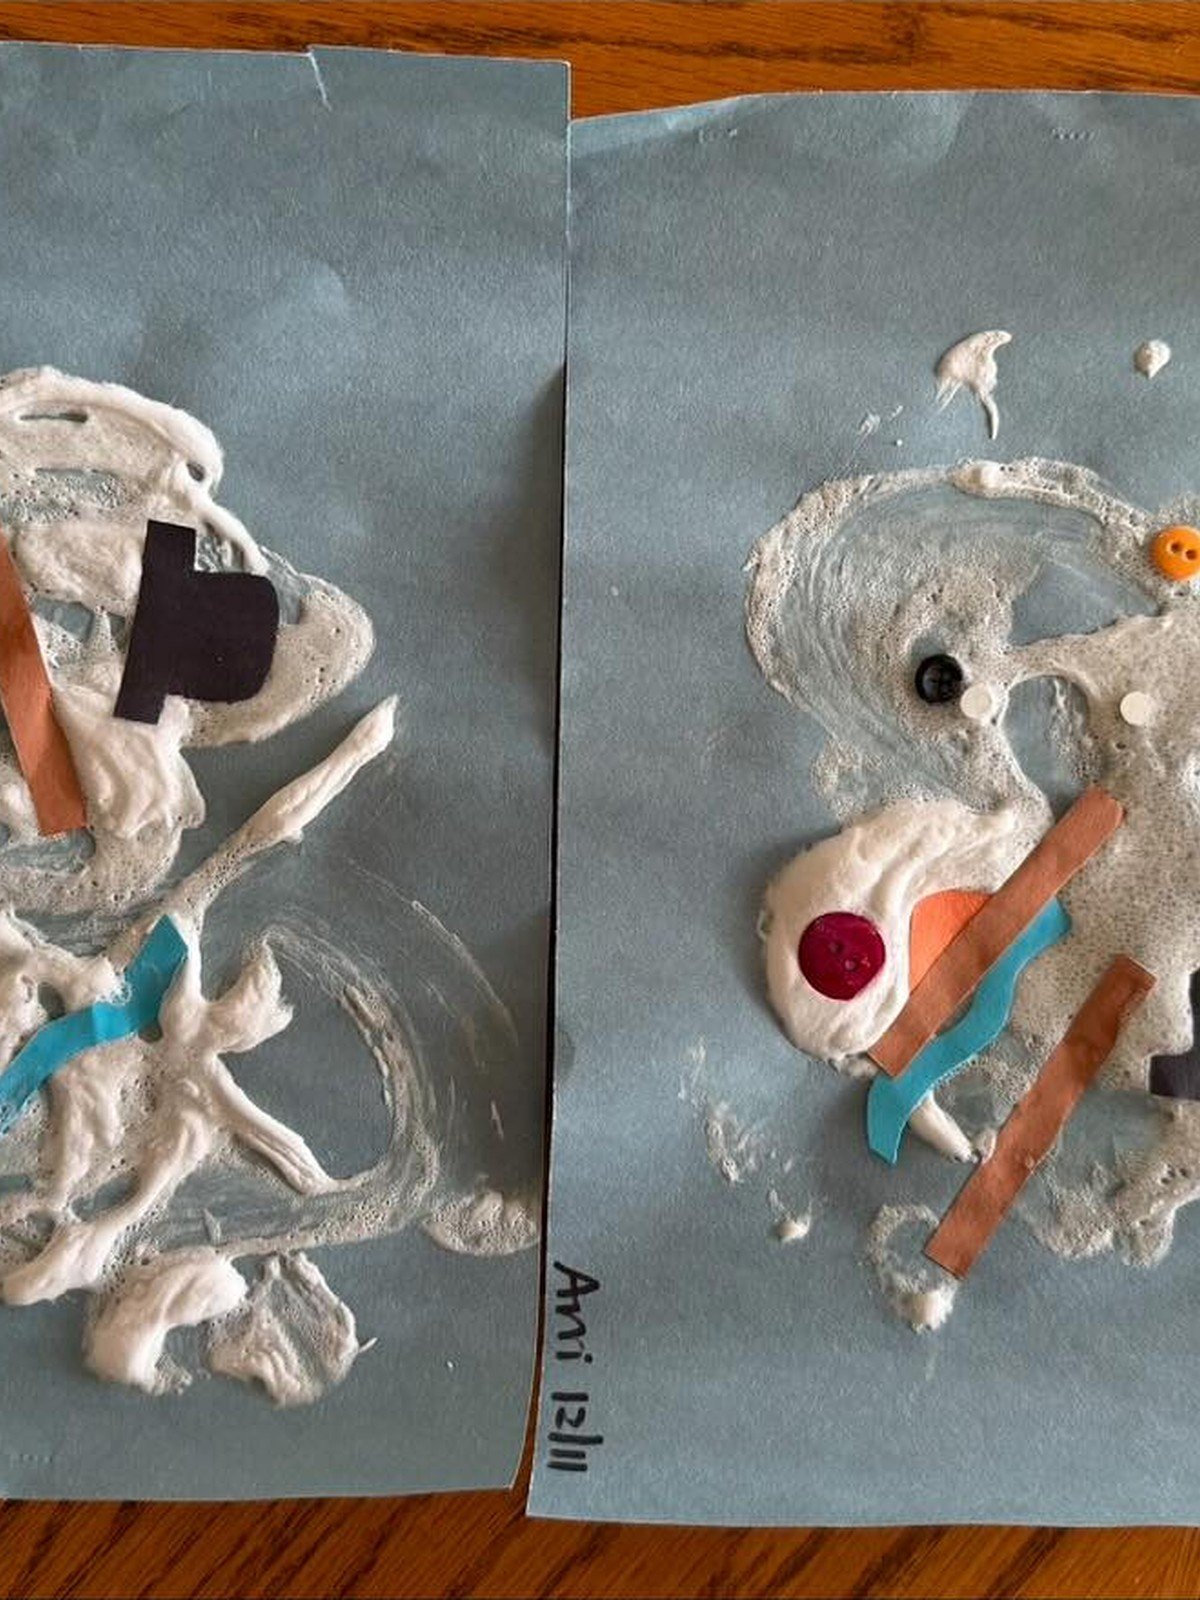
Two snowmen side by side show how the same recipe can give different results. One keeps a neat stacked shape while the other spreads into a true puddle. Making a pair is a good way to let kids choose which style they like before committing to a big piece.
A few extra paint colors make scarf stripes and rosy cheeks easy. This Crayola washable paint set in six colors washes off hands and tables when the session ends.
You’ll need: puffy paint, blue paper, colored paint or paper for scarves, brushes
Best for: comparing two techniques side by side
6. Class Set of Four Puffy Snowmen
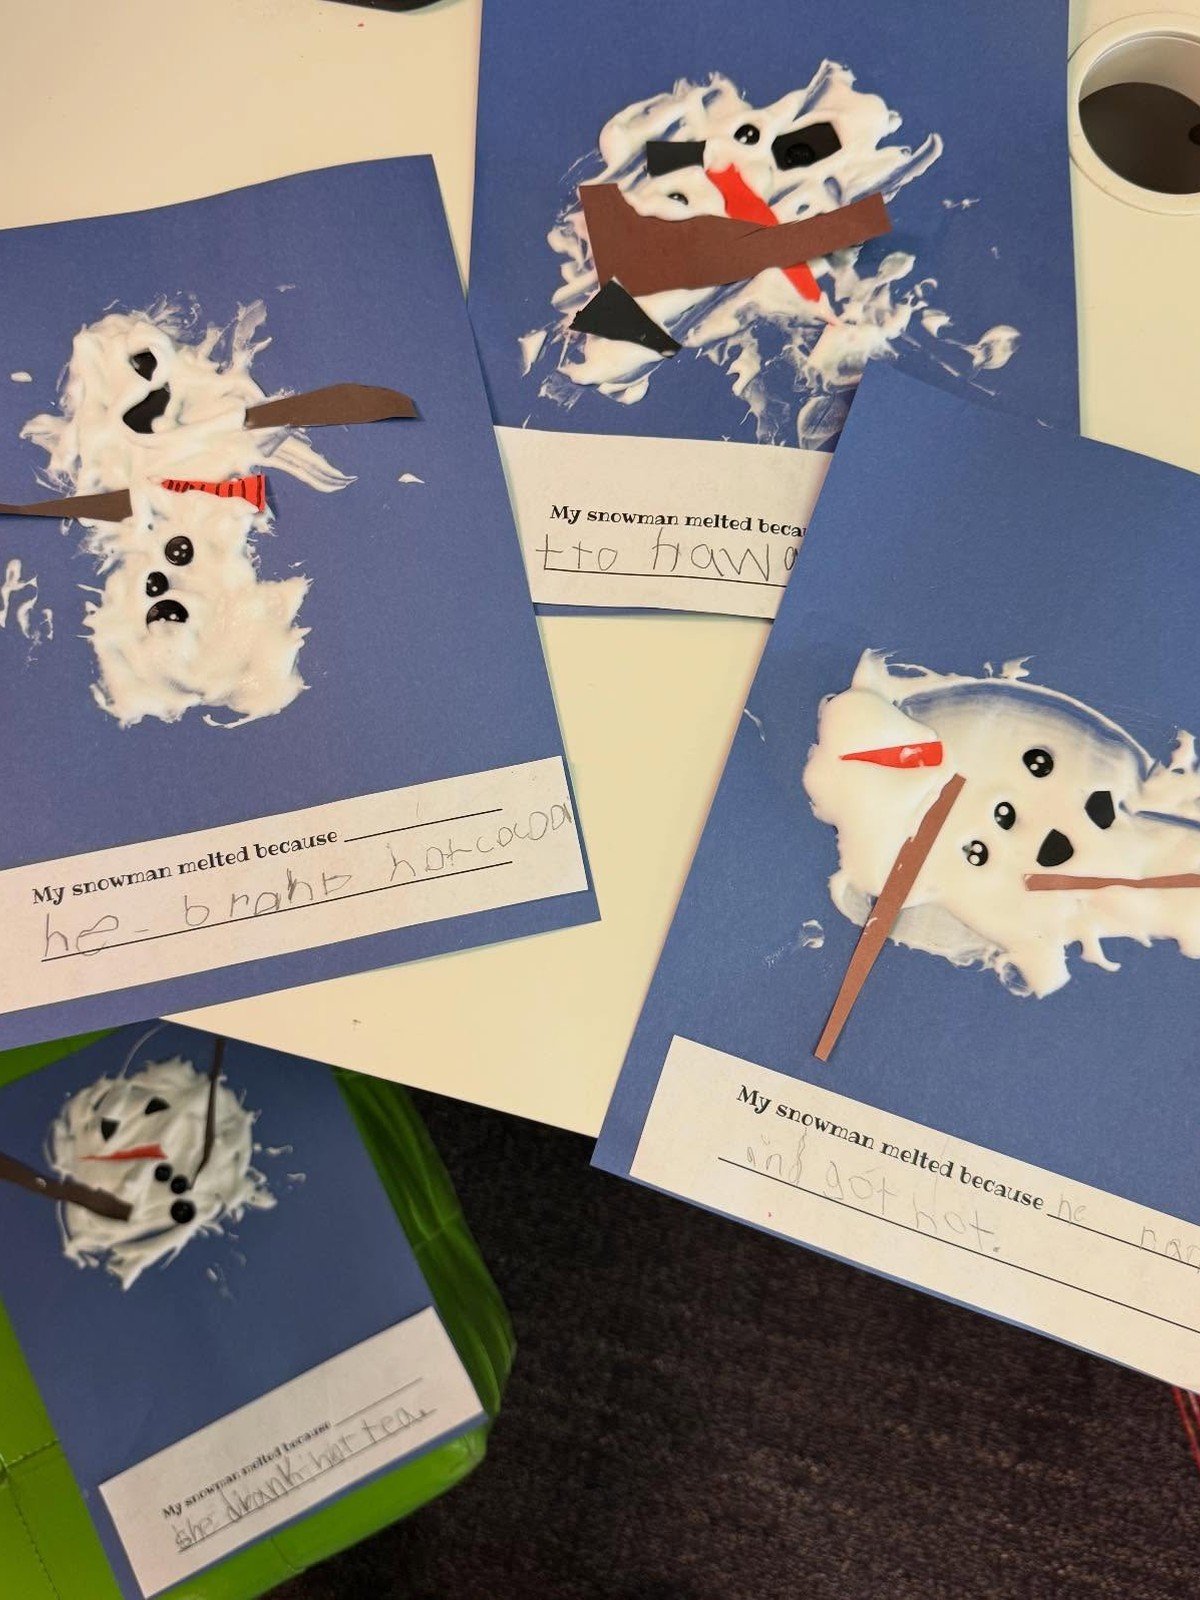
Four finished snowmen on one table show the range a class can produce from a single demonstration. Everyone starts with the same puddle, and the scarves, hats and faces do the rest. Line them up for a photo before they go home and you have a ready made class display.
For a whole class working at once, ready made puff paint in many colors speeds things up. The Tulip Puff big box with 16 paints puts a bottle in every hand with no mixing queue.
You’ll need: puffy paint in squeeze bottles, paper, shared tray of eyes, buttons and paper pieces
Best for: teachers planning one art lesson for the whole class
7. Puffy Snowman on Dark Blue Paper
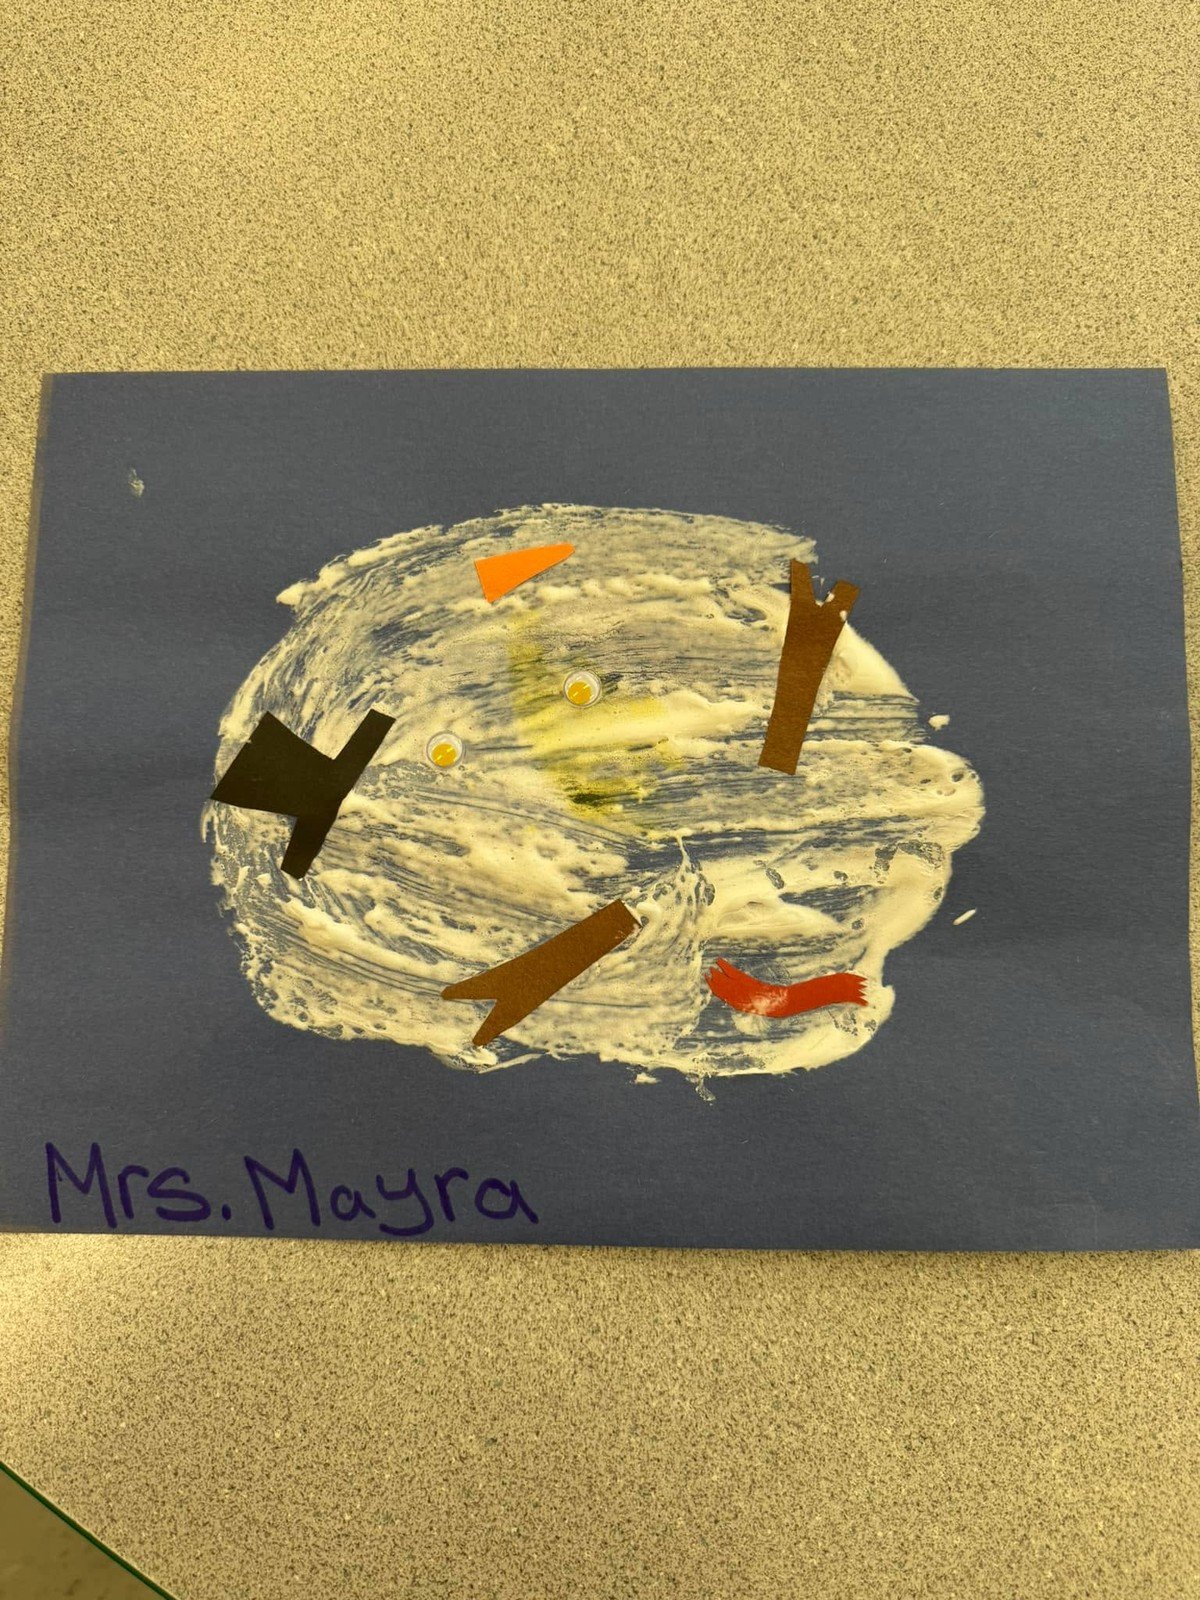
Dark blue paper turns the same snowman into a night scene. The white puffy paint looks brighter against the deep background, and details can stay very simple because the contrast does the work. Add a few painted snow dots falling around the snowman to finish the scene.
You’ll need: puffy paint, dark blue construction paper, paper or paint details
Best for: a moodier winter look with simple supplies
8. Puffy Snowman on Yellow Paper
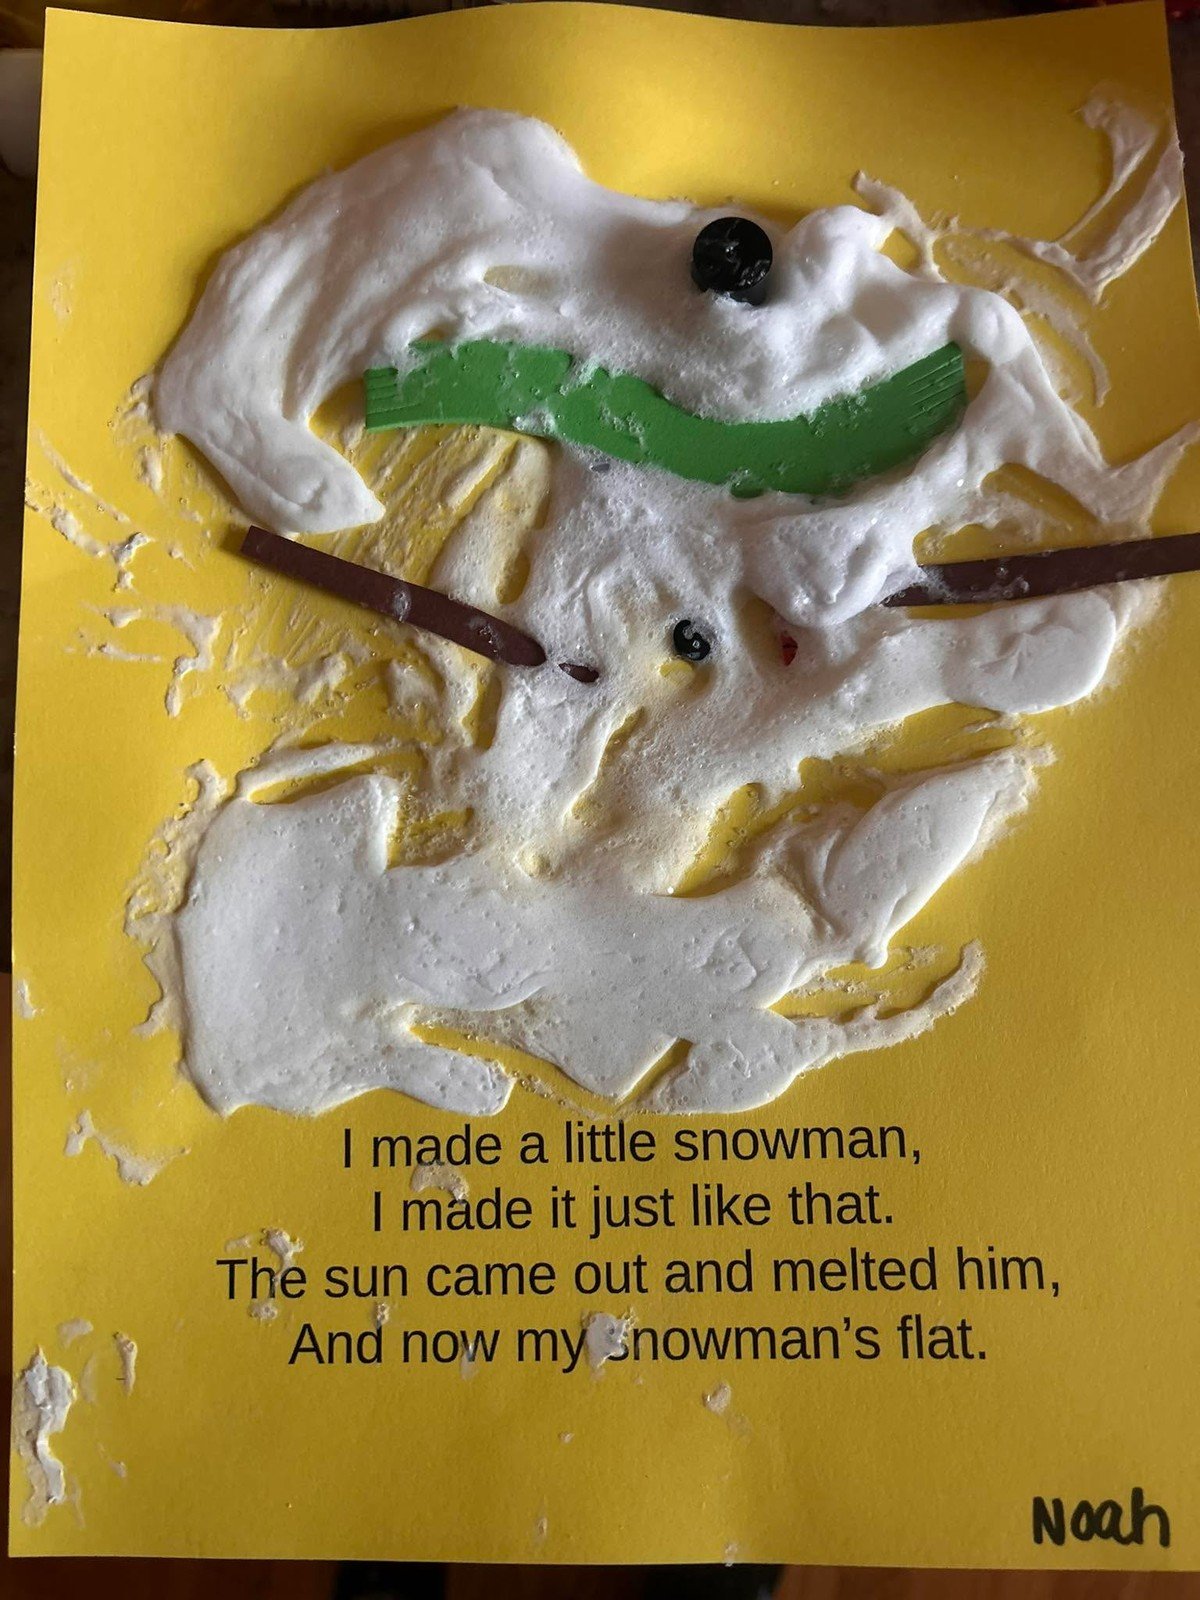
Yellow paper is an unexpected choice that really works. The warm background makes the cool white snowman pop, and the whole piece feels sunny, as if the poor snowman is melting in a heatwave. It is a good reminder that background color is a design decision, not an afterthought.
You’ll need: puffy paint, yellow construction paper, markers or paper pieces for the face
Best for: kids who want a background as bold as the snowman
9. Two Puffy Snowman Projects
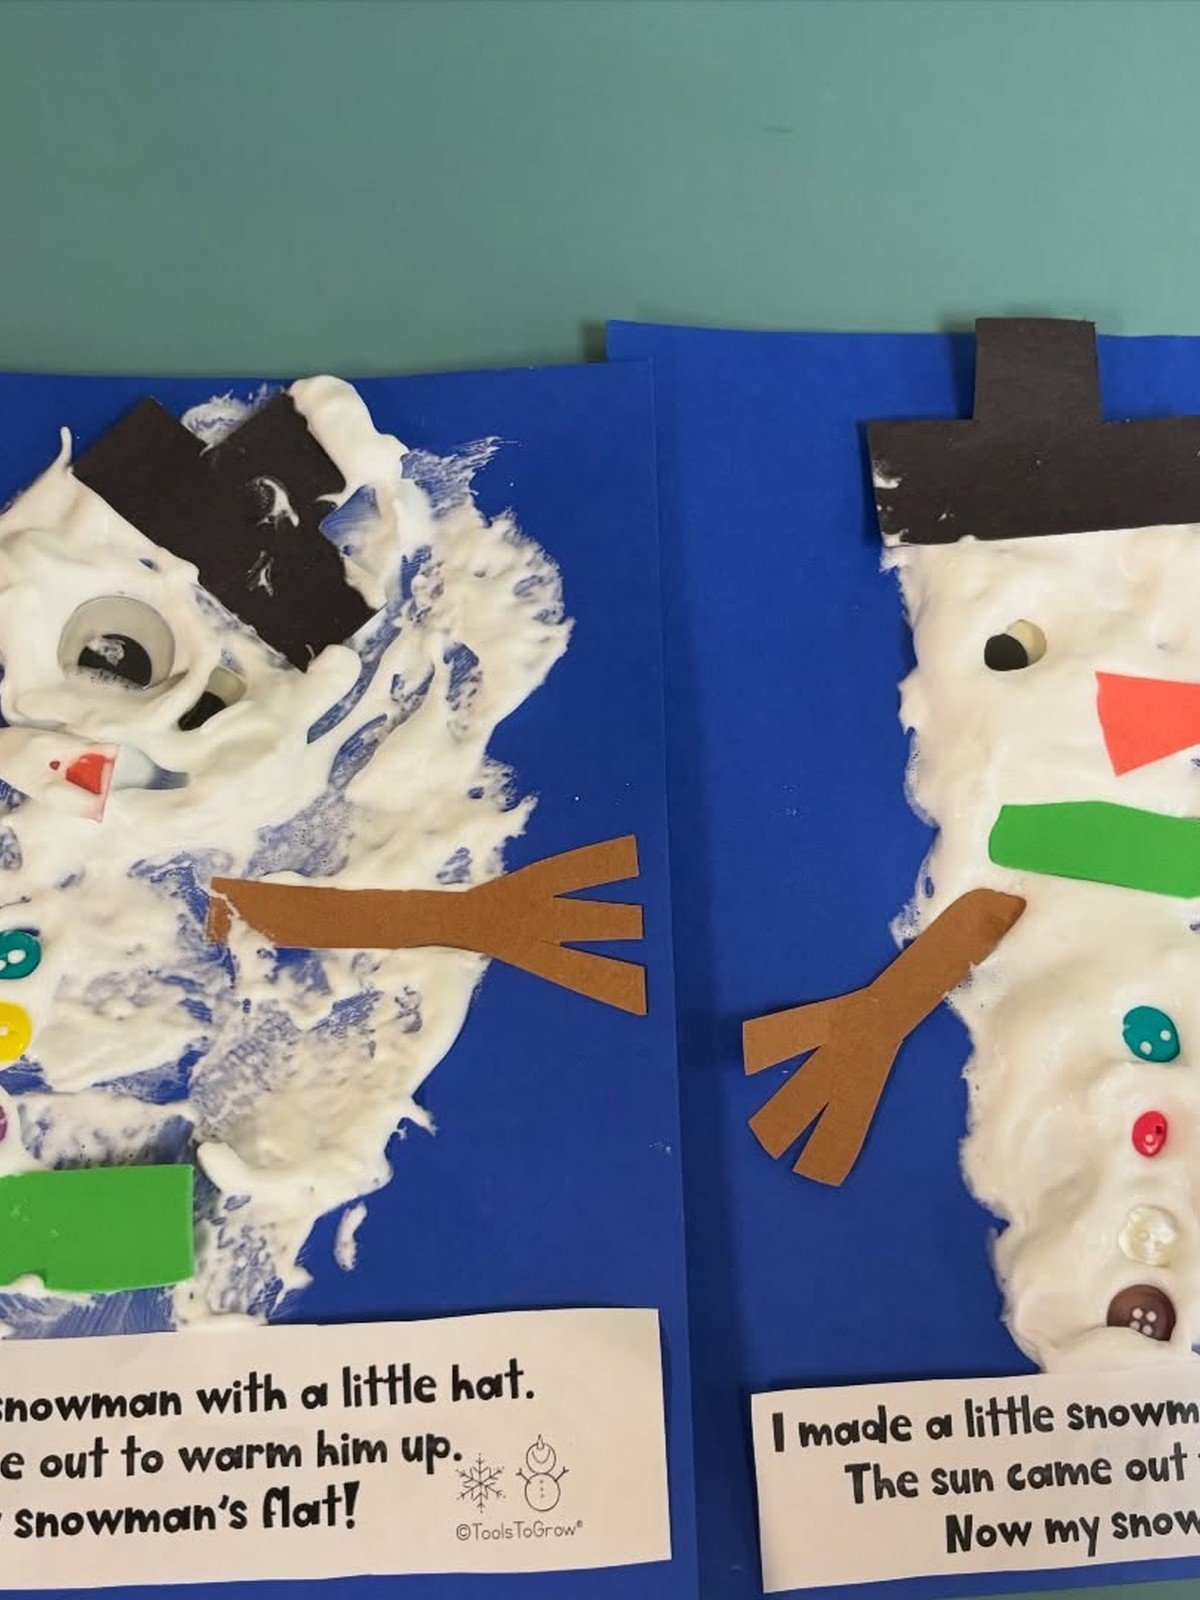
Two projects on matching blue backgrounds make a nice sibling or buddy set. Each snowman gets the same starting puddle, then its own scarf color and face. Photograph them together and they look like a little snowman family portrait.
You’ll need: puffy paint, blue paper, paper scarves and noses, googly eyes
Best for: siblings or pairs crafting together
10. Puffy Snowman on Black Paper
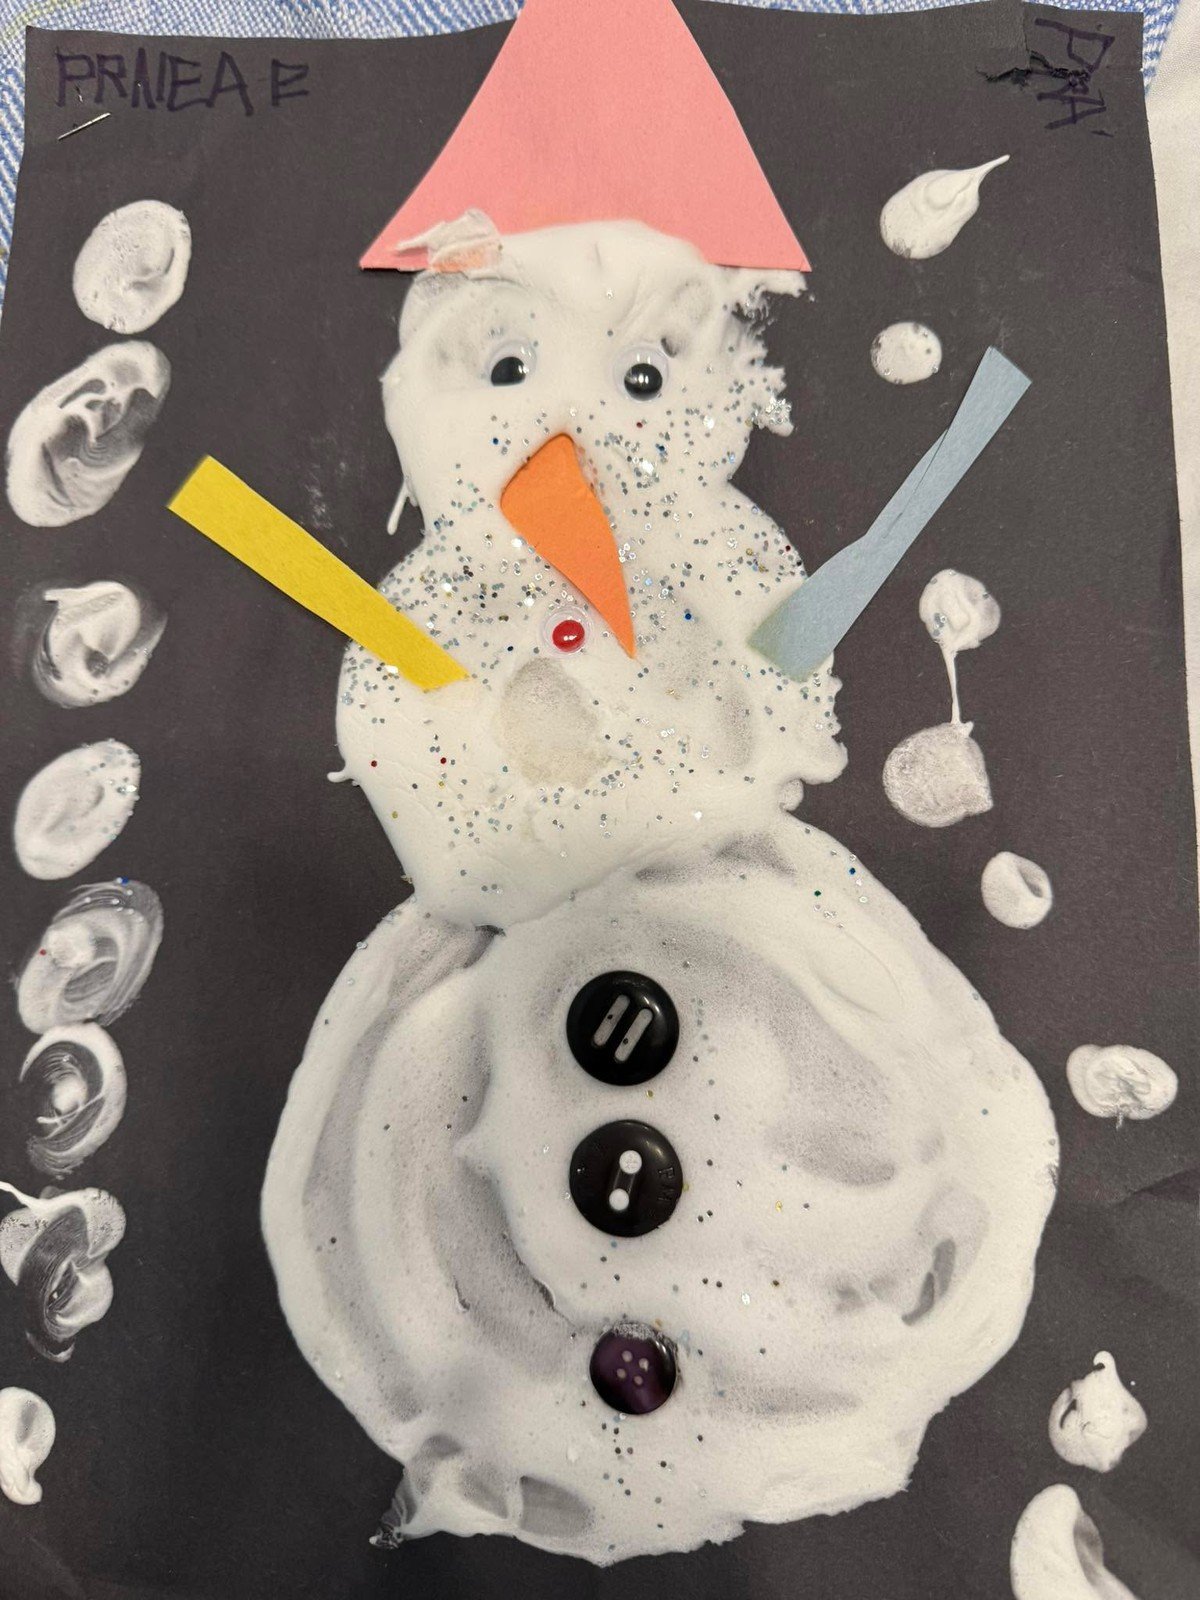
Black paper gives the strongest contrast of all. The white snowman almost glows, and bright accessories like a red scarf or orange nose stand out from across the room. This version looks especially good in photos, which makes it a favorite for class newsletters and family group chats.
You’ll need: puffy paint, black construction paper, bright paper scarf and nose
Best for: high contrast art that photographs well
11. Tray of Ten Melting Snowmen
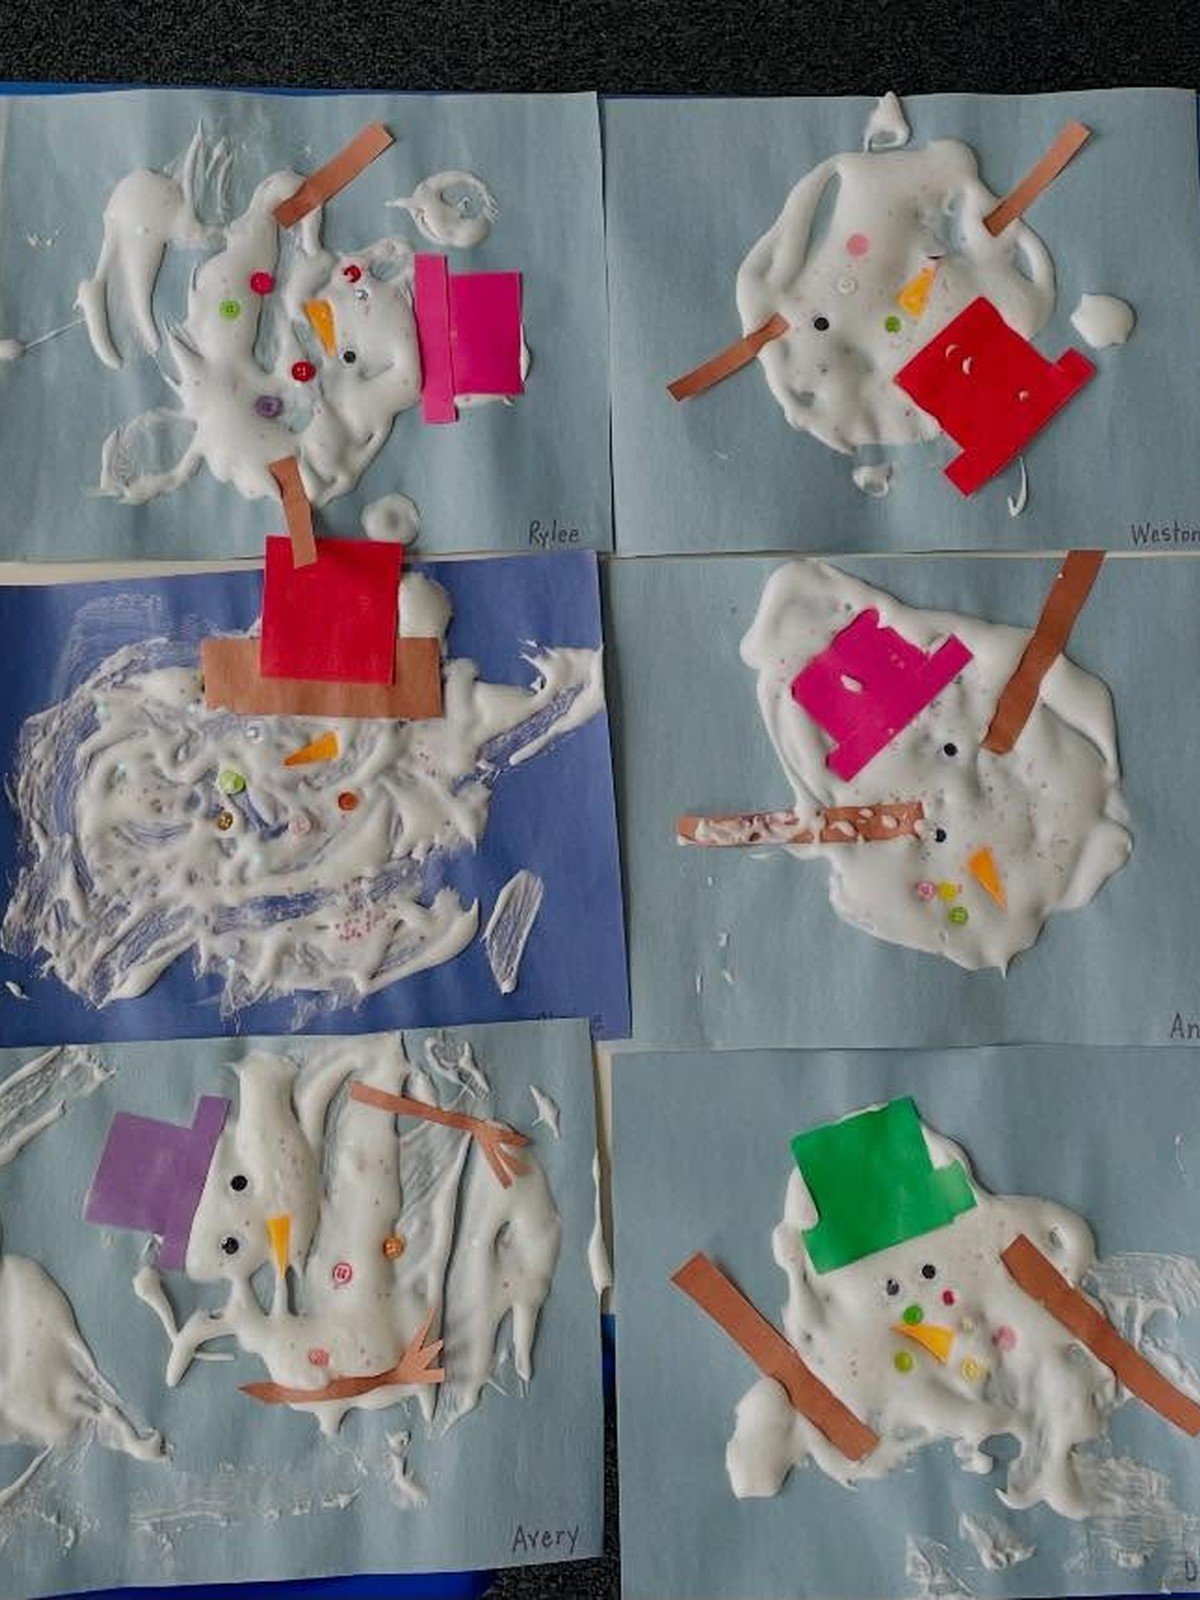
Ten melting snowmen drying on one big tray is the preschool version of this craft at its best. Each child piped or spooned their own puddle, and no two melted the same way. Trays are the secret here: artwork can be carried, stacked for drying and handed back without smudging.
Safety note: Shaving cream is not food, so this craft needs adult supervision and is best for children who no longer put hands in their mouths. Wash hands after crafting, and keep the foam can itself with an adult between uses.
You’ll need: puffy paint, paper, trays for carrying and drying, shared decorations basket
Best for: preschool groups and end of term displays
Frequently Asked Questions
What is the classic puffy paint recipe?
Mix equal parts white school glue and shaving foam, then stir in a spoonful of white paint for extra body. Fold gently so the foam keeps its air, and use the mix within the same craft session.
How long does puffy paint take to dry?
It dries raised and spongy, usually within 24 hours for a thin layer. Thick puddles can take up to two days. The dried paint stays slightly soft, so finished art should be handled gently and stored flat.
Can I use any shaving cream for puffy paint?
Foam style shaving cream works, not gel. The cheap white foam cans give the best lift. Gel formulas melt into liquid and the paint goes flat.
Can puffy paint go on thin paper?
It is not ideal. The glue in the recipe makes the paint heavier and the foam can collapse before it dries. Stick to thick construction paper or card, which holds the weight without warping as much.
What can I use instead of a paintbrush?
Try a squeeze bottle or a piping bag with the corner snipped. Bottles give younger kids much more control over where the puddle spreads, and the snowman keeps a cleaner shape.
How long does homemade puffy paint keep?
It keeps for a day or two in a sealed container, but it slowly loses its puff as the foam deflates. For the best raised finish, mix a fresh batch for each craft session.
Final Thoughts on Puffy Paint Melted Snowman Craft
Puffy paint earns its place in the December craft box because one simple recipe unlocks so many looks. Once kids learn the mix, they can build classic snowmen, night scenes and whole trays of melting puddles.
Keep the recipe card with your craft supplies, use foam shaving cream, and always test the mix on scrap paper first. The soft, raised finish is worth the tiny bit of patience it takes to dry.