


This post may contain affiliate links. Please read my disclosure policy.
In This Article Show
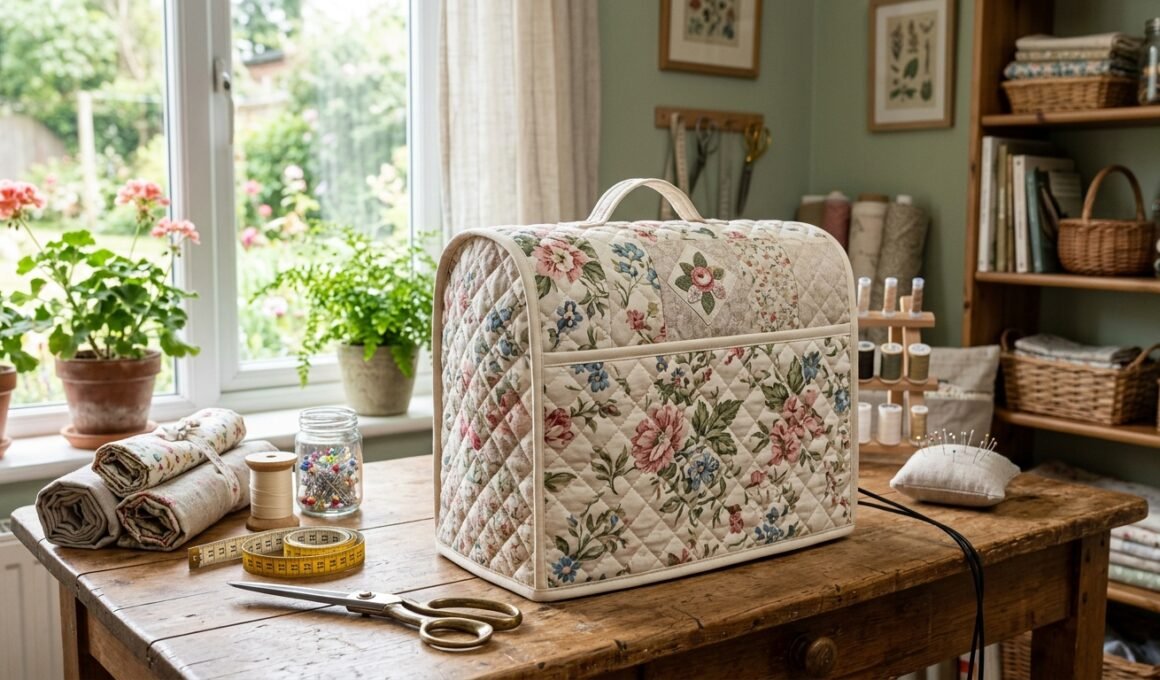
There is something satisfying about finishing a sewing project and leaving your craft space neat. Yet one important item often stays exposed on the table: the sewing machine. Dust, lint, sunlight, and everyday mess can slowly make a clean workspace feel untidy. A handmade sewing machine cover offers a simple solution while giving you another chance to enjoy your favorite fabrics. You do not need advanced skills to make one. With a measuring tape, fabric, scissors, thread, pins, and basic stitching skills, you can create a cover that fits your machine. You can keep the design easy, add patchwork, try a quilted style, or even reuse old denim. The goal is not only protection. It is also to create something that feels like it belongs in your sewing room.
1. Simple Cotton Cover
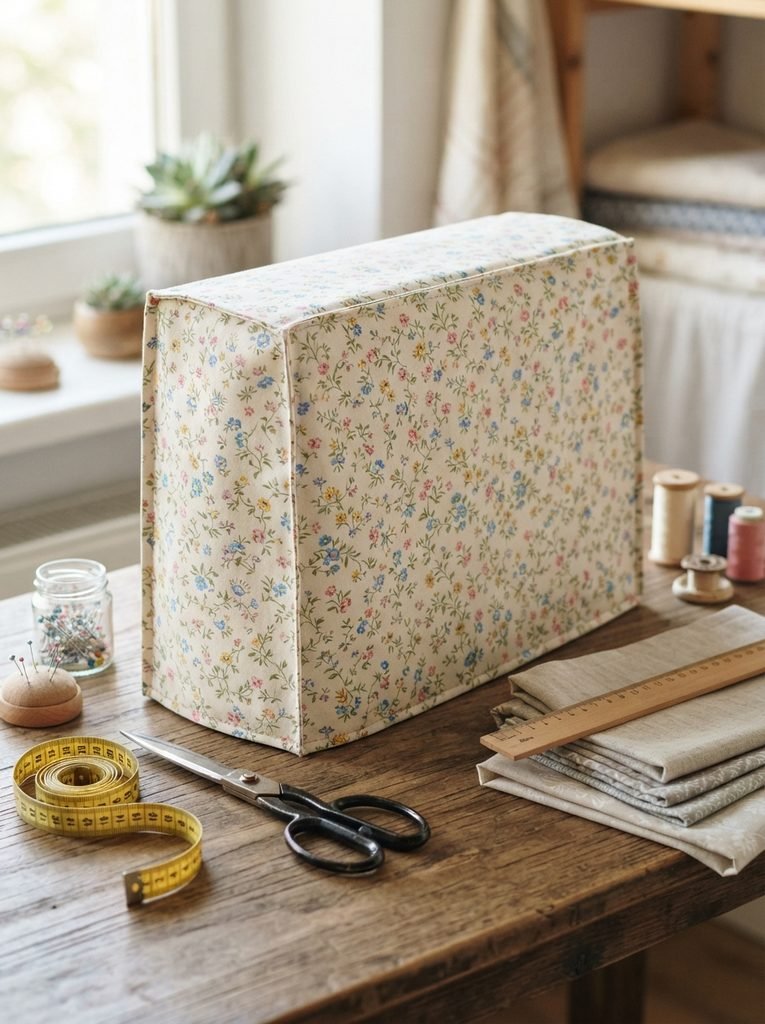
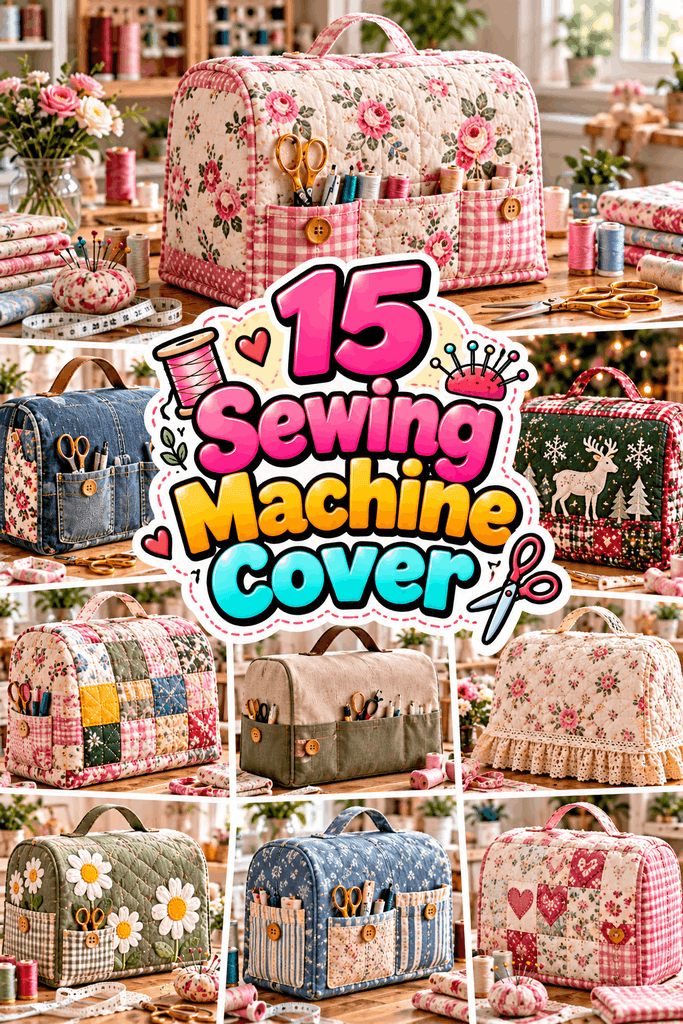
Start with a basic cotton cover if you are new to sewing. Measure the machine’s width, depth, and height, then create a simple rectangular shape with enough room to slide it over the machine. Add a neat hem around the bottom edge. This pattern free approach works well when you want a quick project without complicated shaping. It also gives you valuable practice with measuring, cutting, straight seams, and pressing.
2. Quilted Cover
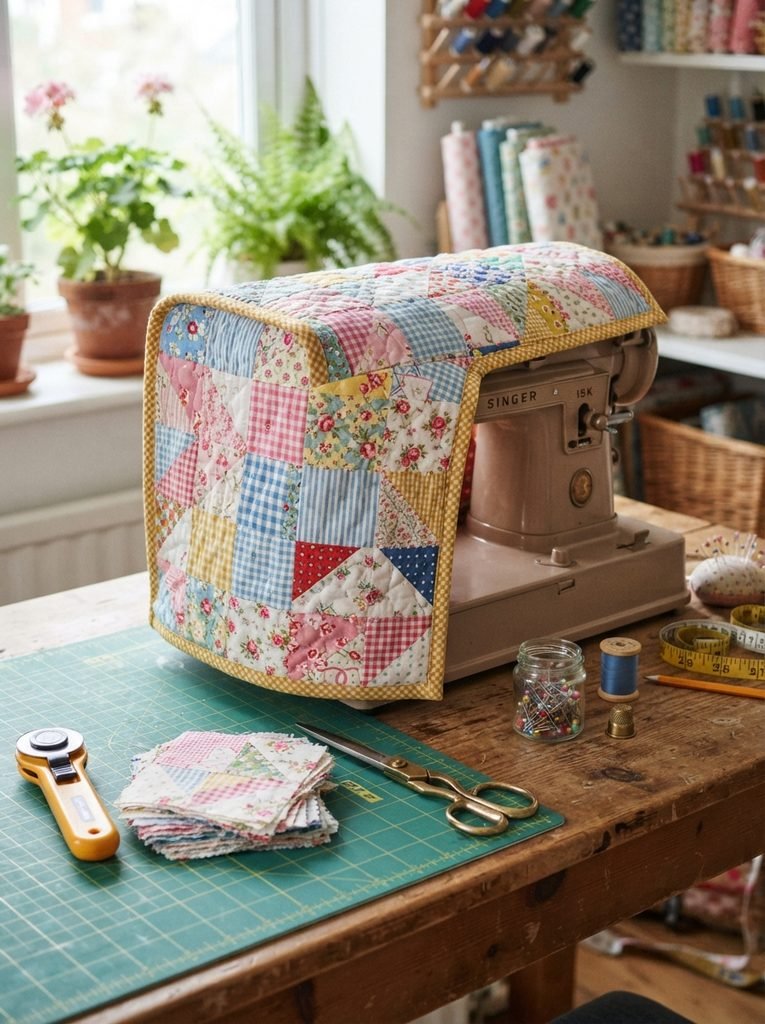
A quilted design adds texture and makes the project feel more special. Use two fabric layers with a thin batting layer between them. Stitch simple lines, squares, or diagonal patterns before assembling the cover. This idea works especially well for leftover quilting fabric. You can turn small pieces into a useful project instead of keeping them hidden in a scrap box.
3. Patchwork Scrap Cover
If your fabric drawer contains small pieces from old projects, try patchwork. Combine squares, rectangles, or strips in a simple layout. Keep the colors connected so the finished piece looks intentional rather than random. A patchwork cover can also become a visual reminder of past projects. Every fabric piece may have a small story behind it.
4. Denim Sewing Machine Cover
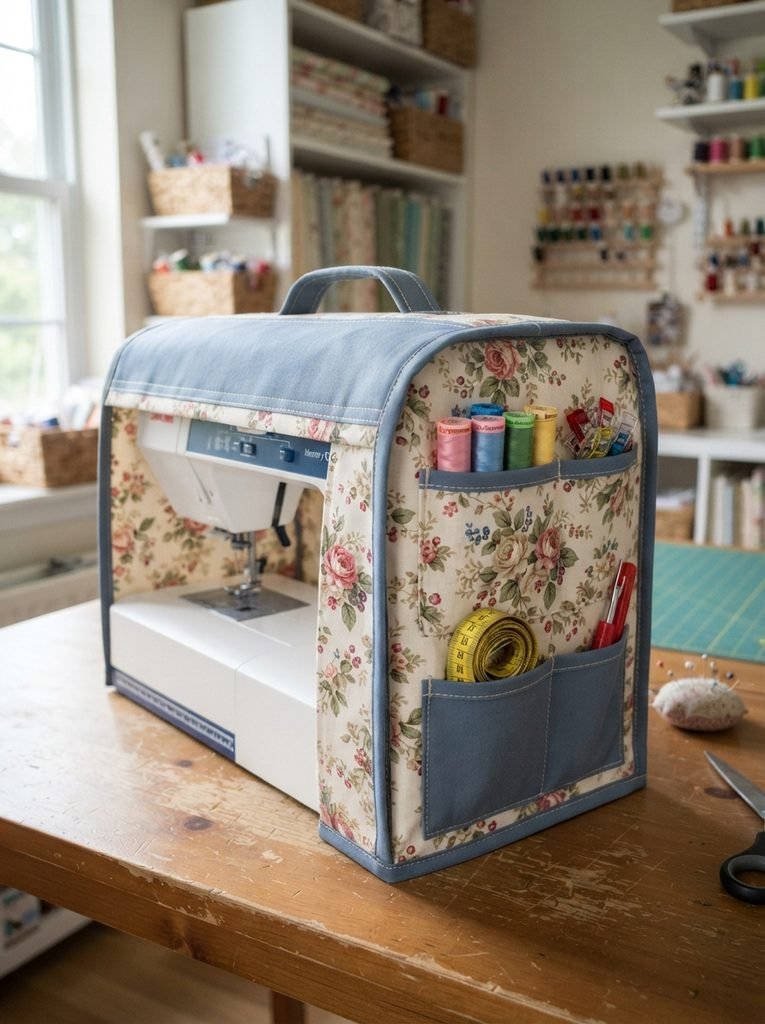
Old jeans can become useful sewing material. Denim gives the cover a sturdy appearance and works well for a modern craft room. Save pockets from old jeans and attach one or two to the outside. The pockets can hold a seam ripper, clips, small scissors, or other lightweight tools. This turns the cover into both protection and convenient storage.
5. Cover With Side Pockets
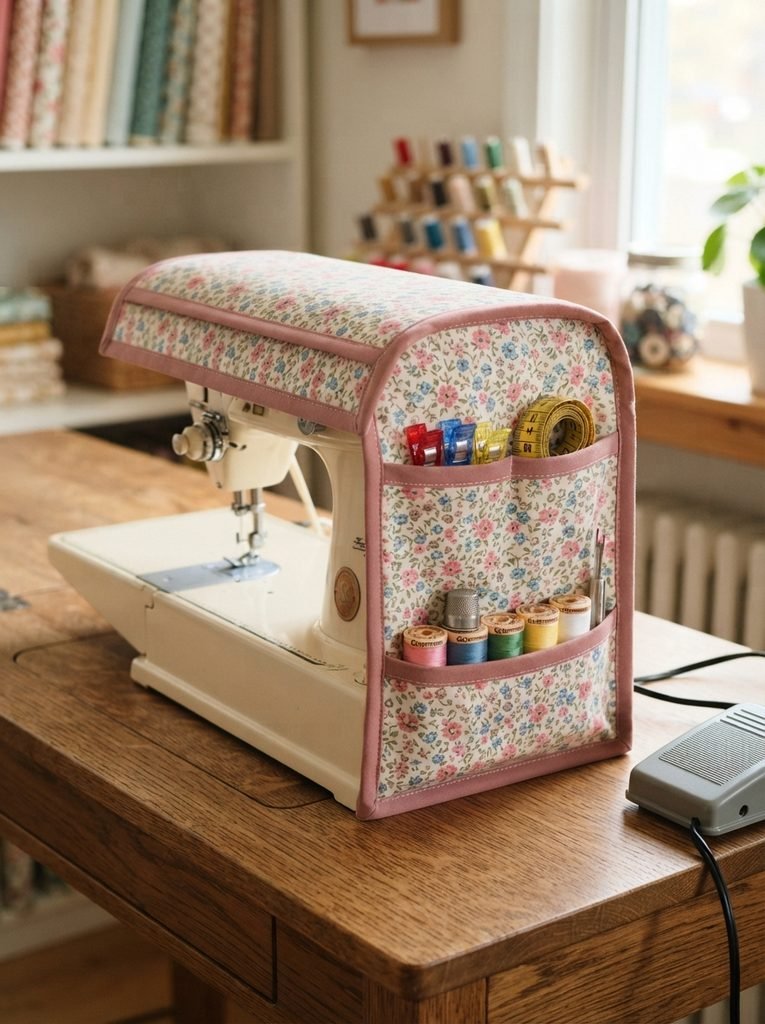
Sometimes the best design is the one that solves two problems. Add fabric pockets to both sides of the cover for small sewing supplies. Keep them shallow enough that the cover remains balanced when you move it. You can use contrasting fabric for the pockets or match them to the main body. This simple addition makes the project more practical without making construction difficult.
6. Cottage-Style Floral Cover
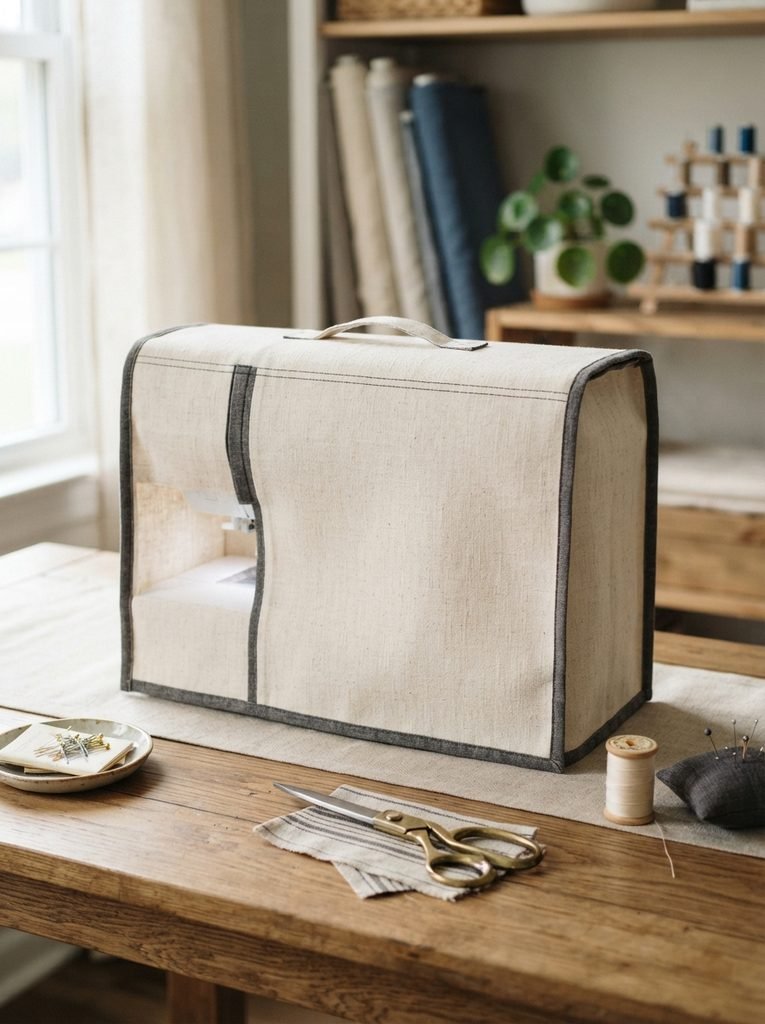
For a soft sewing-room look, choose floral cotton in cream, pink, sage, or blue. Add a narrow ruffle along the bottom edge if you enjoy decorative stitching. You can pair the cover with matching fabric baskets, pincushions, or curtains. The result feels more like home decor than a simple machine accessory.
7. Modern Minimal Cover
Not everyone wants a colorful craft-room look. A solid beige, charcoal, olive, or cream fabric can create a clean modern design. Keep the shape simple and avoid unnecessary decoration. This style works especially well when your sewing machine sits in a shared room. The cover blends into the furniture instead of becoming the main visual feature.
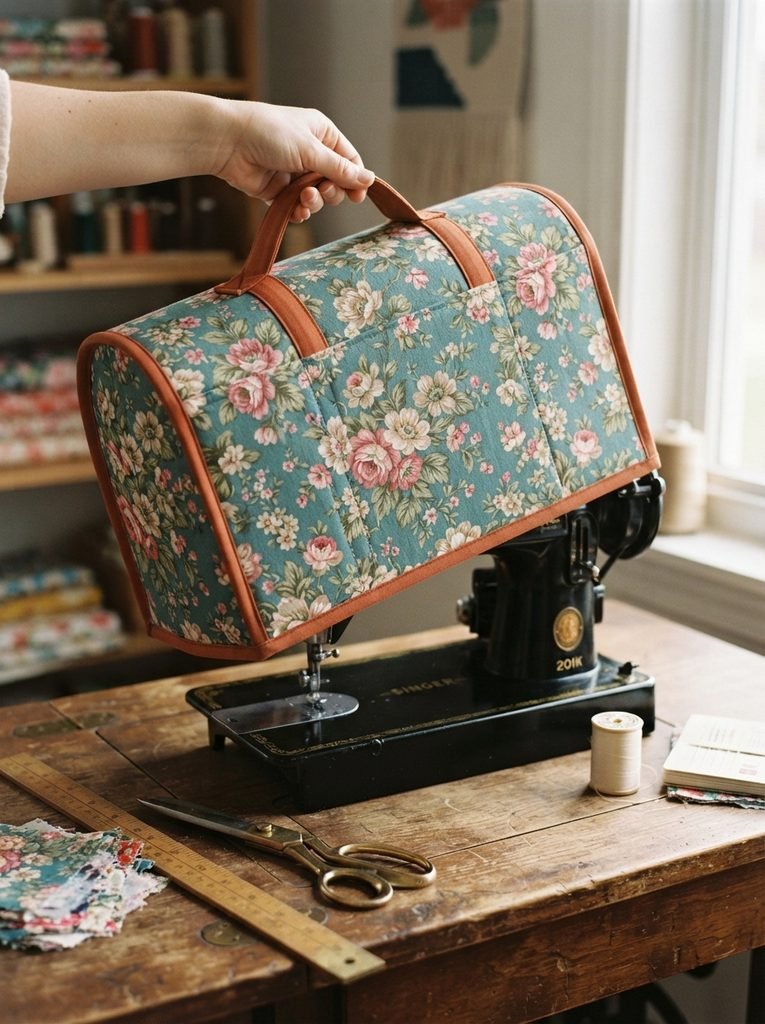
8. DIY Cover With a Handle
A top handle makes the cover easier to remove and store. Sew a strong fabric strip into the upper section, making sure the attachment points have secure stitching. This is especially useful when you move the machine between a sewing desk and storage area. Keep the handle comfortable and avoid making it too long.
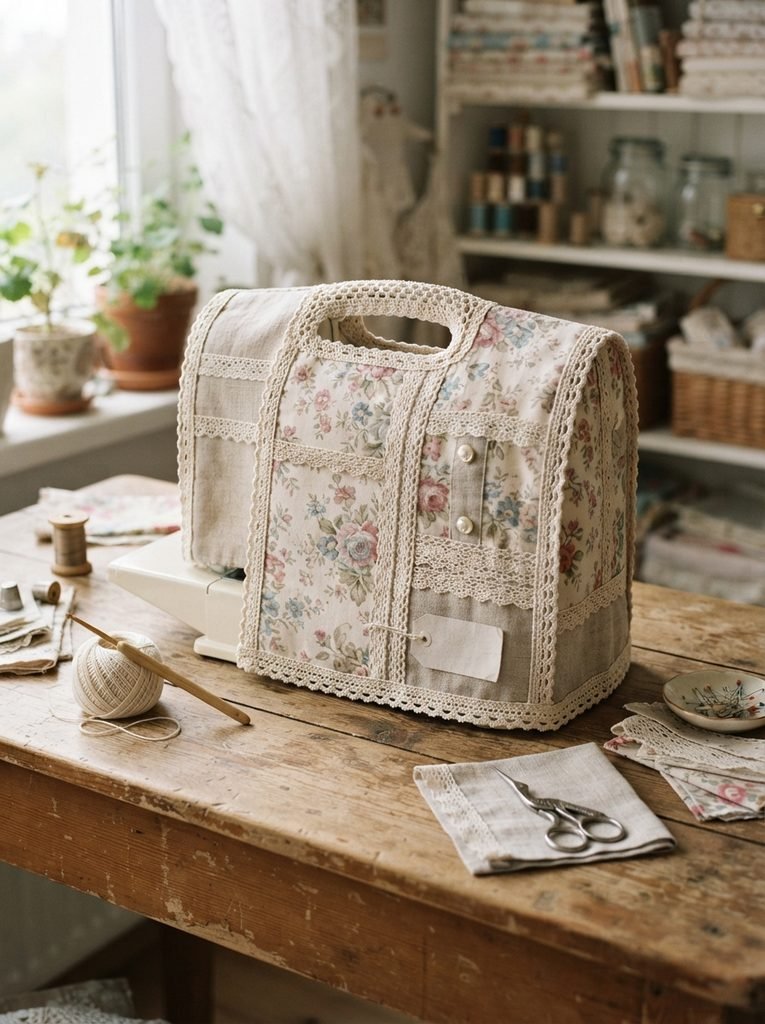
9. Crochet-Trim Cover
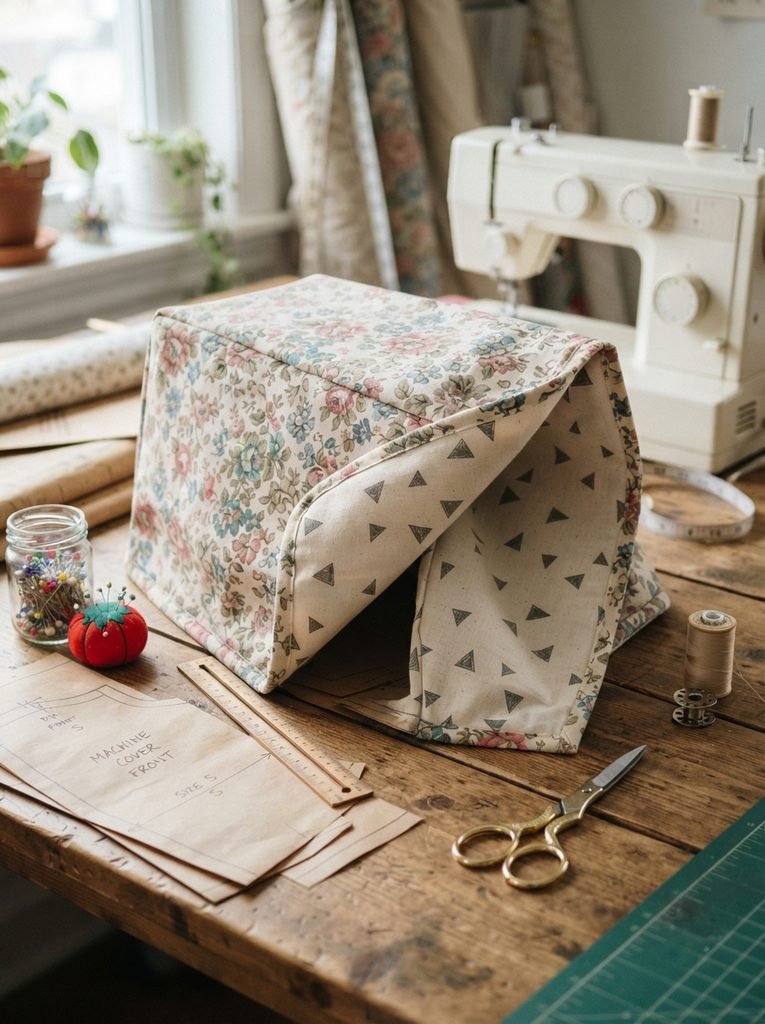
If you enjoy crochet, combine the two crafts. Sew a simple fabric cover and add a narrow crochet border around the bottom edge. Keep the crochet trim lightweight so it does not pull the fabric out of shape. Cream or natural crochet works beautifully with floral, linen, or pastel cotton.
10. Reversible Cover
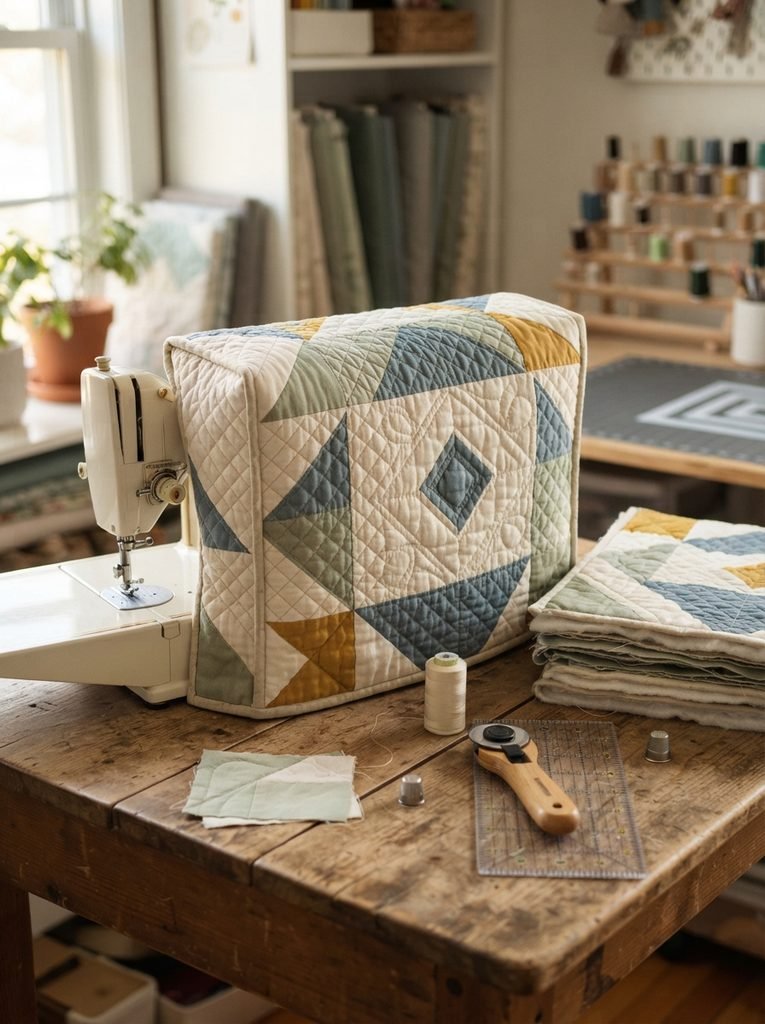
A reversible design gives you two looks in one project. Use one fabric on the outside and a different print on the other side. This can be useful when you want to change your sewing room style for different seasons. Choose two fabrics with similar weight. Sew them together carefully and finish the edges cleanly so both sides look attractive.
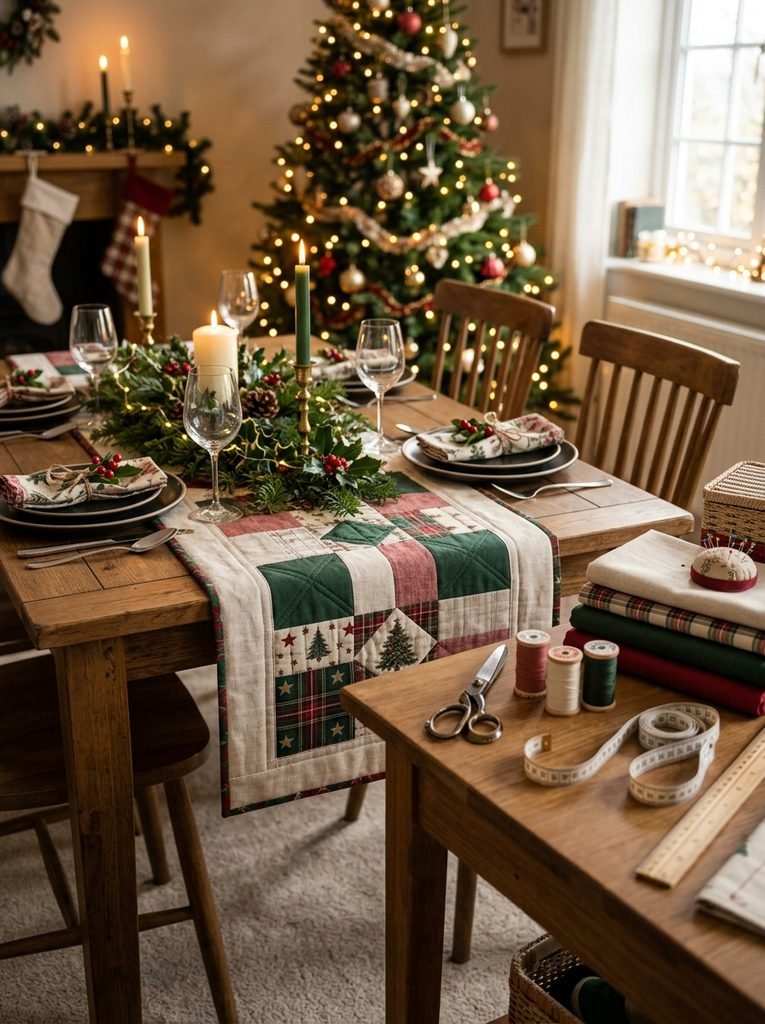
11. Christmas Sewing Machine Cover
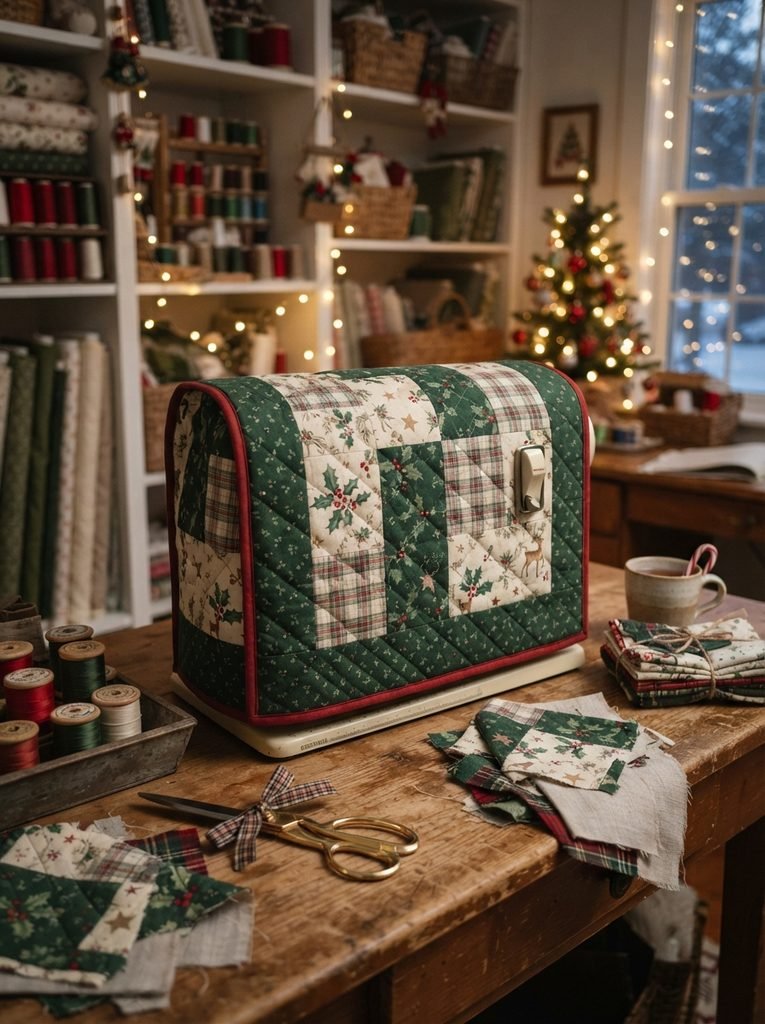
Seasonal fabric can turn the cover into part of your holiday decoration. Try plaid, snowflakes, stars, or simple Christmas colors. You can make a second everyday cover and switch them when the season changes. Keep the design simple so the fabric remains the focus. A narrow contrasting border can add enough detail without making the project difficult.
12. Travel-Friendly Cover
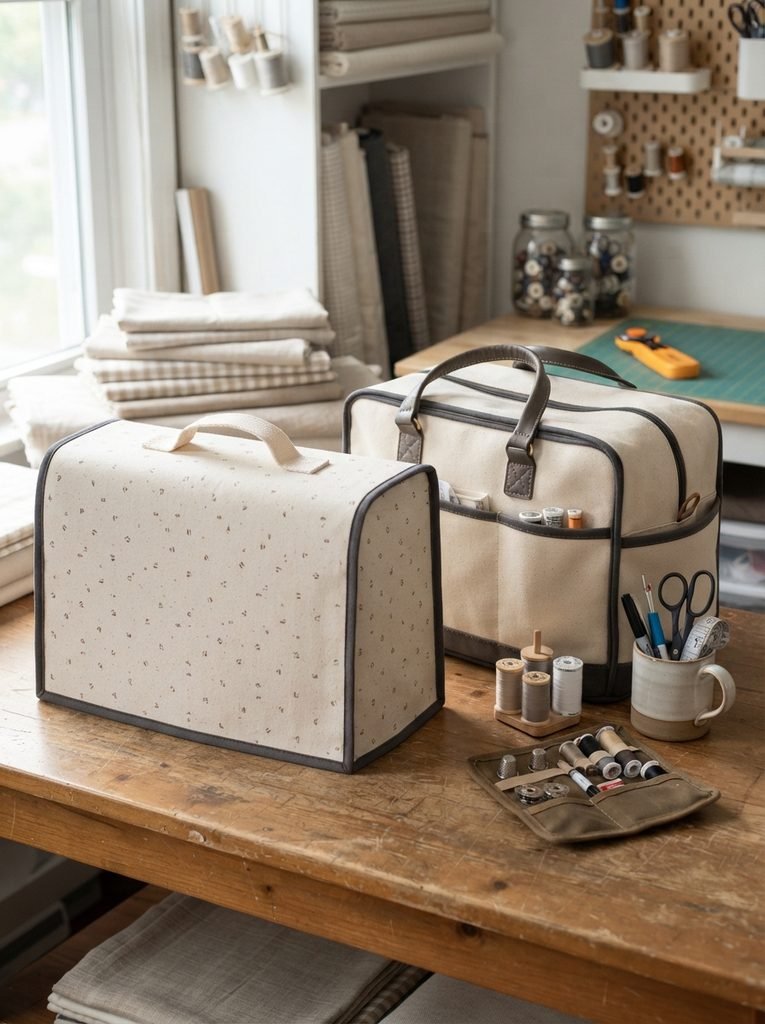
If you take your machine to classes, workshops, or sewing groups, create a lightweight version that protects it during short trips. Add a secure handle and avoid heavy embellishments. A well-planned sewing machine cover can make transportation easier while keeping fabric scraps and dust away from the machine’s outer surfaces.
13. Industrial Machine Cover
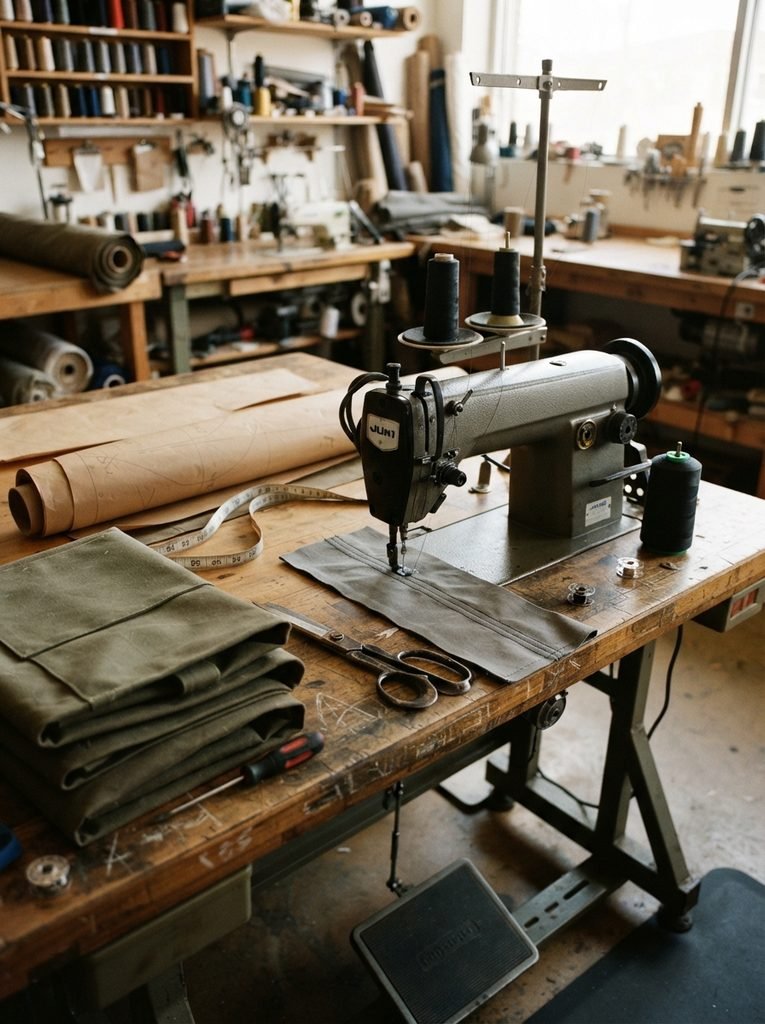
Home machines are not the only ones that need protection. If you work with an industrial sewing machine, measure the machine and table-mounted components carefully before designing the cover. Industrial equipment can have a different shape and larger working area, so do not copy a household-machine pattern without checking dimensions. Keep the design practical and avoid anything that interferes with controls, cables, or machine movement.
14. Personalized Name or Monogram Design
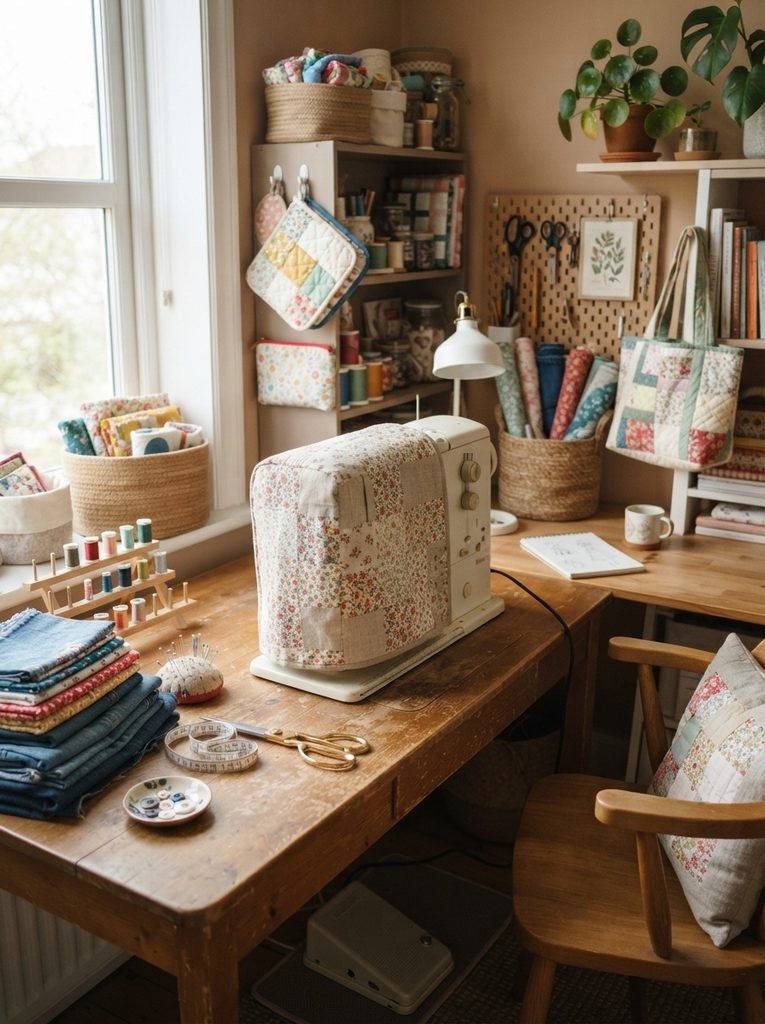
Add personality with embroidery, appliqué, or simple initials. You can use a small decorative panel rather than covering the entire project with embellishments. If you are making the cover as a gift, choose the recipient’s favorite colors or fabric style. Personal details can turn a practical item into something memorable.
15. Beginner Free Pattern Tutorial Style
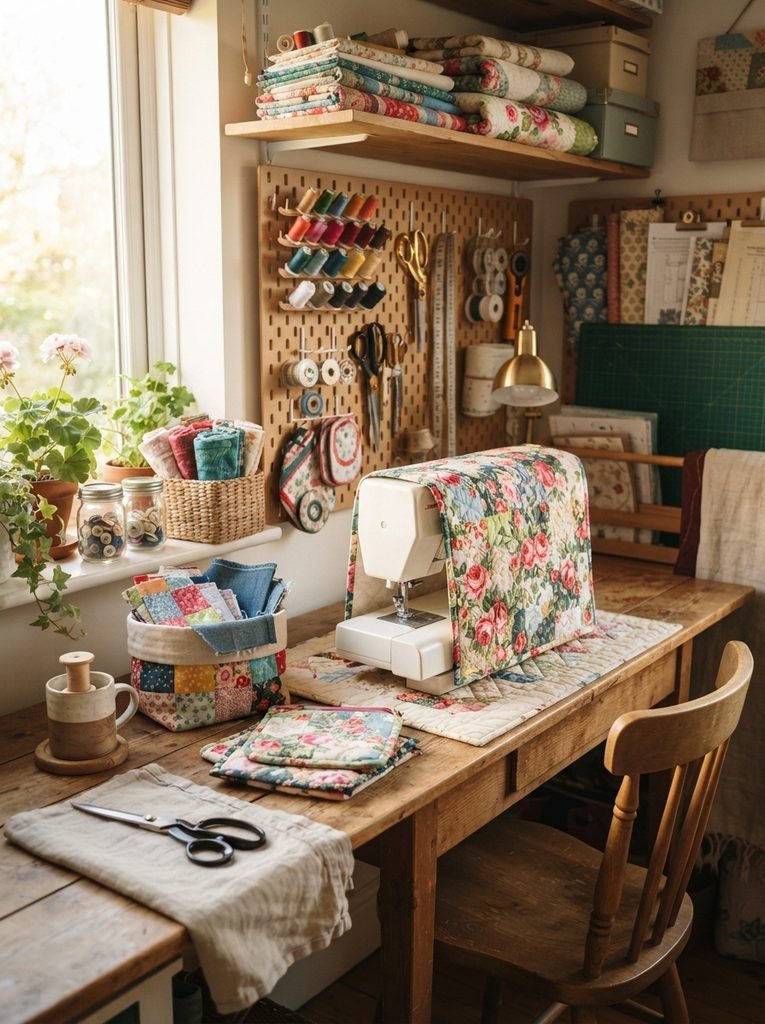
If you want to create your own free pattern tutorial, start with the simplest shape. Measure the machine, draw the front and side sections on paper, mark seam allowances, then make a test version using inexpensive fabric. Do not cut your favorite fabric immediately. A test piece can reveal problems with height, width, corners, or machine handles before you commit to the final material. This small step can save both fabric and frustration.
Final Thoughts
A sewing machine cover can start as a simple beginner project and become something much more creative. You can use leftover fabric, experiment with stitching, add pockets, create a quilted design, or build a completely custom pattern around your machine. The best approach is to start small. Measure carefully. Test your shape. Choose a fabric you enjoy looking at every day. Then let the project grow with your skills. A handmade cover does more than hide a machine when sewing ends. It gives your workspace a finished look and turns practical storage into another opportunity to create something with your own hands.