
This post may contain affiliate links. Please read my disclosure policy.
In This Article Show
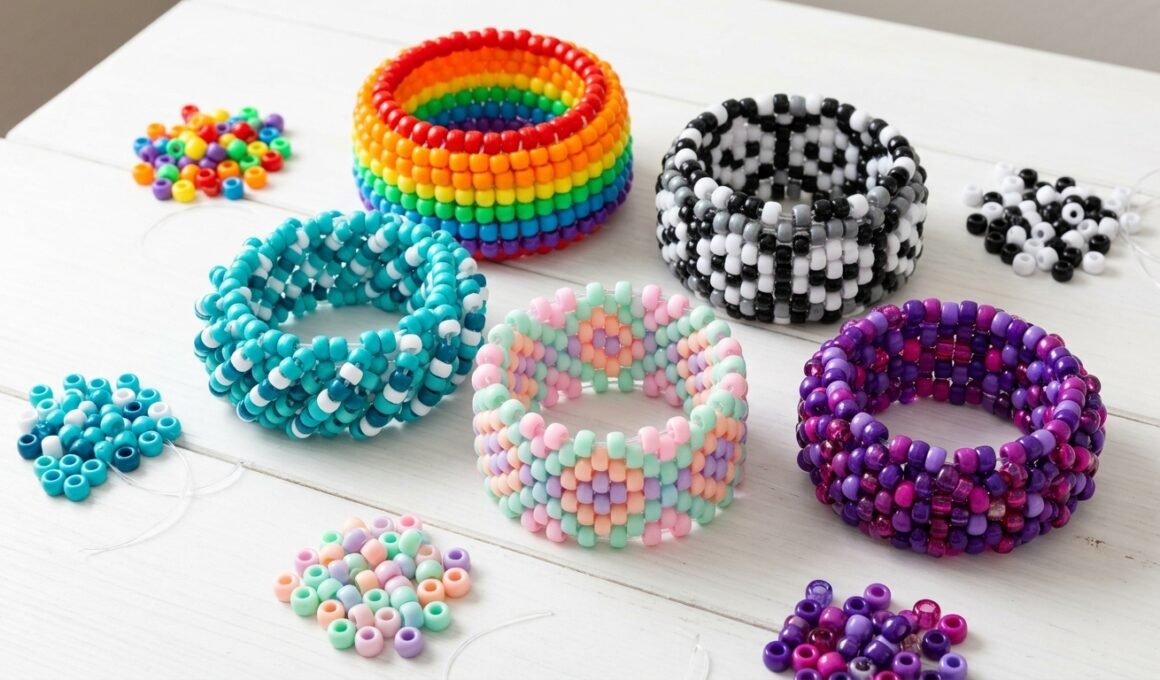
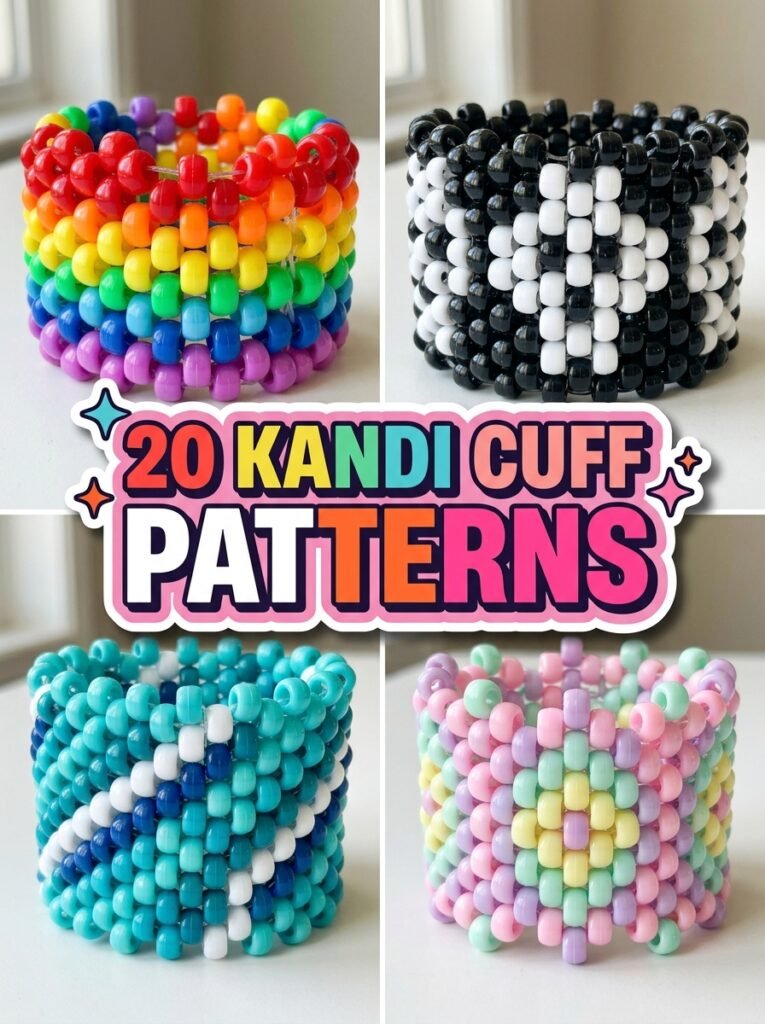
Kandi cuffs are colorful, handmade bead bracelets that let you express your personality through creative patterns, bright colors, and unique designs. Whether you enjoy rainbow accessories, emo and scene fashion, cute cartoon-inspired styles, or detailed geometric patterns, there are plenty of ways to make a cuff that feels personal. Some designs are simple enough for beginners, while others use multiple stitches, spirals, and layered beadwork for a more detailed finish. These kandi cuff patterns include easy numbered designs, ladder stitch, flat stitch, skull patterns, rainbow cuffs, and creative fandom-inspired ideas. You can follow the color combinations as shown or customize each design with your favorite beads.
1. Easy Rainbow Kandi Cuff
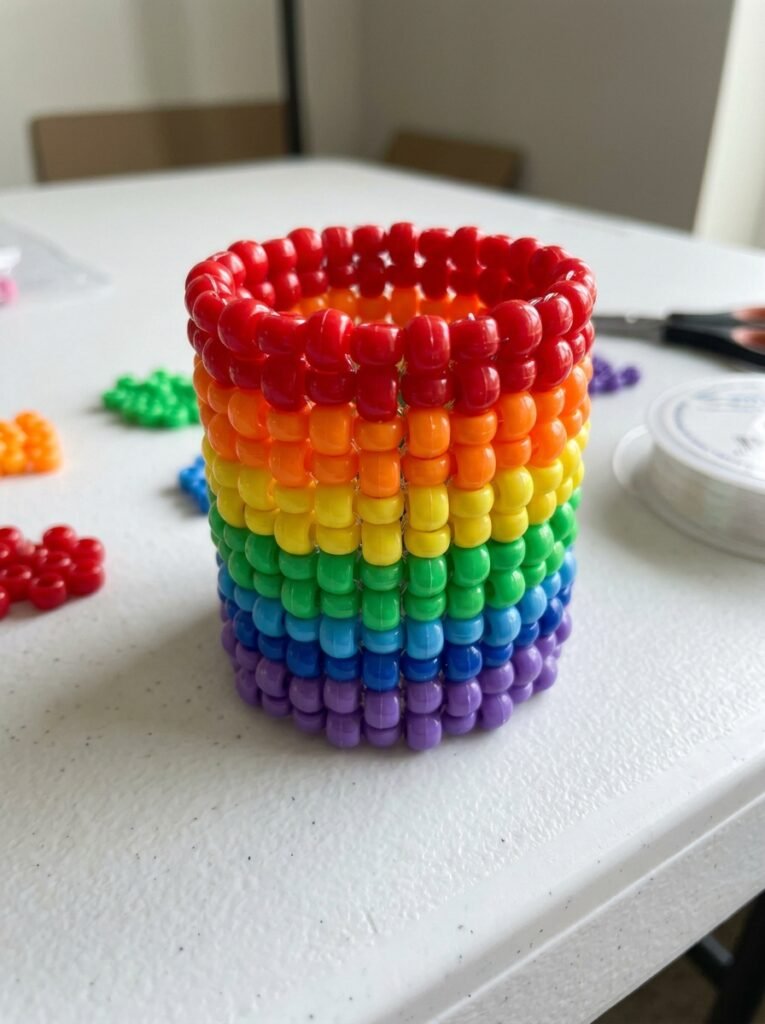
A rainbow kandi cuff is a cheerful choice for beginners because it uses a familiar color sequence and creates an attractive result without complicated details. Arrange red, orange, yellow, green, blue, and purple pony beads in repeating rows to build a coordinated design. You can keep every row a single color or alternate the colors for a more playful appearance. This pattern works well with a simple cuff structure and can be adjusted to suit your wrist size. For a brighter finish, choose glossy neon beads or mix solid colors with a few transparent accents.
2. Easy Numbered Kandi Cuff Pattern
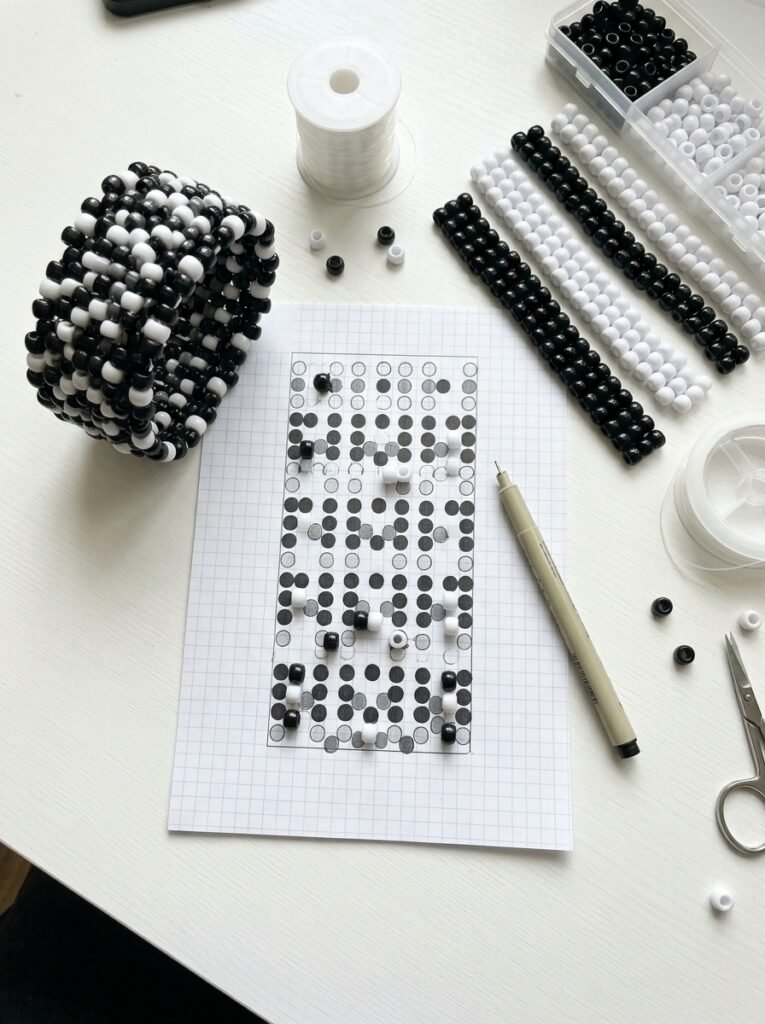
A numbered pattern makes cuff-making easier because you can follow the bead sequence row by row instead of guessing where each color belongs. Start with a simple two-color arrangement, such as black and white, and assign each color a number in your written pattern. Lay out the first row, repeat the sequence, and check each completed section against your notes. This method is especially useful when you want to reproduce the same cuff or share instructions with another beginner. Keep your numbering consistent so you can return to the pattern without confusion.
3. Numbers Emo Kandi Cuff
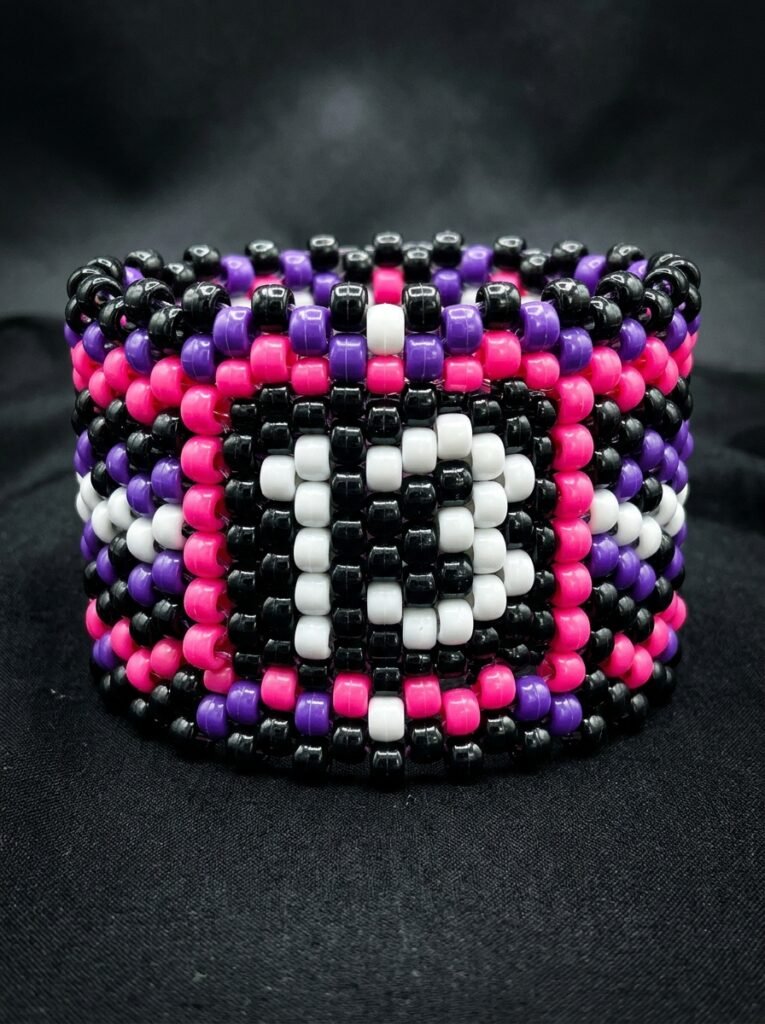
An emo-inspired numbered cuff combines bold lettering, dark colors, and contrasting bead patterns. Use black as the main color and introduce hot pink, purple, red, or white to create strong visual contrast. Letter beads or carefully arranged pony beads can display a short word, initials, or a meaningful number sequence. Plan the design before threading so the lettering remains centered and readable. This style works particularly well with layered bracelets, dark outfits, and scene-inspired accessories. Keep any text short enough to fit comfortably across the cuff.
4. Multi Stitch Kandi Cuff
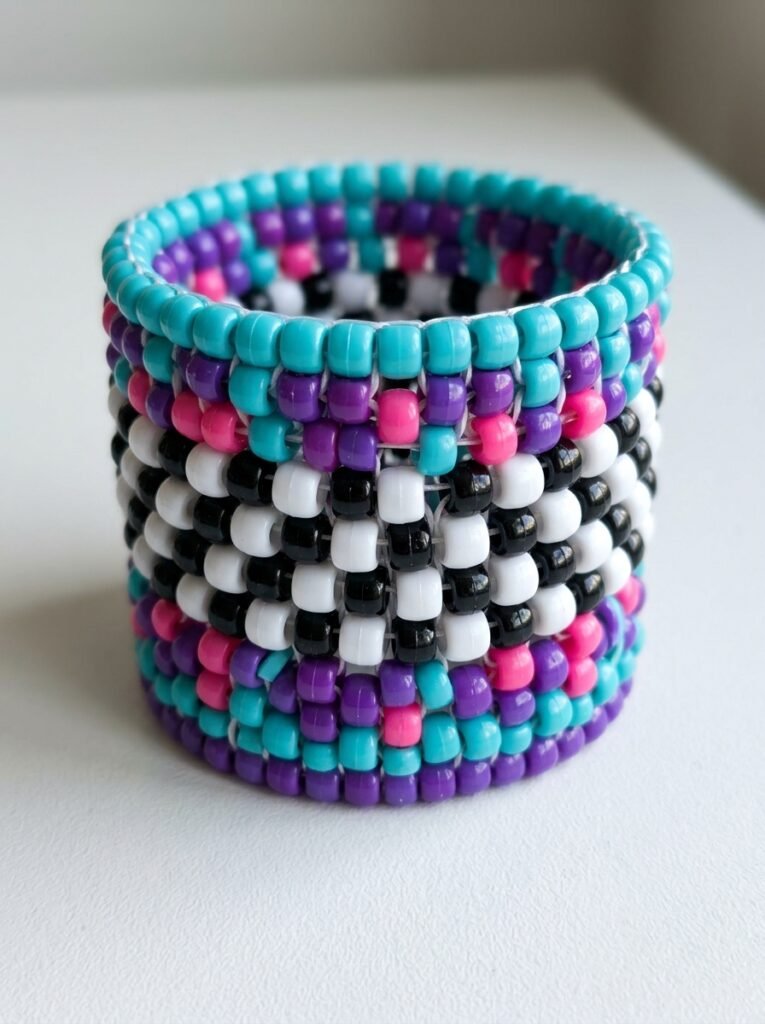
Multi-stitch kandi cuffs use more involved bead arrangements to create a wider, more textured appearance. Instead of relying on one repeating row, combine several stitch structures to produce contrasting sections, layered lines, or geometric blocks. For example, use a checkerboard-style center with simpler side rows to create visual balance. This design is best approached after practicing basic bead threading because different sections may require different tension and spacing. Sketch the layout first and build the cuff in manageable stages so the final shape stays even.
5. Ladder Stitch Kandi Cuff
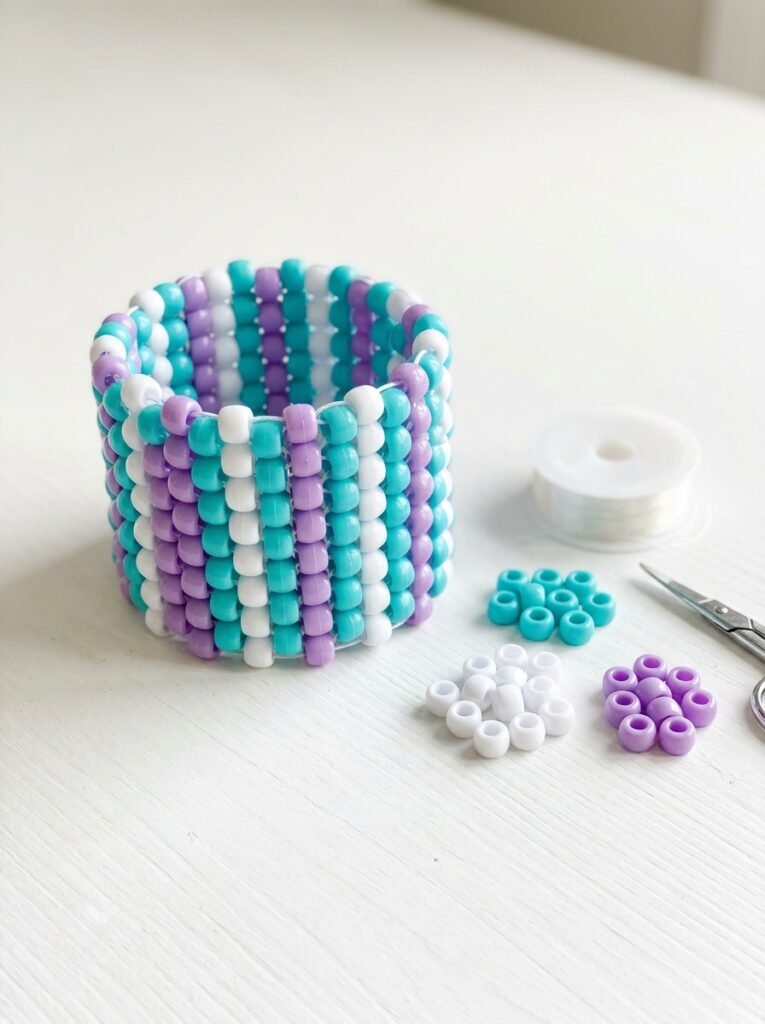
Ladder stitch creates a structured bead arrangement with neat, parallel rows connected by thread or cord. It is a useful technique when you want a cuff with a clean striped appearance or a simple geometric pattern. Choose two or three colors and repeat the same sequence to keep the rows aligned. Beginners should pay attention to thread tension because loose connections can make the cuff look uneven, while overly tight stitching can distort the shape. A small ladder-stitch project is a good way to practice before attempting wider or more complicated designs.
6. Flat Stitch Kandi Cuff
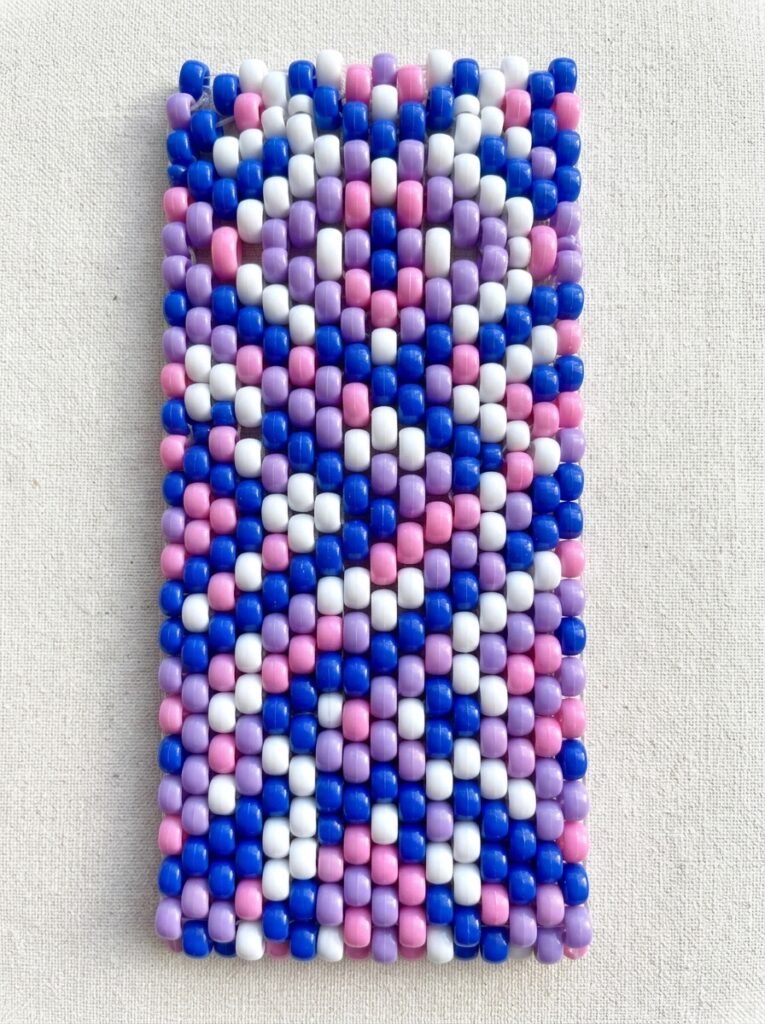
Flat stitch is ideal for designs that emphasize a smooth, organized surface rather than a raised or heavily layered appearance. Arrange the beads in straight rows to form stripes, small diamonds, checkerboard sections, or simple repeating motifs. This technique is particularly useful when you want a pattern to remain visible across the cuff without adding too much bulk. Before finishing, lay the cuff flat and inspect the edges to make sure the rows remain consistent. A limited palette of two to four colors can make the design look polished and intentional.
7. Spiral Kandi Cuff
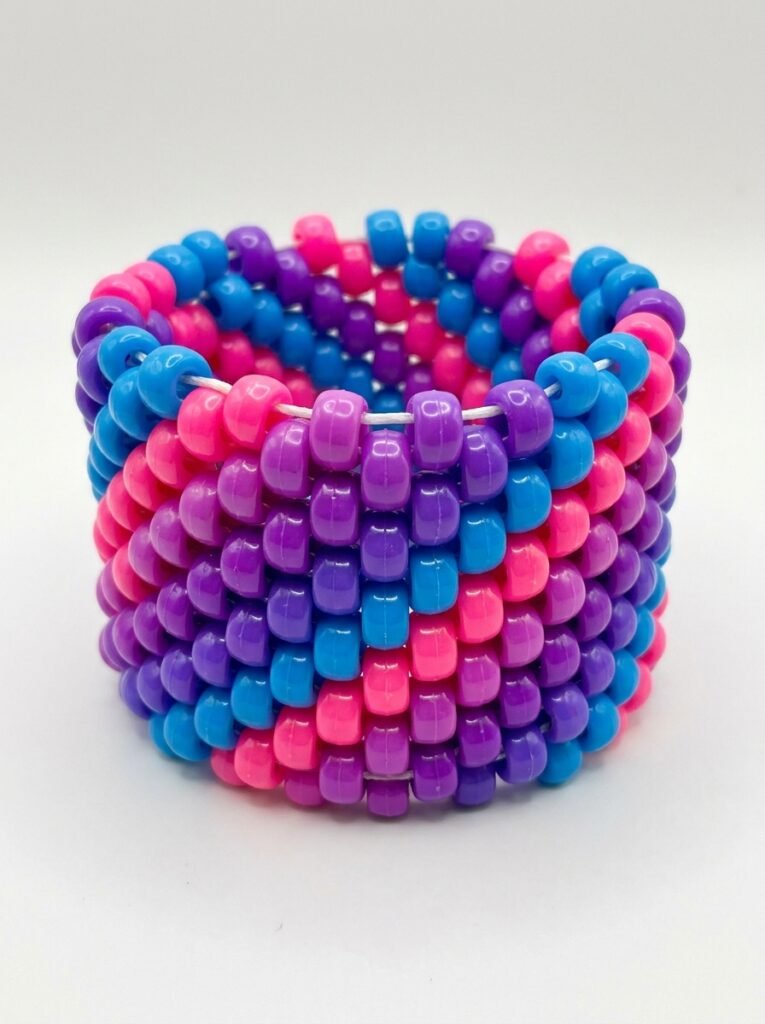
A spiral cuff creates a sense of movement by arranging colors in a repeating diagonal path around the bracelet. Use two contrasting colors for a simple twist effect, or three colors for a more colorful pattern. The spiral becomes most noticeable when the bead sequence remains consistent across the entire cuff. It can take a little practice to maintain the diagonal alignment, so check your progress after each section. This pattern looks especially attractive with neon colors, metallic-looking beads, or combinations such as blue and purple.
8. Swirl Kandi Cuff
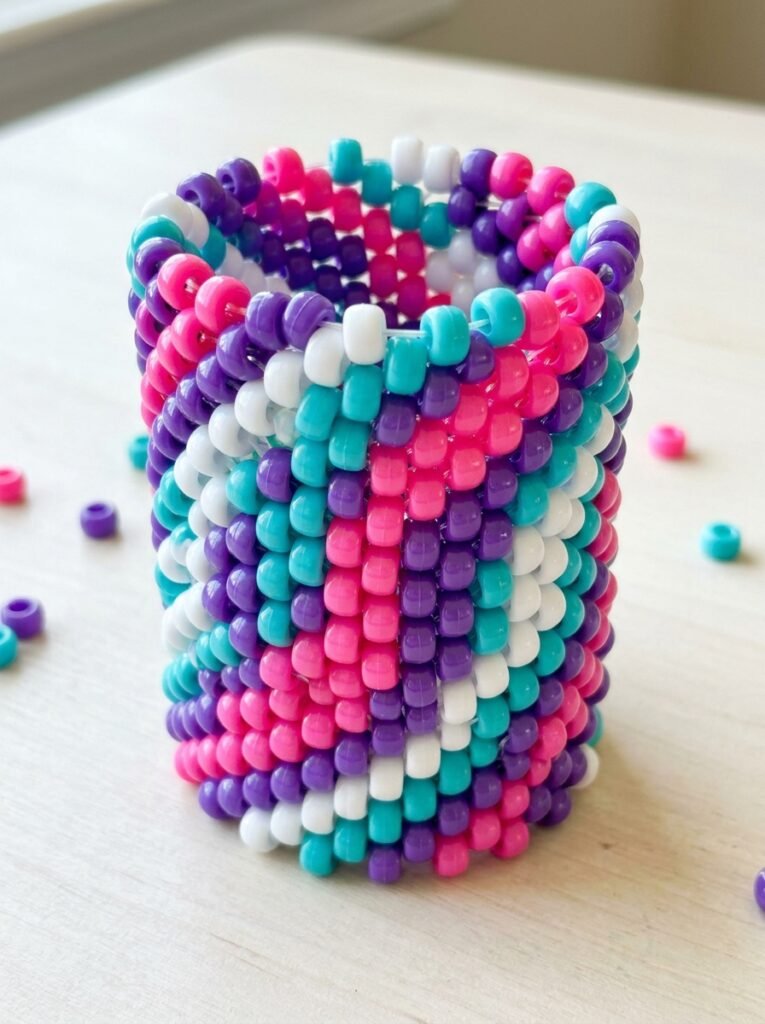
A swirl cuff uses curved-looking color transitions or repeated circular motifs to create a flowing design. Since pony beads are individual round pieces, the swirl effect comes from arranging contrasting colors in a carefully planned sequence. Try a white-and-blue swirl for a clean appearance or use pink, purple, and turquoise for a playful look. You can sketch the intended motif on a grid before assembling the cuff. This helps keep the color movement balanced and prevents the design from looking random. The result is a distinctive cuff that stands out from basic stripes.
9. Skull Kandi Cuff
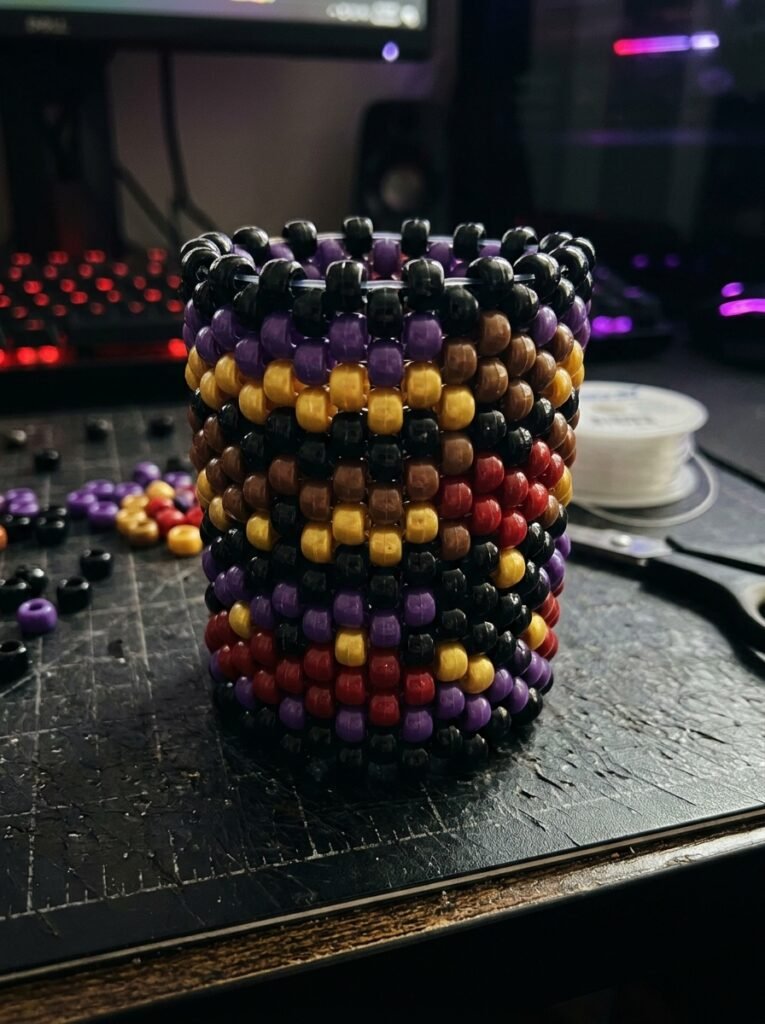
A skull cuff is a great choice for alternative fashion, Halloween accessories, or a darker kandi collection. Use black beads as the background and white beads to form a simple skull motif, with optional red or purple accents for extra contrast. A repeating skull design looks effective across a wider cuff, while a single centered skull creates a more minimal style. Plan the skull’s eyes and outline carefully so the motif remains recognizable at bead scale. You can also use a black-and-white checkerboard border to frame the central design.
10. FNAF Inspired Kandi Cuff
A FNAF-inspired cuff can take inspiration from the franchise’s dark arcade atmosphere, animatronic themes, and contrasting character-associated colors. Rather than copying detailed character artwork, use original bead arrangements such as purple and black stripes, gold and brown blocks, or red accents against a dark background. A simple pixel-like face motif can add a playful horror-game feeling without requiring a complicated design. If you want a more recognizable fandom accessory, use a short color sequence associated with your favorite character and keep the pattern consistent around the cuff.
11. TADC Inspired Kandi Cuff
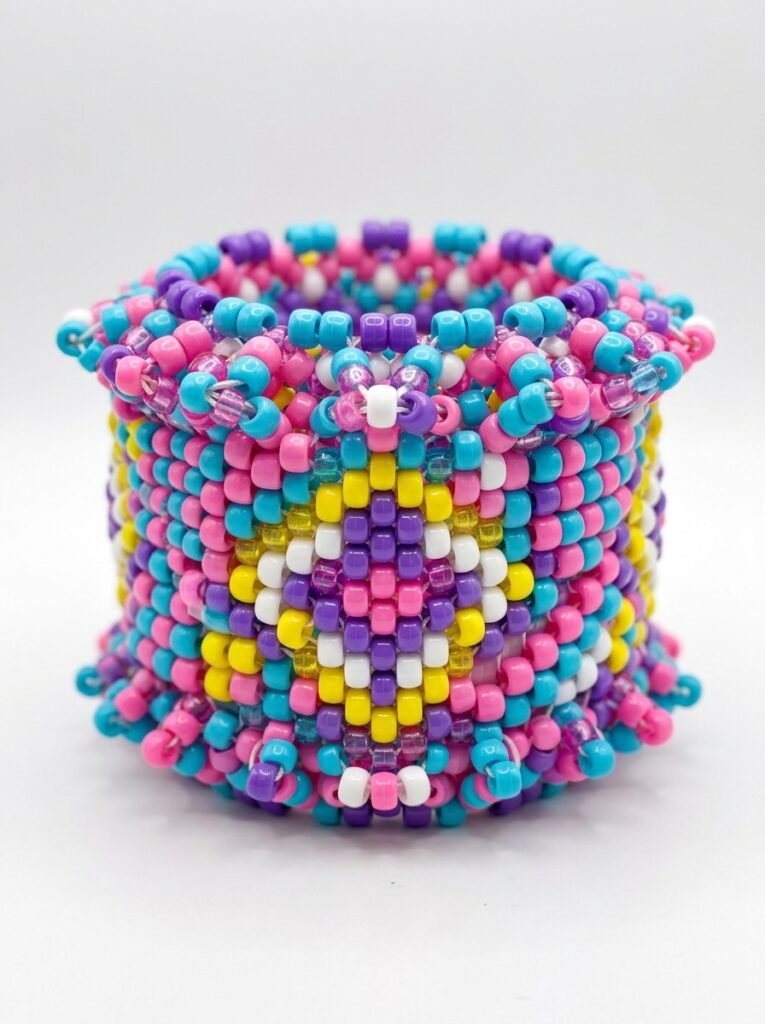
A TADC-inspired cuff can use bright, playful colors and unusual geometric combinations to reflect a whimsical digital-circus aesthetic. Try combining vivid pink, cyan, yellow, purple, and white in alternating blocks, checkerboard sections, or colorful stripes. A central diamond or abstract face-like motif can give the cuff a focal point while keeping the design manageable. Choose one dominant color and use the others as accents so the finished piece does not become visually overwhelming. This style works especially well for fans who enjoy expressive, colorful accessories.
12. GIR Inspired Kandi Cuff
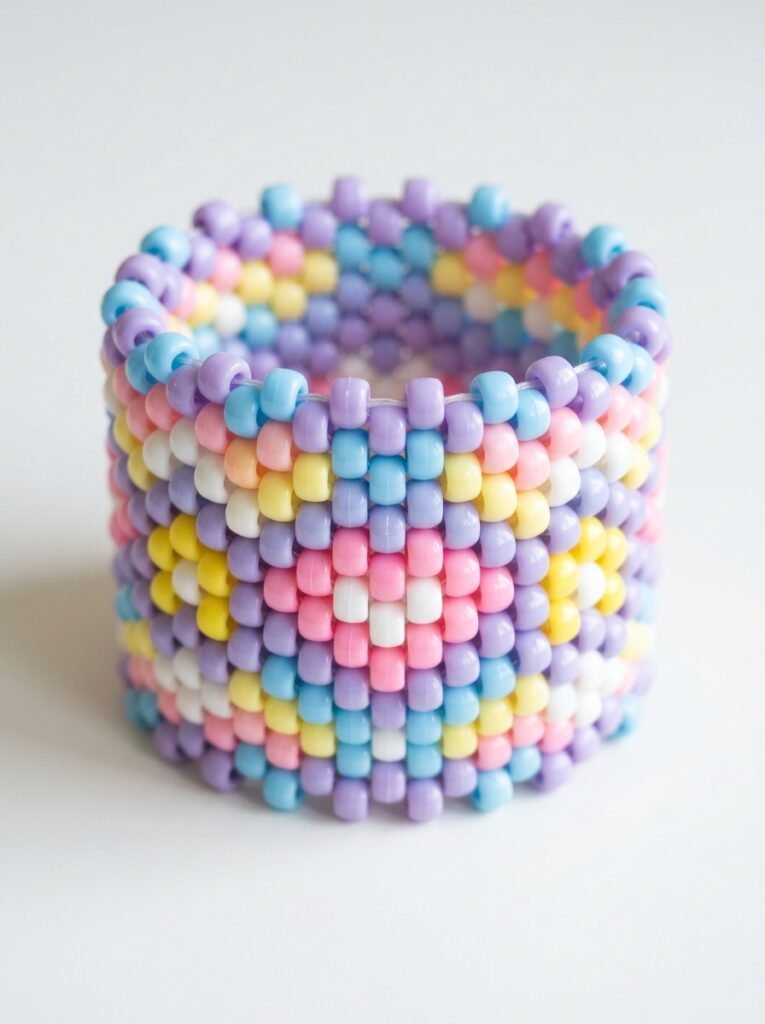
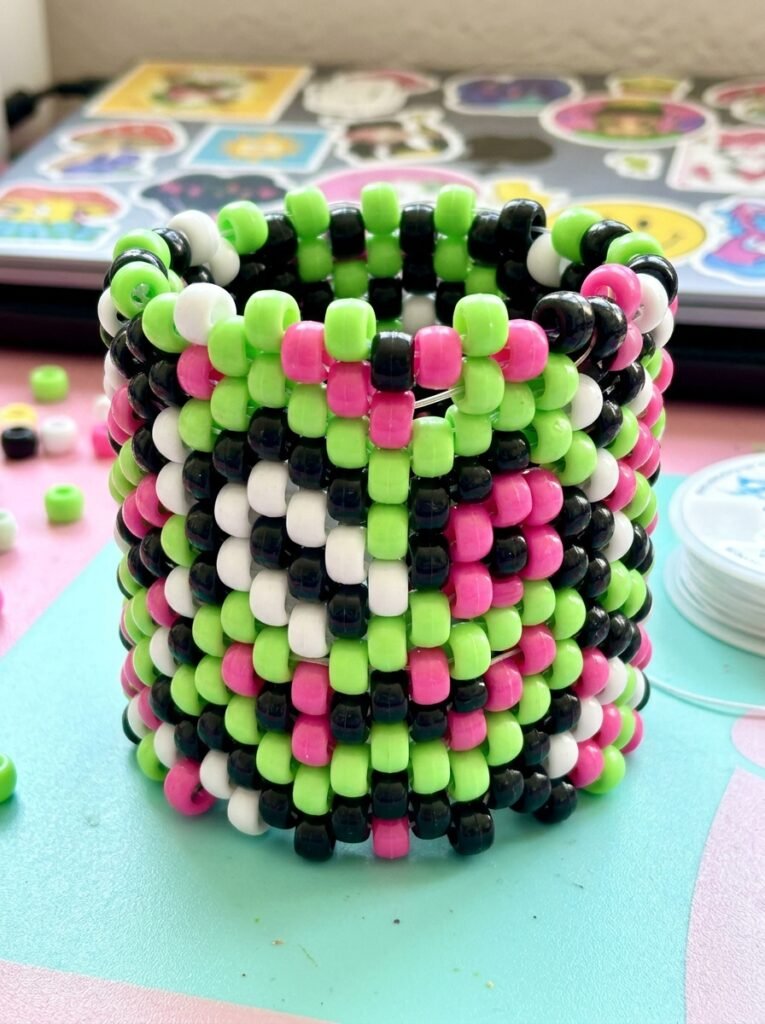
A GIR-inspired cuff can use a playful combination of lime green, black, pink, and white to create a quirky, cartoon-inspired accessory. Use green as the dominant color, with black-and-white sections for contrast and small pink accents to break up the pattern. A simple geometric face motif or alternating green-and-black rows can suggest the playful mood without copying detailed character artwork. This design works well as part of a scene or alternative kandi collection. Planning the accent colors in advance helps maintain a clear visual pattern across the cuff.
13. My Little Pony Inspired Kandi Cuff
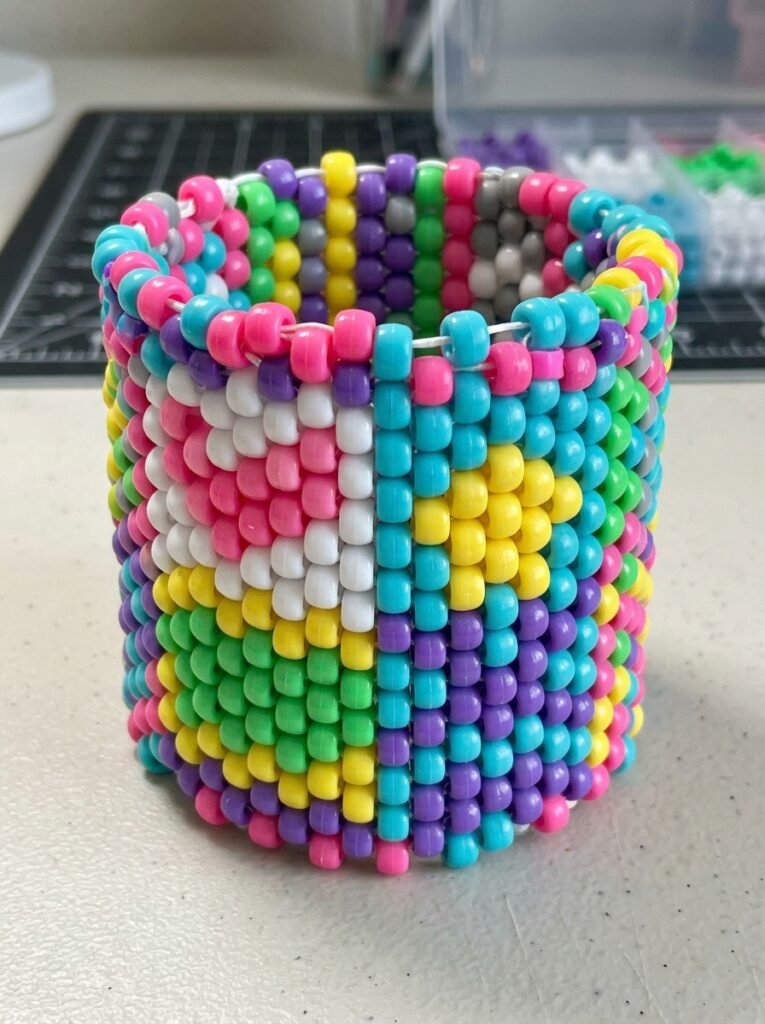
A My Little Pony-inspired cuff can focus on cheerful pastel colors, rainbow gradients, and friendship-themed motifs. Use lavender, sky blue, pink, yellow, and white to create a soft, coordinated pattern. You might arrange the colors in repeating rainbow sections or create a simple star-and-heart motif inspired by the themes of friendship and fantasy. A lighter color palette gives the cuff a gentle, playful look that contrasts with darker scene designs. Keep the arrangement balanced and use original patterns instead of reproducing copyrighted character artwork or logos.
14. Nyan Cat Inspired Rainbow Kandi Cuff
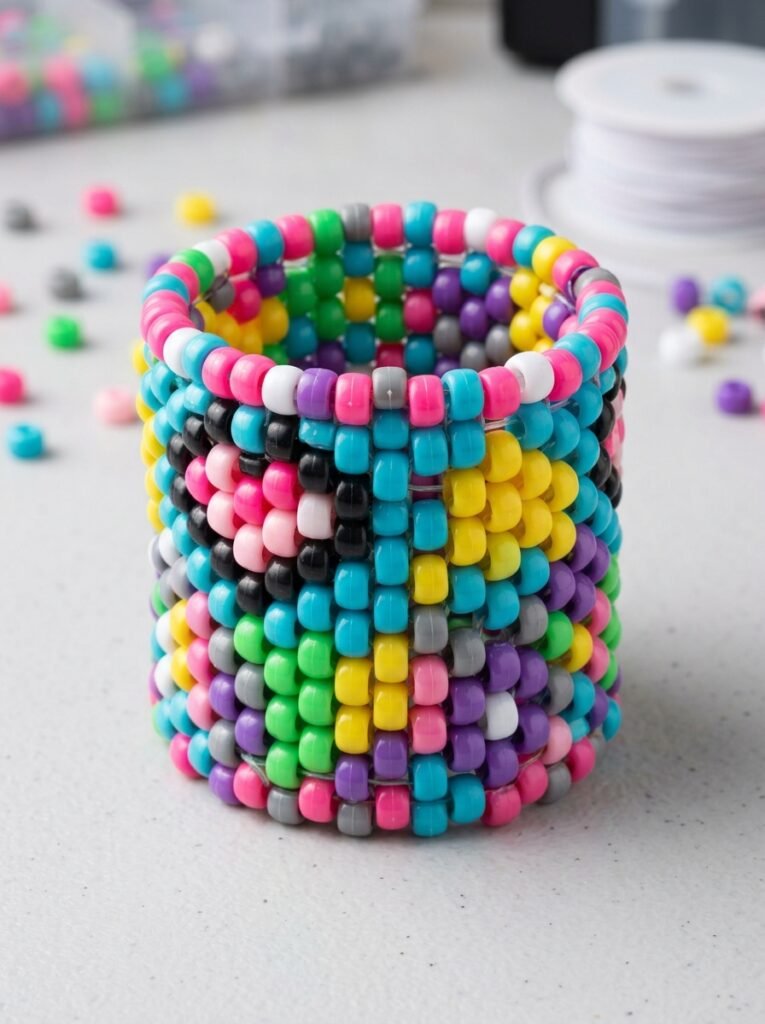
A Nyan Cat-inspired cuff can combine rainbow colors with a playful pixel-art feeling. Arrange small blocks of pink, blue, yellow, green, purple, and white to create a colorful repeating pattern, with a few gray or pink sections as subtle references to the classic internet-meme aesthetic. A pixel-style motif is often easier to plan on a bead grid before threading. Because the rainbow is the main visual feature, keep the remaining colors controlled so the cuff stays bright rather than crowded. This is a fun choice for a nostalgic internet-culture accessory.
15. Miku Inspired Kandi Cuff
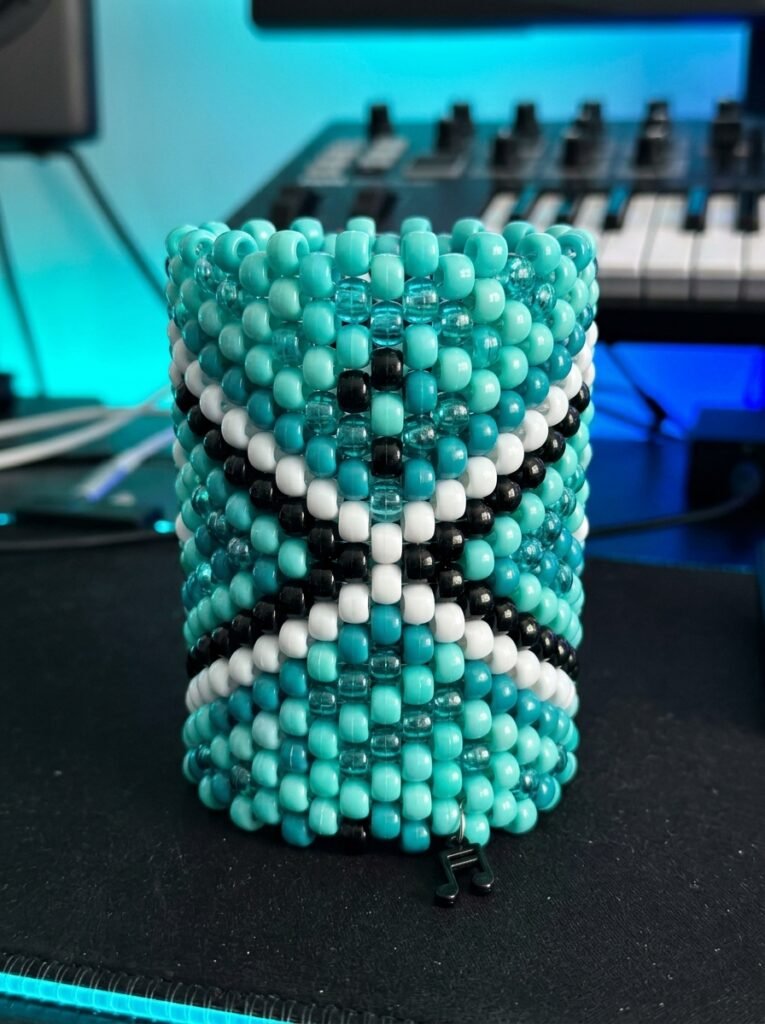
A Miku-inspired cuff works beautifully with turquoise, aqua, black, and white beads. Use turquoise as the main color and add black-and-white accents to create a crisp, recognizable color theme without needing a detailed character image. Repeating diagonal lines, small diamonds, or alternating color blocks can give the cuff a dynamic appearance. If you prefer a softer design, add pale blue and silver-toned beads. Keep the pattern consistent around the bracelet so the colors look intentional from every angle, and use original motifs rather than reproducing character artwork.
16. Bluey Inspired Kandi Cuff
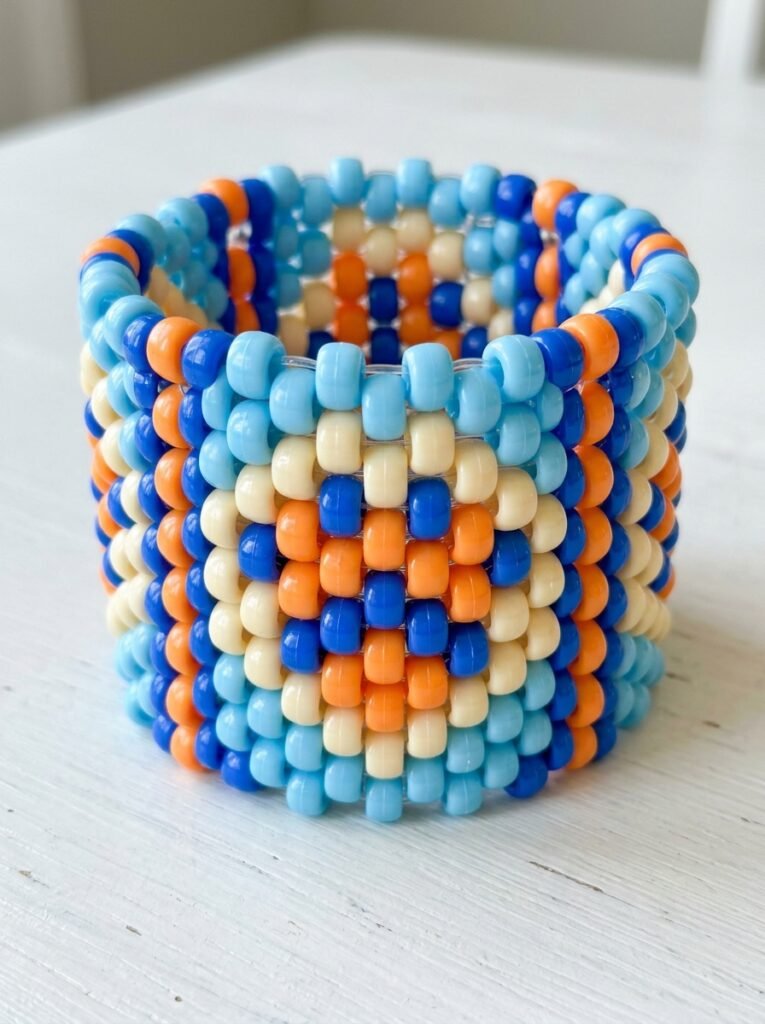
A Bluey-inspired cuff can use cheerful shades of blue, light blue, orange, and cream to create a friendly, family-oriented design. Alternate the blue tones to establish the main pattern, then add a few warm-colored beads for contrast. You can create simple paw-print-inspired shapes, stripes, or abstract dog-themed motifs using a bead grid. This makes the cuff playful without needing detailed character imagery. It is also a useful project for making matching accessories for siblings or friends who enjoy colorful cartoon-inspired crafts.
17. Jax Inspired Kandi Cuff
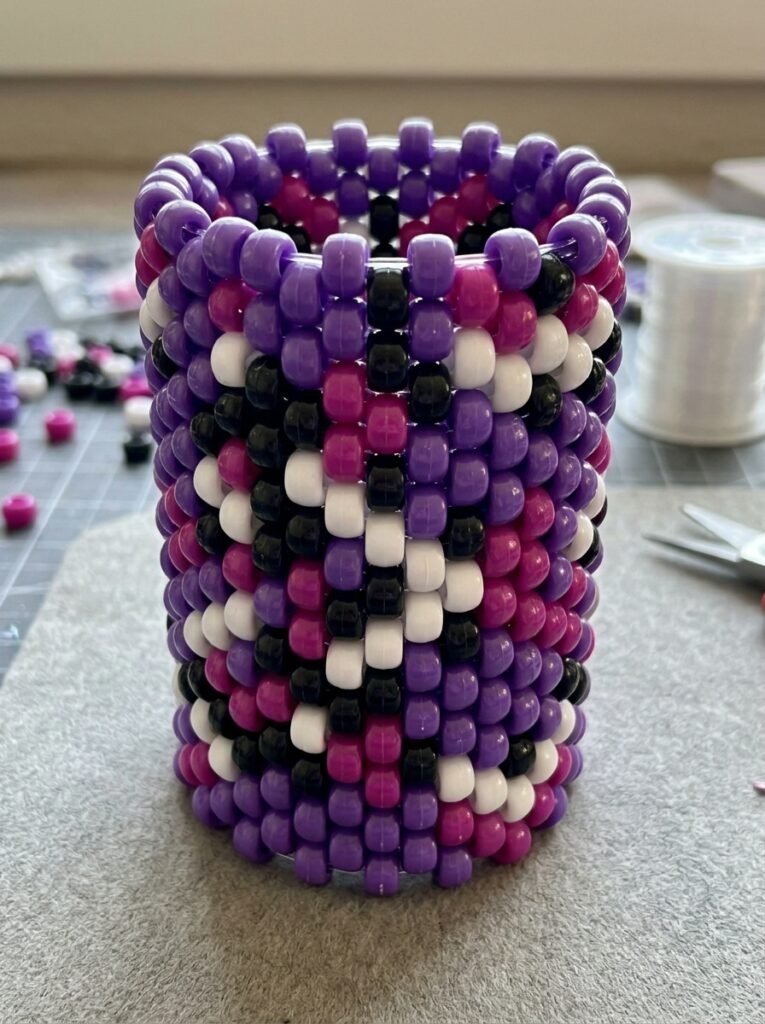
A Jax-inspired cuff can draw on bold purple tones, darker accents, and playful contrasting colors. Use purple as the main color, then introduce black, white, or magenta to create a striking arrangement. A repeated zigzag pattern or small diamond motifs can add movement while keeping the construction manageable. This style is a good option if you prefer cuffs with stronger contrast rather than soft pastels. Keep the design original by focusing on color and geometric shapes instead of reproducing a copyrighted character’s exact face or artwork.
18. Domo Inspired Kandi Cuff
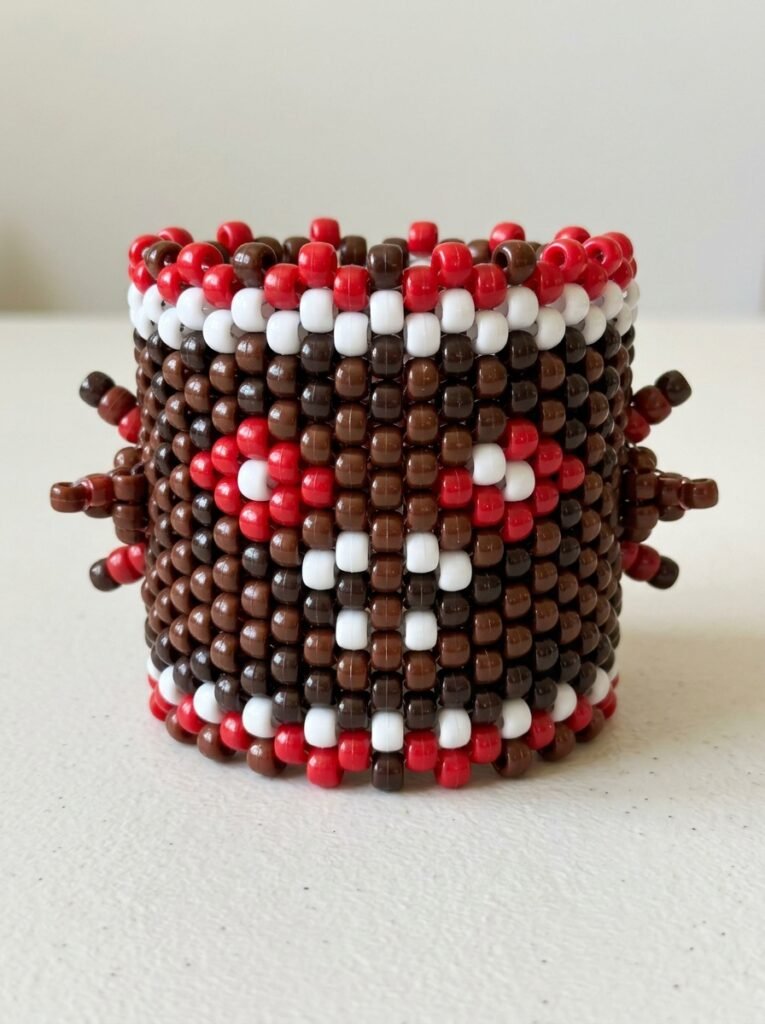
A Domo-inspired cuff can use chocolate brown, dark brown, red, and white beads for a playful creature-inspired color scheme. Create a repeating brown pattern with small red-and-white geometric accents, or use a simple central block motif to make the cuff stand out. Brown may not be as bright as neon colors, so a contrasting border can help define the pattern. This design pairs well with other quirky or nostalgic accessories. Keep the motif simple enough that the bead arrangement stays clear across the full cuff.
19. Shark Kandi Cuff
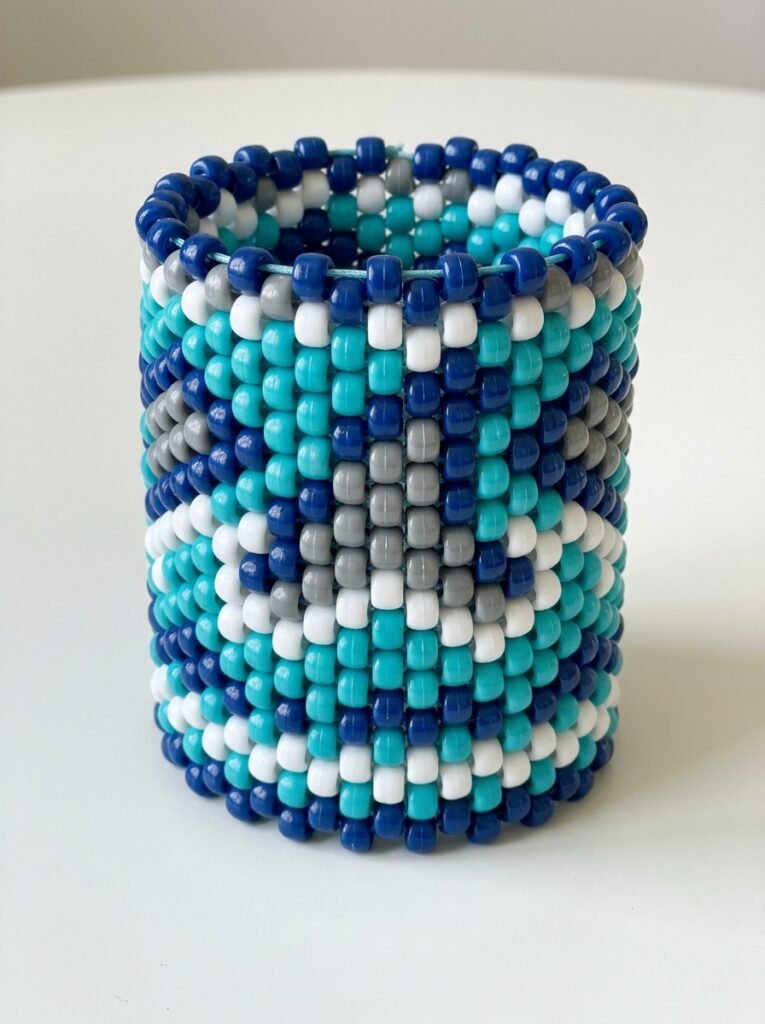
A shark-themed cuff is a fun option for anyone who enjoys ocean animals and bold color combinations. Use gray, white, and dark blue beads to create a cool ocean-inspired palette. Arrange the colors in rows, then add an original triangular-tooth motif or a simple fin-like geometric shape to suggest the theme. A turquoise border can make the darker colors look brighter and give the cuff a finished appearance. Because the shark motif may require careful bead placement, sketch the design on a grid before assembling the cuff.
20. Little Pony Inspired Kandi Cuff
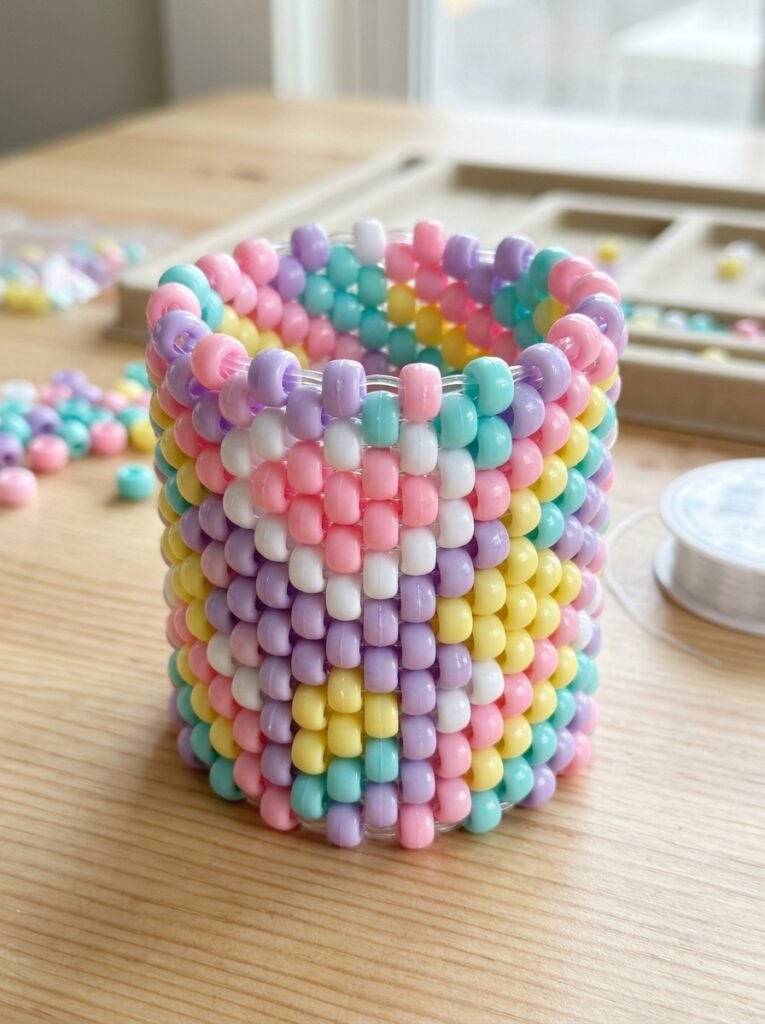
A little-pony-inspired cuff can take a broader approach to fantasy animals by using soft rainbow gradients, tiny stars, and playful color blocks. Combine pink, lavender, aqua, yellow, and white to make a cheerful design that works with casual or festival outfits. You can create a simple rainbow cuff or add small original pony-inspired symbols such as stars and hearts. This pattern is flexible enough for beginners because the visual effect comes mainly from the colors rather than intricate stitching. Use a balanced repeating sequence to keep the cuff looking tidy.
How to Make a Kandi Cuff for Beginners
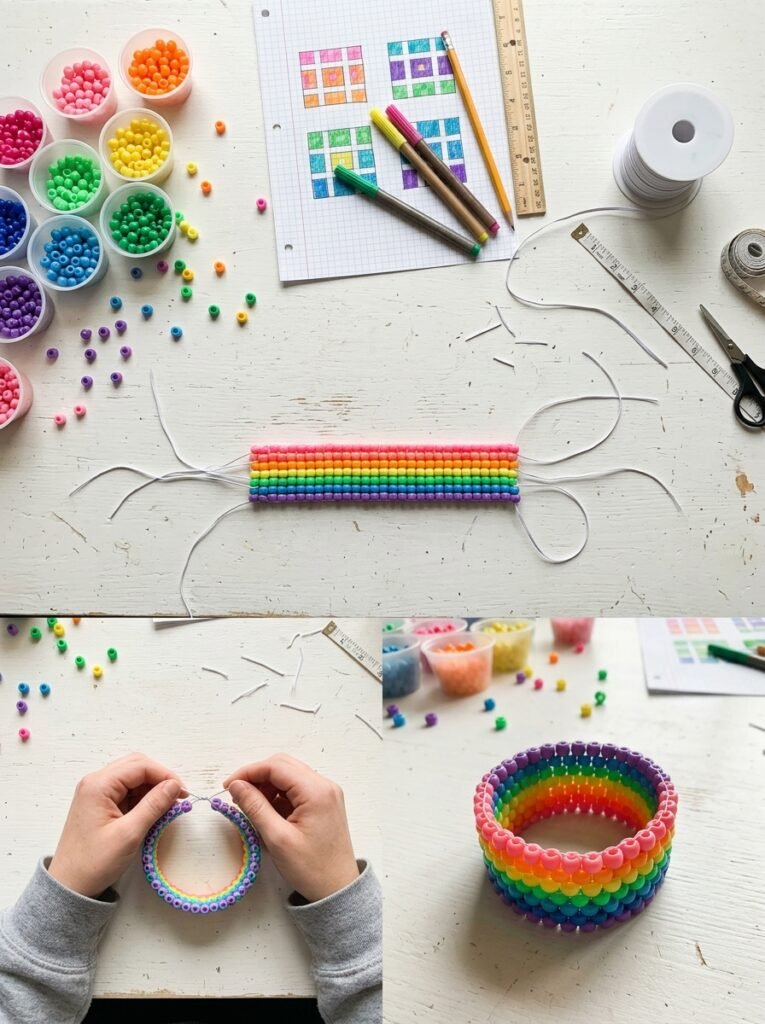
Making a cuff becomes easier when you break the process into smaller steps. Start with a basic repeating pattern before trying multi-stitch or more complex fandom-inspired designs.
Materials You Need
- Pony beads in your chosen colors
- Suitable elastic cord or beading thread
- Scissors
- A ruler or measuring tape
- A bead tray or flat work surface
- A numbered pattern or bead grid for reference
Step by Step Tutorial
Step 1 Choose your pattern. Pick a simple stripe, rainbow, or two-color geometric design. Write down the bead sequence or draw it on a grid.
Step 2 Measure your wrist. Use a measuring tape to determine a comfortable size. Allow for the cuff’s construction method and the amount of stretch or flexibility in your materials.
Step 3 Arrange your beads. Sort the pony beads by color and place them in the order you plan to use. This reduces mistakes when repeating the pattern.
Step 4 Build the cuff. Follow the instructions for your chosen stitch. Keep the bead tension consistent and check the shape as you progress.
Step 5 Finish securely. Tie or finish the cord according to the material and pattern instructions. Trim excess cord carefully without cutting too close to a knot that needs to remain secure.
Step 6 Inspect the result. Check for gaps, loose connections, uneven rows, and uncomfortable edges before wearing the cuff.
Tips for Better Kandi Cuff Patterns
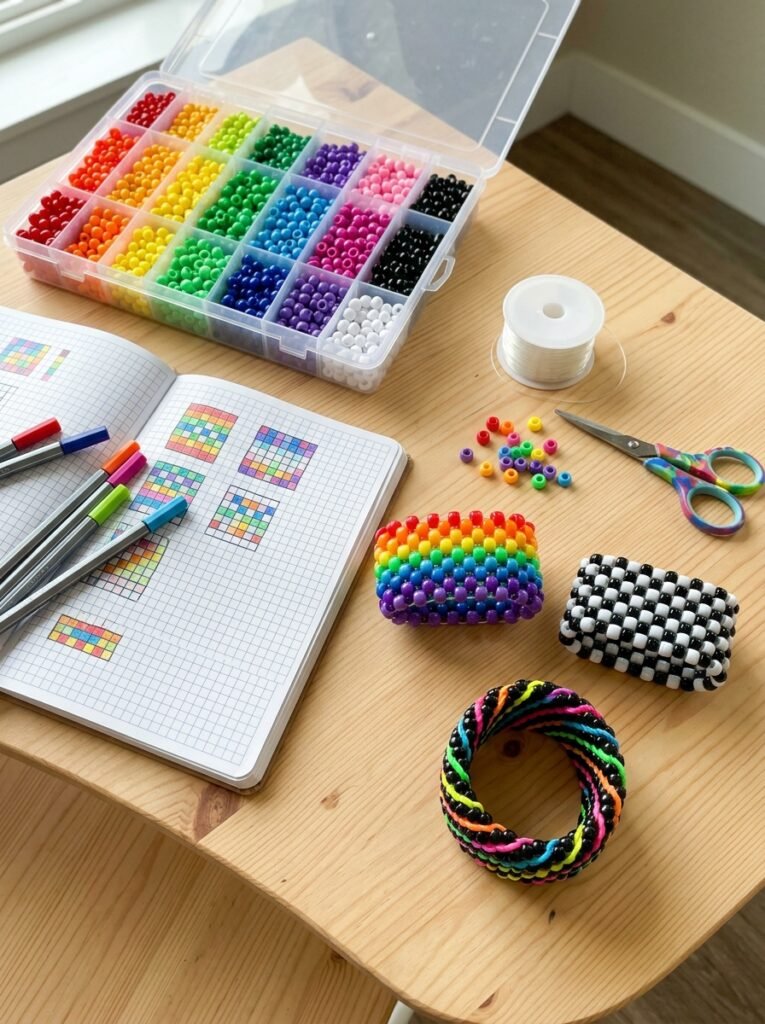
Plan the design before you start threading, particularly if it includes numbers, lettering, or small motifs. Use a limited color palette when learning a new stitch, and check each completed row against your reference pattern. For more complicated multi-stitch designs, work in small sections so you can identify mistakes early. If the cuff becomes uneven, review the tension and bead order before continuing. Store finished cuffs away from sharp objects and excessive heat, and check their connections occasionally if you wear them often.
Final Thoughts
There are many ways to experiment with kandi cuff patterns, from simple numbered arrangements to ladder stitch, flat stitch, spirals, and multi-stitch designs. Color themes inspired by music, animation, alternative fashion, and ocean animals can help you create a cuff that feels personal without requiring complicated artwork. Start with a straightforward rainbow or striped pattern, then gradually try more detailed motifs as your skills improve. With a little planning and consistent bead placement, you can create colorful cuffs for everyday wear, gifts, festivals, or your own handmade collection.