
This post may contain affiliate links. Please read my disclosure policy.
In This Article Show
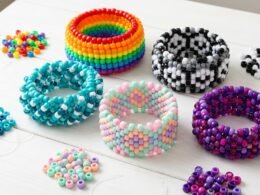
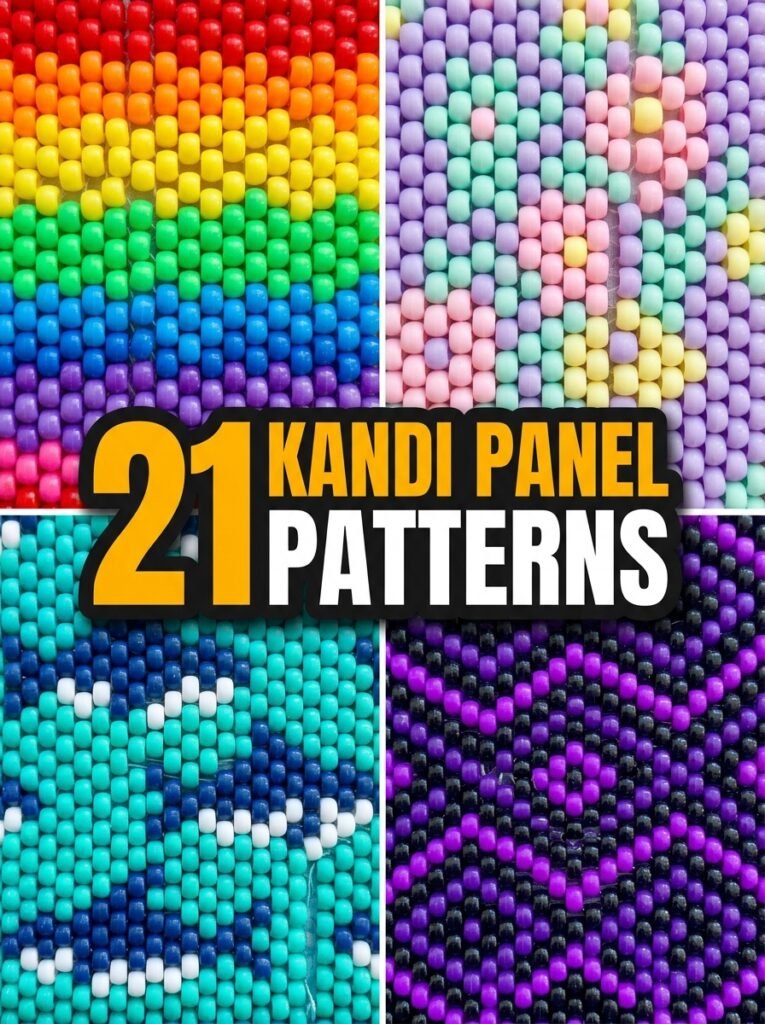
Kandi panels are a creative way to turn colorful pony beads into eye-catching designs for cuffs, bags, bracelets, and other handmade accessories. From simple numbered patterns to detailed rainbow motifs, cute flowers, and fandom-inspired designs, a well-planned panel gives your beadwork a neat and organized appearance. You can start with a small, easy pattern and gradually experiment with more colors, shapes, and detailed artwork as your skills improve. These kandi panel pattern ideas include beginner-friendly designs, even bead layouts, ladder stitch inspiration, and creative themes inspired by music, games, cartoons, and animals. Each idea includes design guidance and a dedicated image prompt to help you visualize the finished project.
1. Simple Kandi Panel Pattern
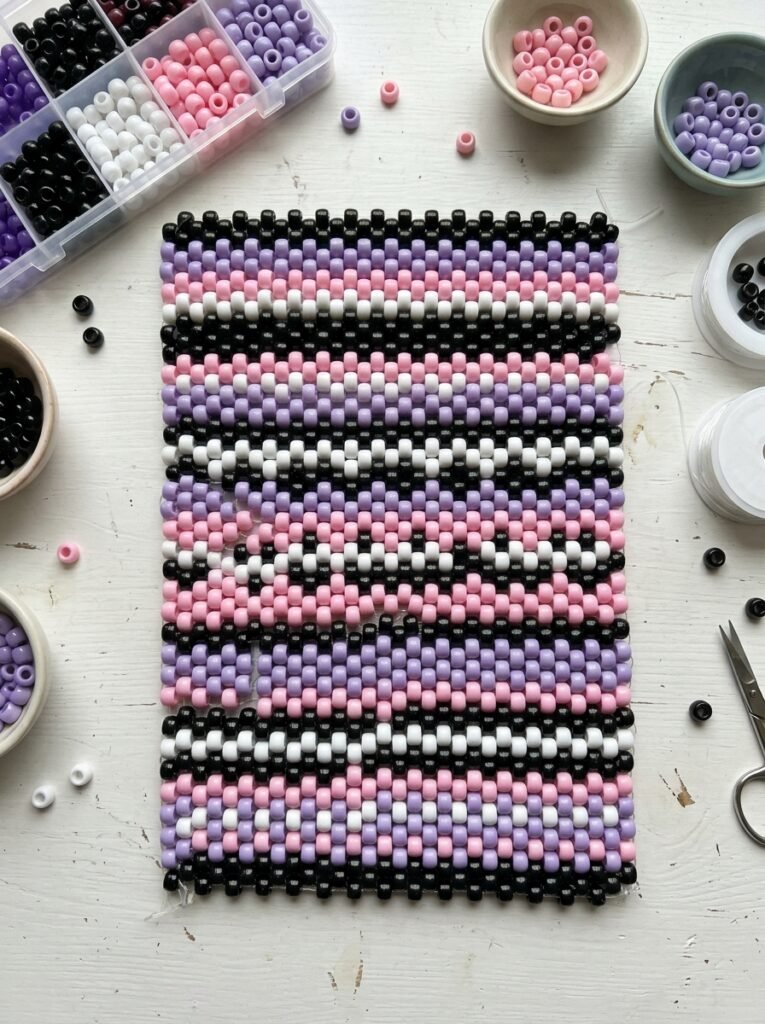
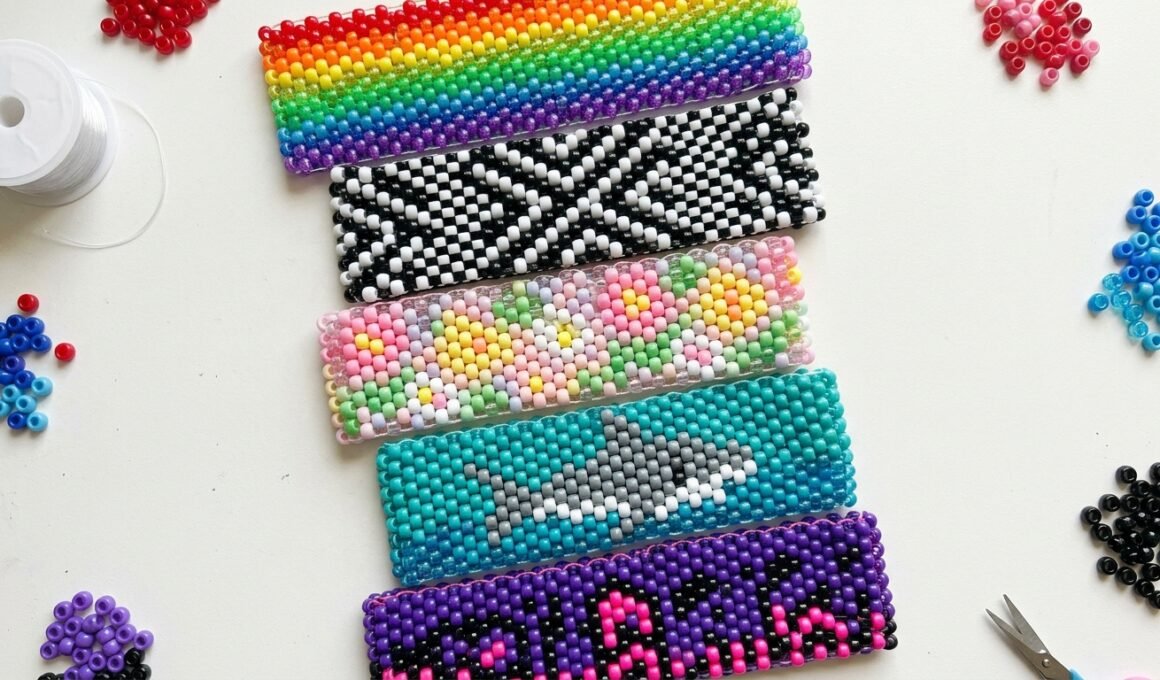
A simple kandi panel is the perfect starting point for beginners because it focuses on clean rows, balanced colors, and a recognizable shape. Choose two or three pony bead colors, such as black and white, pink and purple, or blue and turquoise. Arrange the beads in straight rows to create stripes, blocks, or a basic checkerboard effect. Before threading or connecting the beads, sketch your intended layout on paper so you can check the width and height. This simple panel can later become part of a cuff, mini bag, or decorative bracelet.
2. Easy Numbered Kandi Panel
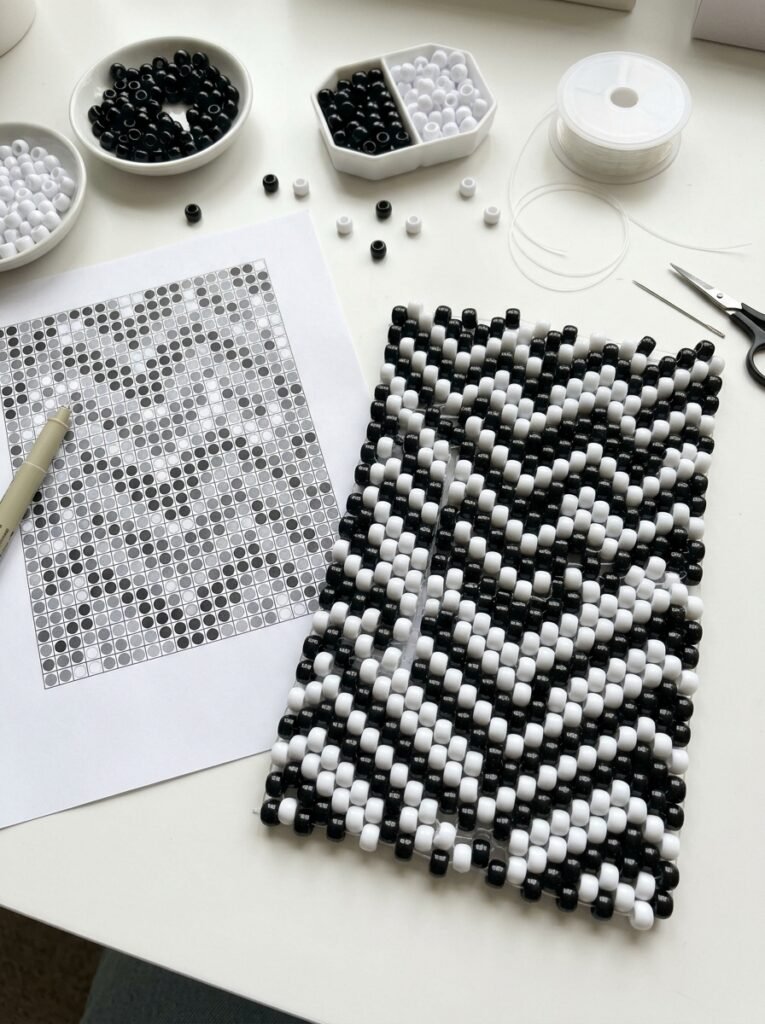
An easy numbered pattern helps you follow the correct bead sequence without repeatedly guessing where each color belongs. Draw a grid representing your panel and assign a number or symbol to every bead color in your notes. For example, use one number for black beads, another for white, and a third for pink accents. Work through the design row by row, checking each section before continuing. This method is particularly useful for symmetrical patterns, small pictures, and designs that you want to recreate later or share with other kandi makers.
3. Even Color Block Kandi Panel
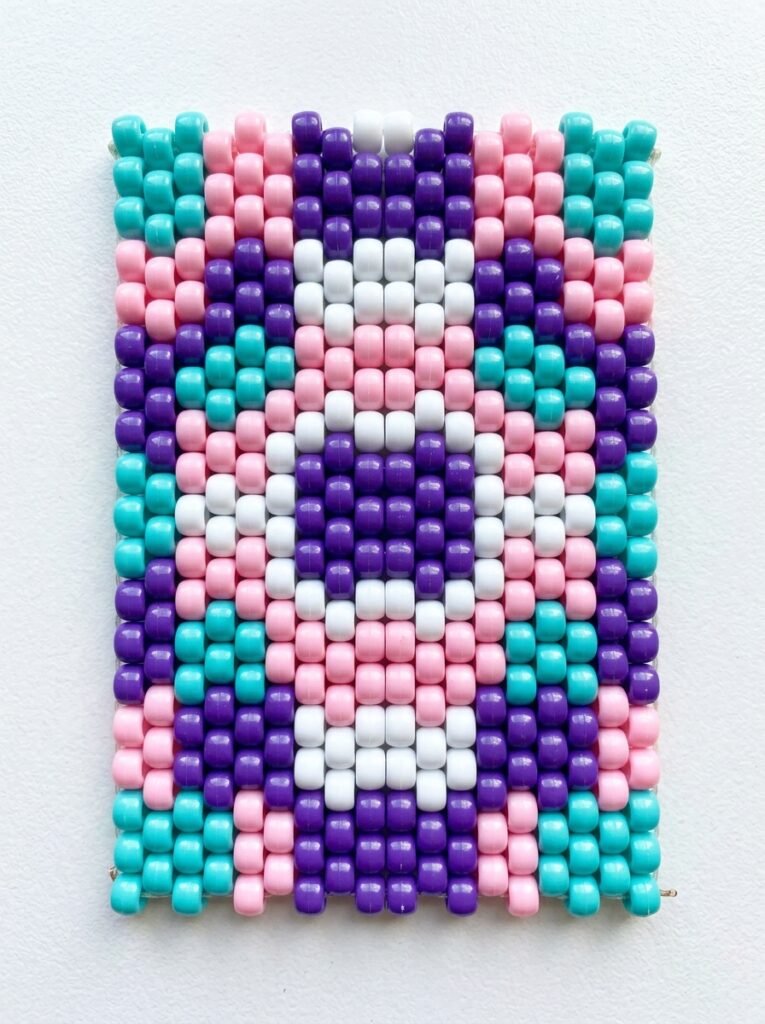
An even color-block panel uses equally spaced sections to create a balanced and polished appearance. Instead of placing colors randomly, divide the design into consistent stripes, squares, or rectangular blocks. Turquoise and white create a fresh, clean look, while pink, purple, and blue offer a playful pastel combination. You can use the same arrangement across the entire panel or place a contrasting block in the center as a focal point. Keeping the spacing consistent makes this design especially useful for wider cuffs and bag panels.
4. Rainbow Kandi Panel
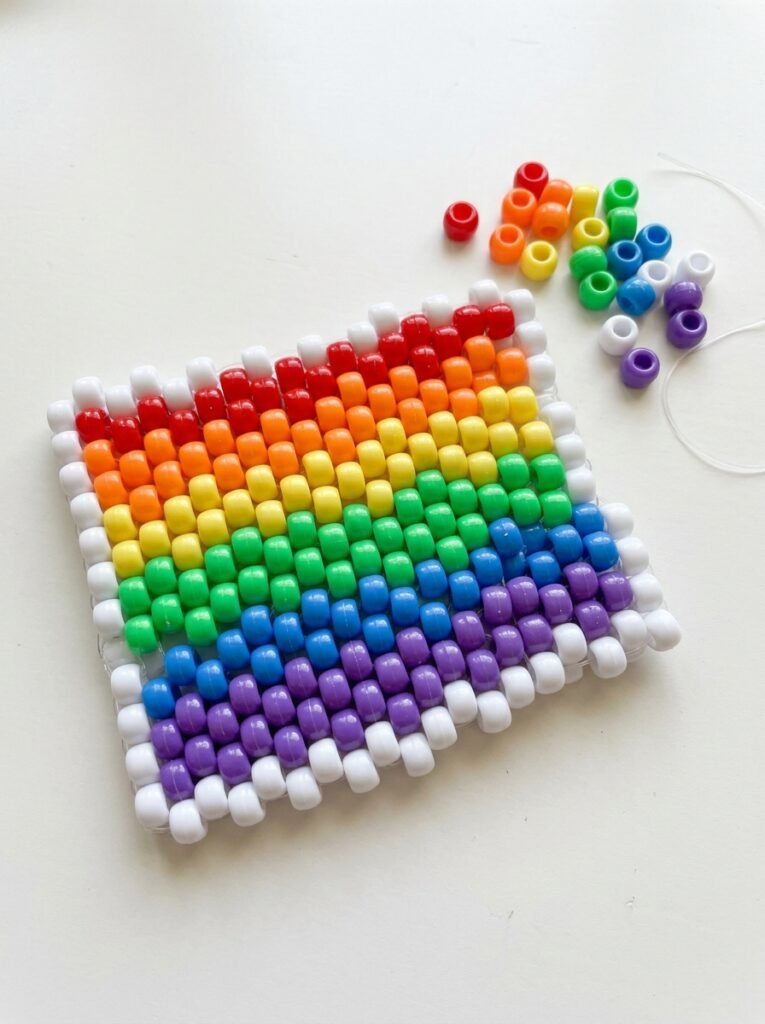
A rainbow panel is a colorful choice for anyone who loves bright accessories and expressive bead patterns. Arrange red, orange, yellow, green, blue, and purple beads in repeating horizontal stripes or a carefully planned diagonal sequence. A white or black border can make the rainbow colors stand out and give the panel a more finished appearance. You can keep the pattern simple for a beginner cuff or make a wider panel with multiple rainbow rows. This design also works beautifully as a decorative centerpiece for a kandi bag or a matching bracelet set.
5. Flower Kandi Panel
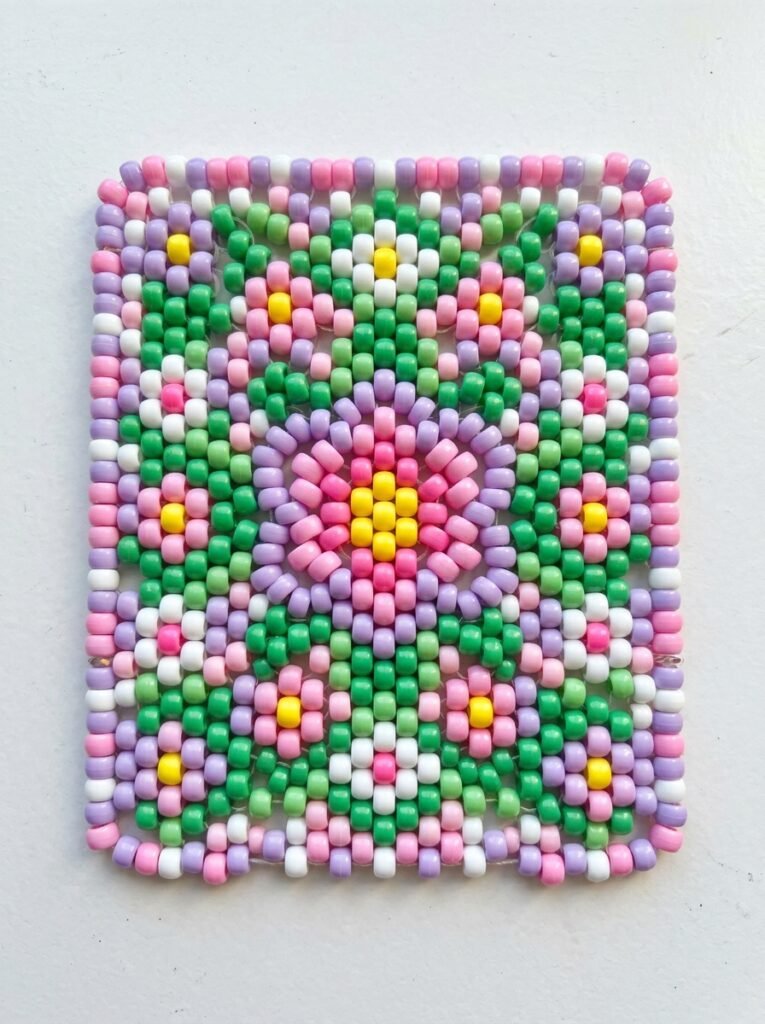
A flower panel adds a cute, cheerful detail to your beadwork without requiring an overly complicated design. Use yellow beads for the centers and pink, lavender, blue, or white beads for the petals. You can arrange one large flower in the middle of the panel or create a repeating pattern of smaller flowers across the surface. Green accents can suggest leaves and help the flowers stand out. For a coordinated accessory, repeat the same floral colors on the edges or strap of a bag, or use a single flower as the centerpiece of a bracelet.
6. Shark Kandi Panel
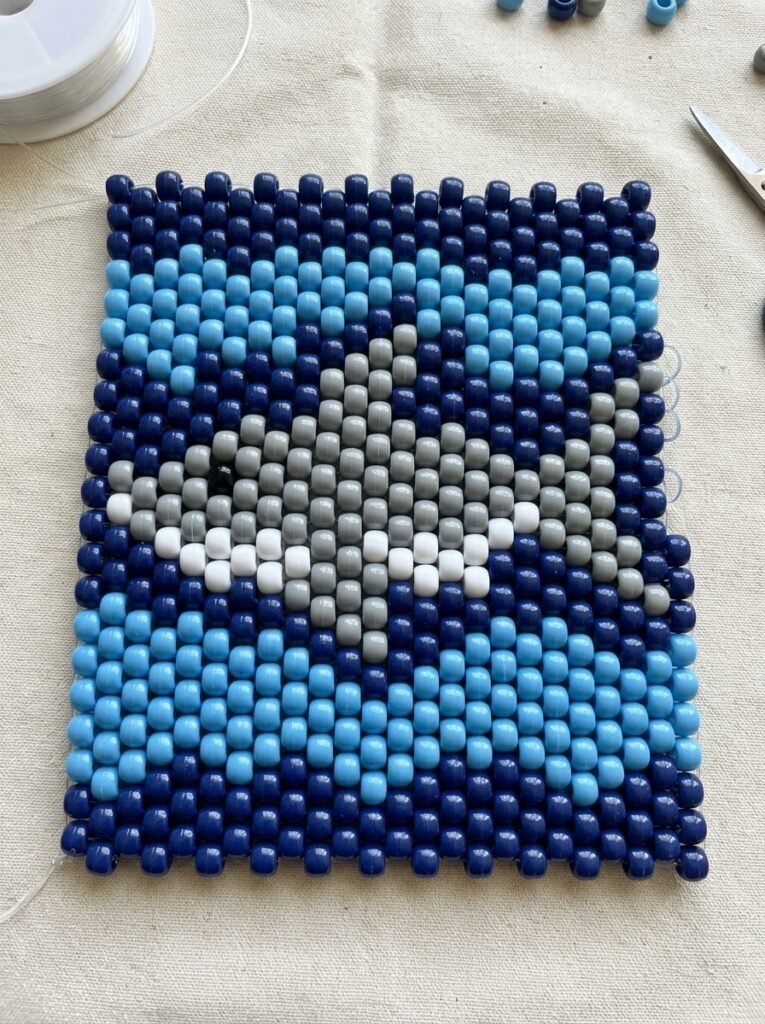
A shark panel is a fun project for ocean lovers who want to create an animal design with bold shapes and contrasting colors. Use navy blue, light blue, gray, and white beads to form a shark silhouette against a simple background. Focus on a recognizable body, tail, and fin rather than adding too many tiny details. White triangular accents can suggest teeth while keeping the design playful. Sketch the shark on a bead grid before starting, as this makes it easier to position the eye and maintain the proportions across the panel.
7. Fish Kandi Panel
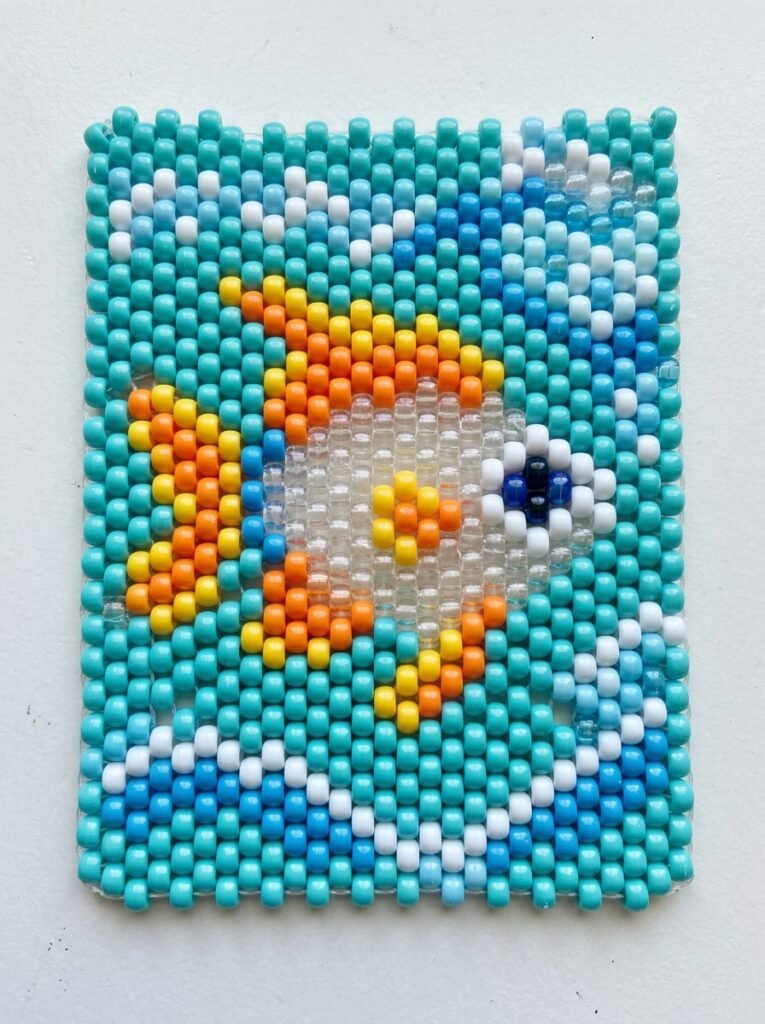
Fish patterns are ideal for experimenting with bright colors, simple silhouettes, and repeating motifs. Choose turquoise, orange, yellow, blue, and white beads to create a tropical fish design, or use different shades of blue for a calmer ocean theme. A single large fish can become the main focal point, while several smaller fish can create a repeating pattern across the panel. Include a contrasting eye and a clearly defined tail so the shape remains recognizable. This design works well for decorative cuffs, bag fronts, and other colorful kandi projects.
8. MCR Inspired Kandi Panel
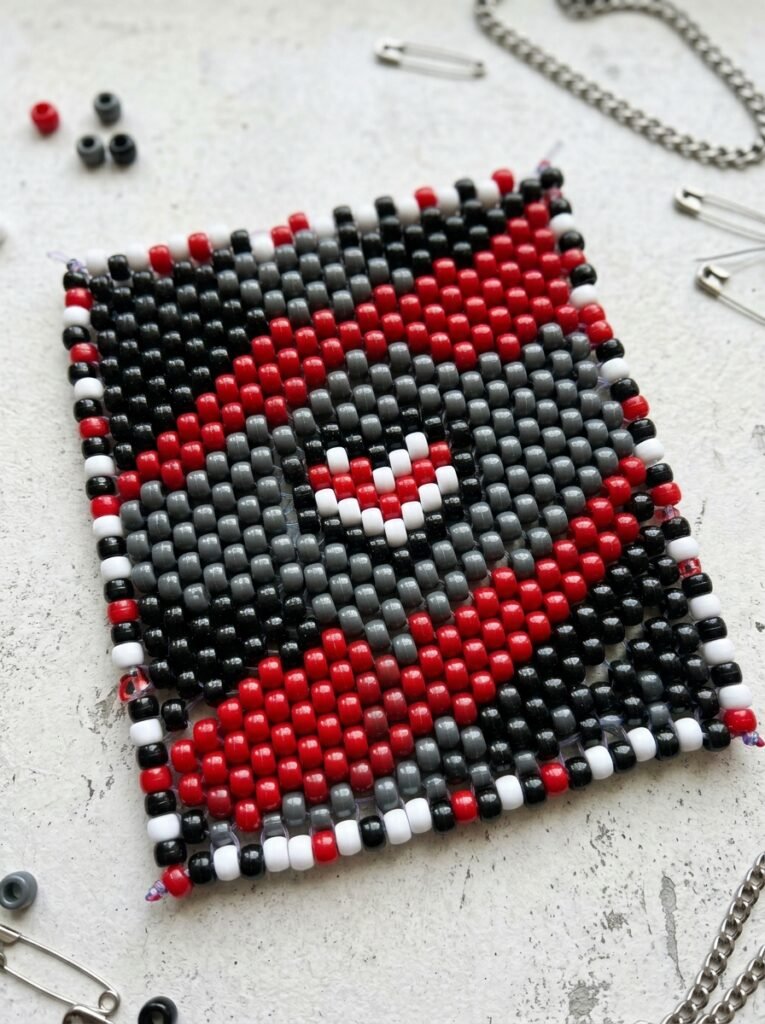
An MCR-inspired panel can use black, red, white, and dark gray beads to create a bold alternative-rock aesthetic. Arrange the colors into strong horizontal stripes, checkerboard borders, or a central geometric heart motif. A mostly black background with red and white accents gives the design a dramatic appearance without requiring complex beadwork. This panel can be incorporated into an emo-inspired cuff, a decorative bag, or a matching bracelet. Focus on the color palette and original symbols rather than reproducing band logos, album artwork, or copyrighted graphics.
9. TADC Inspired Kandi Panel
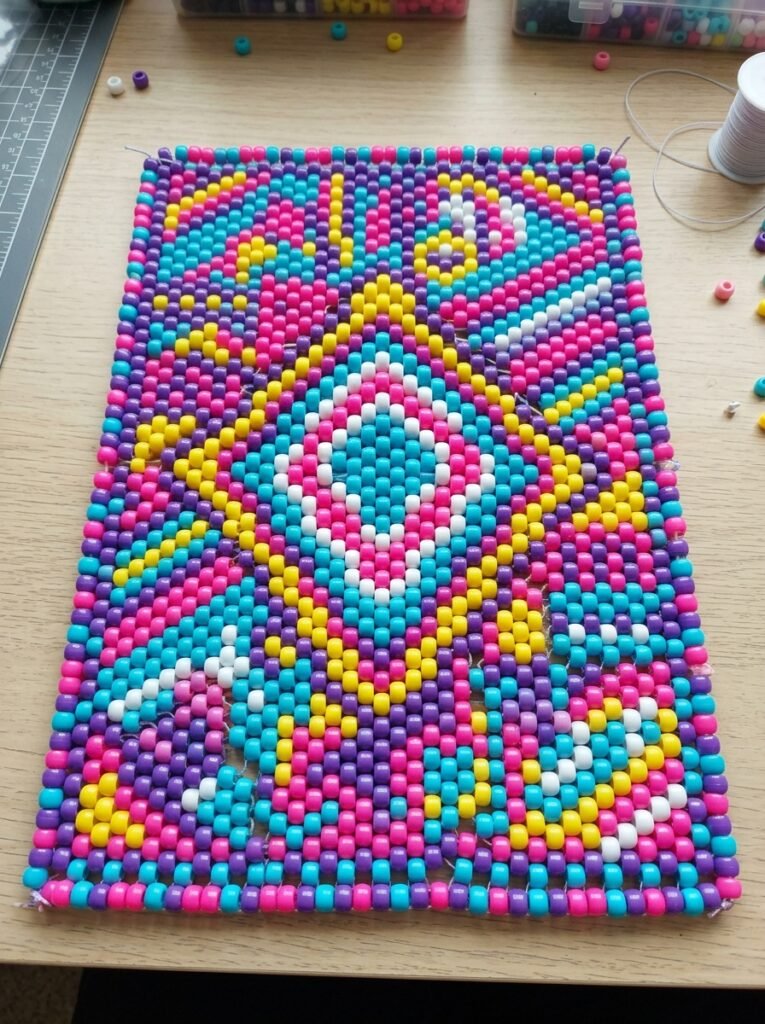
A TADC-inspired panel can feature a playful combination of pink, cyan, yellow, purple, and white beads. Arrange these colors into geometric blocks, alternating stripes, or a central diamond pattern to create a lively digital-circus aesthetic. A bright border can help define the design, while a single dominant color prevents the panel from becoming too crowded. This pattern is suitable for a colorful cuff or bag accessory and can be adjusted to suit your favorite palette. Original abstract motifs make the finished piece personal without copying exact character artwork.
10. FNAF Inspired Kandi Panel
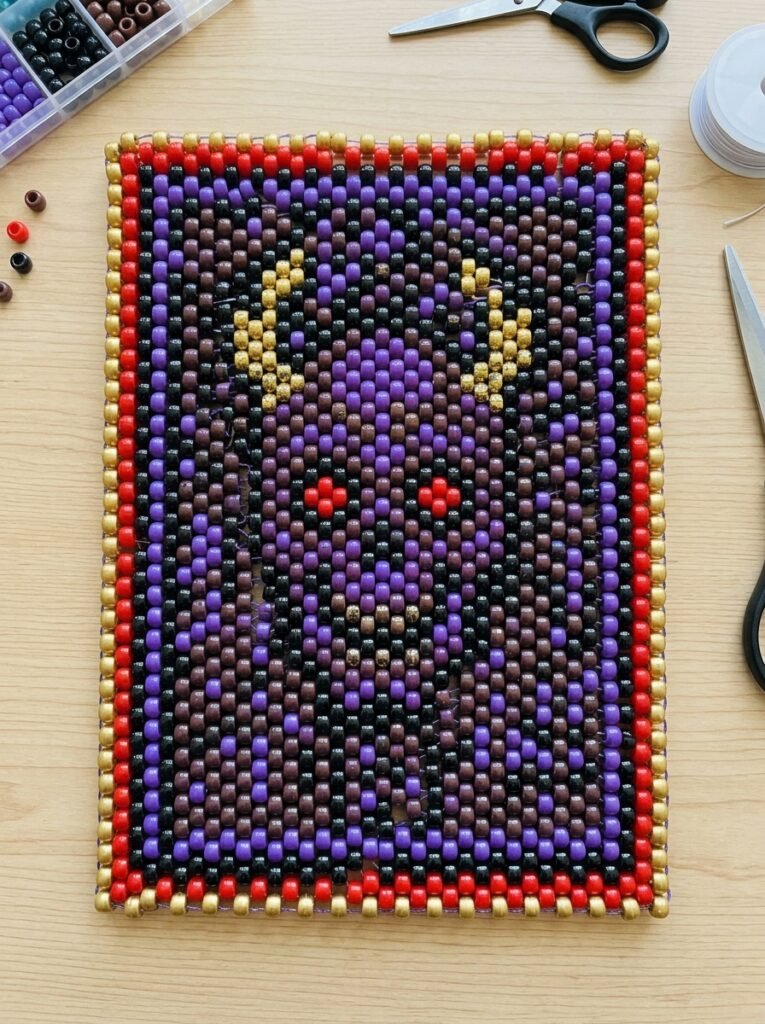
A FNAF-inspired panel can use dark colors and bright accents to create a playful horror-game atmosphere. Combine black, purple, gold, brown, and red beads in stripes, checkerboard sections, or pixel-style blocks. A simple original geometric face motif can give the panel a themed appearance without needing detailed character illustrations. Before assembling the beads, plan the design on a grid and check that small details are symmetrical. You can use the finished panel on a cuff or bag, or create a matching bracelet using the same color sequence.
11. Miku Inspired Kandi Panel
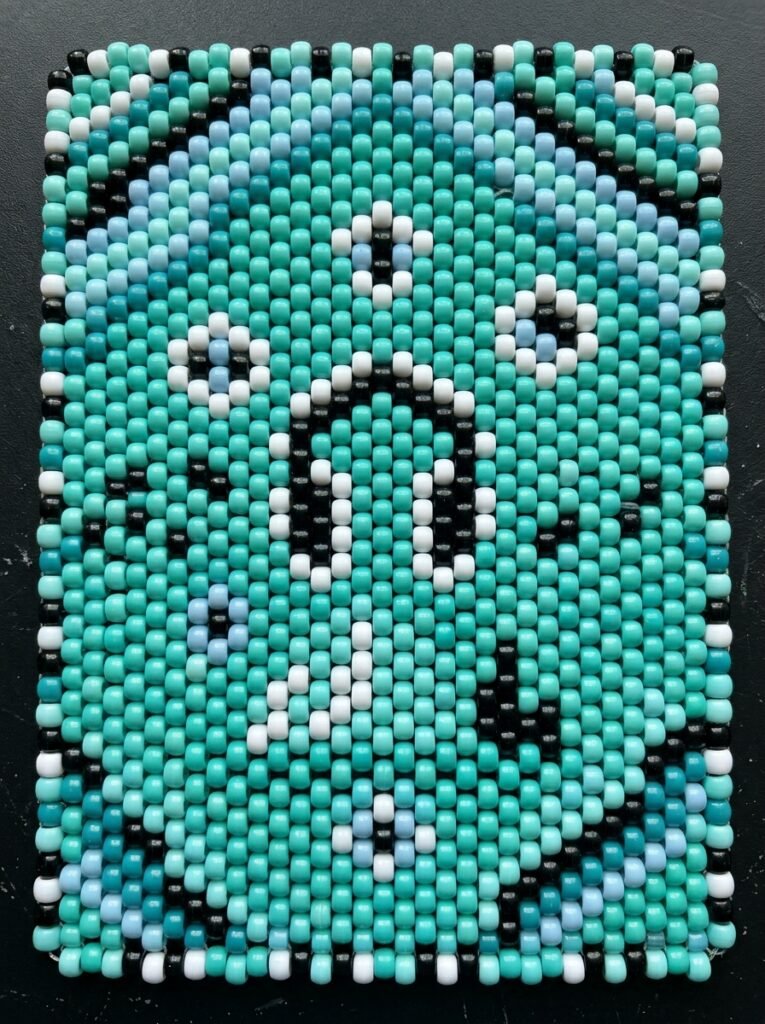
A Miku-inspired panel looks especially attractive with turquoise, teal, aqua, black, and white beads. Use turquoise as the main color and arrange the other shades into diagonal stripes, small diamonds, or repeating geometric bands. A pale-blue border can add depth without making the design too busy. You can also coordinate the panel with a matching bracelet or cuff to create a complete accessory set. The most important detail is consistency: repeat the same color sequence carefully so the design remains balanced across the whole panel.
12. GIR Inspired Kandi Panel
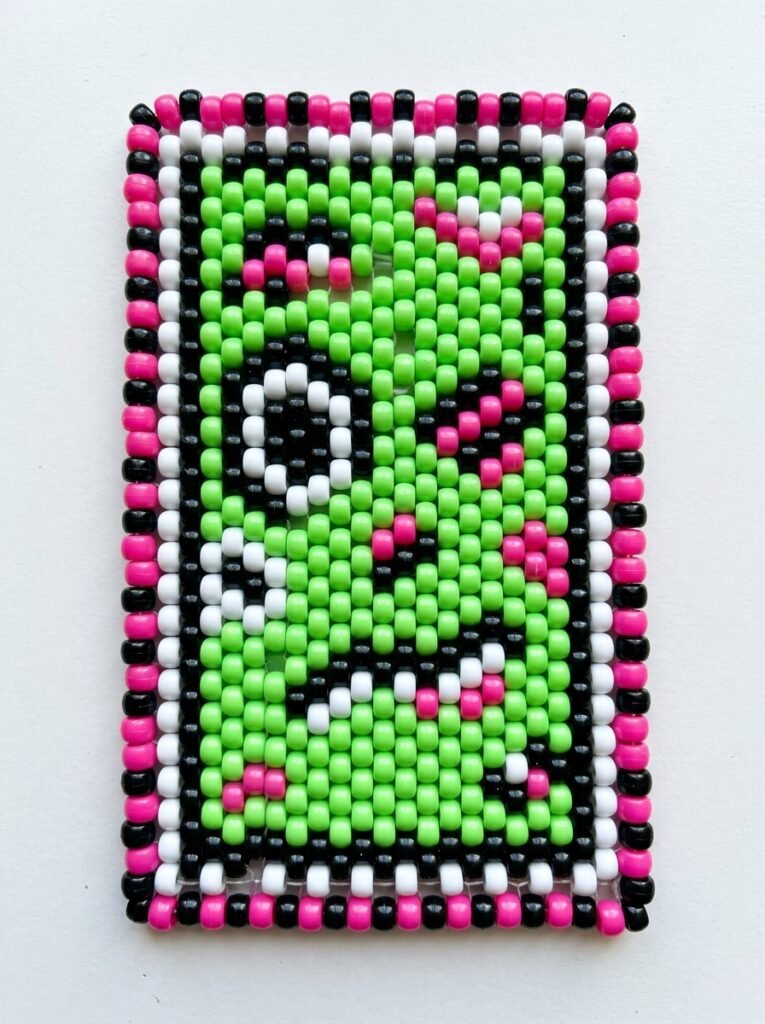
A GIR-inspired panel can use lime green, black, white, and hot pink to create a quirky alternative style. Make green the dominant color and introduce black-and-white geometric details as a central feature. If you prefer a beginner-friendly version, alternate green and black stripes and reserve the pink beads for a small accent. This approach produces a striking panel without requiring complicated shapes. Use an original abstract face-inspired motif rather than copying exact character artwork, and keep the color contrast strong enough for the design to remain visible from a distance.
13. Hello Kitty Inspired Kandi Panel
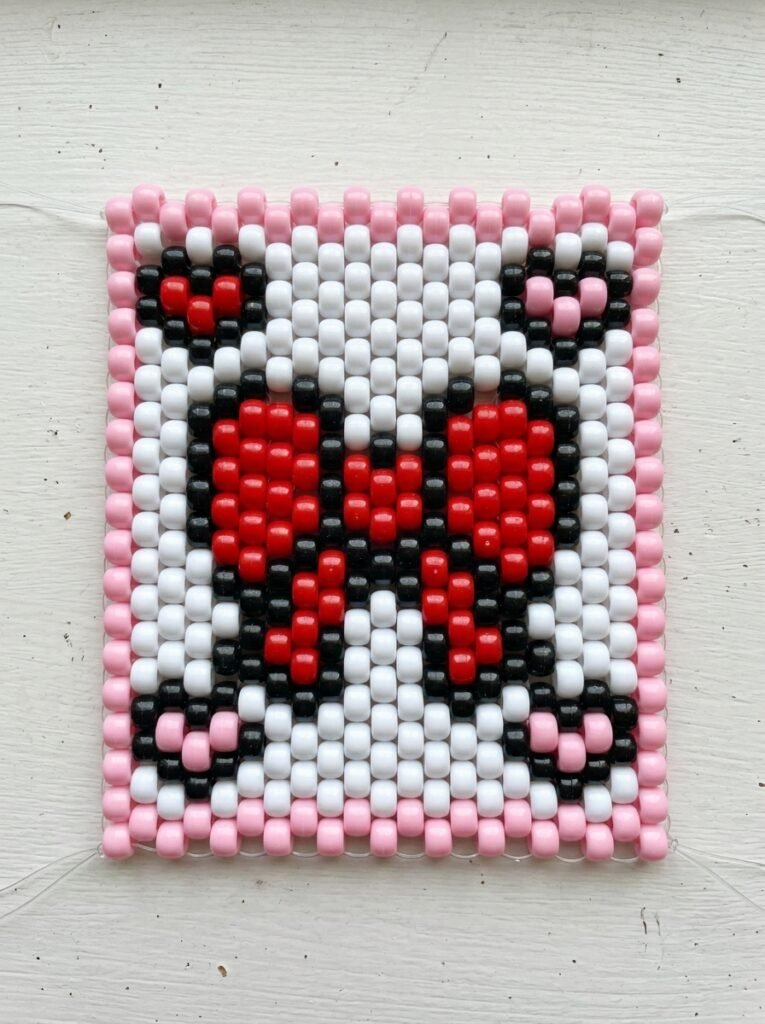
A Hello Kitty-inspired panel can use white, pastel pink, red, and small black accents for a cute and coordinated appearance. Place an original bow motif in the center, then decorate the surrounding area with small hearts or pink-and-white stripes. A white background helps the red and pink details stand out, while a pastel border gives the design a soft finish. This panel is suitable for a kawaii-style cuff, bag, or decorative accessory. Focus on the color palette and original bow shapes rather than reproducing official character artwork or logos.
14. MLP Inspired Kandi Panel

An MLP-inspired panel can use lavender, sky blue, pink, yellow, and white to create a cheerful fantasy aesthetic. Arrange the colors in a soft rainbow gradient or use repeating stars and hearts across the design. A pale-purple base with a multicolor border gives the panel a polished look without requiring advanced techniques. This is a good option for pastel-themed cuffs and bag accessories. Keep the motifs original and focus on the bright friendship-and-fantasy color scheme instead of reproducing specific copyrighted characters.
15. Jax Inspired Kandi Panel
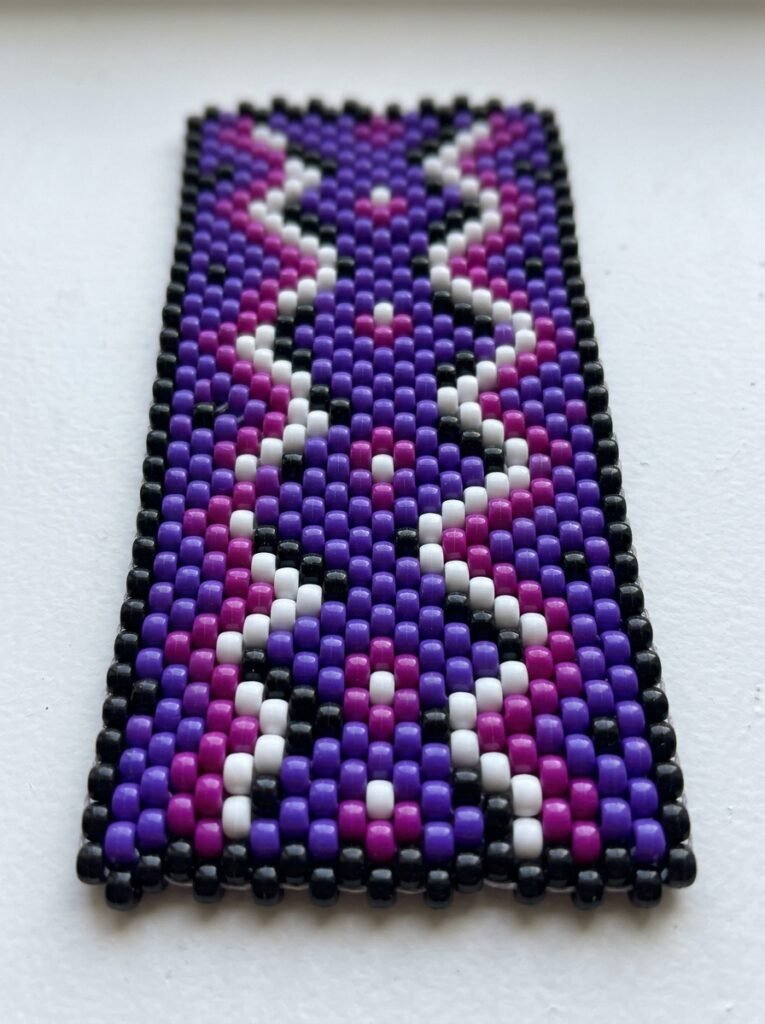
A Jax-inspired panel can combine purple, black, white, and magenta beads for a bold, animated look. Use purple as the main color and add a repeating zigzag pattern or small diamond shapes to create movement. Black borders help define the panel, while white accents make the design more readable. If you prefer something easier, create a solid purple background with a single geometric motif in the center. This design works well for colorful fandom-inspired cuffs and bags while leaving room for your own creative interpretation.
16. Simple Kandi Panel for a Bag
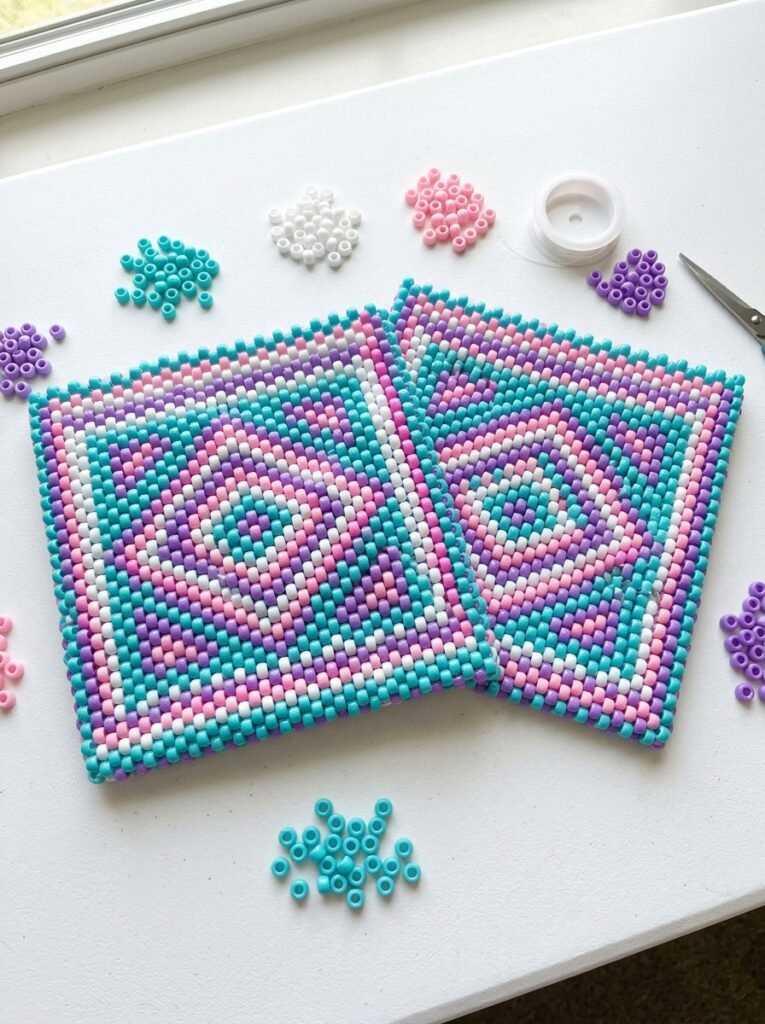
A kandi bag panel needs to be planned carefully because it becomes one of the main visible surfaces of the finished accessory. Start with a rectangular or square grid and choose a pattern that works with the bag’s intended dimensions. Simple stripes, checkerboard blocks, flowers, or a centered symbol are all practical choices. Keep the front and back panels consistent in size, even if you choose different decorations for each side. Once the panels are complete, connect them with suitable beadwork to form the sides and bottom, then attach a secure strap.
17. Kandi Cuff Panel Pattern
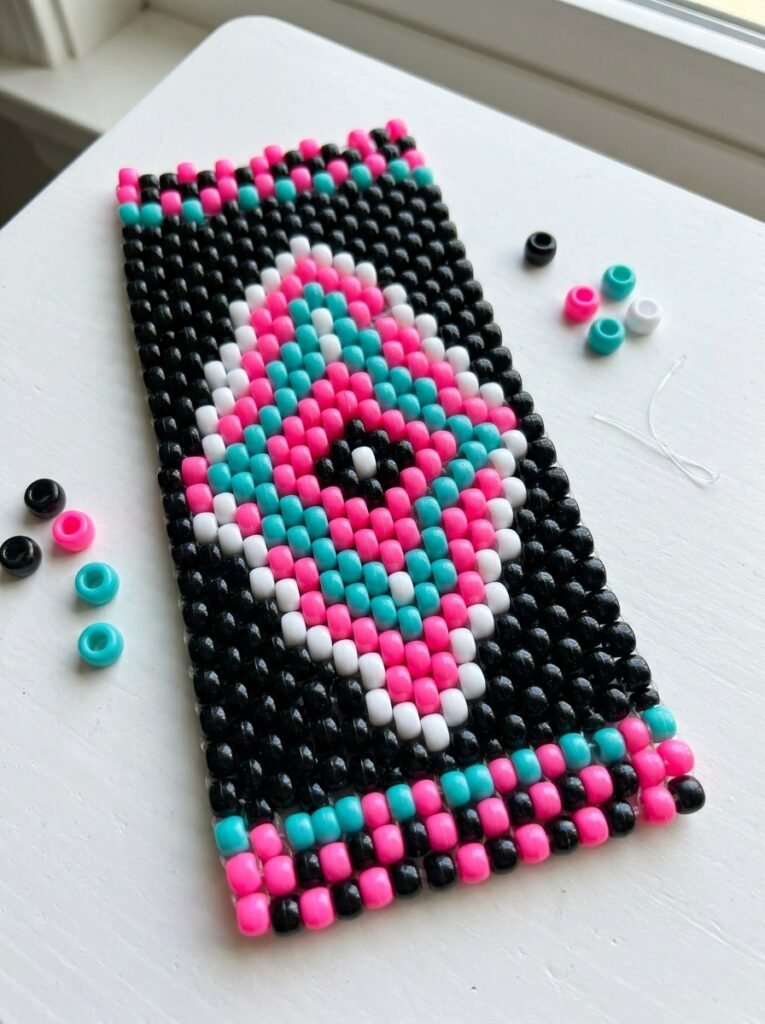
A cuff panel can be wider than a simple bracelet, giving you more room for repeating motifs, lettering, or detailed color arrangements. Begin with a checkerboard, striped pattern, or a centered flower, and make sure the design fits the width of the cuff. Use a grid to plan the bead placement, particularly if you want the motif to line up around the wrist. If the cuff uses multiple rows or layers, maintain consistent tension and check the shape as you work. A matching border can make the finished cuff look more polished.
18. Matching Kandi Bracelet Panel
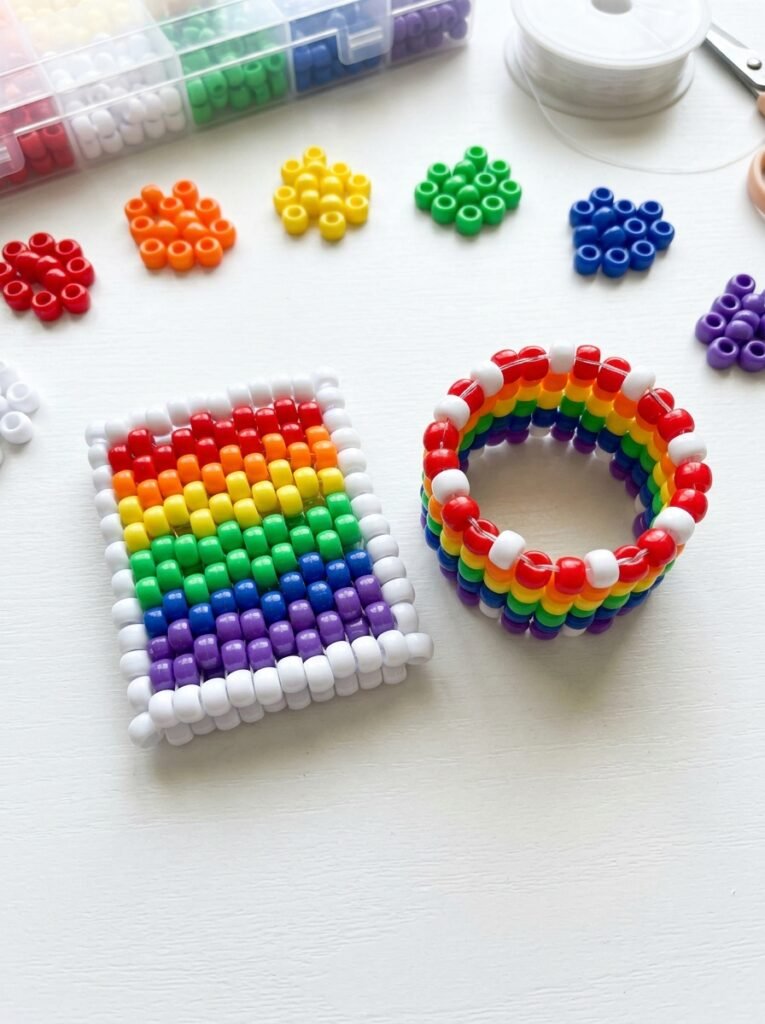
A matching bracelet can use the same color sequence or motif as a larger kandi panel to create a coordinated set. For example, if your main panel features rainbow stripes, repeat the same color order on a simple bracelet. If you have made a flower panel, use a single small flower as the bracelet’s centerpiece. Keeping the designs related without making them identical creates a balanced collection. This is a practical way to use leftover pony beads and make handmade gifts that feel thoughtfully coordinated.
19. Ladder Stitch Kandi Panel
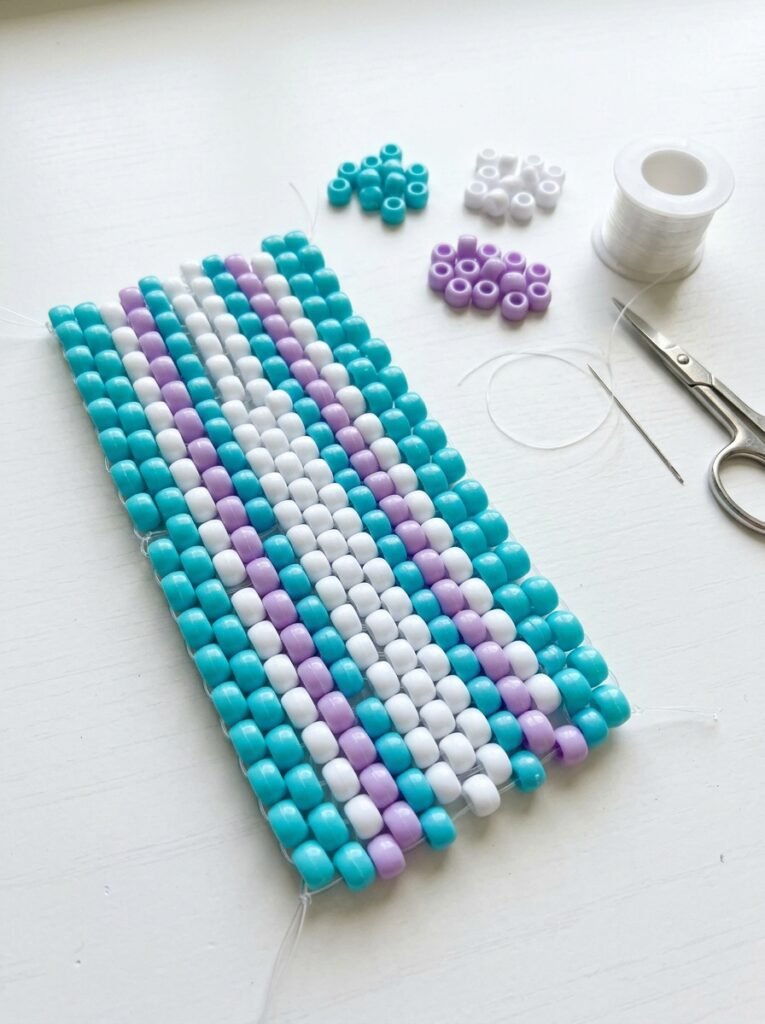
Ladder stitch can create tidy parallel rows and a structured appearance when used with a suitable beading pattern. Choose two or three colors and repeat them in a consistent sequence to make stripes or geometric blocks. The key is to maintain even tension so the panel does not twist or become uneven. Practice the stitch on a small sample before building a larger panel, particularly if you are new to the technique. Once you understand the spacing, you can use the same pattern for a decorative bag panel, bracelet, or other kandi project.
20. Kandi Mask Inspired Panel
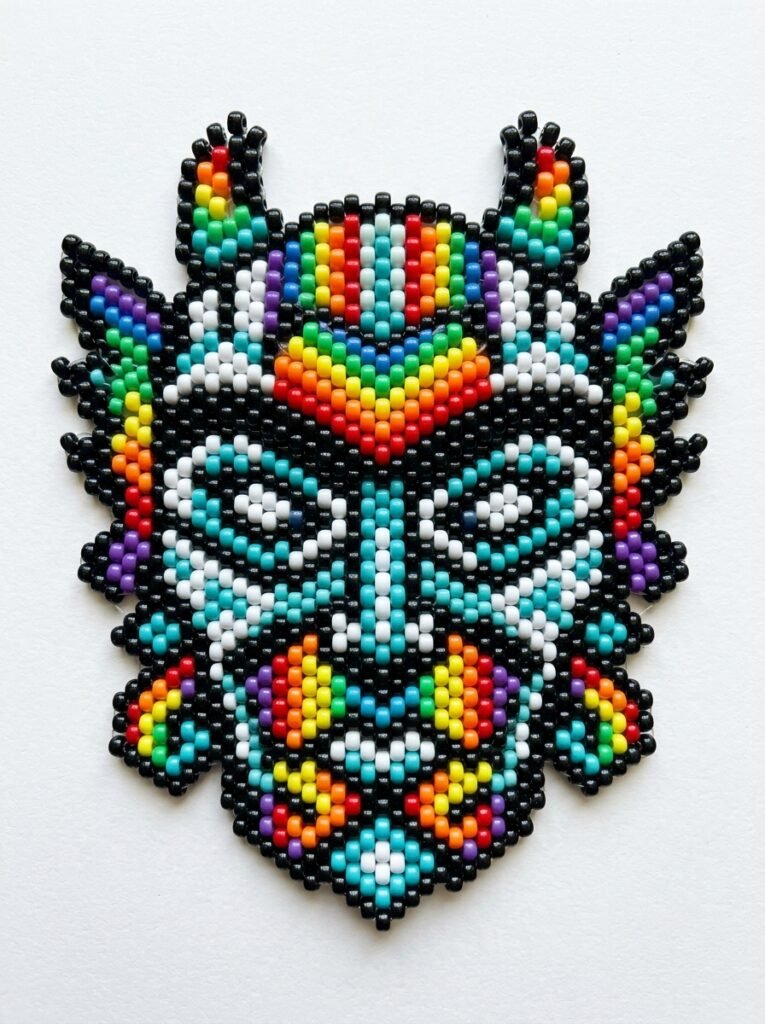
A mask-inspired kandi panel offers an opportunity to experiment with symmetry and bold color contrasts. You can design a decorative mask-shaped beadwork piece or create a rectangular panel featuring an original mask motif. Rainbow colors, checkerboard sections, stars, and geometric face patterns can all work well. Use a grid to plan the central features and keep both sides balanced. If you intend the finished piece to be worn as a mask, ensure it is comfortable and does not obstruct vision or breathing. A decorative display piece is another option if your goal is primarily artistic.
How to Make a Kandi Panel Pattern for Beginners
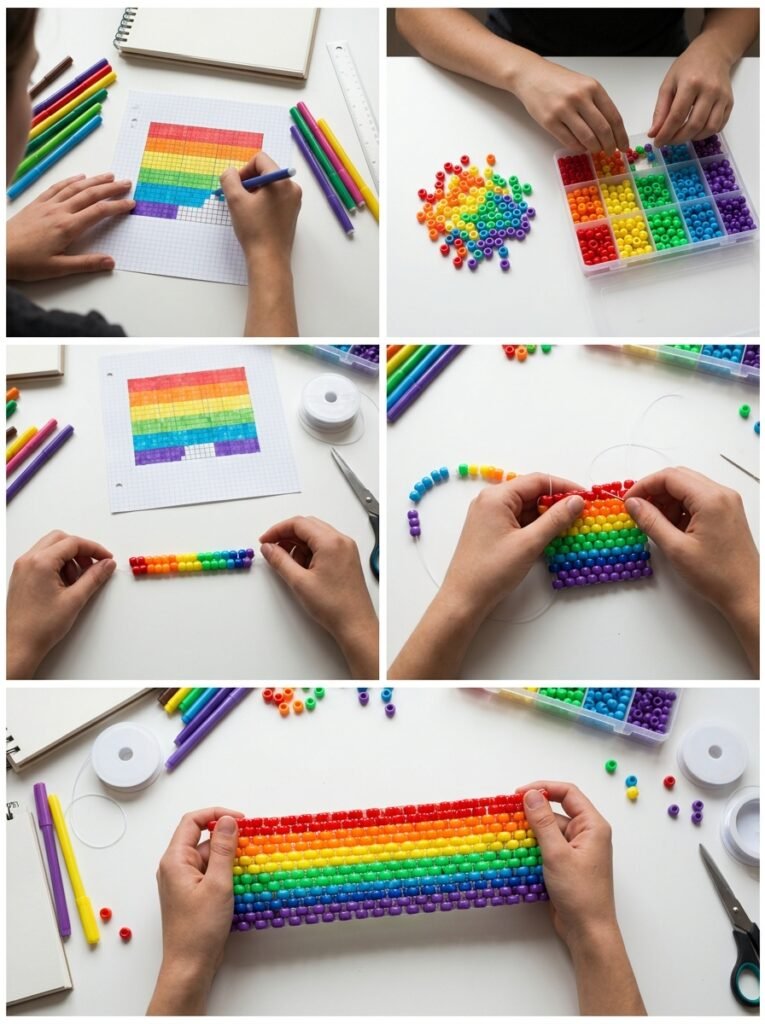
Creating a kandi panel becomes much easier when you plan the design before threading the beads. Start with a simple rectangular pattern and only a few colors. Once you can maintain even spacing and repeat the bead sequence accurately, you can experiment with flowers, animals, fandom-inspired motifs, and more detailed geometric designs.
Materials You Need
- Pony beads in your chosen colors
- Suitable beading cord or thread for your chosen technique
- Scissors
- A ruler or measuring tape
- A flat work surface or bead tray
- A bead grid or numbered pattern
Step 1 Choose Your Design
Decide whether you want stripes, checkerboard blocks, a flower, a rainbow, or an animal motif. Consider the panel’s intended use because a cuff, bag, and bracelet may require different dimensions.
Step 2 Draw a Bead Grid
Draw a grid that represents the panel and mark each bead’s color. For numbered patterns, assign a number or symbol to each color and write down the sequence for every row. Check the grid before you begin.
Step 3 Sort and Arrange the Beads
Separate the beads by color and place them in the order you plan to use. This reduces mistakes and makes it easier to notice if a bead is missing from the sequence.
Step 4 Build the Panel
Follow the appropriate beading method for your materials and pattern. Maintain consistent tension and check the width and shape as you progress. Compare completed rows against your grid to catch mistakes early.
Step 5 Finish and Inspect
Secure the connections according to your chosen technique, then check the panel for loose beads, uneven edges, and distorted sections. If you plan to attach it to a bag or cuff, confirm that the dimensions and edges fit the rest of your project.
Tips for Better Kandi Panel Patterns
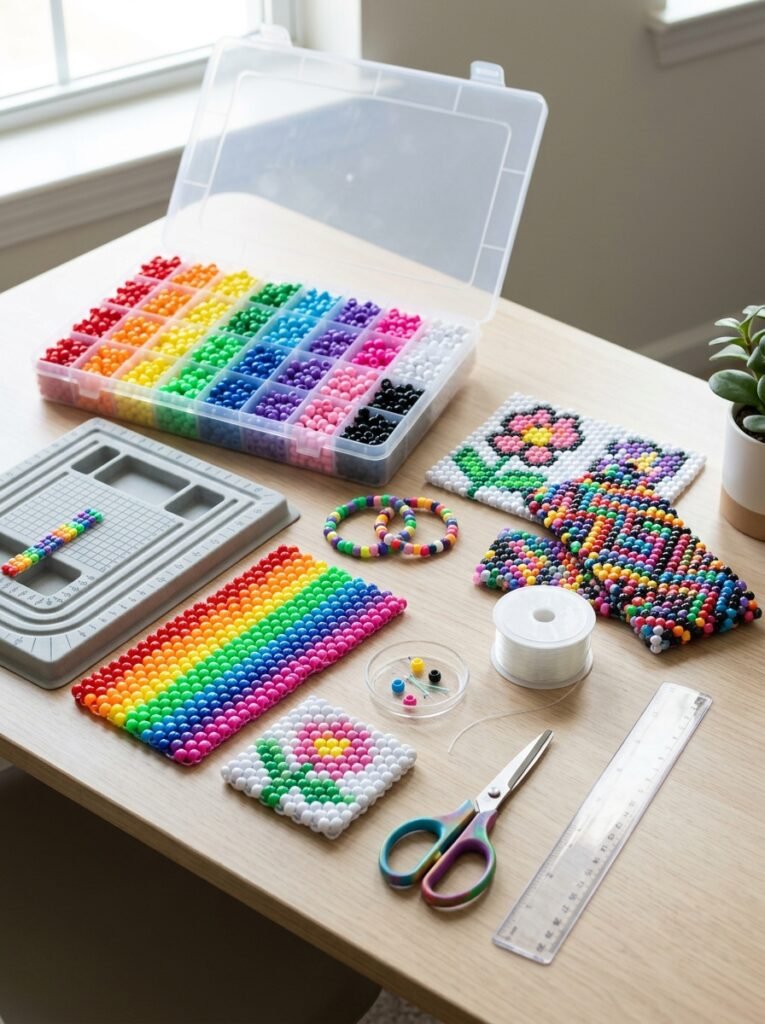
A well-planned bead arrangement usually produces a cleaner result than a pattern assembled randomly. Sort your beads before starting, sketch detailed motifs on a grid, and check each row against your reference. If you are learning a new stitch, use a simple two-color design so you can focus on construction rather than managing too many colors. For bag panels, confirm that the front and back pieces have matching dimensions before connecting them. For cuffs and bracelets, check the fit and flexibility before finishing the piece. Original geometric designs are also a great way to create fandom-inspired accessories in your own style.
Final Thoughts
These kandi panel pattern ideas show how you can use pony beads to create simple geometric layouts, rainbow designs, animal motifs, and colorful fandom-inspired accessories. You can use the same panel-making skills for bags, cuffs, bracelets, and decorative pieces, adjusting the dimensions and pattern to suit each project. Start with a simple numbered design, practice keeping the rows even, and gradually try more detailed motifs as your confidence grows. With careful planning and consistent bead placement, you can make creative panels that reflect your personal style and become the foundation for a wide range of handmade kandi accessories.