
This post may contain affiliate links. Please read my disclosure policy.
In This Article Show
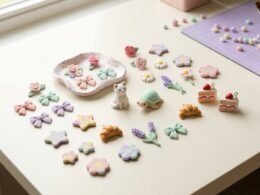
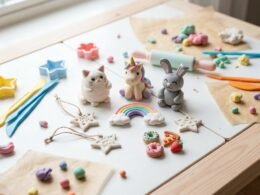
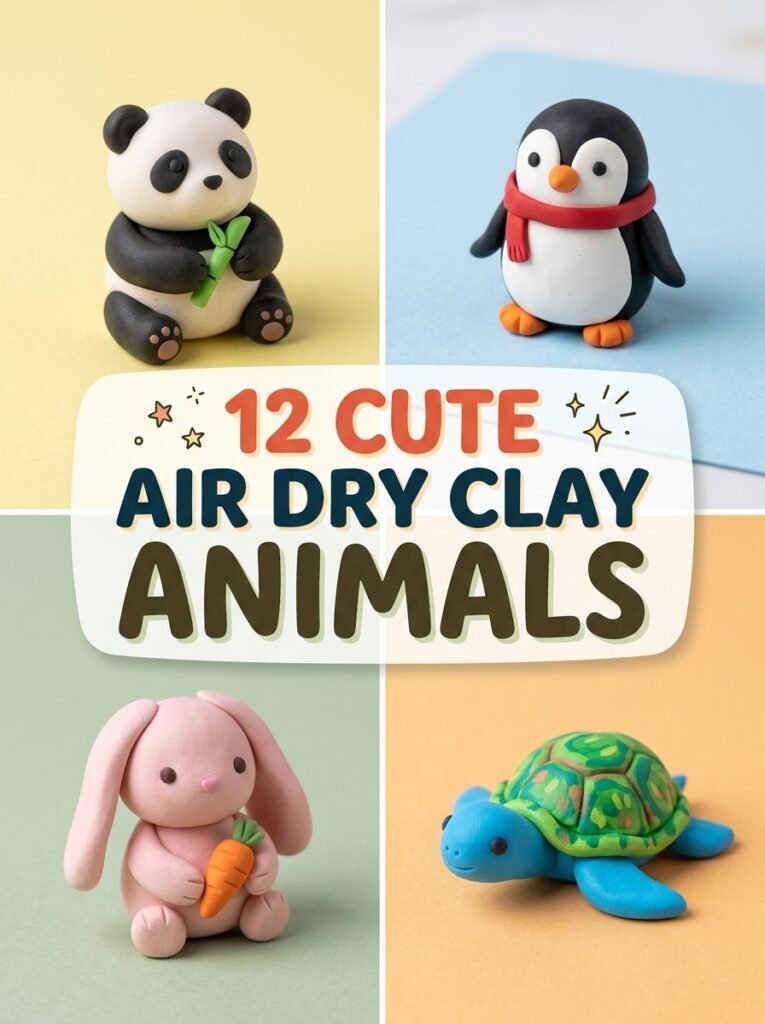
Air-dry clay is a fantastic material for creating adorable animal sculptures without needing expensive equipment or a pottery kiln. With a little clay, a few simple tools, and some colorful paint, you can make tiny pandas, playful penguins, cute bunnies, sleepy cats, and many other miniature creatures. The best part is that most animals can be created using basic shapes, making these projects enjoyable for beginners, older kids with adult supervision, and anyone who loves handmade art. These air dry clay ideas animals combine simple sculpting techniques with cute designs, soft colors, and creative details. You can make a blue whale, a pink pig, a patterned turtle, or even an original animal character inspired by cozy games. If you enjoy experimenting, try adding a gentle foam-like texture or creating a miniature animal surrounded by its favorite food. You will usually need air-dry clay, a rolling pin, blunt sculpting tools, acrylic paints, and a clean work surface. Start with a small amount of clay, keep delicate parts sturdy, and allow each creation to dry completely before painting. Here are 12 carefully selected ideas that offer variety without repeating the same animal design.
1. Cute Mini Clay Panda
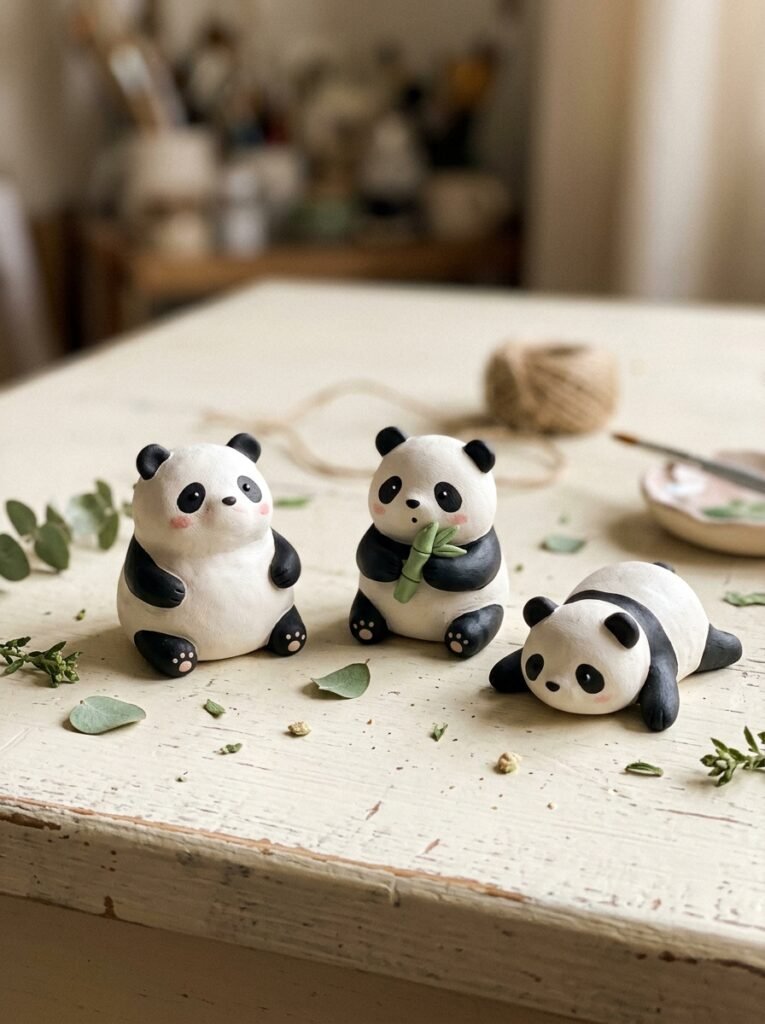
A panda is an excellent project for beginners because its body is made from simple rounded shapes. Create a white oval for the body and a smaller ball for the head. Add two small black ears, black patches around the eyes, and black feet. You can make the panda sit upright or hold a tiny piece of bamboo for extra personality. Once the clay has dried, use suitable paint to add its eyes, nose, and mouth. Keep the facial details simple so the panda remains recognizable. A small group of pandas in different poses makes a charming shelf decoration or handmade gift.
2. Easy Clay Penguin
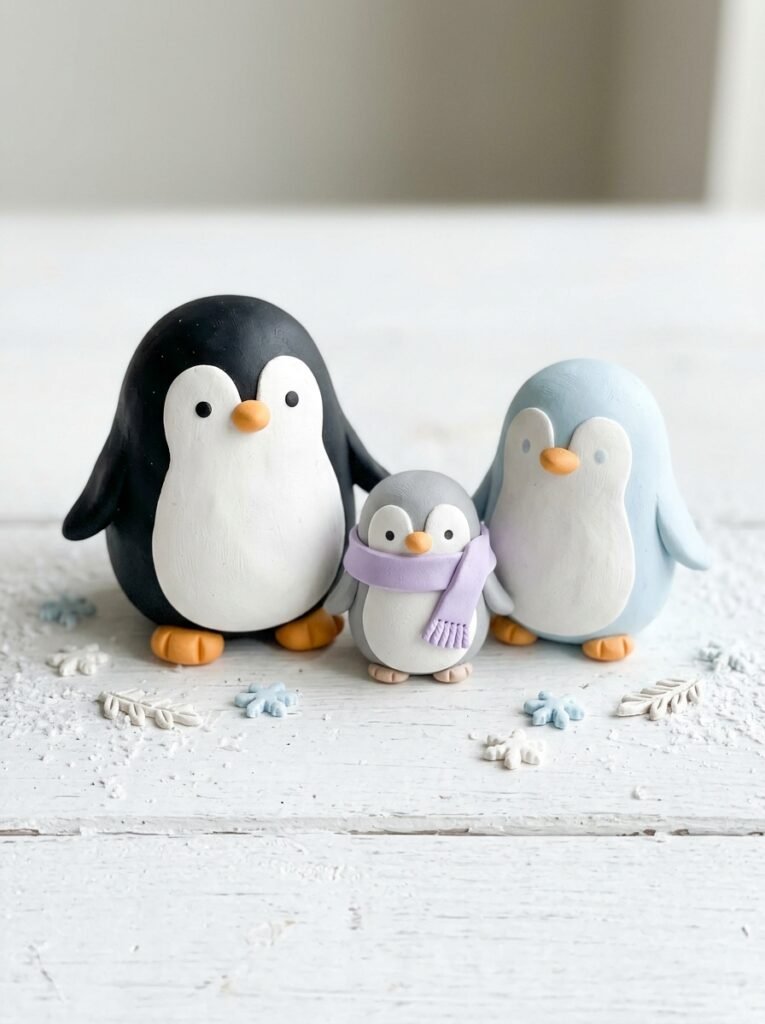
Penguins are easy to sculpt because their bodies have a natural oval shape. Form a black or dark-gray oval, add a white clay belly, and attach two small wings to the sides. A tiny orange beak and two little feet complete the design. For a playful variation, create a blue penguin with a white belly and a pale-blue back. You can also give your penguin a small scarf or winter hat. Make sure the wings and beak are firmly attached before drying. This project is ideal for building a miniature collection of winter animals in different sizes and colors.
3. Simple Clay Bunny
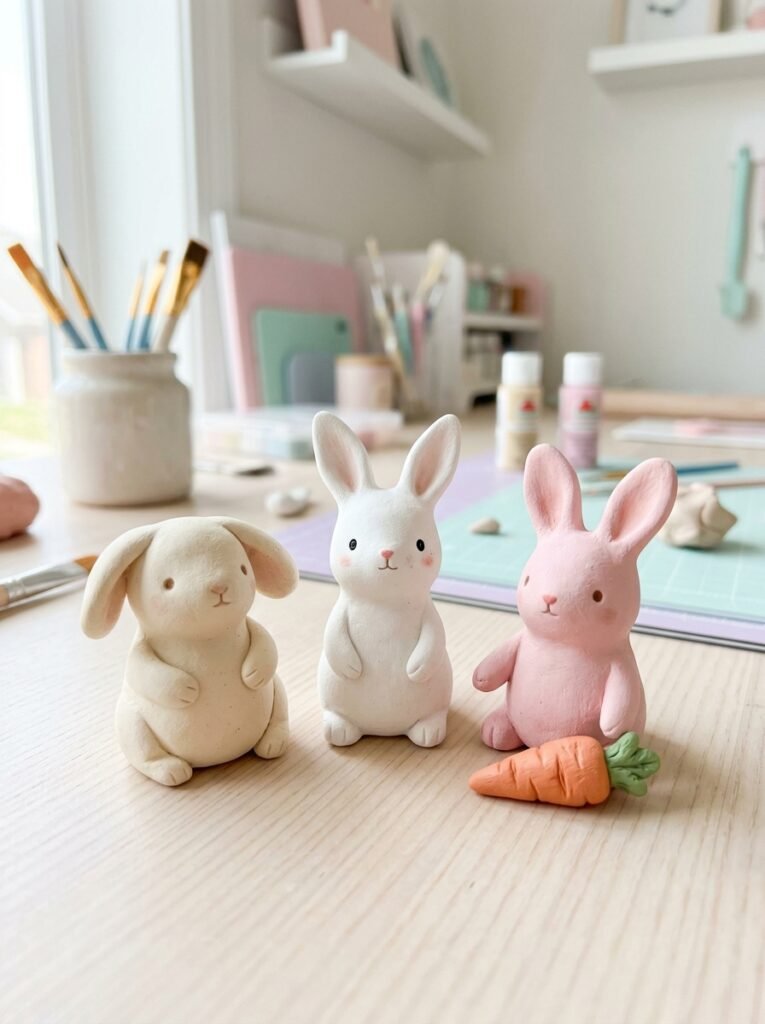
A bunny is one of the most recognizable and easy animals to make from clay. Roll a small ball for the head and a slightly larger oval for the body. Attach two long ears, four little feet, and a round tail. You can make the ears stand upright or curve them gently for a relaxed pose. White, cream, soft pink, and pale gray are lovely color choices. After the clay dries, paint a tiny nose and simple eyes. For extra detail, place a small handmade carrot beside the bunny. This simple animal art looks lovely on a shelf or as part of an Easter craft collection.
4. Cute Clay Cat
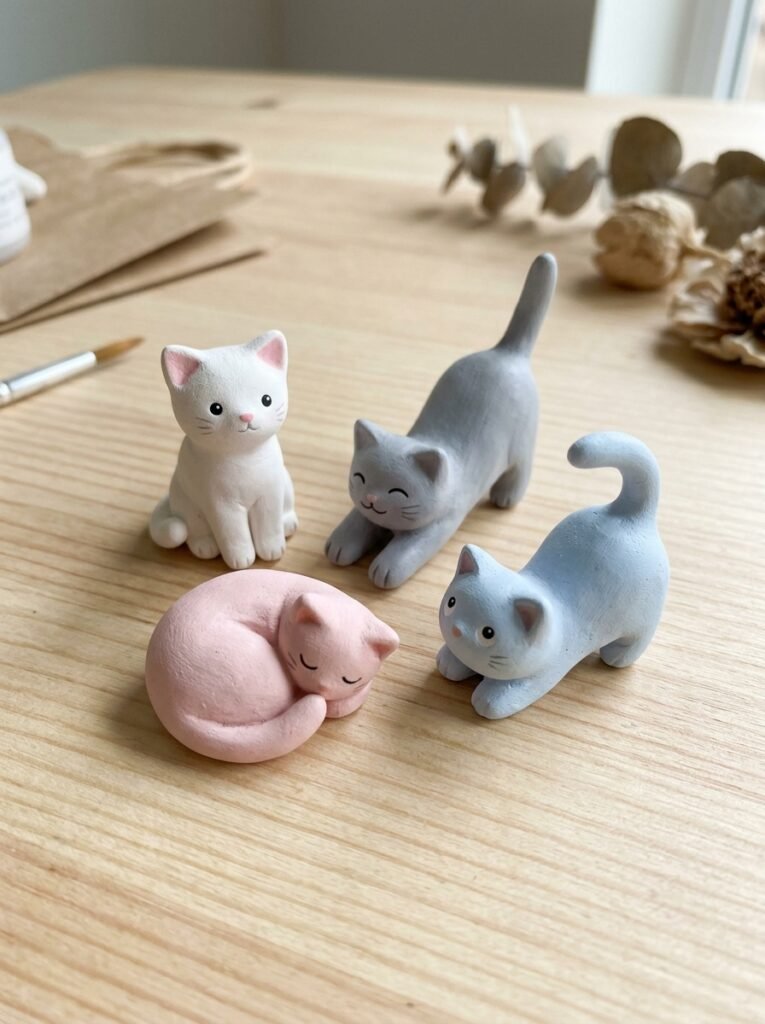
A clay cat gives you plenty of opportunities to experiment with poses and expressions. Shape an oval body and a rounded head, then add two triangular ears and a curved tail. You can create a sitting cat, a stretching kitten, or a sleepy cat curled into a ball. White clay creates a clean minimalist design, while gray, orange, or pink details give the character a different personality. Once the sculpture has dried completely, paint tiny eyes, a nose, and whiskers. Keep the ears and tail thick enough to reduce breakage. A coordinated collection of cats in different colors can become a delightful piece of handmade animal art.
5. Easy Clay Turtle with a Patterned Shell
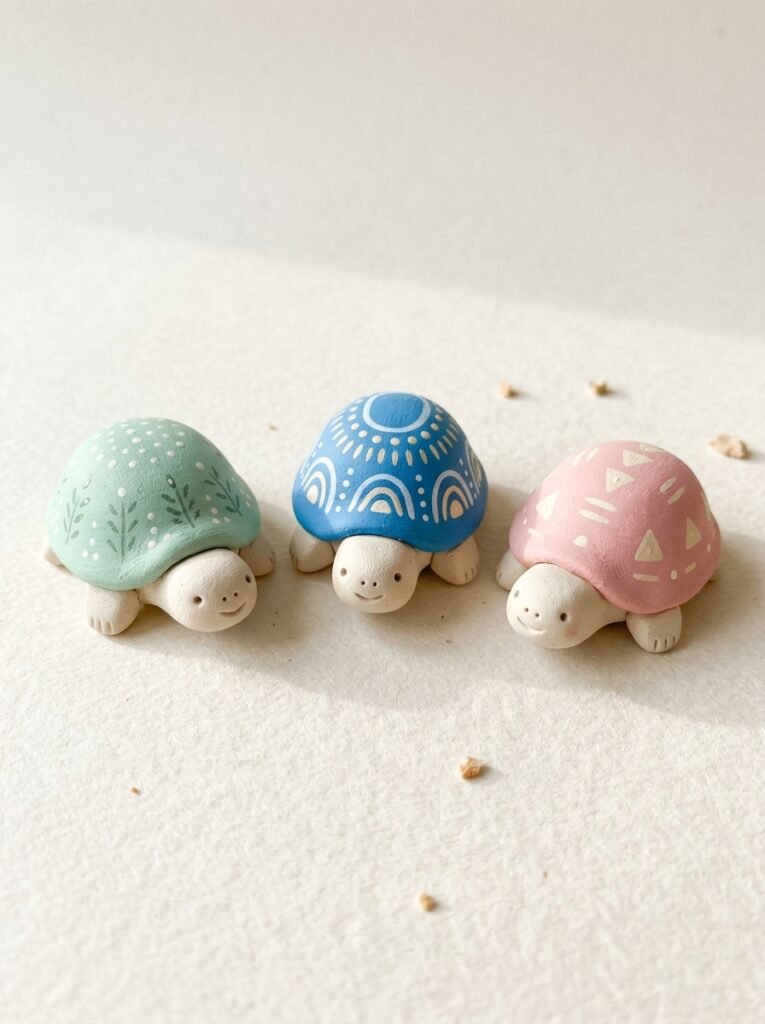
A turtle is particularly suitable for beginners because its shell creates a natural place to add decorative patterns. Start with a rounded body, four short feet, and a small head. Make a dome-shaped shell and attach it securely to the body. Use a blunt sculpting tool to draw simple lines across the shell, creating a geometric pattern. Paint the shell green, turquoise, blue, or lavender for a more imaginative look. Keep the legs thick enough to support the body, and check that the turtle stands steadily before leaving it to dry. You can make several turtles with different shell designs to build a colorful miniature collection.
6. Pink Clay Pig
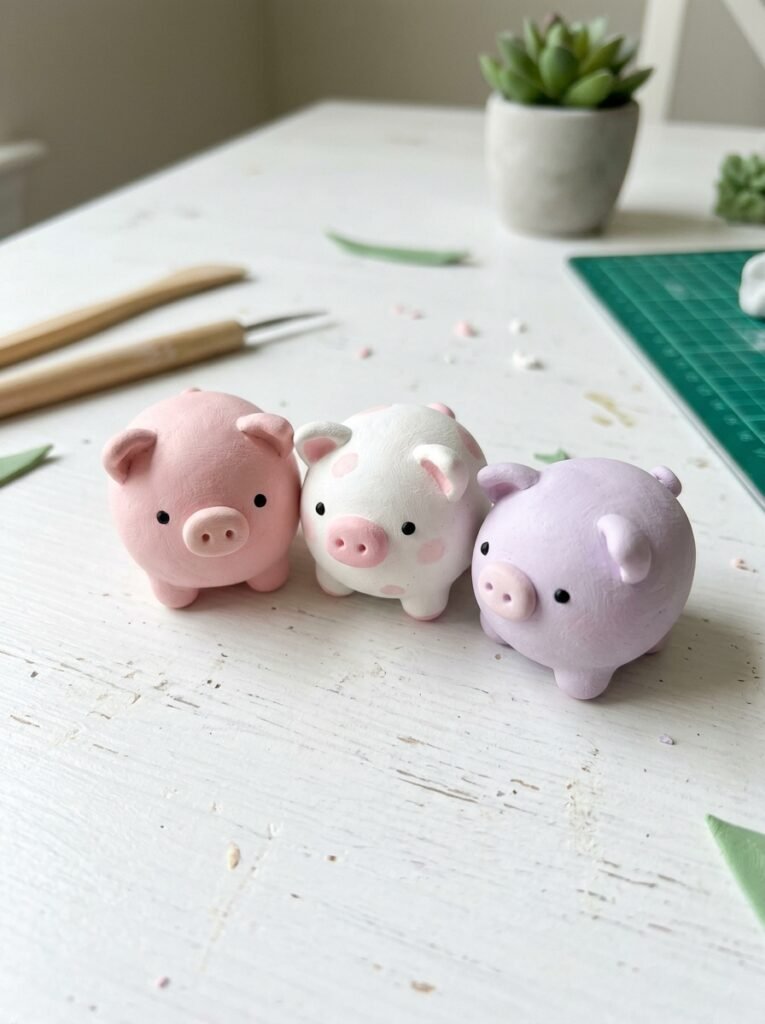
A miniature pig is easy to create using a round body, a smaller head, and four short legs. Add two small ears and a flat oval snout with two tiny nostril marks. Soft pink is a classic choice, but you can also make a white pig with pink details or a lavender fantasy pig. A little curled tail adds personality without making the design too complicated. Smooth the joins carefully so the parts remain attached during drying. Once the sculpture is fully dry, paint the face and add small details to the hooves. This project is a lovely addition to a farm-animal collection and is suitable for anyone learning basic sculpting.
7. Blue Clay Whale
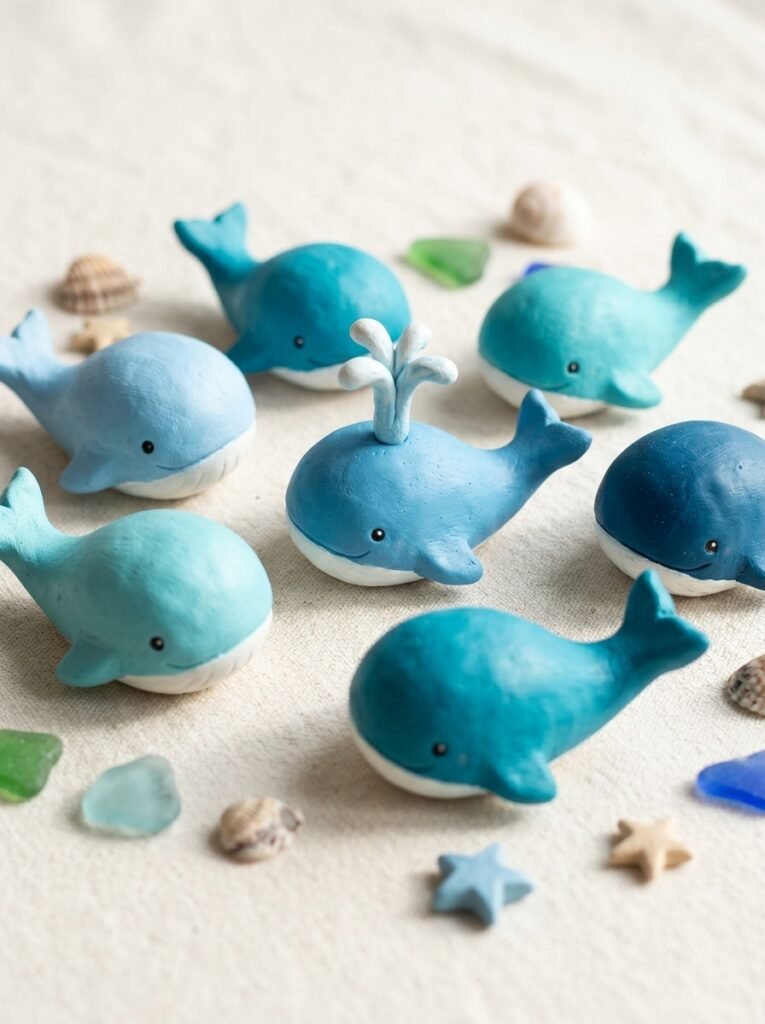
A blue whale is a beautiful choice if you want to make an animal with a smooth, simple silhouette. Shape a rounded oval and taper one end slightly to create the tail. Add two small fins to the sides and a white or pale-blue belly underneath. Sky blue, turquoise, and deeper blue shades all work well. Paint a tiny eye and a curved smile to make the whale look friendly. You can add a small water spout if you want extra detail, but keep it sturdy so it does not break easily. This design works well on its own or as part of a collection of ocean animals.
8. Soft Foam-Textured Clay Animals
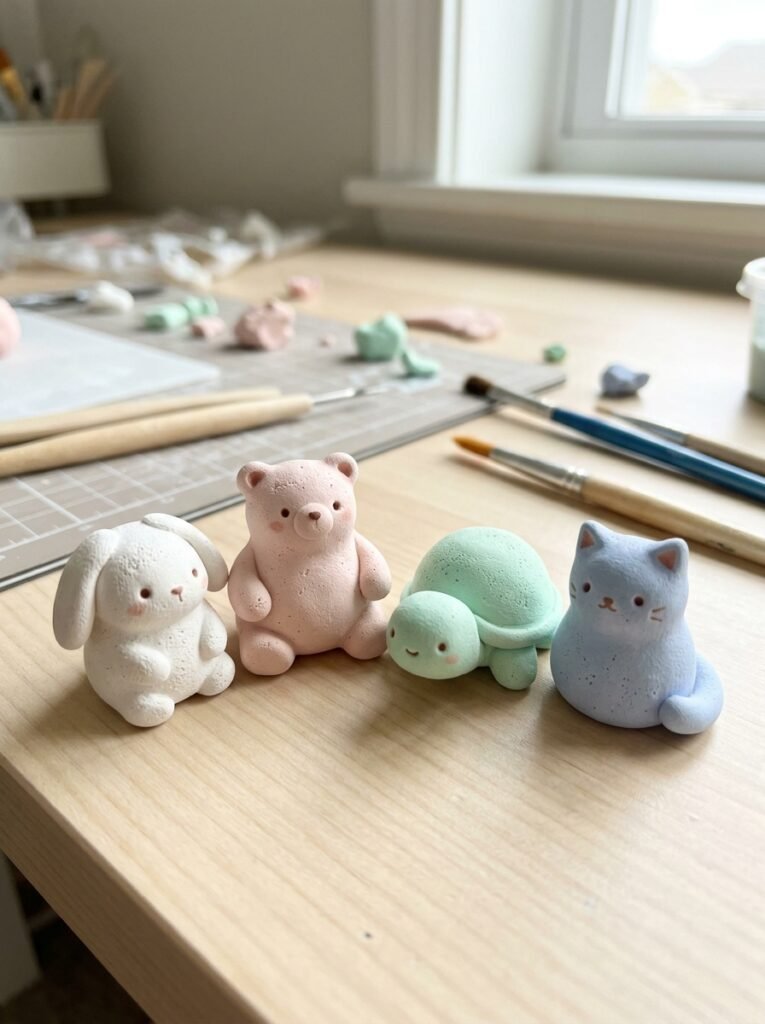
If you want to try something different from smooth sculptures, experiment with a soft, foam-inspired texture. Shape a small bunny, bear, turtle, or cat, then gently press a clean sponge against the clay while it is still workable. The sponge leaves tiny surface marks that create a tactile appearance without requiring advanced sculpting skills. Use white, pale pink, mint, or light blue to keep the animals looking soft and gentle. Avoid pressing too deeply or weakening the legs and ears. This technique is especially effective when you want several animals to look like a coordinated collection with a distinctive finish.
9. Animal Crossing-Inspired Original Clay Characters
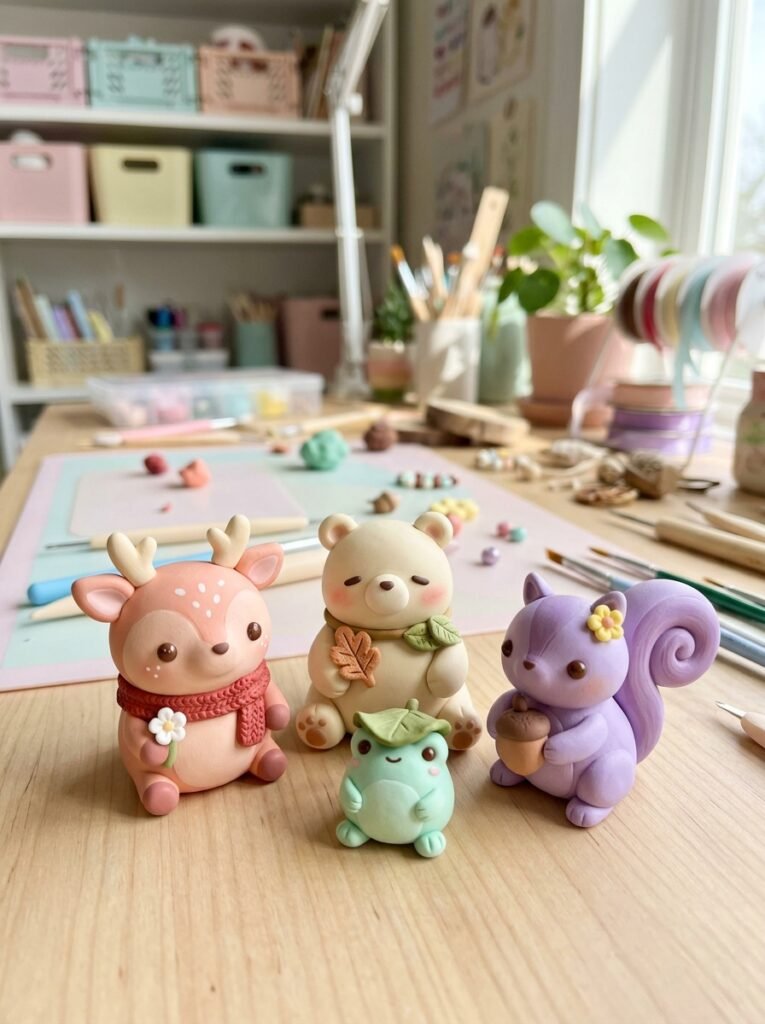
If you enjoy the cozy atmosphere of life-simulation games such as Animal Crossing, create your own original clay villagers inspired by friendly animal characters and colorful surroundings. Try a round-faced deer, a cheerful bear, a little frog, or a smiling squirrel. Use pastel colors, simple facial expressions, and tiny accessories such as leaves, flowers, or scarves. The goal is to create your own character rather than copy an existing copyrighted design. Give each animal a different expression or color combination to make the collection feel personal. This project is a fun way to combine gaming inspiration with handmade art.
10. Clay Animals with Food Accessories
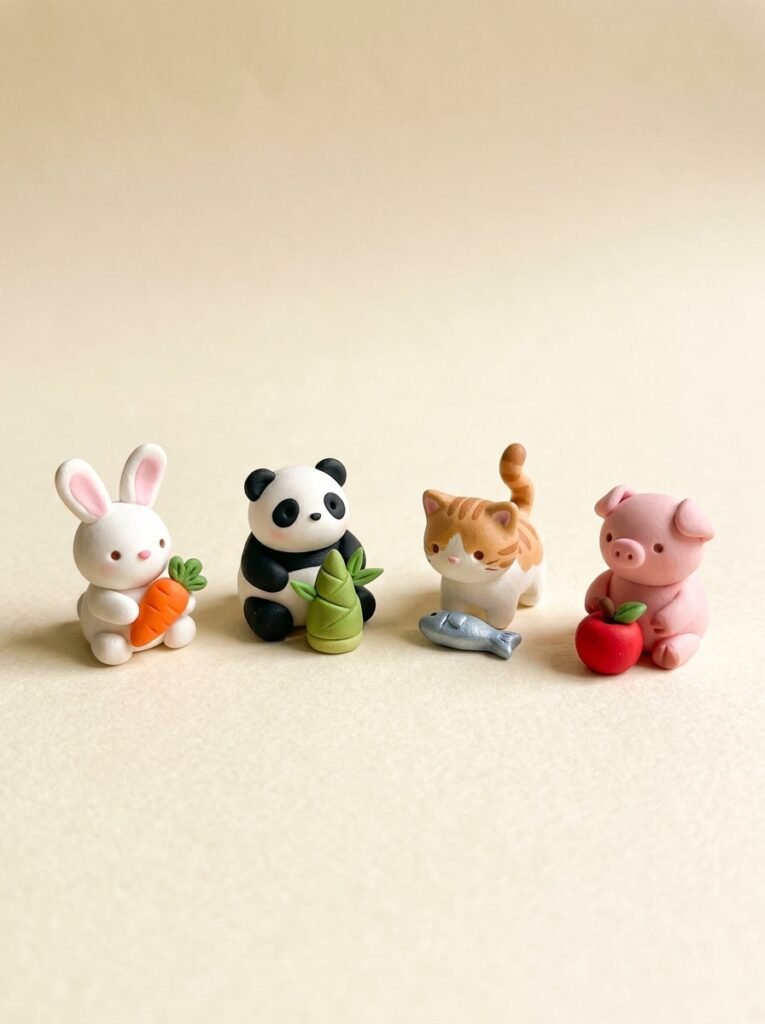
Combining animals with miniature food creates playful little scenes. Make a bunny holding a carrot, a panda beside a bamboo shoot, a cat sitting next to a fish, or a pig beside a tiny apple. Begin with the animal’s main shape and make the food accessory separately. Attach the pieces carefully if they are meant to form one sculpture, or display them side by side for a miniature scene. Choose bright, recognizable colors and keep small parts sturdy. These creations work well as shelf decorations, handmade gifts, or miniature storytelling displays. Remember that the clay food is decorative and should never be eaten.
11. Cute Blue and Pink Fantasy Animals
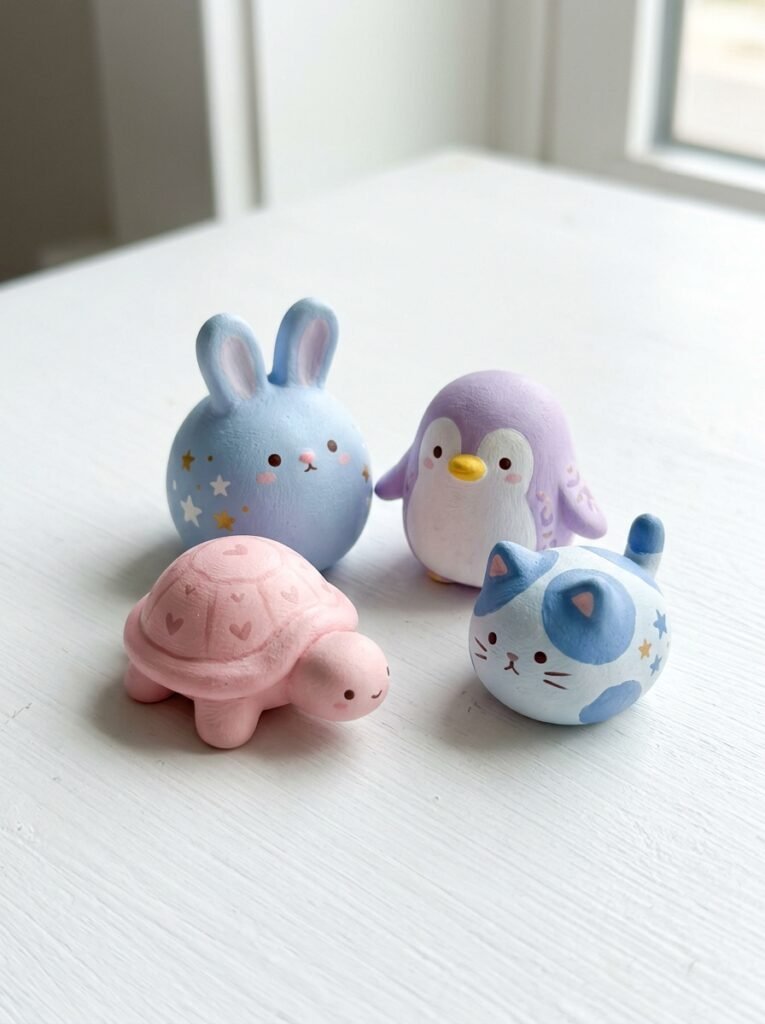
You do not have to use realistic animal colors to create attractive clay sculptures. Try a blue bunny, a pink turtle, a lavender penguin, or a pastel-blue cat. These imaginative colors make the collection feel coordinated and are particularly appealing for room decorations and handmade gifts. Start with the same basic shapes used for ordinary animals, then paint the fully dried sculptures in your chosen palette. Add tiny stars, dots, or simple heart details for extra personality. Keep the decorations balanced so the animals remain the main focus rather than becoming crowded with details.
12. Mini Clay Animal Art Collection
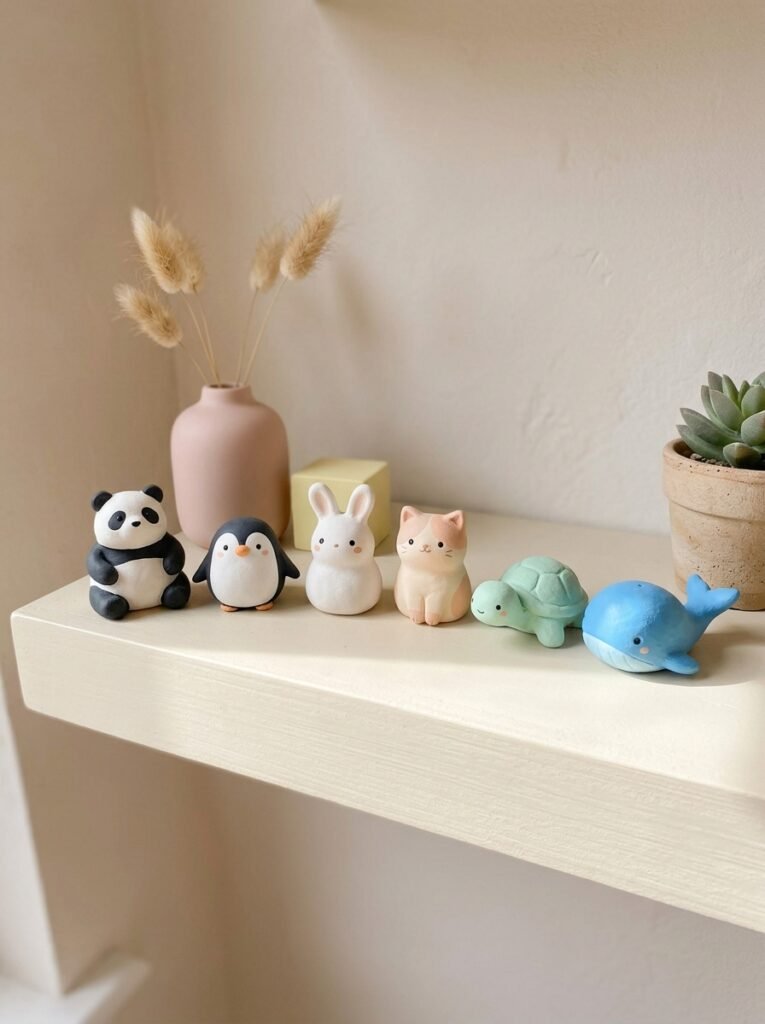
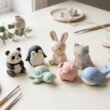
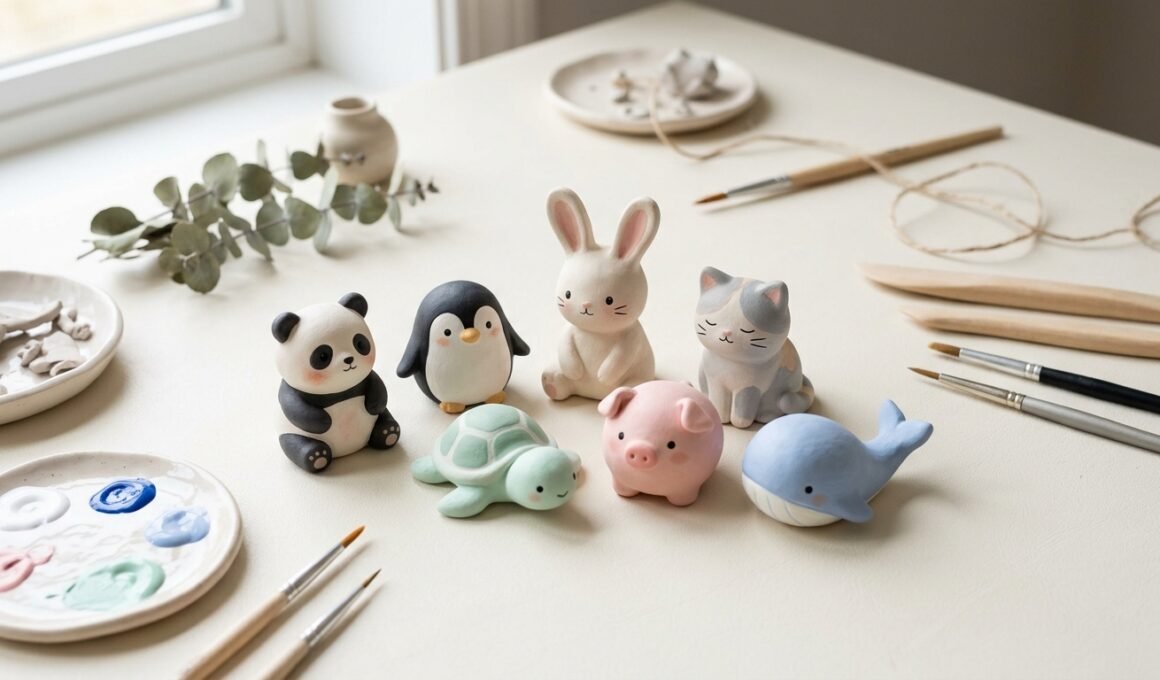
Once you have practiced several animals, combine them into a miniature art collection. Choose a few designs with different silhouettes, such as a panda, penguin, bunny, cat, turtle, and whale. Keep their sizes reasonably consistent and use complementary colors so the display looks balanced. You can arrange the animals on a small shelf, a display base, or a bright desk. Add only a few supporting decorations, such as a tiny plant or a small painted background, so the sculptures remain the main attraction. This final project lets you showcase your skills and makes a thoughtful handmade gift for someone who loves animals.
How to Make Air-Dry Clay Animals Step by Step
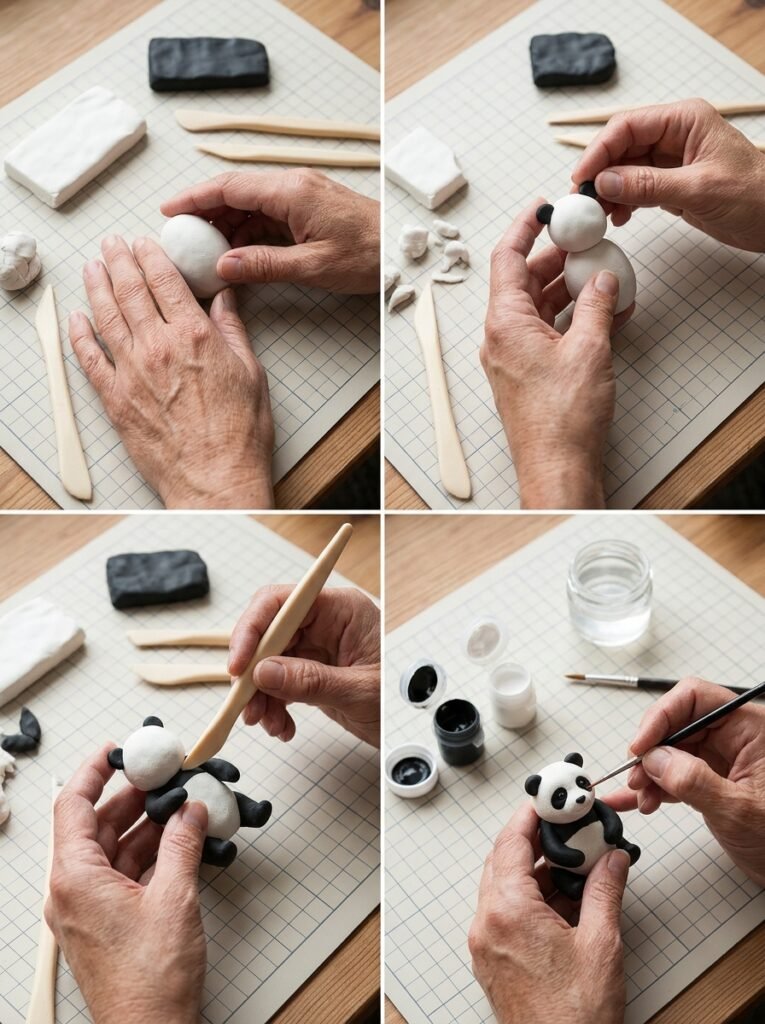
Follow this simple tutorial to create most of the animals in this article.
- Choose your animal. Start with a panda, bunny, cat, or turtle because their shapes are easy to build.
- Prepare the clay. Knead a small piece until it feels smooth and workable.
- Shape the body. Use a ball or oval as the main body, depending on the animal.
- Add the head and limbs. Attach the pieces carefully and smooth the joins with a suitable tool.
- Create the details. Add ears, tails, fins, or shells while the clay is still workable.
- Check the structure. Make sure the animal stands securely and that small parts are firmly attached.
- Allow it to dry fully. Follow the manufacturer’s instructions and give thicker sculptures extra drying time when needed.
- Paint and display. Add acrylic paint after the clay has completely dried, then keep the finished animal in a dry, safe place.
Helpful Tips for Better Clay Animal Art
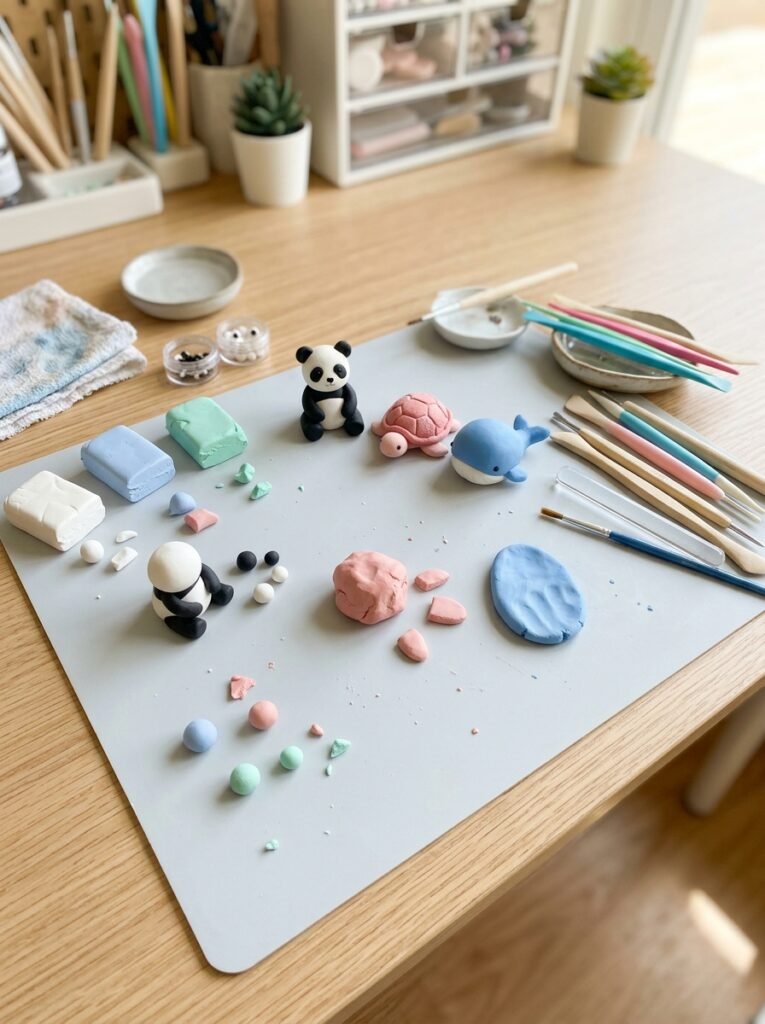
- Start with simple shapes: Balls, ovals, and short cylinders can form most animal bodies.
- Keep delicate parts sturdy: Thin ears, tails, and fins can break easily.
- Smooth the joins: Blend attached pieces gently while the clay is still workable.
- Experiment with colors: Blue, pink, white, and pastel shades can give your collection a coordinated look.
- Paint only after drying: Let the clay harden fully before applying paint.
- Try textures carefully: Sponge marks can add interest, but avoid weakening the sculpture.
- Supervise children: Use age-appropriate tools and keep tiny parts away from young children.
- Avoid food and water contact: Ordinary air-dry clay is generally not food-safe or waterproof.
- Protect finished creations: Store your animals in a dry place and handle delicate pieces gently.
Final Thoughts
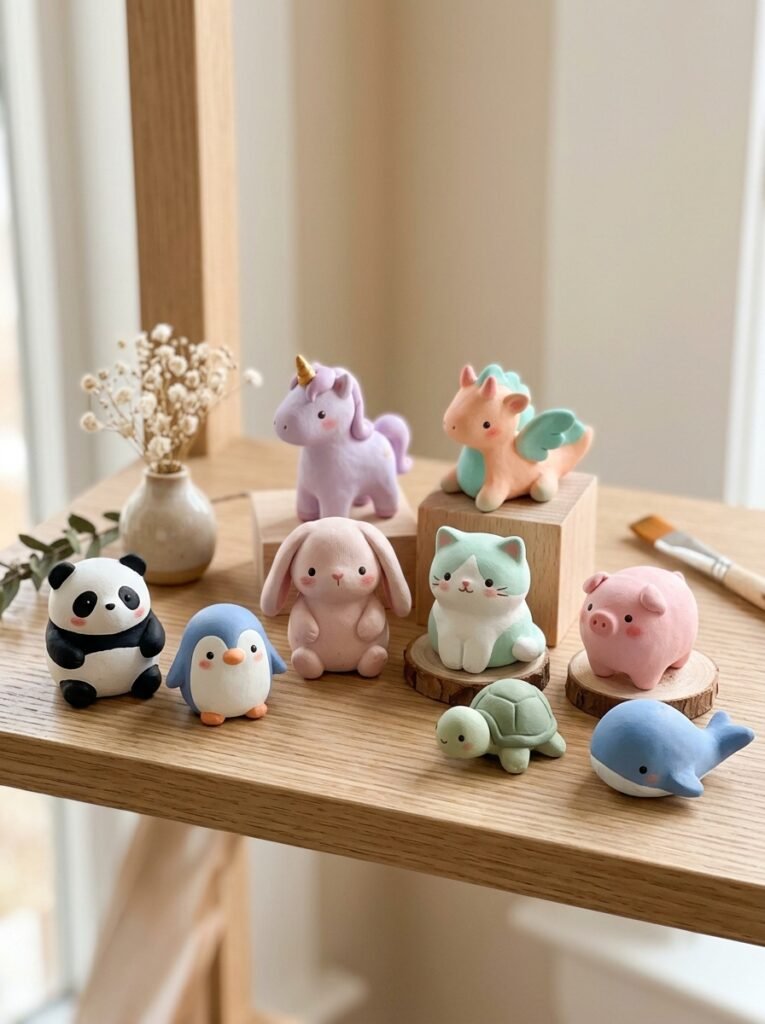
Creating animal sculptures from air-dry clay is a fun way to explore shapes, colors, and creative details. You can begin with a simple panda or bunny, experiment with a blue whale or pink pig, and then try foam-textured animals or miniature scenes featuring food accessories. Each project helps you practice a different technique while giving you something personal to display or gift. The best air dry clay ideas animals are the ones that suit your skill level and let you enjoy the process. Start small, keep your designs sturdy, and give every piece enough time to dry before painting. With a little practice, you can create a charming collection of handmade animal art in your own favorite colors.