

This post may contain affiliate links. Please read my disclosure policy.
In This Article Show
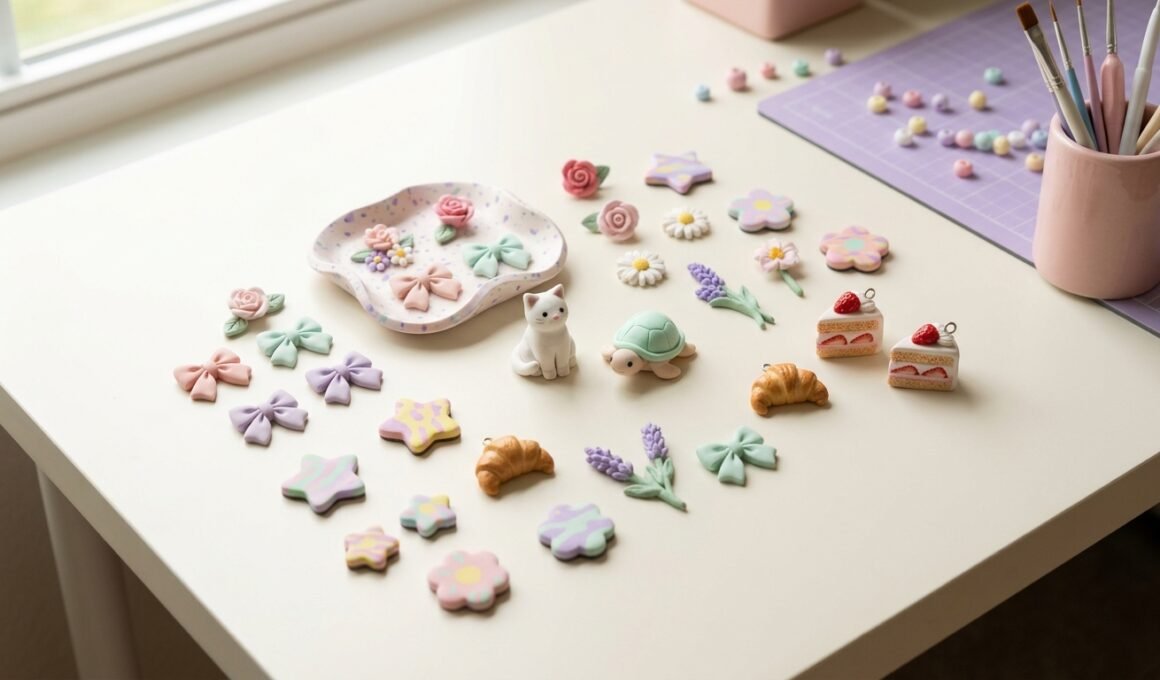
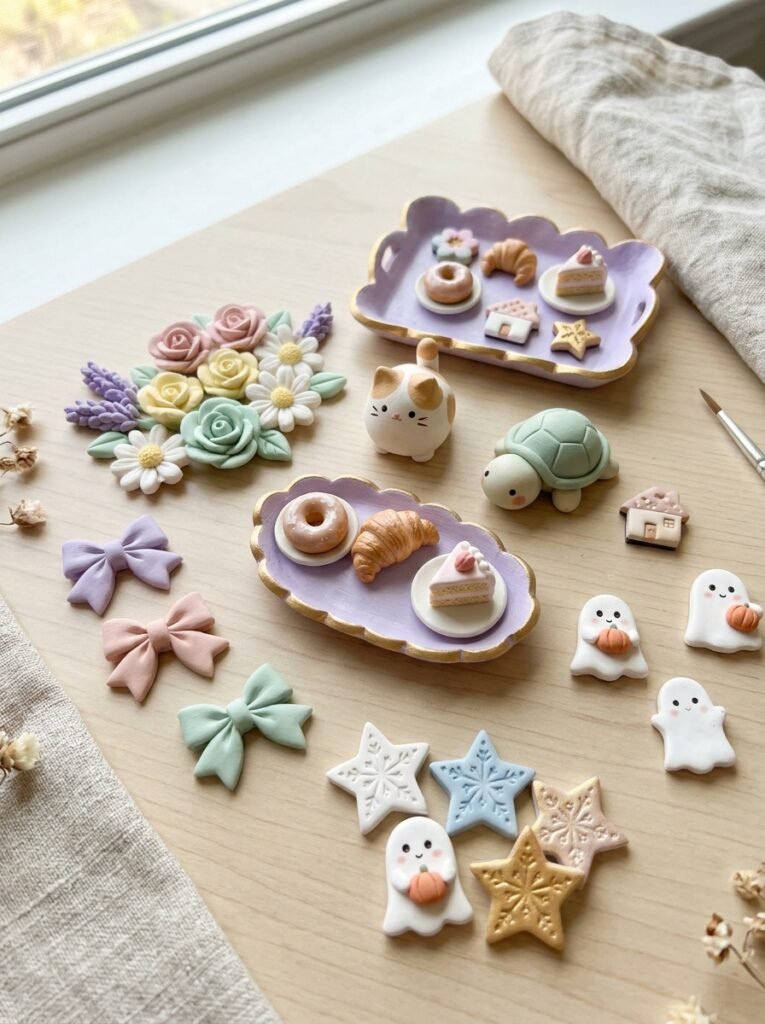
Small crafts can be just as exciting as big DIY projects. With a little air-dry clay, you can create adorable flowers, miniature animals, colorful magnets, tiny food charms, and useful decorations without needing expensive equipment. These projects are especially enjoyable for beginners because they require only small amounts of clay, basic tools, and a little patience. These small air dry clay ideas are perfect for kids, teens, and adults who enjoy making handmade items at home. You can create something cute for your bedroom, design a personalized gift for your boyfriend, make seasonal decorations for Christmas or Halloween, or even prepare small crafts to sell online. From simple clay flowers to functional trinket trays, there are plenty of ways to turn a little clay into something special. For most projects, you will need air-dry clay, a rolling pin, a blunt sculpting tool, acrylic paints, and a suitable sealant if needed. Keep your designs small but sturdy, let them dry completely, and decorate them with colors that match your personal style. Let’s explore 15 creative ideas you can make and customize.
1. Cute Mini Clay Flowers
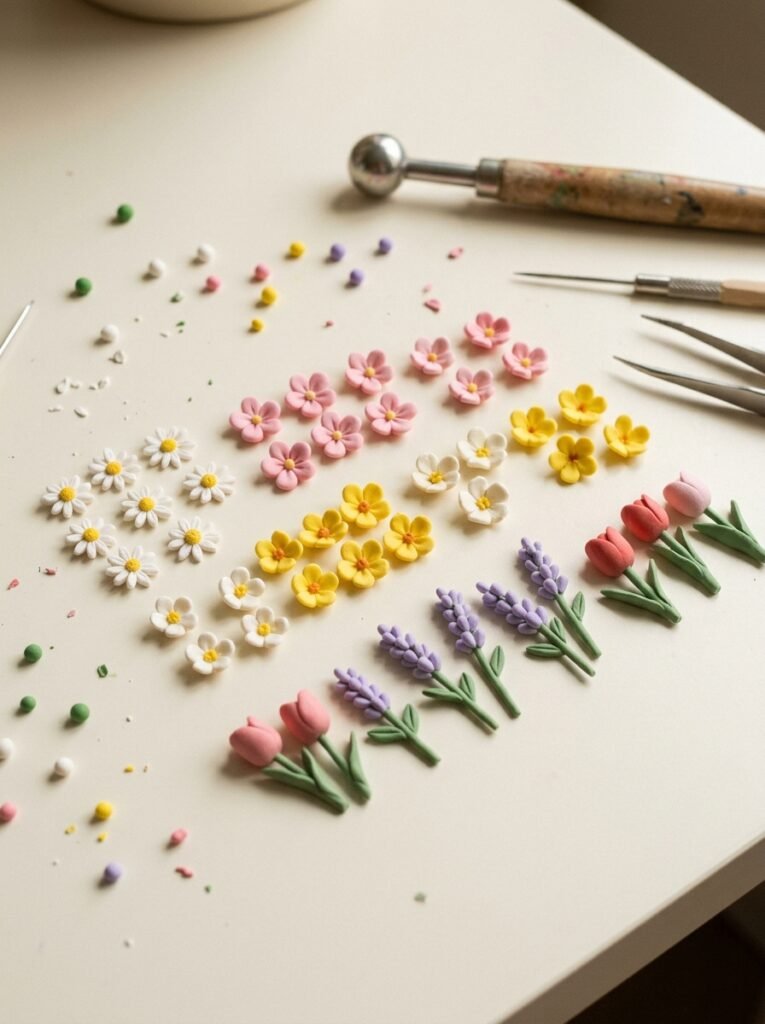
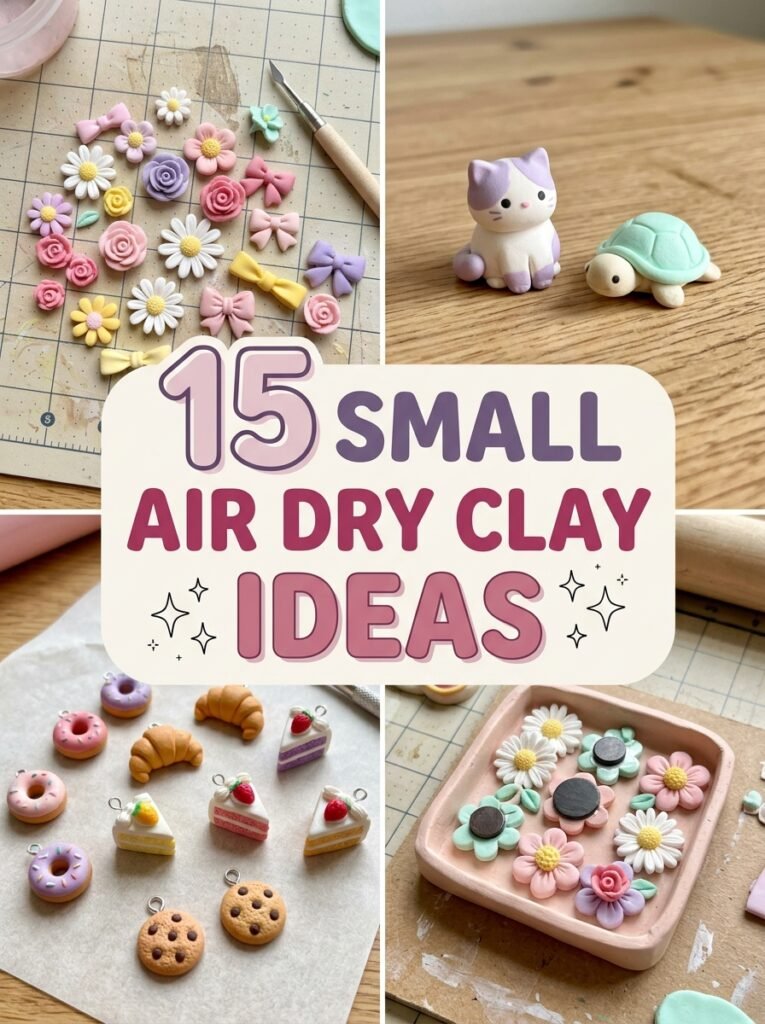
Mini clay flowers are one of the easiest projects for beginners because they can be made from a few simple shapes. Roll a tiny ball for the center, flatten five small clay pieces into petals, and arrange them around the center. You can make daisies, tulips, or imaginative flowers with rounded petals. Choose white, pink, yellow, lavender, or pastel blue to create a colorful collection. These flowers can decorate a desk, become small gift embellishments, or be turned into charms after making a suitable hole before drying.
2. Easy Mini Clay Animals
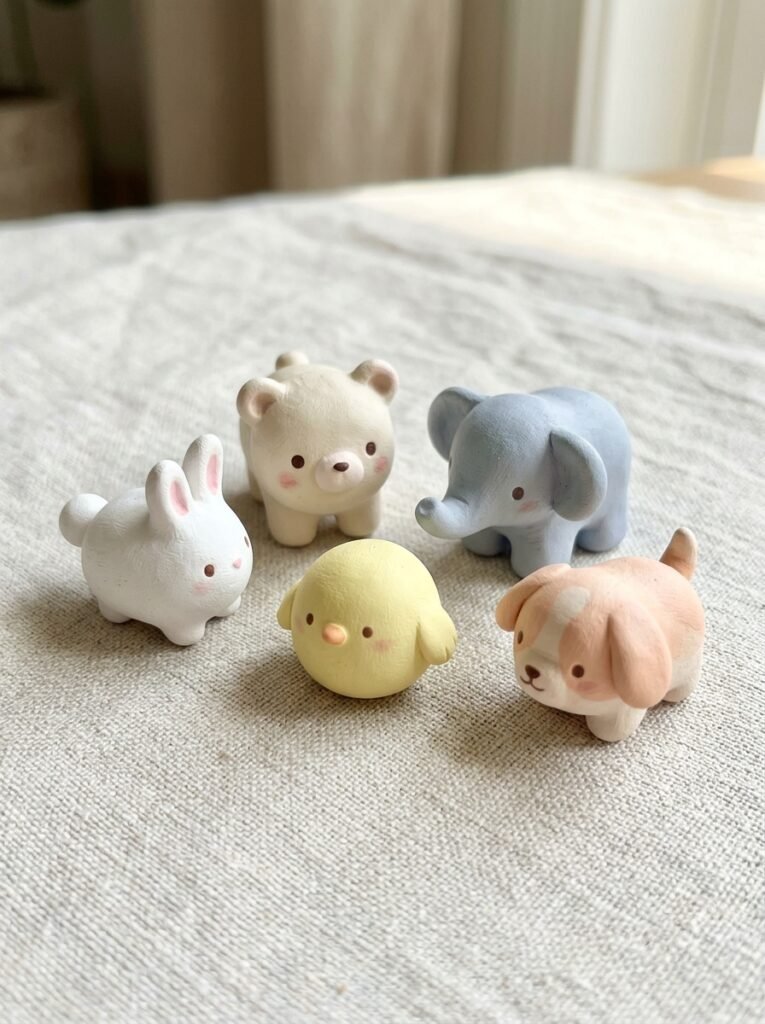
Small animals are fun to make because children and beginners can create them using basic shapes. Start with a ball or oval for the body, add a smaller head, and shape tiny ears, feet, or a tail. You could make a bear, bunny, elephant, chick, or puppy. Keep the features simple and use a toothpick or blunt tool to create small details. Once the clay dries, add eyes, noses, and other features with suitable paint. These miniature animals look adorable together on a shelf or inside a small decorative display.
3. Jellycat-Inspired Clay Plush Charms
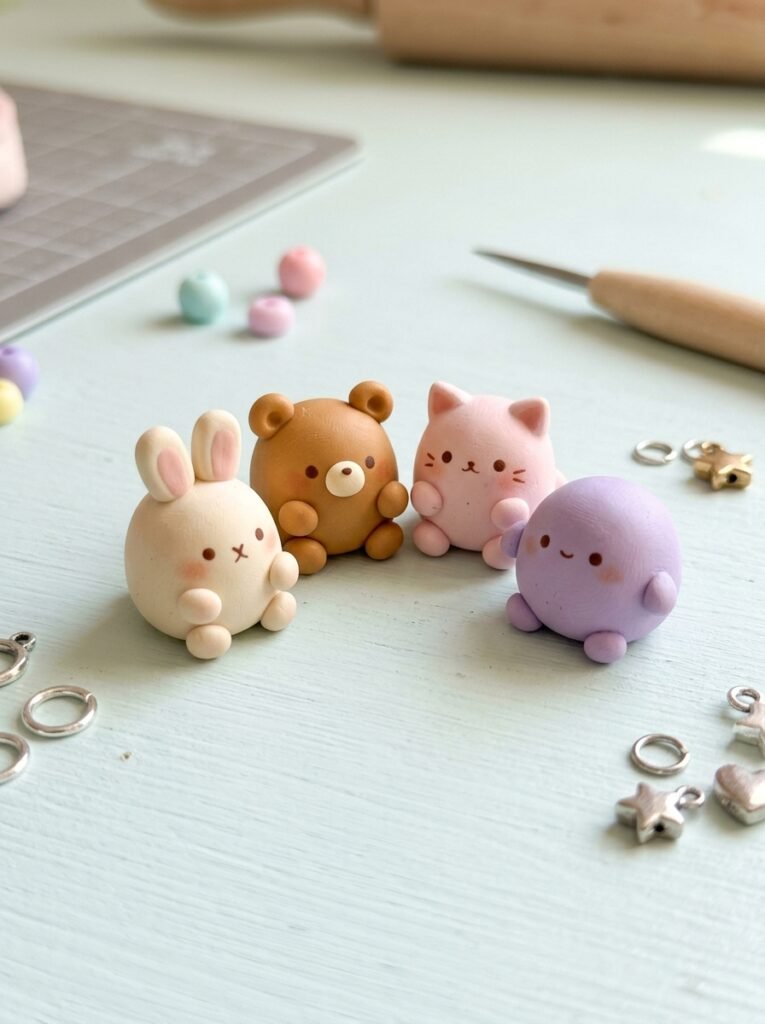
If you love the appearance of soft, cuddly plush toys, try creating tiny clay characters inspired by that cute, rounded aesthetic. Make a little smiling bunny, bear, or blob-shaped character with a plump body, short feet, and simple facial features. Use cream, pale pink, caramel, or lavender paint to give each character a gentle appearance. The result will be a hard clay sculpture rather than a soft plush toy, but you can capture a similar adorable style. Turn it into a charm by preparing a sturdy attachment hole before drying.
4. Mini Clay Cats
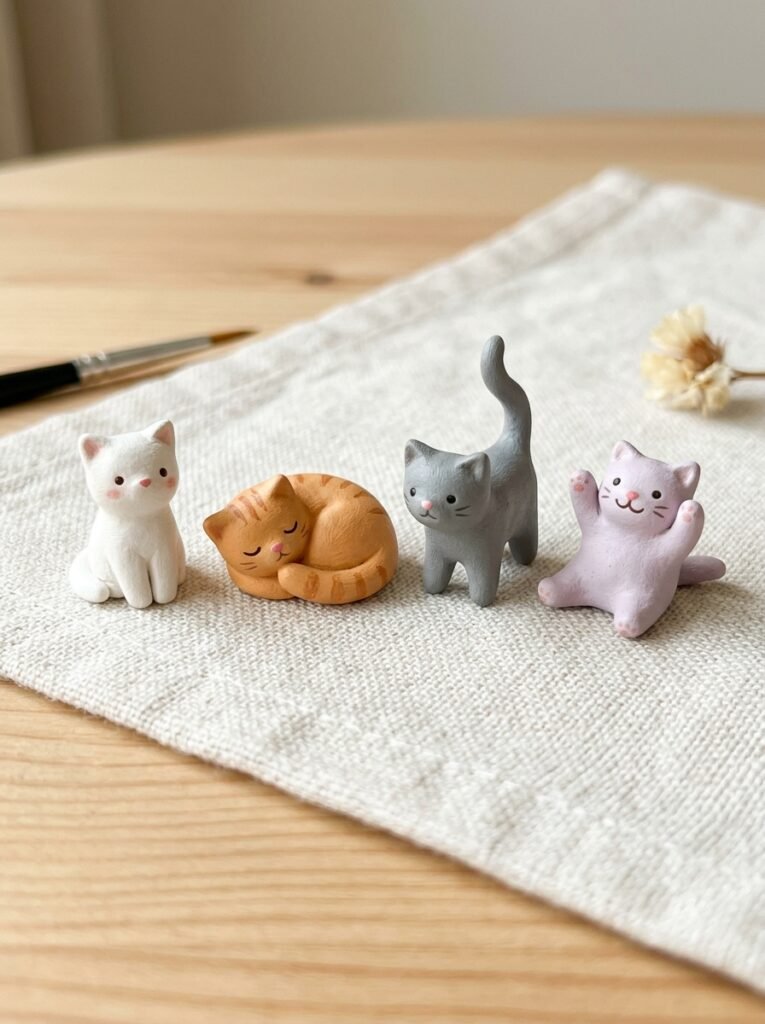
Mini clay cats are ideal for anyone who loves cute animal crafts. Shape a small oval body, create a rounded head, and add two triangular ears. A curled tail or tiny paws can make the cat look more expressive. Try a white kitten with pink details, a gray cat with darker stripes, or a playful orange cat. You can also create sleepy cats by painting the eyes as simple curved lines. These small sculptures make lovely desk decorations and can be included in a miniature animal collection.
5. Small Clay Turtle
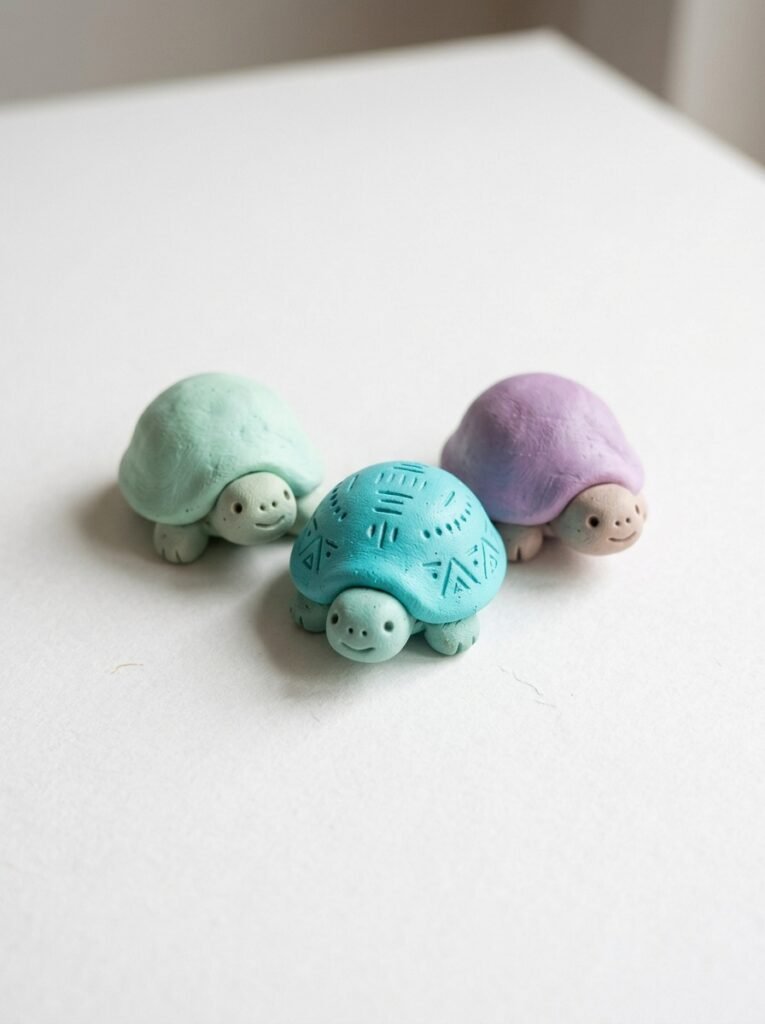
A turtle is an easy animal to create because its shell provides a clear focal point. Begin with a rounded body, four short feet, and a small head. Form a dome-shaped shell and gently press simple lines into its surface to create a pattern. You can paint the shell green, mint, blue, or purple and use a lighter color for the body. Make sure the feet and head are firmly attached before drying. A group of tiny turtles in different colors can become an adorable collection for a shelf or a handmade gift.
6. Tiny Clay Food Charms
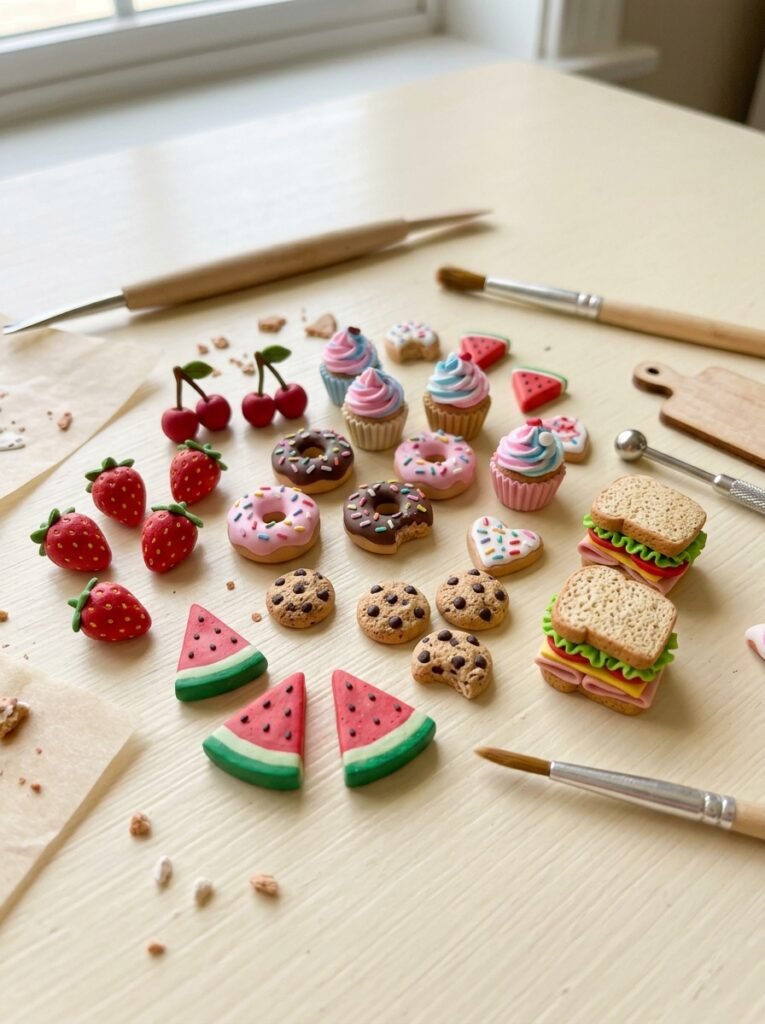
Miniature food is a fun way to experiment with shapes and bright colors. Make tiny strawberries, cupcakes, donuts, cherries, cookies, or slices of watermelon. Start with the main shape and add small decorative details using different clay colors. For example, a cupcake can have a small base and a rounded topping, while a strawberry can be shaped like a tiny heart with painted seeds. Once dry, these creations can become decorative charms, miniature play accessories, or additions to a craft display. They are pretend food and should never be eaten.
7. Easy Clay Bows
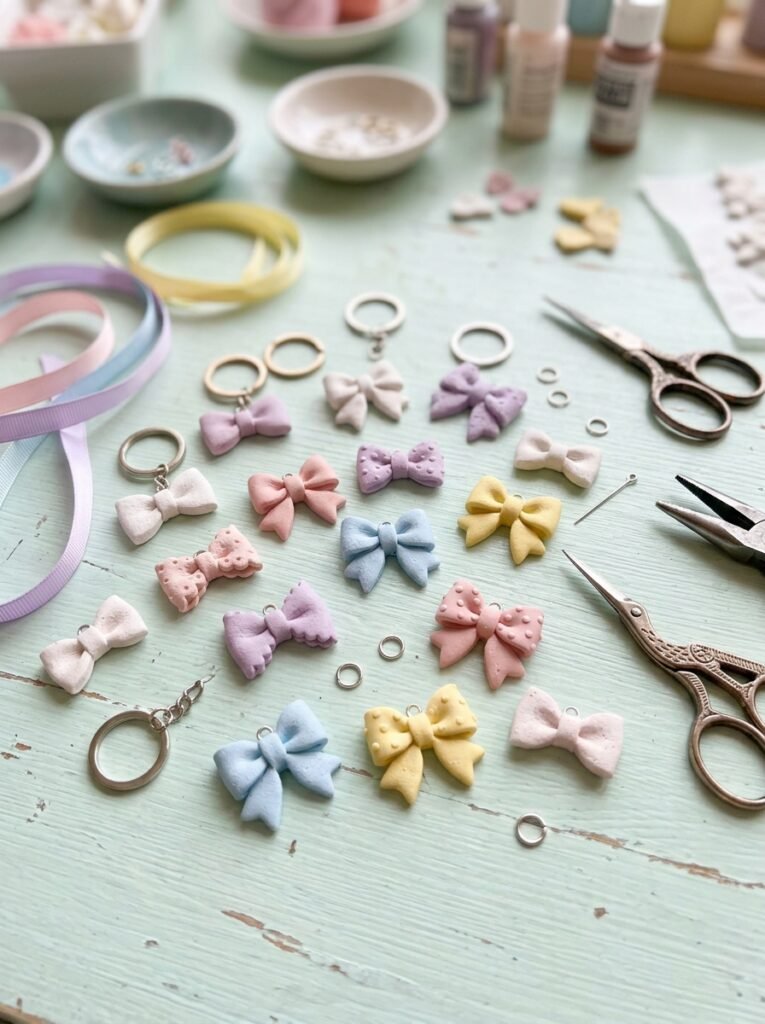
Clay bows are simple, stylish, and useful for making decorative charms. Roll a small piece of clay flat, cut two rounded loops, and add a narrow strip across the center. Smooth the joins carefully so the bow looks like one connected design. You can create tiny white bows, pink bows, lavender bows, or bows with dotted patterns. Once dry, use them as decorative pieces, attach suitable charm hardware, or include them in a handmade gift set. Keep the loops thick enough to reduce the risk of breaking.
8. Small Clay Magnets
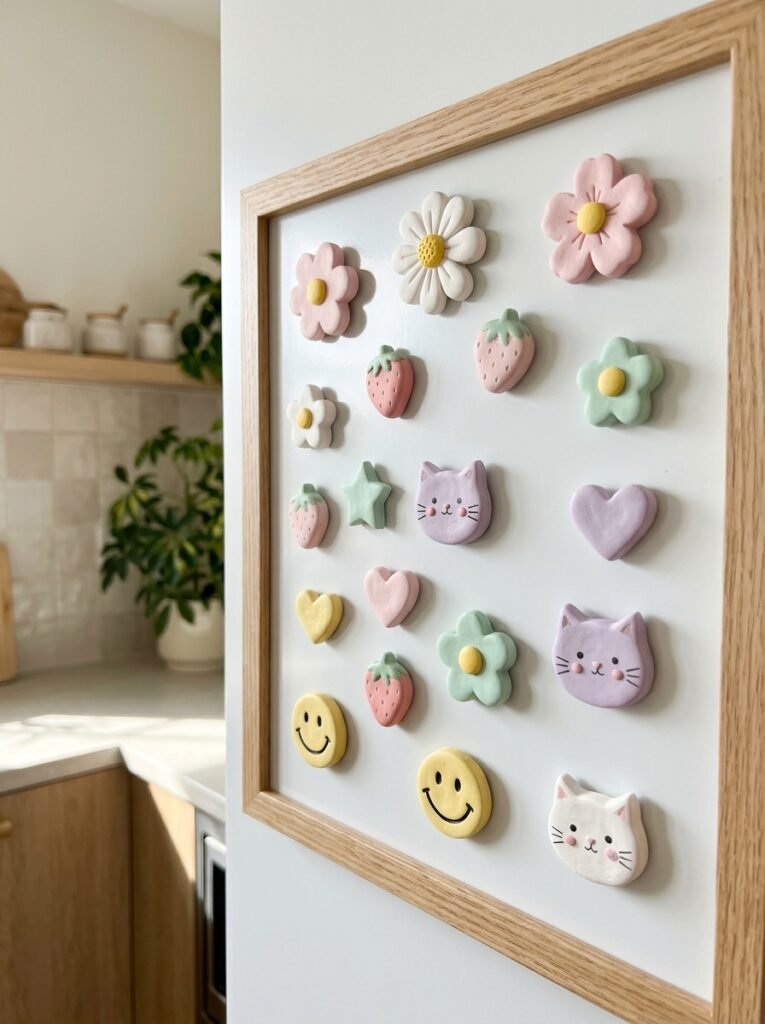
Clay magnets are practical, colorful, and easy to personalize. Shape the clay into flowers, hearts, stars, cats, fruit, or tiny smiley faces. Keep each piece fairly flat so it sits neatly against a refrigerator or magnetic board. After the clay dries completely, paint it and attach a suitable craft magnet using an appropriate adhesive. These magnets can be made as matching sets for a kitchen or given as small gifts. Magnets can be dangerous if swallowed, so an adult should handle their installation and keep finished pieces away from young children.
9. Functional Mini Clay Tray
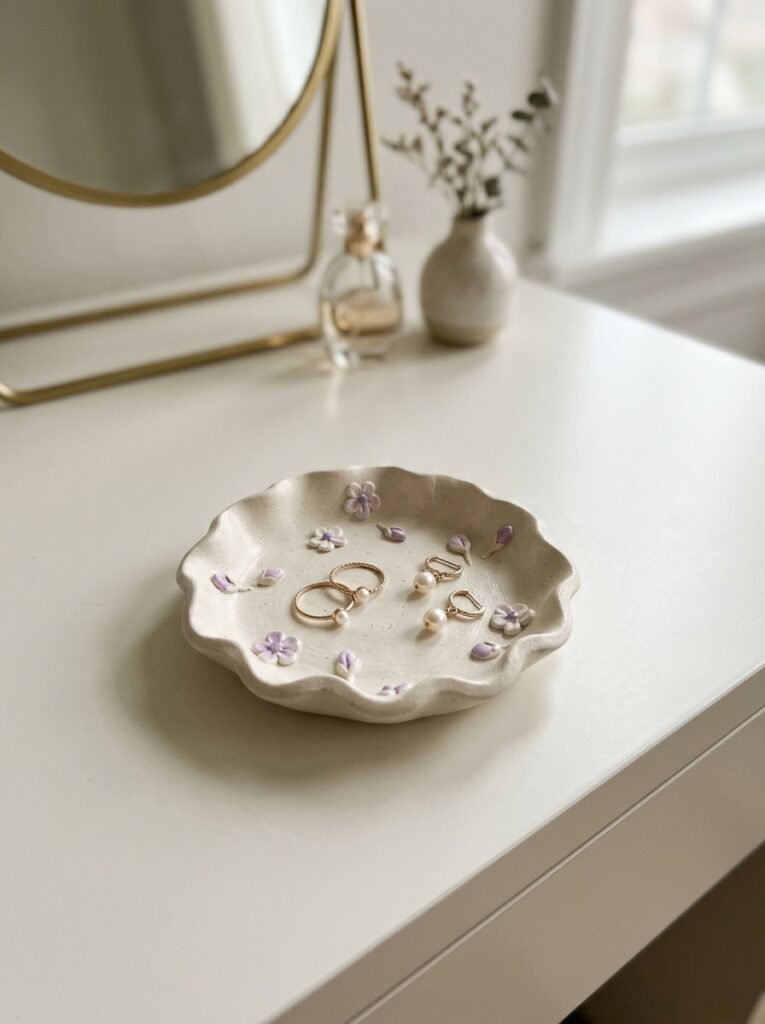
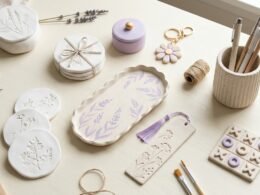
A small clay tray is both attractive and useful. Roll the clay into an even sheet, cut out a round or oval shape, and gently raise the edges to create a shallow dish. You can make a scalloped border or add tiny raised flowers for decoration. Once completely dry, paint the tray white, cream, pink, or purple. Use it to hold rings, earrings, hair clips, or small desk accessories. Keep in mind that ordinary air-dry clay is generally not waterproof or food-safe, so this tray should be used for dry decorative storage only.
10. Christmas Clay Ornaments
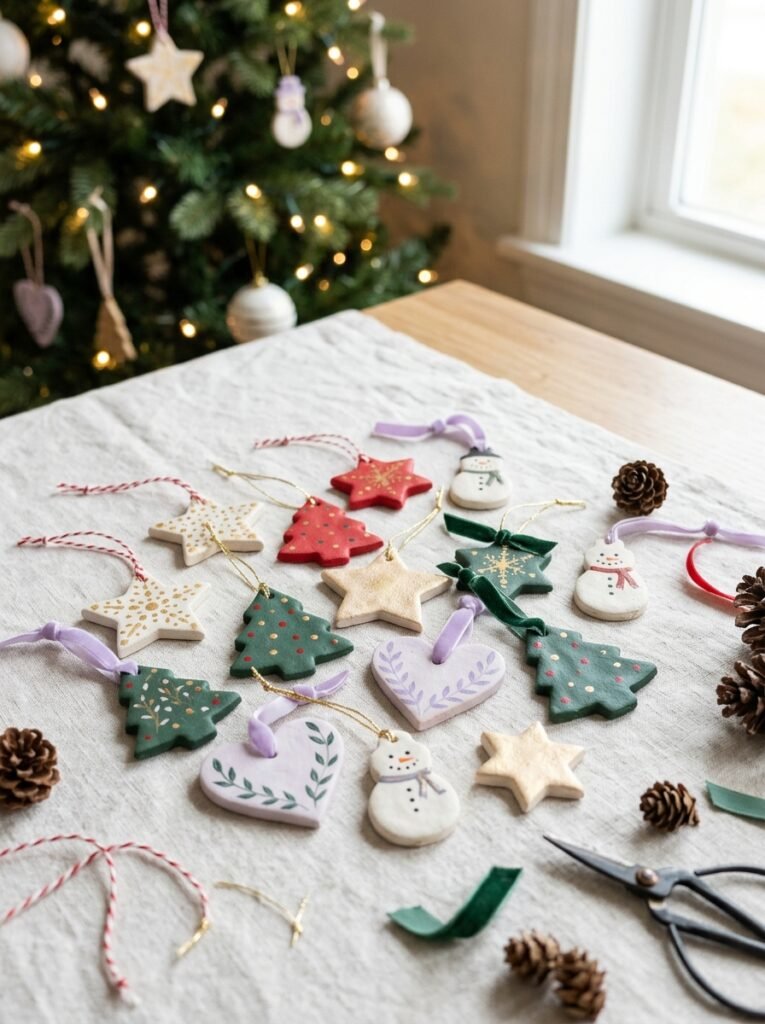
Christmas ornaments are a wonderful way to turn small pieces of clay into seasonal decorations. Roll the clay flat and cut out stars, trees, hearts, or little snowmen. Make a hole for the hanging ribbon before the clay dries, and avoid making the edges too thin. After drying, paint the ornaments in white, red, green, silver-inspired, or pastel colors. You can create a matching set for a Christmas tree or attach a small ornament to a gift package. An adult can help with ribbon attachment and placement.
11. Halloween Clay Ghosts and Pumpkins
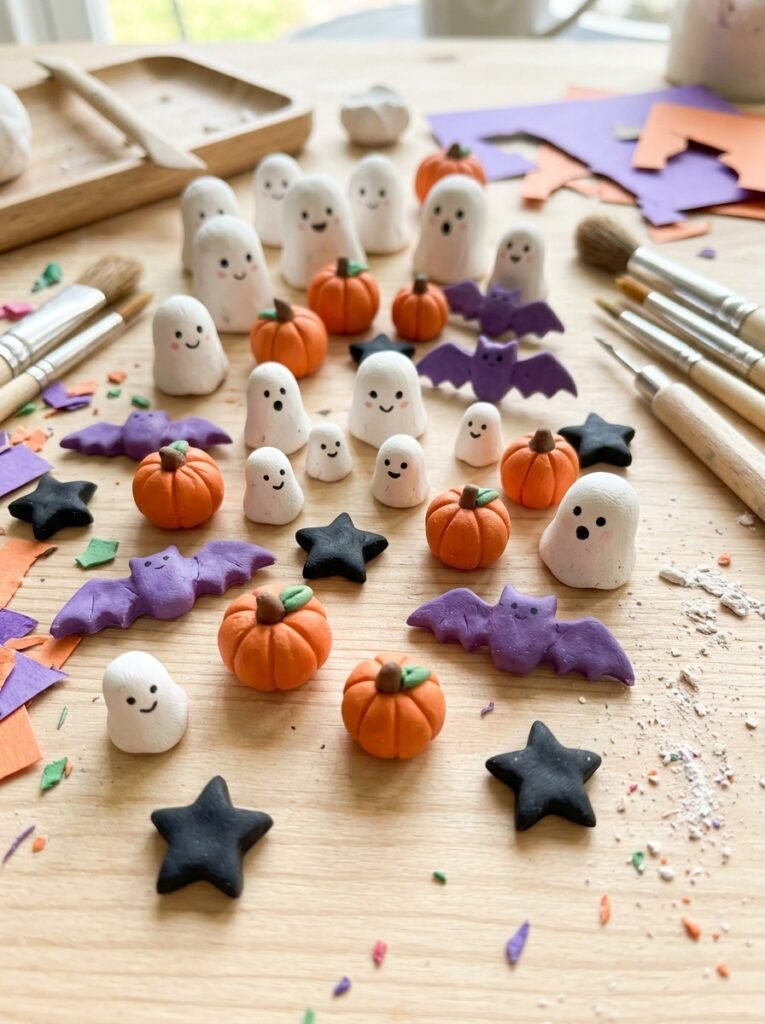
Halloween crafts can be cute rather than frightening. To make a tiny ghost, shape white clay into a rounded mound with a slightly wavy base. Add simple eyes and a small mouth after it dries. For a pumpkin, roll orange clay into a ball and press shallow vertical lines into the surface. Finish it with a small green stem. You can make several ghosts and pumpkins in different sizes for a seasonal shelf display. Keep the designs sturdy and use battery-operated decorations rather than placing clay crafts near open flames.
12. Cute Clay Charms for Your Boyfriend
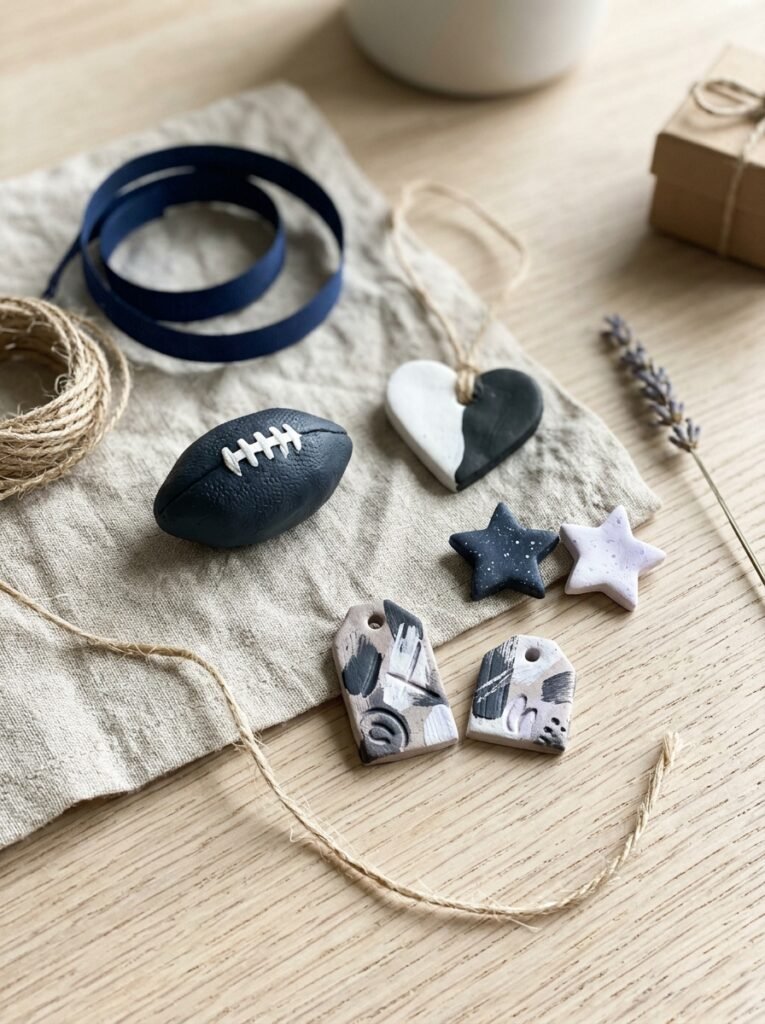
Handmade clay charms can make thoughtful gifts for a boyfriend because you can personalize them around shared memories or favorite things. Create matching hearts, a tiny star, an initial tag, a miniature football, or two complementary shapes that fit together visually. Choose colors he likes rather than relying only on traditional pink and red. Make a hole before drying if you want to attach a key ring or bag charm. Keep the design simple, durable, and personal. A small handmade charm paired with a handwritten note can make an inexpensive gift feel meaningful.
13. Aesthetic White Clay Decorations
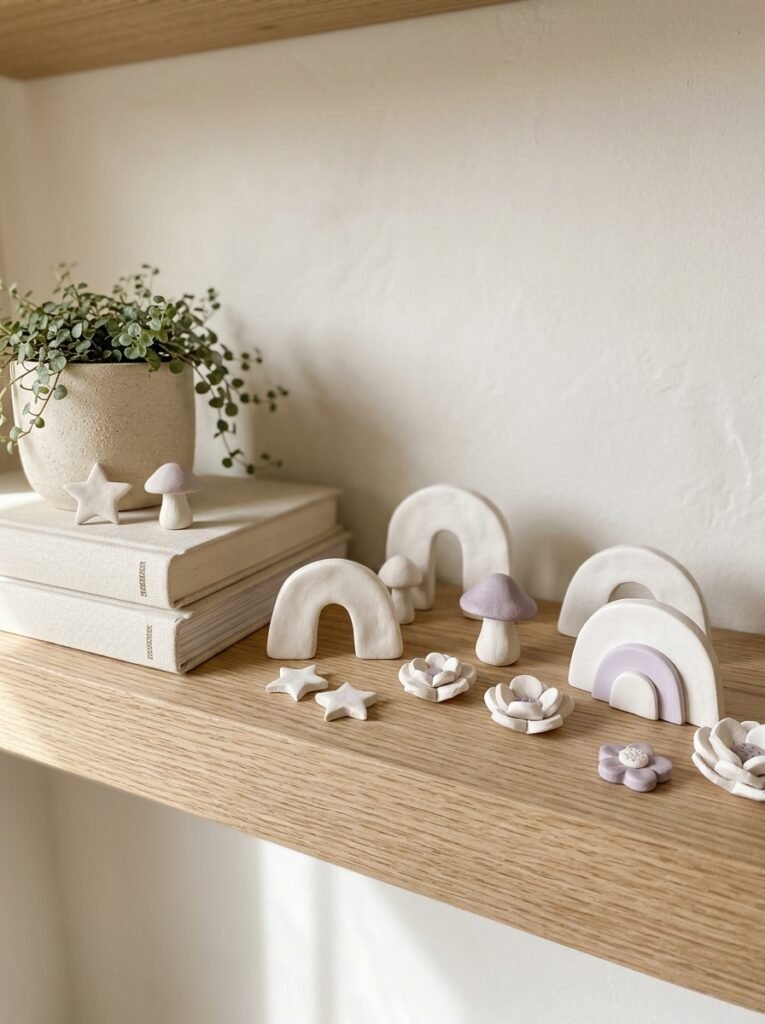
White clay decorations are perfect for people who enjoy a clean, minimalist look. Make tiny arches, rounded abstract shapes, little mushrooms, stars, or simple flower sculptures. Leave them matte white or add a small pastel accent to make each piece unique. A collection of three or four coordinated decorations can look beautiful on a shelf, bedside table, or desk. Keep the designs simple and avoid adding too many details. These decorations are also easy to pair with other handmade pieces, making them a useful starting point for a cohesive room display.
14. Cute Easy Clay Gifts for Kids
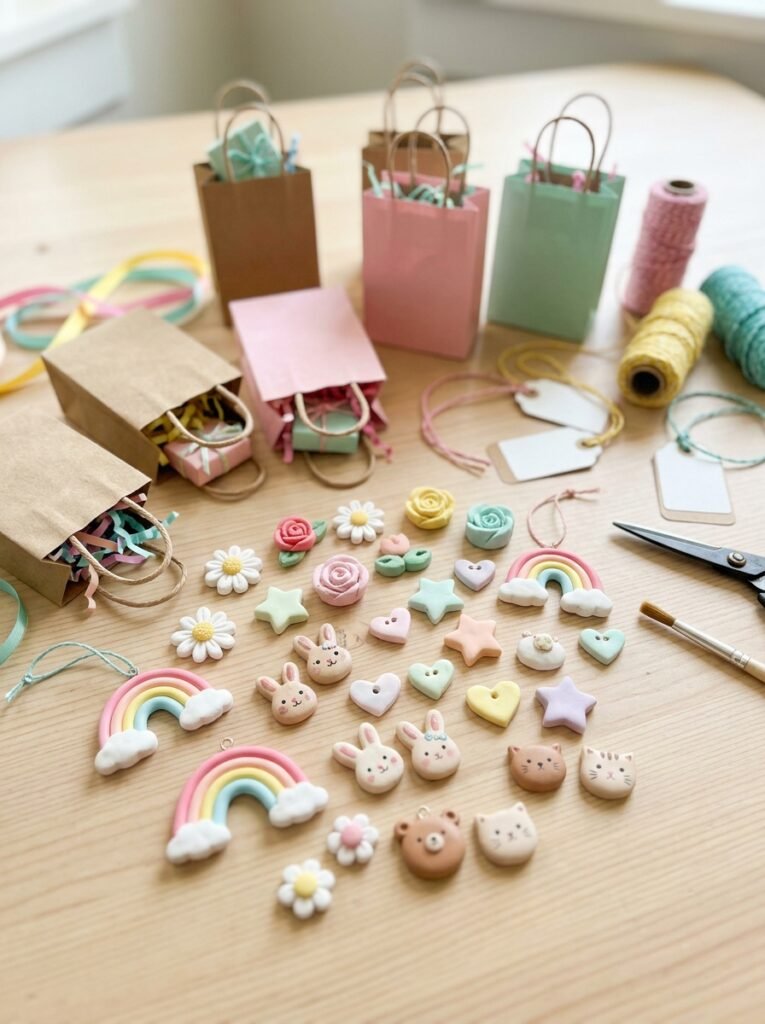
Small clay gifts are perfect for children because they can be colorful, personal, and easy to carry. Make tiny animals, flower charms, miniature rainbows, simple hearts, or small stars. Let each child choose a favorite color and design, then allow the pieces to dry before painting. These creations can be shared with classmates, added to birthday gift bags, or given to family members. Choose simple shapes and avoid loose tiny parts for younger children. An adult should supervise the use of paints, sculpting tools, and any keychain hardware.
15. Small Clay Crafts You Can Sell
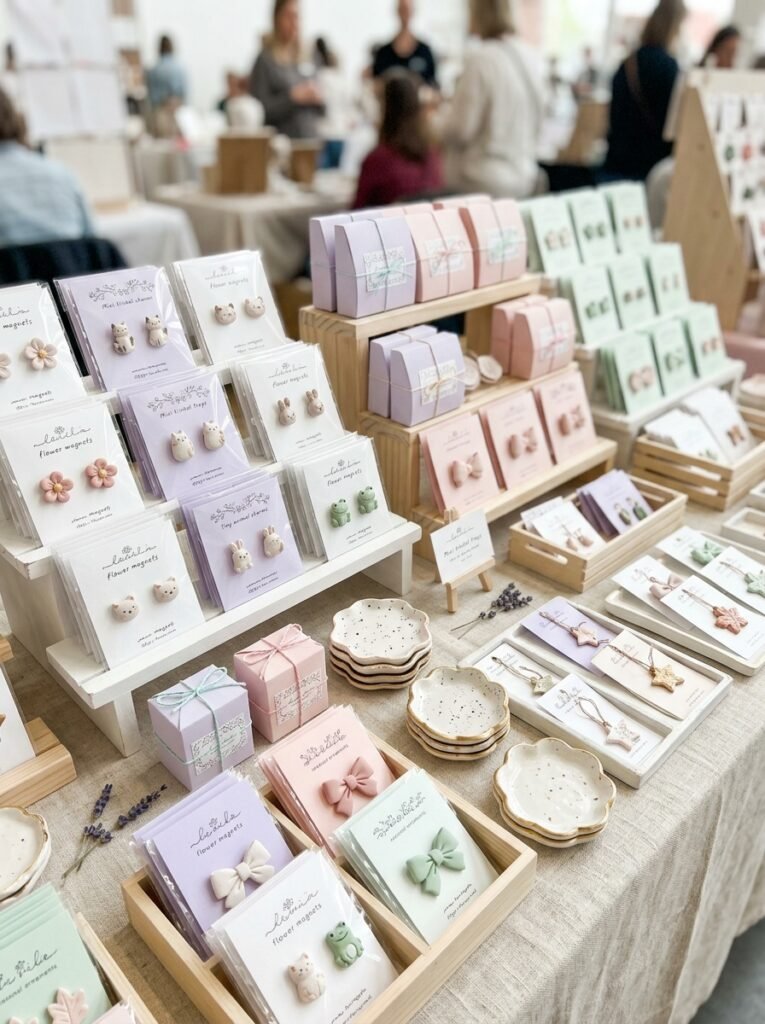
If you enjoy making clay crafts, small items can be a good starting point for a handmade side business. Consider creating matching sets of flower magnets, animal charms, mini trinket trays, seasonal ornaments, or cute food miniatures. Choose two or three consistent color palettes so your products look like part of the same collection. Before selling, test each design for durability, finish quality, and packaging safety. Calculate the cost of clay, paint, hardware, packaging, and your time before setting a price. Small products can be easier to package, but they still need careful quality control.
How to Make Small Air-Dry Clay Crafts Step by Step
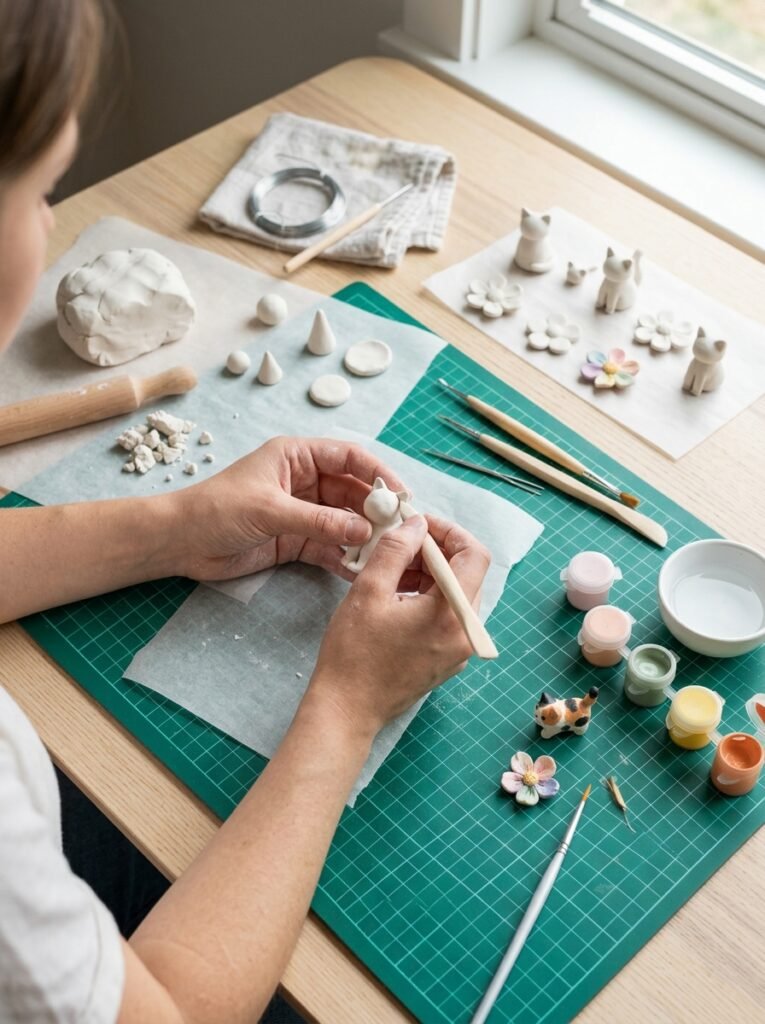
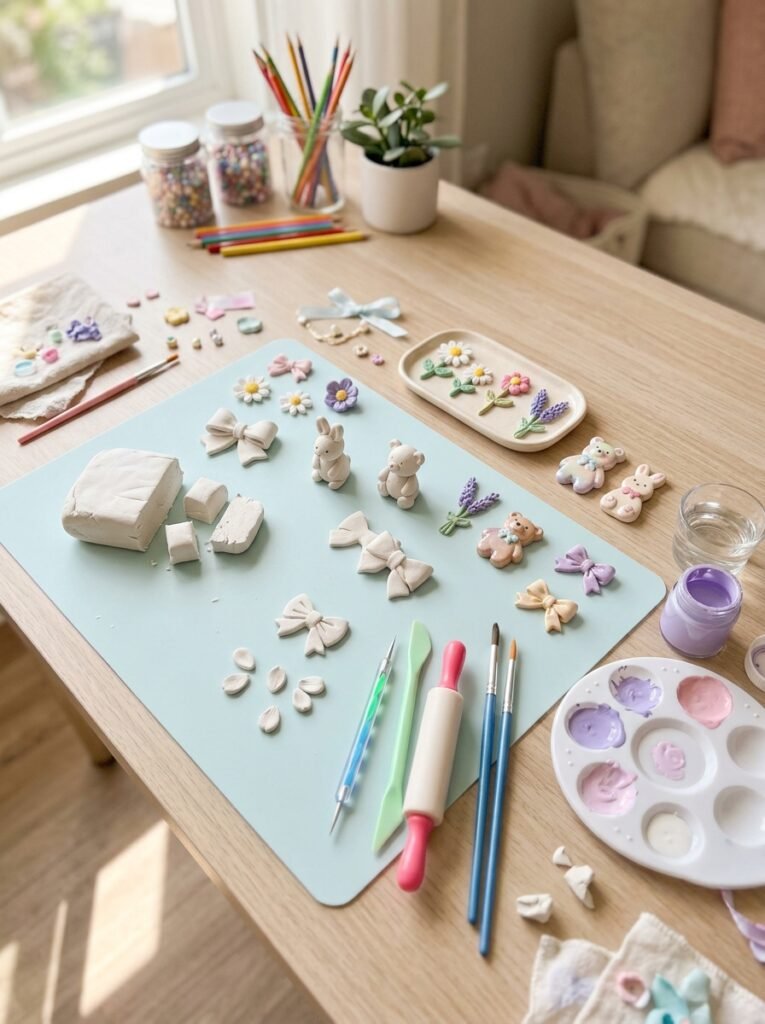
Follow this simple process for most miniature clay projects.
- Choose your design. Start with a flower, bow, cat, turtle, magnet, or small tray.
- Prepare the clay. Knead a small piece until it is smooth and easy to shape.
- Create the basic form. Roll, flatten, or sculpt the clay into the main shape.
- Add the details. Attach petals, ears, tails, or decorative elements while the clay is still workable.
- Smooth the joins. Use a suitable tool or slightly damp fingers without adding excessive water.
- Dry completely. Follow the manufacturer’s instructions and give thicker pieces extra time if needed.
- Paint your creation. Use suitable acrylic paints after the clay has fully dried.
- Finish and display. Add suitable hardware or sealant only when appropriate for the intended use.
Helpful Tips for Better Results
- Start small: Tiny flowers, flat charms, and simple animals are easier than complex sculptures.
- Keep pieces sturdy: Very thin petals, ears, and tails can break after drying.
- Use a coordinated palette: White, lavender, pink, and mint can help a collection look polished.
- Make holes early: Prepare keychain or hanging holes before the clay hardens.
- Dry patiently: Follow the product instructions rather than using excessive heat to speed up drying.
- Paint after drying: This helps prevent moisture from becoming trapped beneath the paint.
- Choose safe materials: Follow age recommendations and supervise children during crafting.
- Remember the limitations: Ordinary air-dry clay is not automatically waterproof, food-safe, or heat-resistant.
- Package carefully: If you plan to sell your crafts, protect fragile details with suitable packaging.
Final Thoughts
Small clay projects are a lovely way to explore creativity without needing lots of materials or space. You can make a tiny flower for your desk, a turtle for your animal collection, a bow charm for your bag, or a personalized gift for someone special. Seasonal designs also make it easy to create new projects throughout the year. The best small air dry clay ideas are the ones you enjoy making and can finish with care. Start with a simple shape, experiment with colors, and allow enough time for the clay to dry. With practice, you can build a beautiful collection of handmade decorations, useful accessories, and even small products to sell.