

This post may contain affiliate links. Please read my disclosure policy.
In This Article Show
Air-dry clay is a wonderful craft material for children because it lets them turn simple shapes into cute animals, colorful decorations, pretend food, and handmade gifts. Unlike traditional pottery clay, most air-dry clay hardens at room temperature, so children can enjoy creating projects at home without needing a pottery kiln. With a little guidance, even beginners can make something special using basic tools and their imagination. These air dry clay ideas for kids include easy step-by-step projects for different ages, interests, and seasons. Children can make a tiny cat, a friendly unicorn, miniature food, Christmas ornaments, Valentine’s Day hearts, Easter decorations, and many other fun creations. They can also explore colors, textures, and simple sculpting techniques while developing patience and creativity. You only need a few supplies to begin: child-appropriate air-dry clay, a washable work surface, a plastic rolling pin, blunt sculpting tools, and suitable paints. Brands such as Jovi offer air-drying modeling clay, but always check the specific product instructions and age recommendations before use. Younger children should work with adult supervision, especially when using small pieces or painting finished crafts.

1. Easy Clay Animals
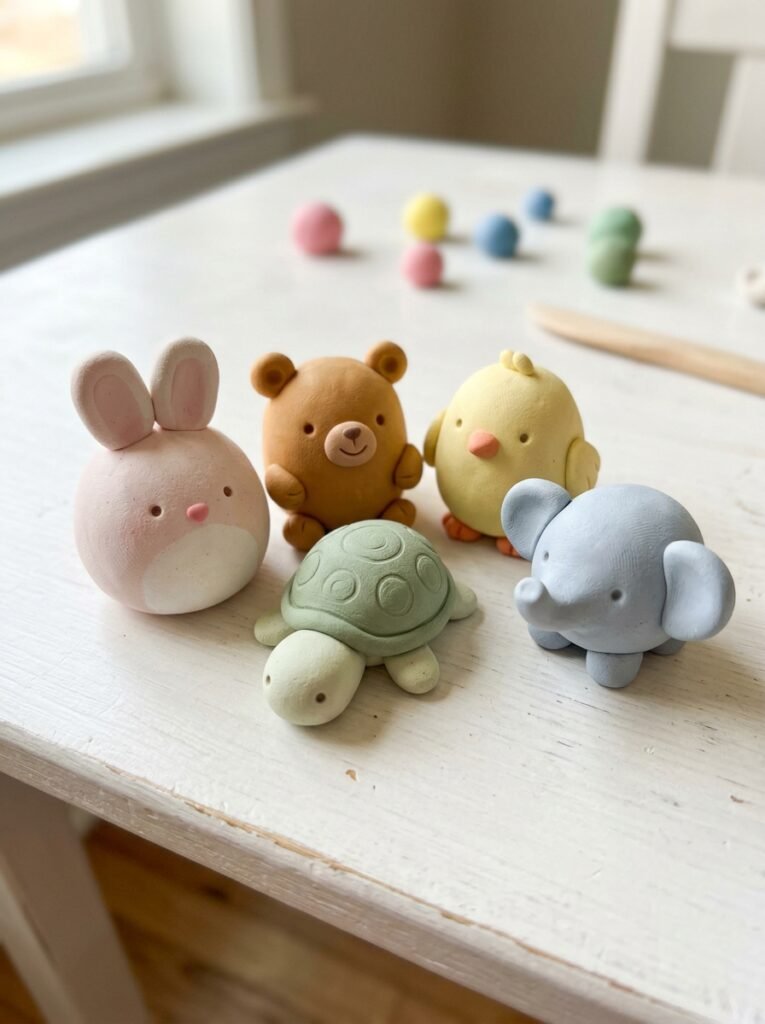
Easy animals are a perfect first project because children can build them from simple shapes. Start with a ball for the body, smaller balls for the head, and tiny pieces for ears, feet, or tails. Children can create rabbits, bears, turtles, chicks, and other friendly creatures. Encourage them to choose their own colors and expressions instead of trying to make every animal look exactly the same. Keep the parts firmly attached and allow the creations to dry completely before painting. This activity helps children practice shaping, joining, and recognizing basic forms.
2. Easy Cute Clay Cats
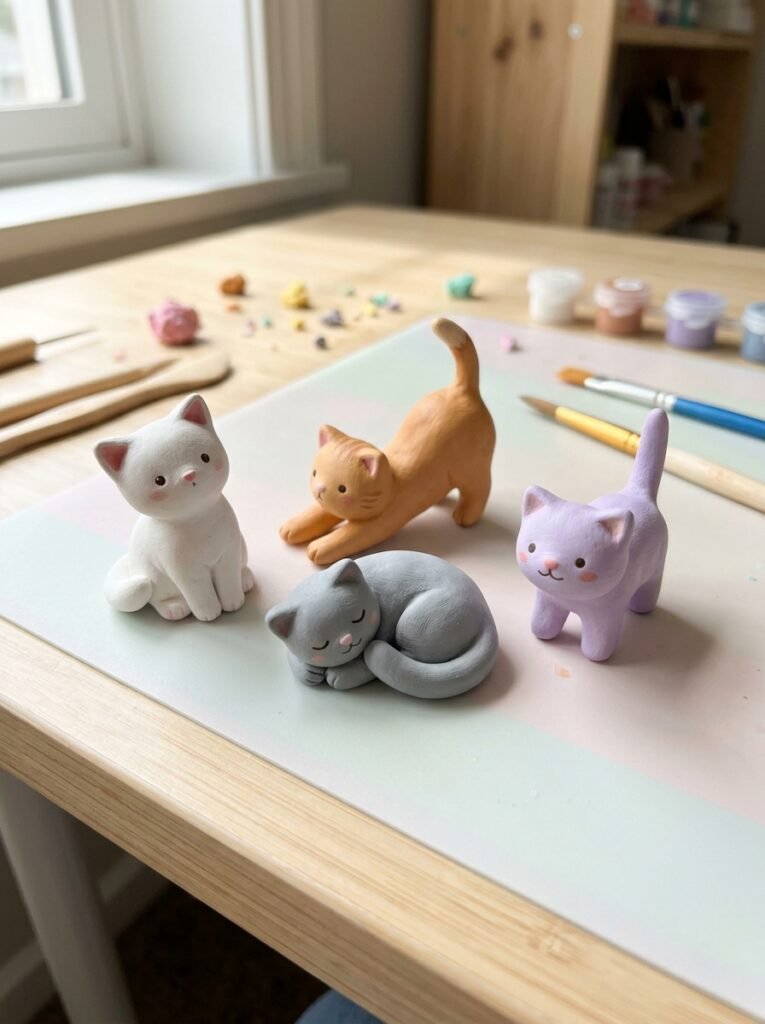
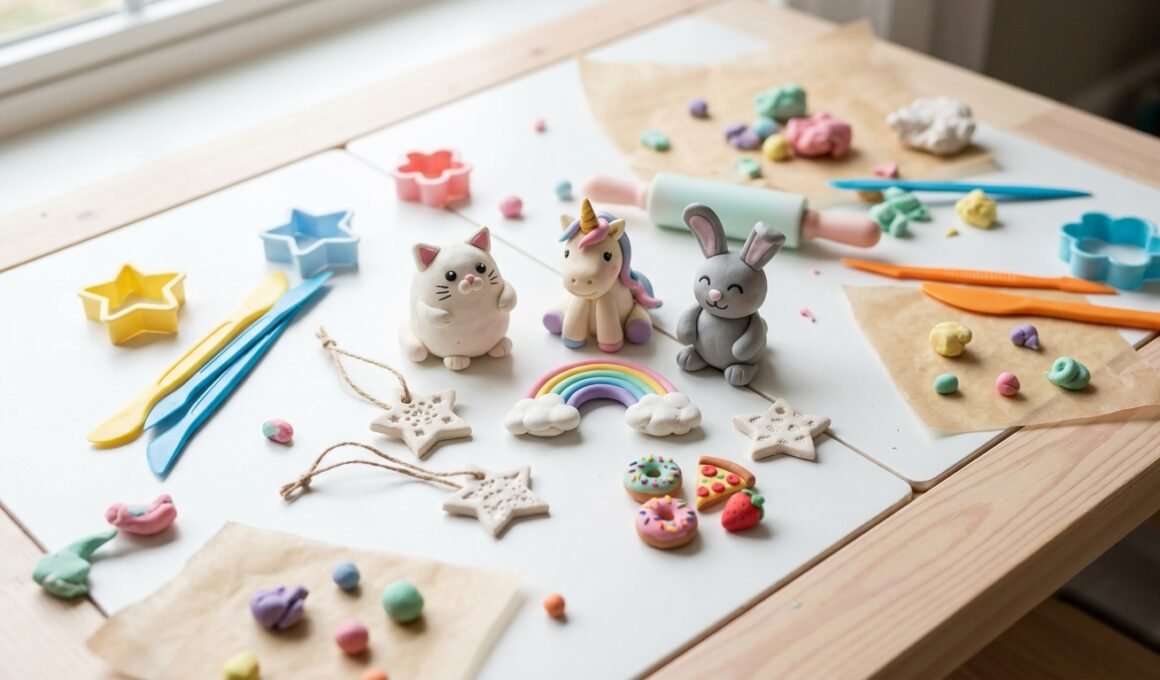
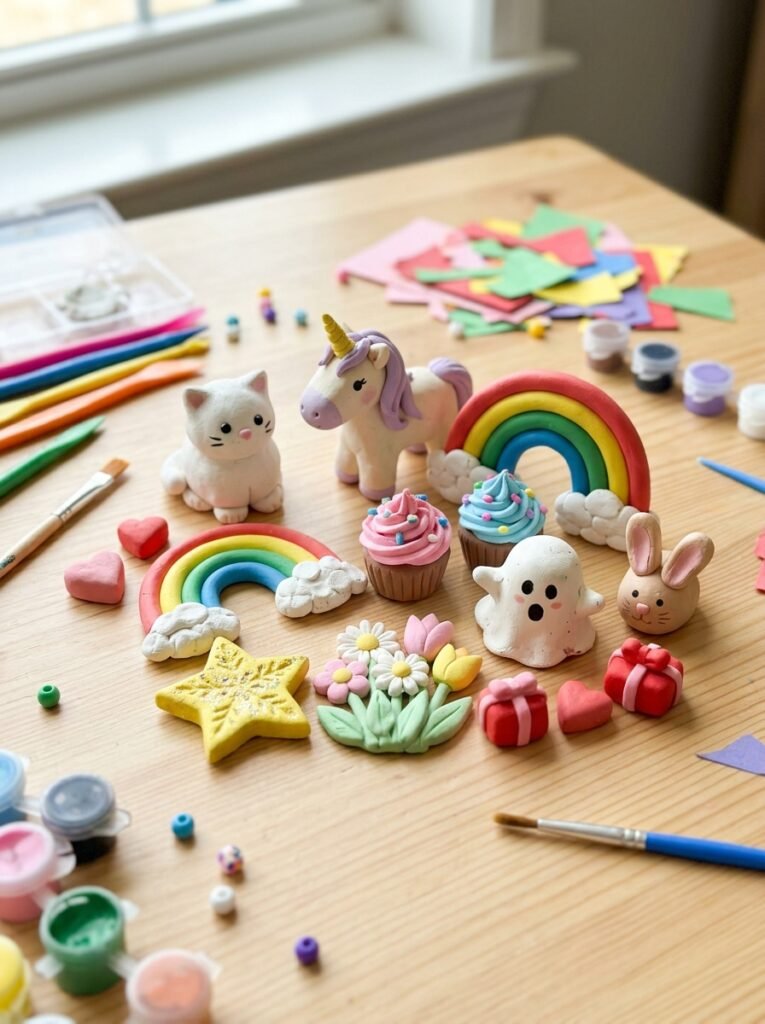
Cats are among the easiest cute animals to make from clay. Roll a small piece into an oval body, form a rounded head, and add two triangular ears. Tiny clay balls can become paws, while a thin curved piece makes the tail. Children can create a white kitten, an orange tabby-inspired cat, a gray kitten, or a colorful imaginary pet. Use paint to add whiskers, eyes, and a little nose after the clay dries. For younger children, keep facial details simple and avoid loose miniature parts that could become choking hazards.
3. Step-by-Step Clay Unicorns
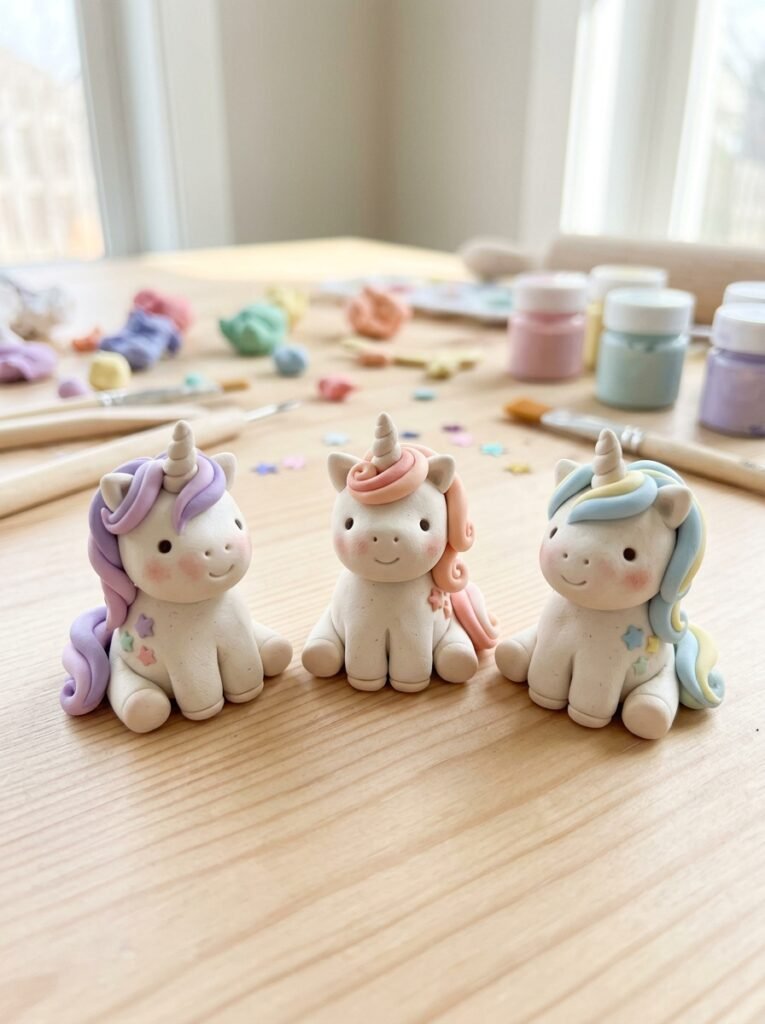
Unicorns let children combine sculpting with imaginative color choices. Begin with a rounded body and head, then create four short legs and a small curved tail. Add two ears and a short horn made from a tapered piece of clay. Smooth the joins carefully so the parts stay attached as the clay dries. Once the unicorn is fully dry, children can paint its body white and add a rainbow-colored mane, pastel hooves, and tiny star decorations. This project works well for fantasy-themed craft afternoons and handmade birthday gifts.
4. Easy Clay Food Miniatures
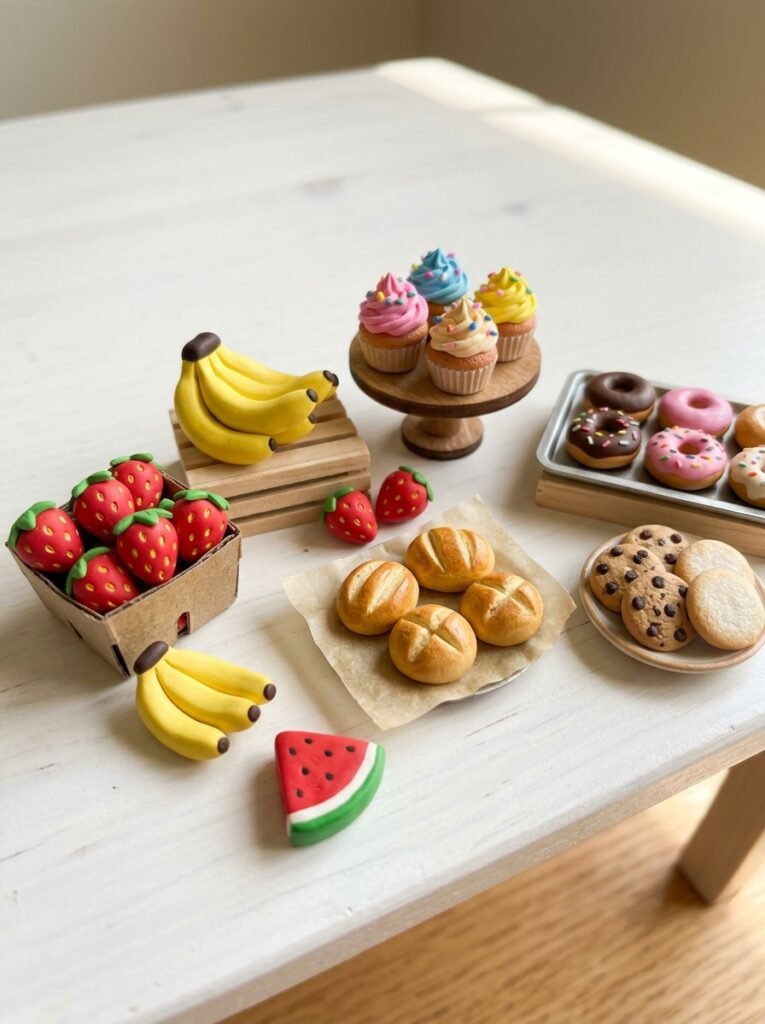
Miniature food crafts help children explore shapes and colors while making pretend treats. They can create strawberries from red clay, bananas from yellow clay, tiny bread rolls from beige clay, or little cupcakes with colorful toppings. Start with one basic shape, then add simple details using small pieces of clay or child-safe sculpting tools. Children can make a pretend picnic set or a miniature bakery collection. Clearly explain that these creations are for pretend play and decoration only—not for eating, even if they look like real food.
5. Christmas Clay Ornaments
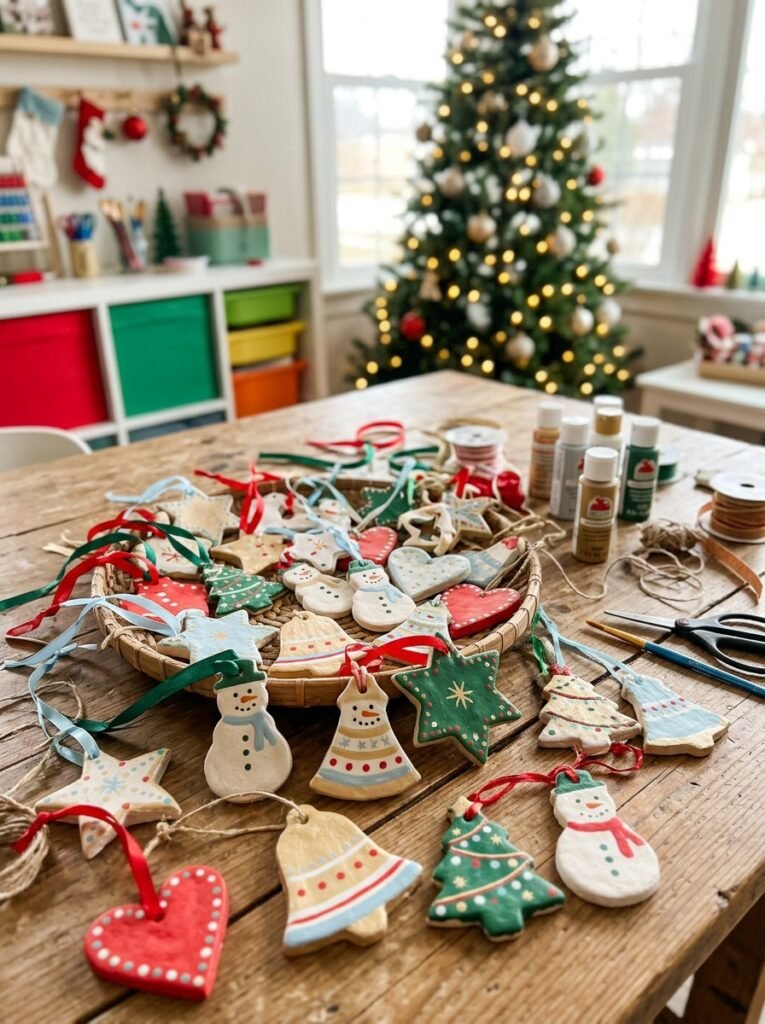
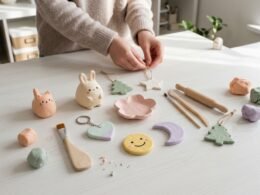
Christmas ornaments are fun seasonal crafts that children can make for a tree, gift wrapping, or a holiday display. Roll the clay into a flat sheet and use simple cutters to create stars, hearts, trees, bells, and snowmen. Make a small hanging hole before the clay dries, then let each ornament harden fully. Children can paint them in red, green, white, gold-inspired shades, or their favorite colors. Add dots and stripes for extra decoration. An adult should help with hanging ribbons and placing ornaments where they will not fall or break.
6. Simple Clay Flower Crafts for Spring
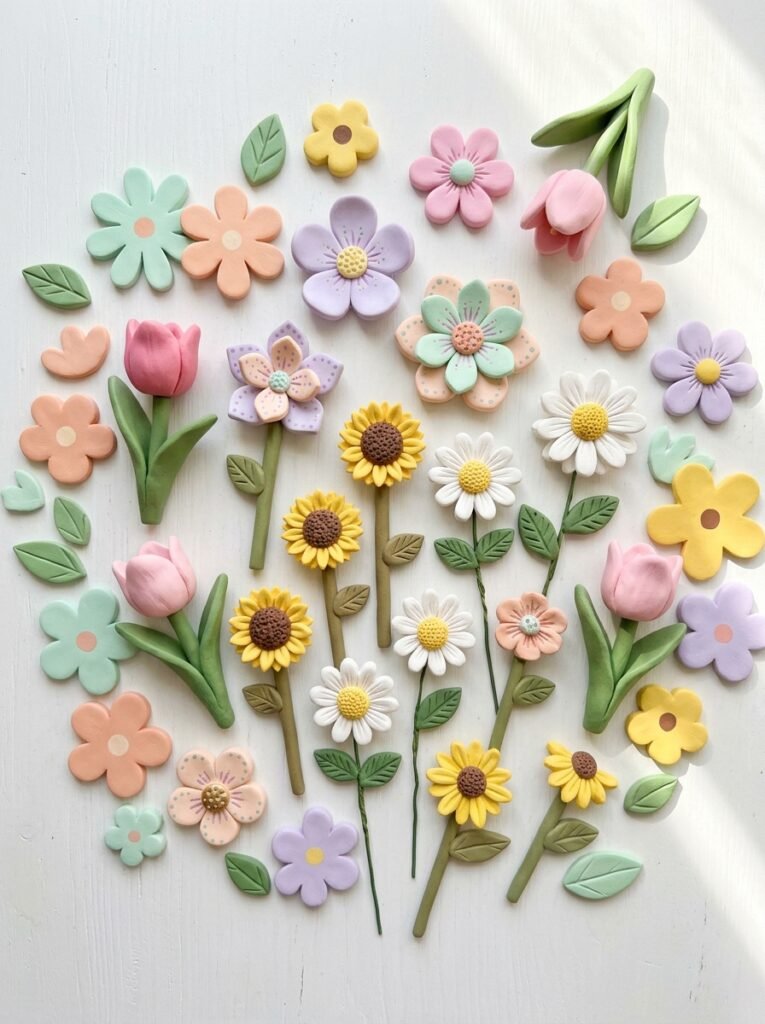
Spring flowers are a lovely way for children to practice making petals and combining colors. Roll a small ball for the flower’s center, then flatten several tiny clay pieces into petals and arrange them around it. Children can create daisies, tulips, or imaginary flowers with unusual colors. Make flat flowers for decorative displays or add a short, sturdy clay stem for a small sculpture. White, yellow, pink, and lavender are easy colors to work with. These flowers can decorate a shelf or become part of a handmade spring gift.
7. Valentine’s Day Clay Hearts
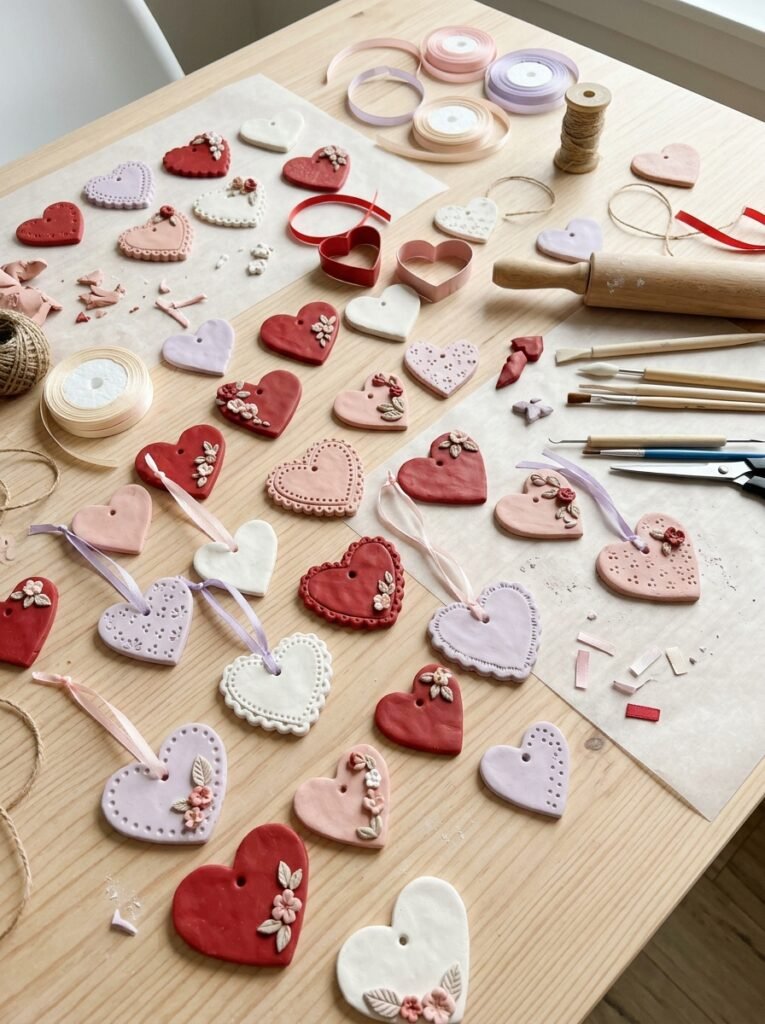
Valentine’s Day crafts give children a chance to make small gifts for family members and friends. Roll the clay flat and cut out hearts in different sizes, or shape a heart by hand using two rounded sections joined at the top. Add tiny flowers, dots, stars, or a simple border before the clay dries. Paint the finished hearts in pink, red, white, and purple. A small hole can be made for ribbon if the heart is intended as a hanging decoration. Children can personalize each piece with a color or design chosen for the recipient.
8. Cute Clay Easter Eggs and Bunnies
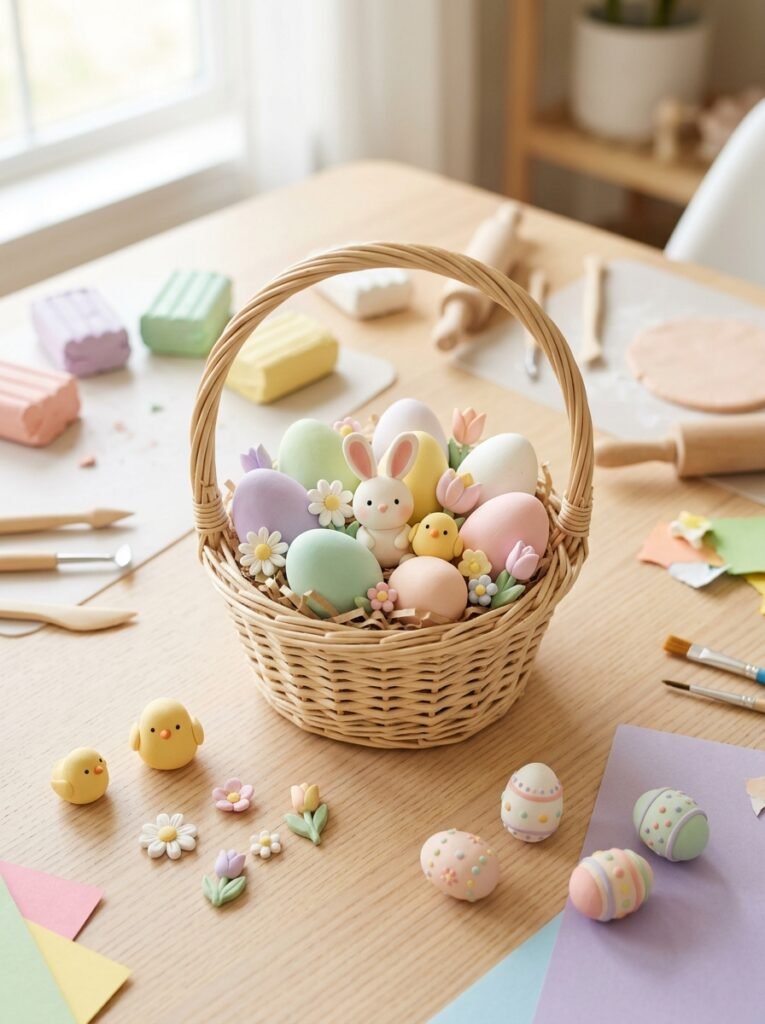
Easter crafts can include colorful eggs, little bunnies, chicks, and flower decorations. Shape an egg by rolling clay into an oval and gently narrowing one end. For a bunny, make a round body and head with two long ears. Let the pieces dry completely before painting stripes, dots, flowers, or pastel patterns. Children can create a coordinated set for a seasonal display or use the ornaments to decorate a gift basket. If you make hanging decorations, prepare the holes before drying and let an adult handle the ribbon.
9. Halloween Clay Ghosts and Pumpkins
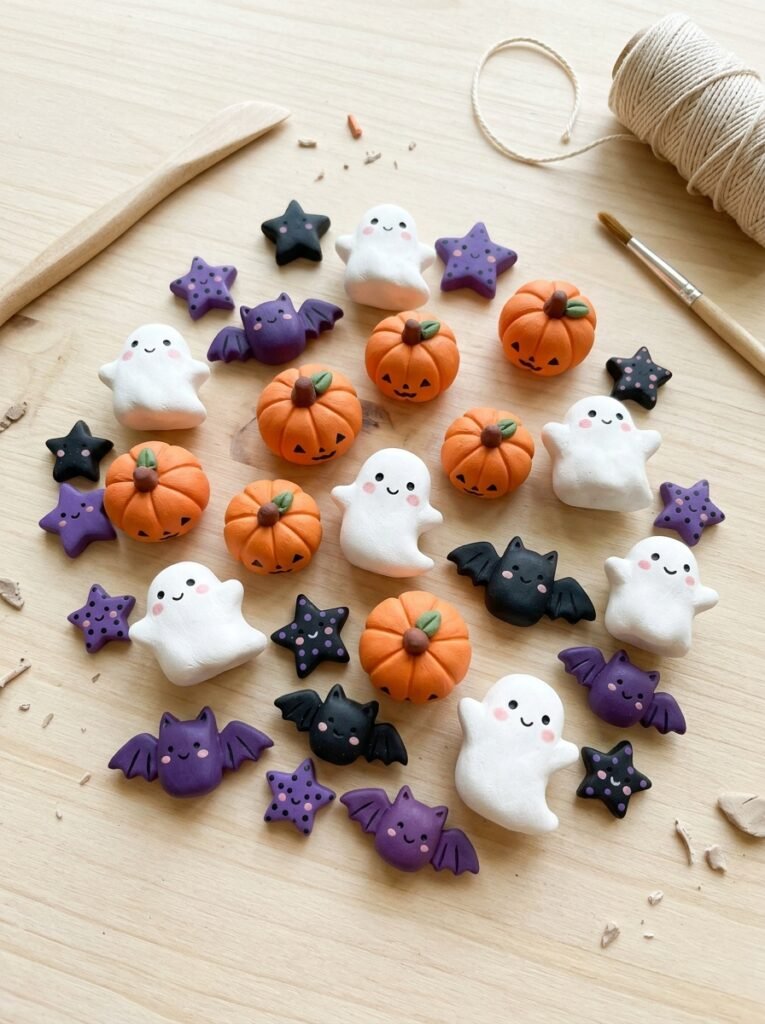
Halloween clay crafts can be cute rather than scary. To make a ghost, shape a small mound of white clay and gently flare its base. Add two simple eyes after the clay dries. For a pumpkin, roll orange clay into a ball and press shallow lines down its sides, then add a small green stem. Children can make several ghosts and pumpkins for a shelf or seasonal display. Keep the designs lightweight and allow them to dry fully before painting. These decorations are best displayed away from open flames and other sources of heat.
10. Mother’s Day Clay Gifts
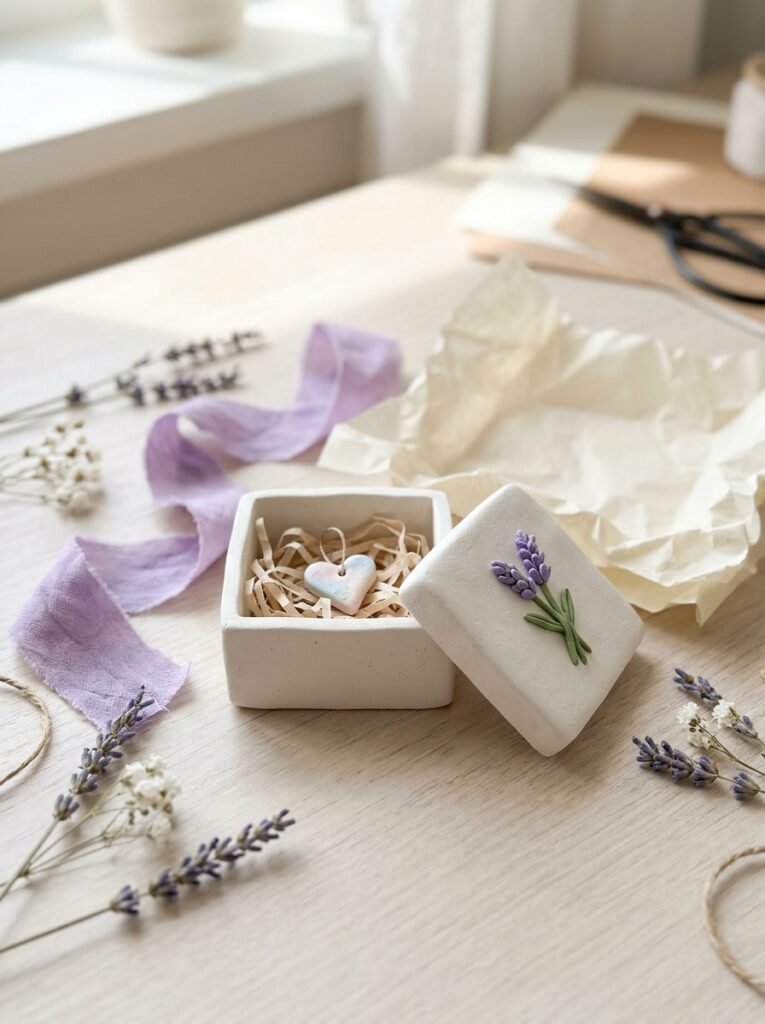
Children can create thoughtful Mother’s Day gifts using a few simple clay shapes. Make a small flower, a heart-shaped ornament, a decorative trinket dish, or a personalized hanging tag. Add a flower pattern or a short name only if the child is comfortable with lettering. A parent or teacher can help with cutting, drying, and painting. Choose colors that the recipient enjoys, and wrap the finished piece in simple paper with a ribbon. A handmade gift does not need to be perfect; its personal touch is what makes it special.
11. Summer Clay Sea Animals
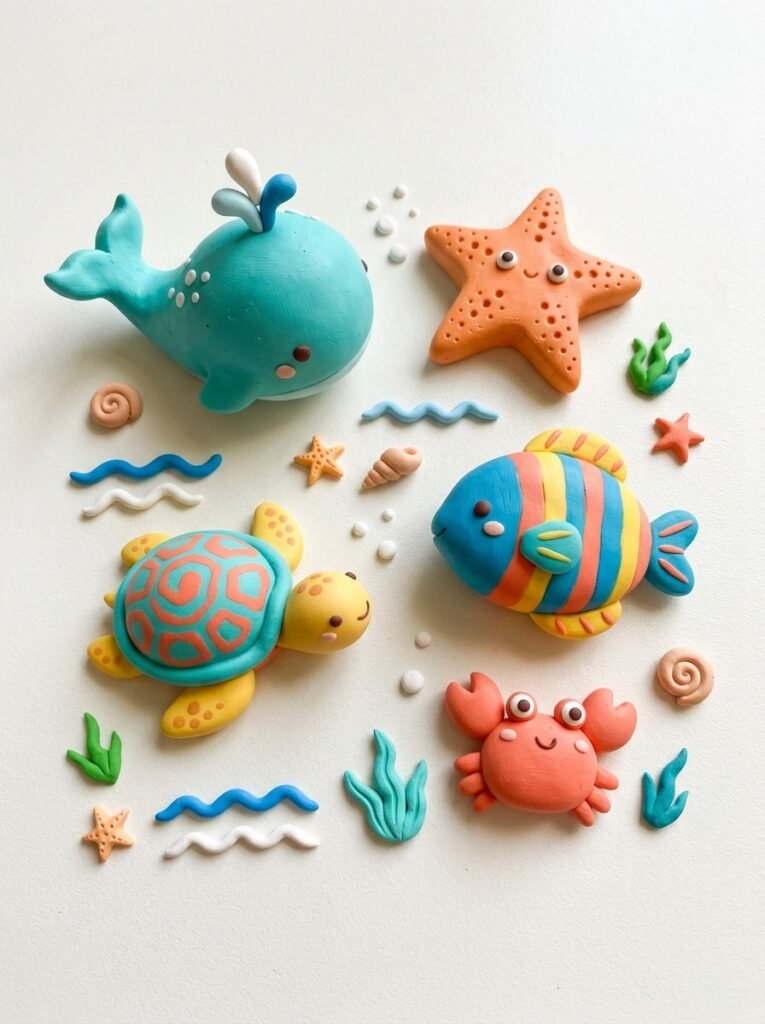
Summer is a great time to create sea animals and beach-inspired decorations. Children can shape a round fish, a small turtle, a starfish, or a smiling whale using simple forms. Add fins, tails, or small raised spots, then smooth the joins gently. After drying, paint the animals in ocean blue, turquoise, coral, yellow, and white. A collection of sea creatures can decorate a bedroom shelf or a summer craft display. Avoid making delicate fins too thin, because they may break during drying or handling.
12. Christian Clay Cross and Dove Decorations
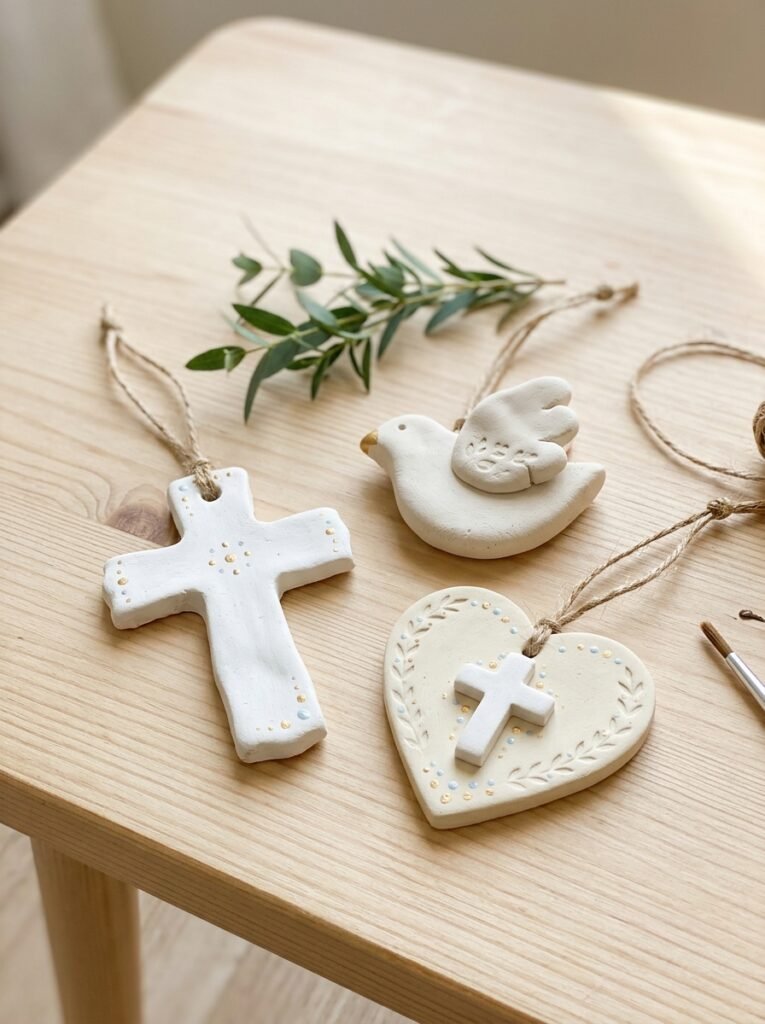
For families who enjoy Christian crafts, children can make simple decorations inspired by familiar symbols of faith. Shape a small cross from two clay strips and smooth the join, or form a dove using a rounded body and two gently curved wings. Another option is a heart with a small cross-shaped decoration. Keep the shapes sturdy and easy for children to handle. Once dry, paint them white, cream, pale blue, or soft gold-inspired colors. These pieces can be displayed on a shelf or included in a handmade Easter or church-school craft project.
13. Jovi Clay Rainbow and Cloud Crafts
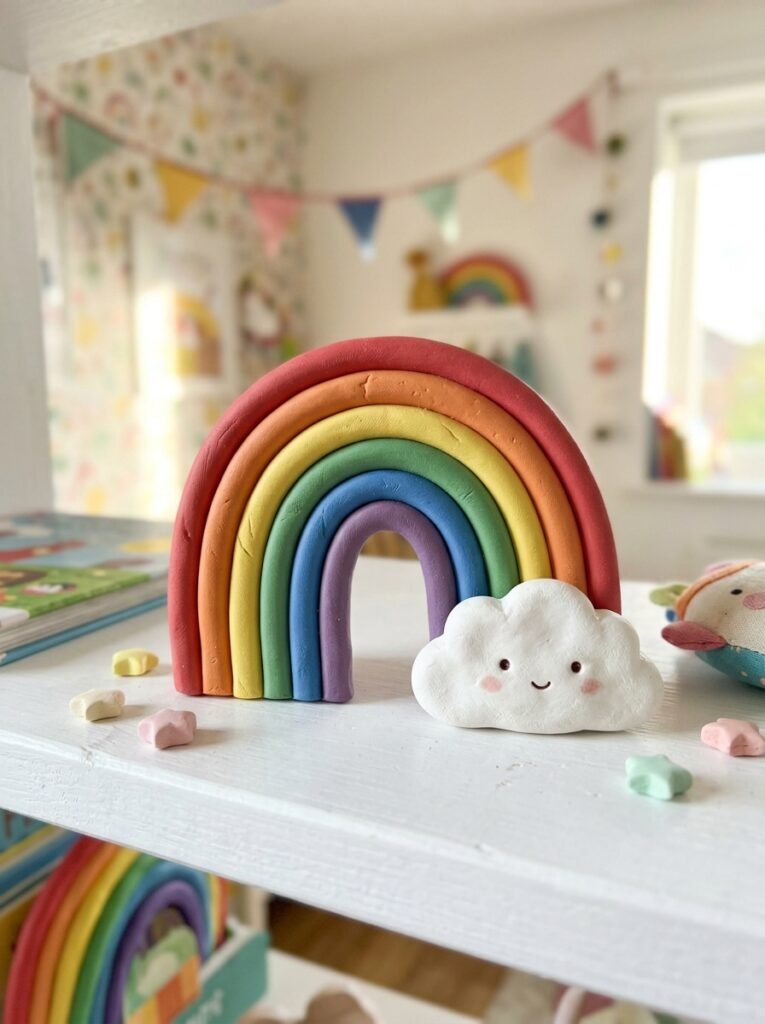
A rainbow and cloud project is ideal for children who enjoy bright colors and simple shapes. Make a small cloud from white clay and create several curved strips in different colors to form a rainbow. If separate strips are difficult, children can paint a rainbow onto a flat cloud-shaped plaque after it dries. Keep the design thick enough to remain sturdy and smooth any joins carefully. These creations can be displayed on a bedroom shelf or given as a handmade gift. If using Jovi air-drying clay, follow its specific instructions for shaping, drying, and painting.
14. Easy Clay Gifts for Friends
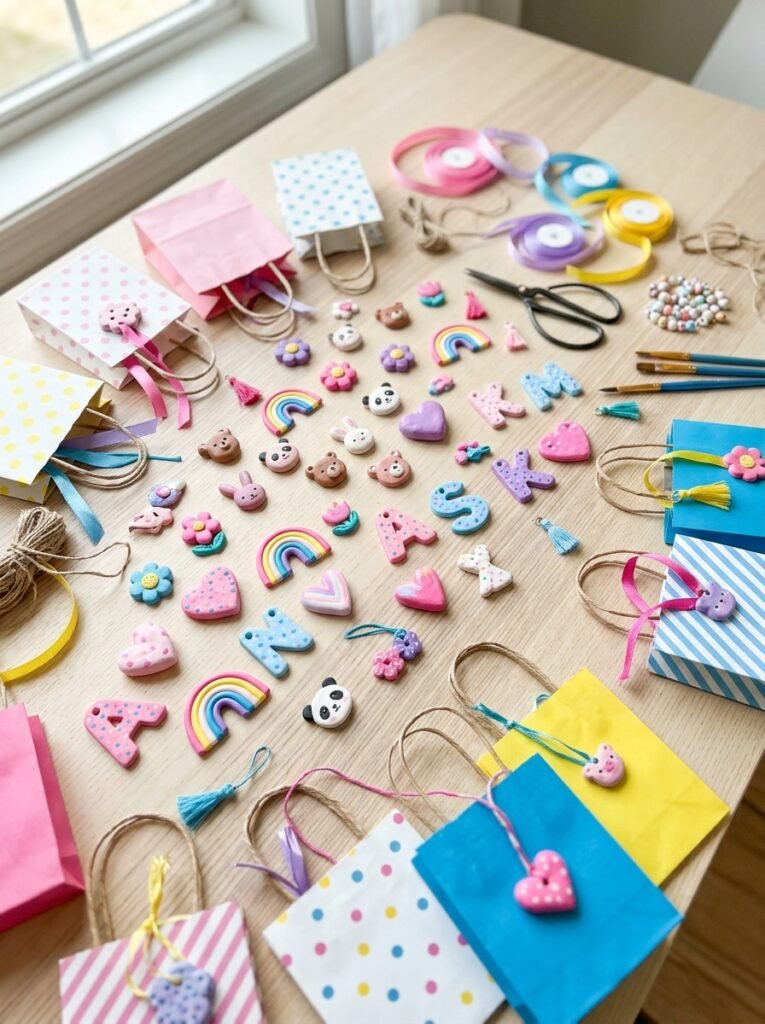
Children can make small clay gifts for friends without needing complicated tools. Good options include a flower charm, a tiny animal, a heart ornament, a miniature rainbow, or a personalized initial tag. Ask the child to think about the friend’s favorite animal or color before choosing a design. This makes the gift feel more personal. Let the pieces dry fully and paint them with simple patterns. If the gift includes a key ring or ribbon, an adult can help attach the hardware safely after the clay hardens.
15. Cute Clay Room Decorations
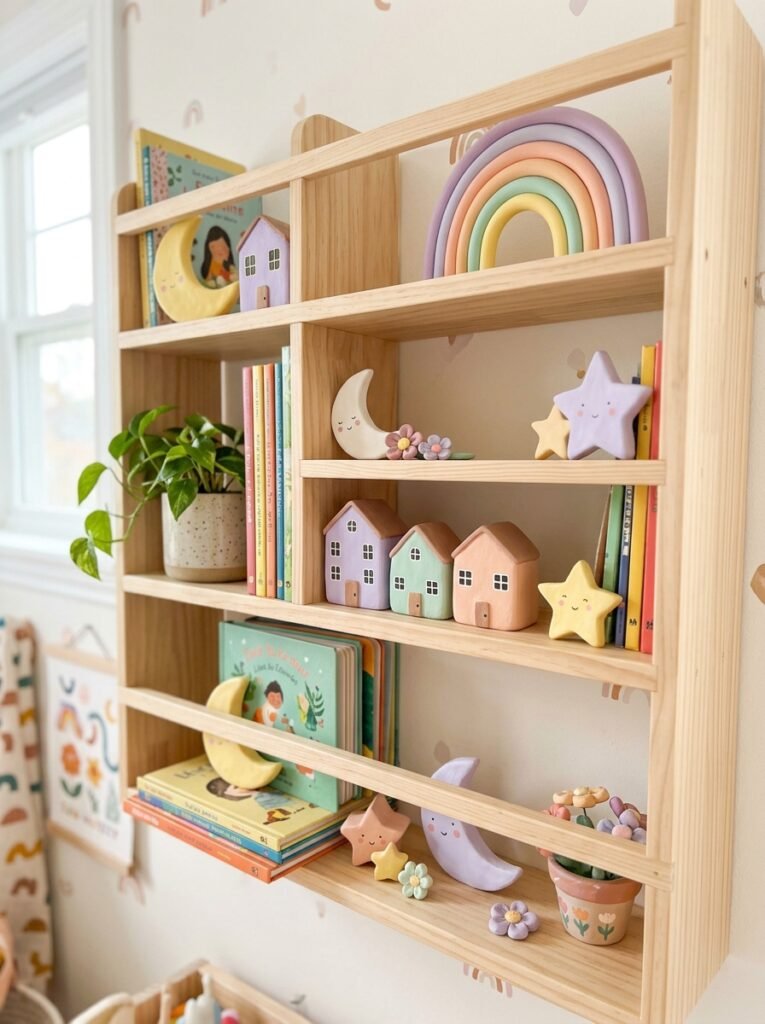
Children can decorate their rooms with small clay stars, moons, rainbows, flowers, or miniature houses. Start with flat shapes that are easy to roll and cut, then add raised details for extra texture. Paint the finished pieces in colors that match the child’s room or combine several bright shades for a cheerful display. These decorations can sit on a shelf or be attached to a display board using a secure, suitable method. For wall decorations, keep the pieces lightweight and have an adult check the mounting method so they do not fall.
Easy Air-Dry Clay Tutorial Step by Step
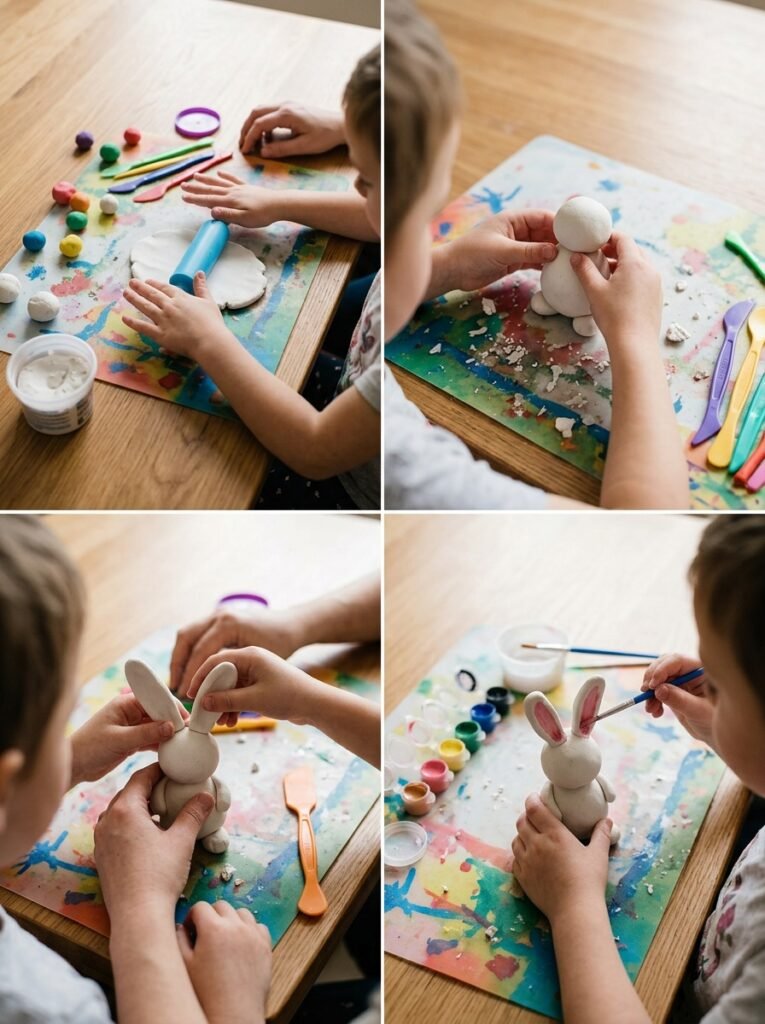
This simple tutorial can help children get started with most of the projects in this article. Choose an easy animal, a heart, or a flower for the first attempt.
- Prepare the workspace. Cover the table with a washable mat and gather the clay, rolling pin, blunt tools, and paint.
- Choose a simple shape. Start with a ball, oval, flat circle, or heart rather than a complicated design.
- Shape the main piece. Roll the clay gently and use your fingers to form the body or base.
- Add small details. Attach ears, petals, tails, or other pieces while the clay is still workable. Smooth the joins carefully.
- Check for strength. Avoid extremely thin parts, and make sure small additions are firmly attached.
- Allow the clay to dry. Follow the package instructions and let the piece harden completely before painting.
- Decorate the creation. Use suitable acrylic paints and let the paint dry before handling or displaying the craft.
- Display it safely. Keep the finished object away from water, food, heat, and places where it could easily fall.
Helpful Safety Tips for Kids
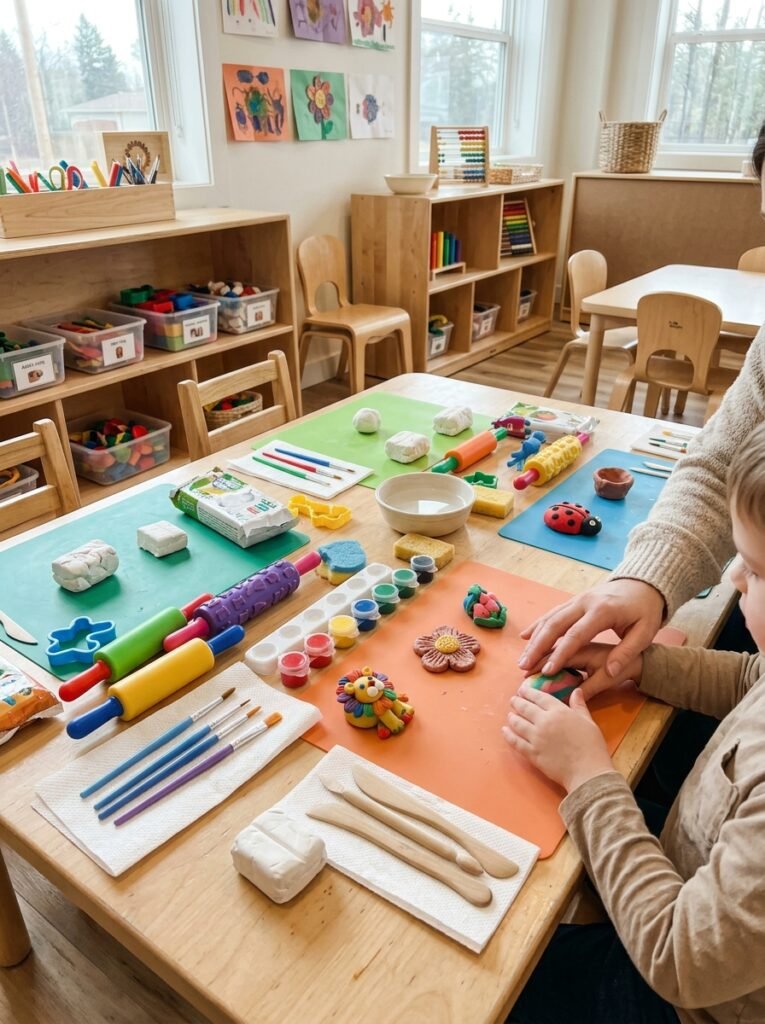
- Choose age-appropriate clay: Read the product label and follow the manufacturer’s age and safety guidance.
- Supervise younger children: Air-dry clay is a craft material, not food. Keep it out of mouths and away from snacks.
- Be careful with small parts: Tiny eyes, beads, magnets, and loose pieces can be choking hazards.
- Use safe tools: Choose blunt, child-appropriate tools and let an adult handle sharp cutters when necessary.
- Dry fully before painting: Follow the clay package instructions and avoid rushing the process with high heat.
- Keep crafts away from food: Clay cups, plates, and bowls are decorative unless the material is specifically certified for food contact.
- Avoid direct flames: Air-dry clay decorations are not automatically heat-resistant or suitable for candle holders.
- Protect clothing and surfaces: Use a washable mat and suitable paints, and clean hands after crafting.
- Keep expectations realistic: Small cracks can happen. Children can often repair them with a little fresh clay before the project dries, following the product instructions.
Final Thoughts
Air-dry clay gives children a simple way to explore creativity while making things they can proudly display or give to someone special. Easy animals, cute cats, unicorns, pretend food, seasonal ornaments, and small room decorations all offer opportunities to experiment with shapes and colors. Children can follow a tutorial or invent their own designs, and both approaches can be rewarding. The best air dry clay ideas for kids are projects that match the child’s age, interests, and skill level. Start with a simple shape, offer encouragement, and let the child make creative choices. With adult supervision and enough drying time, an ordinary piece of clay can become a memorable handmade creation.