

This post may contain affiliate links. Please read my disclosure policy.
In This Article Show
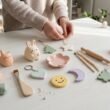
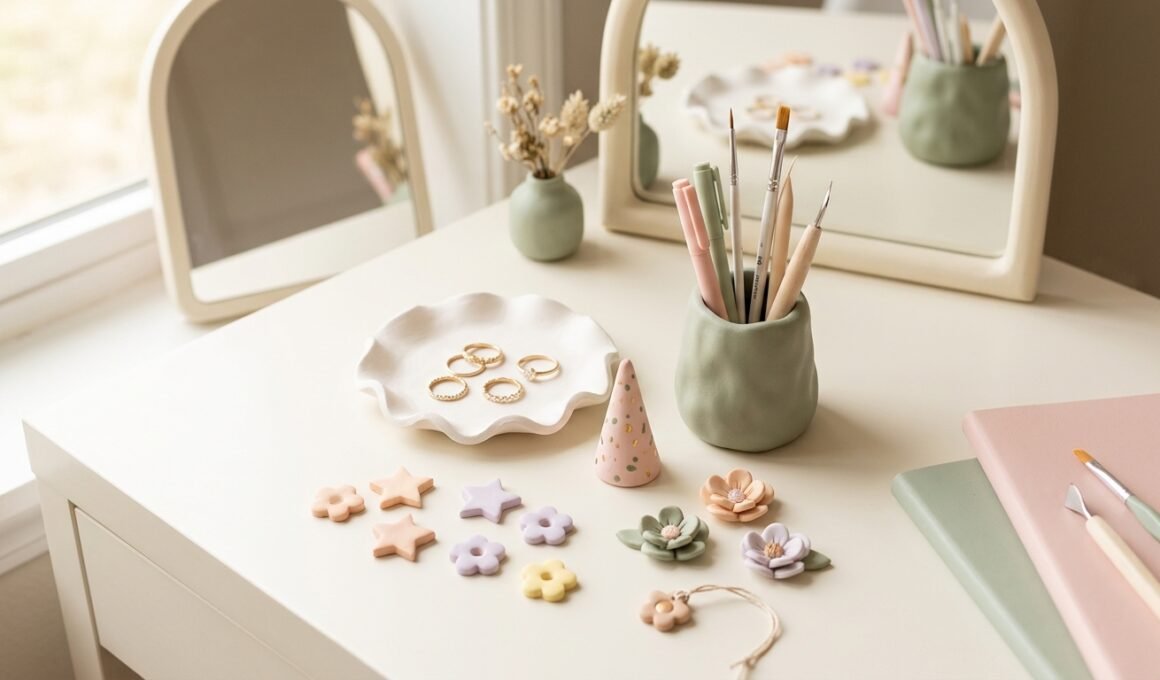
Air-dry clay is one of the easiest materials to use when you want to create beautiful handmade decorations without needing a pottery wheel or kiln. You can shape it into trays, flower decorations, jewelry holders, magnets, candle holders, and many other useful objects. The best part is that you can customize every piece with your favorite colors, patterns, and shapes to match your room. These air dry clay ideas aesthetic are perfect for anyone who loves soft colors, minimal designs, cute details, and modern DIY projects. Whether you want to refresh your bedroom, decorate your desk, create handmade gifts, or make small accessories for yourself, there is something here for every skill level. Most projects need only a few basic supplies, such as air-dry clay, a rolling pin, sculpting tools, acrylic paint, and a protective sealant. You do not need to make everything perfectly symmetrical. Small handmade details can give each piece its own personality. Start with simple shapes, experiment with textures, and gradually try more detailed designs as your confidence grows.

1. Aesthetic Clay Trinket Tray
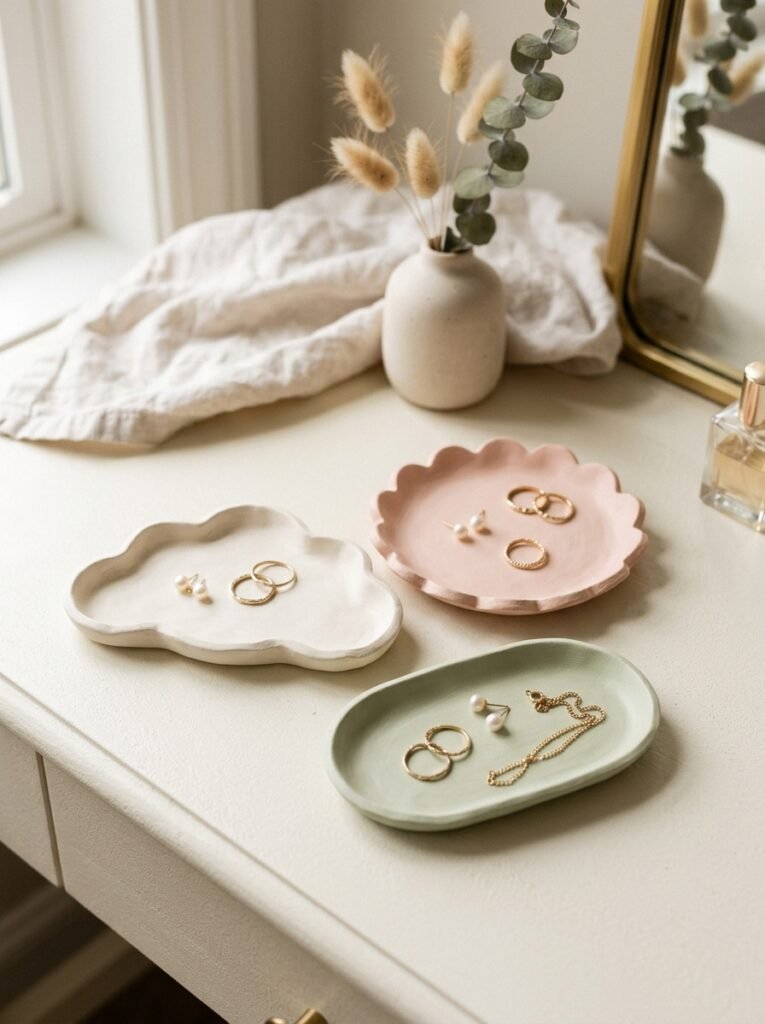
A clay trinket tray is a beautiful place to keep rings, earrings, hair clips, and other tiny accessories. Roll your clay into an even sheet, place it over a shallow bowl to create a curved shape, and gently smooth the edges. You can make the tray round, oval, or cloud-shaped. White, cream, blush pink, and soft sage green look especially elegant. Add tiny painted dots or a delicate gold-colored rim after the clay dries. This is one of the most practical air dry clay ideas aesthetic for a bedside table or dressing area.
2. Minimal White Clay Room Decor
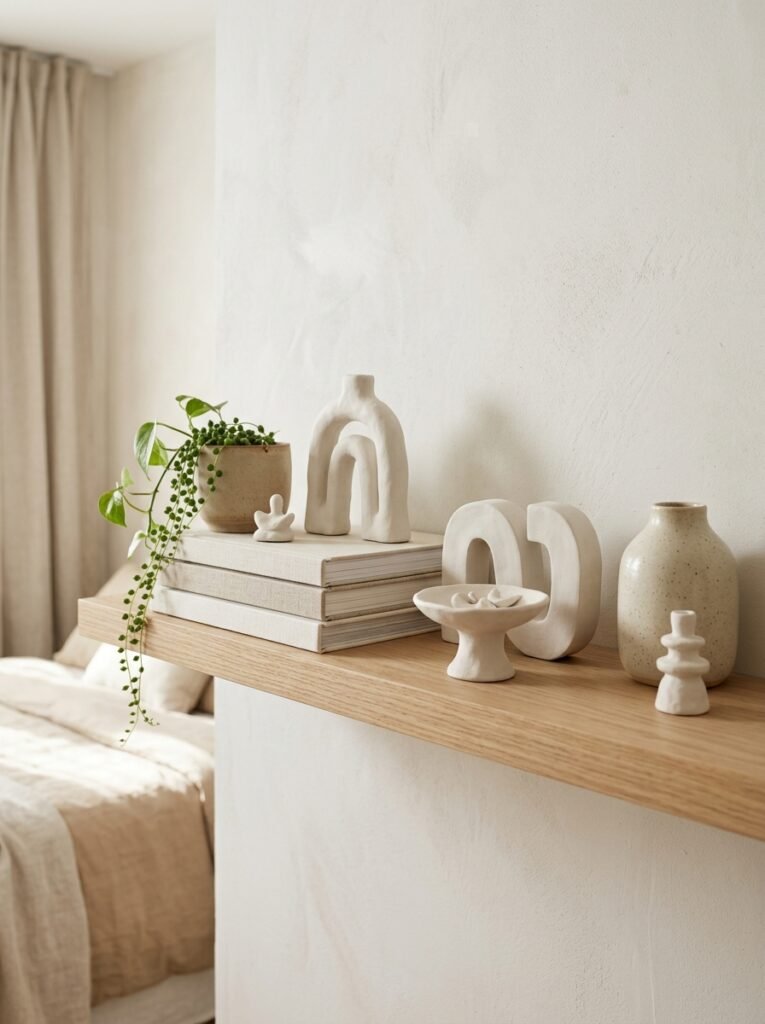
White clay decorations create a clean, peaceful atmosphere without overwhelming a room. Make small arches, abstract curves, geometric sculptures, or miniature pedestal shapes using simple hand-formed pieces. After drying, leave them matte white for a minimalist appearance or add a thin coat of white paint for a smoother finish. Place your creations on a bookshelf, nightstand, or floating shelf alongside a small plant and a few favorite books. These simple decorations work particularly well in neutral bedrooms and modern apartments.
3. Soft Pastel Clay Magnets
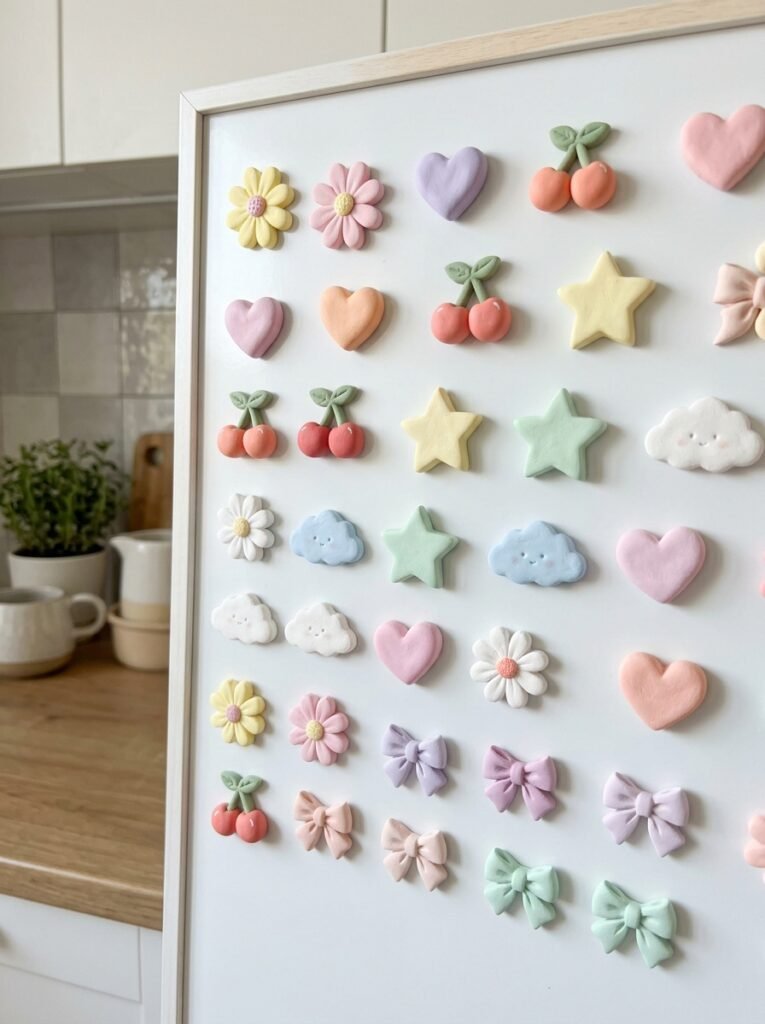
Make your refrigerator or magnetic board more cheerful with tiny clay magnets. Shape the clay into hearts, flowers, stars, clouds, cherries, or smiling abstract faces. Let the pieces dry completely before painting them in soft pink, lavender, butter yellow, mint green, and baby blue. Attach small craft magnets to the backs using a suitable strong adhesive. These magnets are also fun to make with older children when an adult handles small magnets and adhesives. Keep the shapes lightweight so they sit neatly on a magnetic surface.
4. DIY Clay Jewelry Holder
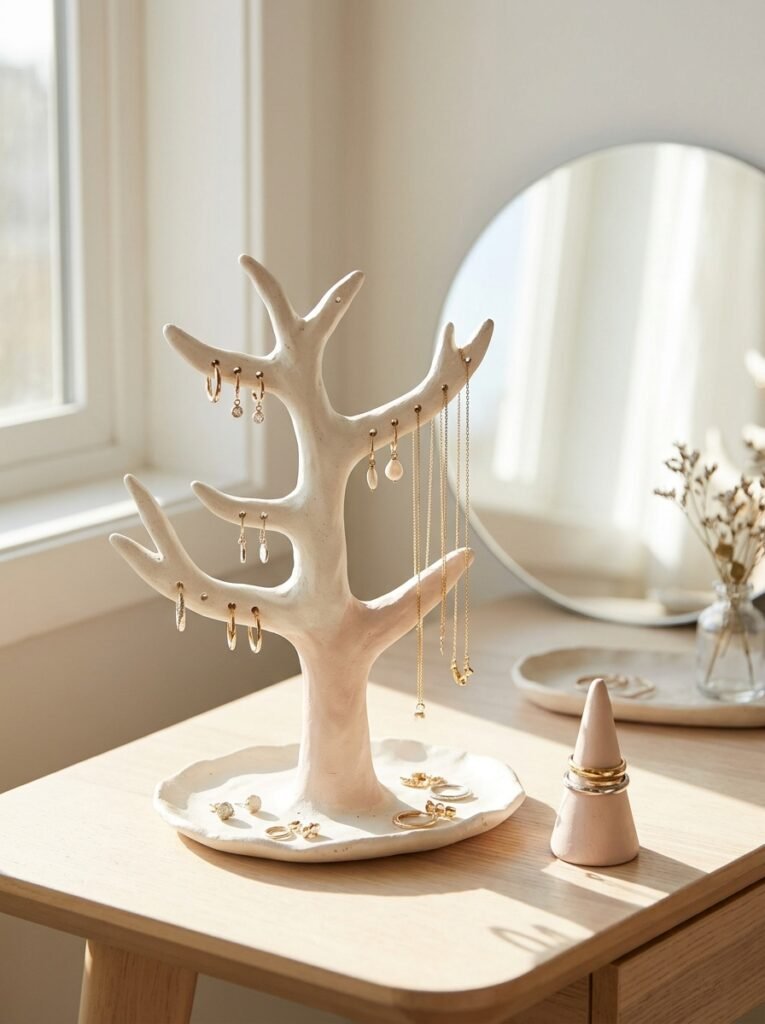
A clay jewelry holder keeps necklaces, bracelets, and earrings organized while adding a decorative touch to your dressing table. Create a small base from rolled clay and add several upright stems or gently curved branches. Alternatively, make a simple ring cone with a wide, stable base. Smooth the joins carefully and allow every section to dry fully before adding jewelry. Paint the holder white, pale pink, or a muted earthy color. Make sure the structure is thick enough to support your jewelry without tipping over.
5. Easy Clay Flower Room Decor
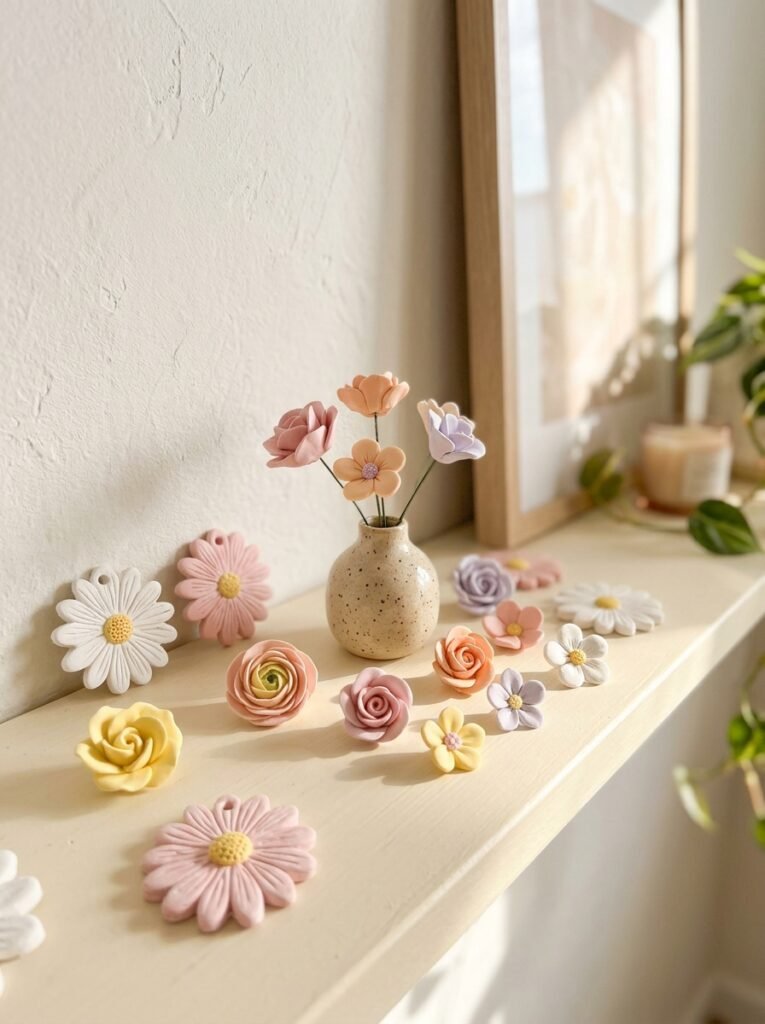
Clay flowers are lovely decorations for shelves, bedside tables, and study corners. Roll small pieces of clay into petals and arrange them around a central circle to create daisies, tulips, or simple five-petal flowers. You can keep the petals flat for a delicate wall decoration or attach the flower to a short clay stem for a sculptural display. Use white, peach, butter yellow, and soft pink to create a fresh spring-inspired look. A small collection of different flower shapes looks especially attractive when displayed together.
6. Aesthetic Clay Candle Holder
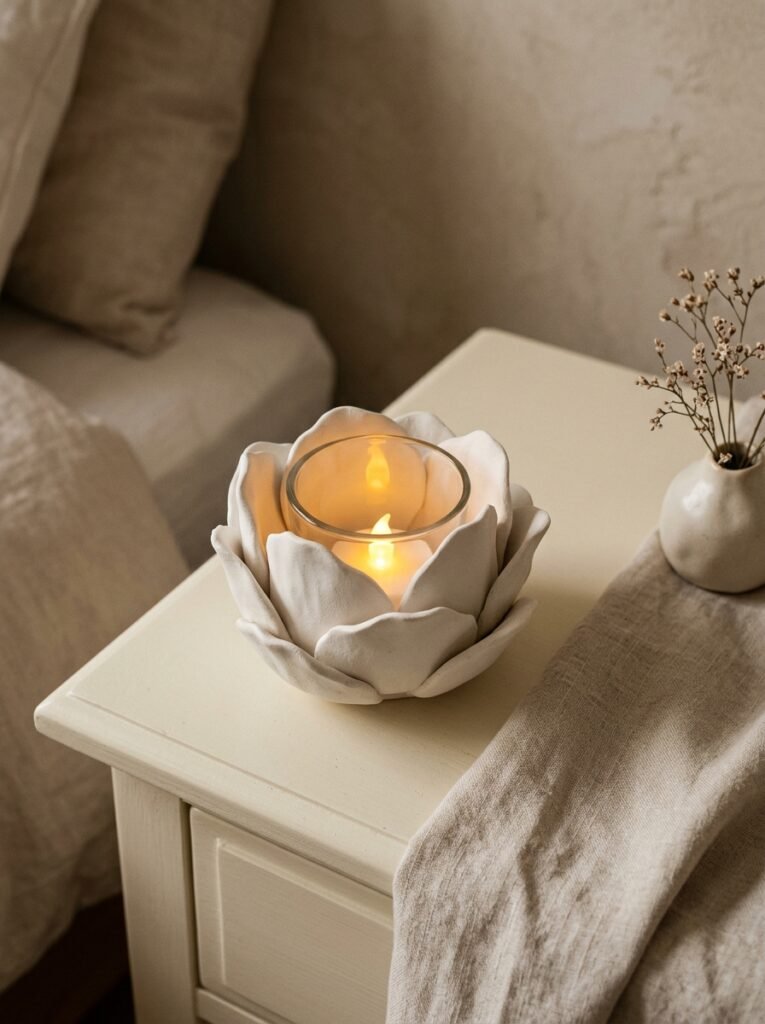
A handmade clay candle holder can add warmth to a bedroom or living room. Form a thick, stable base and create a central opening that fits a small candle cup or tea-light holder. You can make a rounded flower design, a simple arch, or a sculptural spiral shape. The clay itself should be fully dry and finished before use. Important: air-dry clay and many sealants are not designed to withstand direct flame or high heat. Use a suitable glass or metal insert, keep the flame away from the clay, and never leave a burning candle unattended. Battery-operated LED candles are an even safer decorative option.
7. Cute Clay Keychains and Charms
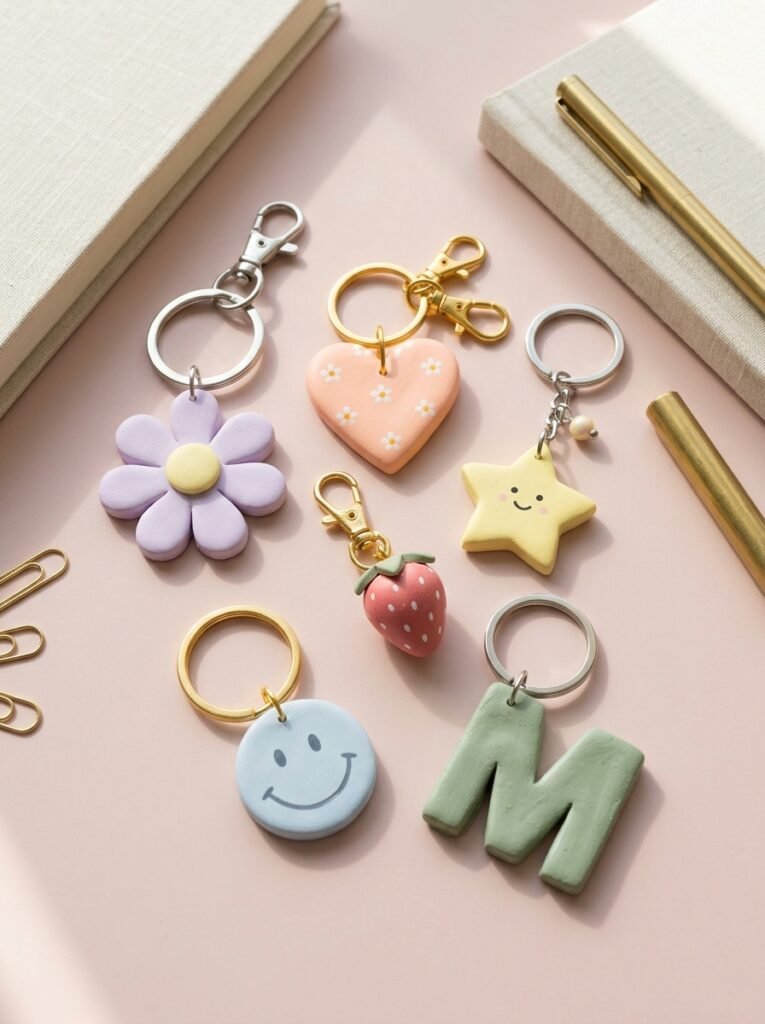
Clay keychains are small projects that let you explore many colors and designs. Shape your clay into a heart, flower, star, fruit, initial, or miniature abstract charm. If you want to attach a metal ring, make a hole before the clay dries and leave enough material around it to prevent cracking. Paint the finished piece with acrylic paint and attach the hardware only when it is completely dry. These charms also make thoughtful handmade gifts for friends, siblings, and classmates.
8. Clay Mirror Frame Decorations
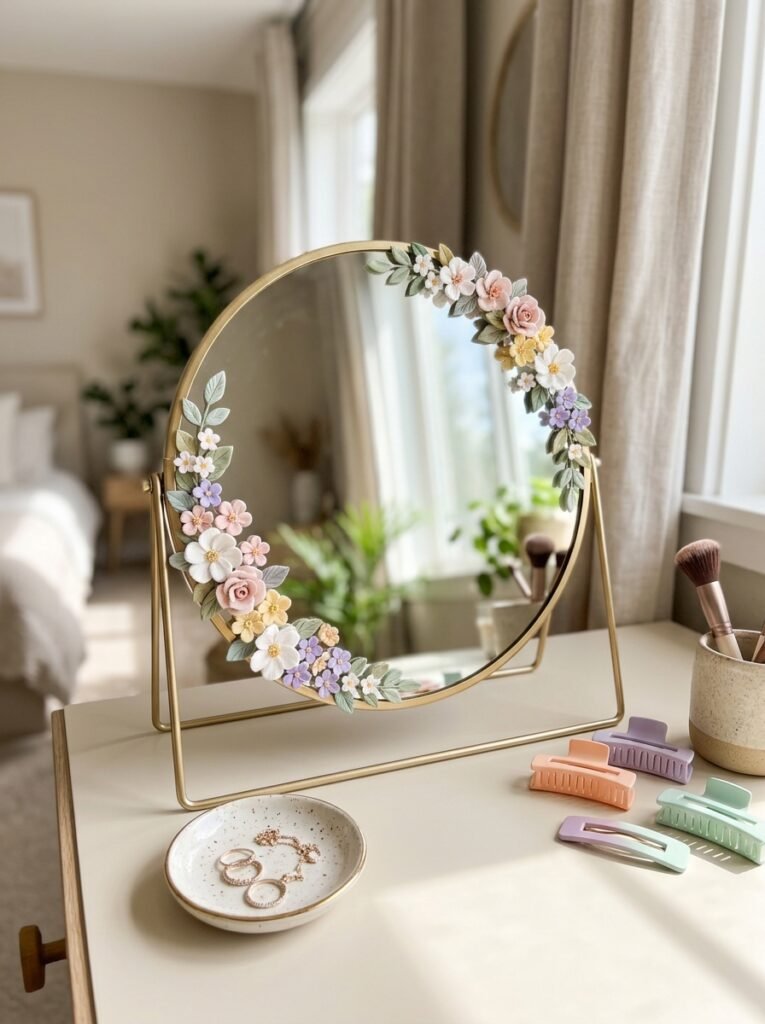
Give a plain mirror a creative makeover with small clay decorations around its frame. Make tiny flowers, rounded beads, scalloped pieces, or soft abstract shapes, then arrange them around the mirror without covering too much of the reflective surface. Test the layout before attaching anything permanently. Use a suitable adhesive for the mirror frame material and keep the clay pieces lightweight. White and pale pink decorations create a gentle look, while colorful flowers make the mirror feel playful and cheerful.
9. Clay Wall Decor for a Modern Bedroom
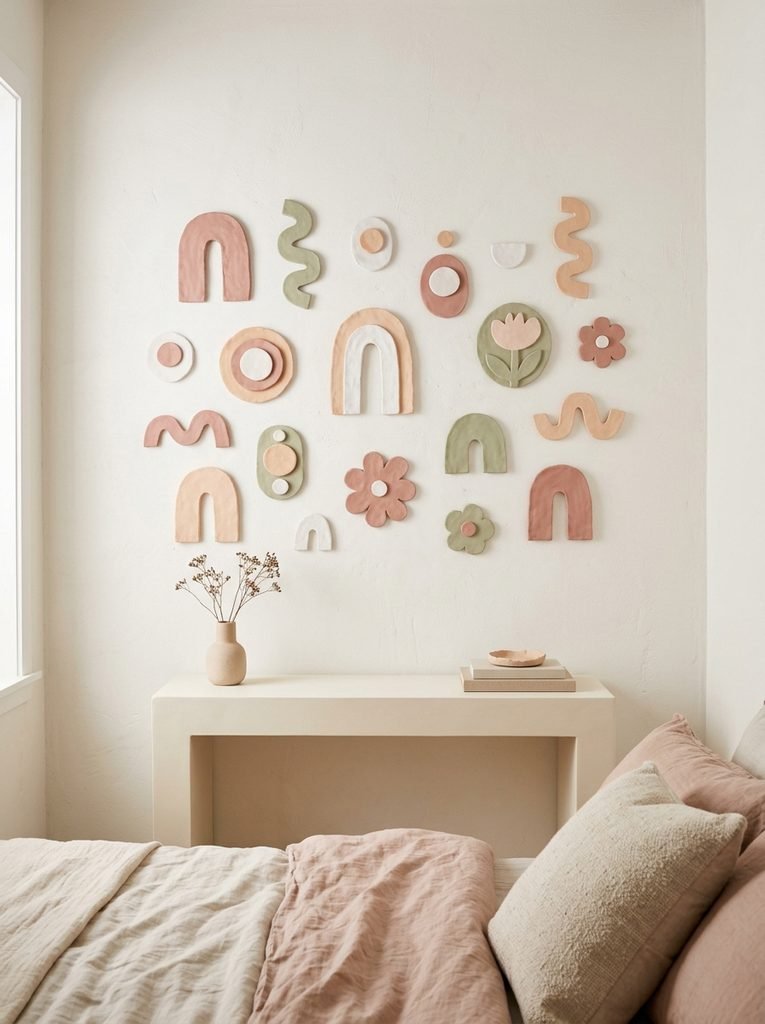
You can create attractive wall decorations using flat clay shapes. Roll the clay evenly, cut out arches, circles, wavy forms, or abstract flowers, and add texture with simple sculpting tools. Make several pieces in complementary colors and arrange them as a small wall gallery. For hanging, use a secure mounting method appropriate for the weight of the dried pieces and your wall surface. Thin clay pieces can break easily, so avoid making them too delicate. This project is ideal for adding personality to a bedroom without buying expensive artwork.
10. Small Clay Pen Holder
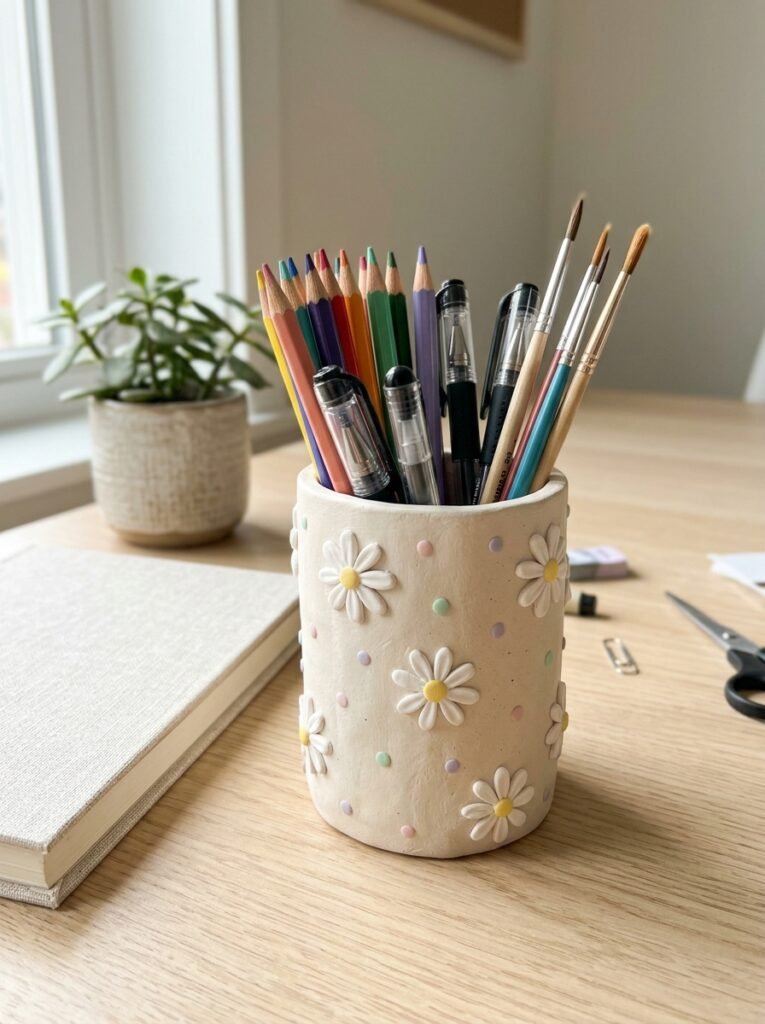
A clay pen holder makes your desk look organized and creative. Start with a thick clay base and build the walls around a cylindrical form, keeping the sides even. You can use a suitable removable form to help maintain the shape while working. Decorate the outside with tiny flowers, raised dots, curved lines, or a simple two-tone design. Once dry, place pens, pencils, markers, or small paintbrushes inside. Choose a shape with a wide base so it remains stable when filled with stationery.
11. DIY Clay Phone Holder
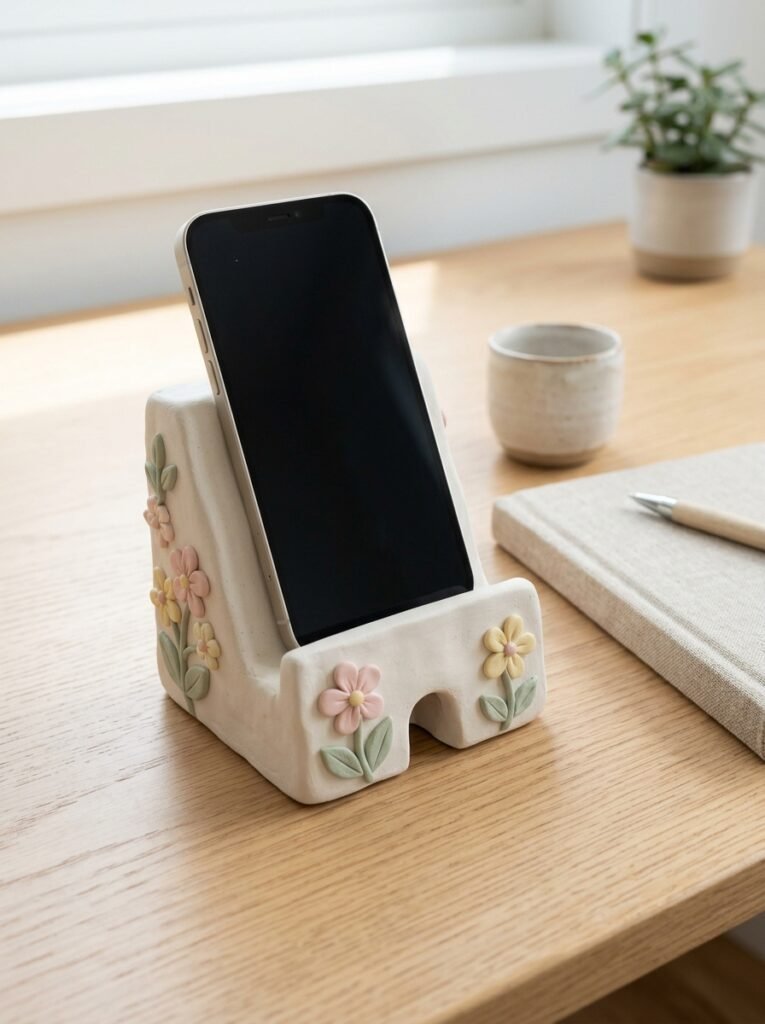
A clay phone holder is a useful accessory for a desk or bedside table. Build a sturdy angled stand with a broad base, a supported back, and a small front lip to stop the phone from sliding forward. Create a gap for the charging cable if needed. You can decorate the surface with a flower, a heart, or simple geometric patterns. Keep the structure thick enough to support your phone, and test the balance with a lightweight object before using it regularly. A smooth white or pastel finish keeps it looking modern.
12. Decorative Clay Ring Cones
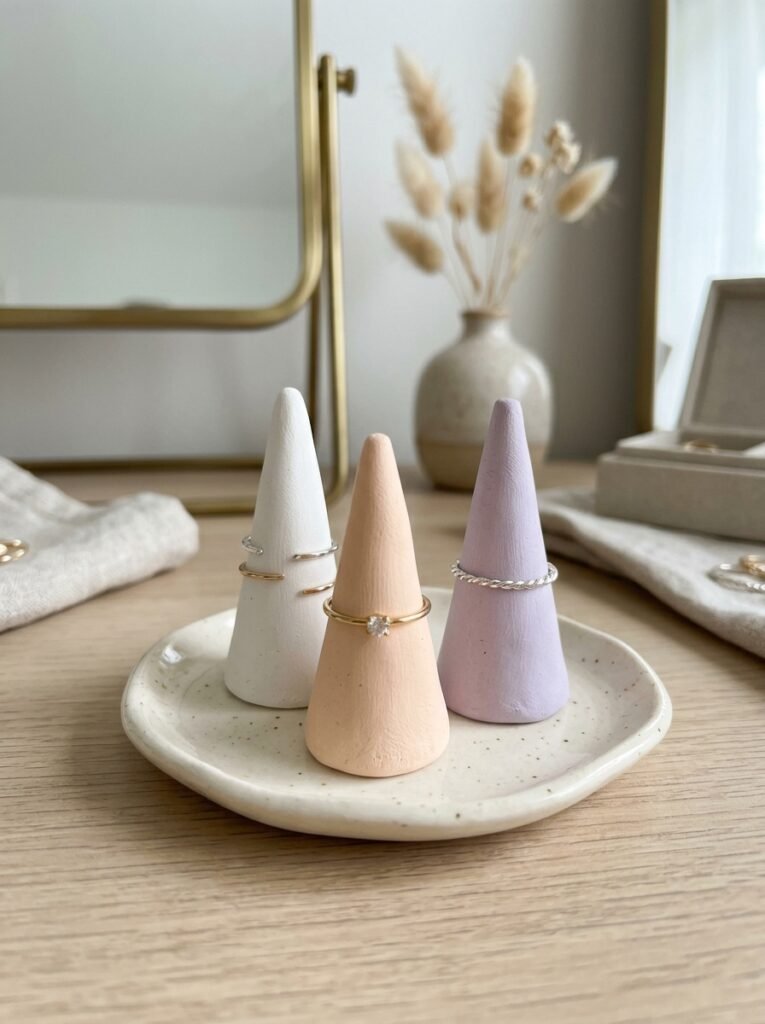
Ring cones are among the simplest air dry clay ideas aesthetic for beginners. Roll a piece of clay into a tapered cone, gently flatten the bottom so it can stand upright, and smooth the surface with slightly damp fingers. You can make several cones in different heights and arrange them on a small tray. Leave them matte white for a clean look or paint them in soft peach, lavender, and sage. The pointed shape keeps rings visible and makes them easy to pick up when getting ready.
13. Foam-Textured Clay Decor
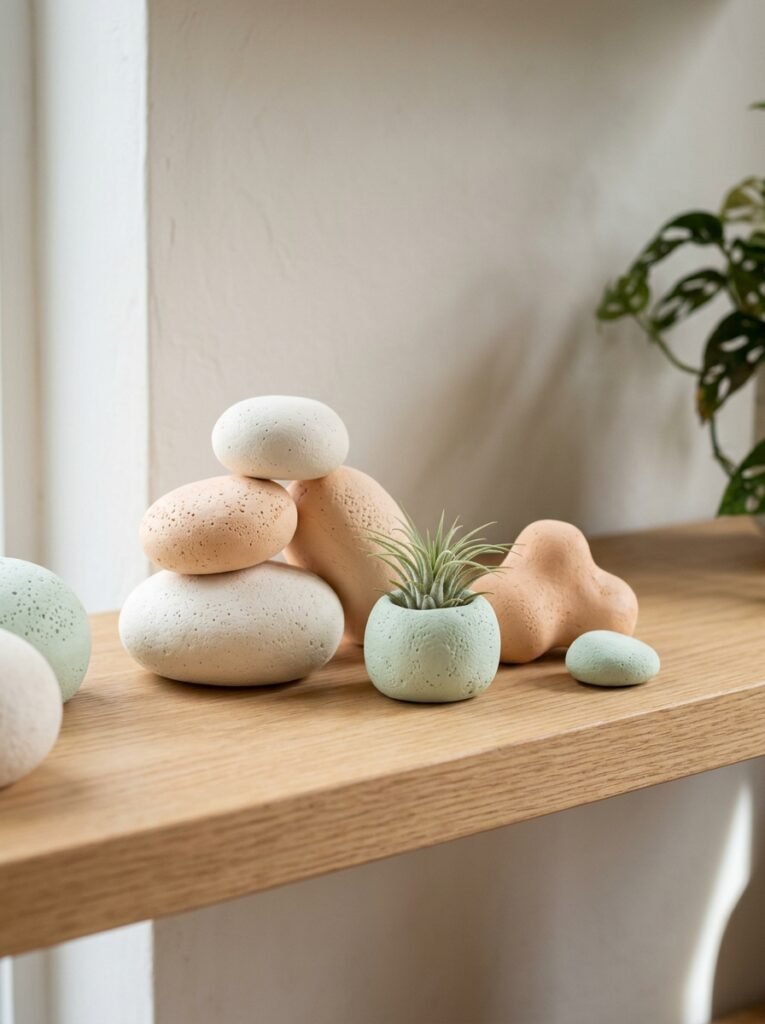
If you love soft-looking textures, experiment with a foam-inspired finish. Shape air-dry clay into small decorative pebbles, rounded sculptures, or miniature planters, then gently press a clean textured sponge against the surface while the clay is still workable. This creates a delicate pattern that looks soft without requiring complicated sculpting. Try white, pale mint, or light peach for a subtle appearance. Keep the texture shallow so the piece retains its strength. The finished objects can decorate shelves, desks, or small display trays.
14. Mini Clay Trinkets and Sculptures
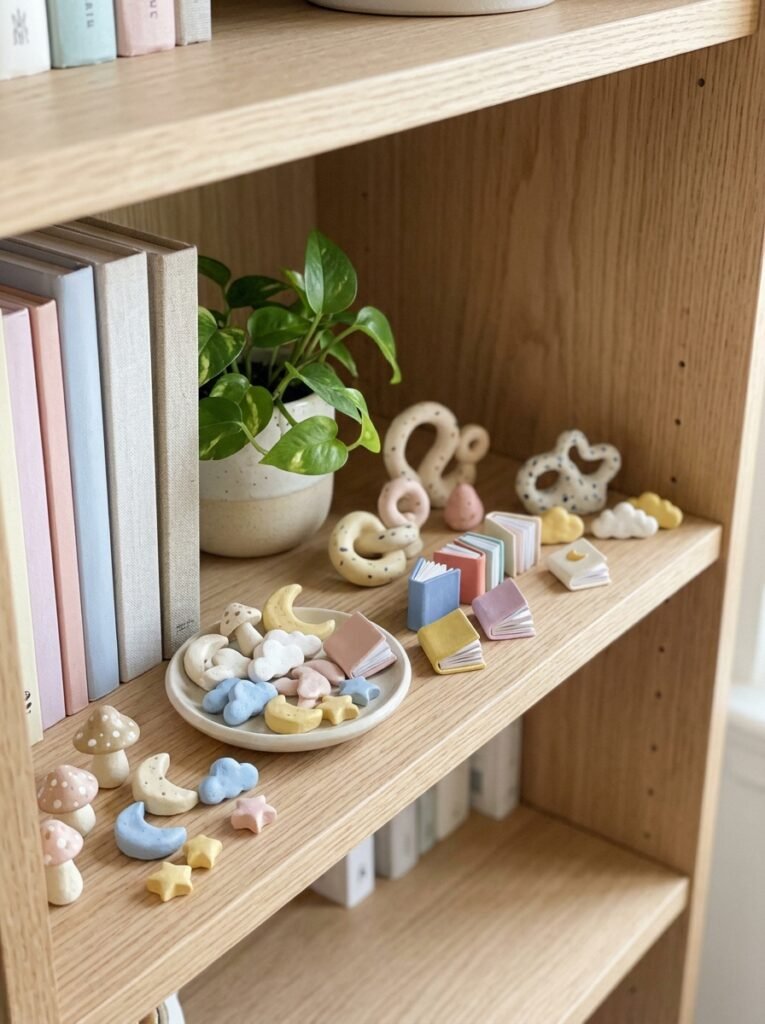
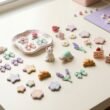
Tiny clay trinkets are perfect for filling empty corners of a shelf or decorating a desk. Make miniature mushrooms, clouds, moons, tiny books, stars, or abstract sculptures. Work with small pieces of clay and keep the shapes simple, especially if you are a beginner. You can paint the finished objects in coordinated colors to create a collection that feels intentional rather than cluttered. Display them on a narrow shelf, a decorative tray, or beside your favorite books. These small pieces are also excellent for practicing sculpting techniques before moving on to larger projects.
15. DIY Clay Tic-Tac-Toe Game
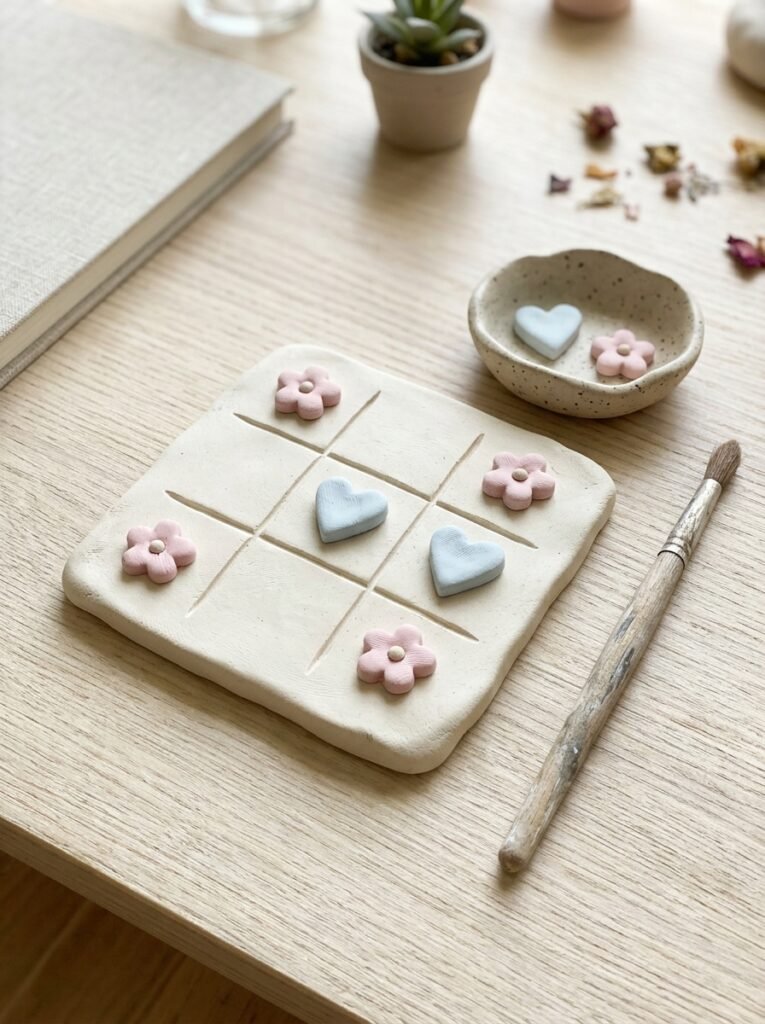
Make a decorative tic-tac-toe game that doubles as a playful room accessory. Create a flat square board and mark nine spaces with shallow lines. Then make two sets of small clay pieces, such as flowers and hearts, stars and moons, or circles and crosses. Keep the pieces thick enough to handle comfortably and allow everything to dry fully before painting. Store the pieces in a small clay dish or drawstring pouch. This is a fun weekend project for a study table, family room, or handmade gift basket.
16. Clay Jewelry and Earring Pieces
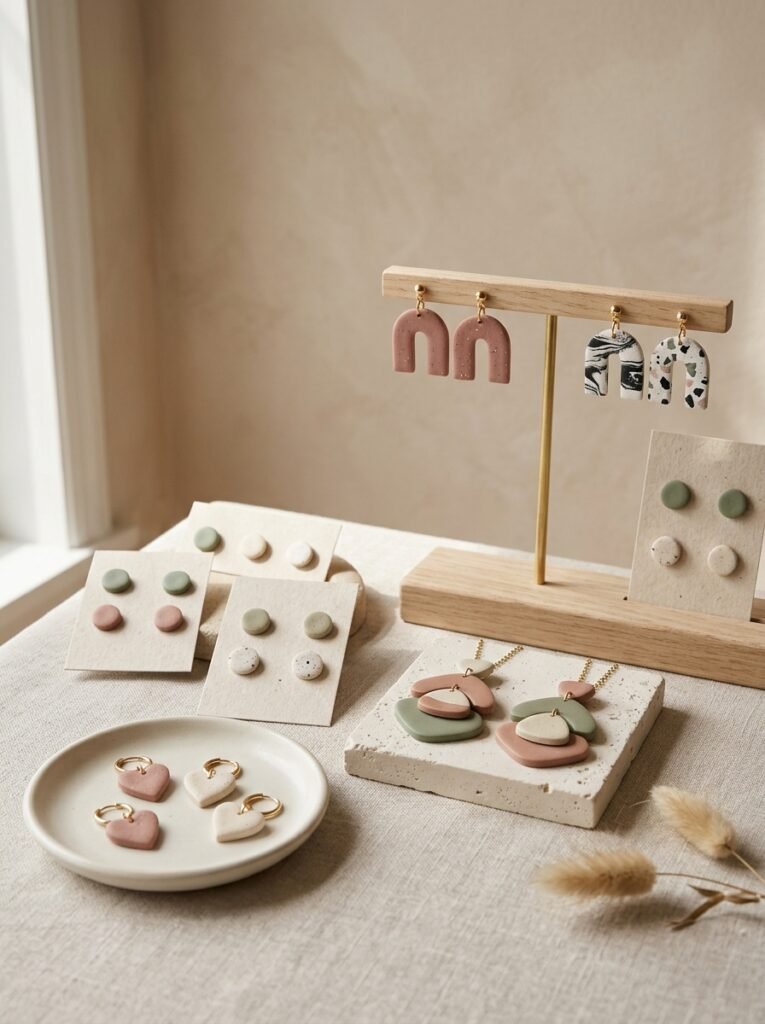
You can use air-dry clay to make lightweight-looking decorative earrings and jewelry components in many shapes. Flatten the clay evenly, cut out small circles, arches, hearts, or abstract forms, and create attachment holes before drying. Sand any rough edges gently after the pieces have hardened. Paint them in colors that match your wardrobe, such as cream, dusty rose, sage, or black and white. For wearable jewelry, use suitable findings and skin-safe components, and avoid wearing pieces that remain rough, fragile, or poorly sealed.
17. Simple Clay Decorative Tray for Room Decor
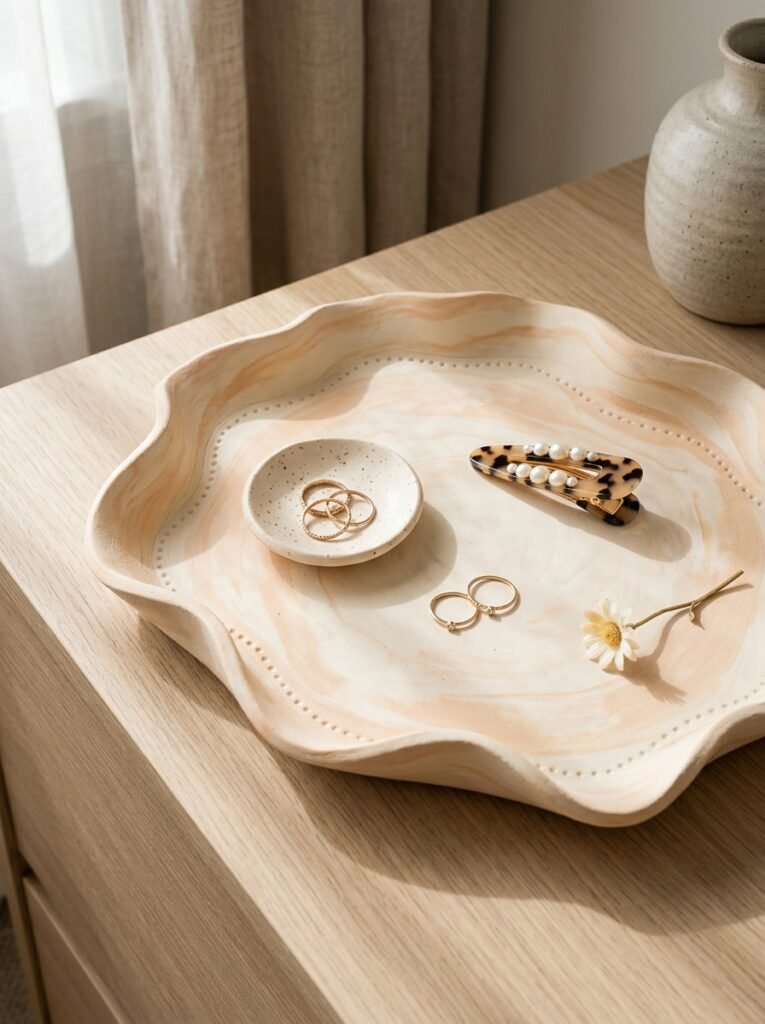
A decorative clay tray can bring several small objects together and make a room look more organized. Roll out the clay, cut a circular or rectangular base, and gently lift the edges. For a more artistic finish, create a wavy rim or add small raised dots around the border. Once dry, paint it in a soft neutral shade or add a simple two-tone design. Use it to hold keys, hair accessories, a small notebook, or decorative objects. Keep the tray away from standing water and avoid using it for food unless the materials are specifically certified for that purpose.
18. Personalized Clay Flower and Initial Charms
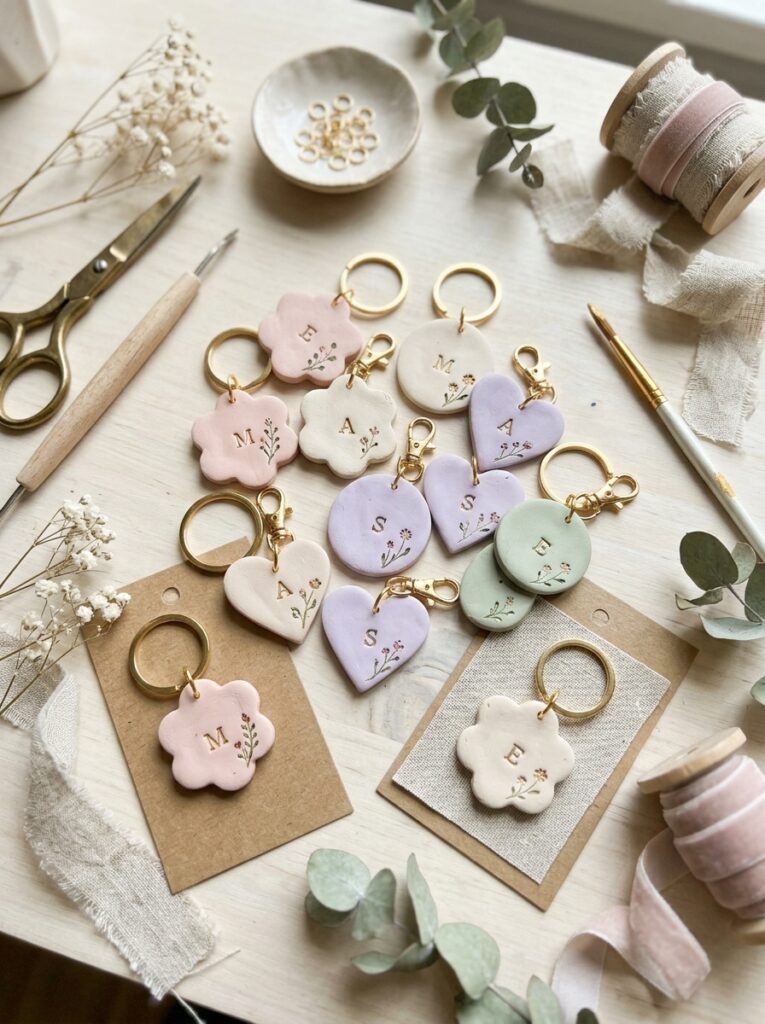
Personalized charms are easy to customize and make thoughtful handmade gifts. Cut clay into a flower, heart, circle, or rounded tag, then add a small initial or a simple decorative pattern. If you want to attach the charm to a key ring or bag, create the hole before drying. Paint the piece in the recipient’s favorite colors and seal it with a suitable finish once it has completely dried. These charms can also be used as decorative additions to gift wrapping or kept on a small display hook in your room.
How to Make Aesthetic Air-Dry Clay Decor Step by Step
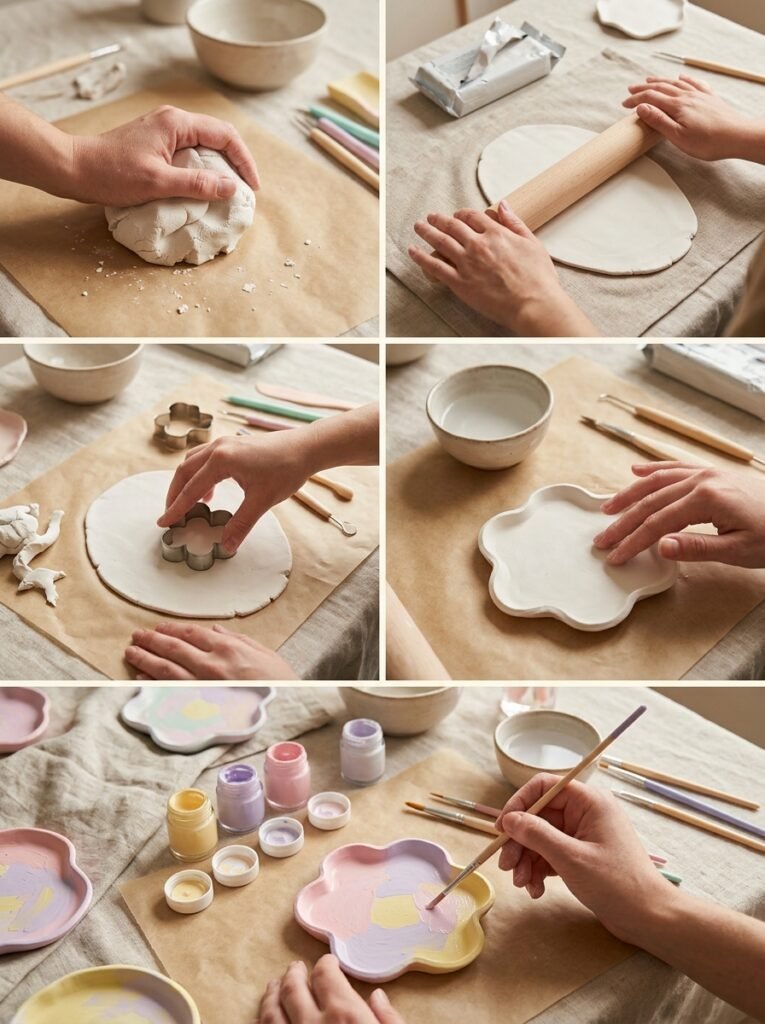
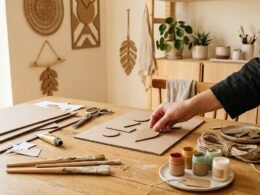
Making your own clay decorations is easier when you follow a simple process. Start with one small project, such as a tray, magnet, or ring cone, before attempting complicated sculptures.
- Gather your supplies. Prepare air-dry clay, a rolling pin, a craft knife or clay cutter, a little water, sculpting tools, acrylic paints, and a suitable sealant.
- Prepare the clay. Knead it gently until it feels smooth and workable. Follow the package instructions if the clay needs special preparation.
- Shape your design. Roll, press, or sculpt the clay into your chosen form. Keep the thickness even to reduce cracking and uneven drying.
- Smooth the surface. Use slightly damp fingers or a suitable tool to smooth rough edges. Avoid adding too much water.
- Let it dry completely. Place the piece on a suitable flat surface and follow the manufacturer’s drying instructions. Larger or thicker pieces may need more time.
- Refine and decorate. Once fully dry, sand rough edges carefully if the product instructions allow it. Add acrylic paint, fine patterns, or small decorative details.
- Seal when appropriate. Use a compatible sealant if needed, following its safety and drying instructions.
Printable Instructions for Your Clay Projects
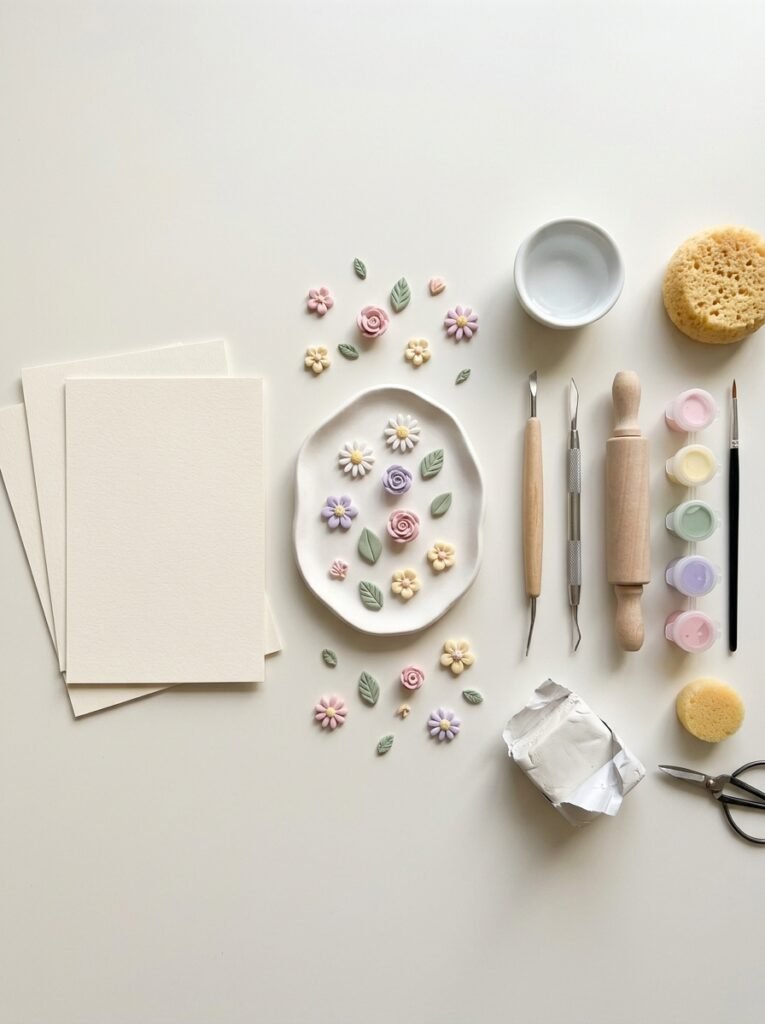
Save or print this simple checklist before beginning your next DIY project.
- Choose one design and gather the necessary materials.
- Keep the clay thickness consistent.
- Smooth joins and edges before the clay starts drying.
- Make hanging or keychain holes before the clay hardens.
- Allow every piece to dry completely before painting.
- Apply paint in thin layers and allow each layer to dry.
- Use a compatible sealant only when suitable for the intended use.
- Store finished clay decorations in a dry place.
- Keep small pieces, magnets, and craft tools away from young children unless an adult is supervising.
Helpful Tips for Better Results
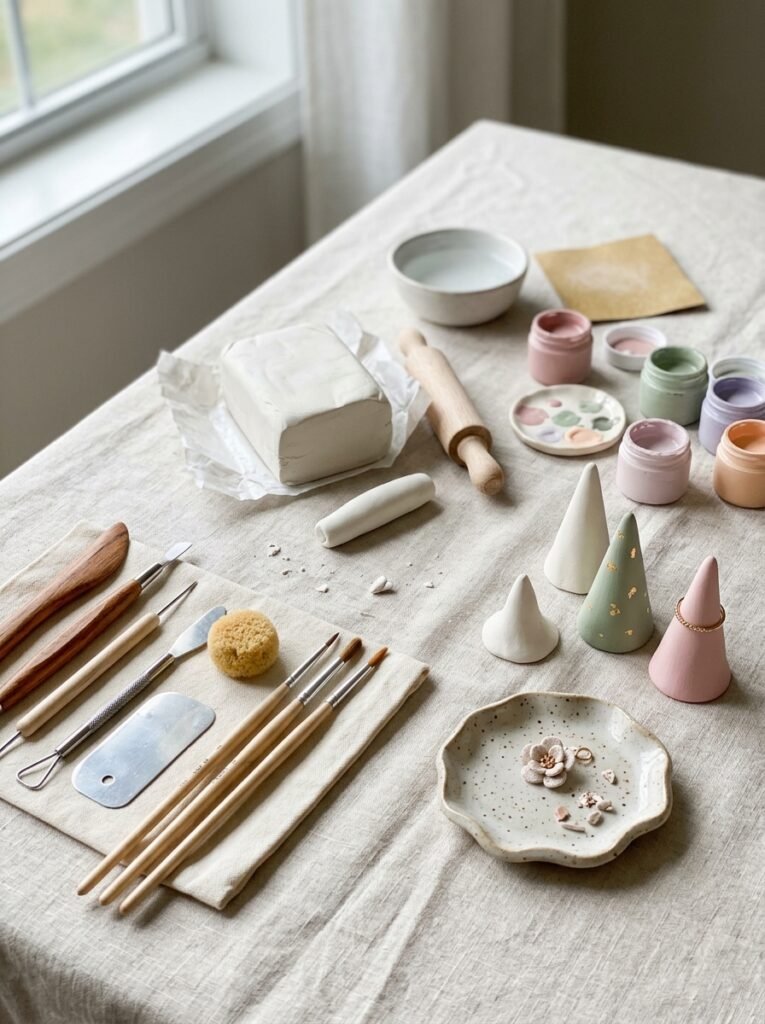
- Start simple: Trays, magnets, ring cones, and flat charms are great first projects.
- Avoid overly thin pieces: Very thin edges and delicate stems can break easily after drying.
- Dry slowly and evenly: Follow the manufacturer’s instructions and avoid using excessive heat to speed up the process.
- Use color thoughtfully: Choose two or three complementary colors for a coordinated room decor collection.
- Paint only after drying: Painting too early can trap moisture and affect the finish.
- Choose the right finish: A matte finish looks soft and modern, while a compatible gloss sealant creates a shinier appearance.
- Understand the limitations: Ordinary air-dry clay is generally not waterproof, food-safe, or heat-resistant. Keep decorative pieces away from prolonged moisture, direct flames, and food contact unless the product specifically supports that use.
- Make useful pieces: A beautiful design becomes even more valuable when it also helps organize your desk, jewelry, or everyday accessories.
Final Thoughts
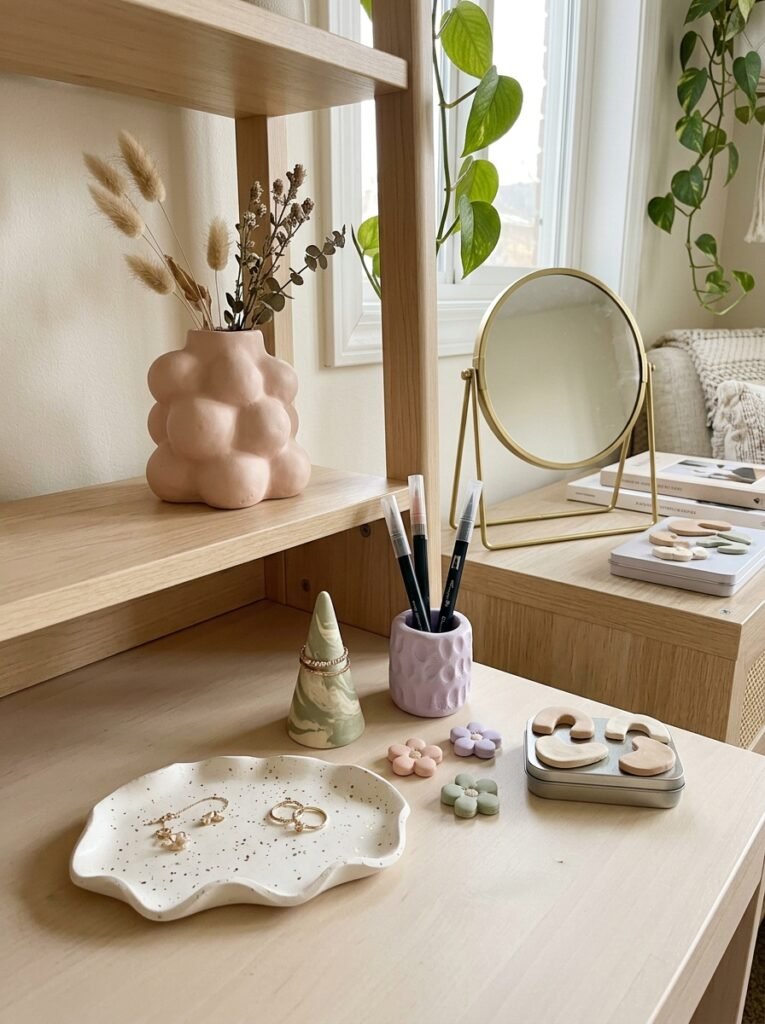
Creating handmade decorations is a lovely way to add personality to your space without spending a lot of money. From small magnets and flower charms to useful pen holders and jewelry organizers, these projects let you combine creativity with everyday function. You can make a matching collection for your bedroom, create thoughtful gifts, or simply enjoy experimenting with different shapes and colors. The best air dry clay ideas aesthetic are not necessarily the most complicated ones. Sometimes a simple white tray, a tiny pastel flower, or a handmade ring cone can make a desk or dressing table feel more special. Choose a project that suits your skill level, allow the clay to dry properly, and enjoy creating something that feels uniquely yours.