

This post may contain affiliate links. Please read my disclosure policy.
In This Article Show
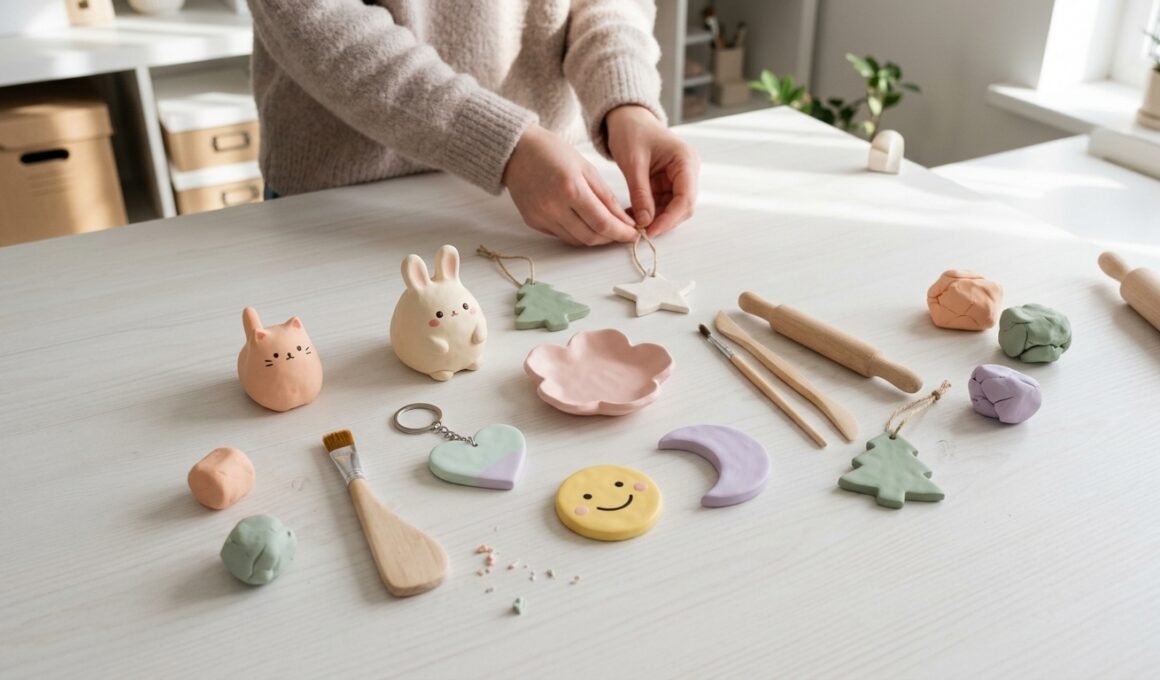
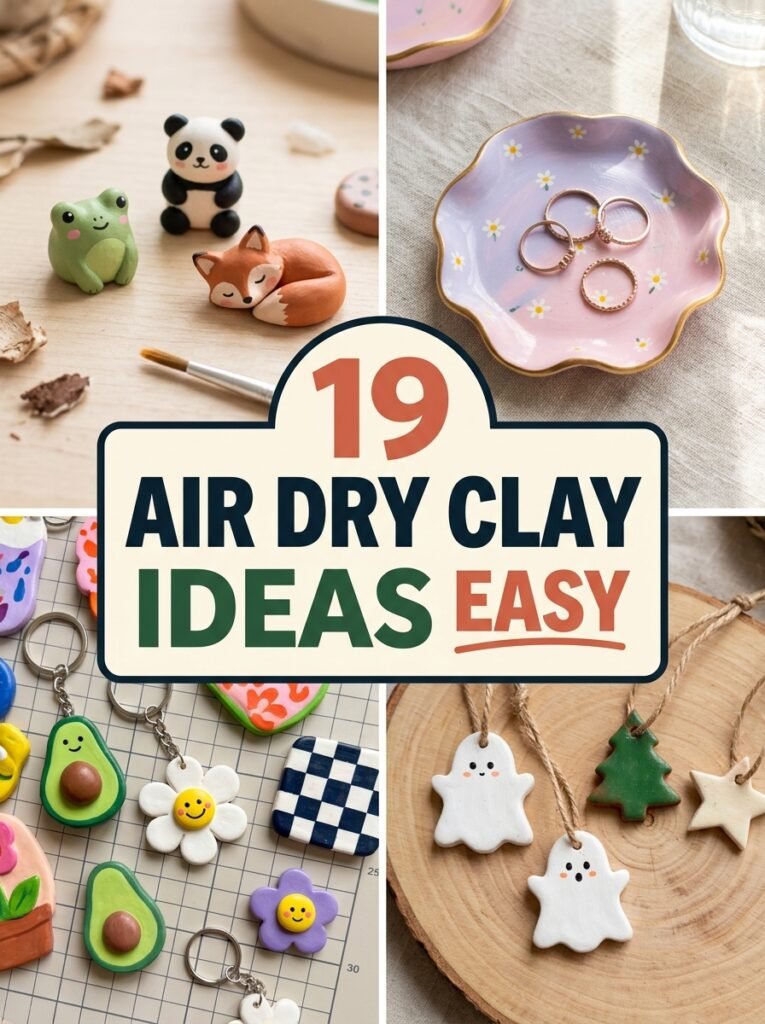
Looking for air dry clay ideas easy enough to make at home without complicated tools or expensive supplies? Air-dry clay is a wonderful material for creating cute decorations, miniature animals, personalized accessories, and useful handmade objects. It can be shaped by hand, decorated with simple tools, and left to dry according to the manufacturer’s instructions. Whether you are a beginner, a parent planning a creative activity for kids, or someone who enjoys aesthetic DIY projects, there are many exciting things you can make with a small amount of clay. One of the best things about air-dry clay is its versatility. You can create tiny cats and bunnies, colorful fridge magnets, a flower-shaped trinket dish, a jewelry holder, or a personalized keychain. You can also make seasonal decorations for Halloween and Christmas, soft-looking worry stones, miniature food, and simple tabletop games. These projects can be customized with your favorite colors, textures, and patterns to match your personal style. In this guide, you will discover 19 beginner-friendly clay projects, each with a detailed explanation and a unique image prompt. You will also find a step-by-step tutorial, printable instructions, and helpful tips for making your creations look polished. Start with a simple shape, enjoy the creative process, and gradually explore more detailed designs.
1. Cute Mini Air-Dry Clay Animals
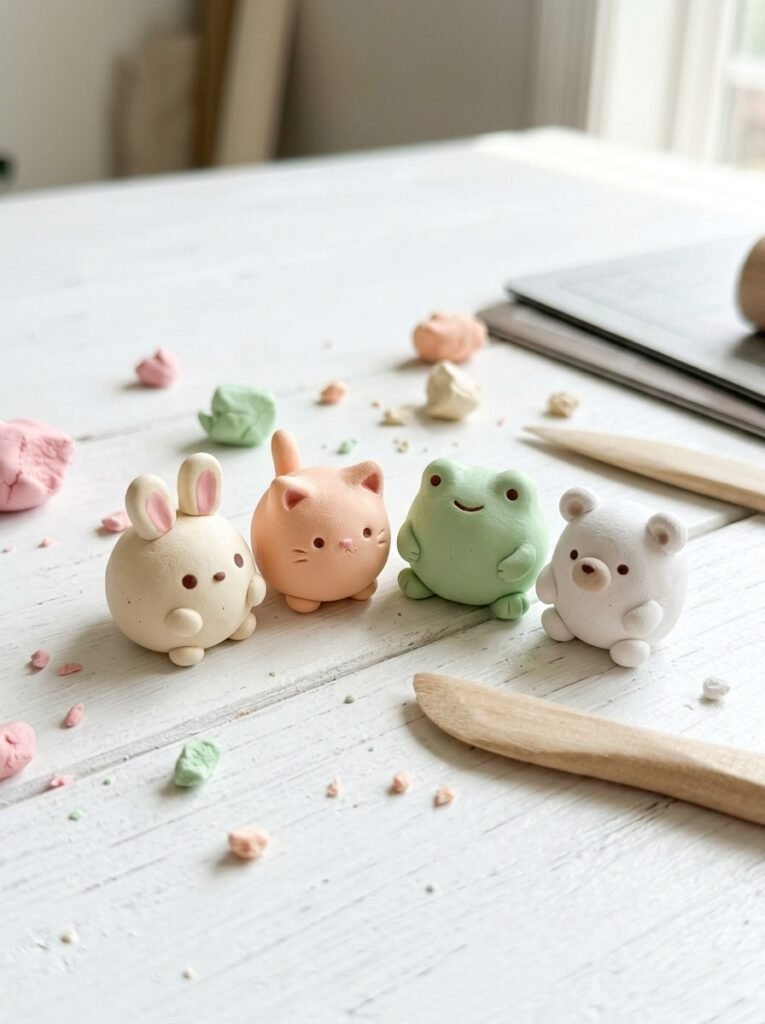
Miniature animals are an excellent starting point because they can be created by combining simple shapes. Choose a bunny, cat, bear, frog, or chick and begin with a small ball of clay for the body. Add a smaller ball for the head, then attach tiny ears, paws, and a tail. Smooth the joins gently with your fingertips or a little water if your clay permits it. Use a toothpick or sculpting tool to create small facial details. Keep the figures compact and avoid making thin parts that may break during drying. These adorable animals work beautifully as shelf decorations, desk companions, or additions to a miniature collection.
2. Small Animals Step by Step
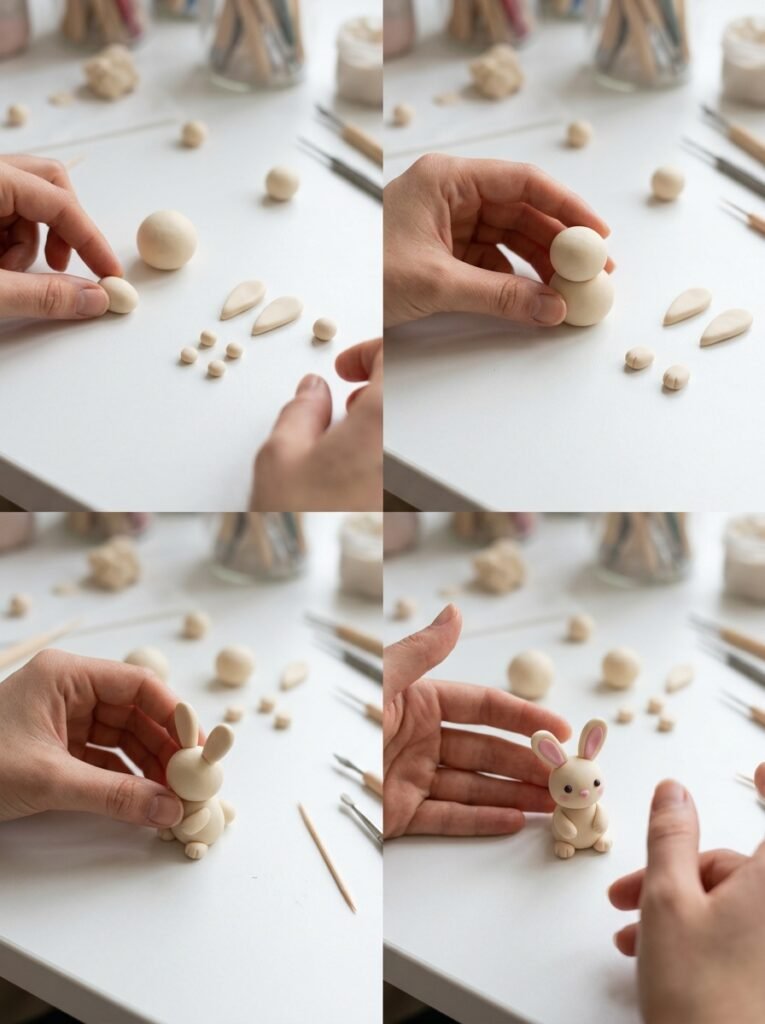
Making small animals step by step helps beginners understand how separate clay shapes become a finished figure. A simple bunny is a great example: roll one larger ball for the body, a smaller ball for the head, and two narrow pieces for the ears. Join the head and body carefully, then attach the ears, feet, and a tiny round tail. Smooth each connection before the clay starts to dry. Use a fine tool to add the eyes and mouth, keeping the details simple and balanced. Once you learn this process, you can use the same method to create cats, bears, chicks, and other miniature animals in different colors.
3. Aesthetic Clay Trinket Dish
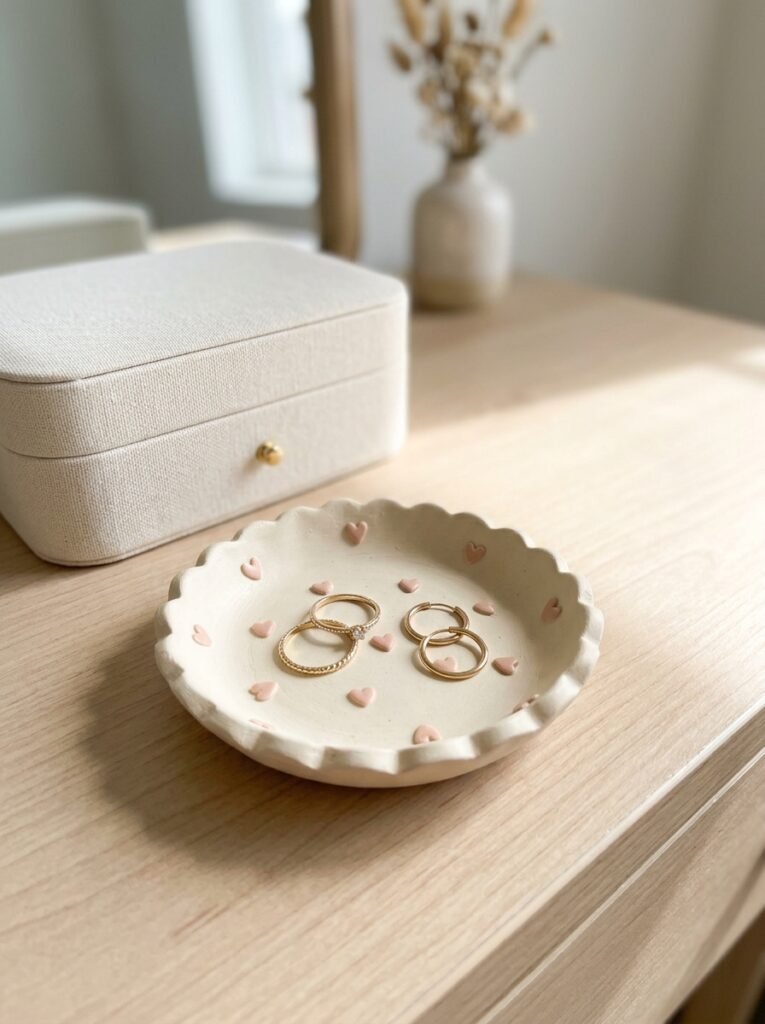
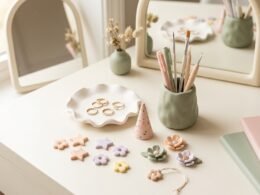
A trinket dish is both decorative and functional, making it one of the most useful beginner clay projects. Roll out a small piece of clay into a thick, even disk and shape it into a circle, oval, heart, or flower. Press the center gently into a shallow bowl and lift the edges to create a rim. You can add scalloped edges, tiny raised hearts, or a subtle wavy border for extra character. Let the dish dry completely, then smooth rough edges if appropriate and decorate it with compatible paint. Use it to hold rings, earrings, or small hair accessories. Keep it dry because ordinary air-dry clay is generally not waterproof.
4. Step-by-Step Clay Keychain
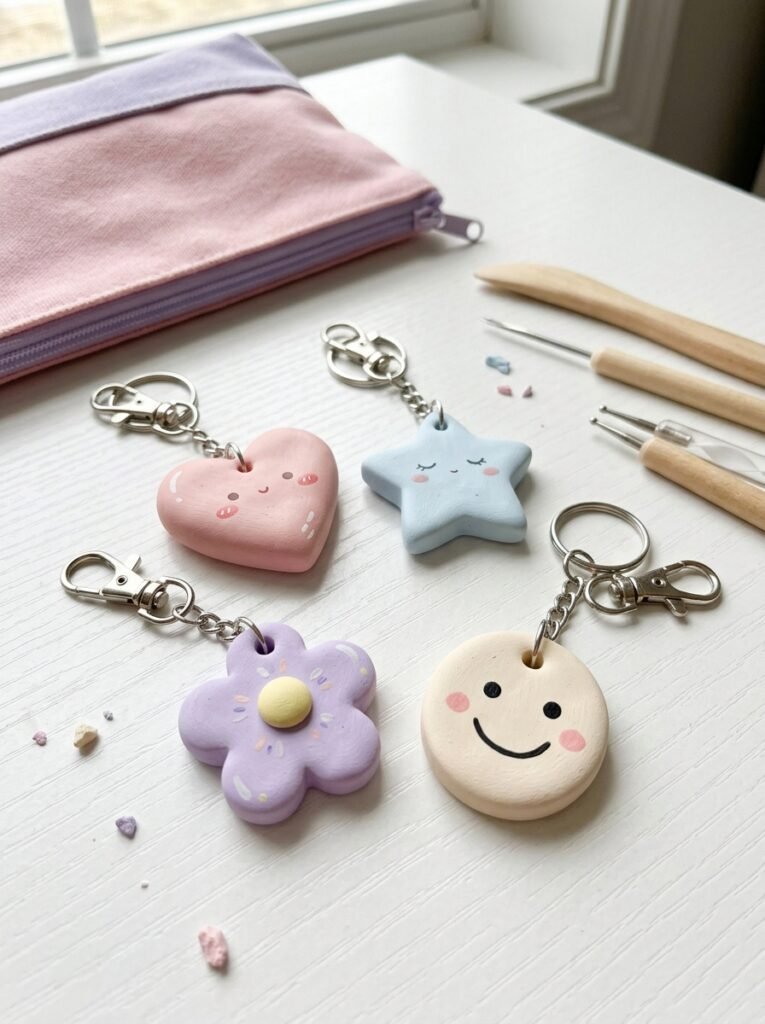
A personalized clay keychain is a lovely way to create a small handmade gift. Begin with a simple shape such as a heart, star, flower, or initial-inspired design. Roll the clay evenly and smooth the edges so the finished charm looks neat. Before drying, make a hole in a strong section near the top, leaving enough material around it to prevent cracking. Add shallow patterns with a sculpting tool or create a two-color design using small pieces of clay. After the charm has dried fully, decorate it with compatible paint and attach suitable keychain hardware. Keep the charm lightweight and handle it gently to avoid breaking the connection.
5. Cute Clay Fridge Magnets
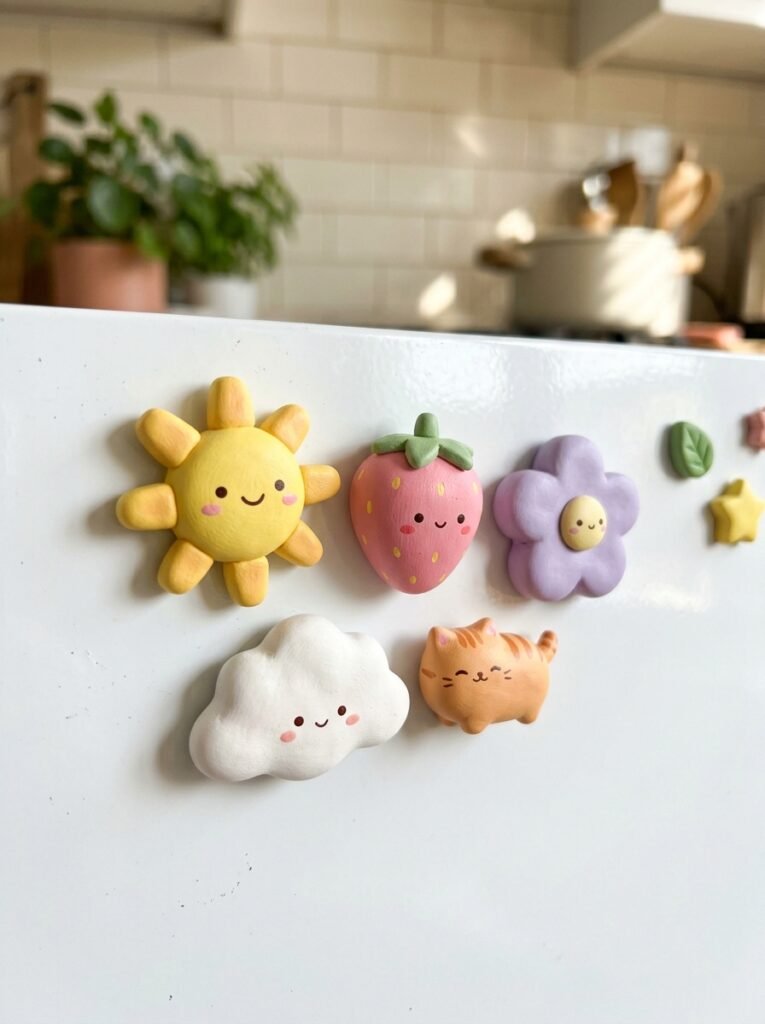
Clay fridge magnets are a cheerful way to decorate a kitchen or magnetic board. Simple designs such as strawberries, flowers, clouds, cats, and smiling suns are easy to recognize and enjoyable to make. Shape each piece relatively flat so it sits close to the surface, and smooth the back before drying. Once the clay is completely dry, paint the design and attach a suitable magnet using an adhesive compatible with both materials. Follow the adhesive instructions and allow it to cure fully before use. Check that the magnet is firmly attached, especially if the finished craft will be handled frequently. A matching set of magnets also makes a thoughtful handmade gift.
6. Soft Clay Worry Stones
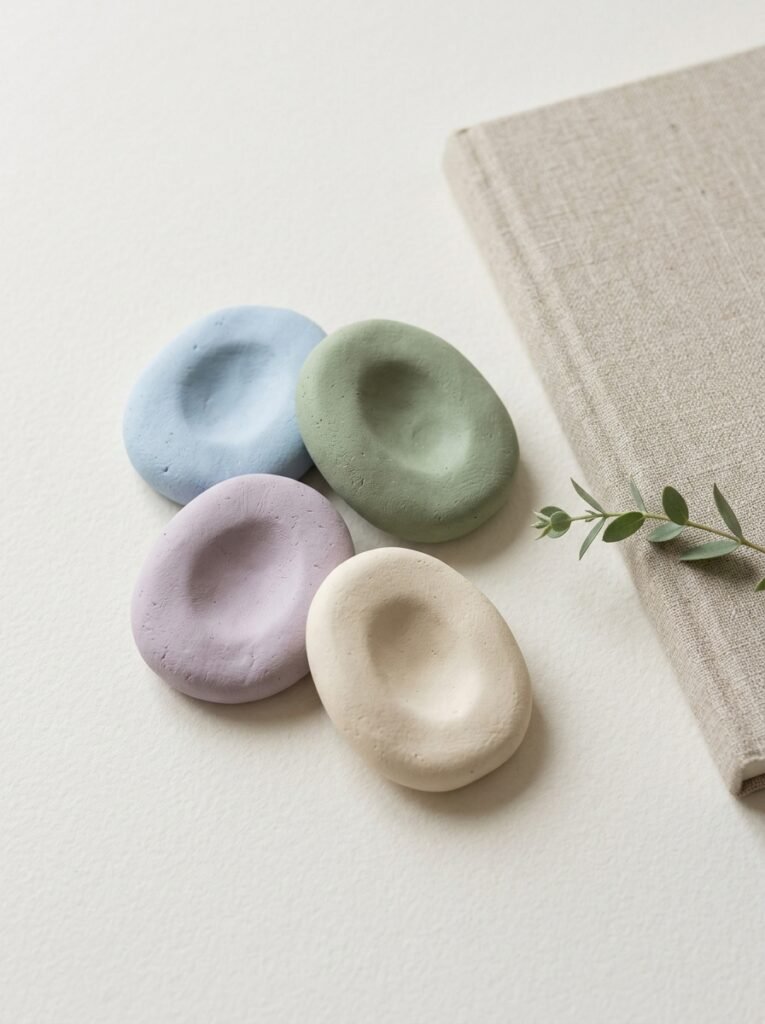
A worry stone is a small, smooth object designed to fit comfortably between your fingers. To make one, roll a small amount of clay into an oval and gently flatten it into a pebble-like shape. Press a shallow indentation into the center, then smooth the edges so there are no sharp corners. Choose soothing colors such as pale blue, sage green, cream, or lavender. You can leave the surface plain or add a subtle swirl or tiny raised dot. After drying completely, smooth any rough areas and use a compatible finish if desired. Keep the finished stone dry and treat it as a decorative tactile object rather than a medical or therapeutic device.
7. Functional Clay Jewelry Holder
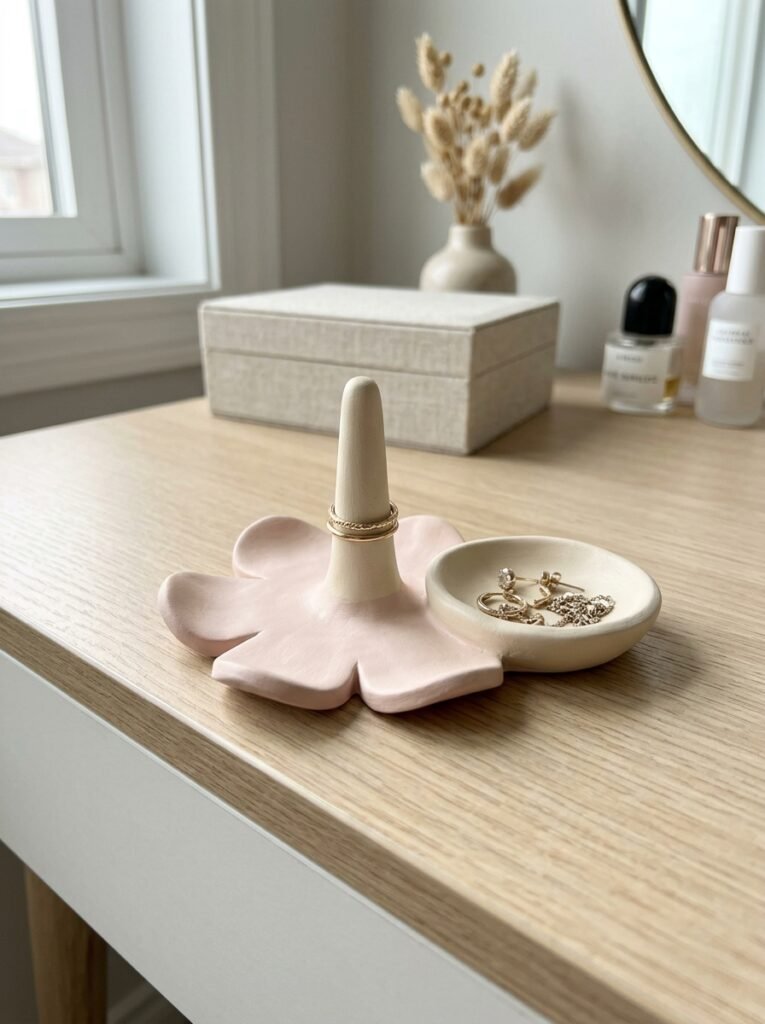
A handmade jewelry holder adds a personal touch to a vanity while keeping small accessories organized. Start with a sturdy circular or flower-shaped base, then add a thick central post for rings. Make sure the post is broad enough to remain stable and that the base is not too thin. You can also create a small attached dish for earrings or a separate tray for delicate chains. Let every part dry completely before painting or assembling the holder. Use a coordinated palette such as cream and blush pink, or sage green and ivory. Because air-dry clay can be fragile, keep the design compact and avoid placing heavy jewelry on thin sections.
8. Halloween Clay Ghosts
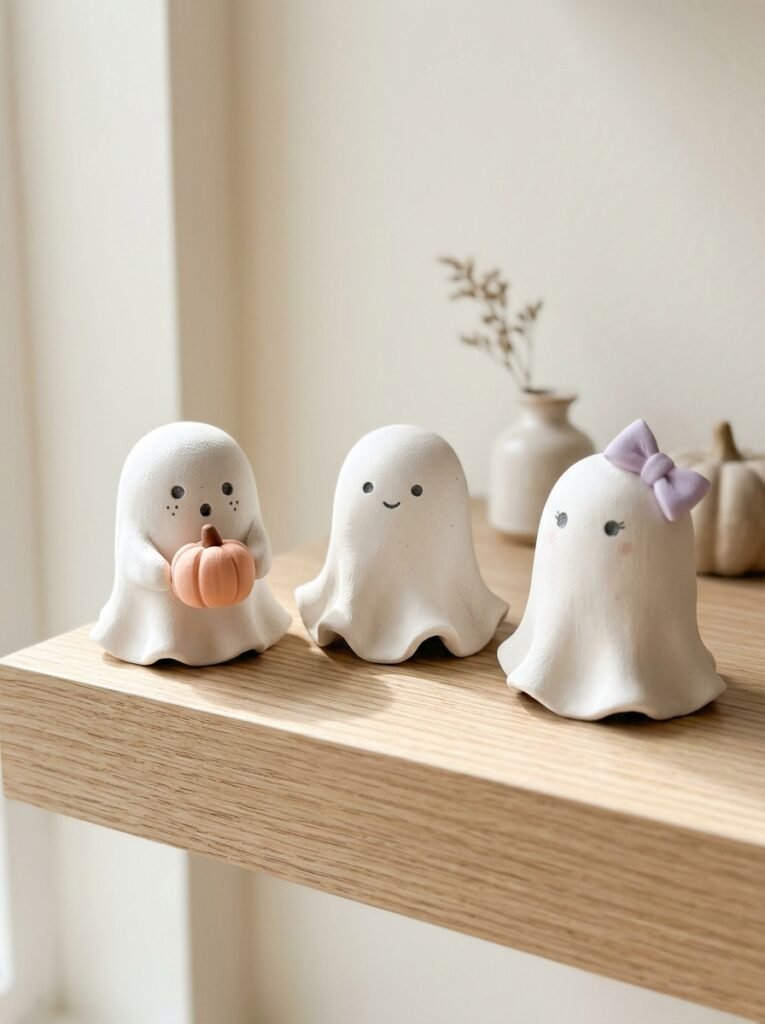
Tiny clay ghosts are perfect for Halloween because their simple shapes are easy to create and customize. Roll a small ball of clay, then gently pull it downward to create a flowing ghost-like body. Shape the bottom edge into soft waves so the figure appears to float. Use a sculpting tool to add eyes and a small mouth, or paint the facial details after the clay has dried. You can create ghosts in different sizes and arrange them together on a shelf. For a modern look, combine white clay with subtle lavender, pale-orange, or charcoal accents. These little figures also look lovely beside miniature clay pumpkins.
9. Christmas Clay Ornaments
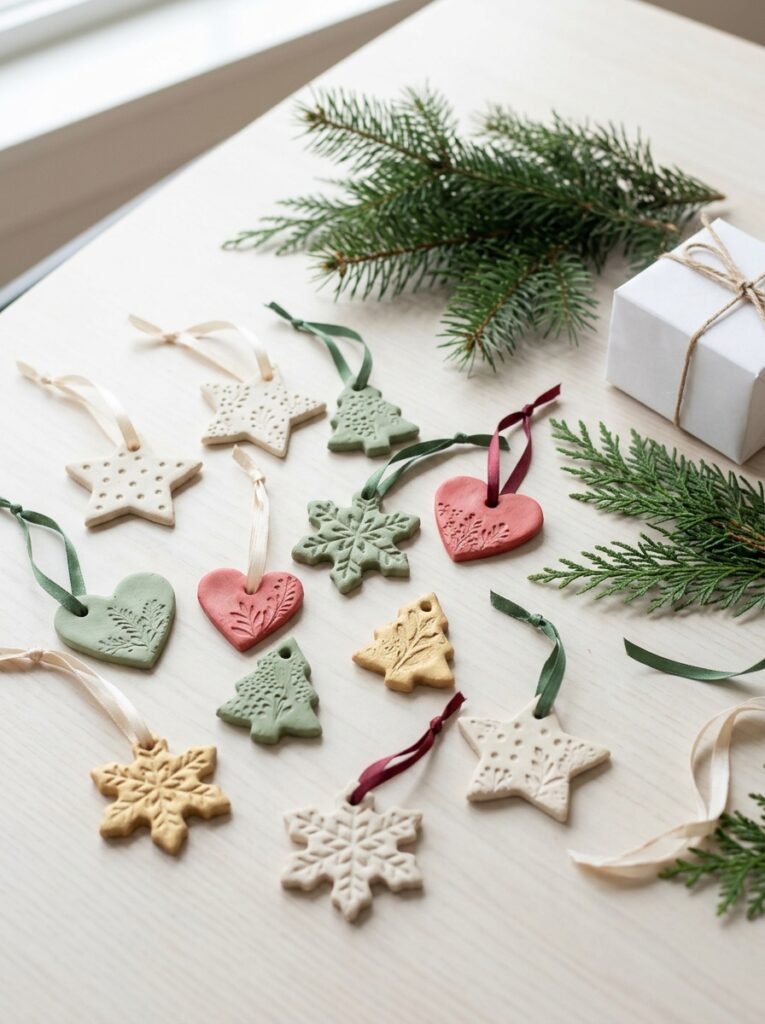
Handmade clay ornaments can add a personal touch to your Christmas decorations. Roll clay into an even sheet and cut out stars, hearts, trees, or snowflakes using simple templates. Make a hanging hole near the top before the clay dries, leaving enough space around it to prevent cracking. Add small dots, lines, or raised details for a more decorative finish. Once completely dry, paint the ornaments in cream, sage green, soft red, or muted gold. Thread ribbon through the hole and hang them on a decorative tree, or use them as handmade gift tags. Keep the designs relatively flat so they dry more evenly.
10. Tiny Clay Food Miniatures
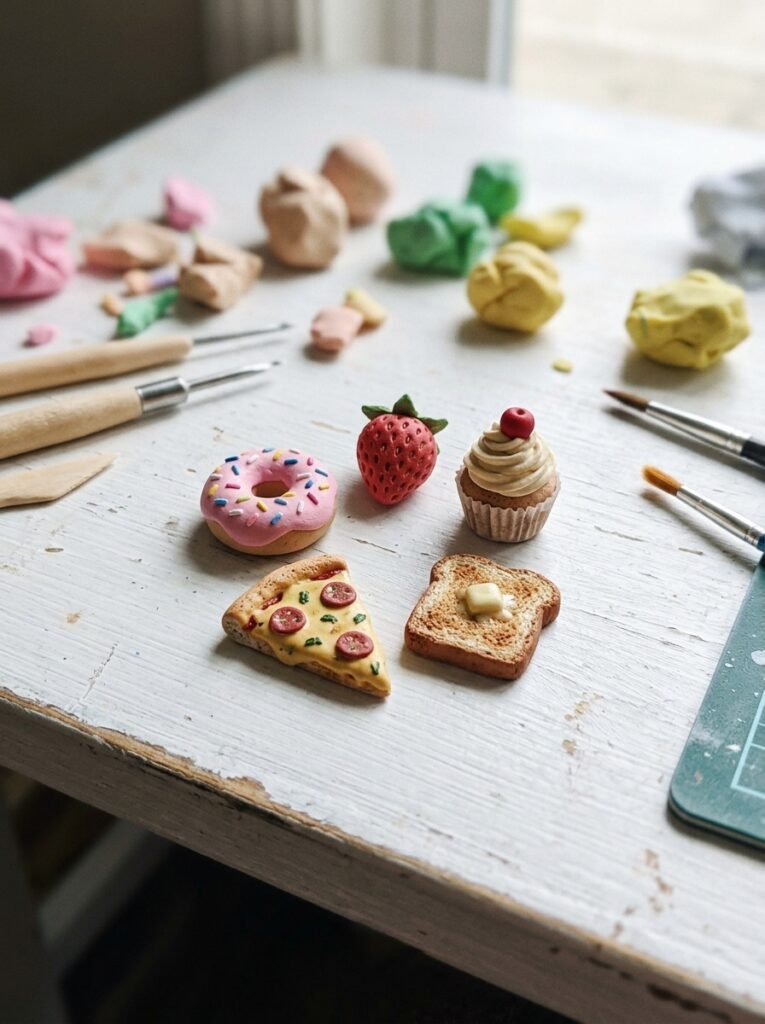
Miniature clay food is a fun project for experimenting with colors, textures, and tiny details. You can create strawberries, donuts, cupcakes, toast, pizza slices, or little bowls of fruit. Start with basic shapes and add details using a toothpick or fine sculpting tool. For a strawberry, shape a red teardrop and add a small green leafy top. For a donut, form a ring and add a thin raised layer of icing. Keep the pieces thick enough to handle without breaking. These miniatures work well for dollhouse displays, craft collections, and decorative charms. They are not edible, so keep them separate from real food.
11. Flower-Shaped Clay Jewelry Dish
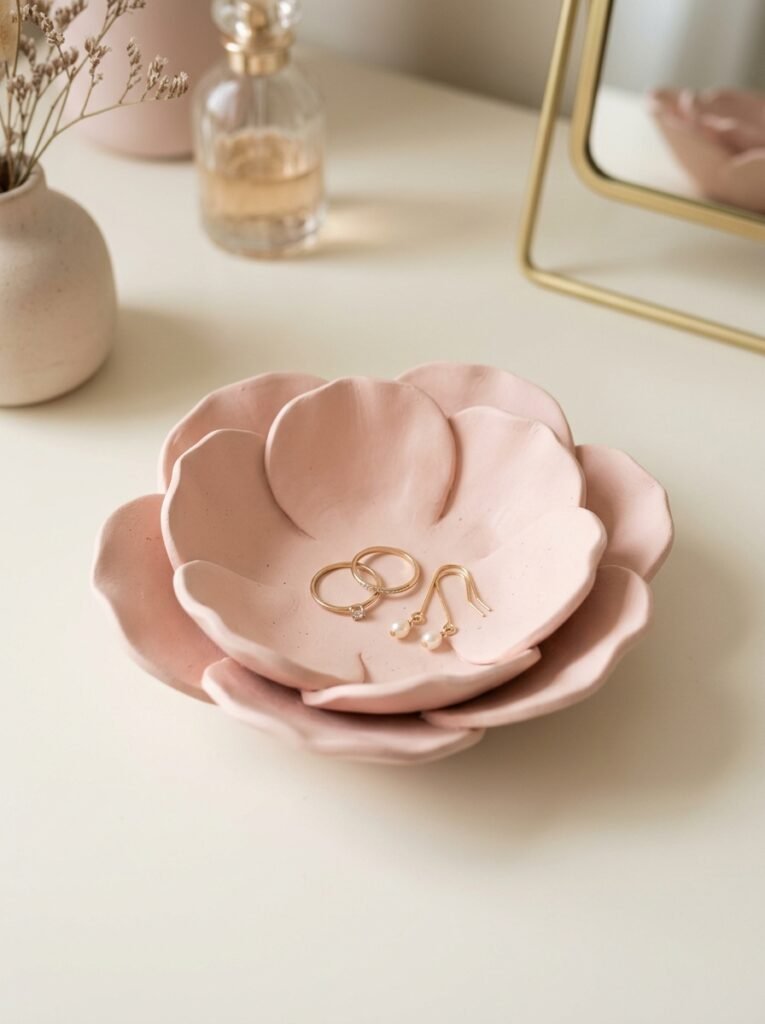
A flower-shaped jewelry dish combines a decorative design with everyday usefulness. Flatten a piece of clay into a thick disk, then press the outer edge into rounded petal shapes. Keep the center slightly deeper than the rim so rings and earrings can rest inside. Use a sculpting tool to define the petals, smoothing the surface gently as you work. Once the dish has dried completely, paint it in blush pink, lavender, cream, or soft yellow. This piece looks beautiful on a dressing table and can be paired with a matching ring holder. Keep it dry and use it only for small accessories, as ordinary air-dry clay may absorb moisture.
12. Handmade Clay Tic-Tac-Toe Game
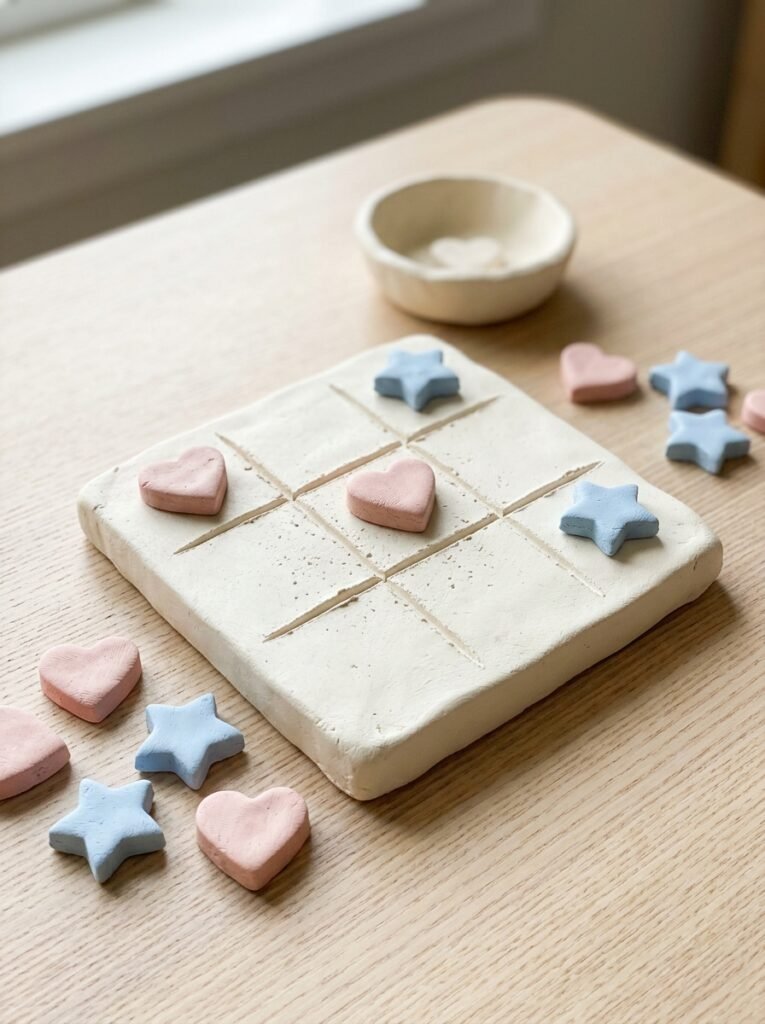
A clay tic-tac-toe game turns a simple craft into an interactive tabletop activity. Make a flat square board and carefully mark a three-by-three grid with a sculpting tool. Create five small pieces in one shape, such as hearts, and five in another, such as stars. Keep the pieces thick enough to handle comfortably and let everything dry fully before painting. You can use contrasting colors to make each player’s pieces easy to recognize. Store them in a small pouch or a separate dish when not in use. This handmade game makes a creative desk decoration or a thoughtful gift for someone who enjoys simple tabletop activities.
13. Crayola Air-Dry Clay Mini Sculptures
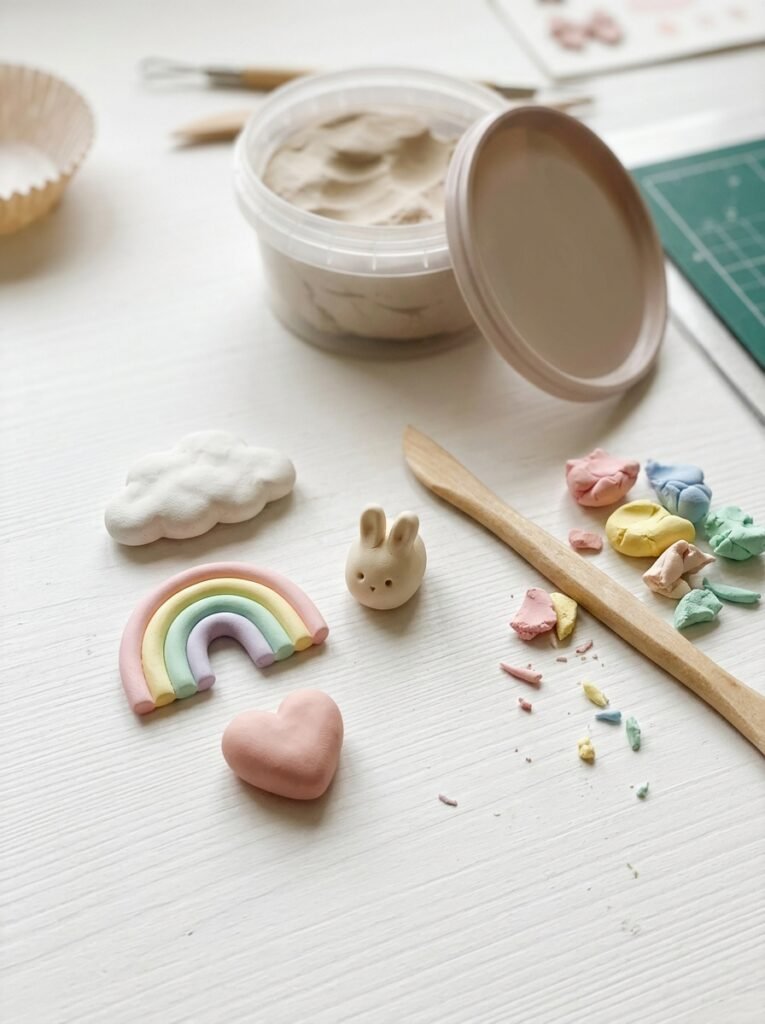
Crayola air-dry clay can be a convenient option for beginner projects when the product is available locally. Always follow the package instructions for handling, drying, and finishing. Choose a simple design such as a cloud, rainbow, heart, or miniature animal so you can focus on shaping and smoothing the clay. Create the main form first, then add smaller details while the material is workable. Allow the finished sculpture to dry fully before painting. These small creations are ideal for decorative displays, gifts, and creative activities with kids under suitable supervision. Check the product’s age guidance and avoid assuming the finished sculpture will be waterproof or suitable for food contact.
14. Small Animal Clay Keychains
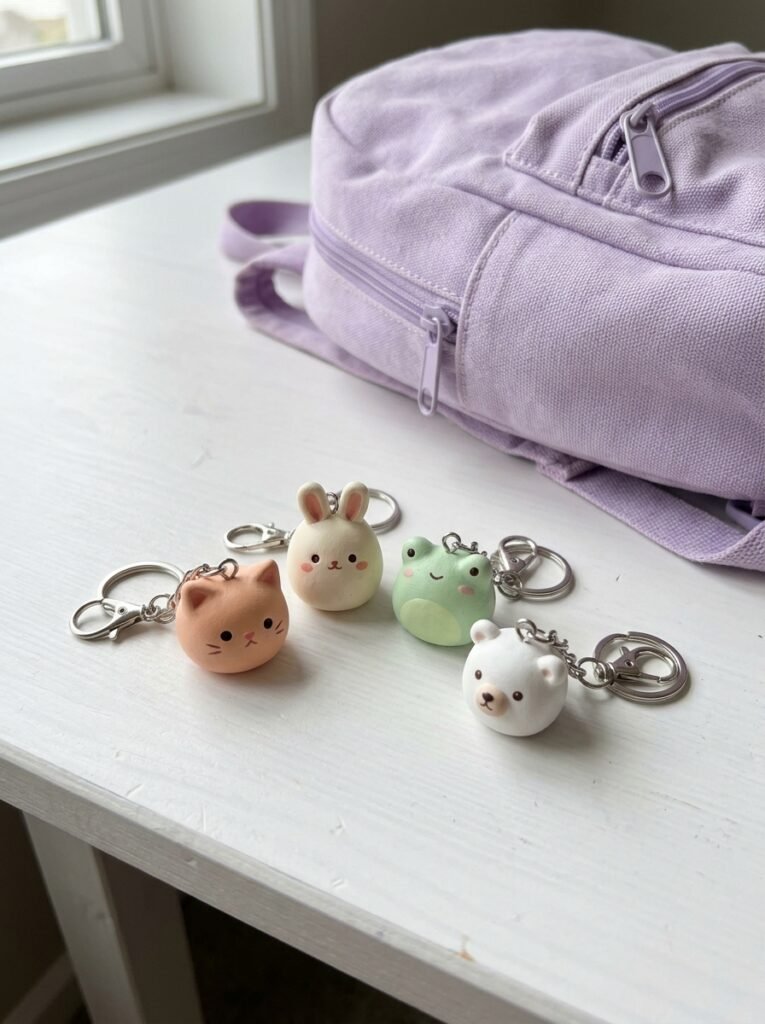
Small animal keychains combine miniature sculpting with personalized accessory design. Choose a simple animal such as a cat, bunny, bear, or frog, and build it from compact shapes. Before the clay dries, create a hole in a strong section of the design or plan a suitable connector that will not split the clay. Let the charm dry fully before attaching metal hardware. Paint small facial details to make each animal recognizable, and avoid thin ears or tails that could snap easily. These cute keychains are perfect for backpacks and pencil cases, although they should be treated as decorative accessories rather than toys for rough handling.
15. Clay Ring Cones and Jewelry Holders
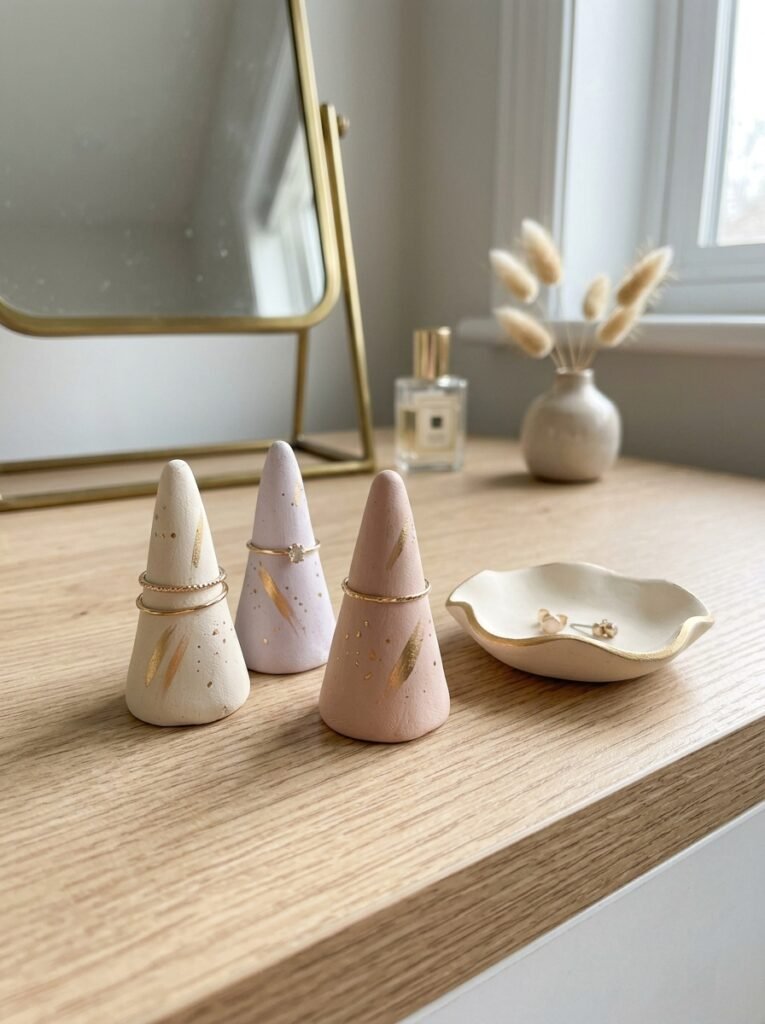
Ring cones are simple to make and help organize rings on a vanity. Roll the clay into a thick cone, flatten the bottom slightly so it stands upright, and smooth the surface. Keep the tip rounded rather than sharp, and make the base wide enough to support the cone. You can create several cones in different heights and paint them in coordinated colors. Add small dots, stripes, or a subtle marbled effect for a more personalized look. Let the cones dry completely before use. Pair them with a matching trinket dish to create a coordinated jewelry display that looks attractive without taking up much space.
16. Soft Pastel Clay Beads
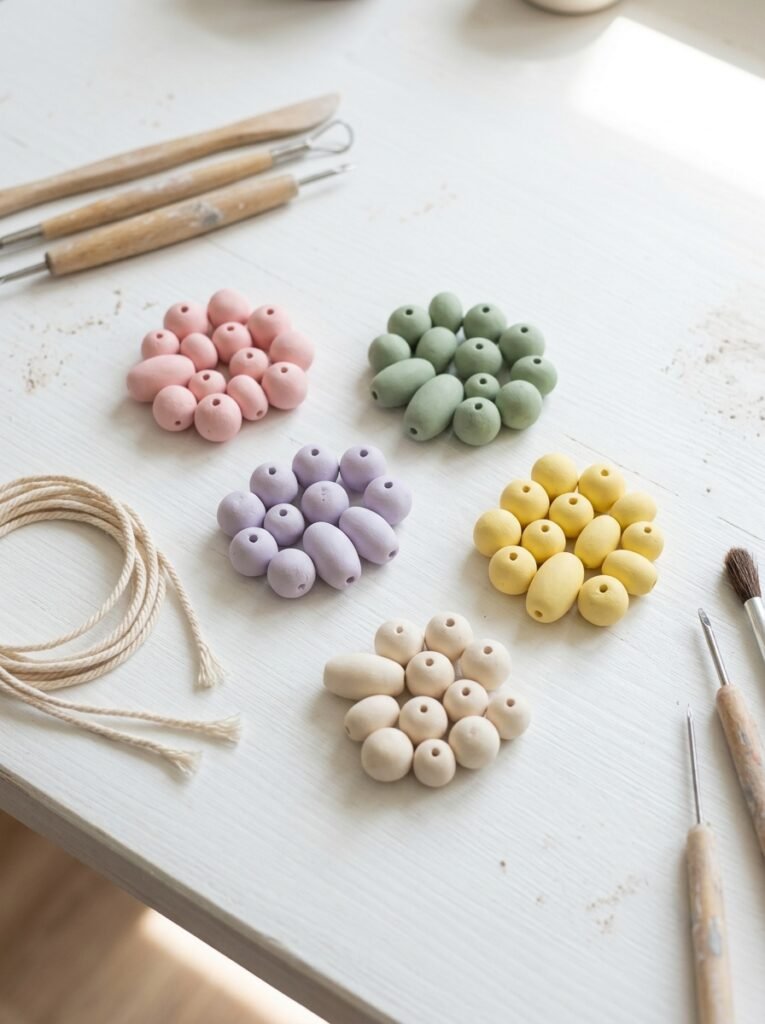
Handmade clay beads are useful for decorative projects, simple jewelry, and matching craft collections. Roll small pieces of clay into round, oval, or flattened shapes, then carefully make a hole through the center before the clay dries. Make sure the hole is wide enough for the cord you plan to use, and avoid pressing too hard because the clay may crack. Try solid pastel beads, two-tone patterns, or small speckled designs. Once the beads are fully dry, paint or finish them with compatible products if desired. Keep the sizes consistent when making a matching set, and handle the finished beads gently because air-dry clay can be fragile.
17. Cute Night-Sky Clay Decorations
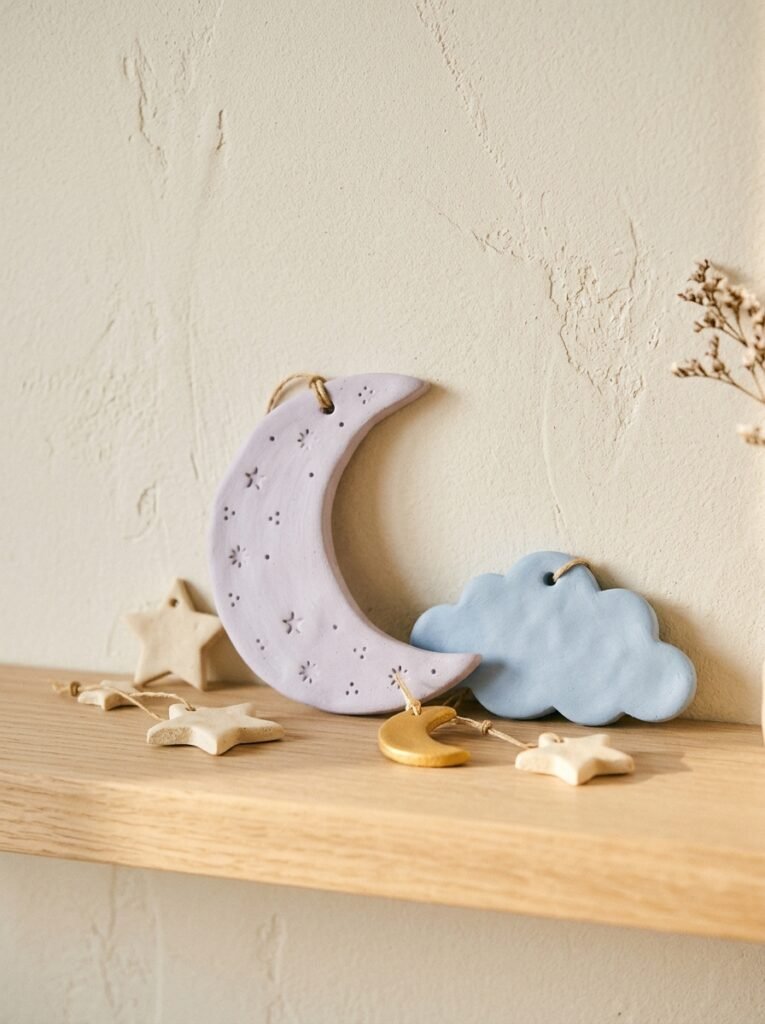
Night-sky decorations are perfect for anyone who loves moons, stars, clouds, and dreamy colors. Roll the clay flat and shape crescent moons, small stars, and fluffy-looking clouds. Add tiny raised dots or shallow lines to suggest a starry pattern, then let the pieces dry completely. Paint them in soft lavender, midnight blue, cream, or pale yellow. You can display them on a shelf, arrange them on a decorative board, or use suitable hardware to create lightweight hanging ornaments. Keep the design simple and coordinated for an aesthetic look. If you create a hanging display, make sure every attachment is secure.
18. Foam-Textured Clay Mini Planters
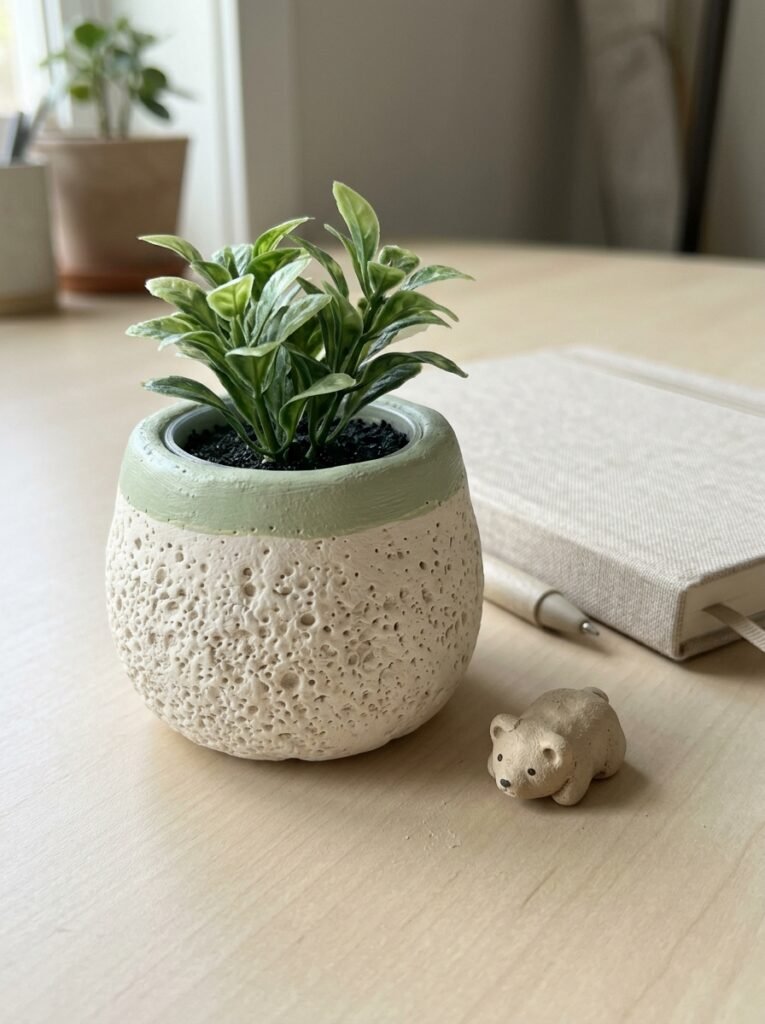
A small decorative planter adds a handmade touch to a desk or shelf. Shape the clay into a compact cup with a stable base and gently rounded sides. For a bubbly, foam-inspired texture, press a clean piece of textured foam lightly against the outside while the clay is still workable. Avoid making the walls too thin, and leave the opening wide enough to hold a small decorative item. Allow the planter to dry fully before painting it in a coordinated color. Because air-dry clay can absorb moisture, use it as an outer cover for a dry artificial plant or a separate waterproof nursery pot rather than planting directly into it
19. Personalized Clay Name Tags and Gift Charms
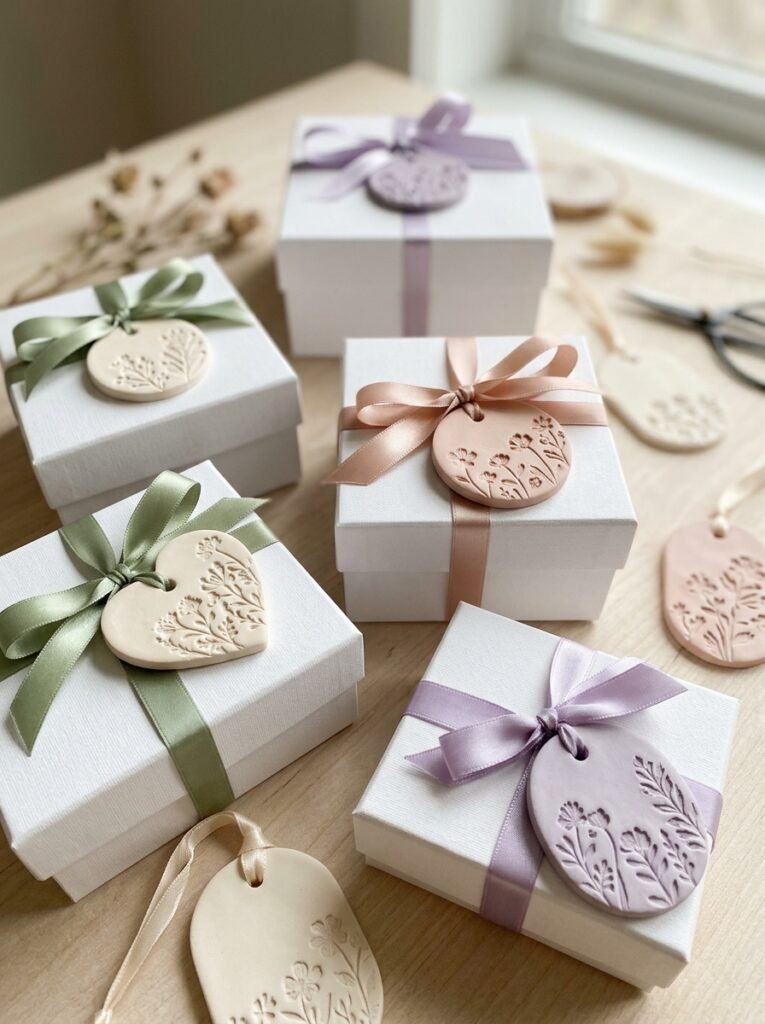
Personalized clay tags are a lovely way to create meaningful handmade gifts. Roll out a small piece of clay and shape it into a circle, heart, star, or rounded rectangle. Make a small hole near the top before drying, then add a simple initial, a shallow decorative pattern, or a small raised flower. After the tag dries completely, paint it in colors that match the gift or recipient’s style. Attach ribbon or suitable cord through the hole and use the tag on a gift box, storage basket, or decorative package. Keep the tag thick enough to resist cracking and avoid using it where it will be exposed to moisture.
How to Make Air-Dry Clay Crafts Step by Step
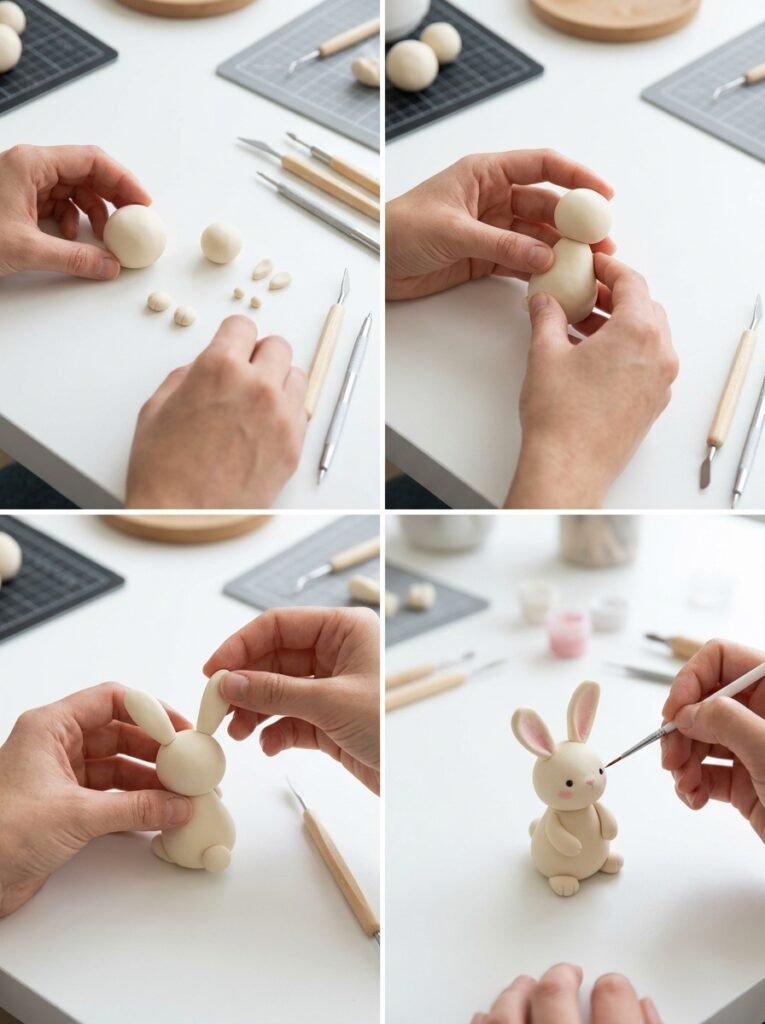
Most beginner clay projects use the same basic techniques. Once you learn how to prepare, shape, and finish the clay, you can adapt those skills to animals, keychains, dishes, and seasonal decorations.
Materials You Will Need
- Air-dry clay suitable for your project
- A clean, smooth work surface
- A small rolling pin or smooth cylindrical tool
- Clay sculpting tools or toothpicks
- A little water, if recommended for your clay
- Acrylic paint and compatible brushes, optional
- Suitable adhesive and keychain hardware, where needed
- A covered container or package for unused clay
Step 1: Prepare the Clay
Take a small amount of clay and knead it gently until it feels workable. Follow the manufacturer’s instructions and keep unused clay covered so it does not dry prematurely. Starting with a small amount makes shaping easier and helps you avoid wasting material.
Step 2: Shape the Main Form
Roll the clay into a ball, flatten it into a disk, or form it into an oval or cone. For animals, begin with the body and head. For a trinket dish, start with a flattened circle and gently shape the sides upward. Keep the thickness reasonably even.
Step 3: Add Small Details
Attach ears, paws, petals, or other decorative features while the clay is still workable. Smooth the joins gently and use a sculpting tool to create fine details. Avoid adding too many tiny pieces to a design that needs to remain sturdy.
Step 4: Let the Clay Dry Completely
Place the finished piece on a clean, suitable surface and follow the product’s drying instructions. Drying time varies with thickness, room conditions, and the clay formula. Do not rush the process with an unsuitable heat source, as uneven drying can cause cracking.
Step 5: Paint and Finish
When the clay is fully dry, smooth any rough areas if appropriate and remove the dust. Add compatible paint or a suitable protective finish if desired. Follow the product instructions and allow every layer to dry completely before using or displaying the craft.
Printable Instructions for Easy Air-Dry Clay Crafts
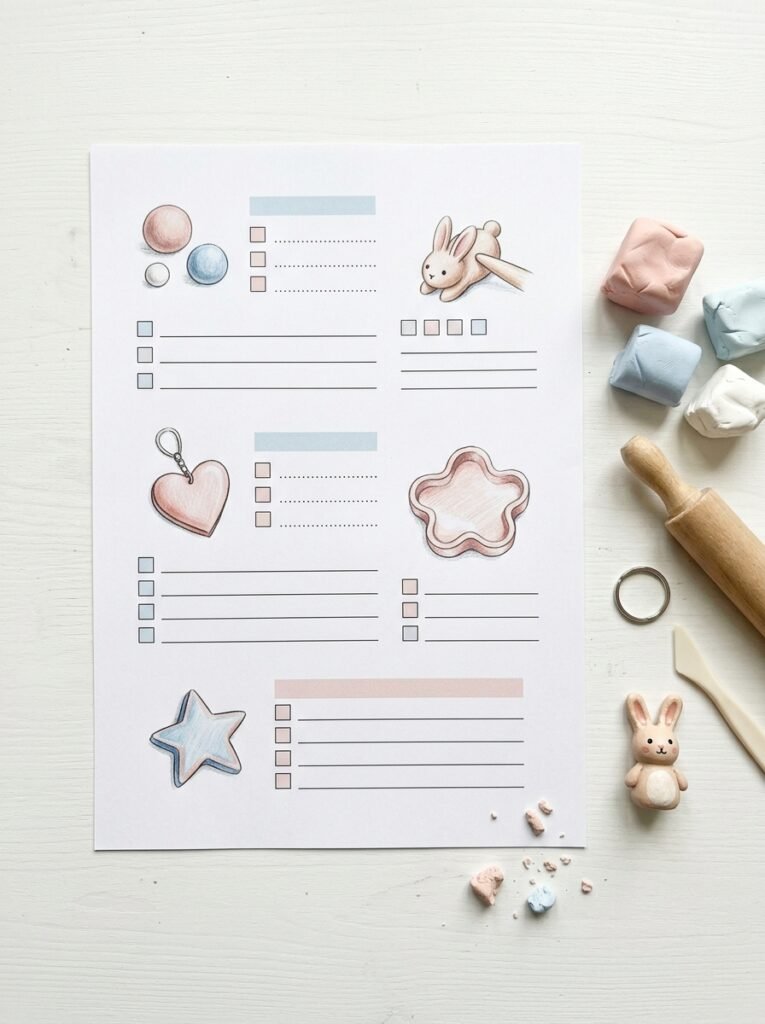
Use this checklist as a quick reference when making several clay projects or planning a craft activity for kids.
Beginner clay craft checklist
- Choose a simple design and gather your materials.
- Knead a small amount of clay until workable.
- Shape the main body or base.
- Add smaller details and smooth the joins.
- Check that the piece is stable and not too thin.
- Let the craft dry according to the product instructions.
- Paint or decorate it only after it is fully dry.
- Attach hardware or other components securely.
- Check for cracks, sharp edges, or loose parts.
- Store the finished object in a dry place.
Quick project guide
| Clay project | Main technique | Suggested use |
|---|---|---|
| Mini animals | Joining simple shapes | Shelf decorations |
| Trinket dish | Flattening and shaping edges | Jewelry storage |
| Keychain | Compact sculpting and hole-making | Bag accessory |
| Fridge magnets | Flat shapes and secure magnets | Kitchen decoration |
| Worry stone | Smoothing and thumb indentation | Tactile desk accessory |
| Christmas ornaments | Cutting and adding a hanging hole | Seasonal decor |
| Tic-tac-toe game | Flat board and small pieces | Decorative game |
| Mini planter | Building a stable hollow form | Artificial plants |
Helpful Tips for Better Air-Dry Clay Crafts
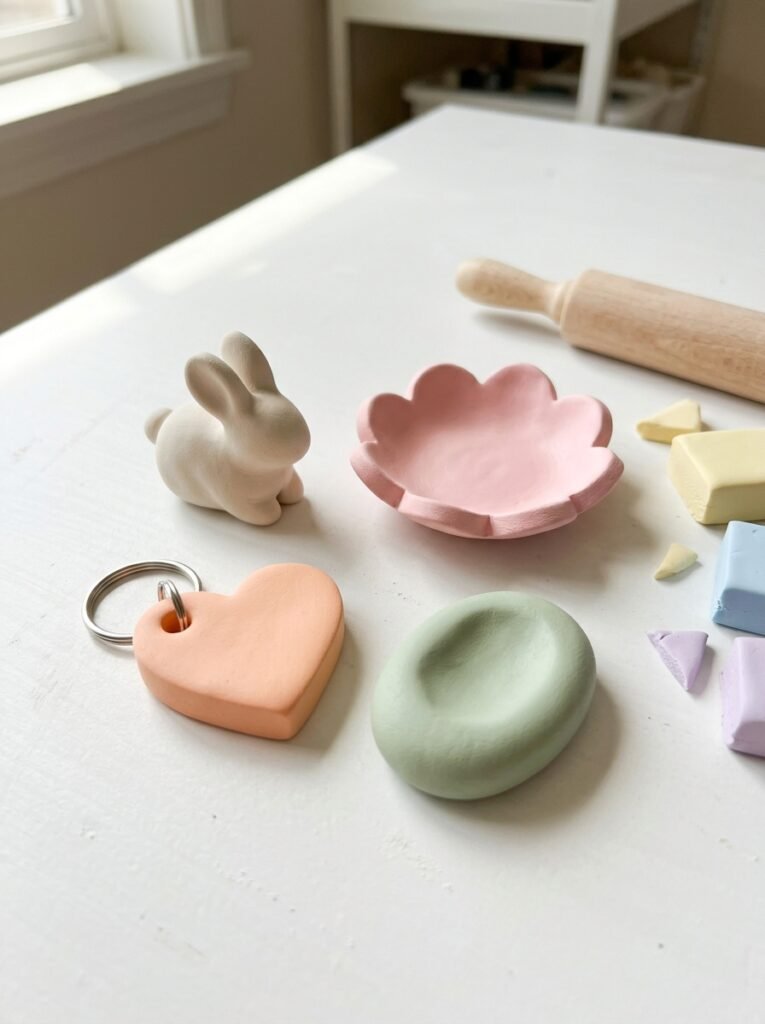
Keep Your Shapes Simple
Start with circles, ovals, hearts, stars, and other basic forms. These are easier to control and can be combined to create animals, food miniatures, and decorative objects. Once you feel comfortable with simple shapes, try adding more detailed features.
Avoid Making Pieces Too Thin
Thin ears, tails, stems, and edges can break more easily after drying. Keep delicate parts proportionate to the body and support them while shaping. For jewelry holders or planters, use a stable base and reasonably even walls.
Prevent Cracks During Drying
Follow the clay manufacturer’s drying guidance. Thick pieces may take longer to dry than thin ones, so avoid rushing the process. Smooth joins while the clay is workable and check the object as it dries. If cracking occurs, follow the manufacturer’s recommendations for repair.
Use Paint and Finishes Carefully
Only paint the clay once it is fully dry. Choose paint and sealants that are compatible with the material, and follow their instructions. A decorative finish does not automatically make air-dry clay waterproof, food-safe, or suitable for outdoor use.
Make Functional Objects with Care
Trinket dishes, jewelry holders, and small planters can be useful, but they may be fragile or moisture-sensitive. Keep them dry, avoid excessive weight, and use a separate waterproof inner pot when displaying living plants. Do not use ordinary air-dry clay dishes for food unless the exact product and finish are specifically rated for food contact.
Choose Age-Appropriate Projects for Kids
Children can enjoy shaping animals, stars, hearts, and other simple designs. Use suitable materials, supervise tool use, and keep small pieces away from children who may put them in their mouths. Follow the product’s age guidance and wash hands after crafting.
Build a Coordinated Collection
Choose a consistent palette such as blush pink, sage green, cream, and lavender to make your crafts look coordinated. Group matching pieces together, photograph them in bright natural light, and store them carefully so they do not chip. This makes it easier to create a polished handmade collection.
Final Thoughts
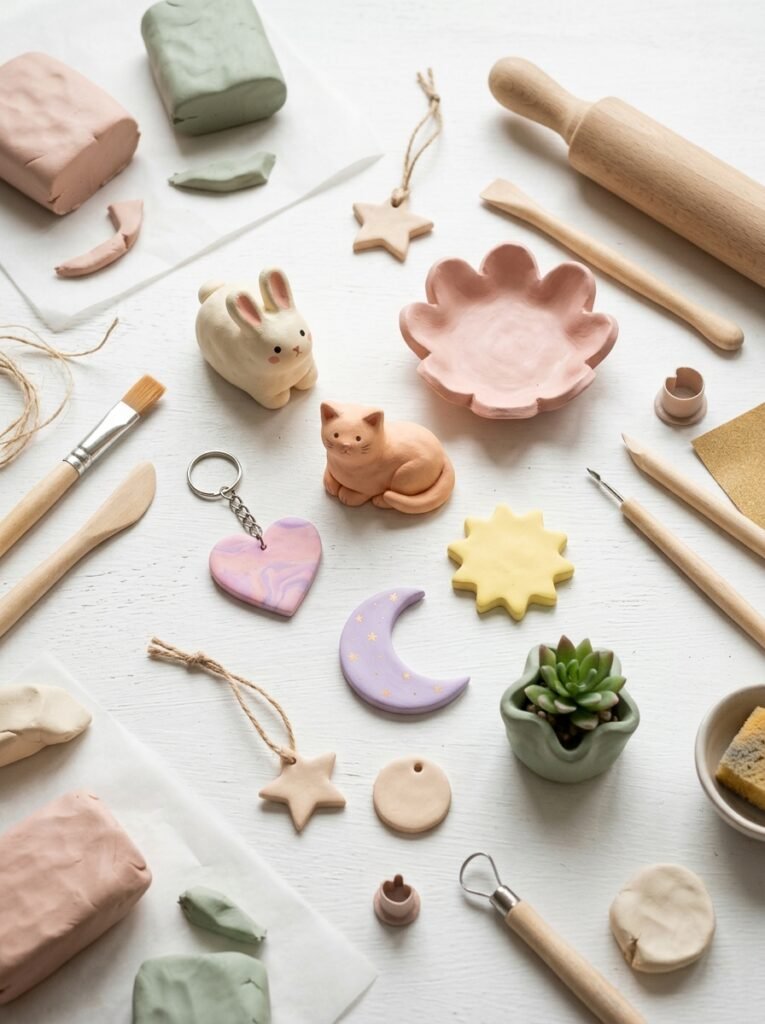
Air-dry clay offers countless ways to create cute decorations, miniature animals, personalized accessories, and practical objects. From flower-shaped trinket dishes and small animal keychains to Halloween ghosts, Christmas ornaments, and functional jewelry holders, you can find a project for almost every style and skill level. The best air dry clay ideas easy for beginners are those that start with simple shapes and leave room for experimentation. Choose one small project, work slowly, and give your clay enough time to dry. As you gain confidence, try combining colors, adding textures, and creating matching sets. Whether you are crafting for yourself, spending creative time with kids, or making thoughtful handmade gifts, these projects can turn a small amount of clay into something special. Keep your designs simple, enjoy the process, and let your creativity guide your next idea.