

This post may contain affiliate links. Please read my disclosure policy.
In This Article Show
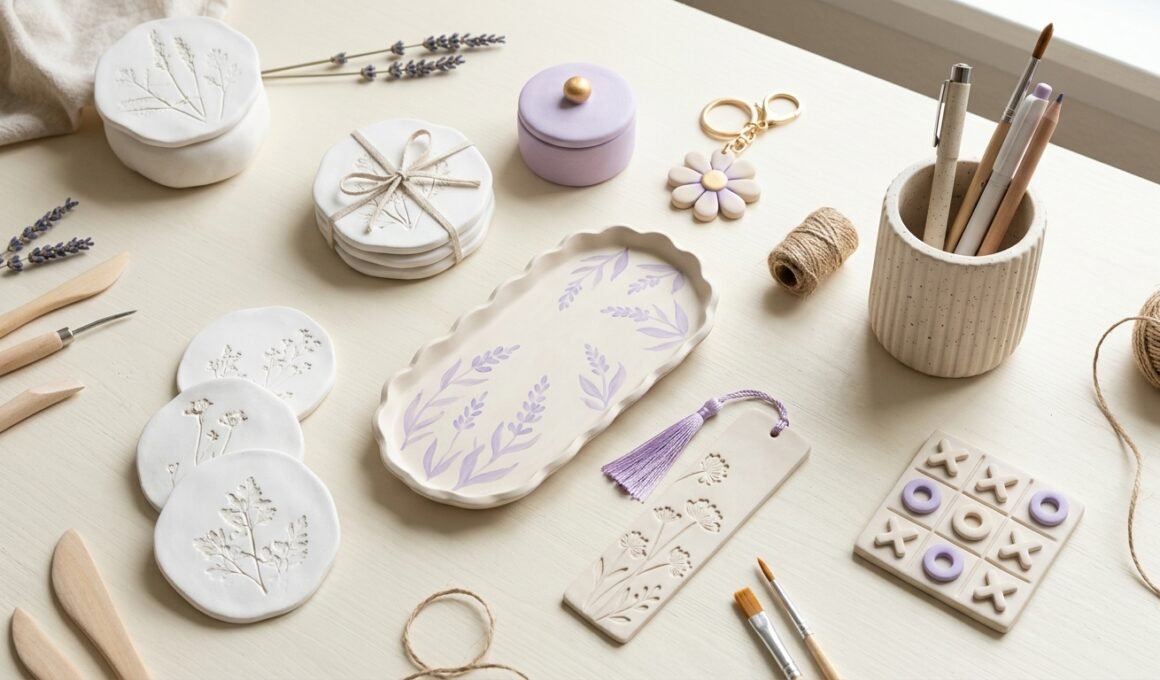
Air-dry clay is a wonderful material for making handmade items that look beautiful and serve a real purpose. You can turn a simple piece of clay into a coaster, jewelry box, keychain, cup-shaped pencil holder, decorative tray, or even a small board game. Unlike traditional pottery clay, air-dry clay usually hardens at room temperature, so you do not need a pottery kiln. This makes it a convenient choice for beginners, students, and anyone who enjoys creative projects at home. These air dry clay ideas useful are designed to combine creativity with everyday function. Instead of making decorations that simply sit on a shelf, you can create things that help organize your room, protect your desk, store small accessories, or make thoughtful handmade gifts. You can use white clay for a clean minimalist look, purple and pastel paints for a cute finish, or colorful patterns for a playful design. Most projects require only a few basic supplies: air-dry clay, a rolling pin, sculpting tools, acrylic paint, and a suitable sealant. The key is to choose the right shape, keep the clay thickness even, and let each piece dry completely before painting. Here are 18 useful ideas, with detailed explanations and individual image prompts to help you create attractive, practical crafts.
1. Handmade Clay Coasters
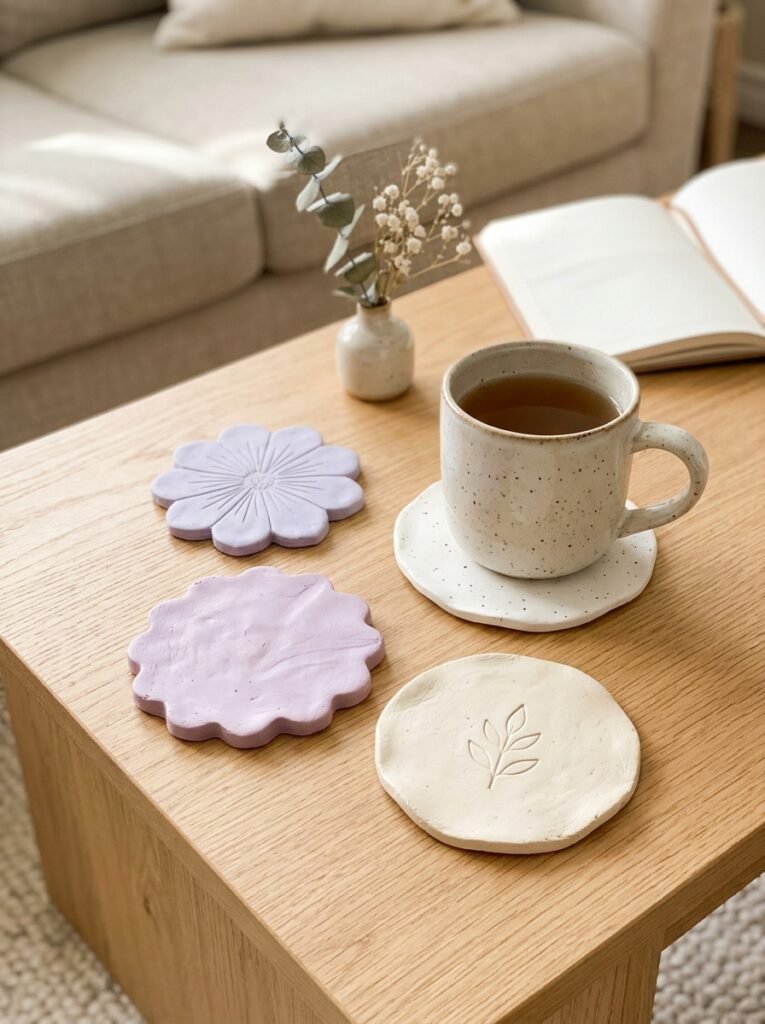
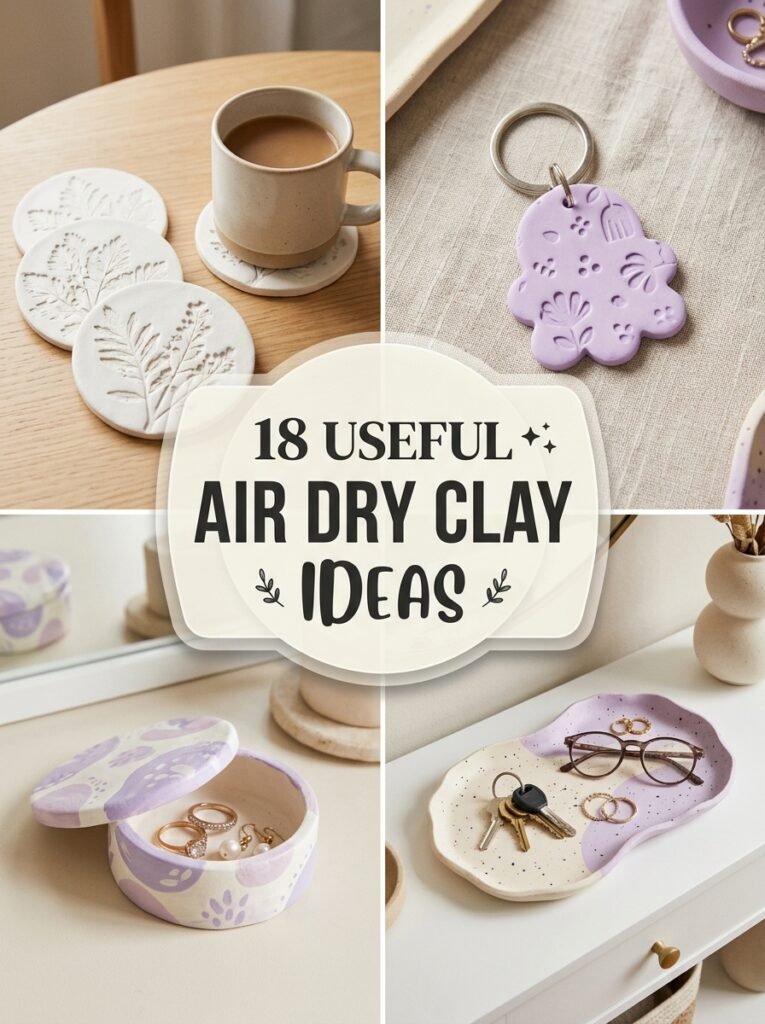
Clay coasters are useful for protecting tables and desks from everyday cup marks. Roll the clay into an even sheet, then cut out circles, squares, or flower shapes. Smooth the edges and add a simple pattern using a sculpting tool or the end of a pencil. Once the coaster is fully dry, paint it white, purple, or in soft pastel shades. You can make a matching set of four coasters as a housewarming gift. Remember that ordinary air-dry clay is not automatically waterproof or heat-resistant, so use a compatible protective finish and avoid placing very hot mugs on it.
2. Cute Clay Keychains
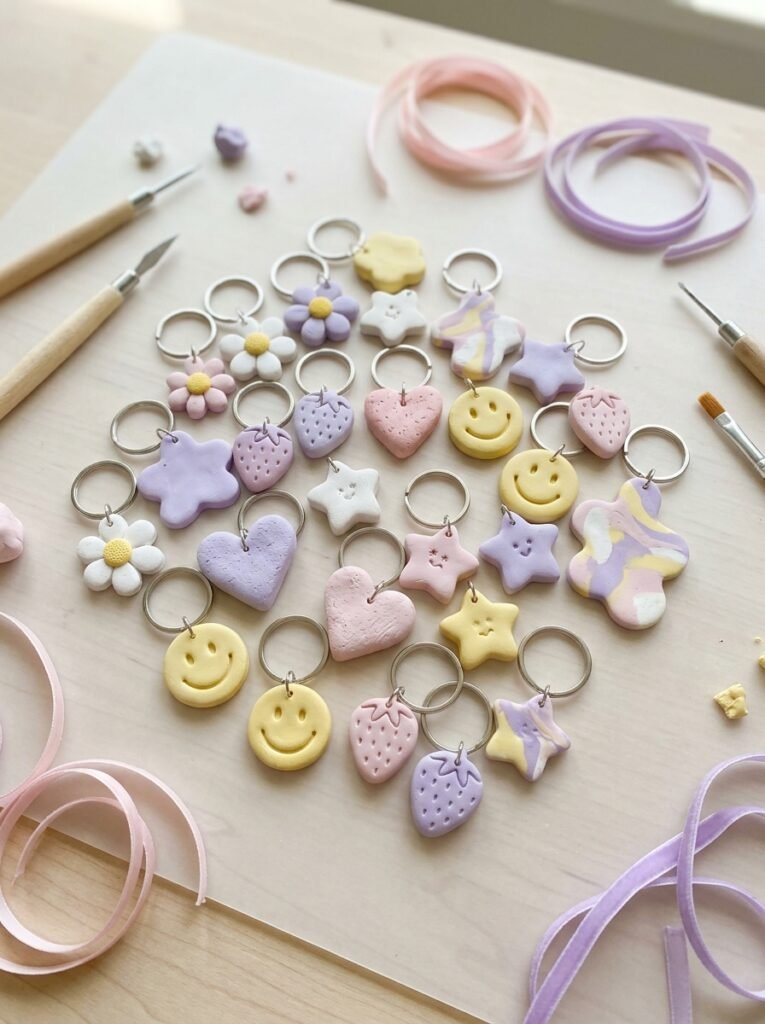
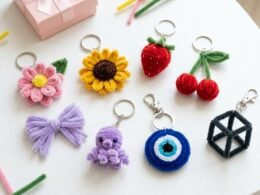
Clay keychains are small, easy projects that you can customize for your bag, keys, or backpack. Shape the clay into hearts, stars, flowers, clouds, initials, or miniature food designs. Before the clay dries, create a small hole near the top, leaving enough material around it so the charm does not break easily. Paint the finished shape with acrylic colors and attach a metal key ring once everything is completely dry. You can make matching keychains for friends or create personalized gifts for birthdays and special occasions.
3. Simple Clay Jewelry Box
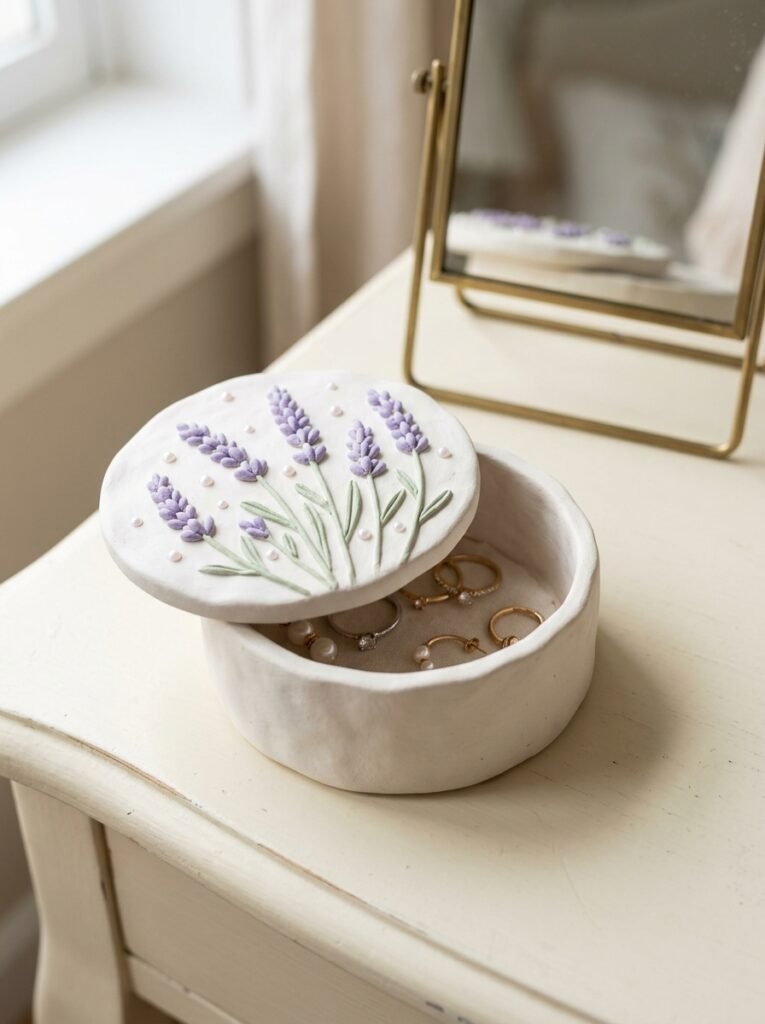
A small clay jewelry box helps keep rings, earrings, and other tiny accessories in one place. Make a shallow rectangular or rounded base and create separate walls from evenly rolled clay. For the lid, make a second flat piece that fits over the box without being too tight. You can decorate the top with a raised flower, a heart, or a simple geometric design. White clay with a lavender flower looks especially elegant. Allow all parts to dry thoroughly and check the lid fit before painting. This project is useful for a bedside table or dressing area.
4. Clay Cup-Shaped Pen Holder
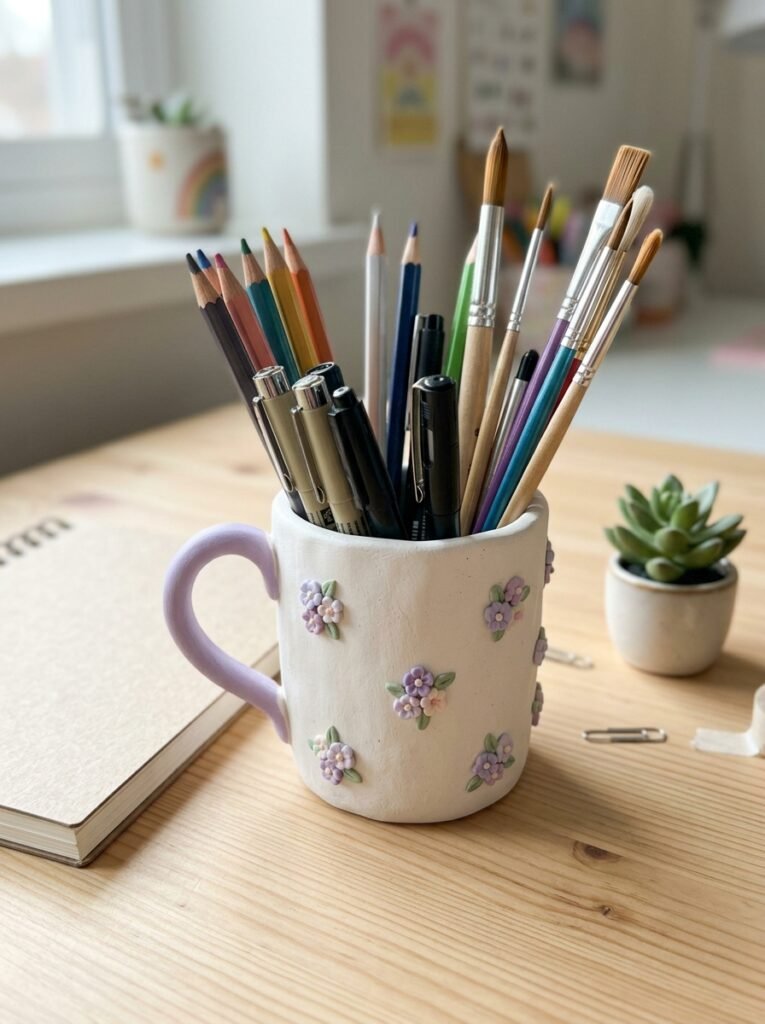
A cup-shaped clay holder is a practical way to organize pens, pencils, markers, and small paintbrushes. Build a sturdy cylindrical shape with a flat base and walls of even thickness. You can shape a small decorative handle on the side or keep the design simple for a modern look. Add raised dots, tiny flowers, or curved lines before the clay begins to dry. After the piece hardens completely, paint it in white, purple, or a combination of two colors. Use it only for stationery or dry tools rather than drinking, because ordinary air-dry clay is not food-safe or waterproof.
5. Useful Clay Tray for Everyday Items
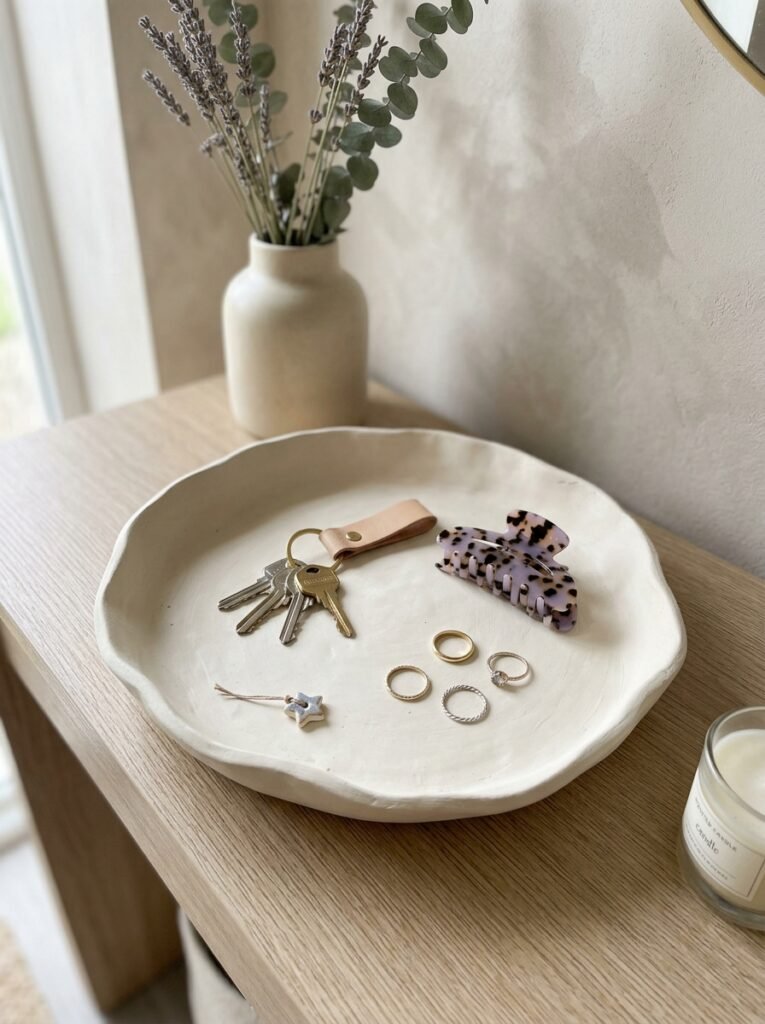
A clay tray can keep your everyday essentials organized instead of scattered across a table. Roll out a smooth sheet of clay, cut it into a rectangle, oval, or circle, and gently raise the edges. A wavy rim creates a decorative look, while a straight edge feels more minimalist. Once the tray is fully dry, paint it in white, cream, or soft purple. Use it for keys, hair clips, rings, or small desk accessories. Avoid prolonged contact with water, and do not use an ordinary clay tray for food unless the entire material and finish are specifically certified for food contact.
6. White Clay Bookmarks
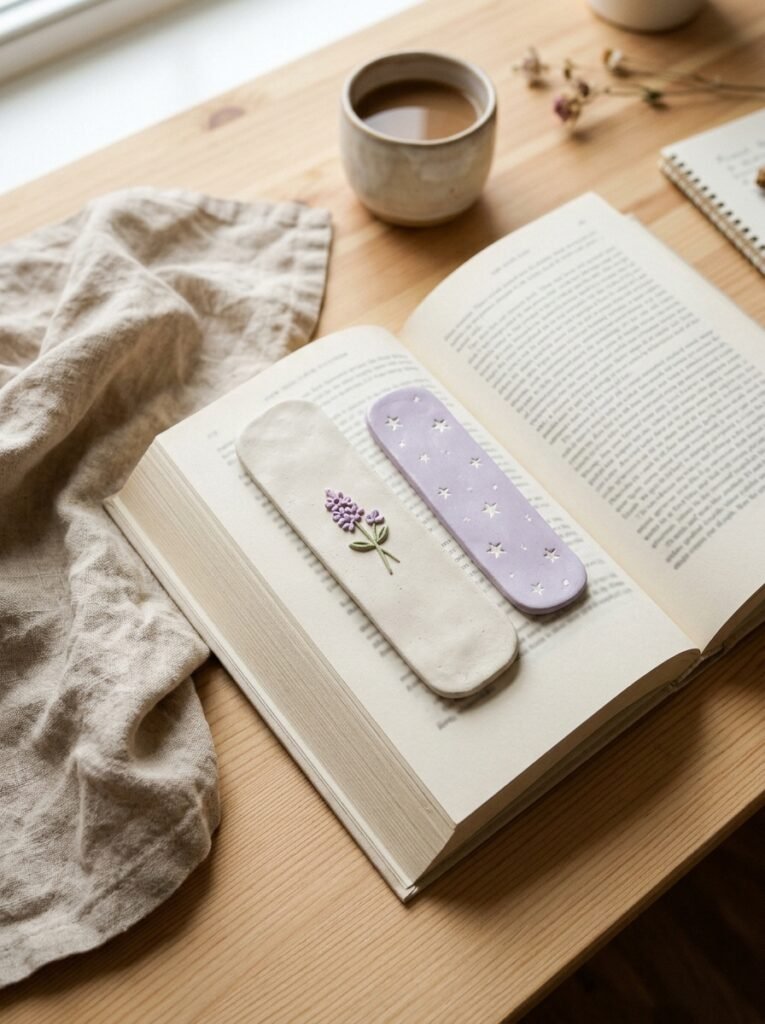
A flat clay bookmark can make a thoughtful gift for someone who loves reading. Create a slim, rounded rectangle from clay and decorate one end with a tiny raised flower, moon, star, or book-inspired symbol. Keep the piece lightweight and avoid making it too thick, since a heavy bookmark may damage delicate pages or place too much pressure on the book. Smooth the edges carefully and let it dry completely before painting. You can add a ribbon through a hole at the top if the clay is strong enough. White with a small purple accent creates a clean, modern finish.
7. Easy Clay Box for Small Things
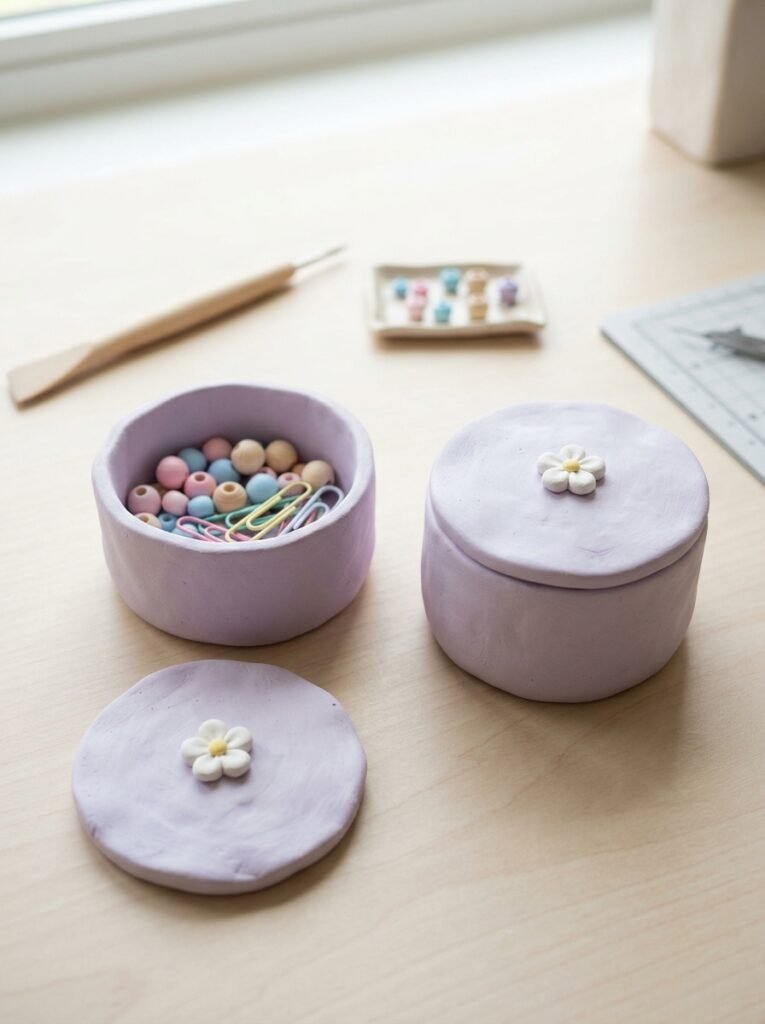
A small clay box is perfect for storing paper clips, beads, hair ties, tiny craft supplies, or other small things. Make a sturdy base, build up the sides, and create a separate lid if you want to keep the contents covered. You can choose a square, oval, or rounded shape depending on where you plan to use it. Add small raised dots or a simple flower on top to make the box more attractive. This is one of the most useful air dry clay ideas useful for keeping a craft desk or dressing table tidy.
8. Purple Clay Ring Holder
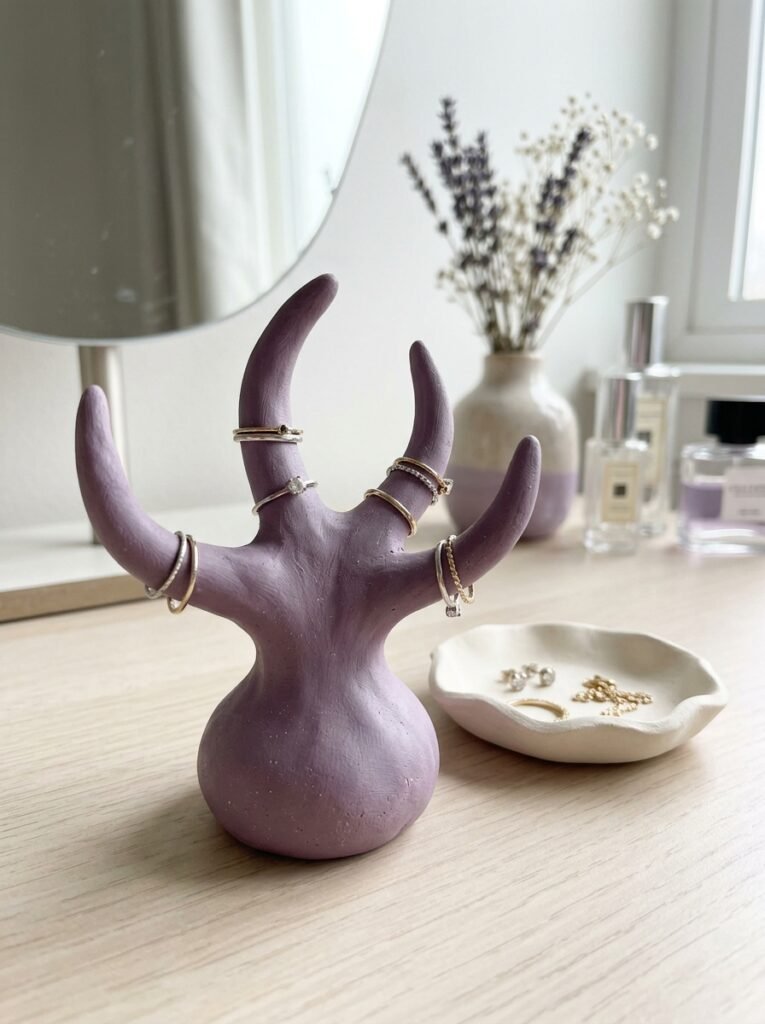
A ring holder is a simple project that can make a dressing table look more organized. Shape a small cone with a flat base, or create a rounded stand with several short upward curves for holding rings. Purple clay works beautifully for this design, especially when combined with white details or a subtle pearly finish. Keep the base wide enough so the holder does not tip over. Once fully dry, place your rings on the stand and keep it beside your jewelry box. You can also make a matching white tray to create a coordinated set.
9. Clay Christmas Ornaments
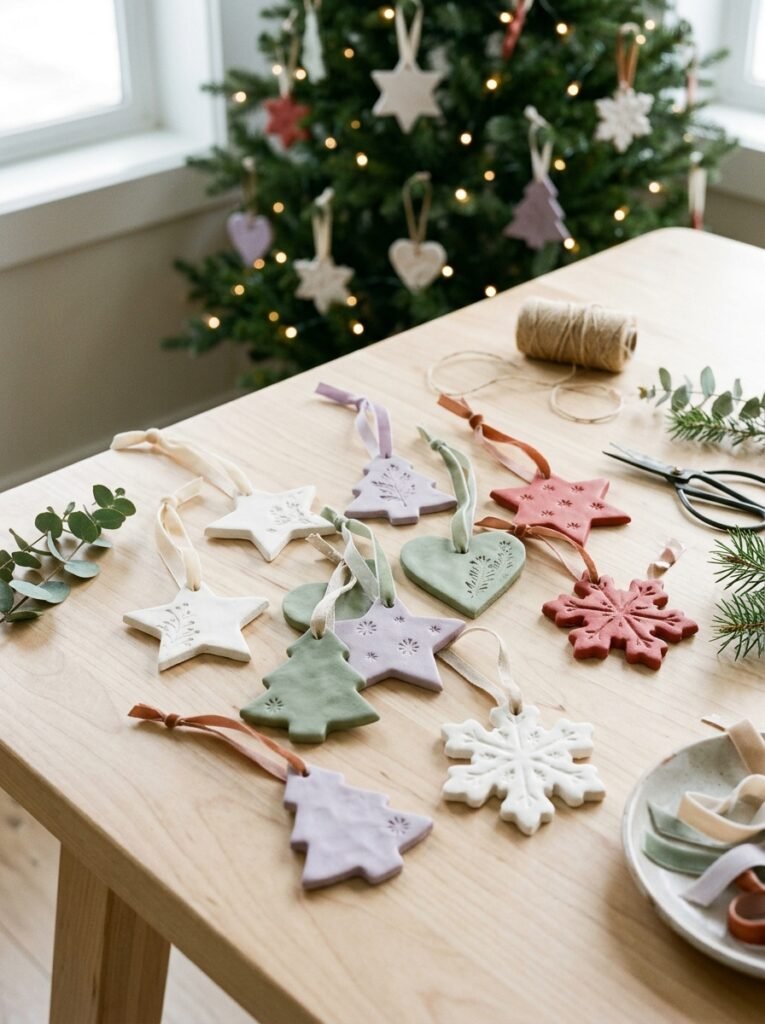
Handmade Christmas ornaments are lovely decorations for a tree, gift packages, or a seasonal display. Roll out the clay and use cutters to make stars, trees, hearts, snowflakes, or simple gingerbread-inspired shapes. Create a small hanging hole before the clay dries, then paint the ornaments in white, green, red, or soft purple. Add simple dots, stripes, or small raised decorations for extra detail. Let each piece dry completely before threading ribbon through the hole. Keep the designs lightweight and avoid hanging fragile ornaments where they could fall and break.
10. Clay Glasses Holder
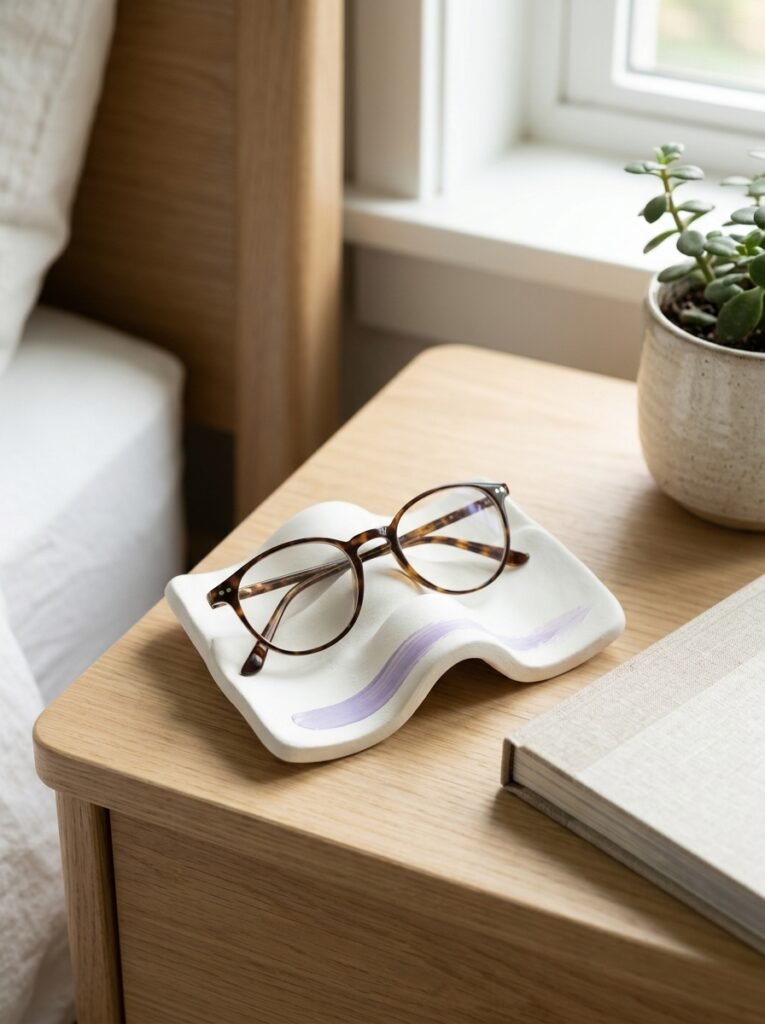
A decorative glasses holder can help keep reading glasses or sunglasses in one easy-to-find place. Make a stable base and sculpt a simple stand with two curved supports that gently hold the glasses frame. Keep the contact points smooth so they do not scratch the glasses. Before painting, test the shape with an inexpensive pair of glasses to make sure it balances properly. A white or pale purple finish looks clean on a bedside table or office desk. Ensure the holder is fully dry and strong enough before using it to support your glasses.
11. Cute Clay Plate for Decorative Storage
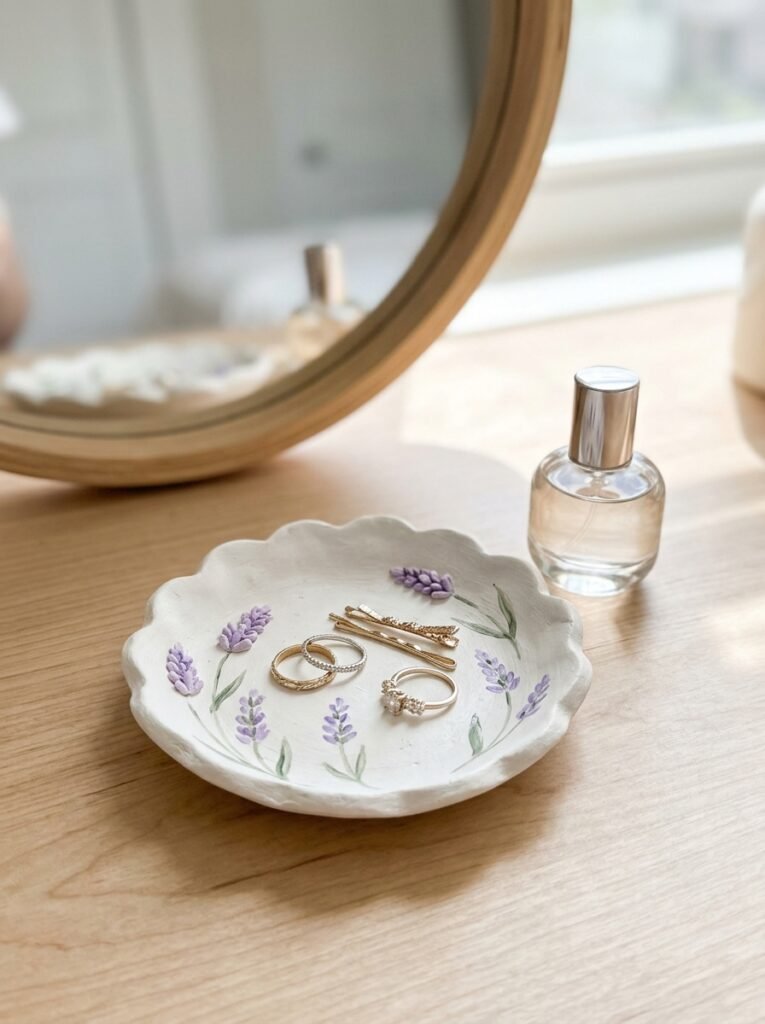
A small clay plate can hold rings, earrings, hair accessories, or other dry decorative items. Roll the clay into a flat circle and raise the edges slightly to create a shallow dish. Add a scalloped border, a tiny flower, or a few painted dots to personalize it. White clay with a delicate purple rim gives the plate a fresh, modern appearance. Although it may look like a miniature serving plate, ordinary air-dry clay is not suitable for food contact unless the clay and finish are explicitly certified for that purpose. Use it as a decorative storage dish instead.
12. Simple Clay Games and Tic-Tac-Toe
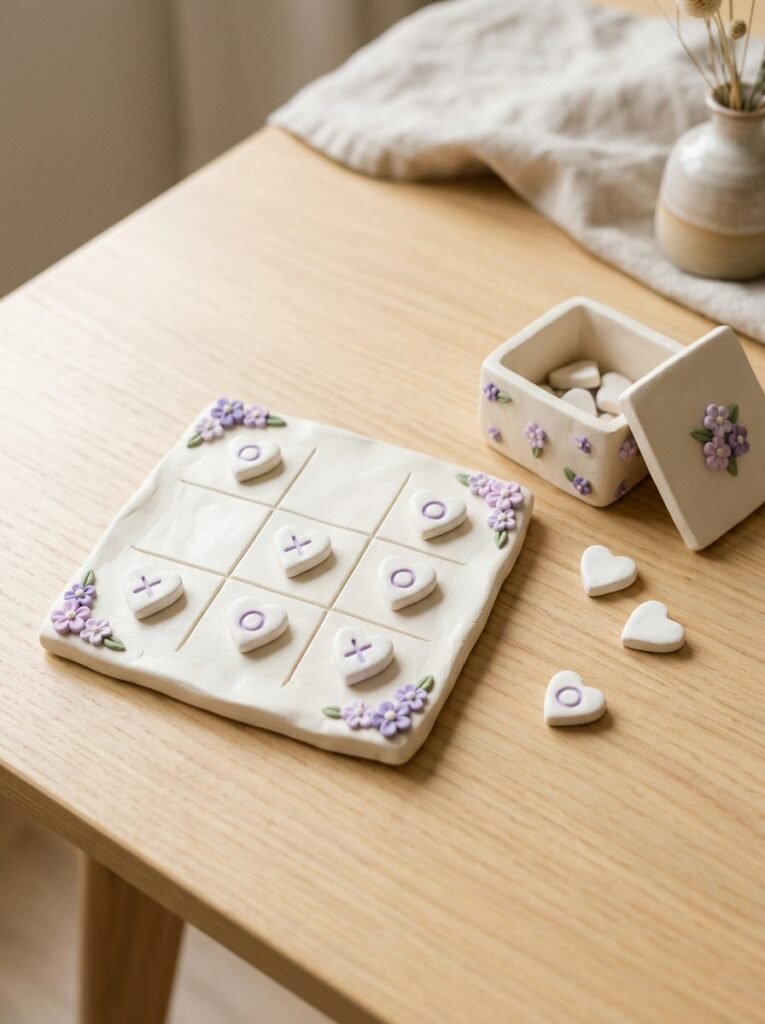
A handmade tic-tac-toe set is a fun project that combines crafting and play. Create a flat square board and mark nine spaces with shallow lines. Then make two sets of small pieces, such as purple flowers and white hearts, or stars and moons. Keep the game pieces thick enough to handle easily, and allow everything to dry fully before painting. Store the pieces in a matching clay box or small pouch. This set can be used for a family game night, placed on a study table, or given as a handmade gift. Small pieces should be kept away from young children who may put them in their mouths.
13. Soft Clay Bookends
Small clay bookends can help keep notebooks and thin books upright on a shelf. Create two matching solid forms, such as rounded arches, abstract blocks, or simple geometric shapes. Make sure each piece has enough thickness and weight to support the books you intend to use. Smooth the edges and leave the pieces white for a minimalist look, or paint a small purple accent on the front. Since air-dry clay can chip or break under pressure, avoid making the bookends too thin or relying on delicate projecting parts. Test them with a few lightweight books before adding more.
14. Clay Kitchen Labels and Decorative Tags
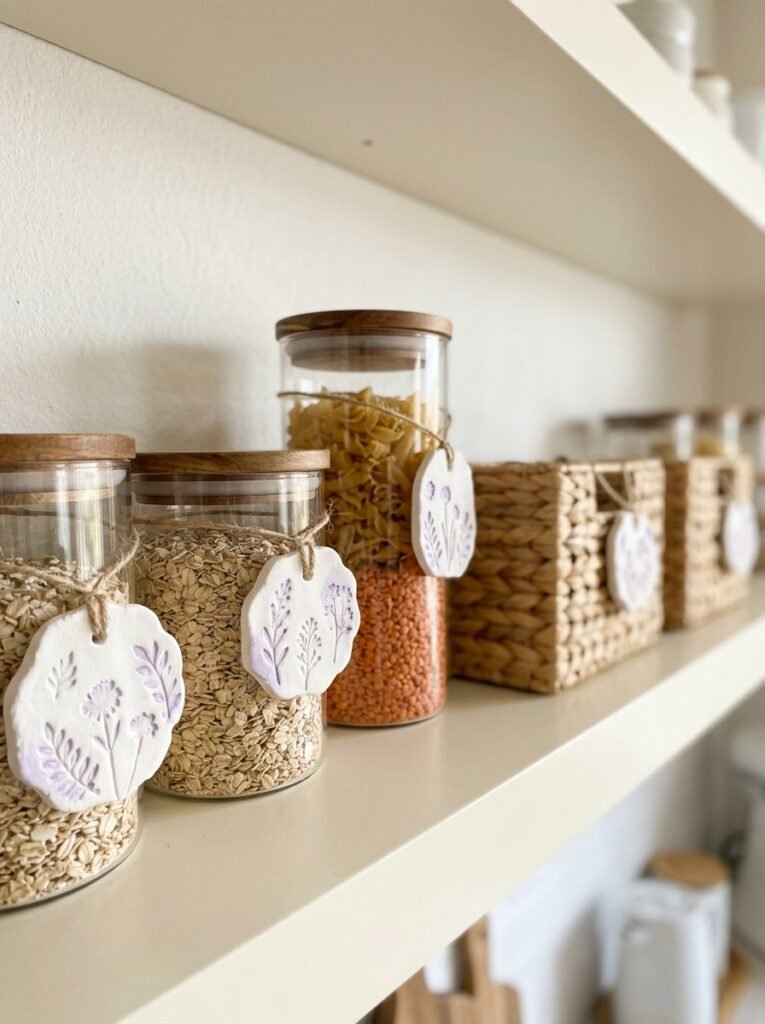
Clay tags can help organize jars, baskets, or storage containers in your kitchen. Flatten the clay and cut out small rectangles, circles, or rounded labels. Make a hole near the top if you want to attach each tag with string. You can paint the labels white and add simple hand-lettering after the clay dries. Use them on the outside of dry-storage containers or decorative baskets rather than placing them where they will get wet. Ordinary air-dry clay is porous and not suitable for direct food contact, so keep the tags on the exterior of containers only.
15. Clay Cup-Shaped Decor for a Desk
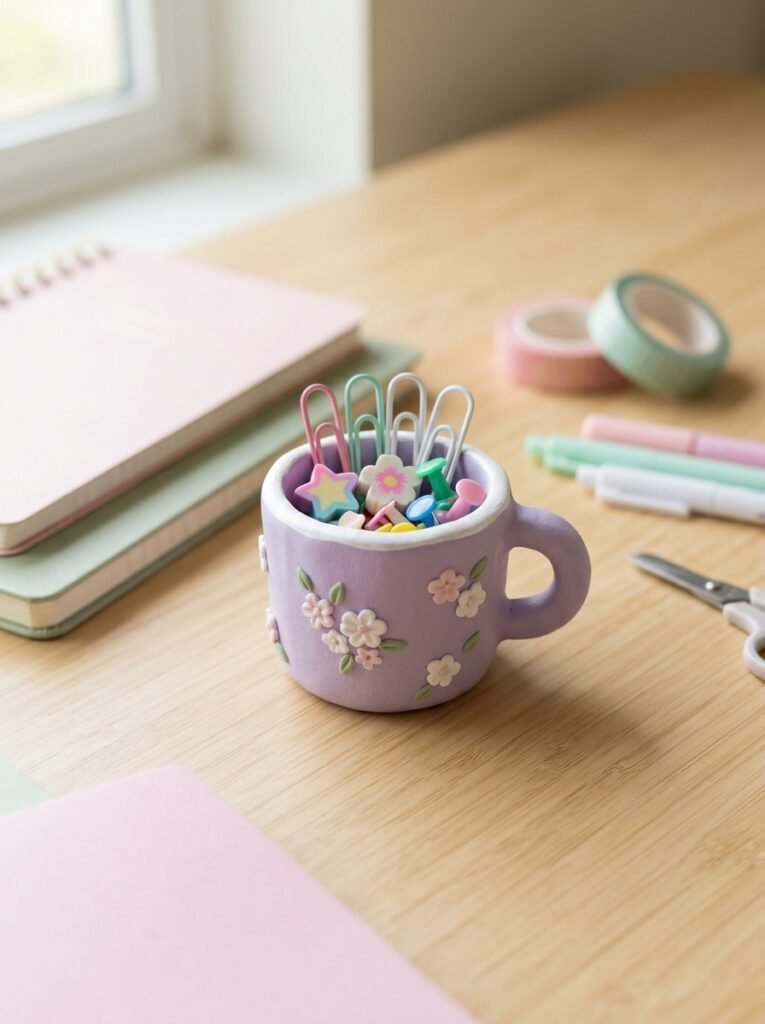
A miniature cup-shaped clay container can be useful for holding small dry objects such as paper clips, erasers, or tiny craft tools. Shape a short cylinder, add a small handle if desired, and smooth the join carefully. You can decorate it with a white flower, simple stripes, or raised dots. A lavender cup with a white rim looks cute on a study table. Unlike a real drinking cup, this decorative container should not be used for beverages because ordinary air-dry clay is not waterproof or food-safe. Use it for dry storage and keep it away from standing water.
16. Foam-Textured Clay Organizer
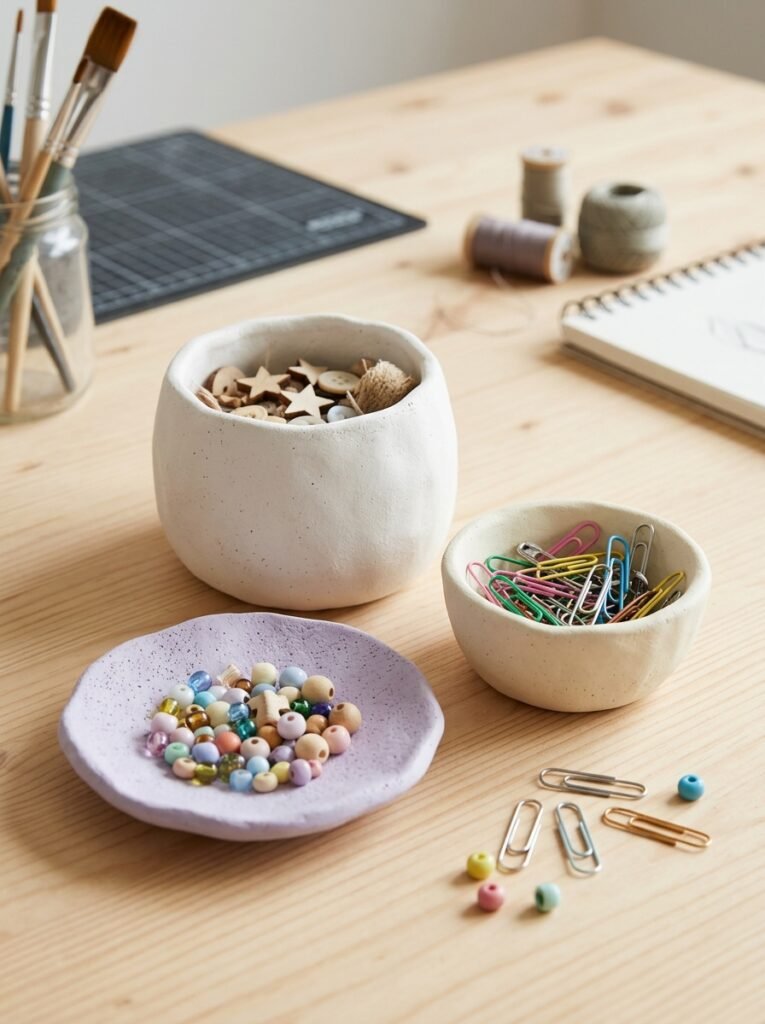
If you like soft, tactile finishes, try creating a foam-inspired texture on a small clay organizer. Form a rounded container or shallow dish and gently press a clean sponge against the surface while the clay is still workable. The sponge creates tiny irregular marks that give the object an interesting texture without requiring advanced sculpting skills. Keep the pattern shallow so the clay remains strong. Paint the finished piece white, pale purple, or cream. Use it to store dry accessories, beads, or other lightweight objects on a desk or shelf.
17. Useful Clay Phone and Charging Accessory Holder
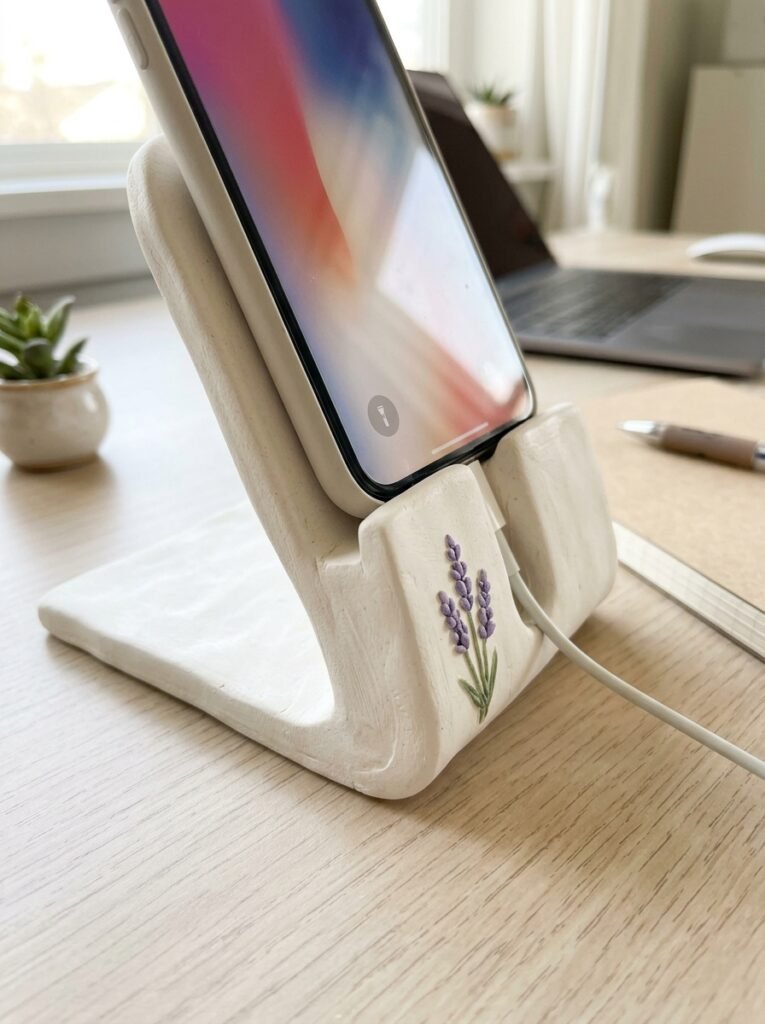
A clay phone stand can make a desk or bedside table more practical. Build a broad base, a supported back, and a small front lip to hold the phone securely at a comfortable angle. Add a gap for the charging cable if needed, but avoid making the base too thin. Decorate the stand with a small flower, a simple wave, or a clean white finish. Test its stability with your phone before regular use. Because air-dry clay may crack under stress, make the structure thick and allow it to dry fully before placing a device on it.
18. Clay Gift Box for Handmade Things
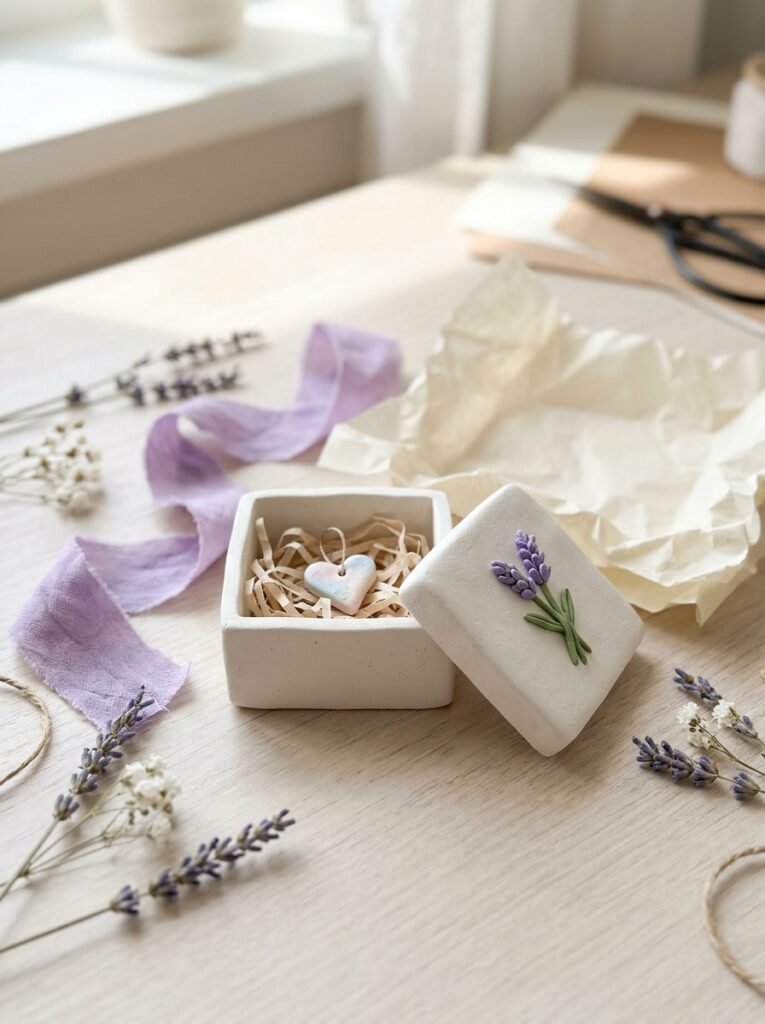
A small clay gift box is a lovely way to present a ring, charm, or other tiny handmade item. Create a simple box with a flat base, four even walls, and a separate lid. You can decorate the lid with a raised flower, a heart, or a geometric pattern. White clay with purple accents looks especially attractive for birthdays and special occasions. Because clay boxes can become fragile, keep the walls thick enough and avoid making a very large box. Use it for lightweight decorative gifts rather than heavy items.
How to Make Useful Air-Dry Clay Crafts Step by Step
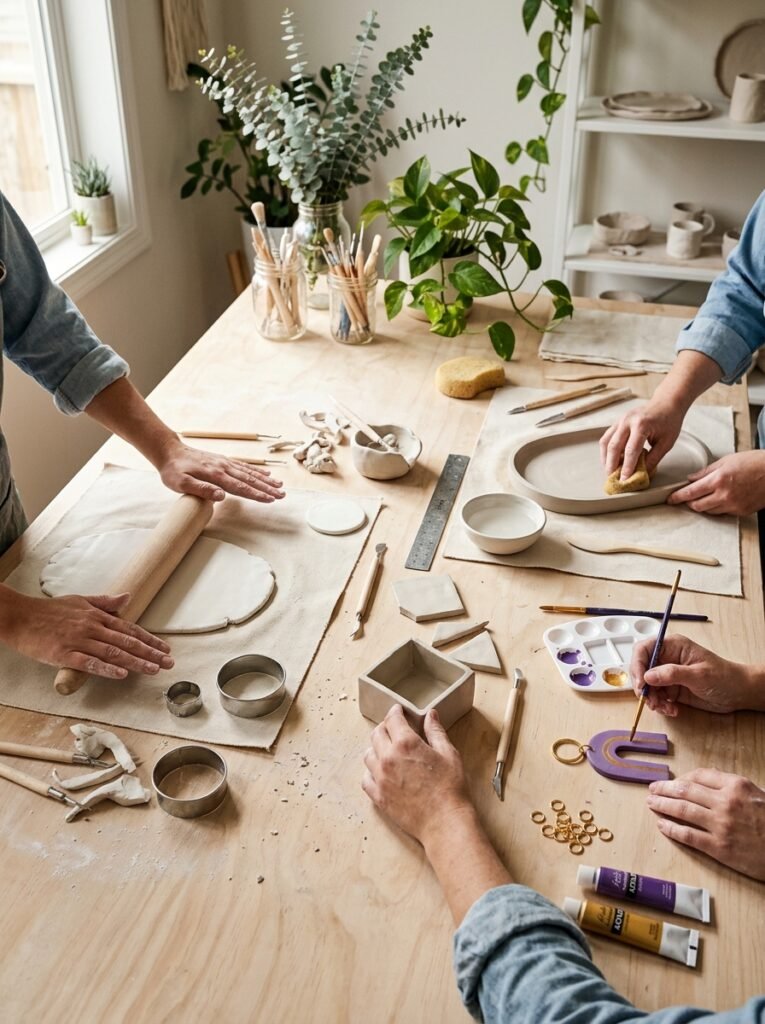
You can use this simple tutorial for most of the projects above. Start with a small design, gather your materials, and work slowly so the clay keeps its shape.
- Prepare your supplies: Gather air-dry clay, a rolling pin, sculpting tools, a craft knife, acrylic paint, and a suitable sealant.
- Condition the clay: Knead it gently until it feels smooth and easy to shape. Follow the instructions on the clay packaging.
- Make your basic shape: Roll the clay evenly, or form it by hand into a box, tray, coaster, or charm.
- Smooth the edges: Use slightly damp fingers or a suitable tool to remove rough areas without adding too much water.
- Check the structure: Make sure bases are flat, walls are supported, and holes for keychains or hanging tags are made before drying.
- Dry completely: Place the project on a suitable surface and follow the manufacturer’s drying guidance. Thick pieces may need more time than thin pieces.
- Paint and finish: Add acrylic paint only after the clay has dried fully. Apply a compatible sealant if appropriate for the intended use.
- Test before using: Check that the item is stable and strong enough for its purpose. Use decorative clay containers only for suitable dry items.
Printable Checklist for Your Clay Projects
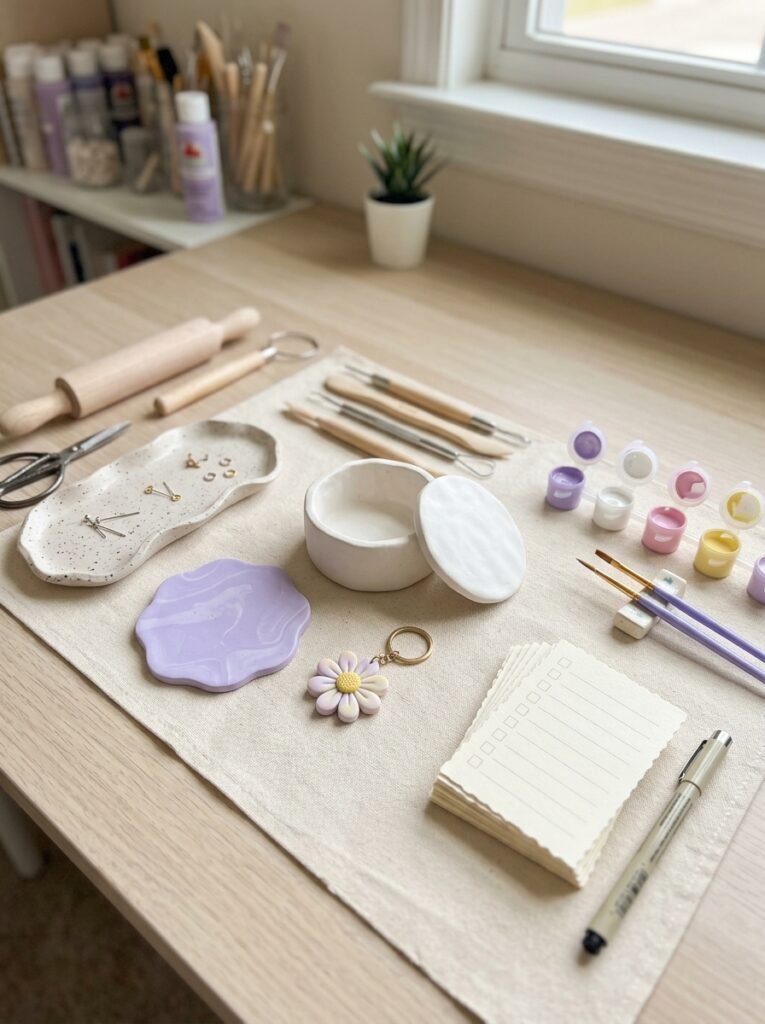
Use this checklist to prepare for your next crafting session:
- Choose a useful project and decide its size.
- Gather clay, sculpting tools, paint, and any required hardware.
- Keep the clay thickness even.
- Smooth the joins and edges before drying.
- Make holes for key rings or ribbons while the clay is workable.
- Let every part dry completely before painting.
- Add paint in thin layers and allow each layer to dry.
- Use a compatible sealant when appropriate.
- Test the finished item before using it.
- Keep clay crafts away from food, prolonged moisture, and direct heat unless the materials are specifically designed for those conditions.
Helpful Tips for Stronger, Better-Looking Crafts
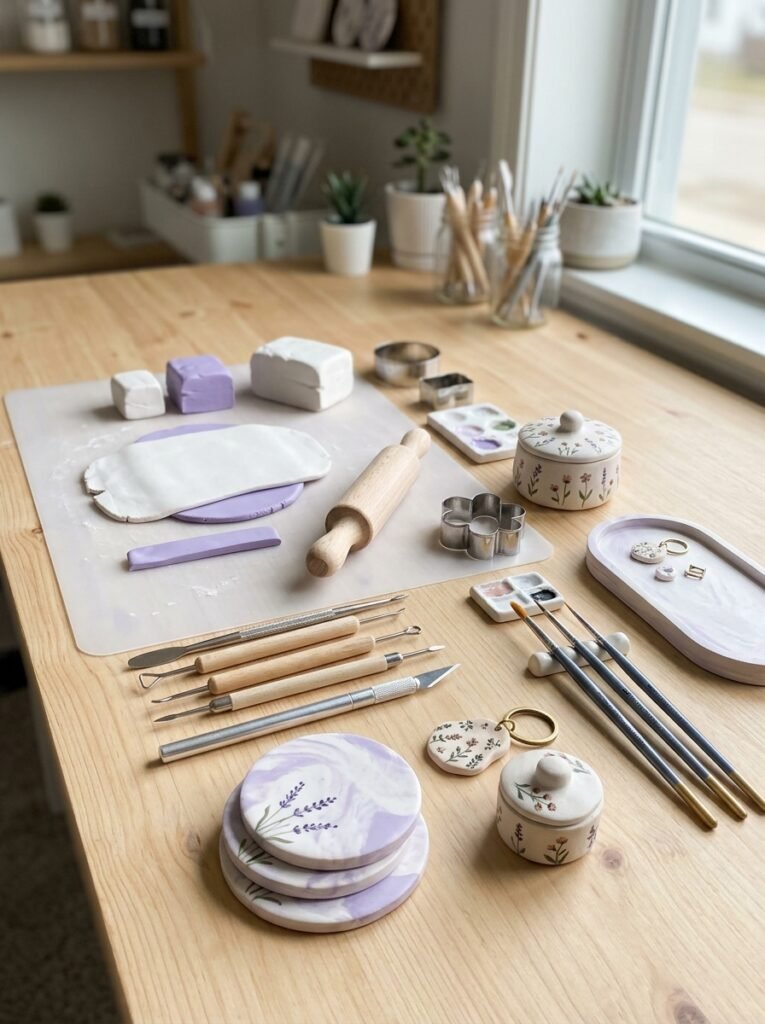
- Choose a suitable project: Start with flat coasters, small charms, or shallow trays before trying complicated containers.
- Avoid very thin edges: Thin clay can crack or break more easily, especially on keychains, boxes, and stands.
- Support larger shapes: Use a suitable temporary form while building cylindrical containers or boxes.
- Dry evenly: Follow the package instructions and avoid rushing the process with excessive heat.
- Paint after drying: This helps create a cleaner finish and reduces the chance of trapping moisture.
- Keep the design coordinated: White, lavender, cream, and soft purple work well together when making matching sets.
- Protect finished surfaces: Use a compatible sealant when needed, but do not assume that sealing makes the item food-safe, waterproof, or heatproof.
- Use crafts for the right purpose: Ordinary air-dry clay is best for decorative objects and dry storage, not for drinking cups, food plates, or direct contact with flames.
Final Thoughts
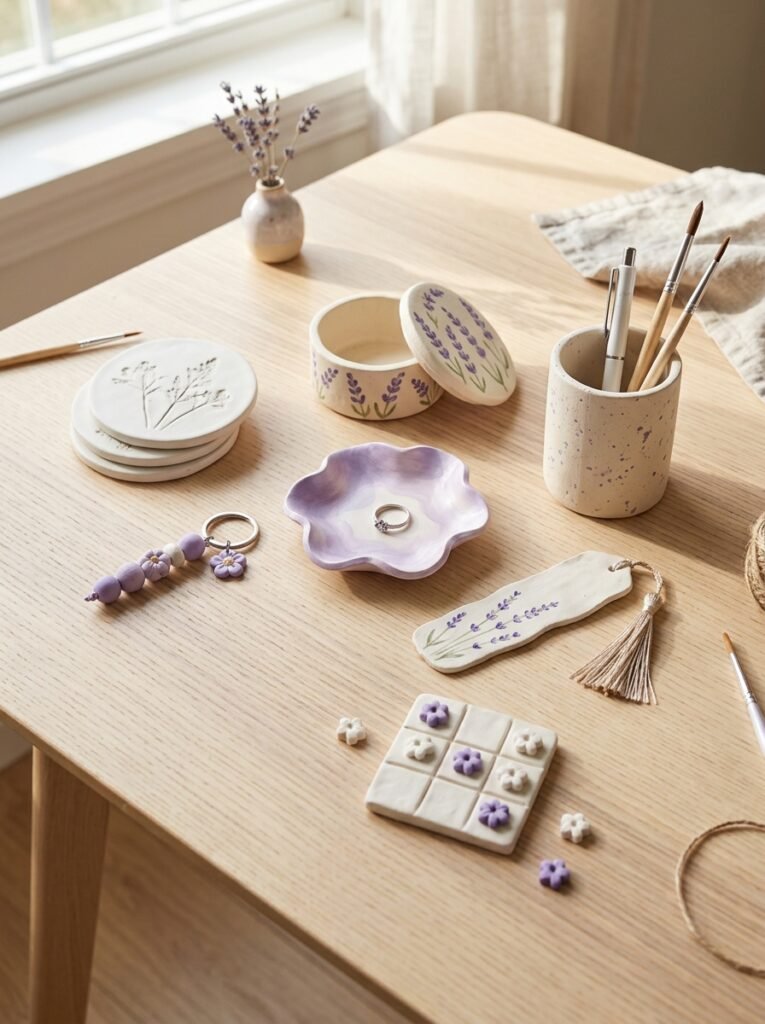
Useful clay crafts are a great way to combine creativity with everyday organization. A handmade coaster can protect a desk, a small box can keep accessories together, and a clay keychain can turn an ordinary bag into something more personal. You can also create decorative bookends, storage trays, Christmas ornaments, and playful games that make thoughtful gifts. The best air dry clay ideas useful are the ones that suit your needs and skill level. Begin with one simple project, use colors you enjoy, and give the clay enough time to dry properly. With a little patience, you can build a coordinated collection of practical handmade items for your room, kitchen storage areas, desk, or gift box.