
This post may contain affiliate links. Please read my disclosure policy.
In This Article Show
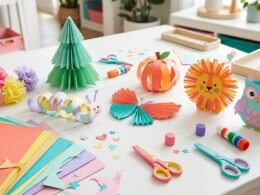
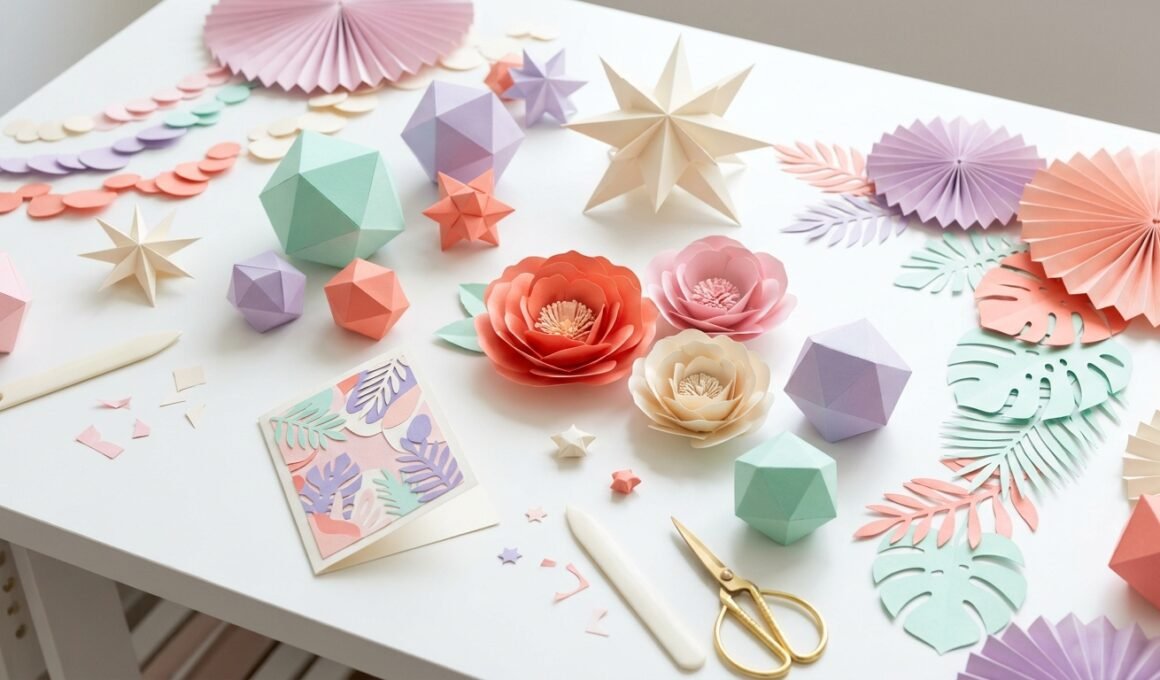
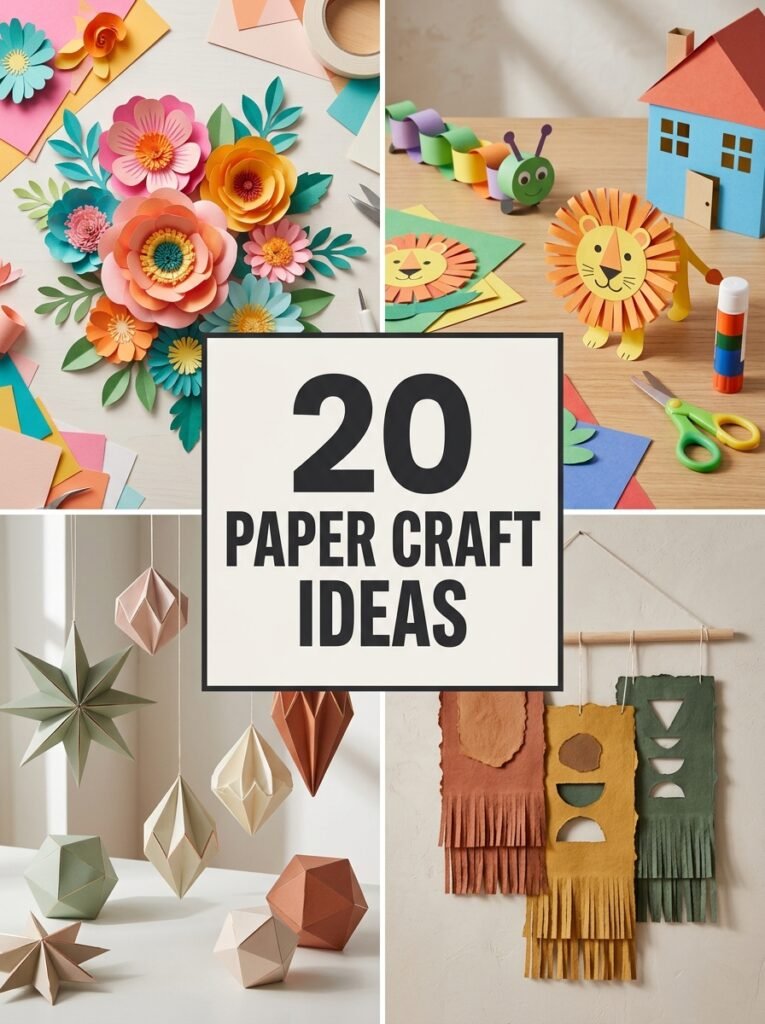
Paper crafts are a wonderful way to turn simple materials into beautiful decorations, handmade gifts, and creative projects for all ages. Whether you enjoy colorful flowers, cute characters, seasonal decorations, or DIY wall hangings, paper gives you endless possibilities without requiring expensive supplies. With construction paper, tissue paper, crepe paper, scissors, glue, and a few printable templates, you can create projects that look polished, personal, and Pinterest-worthy. In this guide, you will discover 20 creative projects, from easy activities for kids to attractive room decorations and thoughtful handmade gifts. Each idea includes practical tips to help you choose materials, personalize your design, and make the finished project look its best.
1. Make Beautiful Layered Paper Flowers
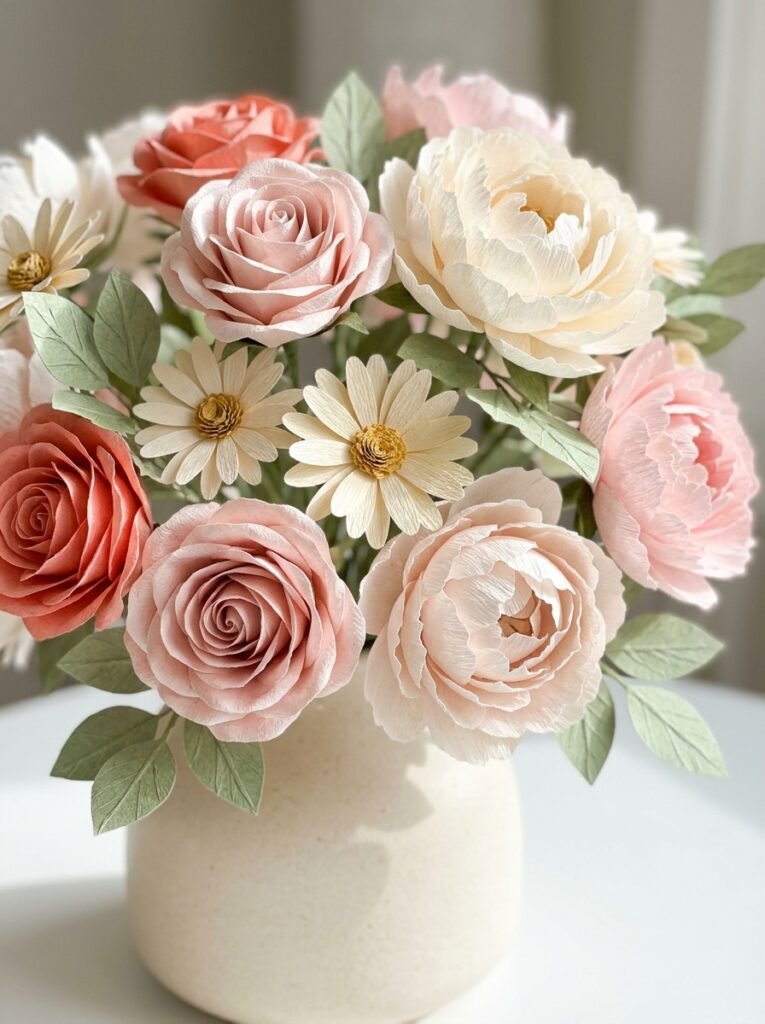
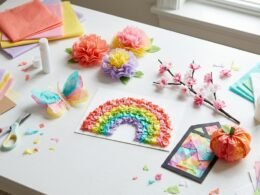
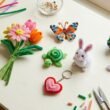
Paper flowers are a lovely starting point because you can create everything from simple daisies to elaborate roses using inexpensive sheets of colored paper. Choose three or four complementary shades, cut petals in different sizes, and layer them around a small circular center to create natural-looking depth. Curl the edges gently around a pencil and attach the layers with craft glue. These flowers work beautifully in handmade bouquets, gift wrapping, party backdrops, and decorative arrangements. Try mixing pale pink, peach, cream, and green for a fresh, modern floral look.
2. Create Easy Construction Paper Animals for Kids
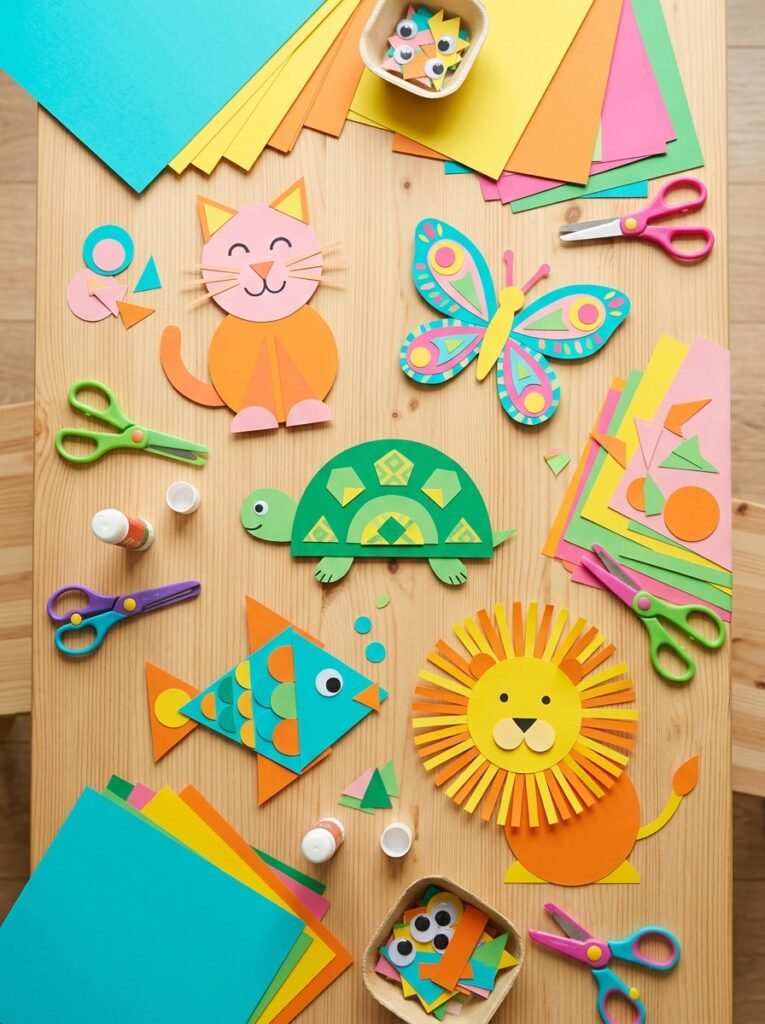
Construction paper animals are excellent paper crafts for children because they combine creativity with basic skills such as cutting, arranging shapes, and recognizing colors. Start with simple animal designs, including cats, butterflies, fish, turtles, and friendly lions. Cut the body from one color and add smaller shapes for the eyes, ears, wings, and feet. Younger children can use large pre-cut pieces with adult assistance, while older kids can experiment with patterns and layered details. Display the finished animals on a bedroom wall or use them to create a colorful classroom nature board.
3. Design a 3D Paper Wall Sculpture
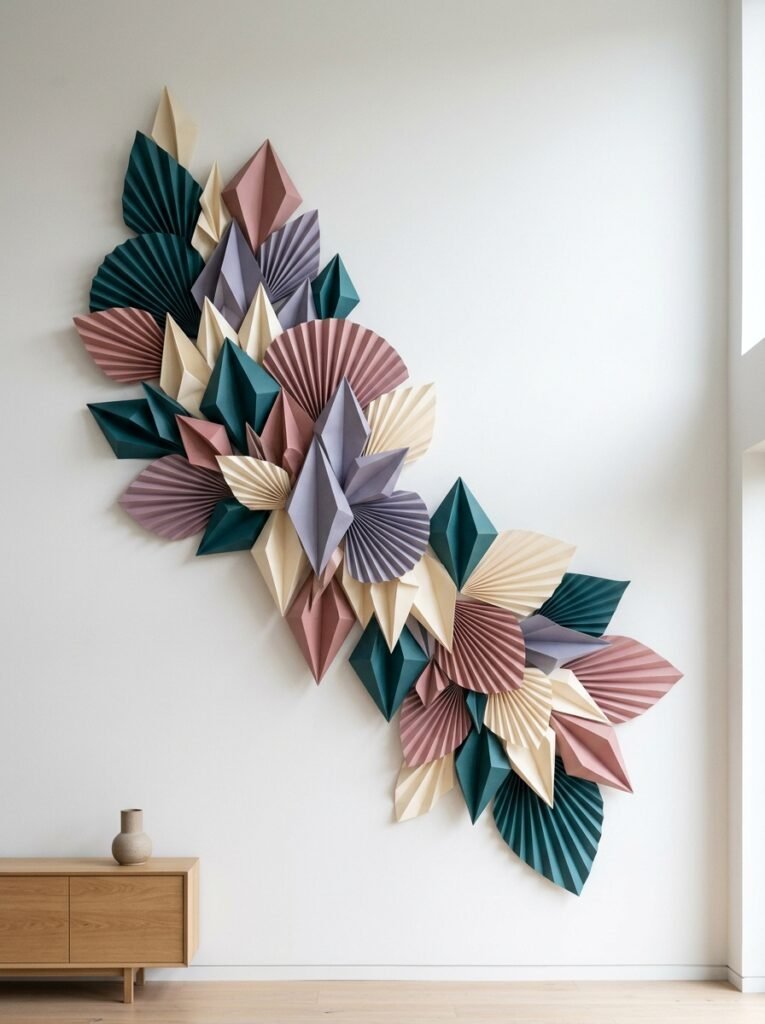
Three-dimensional paper sculptures can transform plain walls into artistic focal points without the cost or weight of traditional wall art. Cut paper into diamonds, triangles, folded fans, or repeating geometric shapes, then bend or layer the pieces to create depth. Arrange the finished elements in a balanced pattern on a backing board before mounting the artwork with suitable removable hanging strips. White paper creates a minimalist effect, while coral, lavender, and teal add personality. This project is especially useful for decorating a study corner, bedroom, creative workspace, or modern living room.
4. Make Printable Paper Crafts With Templates
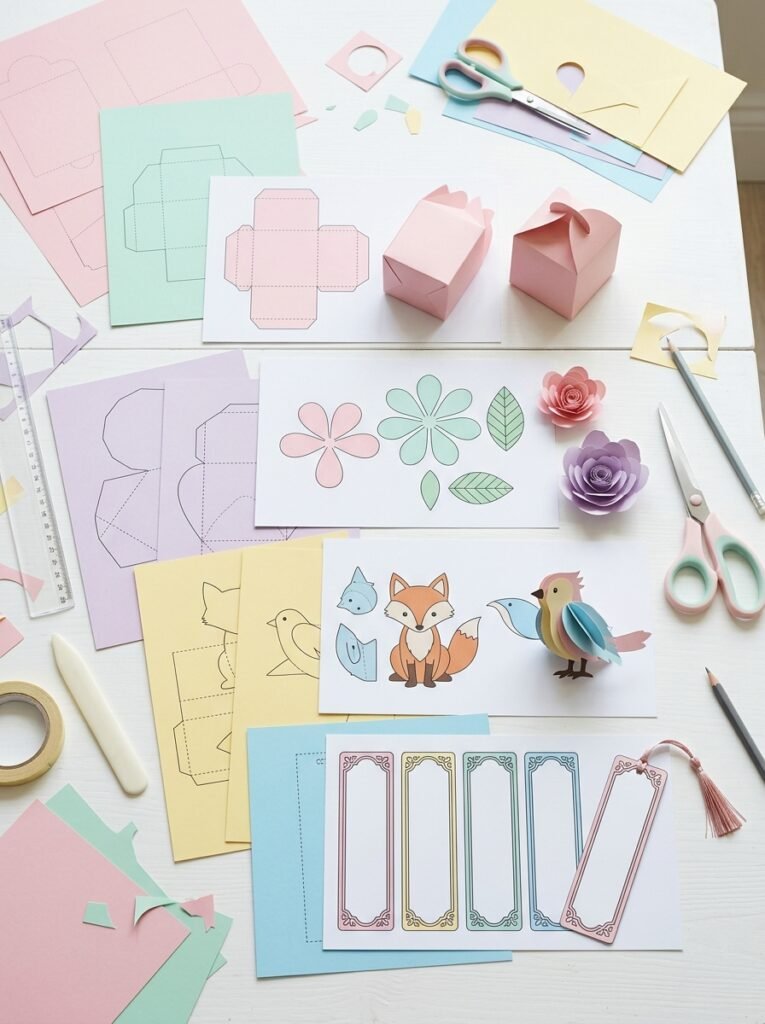
Printable templates are useful when you want consistent shapes without drawing every design by hand. Download or create a template for paper boxes, bookmarks, flowers, animals, greeting cards, or decorative ornaments, then print it on suitable paper. Cut along the outlines, fold along the marked lines, and glue the tabs where indicated. Thicker paper or lightweight cardstock generally works better for boxes and standing figures, while standard paper is suitable for simple decorations. Test the template on ordinary paper first so you can adjust the size before using your favorite colored sheets.
5. Create Christmas Paper Snowflakes and Stars
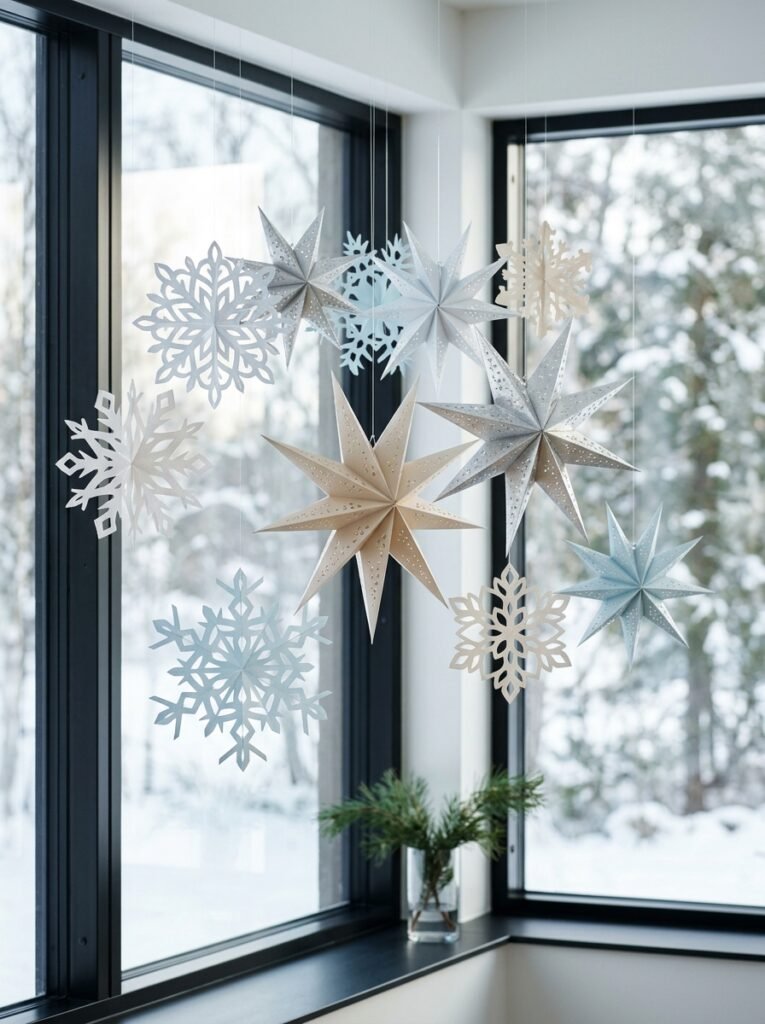
Christmas decorations made from paper are affordable, lightweight, and easy to customize to match your holiday color scheme. Fold square paper several times, cut small shapes along the edges, and unfold it to reveal a symmetrical snowflake. For stars, fold and layer paper strips or use a printable pattern to achieve a consistent shape. Hang the finished pieces from a ceiling, place them in windows, or attach them to gift packages. White, silver, icy blue, and soft champagne create an elegant seasonal palette, while brighter colors suit playful family celebrations.
6. Make Spooky Halloween Paper Decorations
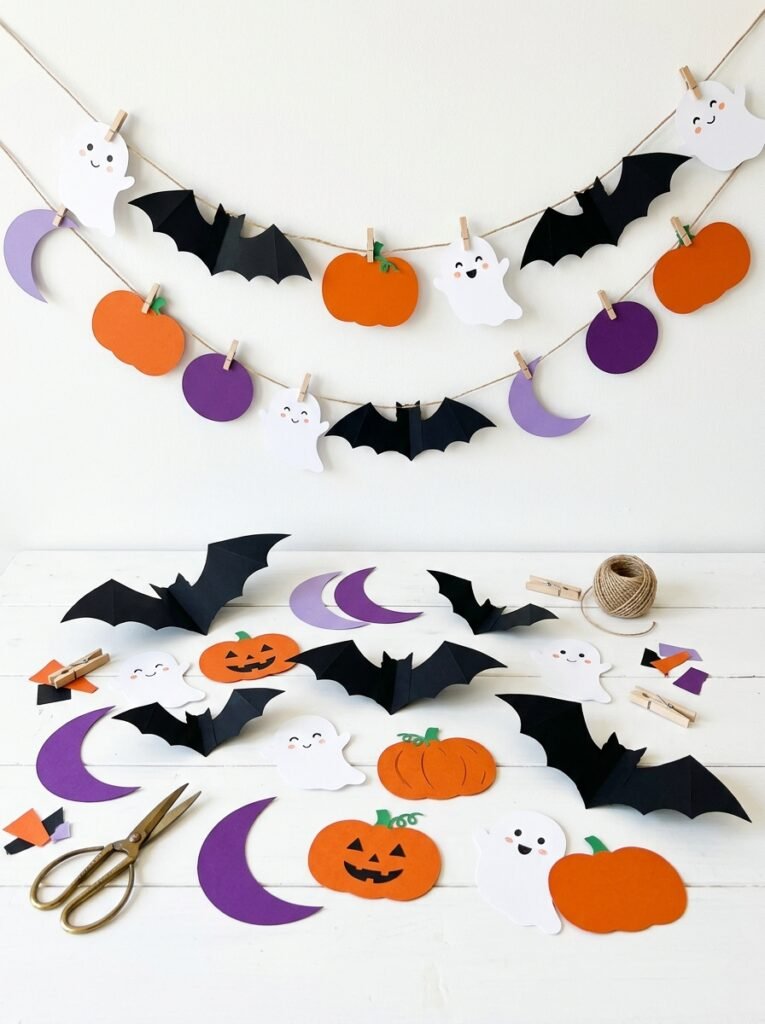
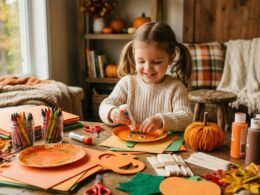
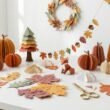
Halloween paper decorations can make a room feel festive without requiring complicated materials or permanent changes. Cut black cats, friendly ghosts, bats, pumpkins, and crescent moons from colored paper, then attach them to string to create a garland. For a layered effect, place smaller shapes on larger contrasting backgrounds. Orange, purple, black, and white create a recognizable Halloween palette, while cute facial expressions make the designs more suitable for children. Hang the decorations across a doorway, above a craft table, or around a party backdrop, using removable tape where appropriate.
7. Craft Delicate Tissue Paper Flowers
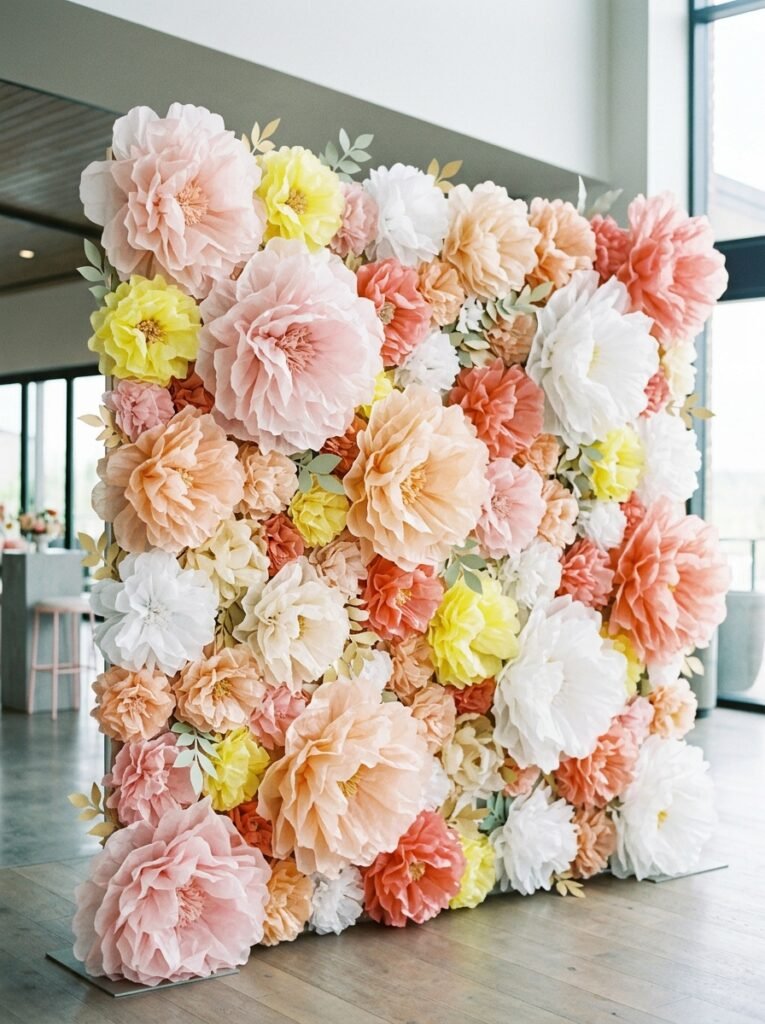
Tissue paper flowers have soft, airy petals that make them ideal for celebrations, bedroom decorations, and handmade photo backdrops. Stack several sheets of tissue paper, fold them into an accordion, secure the center with a twist tie or floral wire, and carefully separate each layer to create a full flower. Mix two shades in one flower for added dimension, or make several flowers in different sizes for a coordinated display. Because tissue paper is delicate, pull the layers apart slowly to avoid tearing them. These oversized blooms look especially beautiful when arranged in a wall installation.
8. Make a Cute Anime-Inspired Paper Bookmark
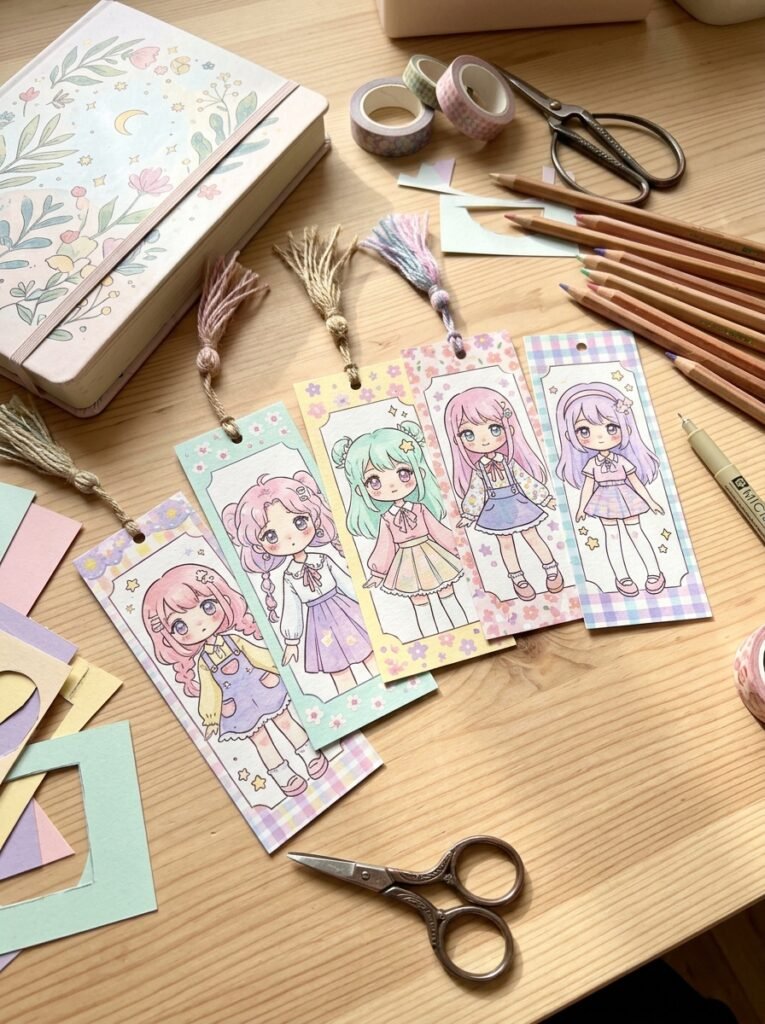
Anime-inspired bookmarks are a fun way to combine drawing, fandom, and practical everyday use. Cut a sturdy rectangular strip from cardstock, then design an original character with expressive eyes, colorful hair, a favorite outfit, or a distinctive symbol. You can draw the artwork yourself or use a printable character-design template as a starting point. Add a protective clear sleeve or laminate the bookmark if the materials allow it, and finish with a paper tassel. Original designs let you explore your favorite anime aesthetic while creating something personal for your books, journals, or school supplies.
9. Create Dandy’s World-Inspired Character Crafts
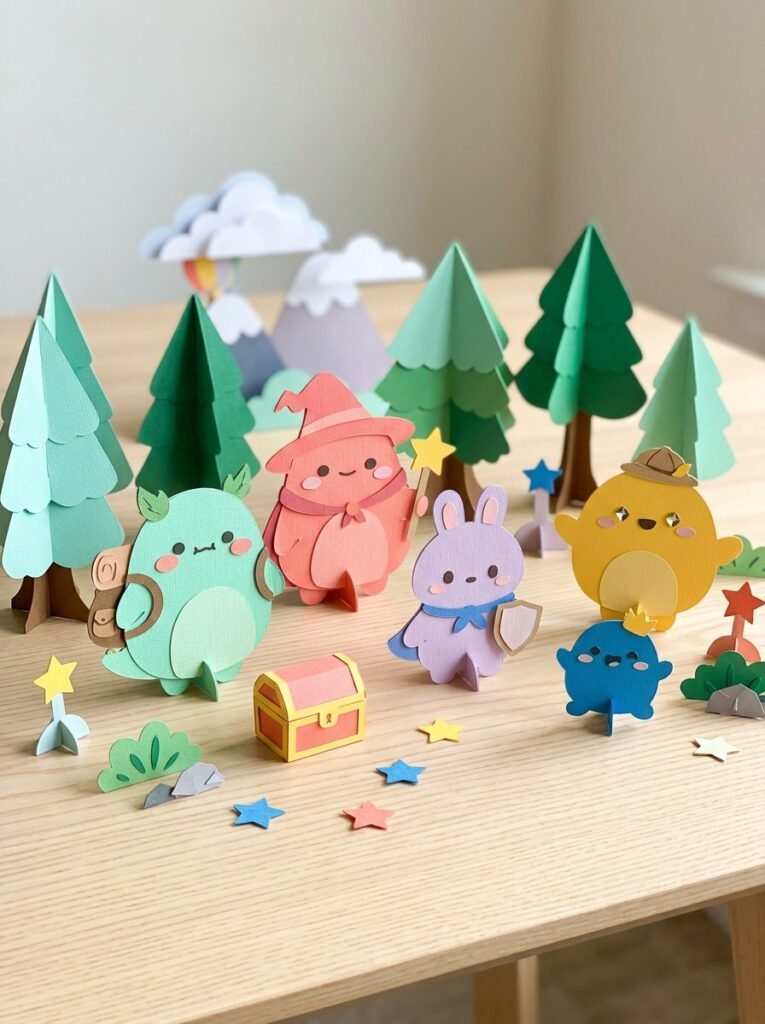
Fans of Dandy’s World can turn their interest in the game into a playful paper activity by making original character-inspired standees, collectible cards, or small decorative scenes. Begin with a cardstock base and sketch your own colorful character, using expressive shapes and playful facial features as inspiration. Cut out the character, attach a folded support at the back, and decorate the base with paper stars, clouds, or simple scenery. Keep the design original rather than copying official artwork for commercial use. These crafts can be displayed on a desk, included in a personal scrapbook, or shared with fellow fans.
10. Make a Handmade Paper Gift for Your Boyfriend
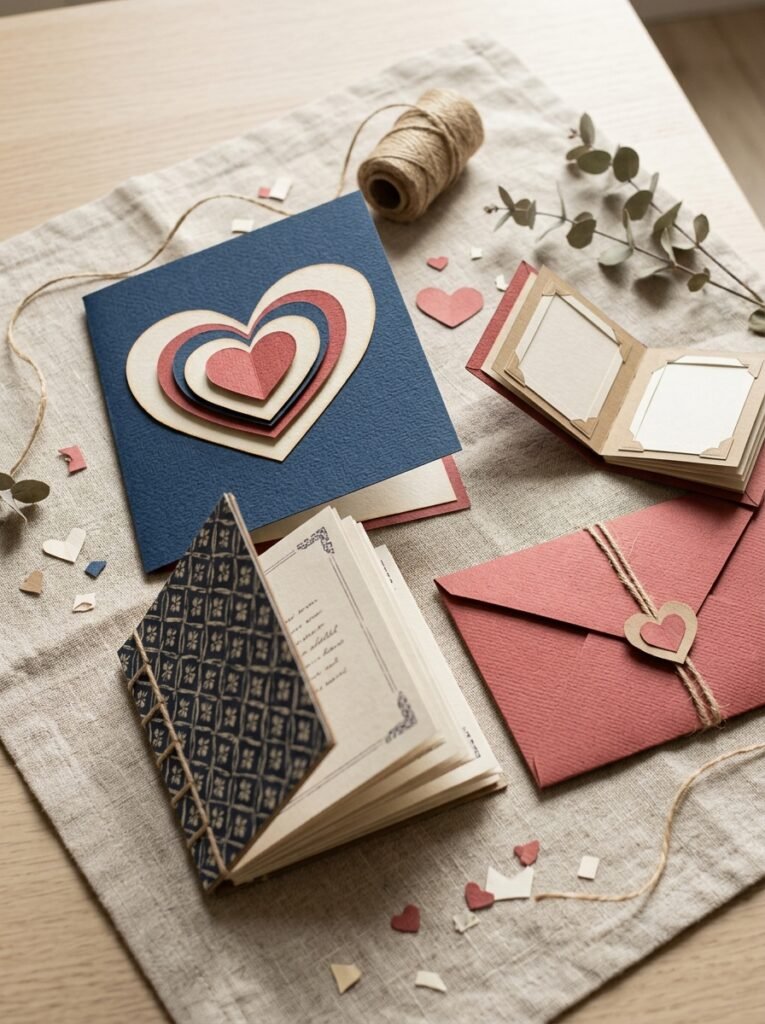
A handmade paper gift can feel meaningful because it reflects your time, effort, and personal memories. Create a small booklet of reasons you appreciate your boyfriend, a layered heart card, a mini scrapbook, or a collection of handwritten message coupons. Choose colors that suit his personality rather than relying only on traditional red and pink. Add simple illustrations, memorable dates, small photographs if desired, and thoughtful notes that are specific to your relationship. Finish with a neatly folded paper envelope or a handmade gift box so the presentation feels as special as the message inside.
11. Decorate Your Room With Paper Wall Hangings
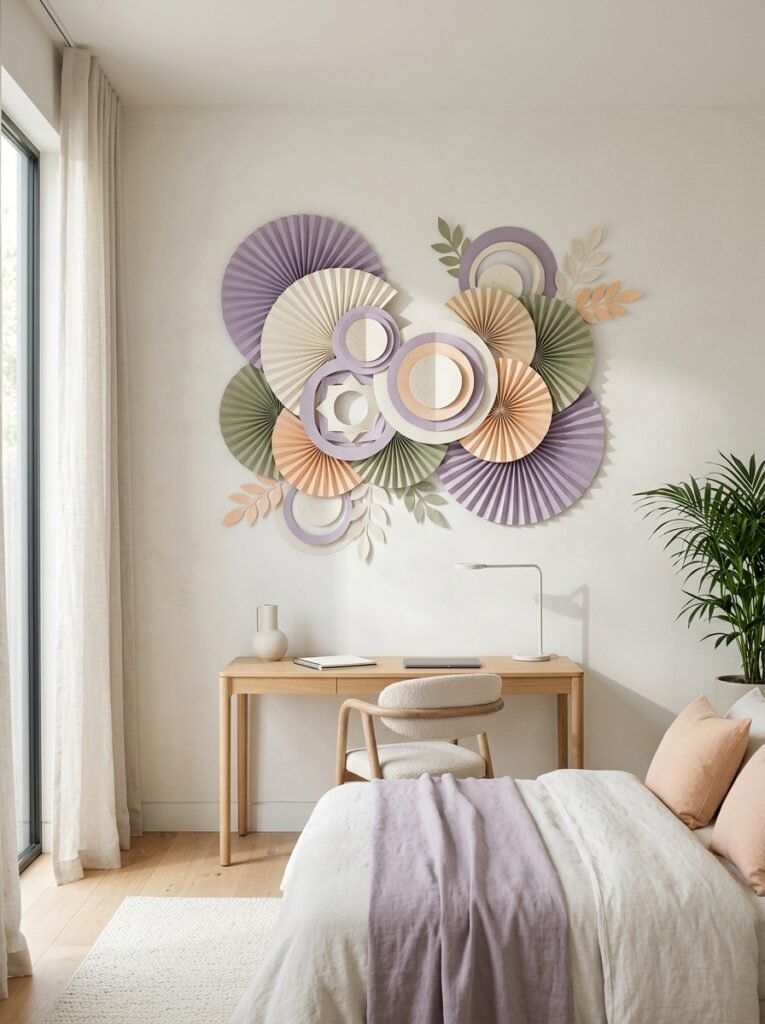
Paper wall hangings are a simple way to personalize a bedroom, dorm room, or study area without purchasing expensive artwork. Combine folded circles, paper fans, geometric cutouts, or layered leaves on a string or lightweight backing. Use two or three coordinating colors so the finished design feels intentional rather than cluttered. For a more contemporary result, arrange the shapes in a repeated pattern or create a gradual color transition from light to dark. Hang the finished decoration above a desk, beside a mirror, or over a reading corner using a secure method appropriate for your wall.
12. Turn Toilet Paper Rolls Into Creative Animals
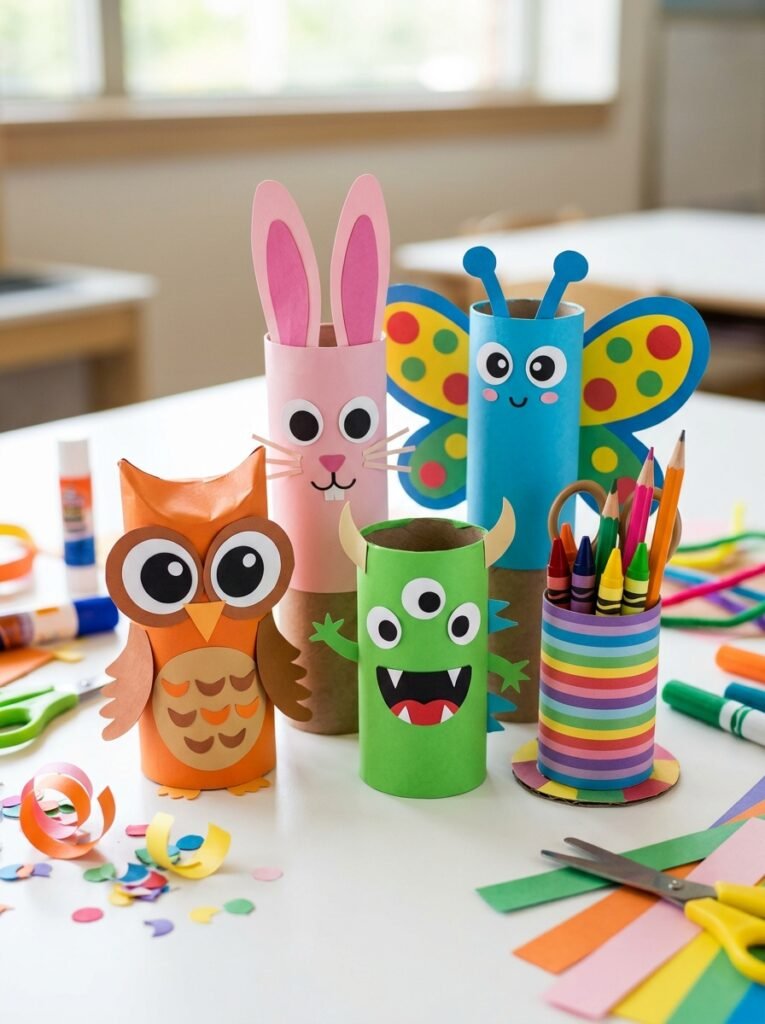
Empty toilet paper rolls can become the base for imaginative animals, miniature buildings, pencil holders, and playful characters. Cover each cardboard tube with construction paper, then add cutout ears, wings, tails, faces, or other details using paper and glue. A few simple shapes can transform one tube into an owl, rabbit, butterfly, or friendly monster. This project is especially useful for children’s craft sessions because it encourages reuse and imaginative thinking. Make sure the tubes are clean and dry, and let children use age-appropriate scissors with adult supervision when needed.
13. Create a Crepe Paper Flower Bouquet
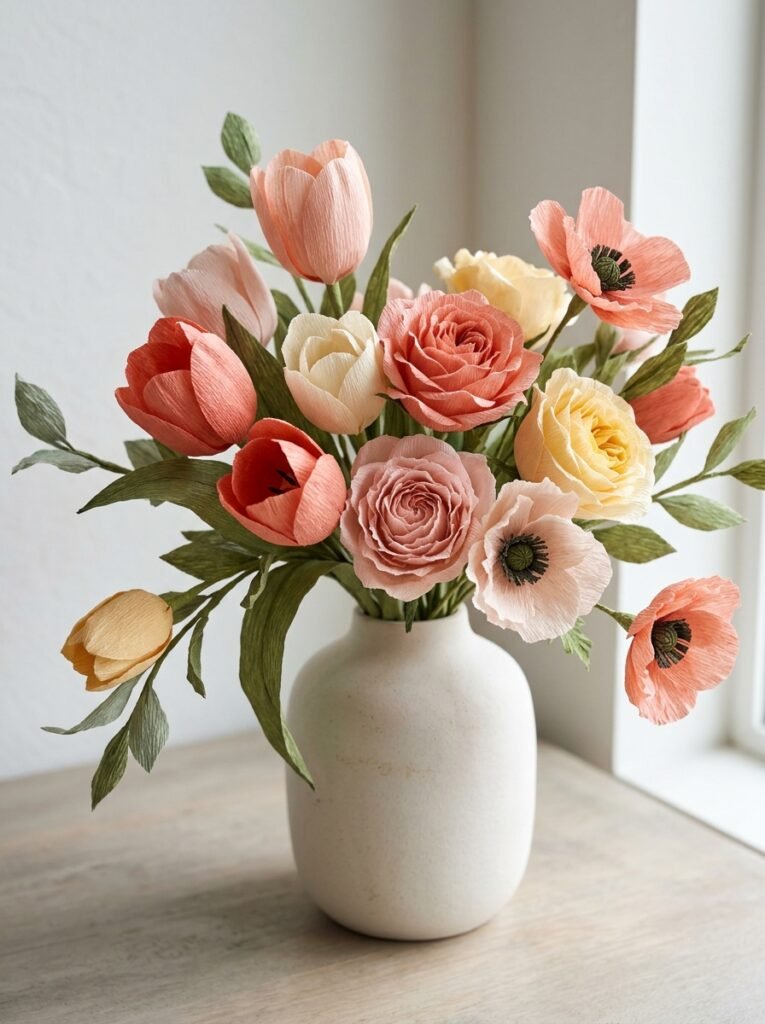
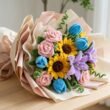
Crepe paper is stretchier than ordinary paper, making it useful for creating flower petals with gentle curves and realistic shapes. Cut petal pieces along the grain, stretch the centers slightly, and attach them around a wrapped stem to form roses, tulips, or poppies. Add green crepe paper leaves and vary the flower heights to give the bouquet a natural arrangement. A coordinated palette can make the finished flowers look elegant enough for a centerpiece or handmade gift. Take your time shaping the petals, because small differences in curve and layering create a much more polished result.
14. Make Simple Origami Decorations
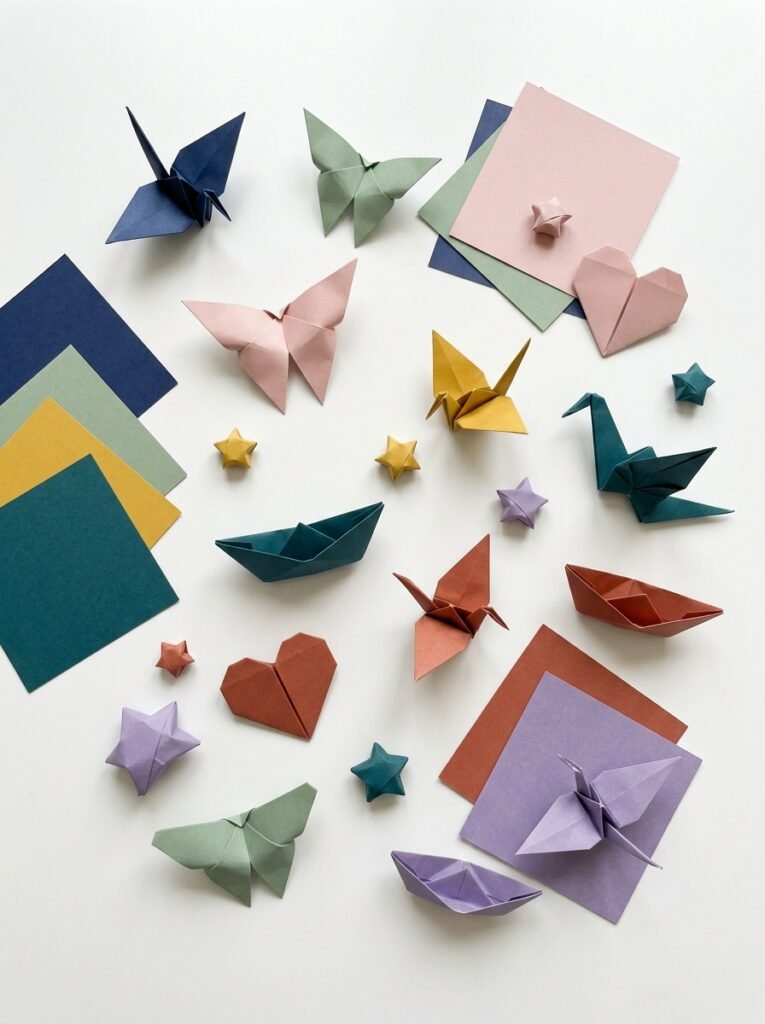
Origami is an excellent option when you want attractive projects that use folding rather than extensive cutting or gluing. Begin with easy designs such as paper hearts, boats, butterflies, cranes, or decorative stars, following a step-by-step tutorial suitable for your skill level. Square paper usually works best, and thinner sheets are easier for beginners to fold precisely. Once you feel comfortable with the basic techniques, combine multiple pieces into a garland, mobile, or tabletop display. Choose patterned or color-coordinated paper to make the finished decorations look cohesive and intentional.
15. Design a Pop-Up Paper Greeting Card
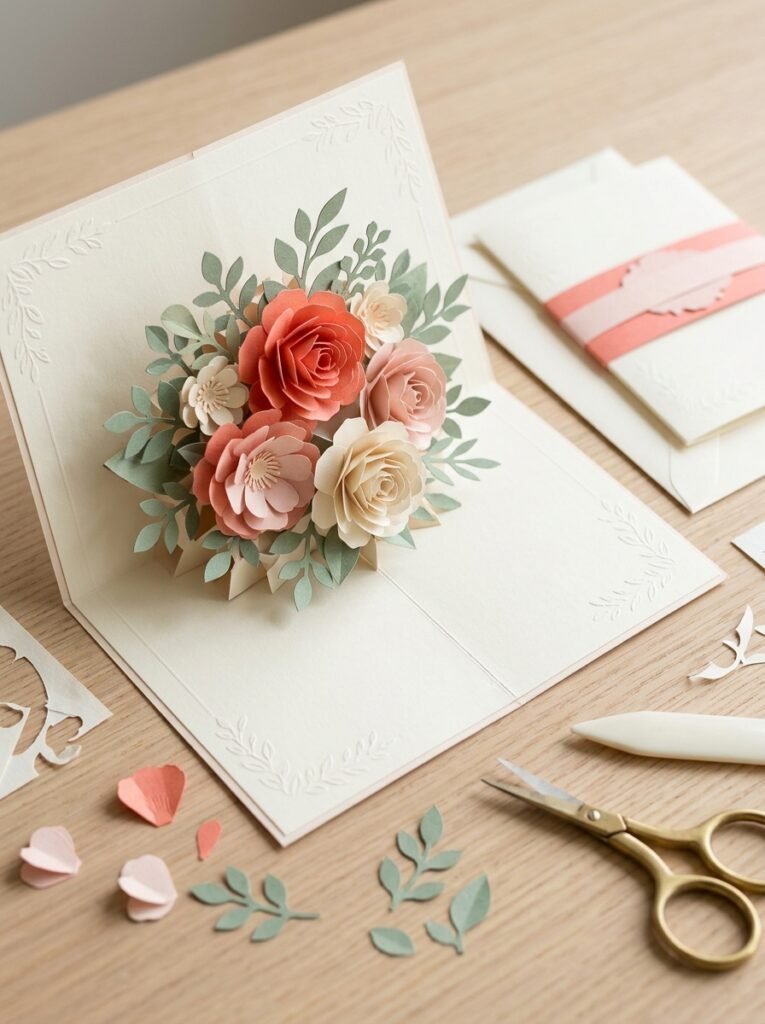
A pop-up card adds a delightful surprise when it opens, making it perfect for birthdays, holidays, thank-you notes, and personal celebrations. Fold a sheet of cardstock in half, then make two short parallel cuts along the fold to create a tab that pushes forward when opened. Attach a paper flower, heart, cake, or other cutout to the tab, keeping the design light enough to stand properly. Decorate the front with complementary shapes and a simple border. Test the mechanism before gluing everything in place so the pop-up folds neatly inside the card.
16. Make Colorful Paper Lanterns
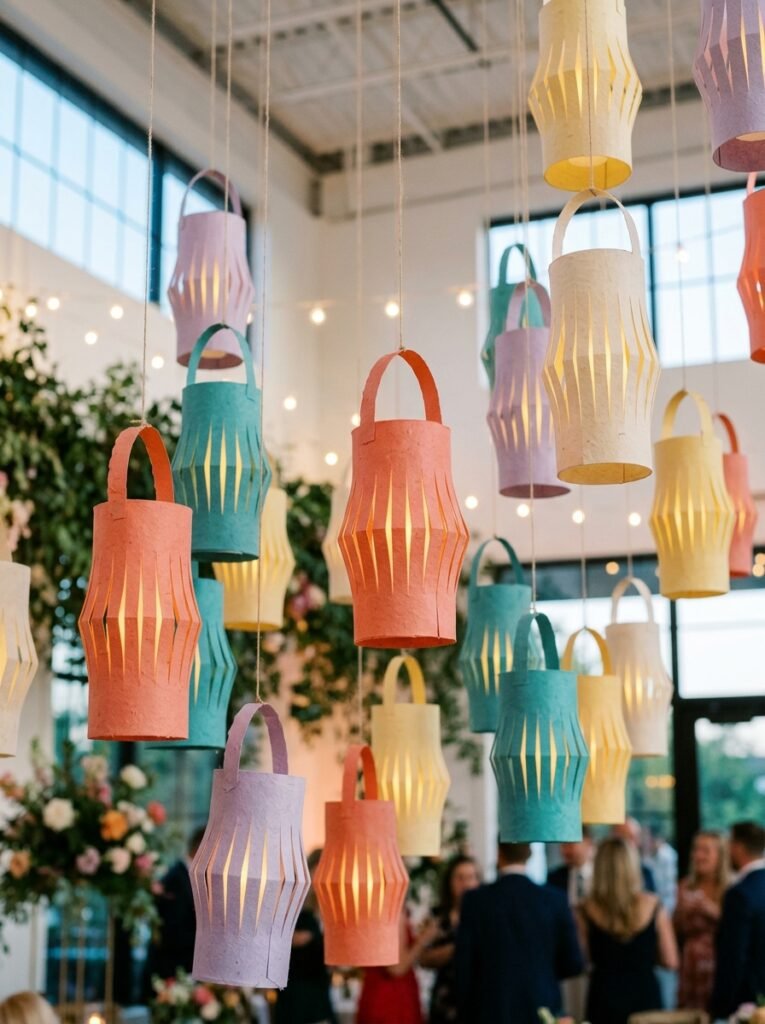
Paper lanterns can add color and visual interest to parties, bedrooms, and creative event displays. Fold a rectangular sheet in half lengthwise, make evenly spaced cuts from the folded edge while leaving a border intact, then unfold and curve the sheet into a cylinder. Secure the ends and add a paper handle if you want to hang the lantern. You can use plain colored paper, printed patterns, or layered strips for a more decorative effect. For safety, use battery-powered LED lights designed for the purpose rather than open flames or hot bulbs near paper.
17. Try Paper Weaving for Colorful Artwork
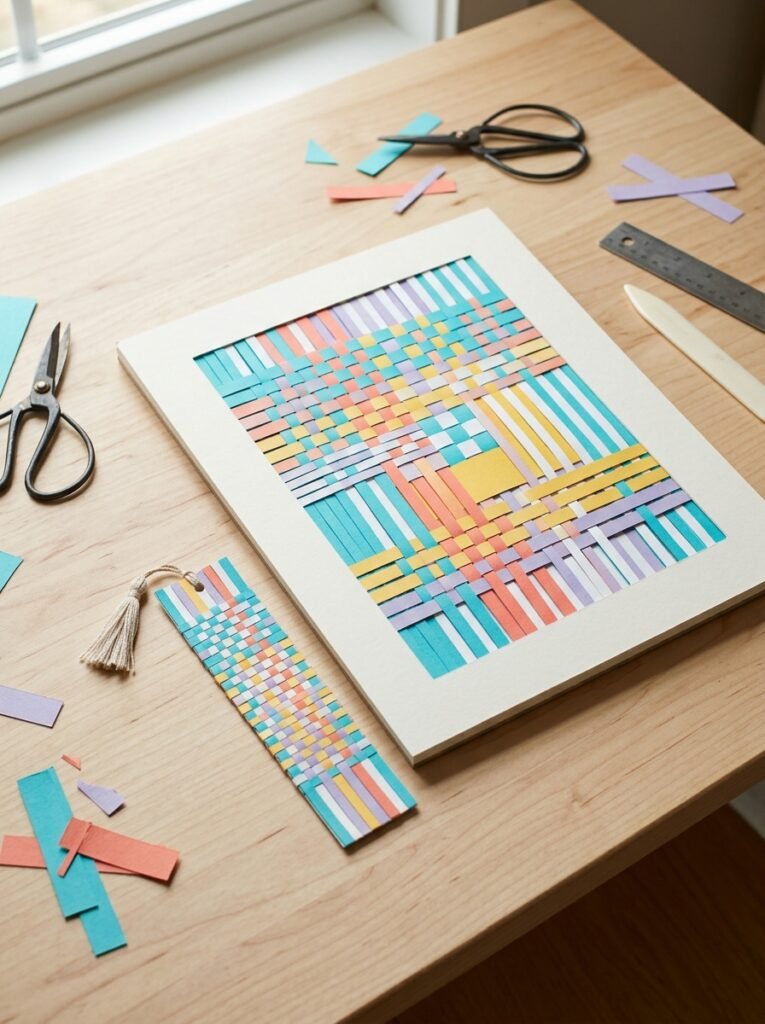
Paper weaving creates striking patterns by passing strips of paper over and under one another. Start with a rectangular base sheet, cut evenly spaced slits while leaving a border intact, and weave contrasting paper strips through the openings. Alternate colors to create checkerboards, stripes, or more complex patterns. Once finished, secure the loose ends and mount the woven piece on cardstock to create a picture, bookmark, greeting card, or wall decoration. This technique is suitable for children learning patterns and coordination, but it can also produce sophisticated artwork when you use a restrained color palette.
18. Create a Paper Gift Box With a Printable Template
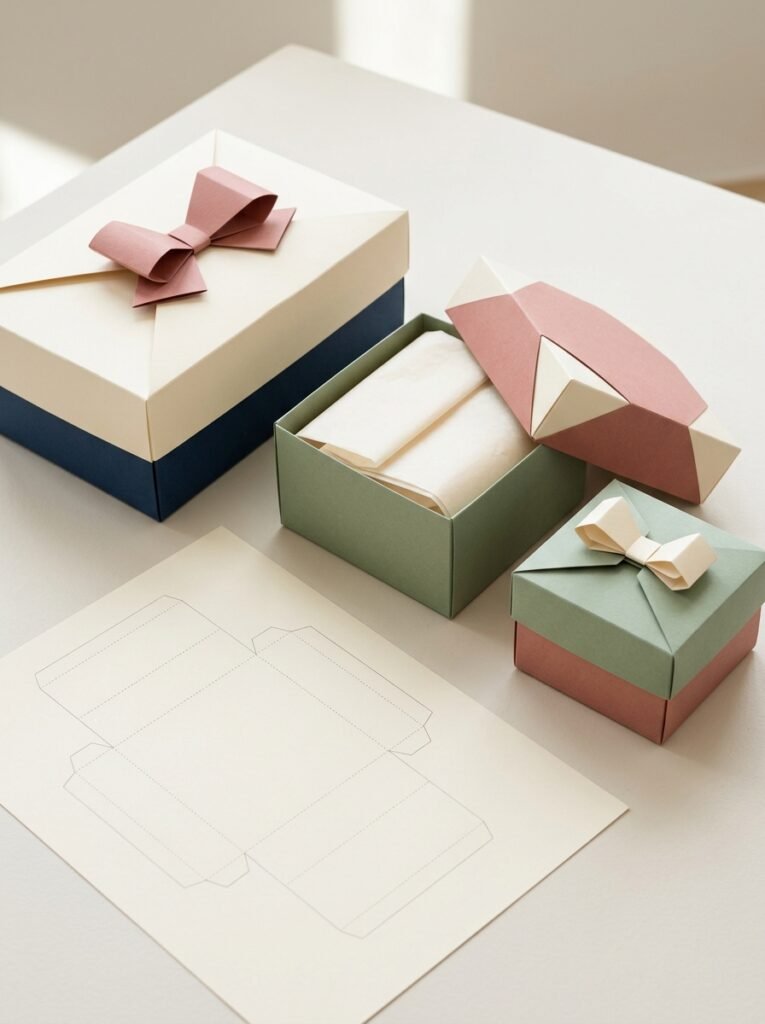
A handmade paper gift box makes small presents, jewelry, treats, and party favors feel more personal. Use a printable template with clearly marked fold lines and glue tabs, then transfer it to sturdy cardstock for a stronger result. Cut carefully, score the folds with a ruler and blunt scoring tool where appropriate, and assemble the sides in the correct order. Add a contrasting paper lid, a folded-paper bow, or a simple decorative label to match the occasion. Measure the gift before choosing the template, and test the design with scrap paper if the contents are unusually shaped.
19. Make a Paper Flower Garland for Parties
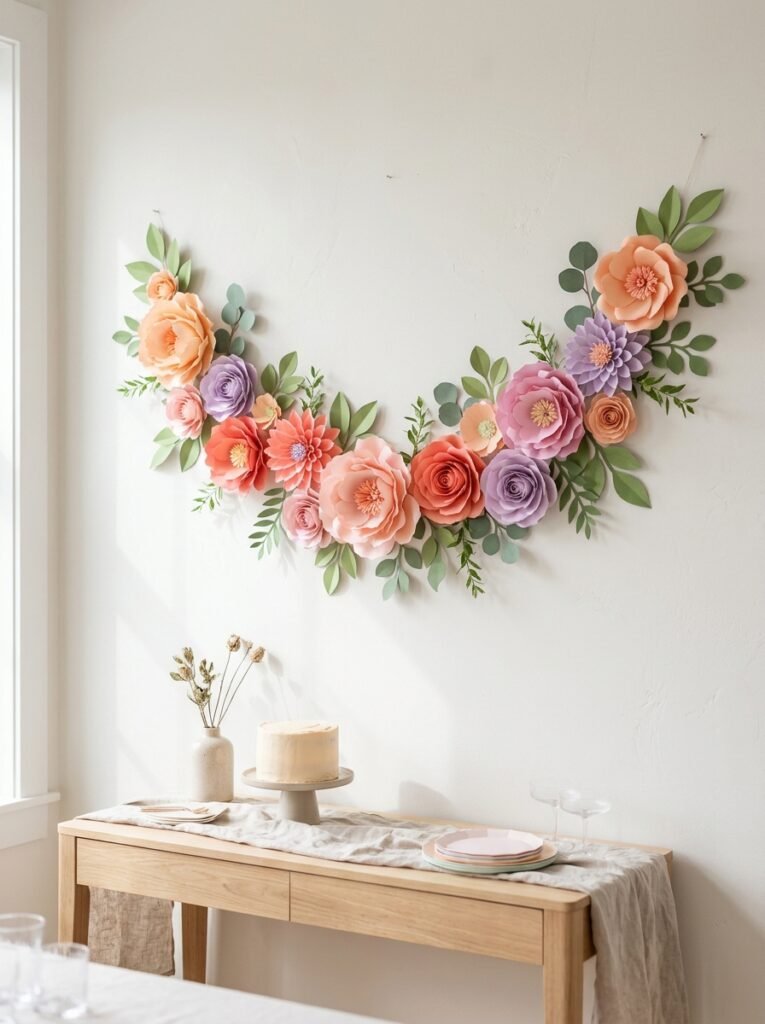
A flower garland is a versatile decoration for birthdays, baby showers, study spaces, and small celebrations. Cut repeated flower shapes from cardstock or lightweight colored paper, layer two sizes for depth, and attach them to string using small folded-paper tabs or carefully applied tape. Mix flowers with leaves, circles, or simple geometric shapes to create a distinctive pattern. Before attaching everything permanently, lay the pieces out on a table and adjust their spacing. A coordinated color scheme makes the garland look professionally planned and helps it work with the rest of your room or party decorations.
20. Make a Personalized Paper Scrapbook Page
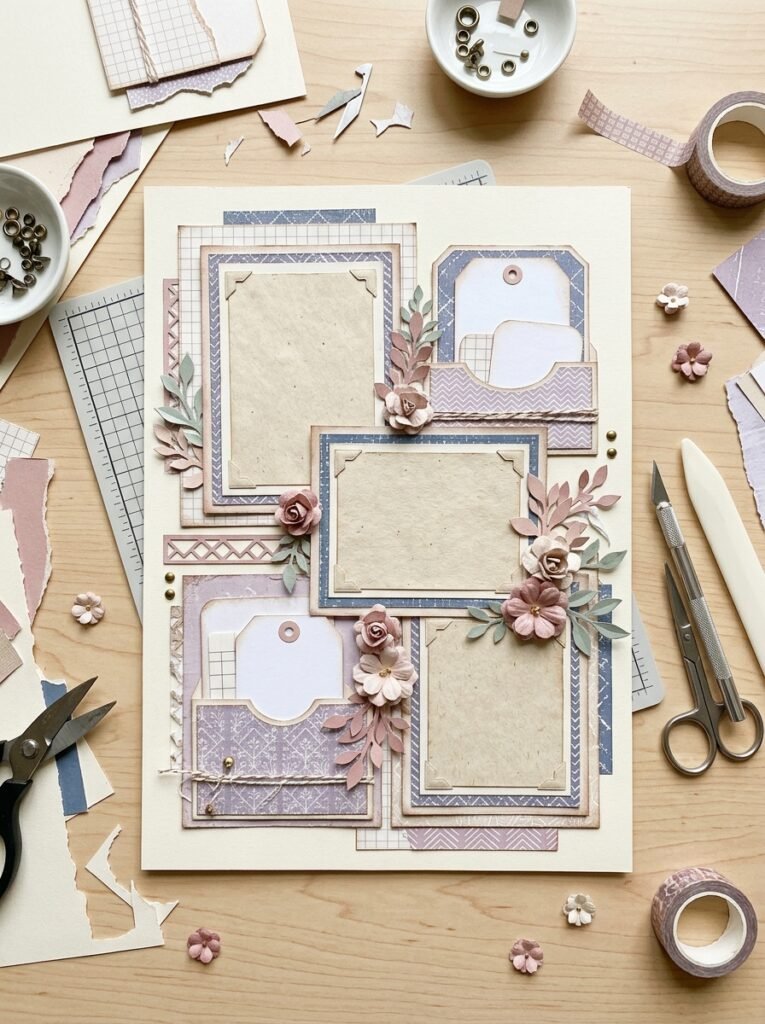
A scrapbook page is a creative way to preserve memories, document a special day, or assemble a thoughtful gift. Start with a sturdy sheet of cardstock, then layer smaller paper panels, decorative borders, folded pockets, and handmade embellishments around your chosen photographs or keepsakes. Use a limited palette and leave some open space so the page feels balanced. You can add small paper flowers, hearts, tickets, or illustrated details to match the story you want to tell. For a completely handmade version, draw your own decorative elements rather than relying on pre-made stickers or printed decorations.
How to Get Started With Your Paper Craft Projects
You do not need a large craft room or expensive equipment to begin making attractive paper creations. A small collection of colored paper, cardstock, scissors, glue, a ruler, and a pencil is enough for most beginner projects. Add tissue paper for soft flowers, crepe paper for shaped petals, and printable templates when you need accurate outlines or repeatable designs.
Follow these practical steps to make your projects easier:
- Choose one project: Begin with a paper flower, bookmark, or simple origami design before moving to more complicated 3D constructions.
- Prepare your materials: Gather the right paper weight, colors, tools, and template before you start cutting.
- Test your design: Use scrap paper to check measurements, folds, and proportions before using your final materials.
- Focus on neat finishing: Straight cuts, clean folds, carefully applied glue, and balanced colors can make a simple project look professional.
- Display or gift your work: Use your finished creations for wall decor, handmade cards, party decorations, scrapbooks, or personalized presents.
When crafting with children, select age-appropriate materials and supervise scissors and small decorative pieces. For wall hangings and hanging decorations, check that the attachment method is suitable for the surface and the weight of the finished project.
Final Thoughts
The best paper crafts are not necessarily the most complicated ones. A few well-chosen colors, careful folds, and thoughtful details can turn ordinary paper into flowers, gifts, seasonal decorations, and artwork that feels genuinely special. Start with a project that matches your skill level, then experiment with different paper types, templates, patterns, and combinations as your confidence grows. Whether you are looking for easy activities for kids, attractive room decoration ideas, anime-inspired bookmarks, or a handmade gift for someone you love, these projects offer plenty of ways to express your creativity. Save your favorite ideas, gather a few basic supplies, and enjoy creating something beautiful one sheet of paper at a time.