

This post may contain affiliate links. Please read my disclosure policy.
In This Article Show
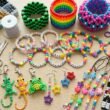
Small kandi projects are perfect when you want to make something colorful, creative, and fun without using too many beads. From tiny animal charms and simple bracelets to miniature Halloween designs, these projects are beginner-friendly, easy to customize, and great for friendship gifts or selling at craft fairs. Whether you love pastel colors, rainbow patterns, cute animals, or rave-inspired accessories, these small kandi ideas will help you create adorable bead projects that fit in your pocket, hang from your bag, or brighten up your everyday style.
1. Simple Small Kandi Bracelet
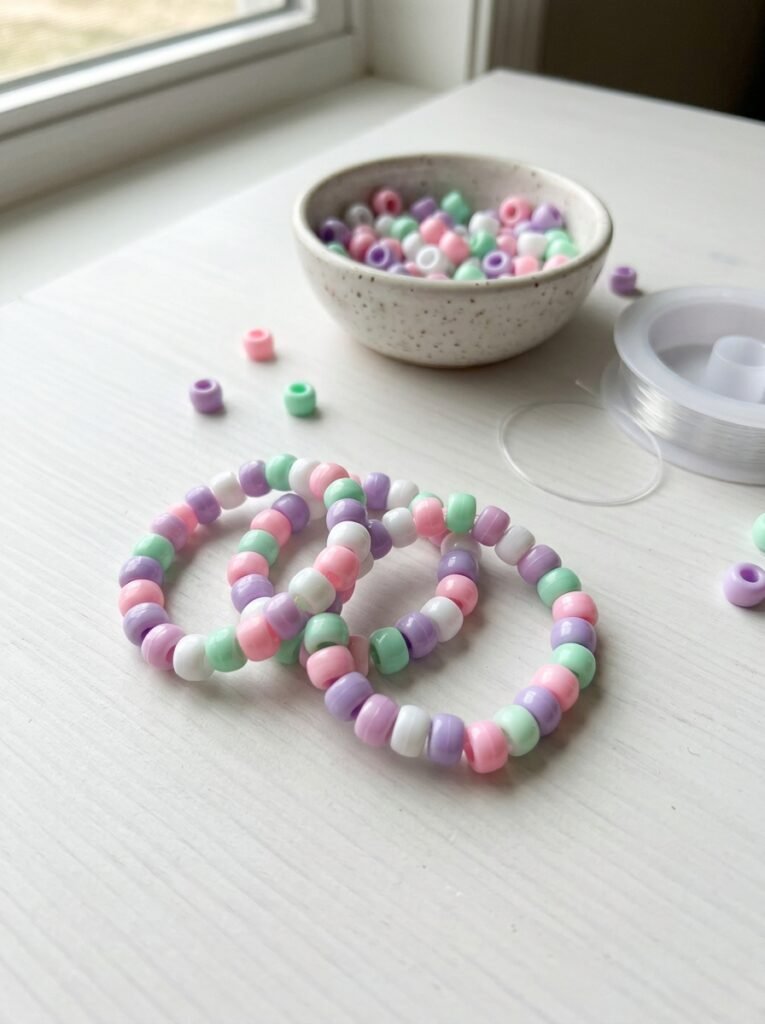
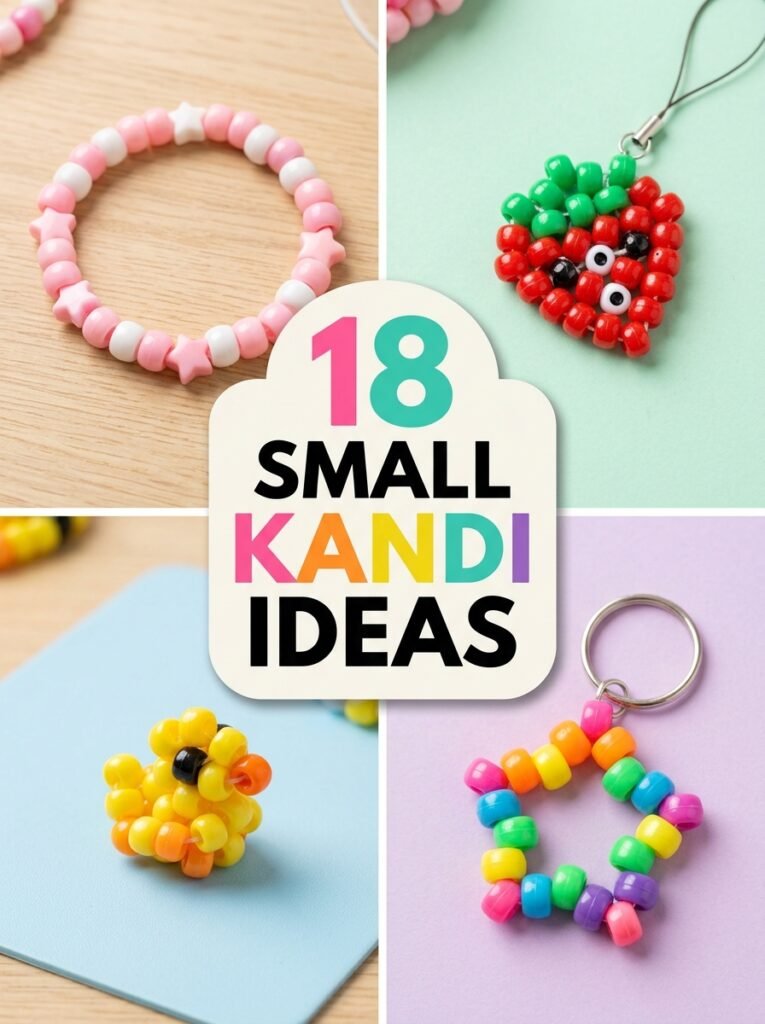
A simple kandi bracelet is one of the easiest projects for beginners because it requires only pony beads, elastic cord, and a few minutes of your time. Choose three or four colors that look good together, such as pink, white, and lavender, or blue, yellow, and green. Alternate the beads to create a balanced pattern, then tie the elastic securely and hide the knot between two beads. You can make several bracelets in different color combinations and wear them together or exchange them with friends.
2. Cute Pink Kandi Bracelet
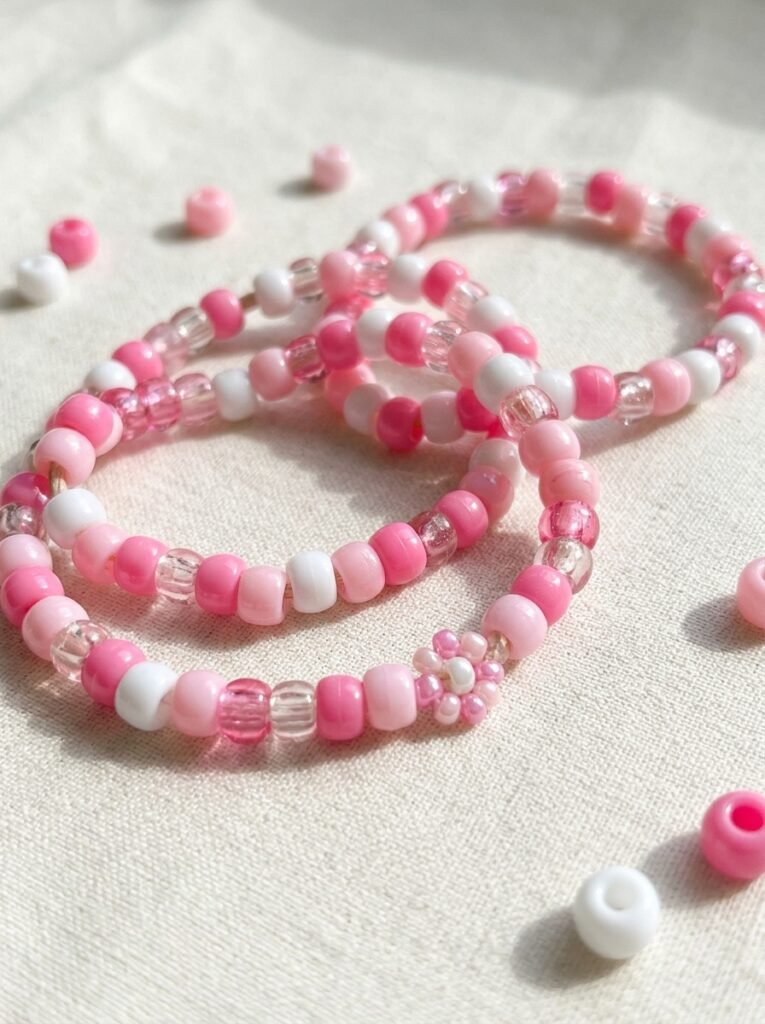
Pink kandi bracelets are perfect for anyone who enjoys soft, cute, and feminine accessories. Combine bubblegum pink, baby pink, white, and a few transparent beads to create a gentle color palette. For an extra-special finish, add one heart-shaped bead or a small flower made from contrasting pony beads. You can also alternate pink and white beads to create a simple striped pattern. This design is easy to personalize with initials or a short word, making it a lovely handmade gift for a friend or sibling.
3. Mini Strawberry Kandi Charm
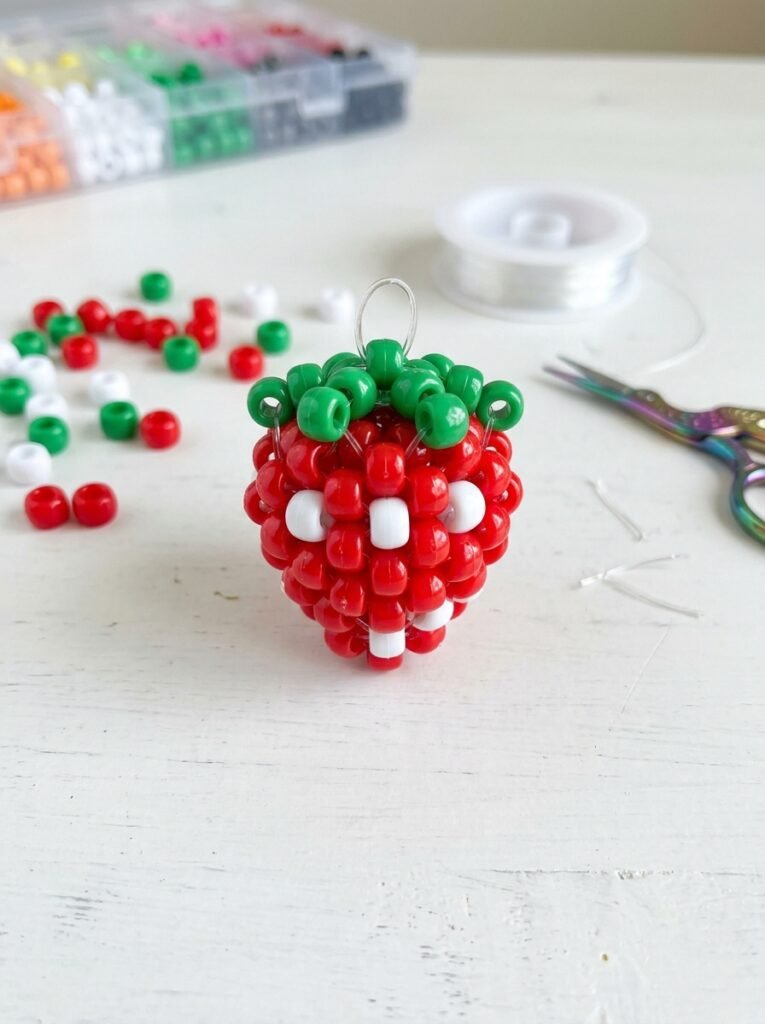
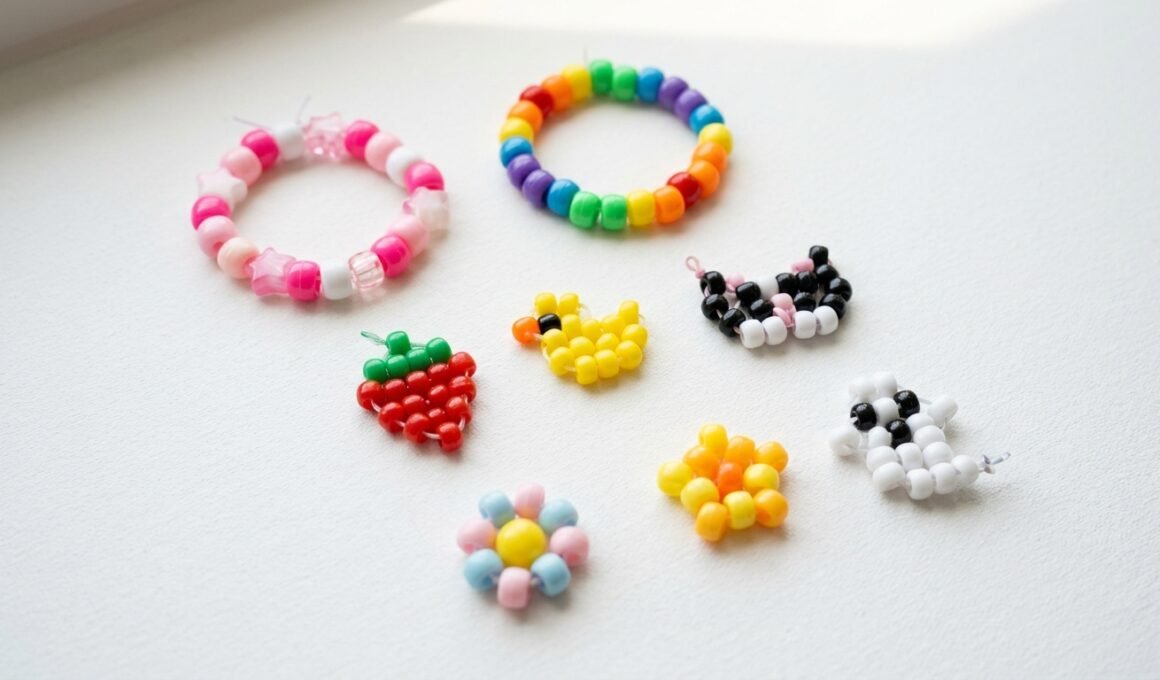
A strawberry charm is a sweet option for anyone who loves fruit-inspired accessories. Use red pony beads to form the strawberry body and green beads to create a tiny leafy top. A few white or pale pink beads can add decorative spots that resemble strawberry seeds. Depending on the pattern, you can create a flat strawberry charm or a small three-dimensional design using multiple strands. Attach the finished piece to a bracelet, zipper pull, or backpack using a secure connector. Keep the shape compact so it looks cute without becoming bulky.
4. Tiny Flower Kandi Pattern
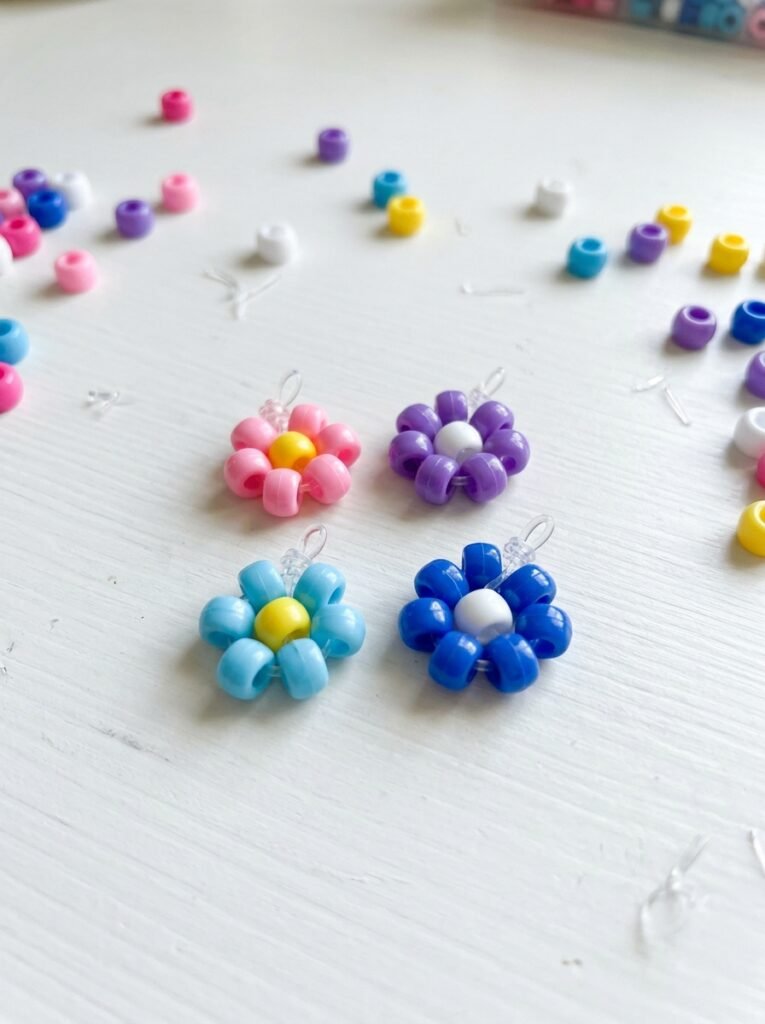
Small flower kandi designs are easy to make and offer endless color combinations. Start with a circle of beads in one color and place a contrasting bead or small cluster in the center to create a flower-like appearance. Pink petals with a yellow center look cheerful, while purple petals with a white center create a softer style. You can turn the finished flower into a bracelet accent, a mini charm, or a decorative addition to another bead project. Make several flowers in different colors for a coordinated set of handmade accessories.
5. Mini Star Kandi Charm
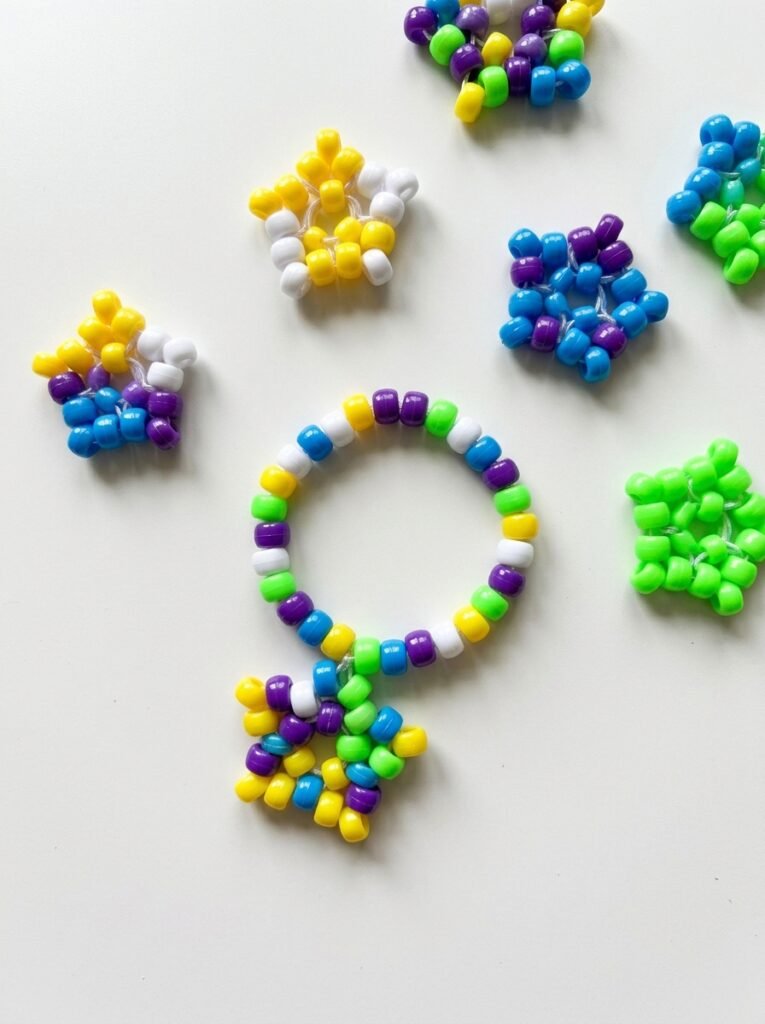
A small star is an excellent choice when you want a design that looks detailed but uses relatively few beads. Choose yellow and white for a classic star, or use neon green, purple, and blue for a playful rave-inspired accessory. Depending on your pattern, you can create a flat five-pointed star or a small dimensional star using additional strands and careful tension. Attach it to a simple bracelet or use it as a bag charm. Before finishing, check that the points look even and the connecting cord is secure.
6. Adorable Duck Kandi Charm
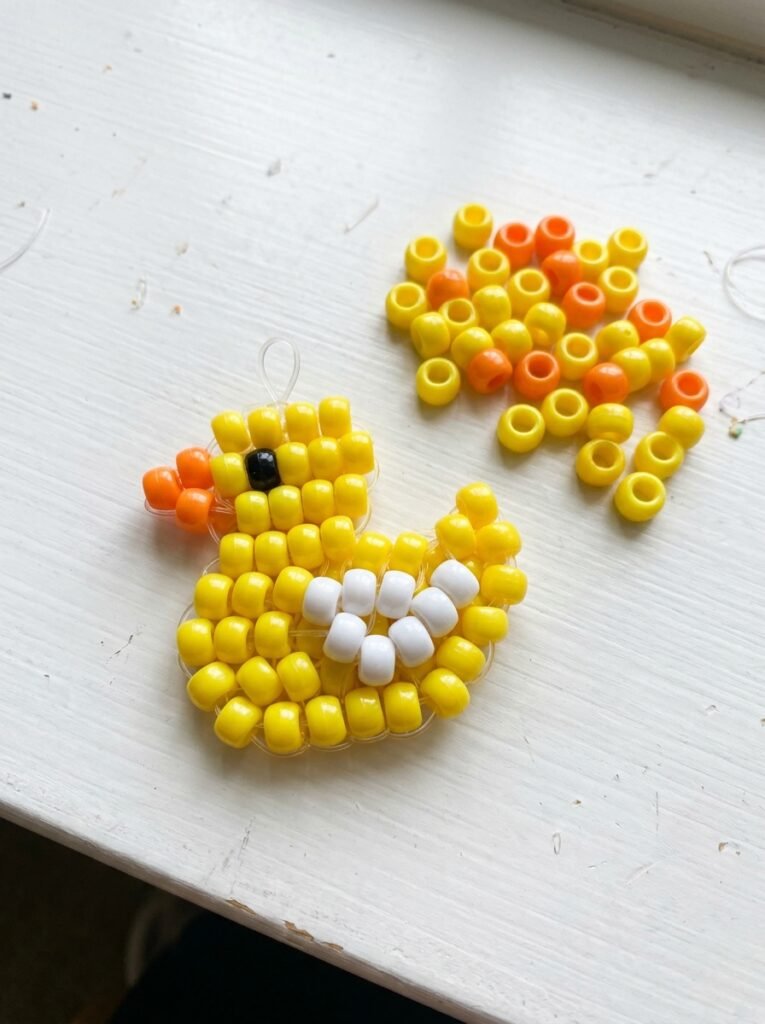
A tiny duck is a fun animal-inspired project that works especially well with yellow pony beads. Use yellow beads for the body, orange beads for the beak, and black beads for the eyes. A few white beads can help define the face or wings, depending on the design. Beginners can start with a flat duck pattern before trying a more dimensional version. Once completed, the duck can decorate a keychain, backpack, or small kandi bracelet. Keeping the color palette simple helps the animal remain recognizable even at a small size.
7. Small Fish Kandi Design
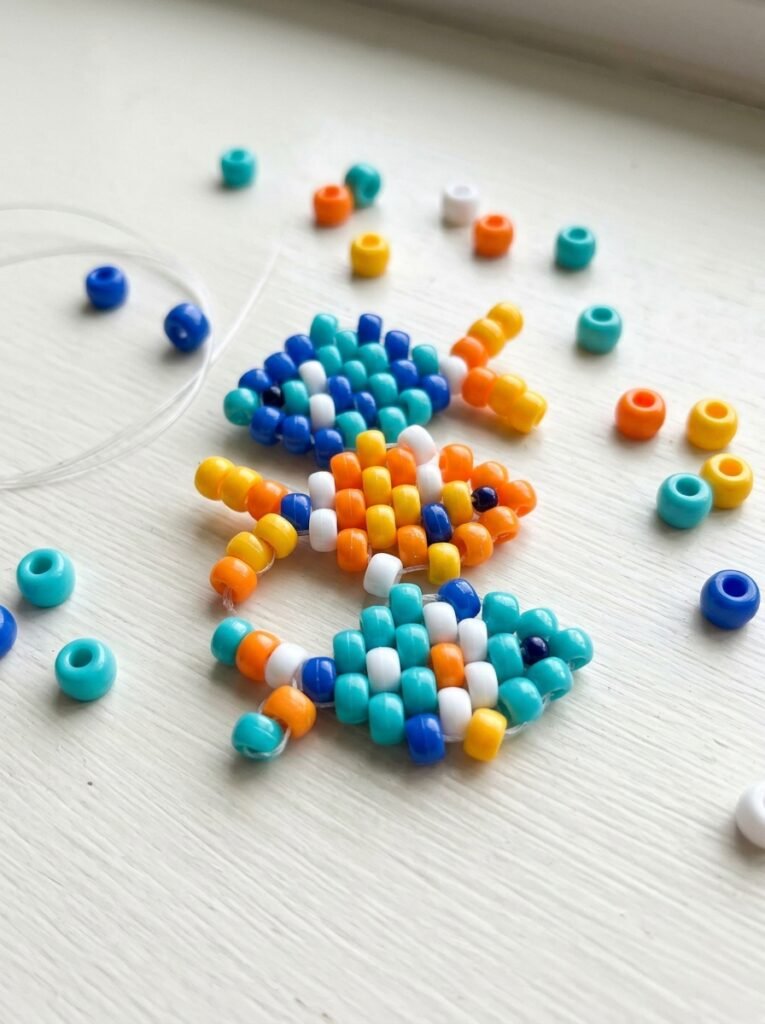
Fish-shaped kandi charms are ideal for experimenting with bright colors and simple geometric patterns. Use blue and turquoise beads for a water-inspired design, or combine orange, yellow, and white for a tropical look. Create the body with a compact arrangement of beads, then add a small tail and a contrasting bead for the eye. The finished fish can become a bracelet centerpiece or a tiny zipper charm. If you want to make a matching set, change the colors while keeping the same pattern so each fish has its own personality.
8. Mini Cat Kandi Charm
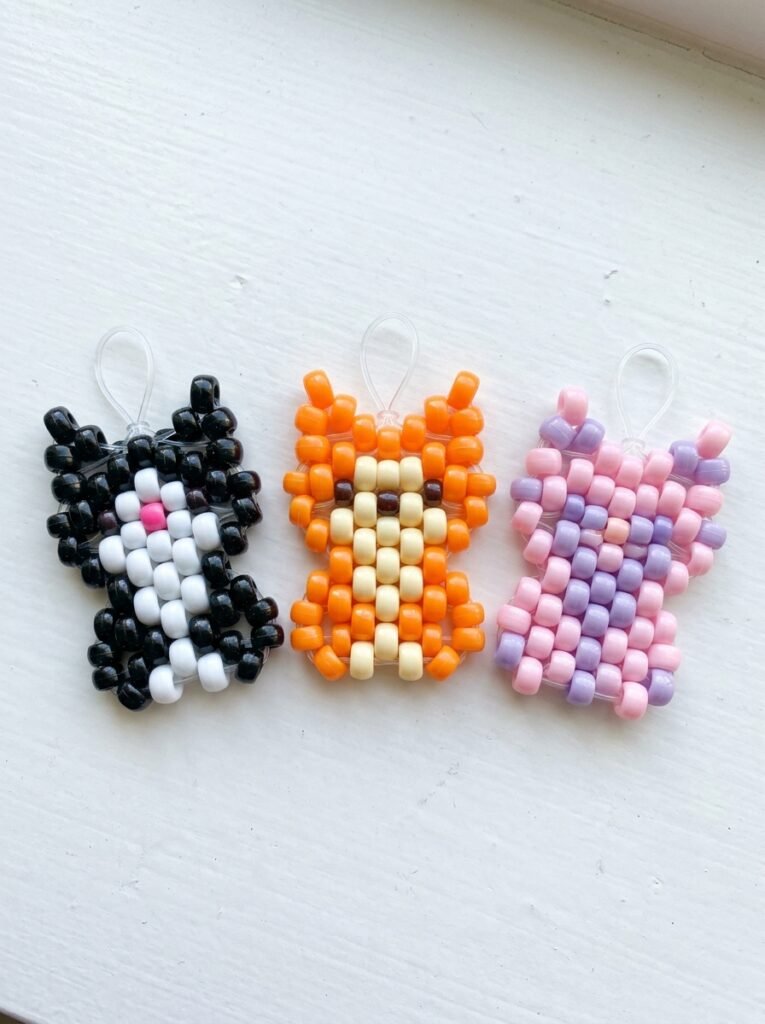
Cat kandi is a great option for pet lovers and anyone who enjoys cute animal accessories. Use black and white beads for a classic cat, orange and cream for a ginger-inspired design, or pink and lavender for a playful fantasy look. A simple flat pattern can include pointed ears, a small face, and a compact body shape. For extra personality, add a tiny contrasting nose or colored collar. You can use the finished cat as a backpack decoration, a friendship gift, or part of a themed collection of animal charms.
9. Tiny Balloon Dog Kandi Charm
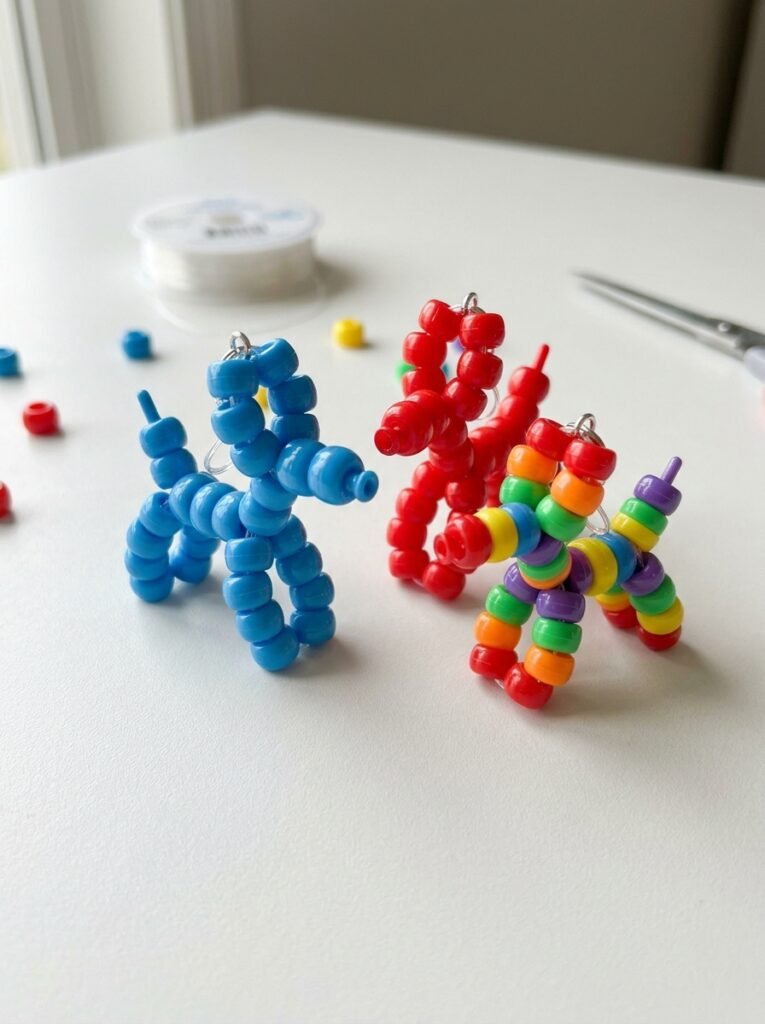
A balloon dog design adds a playful twist to traditional pony bead crafts. Choose bright blue, red, yellow, or rainbow beads to give the little dog a colorful appearance. The most important part of the pattern is the silhouette: the head, ears, legs, and curled tail should be distinguishable even when the charm is small. Beginners may find it easier to follow a numbered bead pattern or use a simple flat template before attempting a more complex three-dimensional design. Attach the completed dog to a keyring or zipper pull for a cheerful accessory.
10. Mini Rainbow Animal Kandi
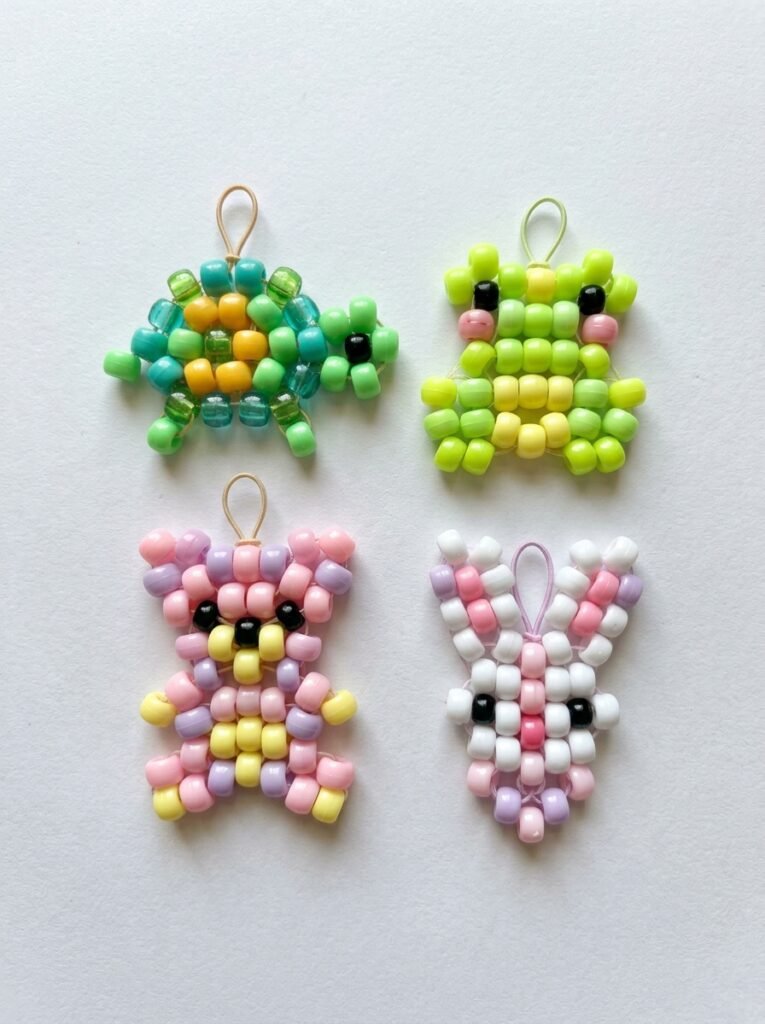
If you cannot choose just one animal, create a small collection of rainbow-inspired creatures. Tiny turtles, frogs, bears, and other simple animal shapes can all be made using colorful pony beads. Choose a consistent rainbow sequence or assign each animal its own palette. This approach lets you practice different shapes while keeping the finished collection visually coordinated. You can attach individual animals to bracelets or combine several on a larger keyring. When making tiny designs, prioritize a recognizable outline over too many small details.
11. Small Pride Kandi Bracelet
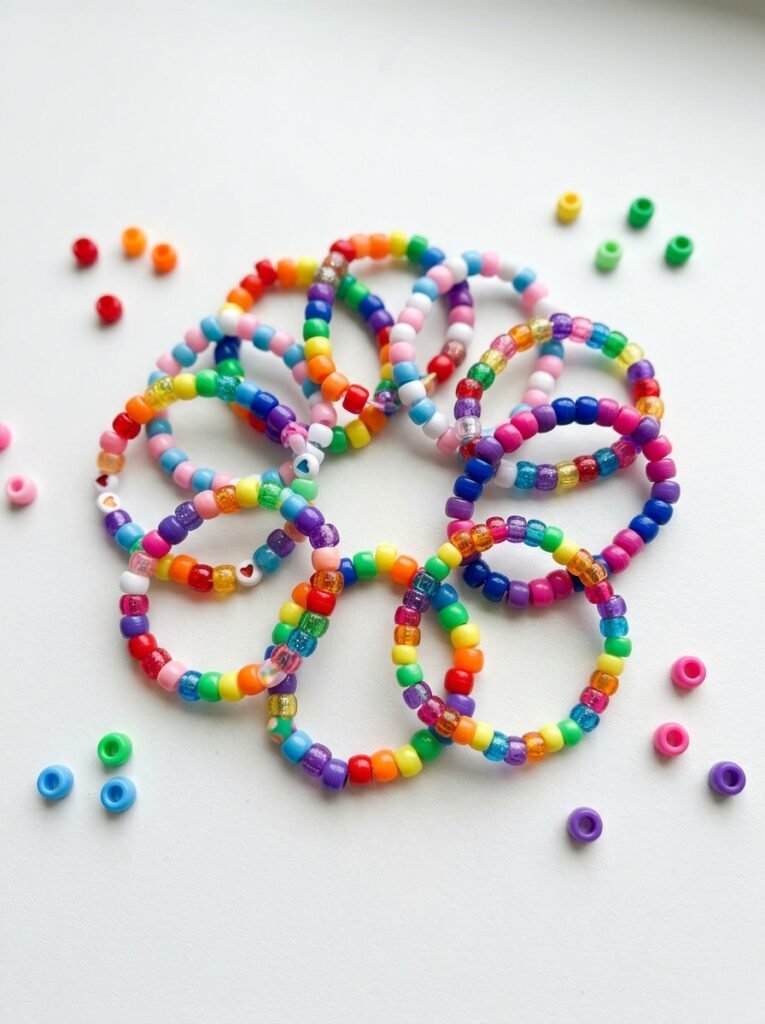
A Pride-inspired kandi bracelet is a meaningful way to celebrate identity, community, and self-expression. Choose a rainbow sequence or use another color arrangement that represents the message you want to share. A narrow bracelet can be made with one strand of pony beads, while a slightly wider version can feature two coordinated rows. If you add letter beads, use a short, respectful message that fits the available space. These bracelets can also be made as friendship gifts for Pride events, community gatherings, or everyday wear.
12. Mini Halloween Pumpkin Kandi
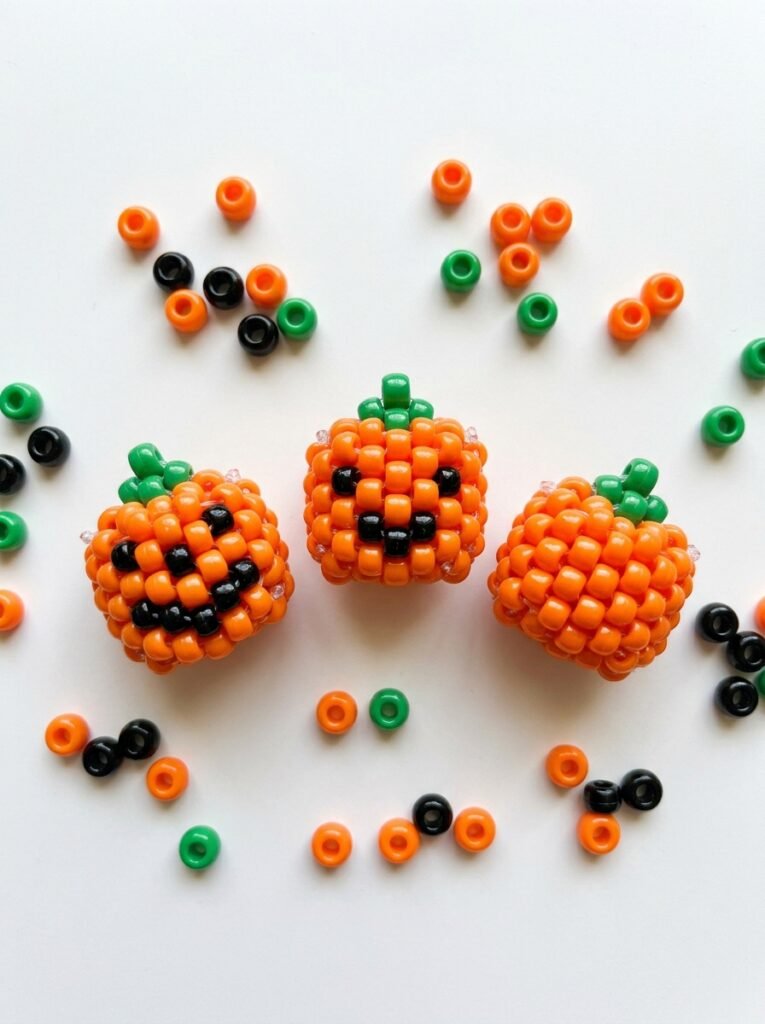
A tiny pumpkin charm is a simple way to bring Halloween colors into your bead collection. Use orange beads to create the round pumpkin body, then add green beads for a small stem. Black beads can form a friendly face, while a plain orange design gives the charm a more minimal appearance. You can attach the pumpkin to a bracelet, keychain, or seasonal zipper pull. Making several pumpkins with different facial expressions is a fun way to create a matching set without repeating the exact same design.
13. Cute Ghost Kandi Charm
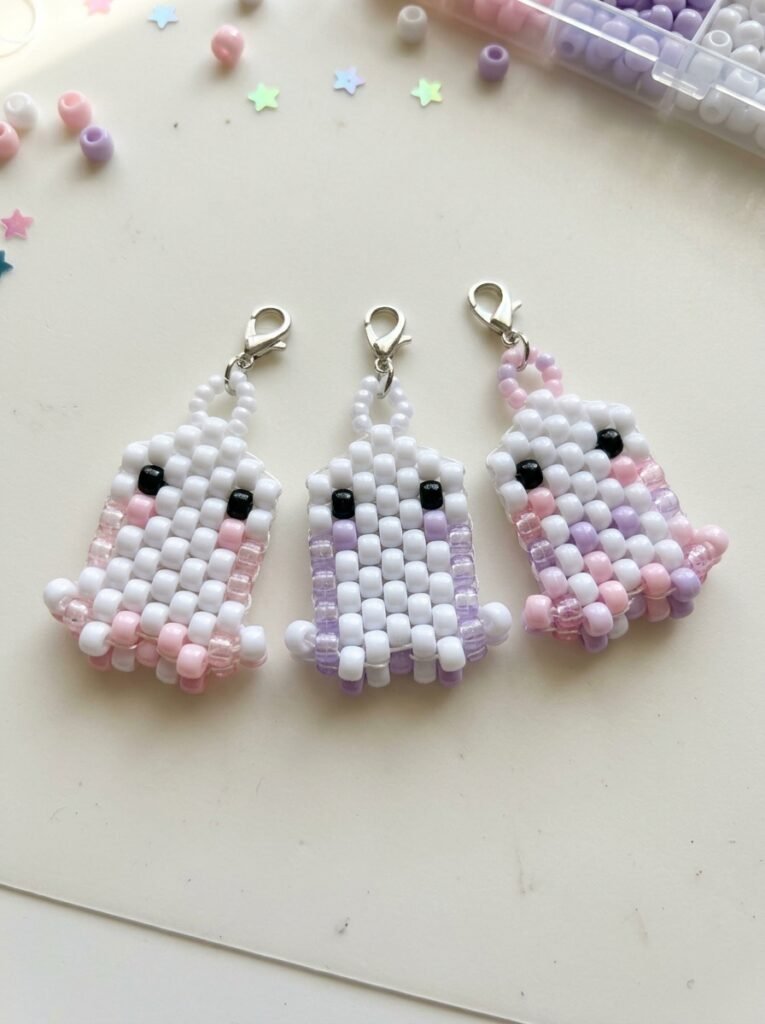
Ghost kandi is another easy Halloween project, especially if you prefer simple shapes and a limited color palette. Use white or translucent pony beads for the ghost body and black beads for the eyes. A few pale purple or pink beads can add a playful accent without making the design too complicated. A rounded top and slightly wider lower section help the ghost look recognizable. Attach it to a small keyring or include it in a seasonal bracelet. You can make a collection of ghosts with different expressions for extra variety.
14. Small Kandi Charms Collection
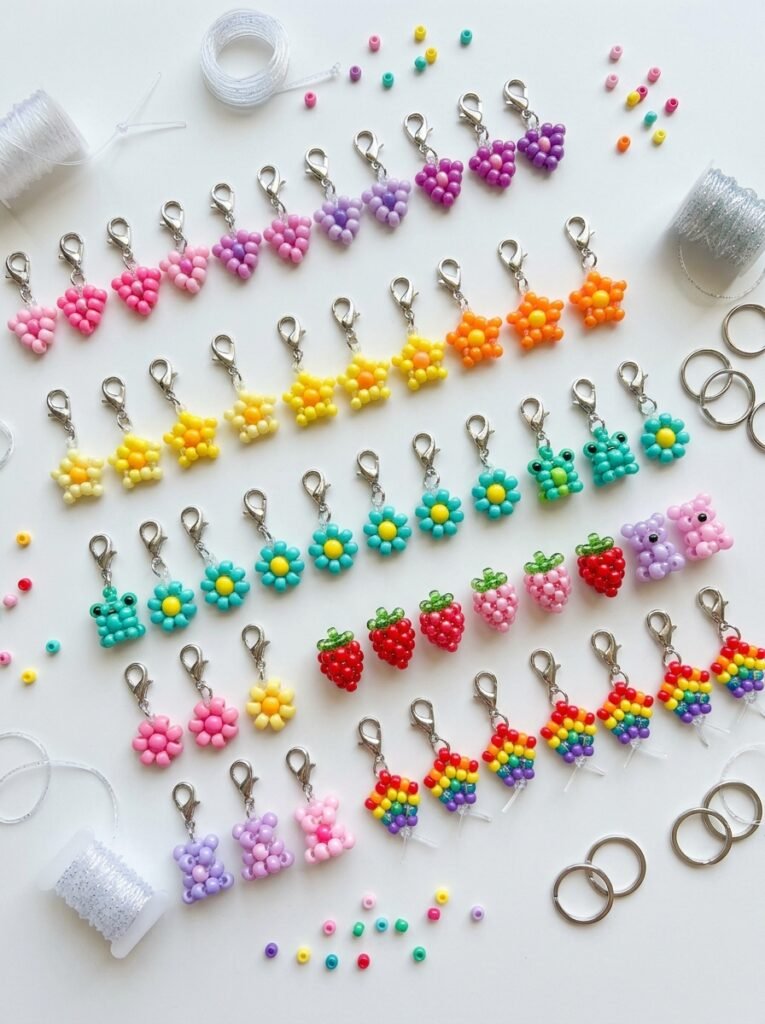
A small charm collection lets you combine several of your favorite designs in one coordinated project. Make miniature hearts, stars, flowers, fruits, and animals, then choose colors that complement one another. You can attach one charm to a simple bracelet or group a few together on a backpack zipper. Keep the pieces lightweight and use secure connectors so they do not fall off during everyday use. If you are making gifts, coordinate the charms around a theme such as pastel colors, ocean animals, or bright rainbow patterns.
15. Small Kandi Keychain
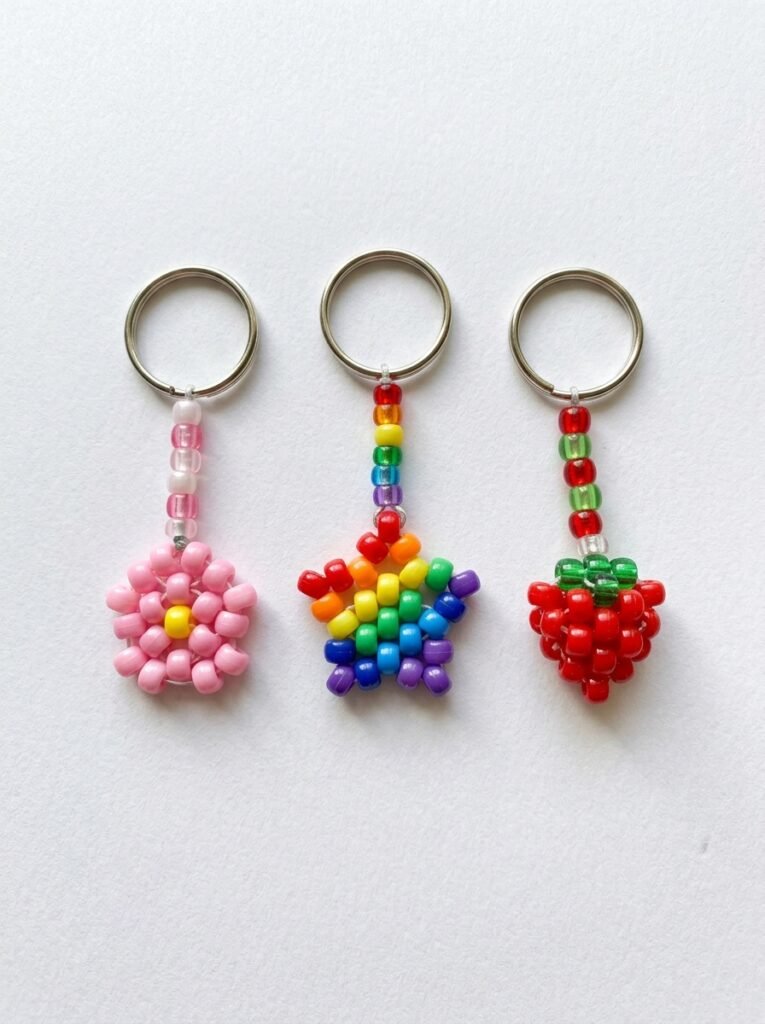
A small kandi keychain is useful when you want your beadwork to be both decorative and practical. Choose one compact design, such as a star, cat, flower, or strawberry, and attach it to a sturdy keyring using an appropriate connector. You can also add a short row of colored pony beads above the charm to make it easier to spot in a bag. Keep the finished piece lightweight and check that all knots, loops, and connectors are secure. This is a good project for using leftover beads from larger kandi creations.
16. Easy Ladder Stitch Kandi Bracelet
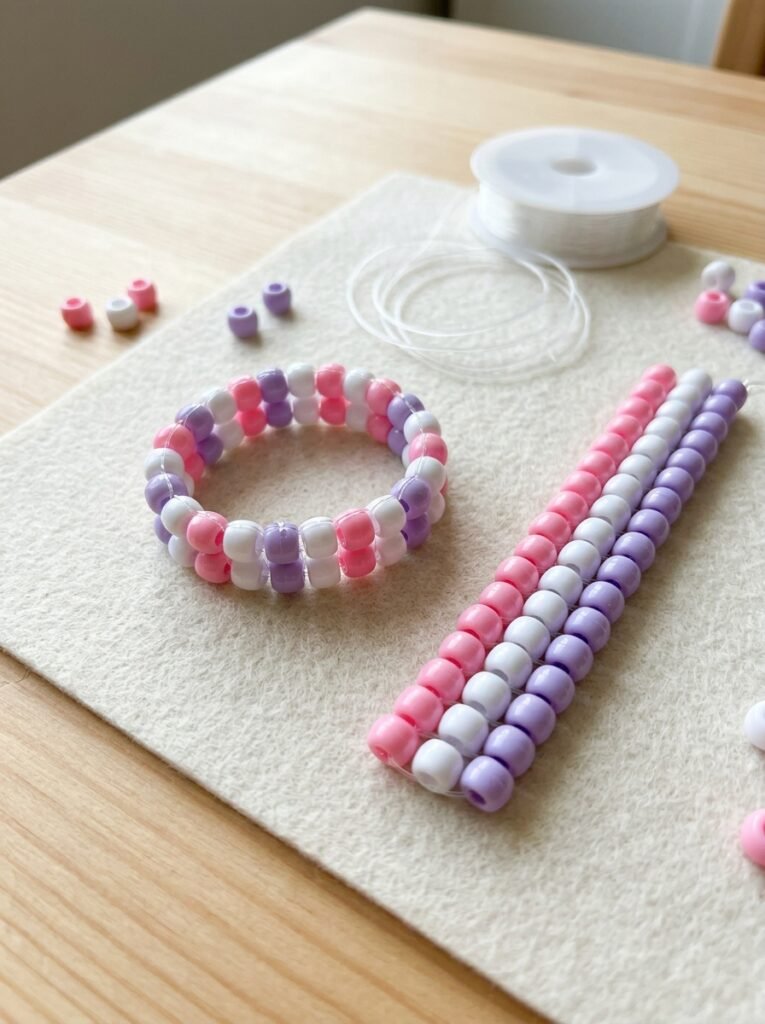
Ladder stitch is a useful technique for making small kandi patterns that look neat and structured. In a basic ladder-style design, beads are arranged in parallel rows connected by thread or cord, creating a compact, organized appearance. Select two or three colors and repeat the same arrangement to form a simple striped or checkerboard-inspired pattern. Because spacing and tension affect the finished shape, keep the cord snug without pulling so tightly that the beads bend out of alignment. Follow a numbered diagram if you are new to the technique.
17. Mini Kandi Cuff Pattern
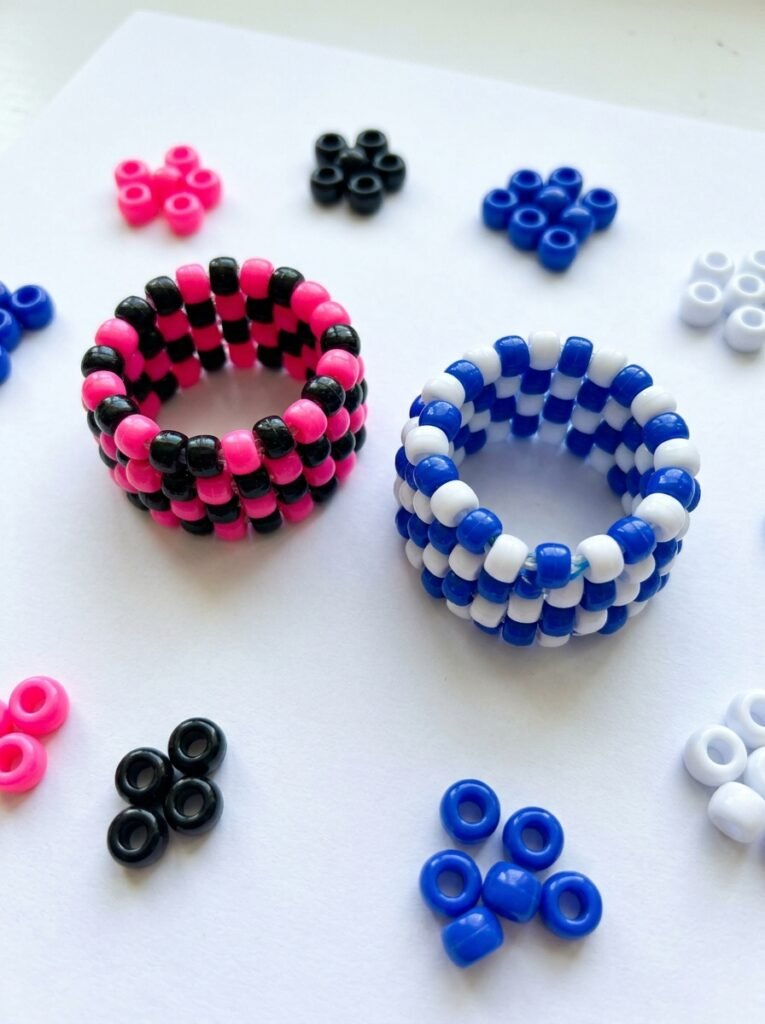
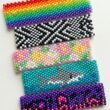
A mini kandi cuff is a wider bracelet made from connected bead rows. Compared with a single-strand bracelet, it gives you more space to experiment with stripes, checks, hearts, or color blocks. Start with a narrow cuff rather than a large multi-layer design, and use a consistent pattern to keep the rows balanced. A small cuff can look especially attractive in two contrasting colors, such as black and neon pink or blue and white. Check the fit around your wrist before securing the ends, and avoid making the cuff so tight that it becomes uncomfortable.
18. Personalized Small Kandi Pattern
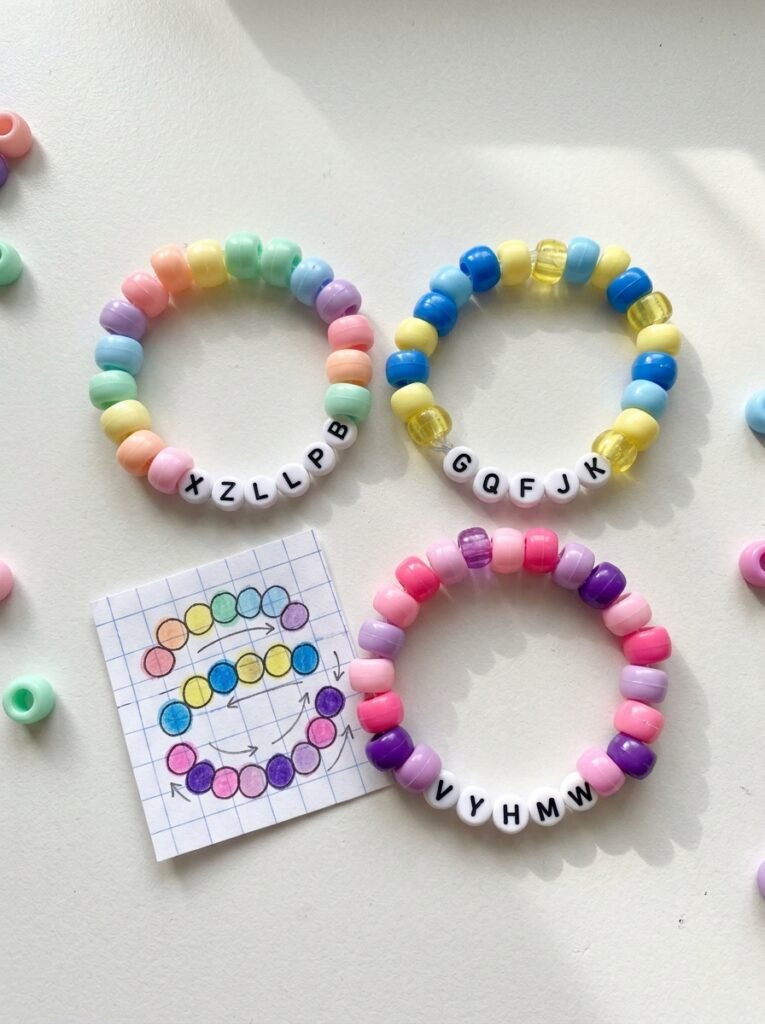
A personalized pattern is a great way to make a tiny bead project feel unique. Choose a simple sequence of colors, add a single letter bead or a small symbol, and repeat the design across a bracelet or short charm strand. You can use a numbered pattern to keep track of the bead order, especially when alternating several colors. For a coordinated set, create one main pattern and change only the accent color for each version. This method is useful for friendship gifts, party favors, and small handmade collections.
How to Make Small Kandi: Easy Tutorial for Beginners
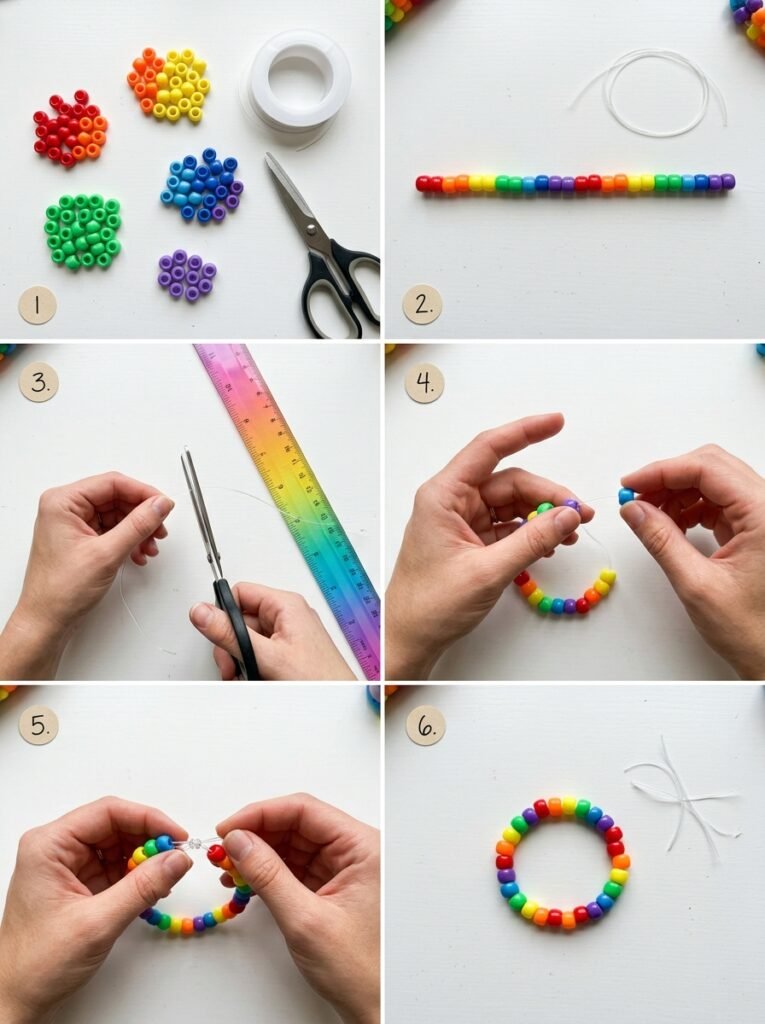
You do not need advanced jewelry-making skills to start creating small kandi projects. A simple bracelet or charm is a good first project because it helps you practice bead selection, pattern planning, and secure knotting before moving on to animals or cuffs.
Materials you need:
- Colorful pony beads
- Stretch elastic cord or suitable beading thread
- Scissors
- A ruler or measuring tape
- A small tray for organizing beads
- A keyring or connector if making a charm
Step-by-step tutorial:
- Choose your design. Start with a simple bracelet, flower, star, or other compact shape.
- Plan your colors. Arrange the beads on a flat surface before threading them so you can check the pattern.
- Measure the cord. Leave extra length for tying or finishing the project.
- Add the beads. Follow your planned sequence, checking the spacing and shape as you work.
- Secure the ends. Tie a suitable knot or finish the thread according to the pattern. Keep small components securely attached.
- Check the finished piece. Look for loose beads, weak connections, or uncomfortable edges before wearing or gifting it.
Tips for Making Better Small Kandi
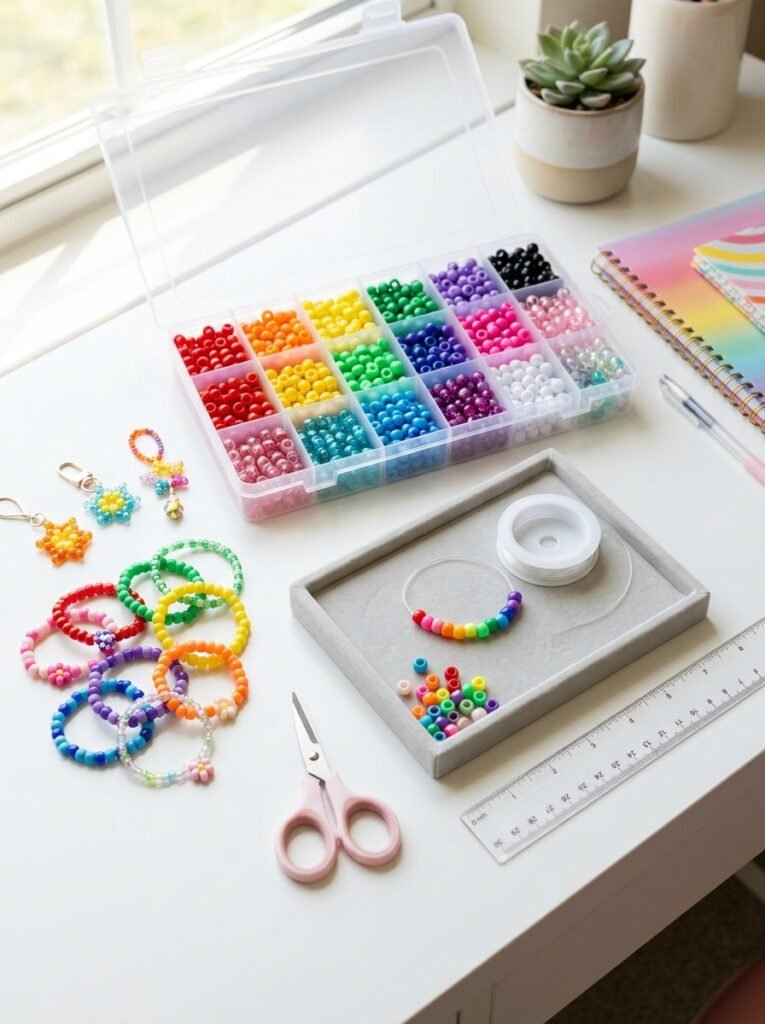
Small projects often look best when the design is simple and the bead placement is consistent. Choose a limited color palette, keep similar shapes and sizes together, and lay out your pattern before threading the beads. Use a numbered reference when a design has several repeating rows, and test the fit before finishing bracelets or cuffs. For charms, make sure the attachment is secure enough for normal handling. If children are participating, supervise scissors and small beads, which can pose a choking risk for young children.
How to Sell Small Kandi Creations
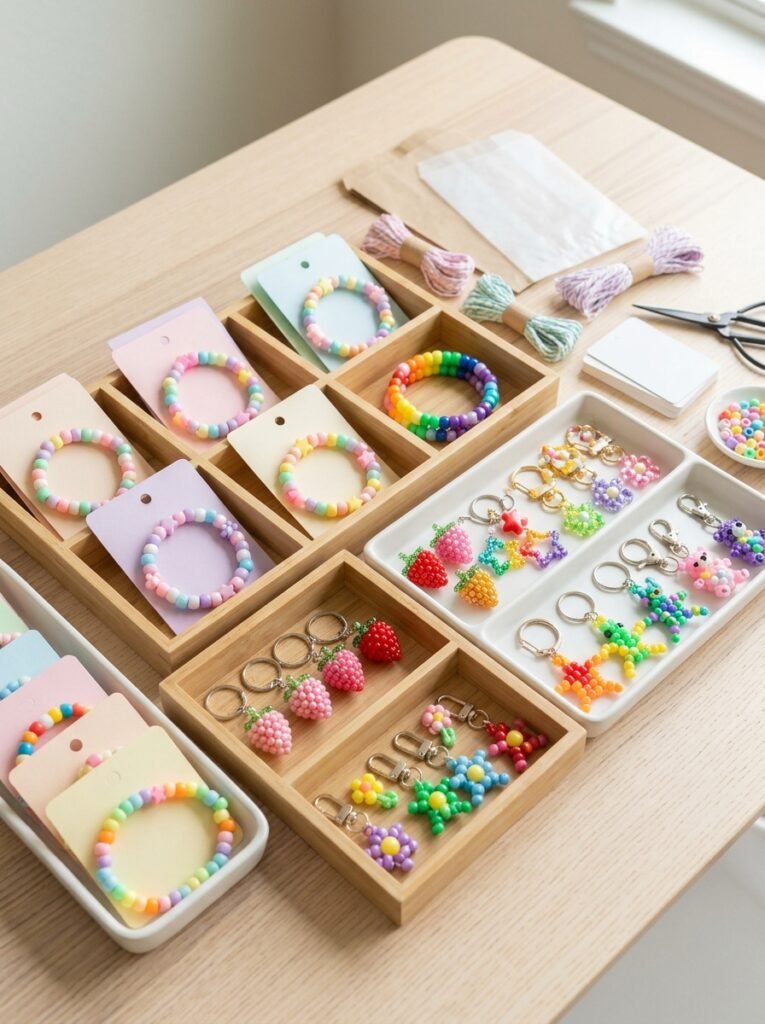
If you want to sell your beadwork, begin with a small collection of designs that are easy to reproduce consistently. Simple bracelets, mini stars, flowers, fruit charms, and animal keychains can be offered in coordinated color themes or made-to-order combinations. Photograph each item clearly, list its size and materials, and price it to cover supplies, packaging, platform fees, and your time. You can also offer matching sets for gifts or events. Make sure every piece is securely finished and describe handmade variations honestly so customers know what to expect.
Printable Small Kandi Project Checklist
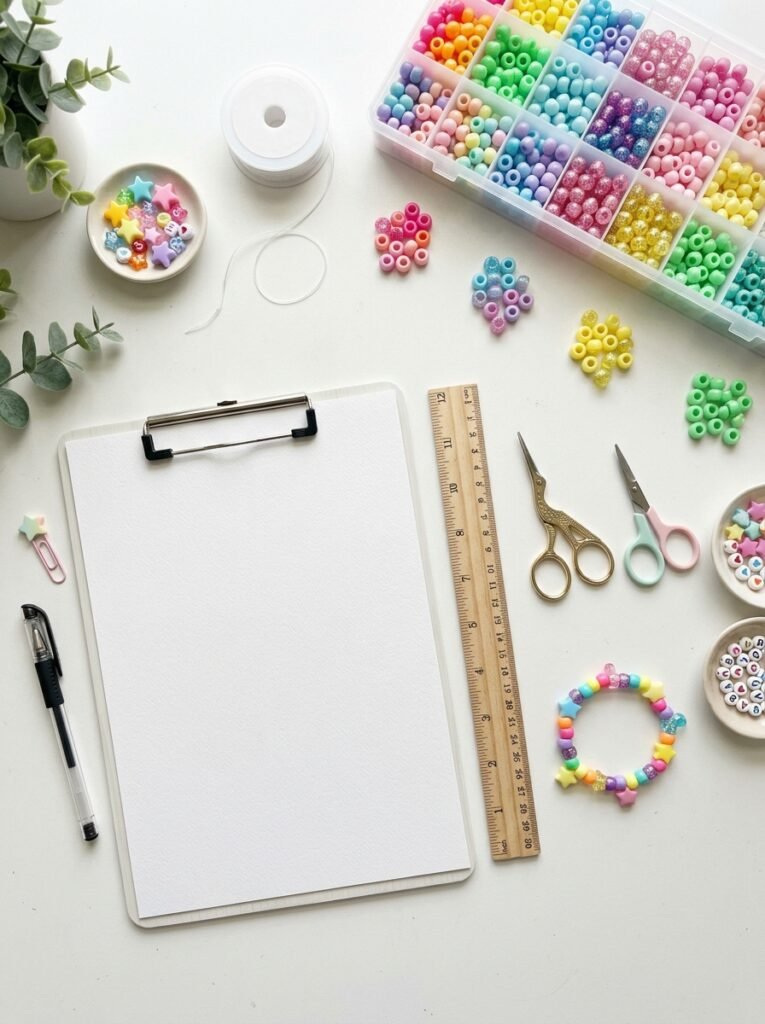
Use this quick checklist before beginning a new design:
- Choose one small kandi project.
- Select two to five coordinating bead colors.
- Gather the cord, beads, scissors, and connectors.
- Arrange the pattern before threading.
- Check the size and shape during assembly.
- Secure knots and attachments carefully.
- Inspect the finished piece before wearing, gifting, or selling.
- Photograph the finished design if you want to share your work.
Final Thoughts
The best small kandi projects are the ones that let you enjoy the creative process without needing a huge supply of materials. You can begin with a simple bracelet, experiment with cute flowers and animals, or try a ladder-stitch pattern once you feel more confident. Seasonal charms and personalized keychains also make thoughtful gifts and can become part of a small handmade business. Start with one design, practice your bead arrangement, and then try a new color combination or shape. With a little patience, these small kandi ideas can help you build a colorful collection of accessories that reflects your own style.