

This post may contain affiliate links. Please read my disclosure policy.
In This Article Show
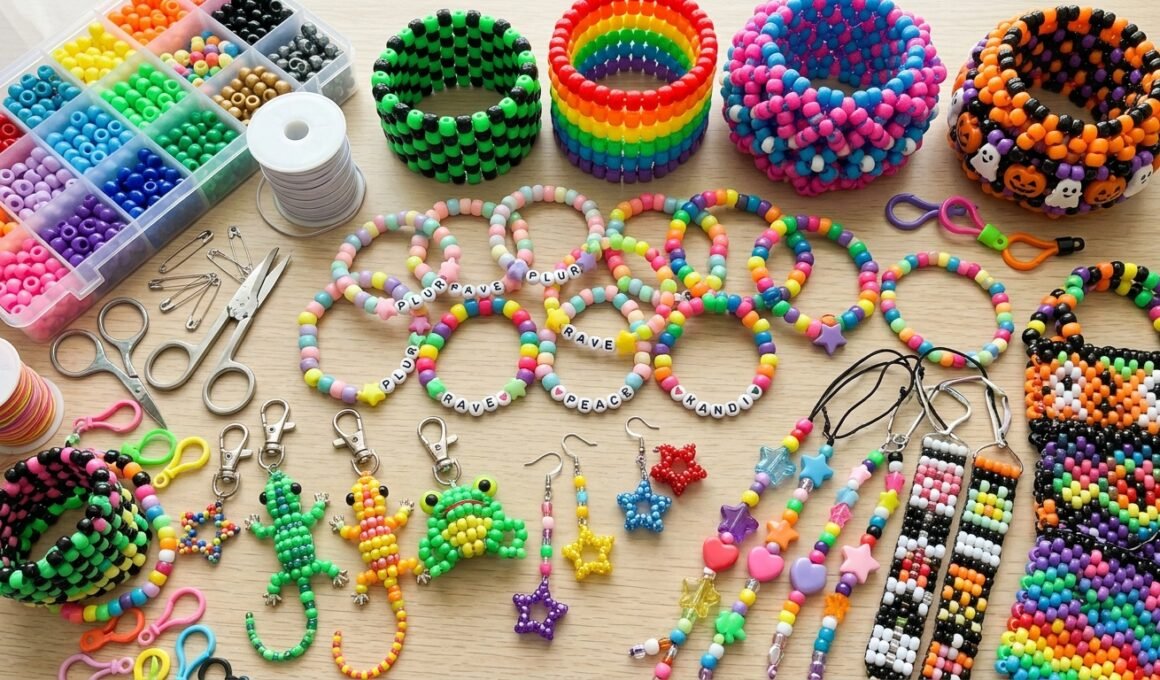
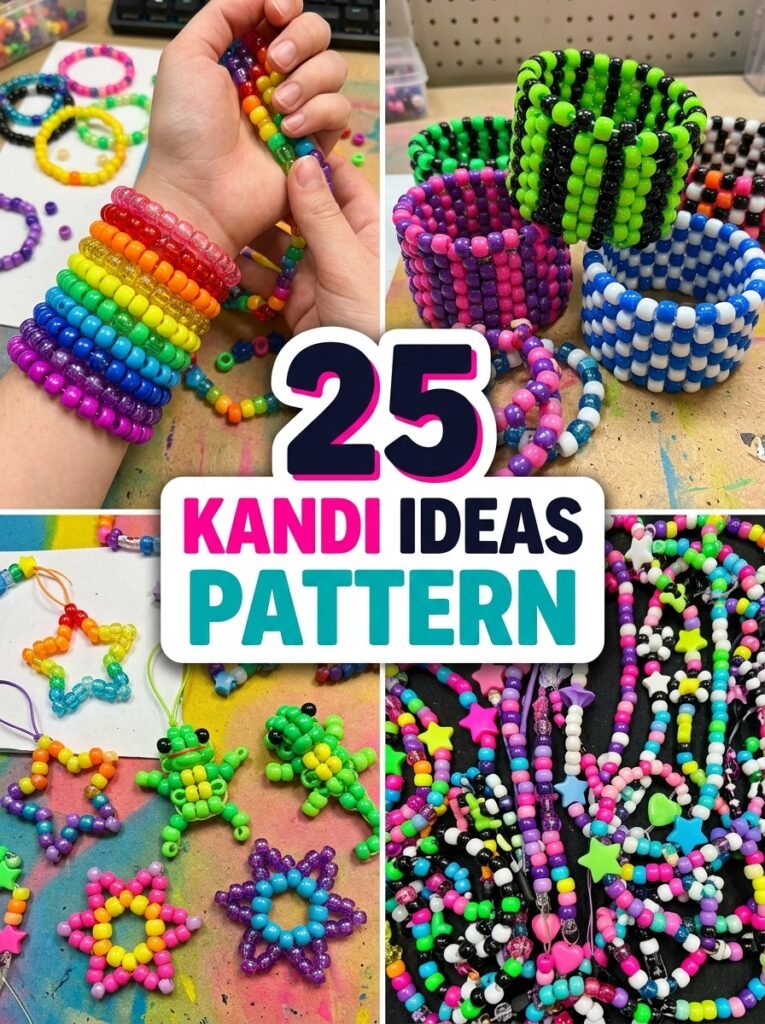
Kandi crafting is a fun way to turn colorful pony beads into bracelets, statement cuffs, keychains, and personalized accessories. Whether you are just starting with simple bead patterns or ready to try more detailed designs, the right kandi ideas pattern can help you create accessories that reflect your personality. You can experiment with rainbow colors, cute animal designs, bold rave combinations, Halloween themes, and original character-inspired patterns. Simple singles are perfect for beginners, while ladder cuffs, panel cuffs, and multi-stitch designs offer more of a challenge. You can even use your favorite patterns to make bag charms, star accessories, and matching friendship sets. This guide features 25 creative ideas, practical explanations, and individual image prompts to help you plan your next pony-bead project.
1. Simple Rainbow Kandi Bracelet
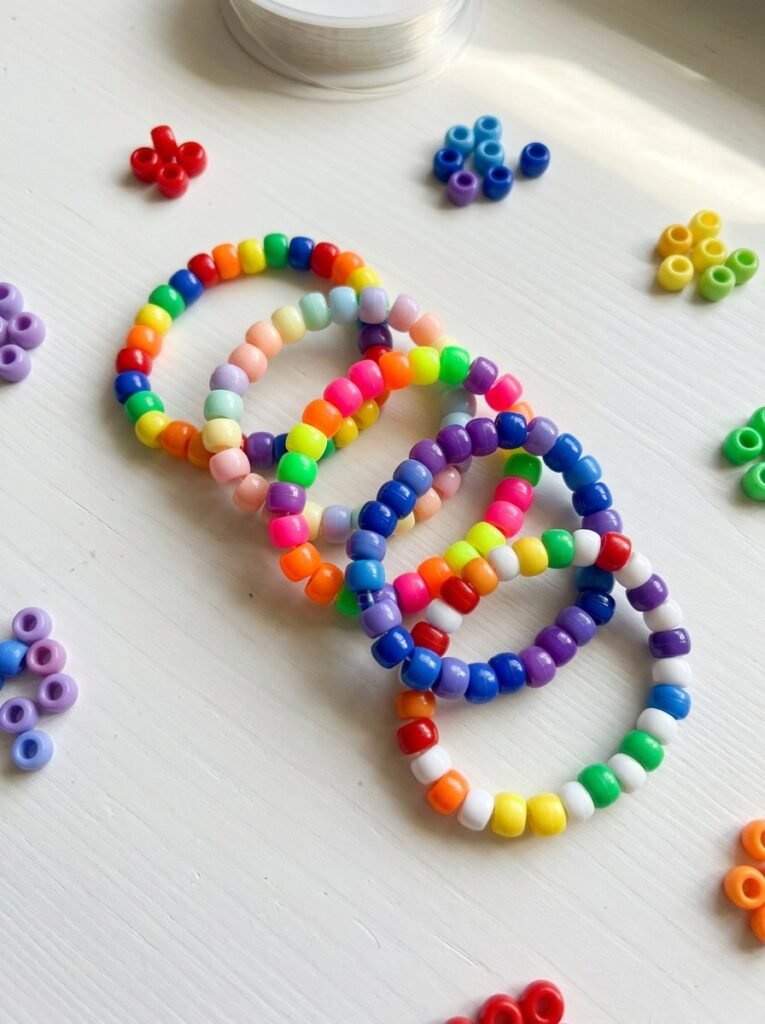
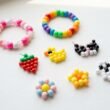
A rainbow bracelet is one of the easiest projects for beginners. Choose red, orange, yellow, green, blue, and purple pony beads, then arrange them in a repeating sequence. You can use one bead of each color or repeat each shade several times to create wider color sections. Thread the beads onto suitable elastic cord, check the fit around your wrist, and secure the ends using a knot recommended for your cord. This pattern is useful for practising bead spacing and color order before attempting more complicated designs. You can also make pastel, neon, or monochrome variations using the same technique. For a personalized touch, add a small heart bead or a few alphabet beads while keeping the rainbow sequence consistent.
2. Numbered Pony Bead Pattern
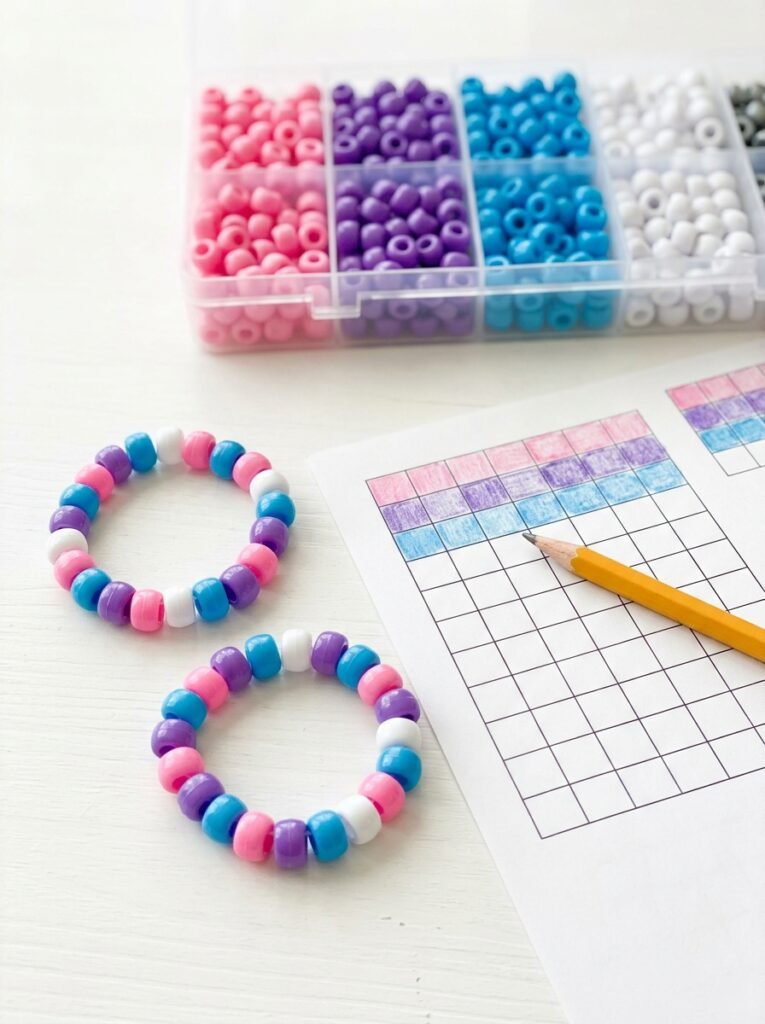
Numbered patterns make it easier to recreate a bracelet without forgetting the color sequence. Assign a number to each color—for example, 1 for pink, 2 for purple, 3 for blue, and 4 for white. Then plan a repeating sequence such as 1-2-3-4-3-2. Repeat the sequence around the bracelet, checking your bead order as you work. This method is especially helpful when you want to make several identical bracelets or record your own designs for later. Keep a small color key next to your pattern so you remember what each number represents. For larger cuffs, you can number each row or section separately. This makes detailed designs easier to plan and helps reduce mistakes before you begin weaving.
3. Cute Pink Kandi Bracelet
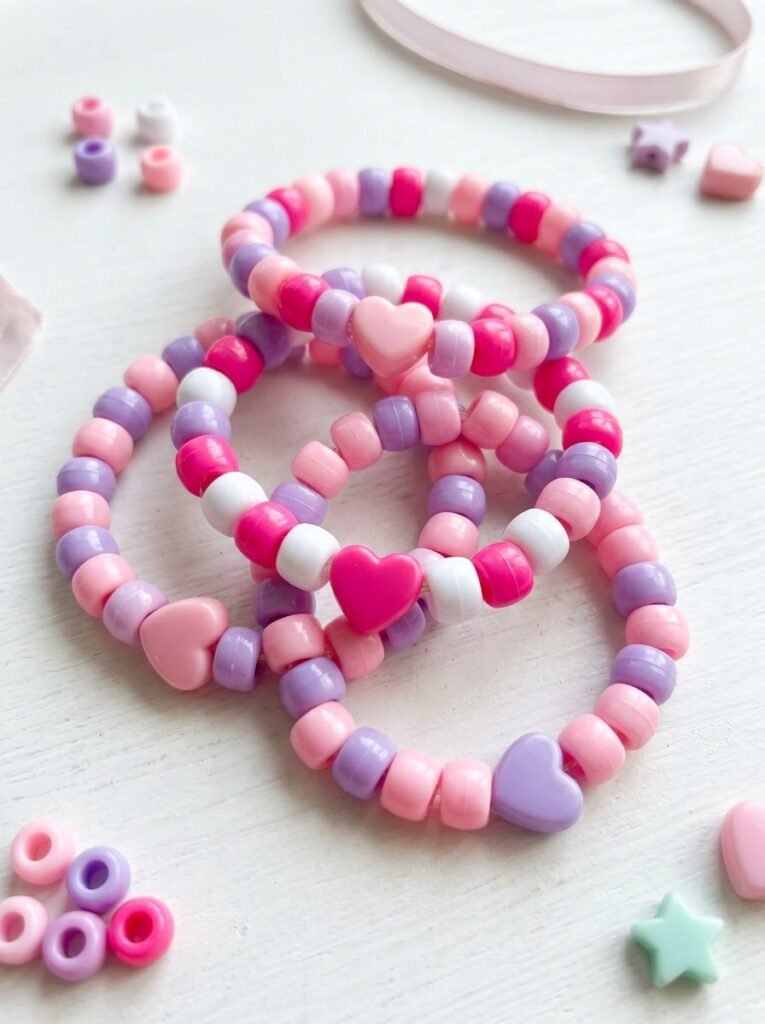
Pink kandi bracelets are perfect for a cute, playful style. Combine pastel pink, hot pink, white, and lavender beads to create a soft palette, or mix pink with black for a bolder alternative look. You can use repeating color sequences, heart-shaped beads, or alphabet beads to personalize the design. A pink-and-white pattern is especially easy to follow because the alternating colors create a clear rhythm. For a coordinated collection, make three bracelets using different shades of pink. One can use pastel beads, another can alternate hot pink and white, and the third can include purple accents. This gives you variety without losing the overall theme. Pink kandi also pairs beautifully with pastel outfits and other handmade accessories.
4. Purple and Blue Kandi Pattern
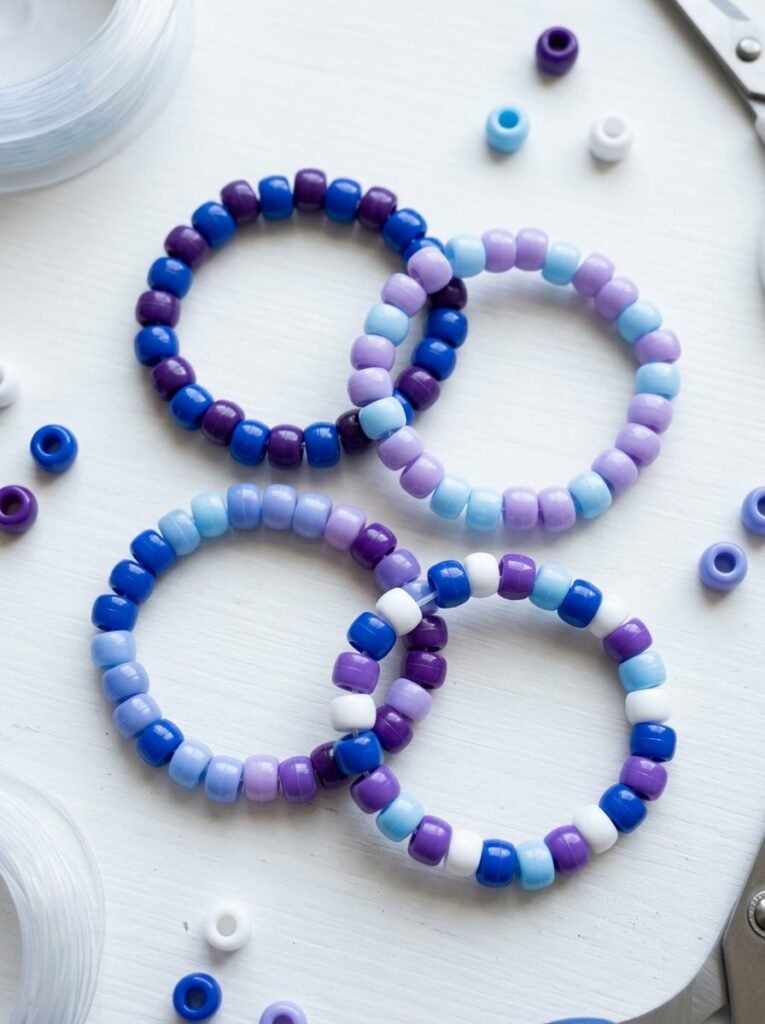
Purple and blue create a beautiful color combination for kandi bracelets because they can look both calming and vibrant. Try alternating royal blue and purple beads, or combine baby blue, lavender, and white for a softer design. For a more dramatic appearance, use deep purple with electric blue and a few silver-colored accent beads. Repeating groups of three or four beads help the bracelet look balanced and intentional. This palette works for simple singles, matching friendship bracelets, and wider cuffs. You can also create a gradient by placing lighter shades on one side of the pattern and gradually moving toward darker colors. Before threading the beads, lay out the sequence on a table to check how the colors blend together.
5. Green Kandi Bracelet Pattern
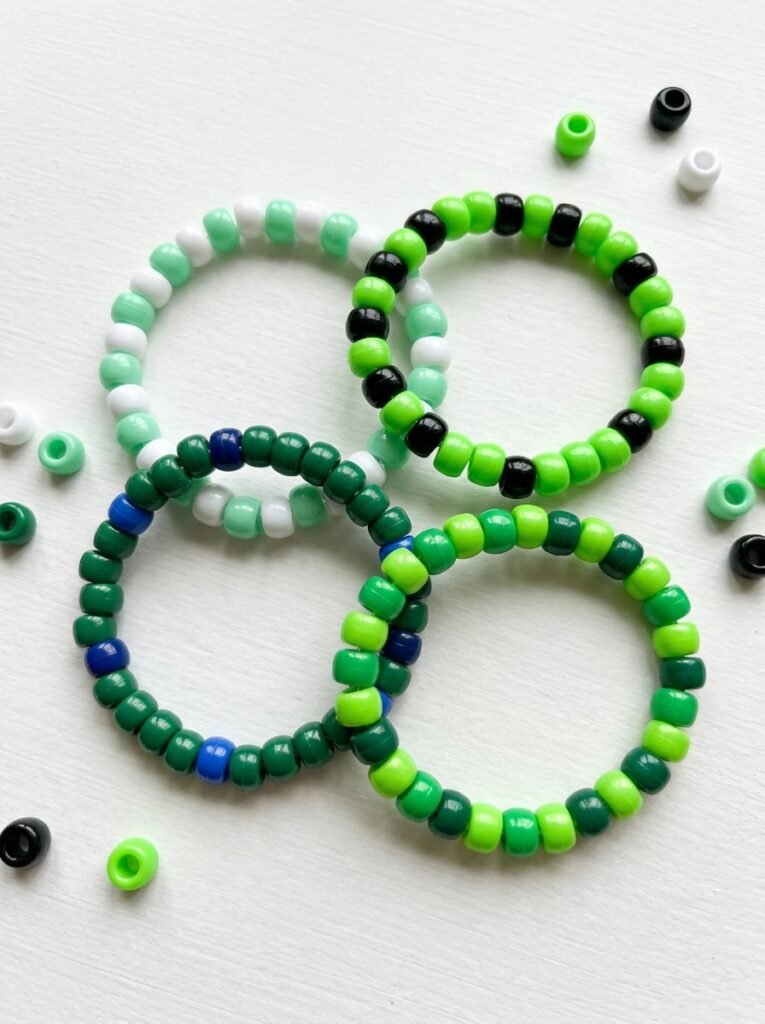
Green kandi bracelets offer a fresh alternative to traditional rainbow designs. Combine lime green, forest green, mint, and white, or create a bold design using green and black. Alternating two shades creates a simple repeating pattern, while using three shades in sequence adds depth. Green also works well with blue, purple, and yellow for a multicolor bracelet. For a cute style, choose mint green and white. For rave fashion, use neon green and black to create strong contrast. You can make matching singles or use green as the main color in a cuff. If you prefer organized designs, sketch your sequence first so the colors repeat evenly and the finished bracelet looks polished.
6. Matching Kandi Friendship Bracelets
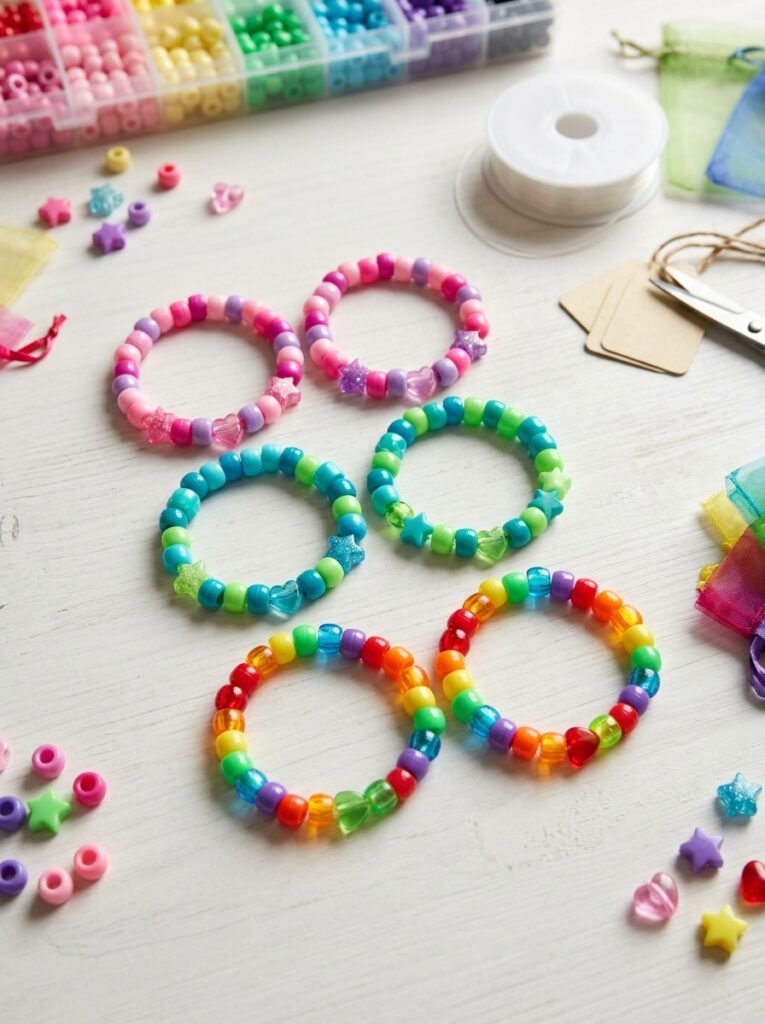
Matching kandi bracelets are a thoughtful way to celebrate friendship or a shared memory. You can make two identical bracelets using the same colors and pattern, or create complementary designs that look good together without being exactly the same. For example, one bracelet might feature pink and purple while the other uses purple and blue. Both can share the same accent beads to connect the designs. Personalization makes matching bracelets more meaningful. Add initials, a short word, or a small heart-shaped bead if you like. These bracelets are suitable for friends, siblings, couples, or festival partners. Before tying the cord, check the fit of each bracelet individually so both people can wear theirs comfortably.
7. Easy Kandi Cuff for Beginners
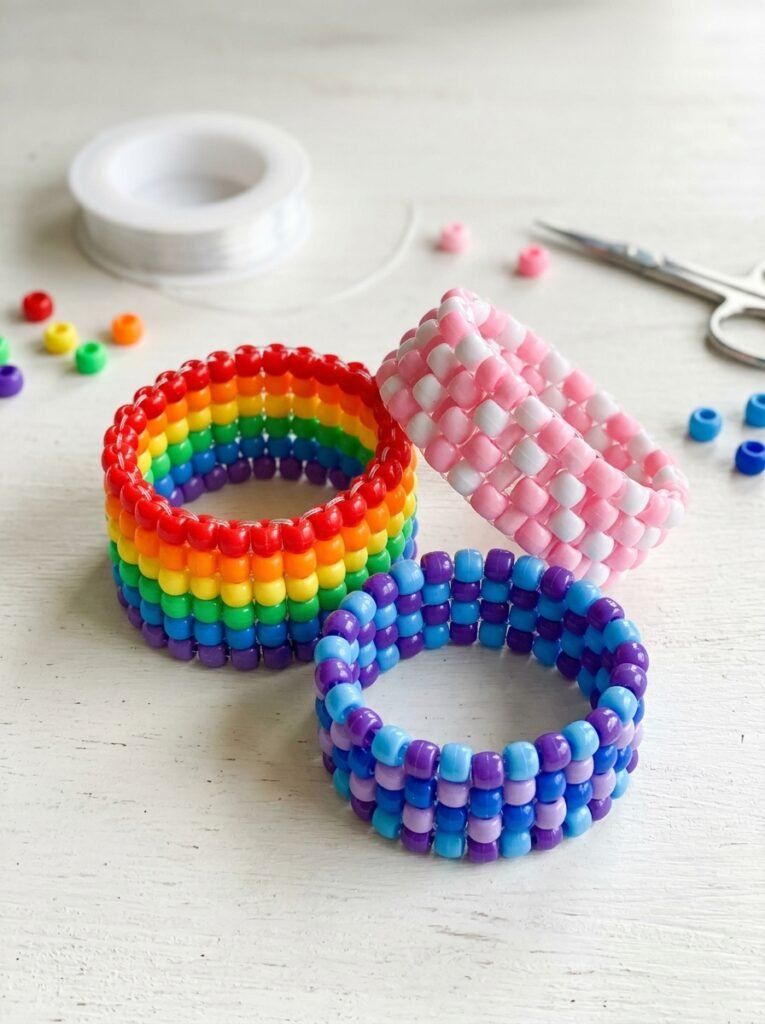
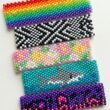
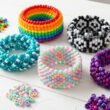
A kandi cuff is a wider bracelet made from multiple connected rows or a specific bead-weaving structure. It creates a bolder look than a single-strand bracelet and gives you more space for interesting patterns. For a beginner-friendly cuff, choose a simple checkerboard design, alternating color rows, or repeated blocks of two colors. Follow a pattern suited to your chosen construction method. Plan the bead arrangement before you start and check the alignment as you build each row. Consistent tension helps the cuff sit neatly without becoming stiff or uneven. Make sure the finished piece fits comfortably around your wrist. Once you understand the basic structure, you can experiment with additional colors, borders, and geometric details.
8. Checkerboard Cuff Pattern
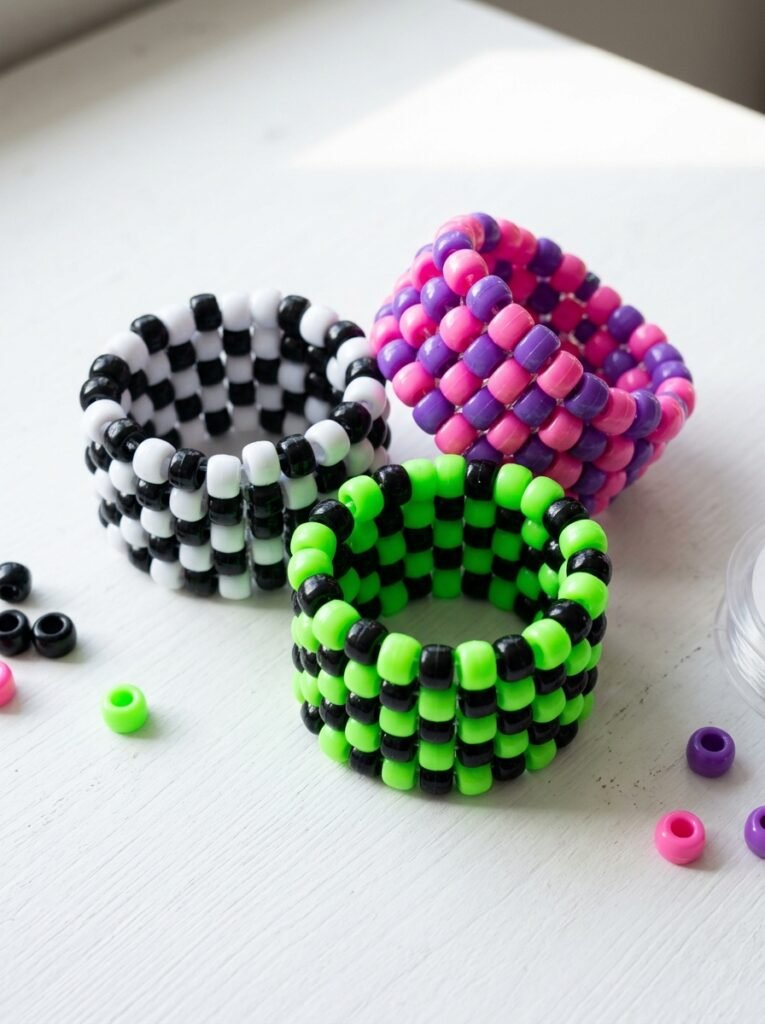
Checkerboard cuffs create a bold visual effect by alternating two colors in a regular grid. Black and white is a classic combination, while pink and purple, blue and green, or neon pink and black offer a more colorful look. The repeating squares create a structured appearance that works well with rave outfits and alternative fashion. Before starting, select a cuff pattern designed for your construction method. Lay out the color sequence and follow the pattern row by row. Beginners should use two colors and avoid changing the sequence halfway through. Once the basic technique feels comfortable, you can add a third color or a contrasting border. Keeping the squares aligned is the key to a polished finish.
9. Ladder Cuff Pattern
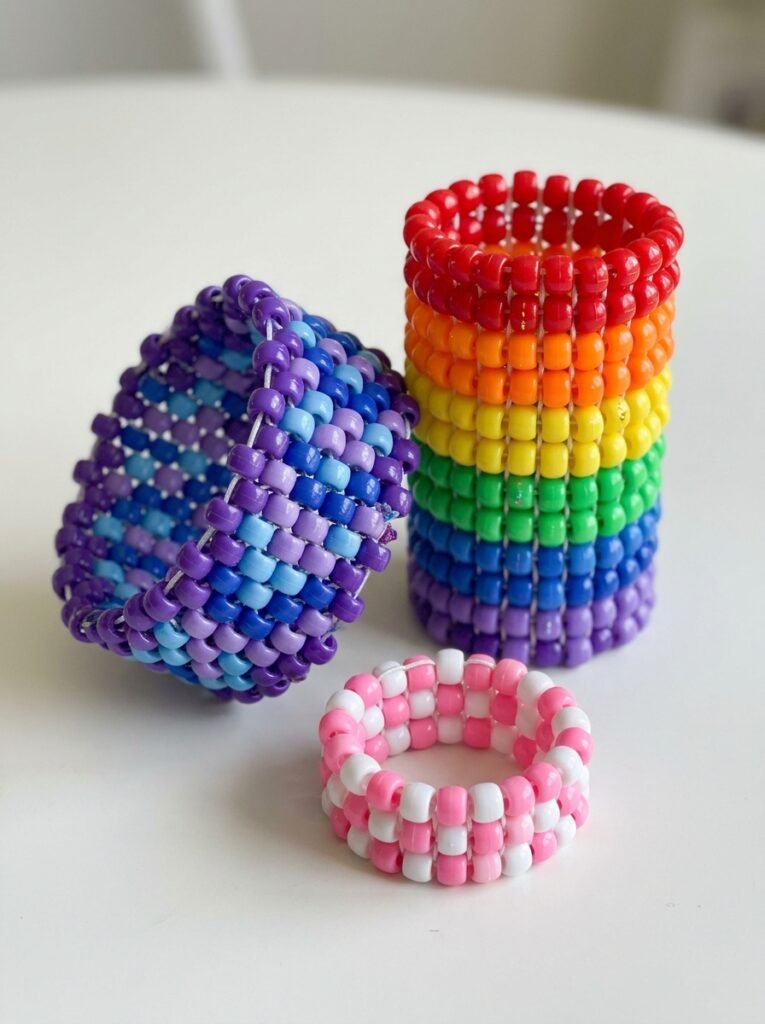
A ladder cuff uses a structured arrangement of connected bead sections to create a wider bracelet with a ladder-like appearance. It is a great project for crafters who want to move beyond singles without immediately attempting very complicated designs. For an easy version, use two main colors and one accent shade, then follow a ladder-cuff pattern that explains the required bead sequence and connections. Start with a small sample so you can understand how the sections connect. Keep the rows even and use consistent tension throughout the construction. You can choose rainbow colors, a purple-and-blue combination, or black with neon accents. Once you understand the basic ladder structure, try adding stripes or repeating geometric motifs.
10. Multi-Stitch Kandi Cuff
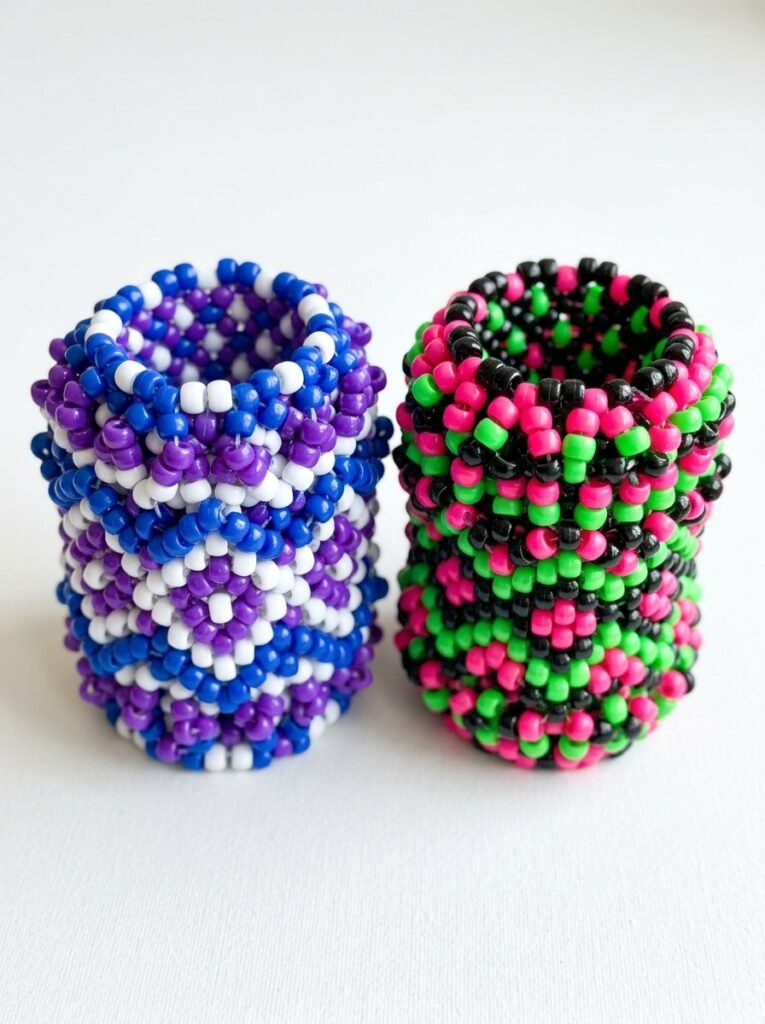
Multi-stitch cuffs use more involved bead connections to create layered textures, wider designs, and complex repeating motifs. Depending on the pattern, the construction may include several connected rows, crossing sections, or repeated decorative units. This style is best for crafters who already understand basic bead threading and want to challenge themselves with a more advanced project. Choose a pattern that clearly explains the stitch order and required cord or thread. Use two or three colors at first, then add more shades once you understand the structure. Check that each section connects properly and that the cuff remains comfortable to wear. Multi-stitch designs are particularly attractive with diamonds, stripes, and contrasting color blocks.
11. Kandi Panel Cuff
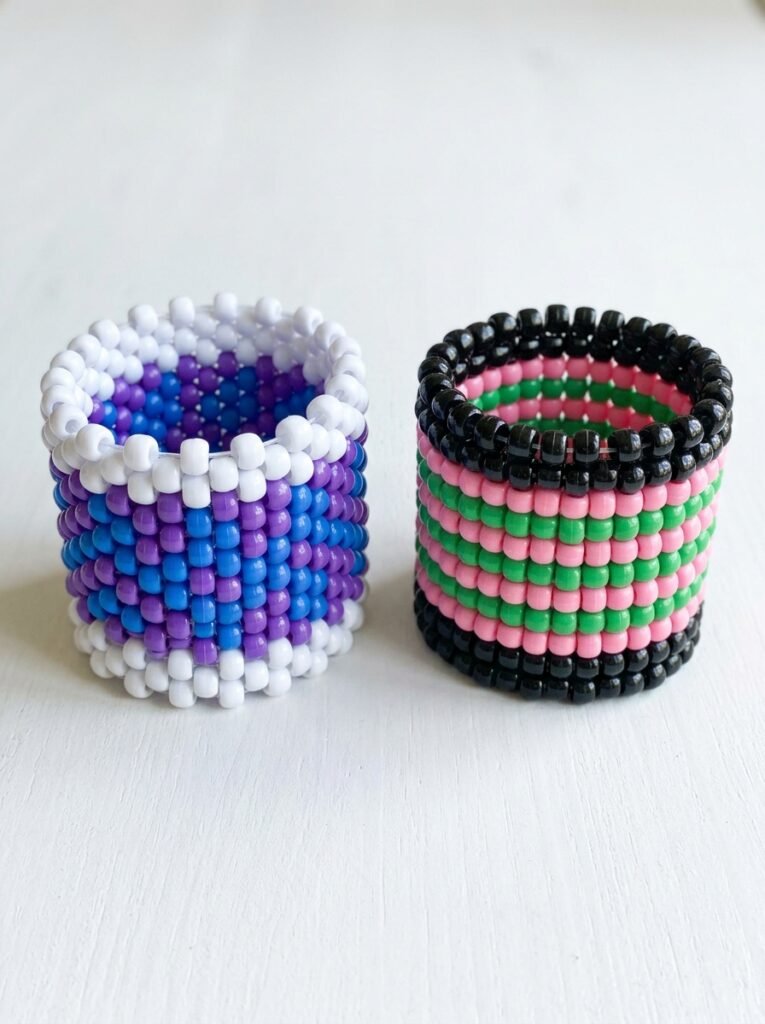
A panel cuff features a broad, visually distinct section that acts as the main design area. This makes it ideal for symmetrical patterns, diamonds, stripes, and original pixel-style motifs. You could create a purple-and-blue central panel framed by white beads, or use a pink-and-green center with contrasting black borders. The panel gives the design a clear focal point. Sketch your pattern on a grid before beginning and assign a color to each part. Beginners can use a simple central stripe, while experienced makers can try repeated diamonds or layered motifs. Follow a construction method that supports the panel securely and allows the cuff to fit comfortably. Checking the pattern early helps prevent alignment mistakes later.
12. Rave Kandi with Neon Patterns
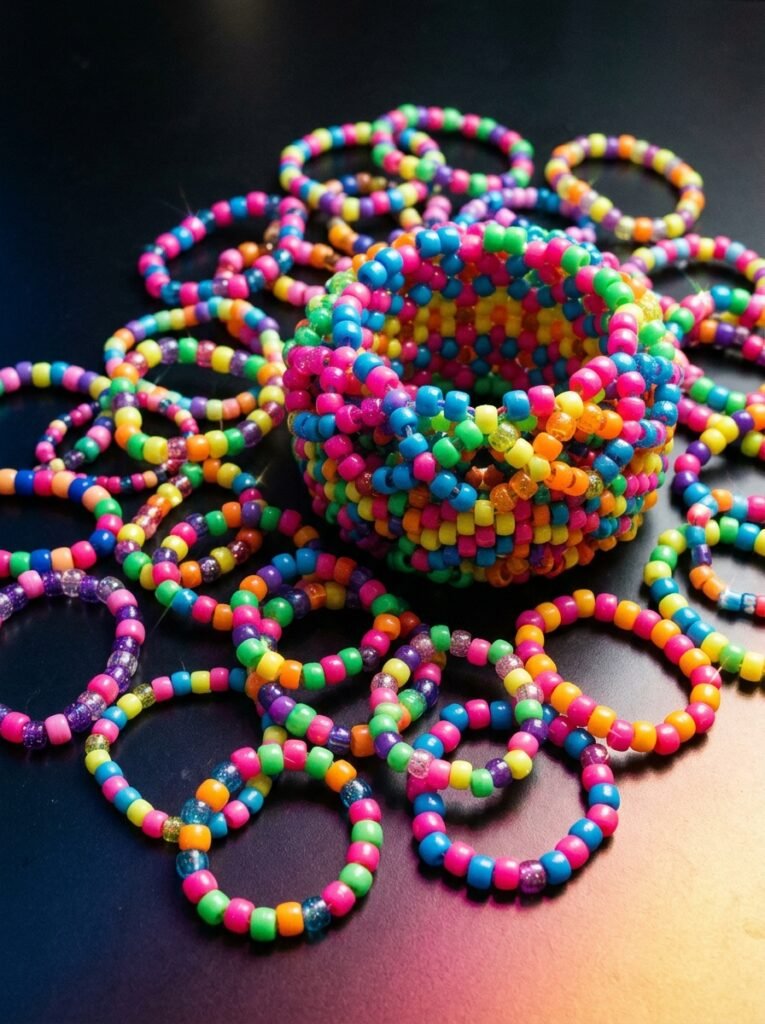
Rave kandi is all about vibrant colors, bold contrasts, and accessories that stand out. Combine neon pink, electric blue, lime green, orange, and bright yellow to create eye-catching singles and cuffs. Alternating two neon shades creates a simple pattern, while rainbow sequences offer a more energetic appearance. You can also use alphabet beads to personalize your bracelet with a short phrase. To keep the design visually balanced, choose a few main colors and repeat them throughout the pattern. Make several singles with different sequences or build a statement cuff using the same palette. For a coordinated set, repeat one accent color across every bracelet. Comfortable sizing and secure knots are important, especially if you plan to wear your creations during a long festival.
13. Halloween Kandi Pattern
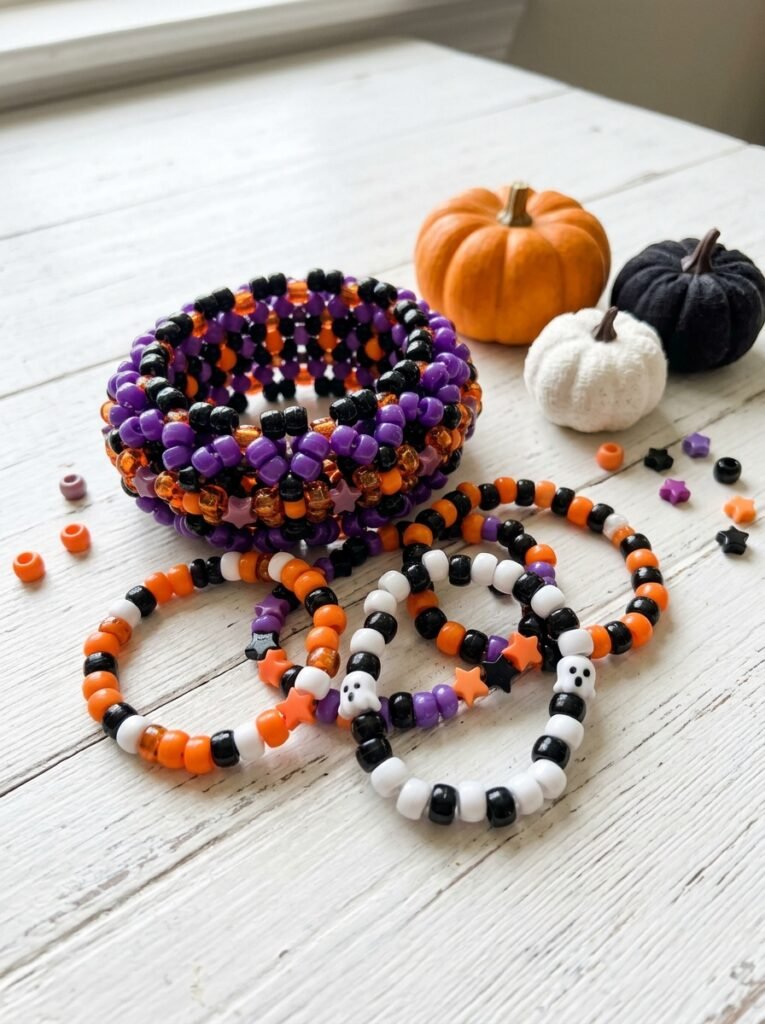
Halloween kandi patterns are perfect for seasonal bracelets and themed accessories. Use orange, black, purple, and white to create pumpkin-inspired sequences, ghost-like color combinations, or striped patterns. You can also add small star or pumpkin-shaped accent beads. For a cute version, choose pastel orange, lavender, and white instead of darker colors. A coordinated Halloween set could include an orange-and-black single, a purple cuff, and a white bracelet with black accents. Repeat one or two colors across the designs so they feel like part of the same collection. If you want a detailed cuff, sketch the pattern first and check that the color sections line up. These bracelets also make fun handmade gifts for seasonal events.
14. Animal Kandi Bracelet Pattern
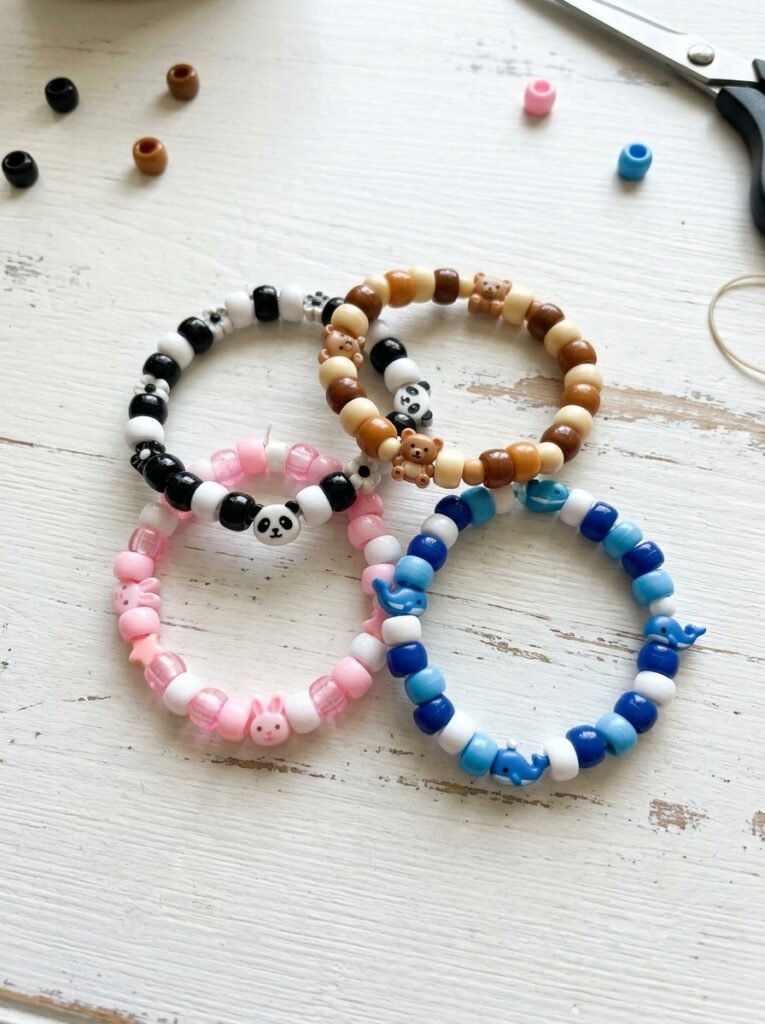
Animal-inspired bracelets let you turn favorite creatures into wearable bead designs. Use black and white for a panda-inspired palette, brown and cream for a bear, pink and white for a bunny, or blue and white for a whale. Beginners can represent animals through colors alone, while more advanced crafters can follow a pixel-style pony-bead pattern to create a simple face or silhouette. Choose a pattern that fits the size of your bracelet and uses clear shapes. Tiny designs work best with a limited color palette. For a matching collection, choose three animals and give each bracelet its own colors. You can also add suitable animal-shaped accent beads to a simple single for a recognizable theme without needing a complicated woven design.
15. Lizard Kandi Pattern
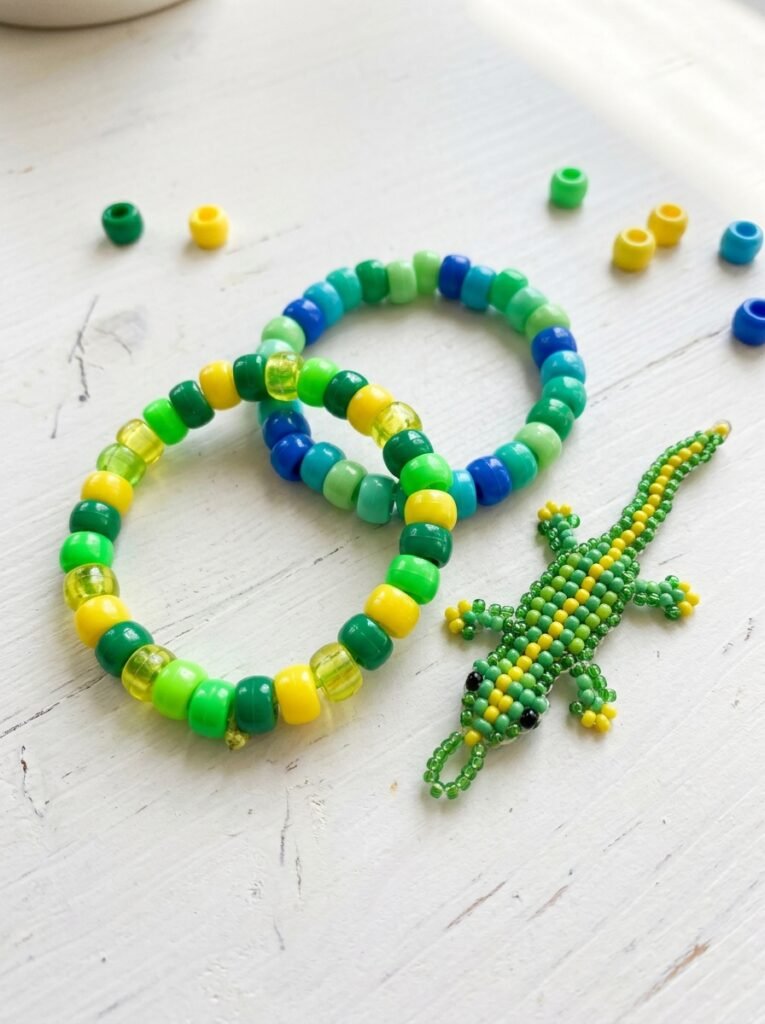
Lizard-inspired kandi patterns are a playful option for animal lovers. Use green, yellow, and black beads for a reptile-inspired color sequence, or choose blue and green for a brighter design. Beginners can create a repeating bracelet pattern, while experienced makers can use a pixel-style bead pattern to form a small lizard silhouette. A lizard-shaped charm can also add personality to a plain single. Keep the color sequence clear and avoid using too many shades in a small design. A green-and-yellow bracelet looks attractive on its own, while a more advanced cuff can feature alternating green, black, and white sections. If you are making a collection of animal bracelets, use a similar pattern style across each design to make the set look coordinated.
16. Star Pattern Kandi Bracelet
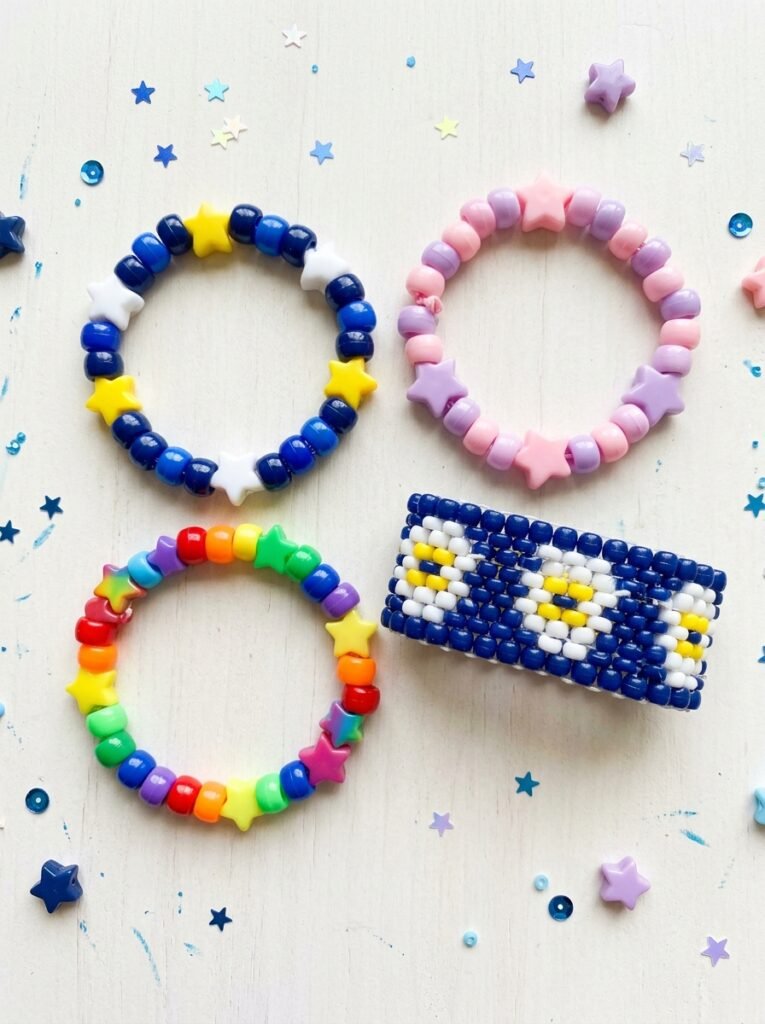
Star patterns add a playful decorative element to kandi bracelets. Choose a dark blue background with white and yellow accents for a night-sky effect, or use pink, purple, and pastel blue for a cute style. You can create the star effect with a repeating bead sequence or use a pattern designed to form a star motif across the bracelet or cuff. For beginners, a simple single with occasional star-shaped accent beads is the easiest option. More advanced crafters can use a wider cuff to create repeated stars or a central star panel. Sketch the sequence before beginning so the stars remain evenly spaced. This is especially useful when using several colors or making matching accessories.
17. FNAF-Inspired Kandi Pattern
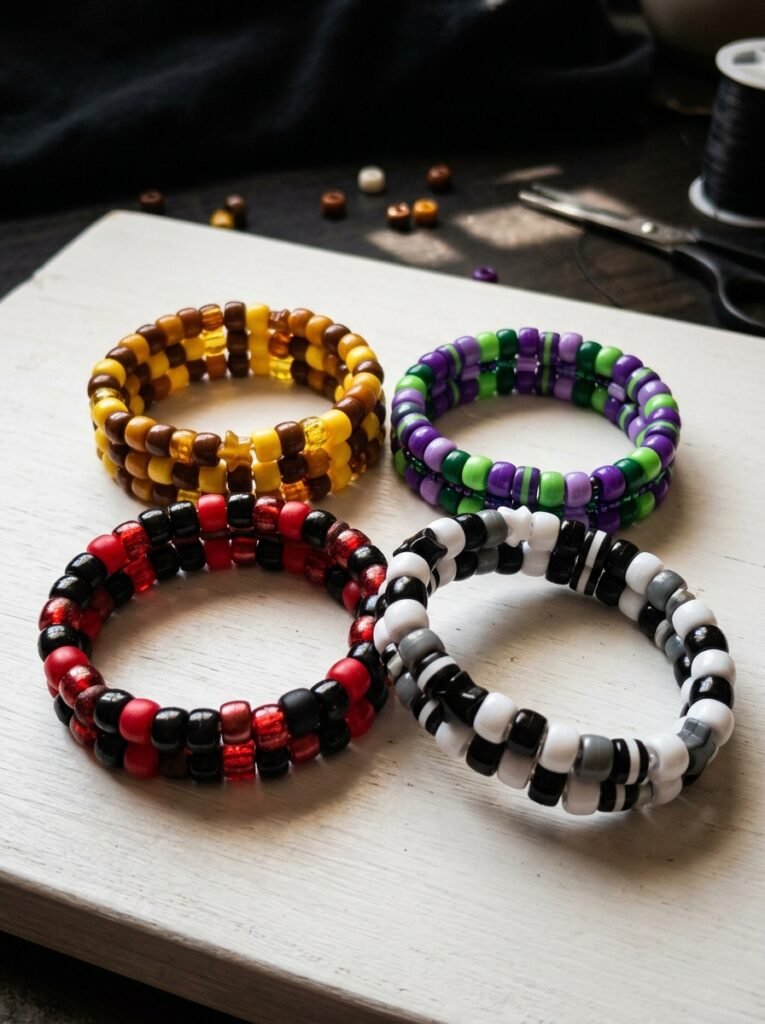
Five Nights at Freddy’s can inspire kandi designs through contrasting colors and dramatic combinations. Instead of copying detailed character artwork, choose original bead palettes that suggest a particular atmosphere. Brown and yellow can create a bear-inspired theme, purple and green offer bold contrast, and black with red or white produces a dramatic look. For a beginner project, make a single using two or three colors and repeat the sequence around the bracelet. More experienced crafters can build a cuff with separate color panels or a pixel-inspired geometric motif. You can also make a matching set using several different palettes. If you share or sell your creations, keep the patterns original and avoid reproducing official character images or logos.
18. TADC-Inspired Kandi Pattern
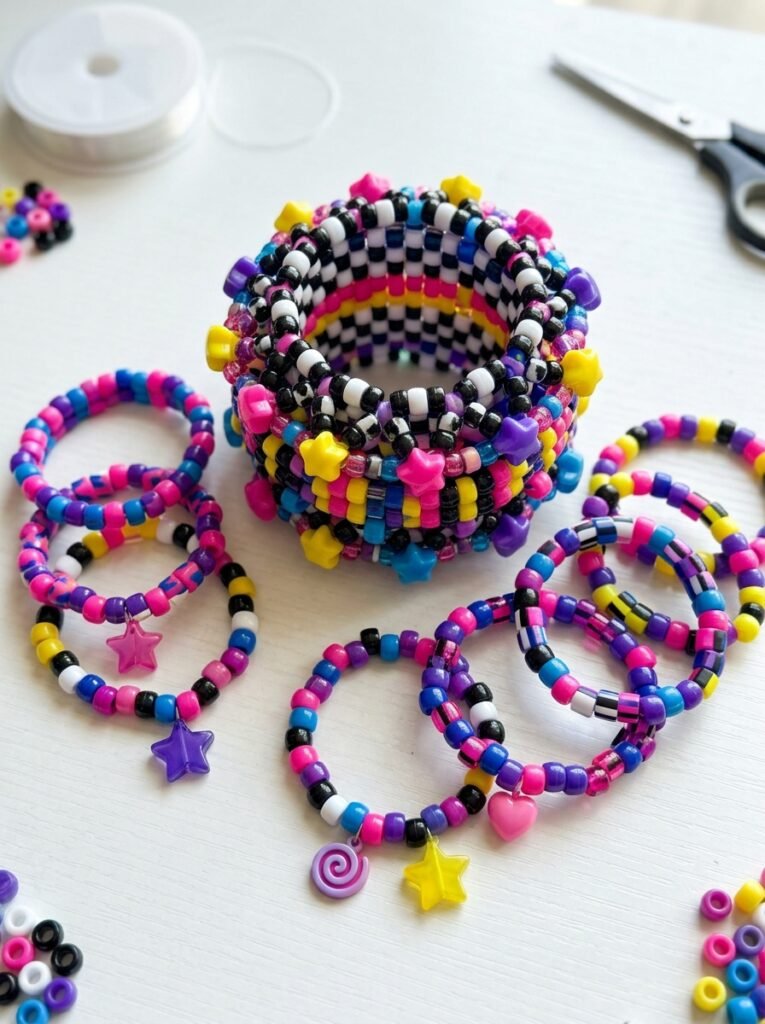
The Amazing Digital Circus can inspire bright kandi bracelets with playful, theatrical color combinations. Try pink, purple, blue, yellow, black, and white in alternating blocks or a repeating rainbow sequence. You can also create a digital-fantasy-inspired cuff with geometric panels and contrasting color sections. These palettes capture a colorful animated atmosphere while allowing you to design something original. For a simple project, make a single with four bright colors and repeat the sequence evenly. For a more detailed design, use the same palette in a cuff with alternating panels. Plan the colors before threading so the pattern remains balanced. If you share or sell your work, take inspiration from the general mood and colors rather than copying exact character art or official logos.
19. Kandi Bag Charm
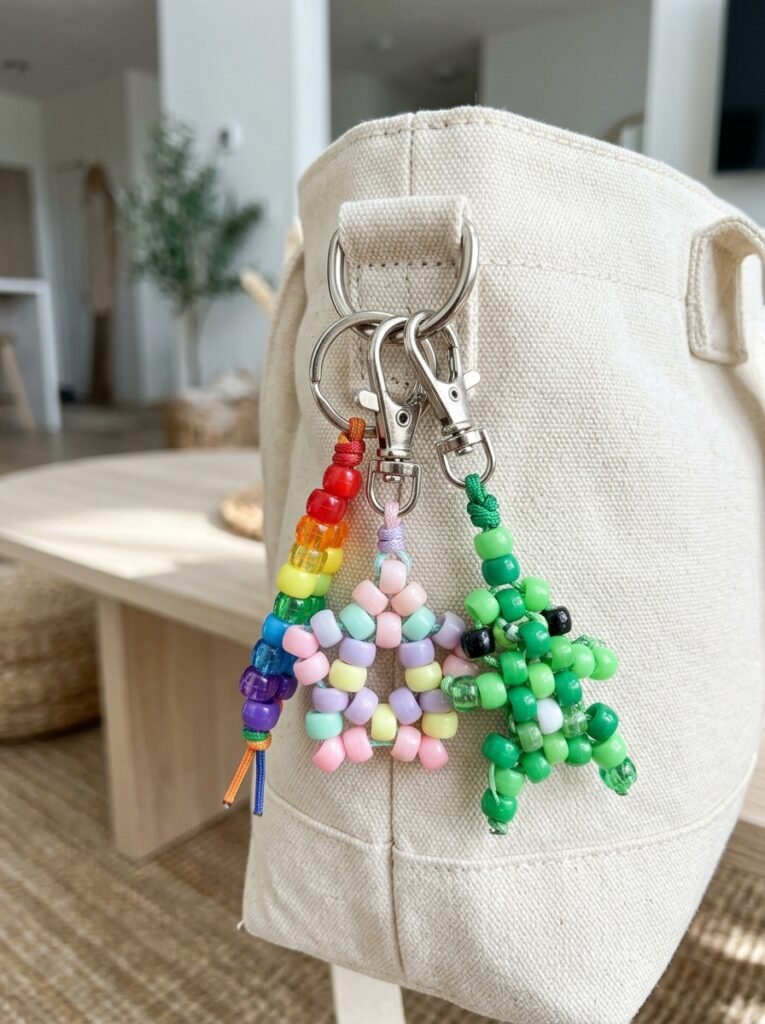
Kandi bag charms let you use pony-bead patterns beyond wrist accessories. Create a short beaded strand, a small geometric motif, or a colorful charm using repeating patterns and decorative beads. Attach the finished piece to suitable bag hardware using a secure connection. For a personalized design, choose colors that match your bag or add alphabet beads with initials or a short word. A bag charm can be as simple as a rainbow strand or as detailed as a small animal-inspired design. Beginners should start with a lightweight charm that does not require complicated weaving. For a larger piece, make sure the attachment is strong enough to support its weight. Check the hardware regularly and avoid fragile details that might break during everyday use.
20. Decorative Kandi Mask Pattern
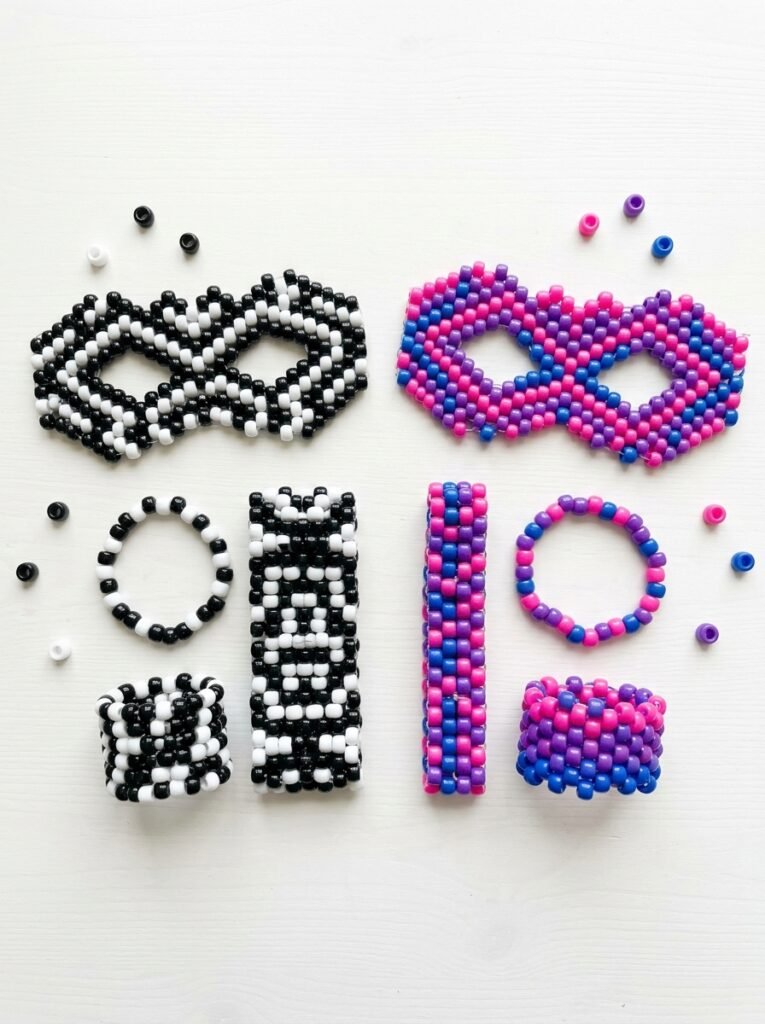
Mask-inspired kandi designs offer a creative challenge for crafters who want to move beyond bracelets. A small decorative mask motif can be made using a suitable bead-weaving pattern, with contrasting colors outlining the shape and highlighting its details. Black and white creates a bold graphic effect, while purple, pink, and blue can make the design more playful. This idea works best as decorative beadwork unless the construction has been specifically designed and tested for safe wearable use. Start with a clear pattern and check the dimensions before assembling the beads. Use a technique suitable for the shape rather than improvising a structure that could collapse or become uncomfortable. For beginners, a small flat mask motif attached to a bag charm is usually easier than a full wearable piece. Decorative kandi masks do not provide medical or respiratory protection.
21. Kandi Tie Pattern
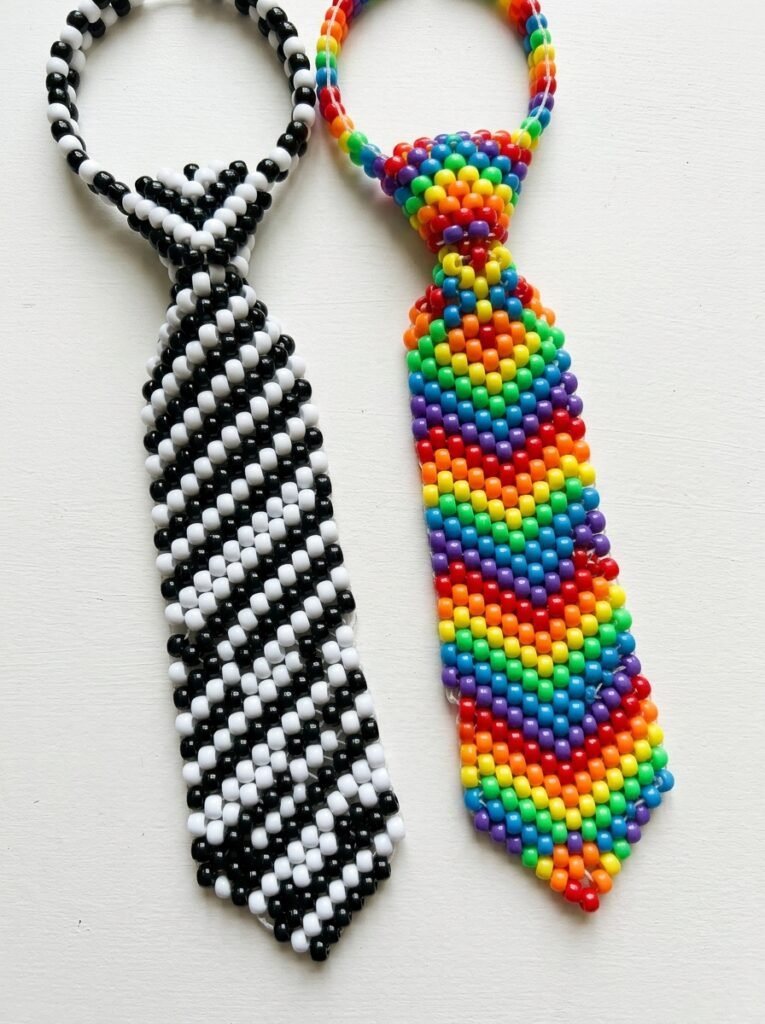
A kandi tie is a creative accessory inspired by the shape of a necktie. Use pony beads to create a narrow decorative strip that widens slightly at the top and tapers toward the bottom. Black and white produces a classic graphic appearance, while rainbow, purple-and-blue, or neon pink-and-green patterns create a playful look. Repeating stripes and geometric blocks help the shape look organized. Because this design is longer than a bracelet, it needs a suitable beadwork method and secure construction. Begin with a small flat sample to check how the beads connect, then follow a pattern designed for the full tie shape. Keep the finished accessory lightweight and make sure the attachment method is comfortable if it will be worn over clothing. A mini tie charm is a simpler alternative for beginners.
22. Kandi Keychain with an Easy Pattern
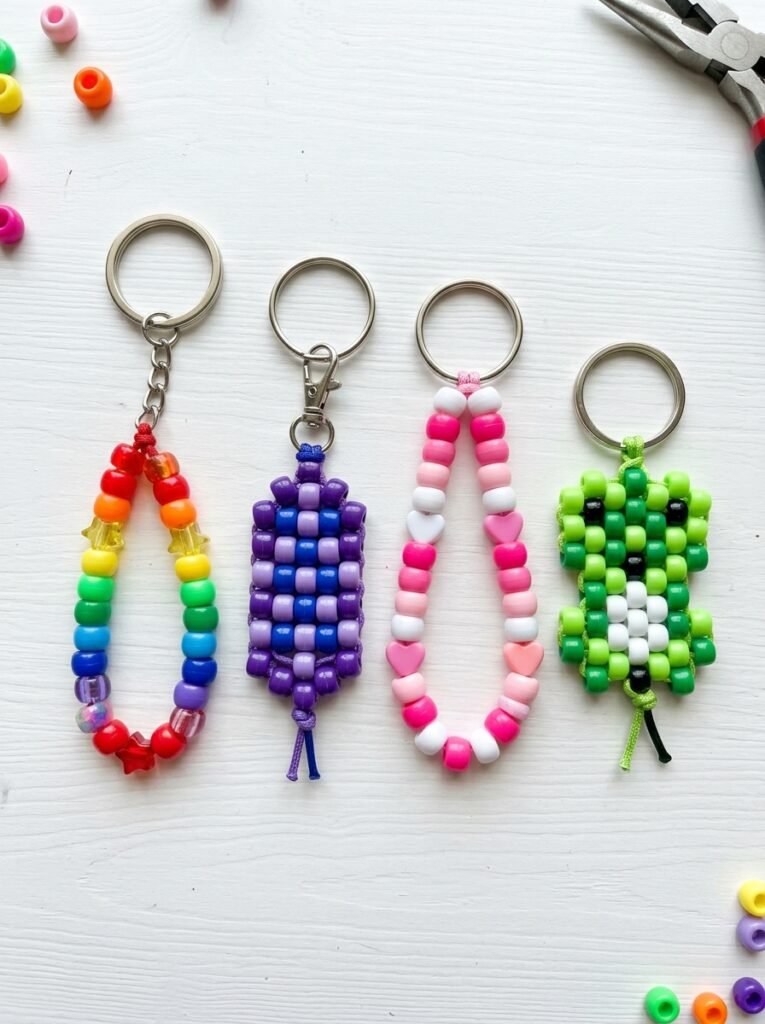
Kandi keychains let you turn your favorite bead patterns into portable accessories. Start with a simple rainbow strand, a geometric motif, or a small animal-inspired design. Use pony beads in two or three main colors, then attach the finished piece to suitable keychain hardware. If you want a personalized keychain, add alphabet beads or a small decorative charm. Beginner designs should be lightweight and have a secure attachment point. Avoid making the strand too long, especially if it will be attached to keys or a bag where it could catch on objects. You can create a coordinated set of keychains using the same palette but different patterns. This is a useful way to practise bead sequencing and make small handmade gifts.
23. Star Kandi Keychain
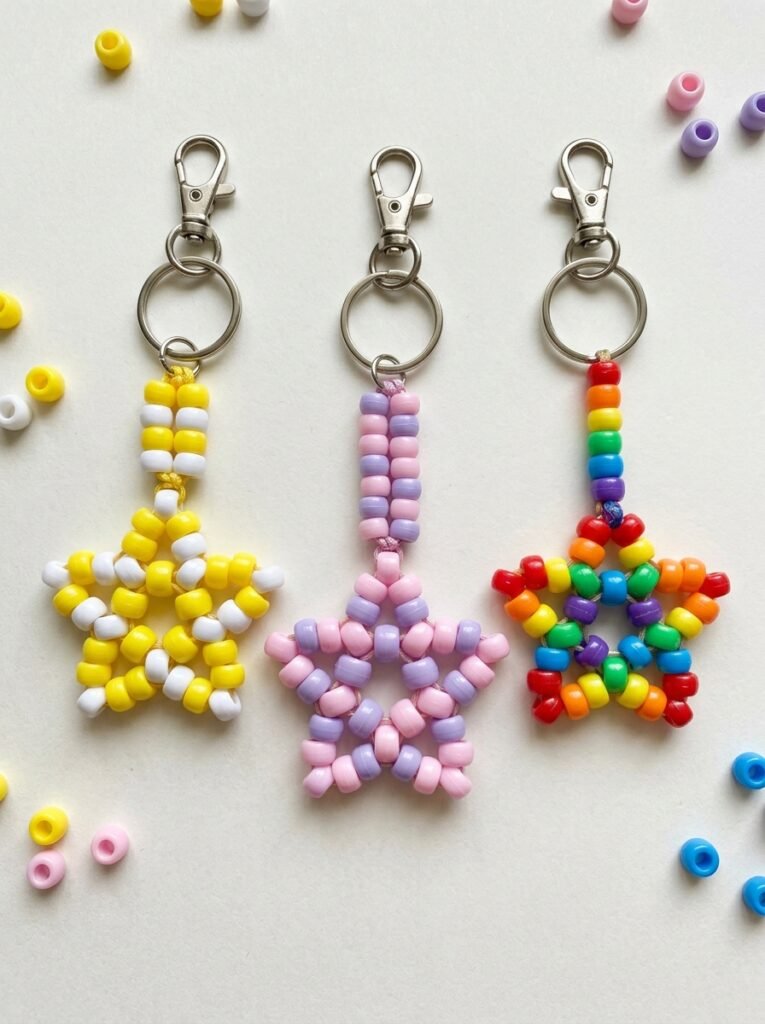
Star keychains combine colorful kandi patterns with a recognizable decorative shape. You can create a star using a bead pattern designed for that shape or attach a suitable star-shaped bead to a simple kandi strand. Use yellow and white for a classic star look, or experiment with pink, purple, blue, and rainbow colors. A contrasting border can help the star stand out. For beginners, start with a star accent on a short bead strand rather than attempting a complex three-dimensional structure. More advanced crafters can use a pattern that creates a larger star motif. Make sure the attachment point is secure and the finished keychain is not too heavy for its hardware. These charms also work well as matching accessories for friendship bracelets.
24. Numbered Ladder Cuff Tutorial
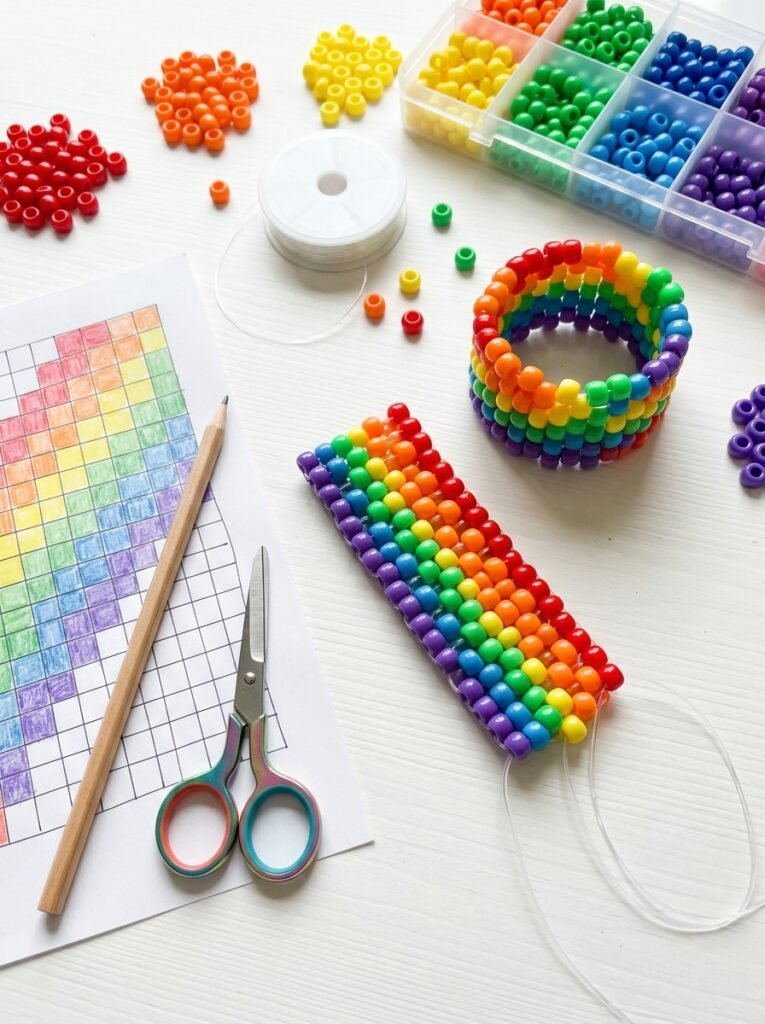
A numbered ladder cuff pattern makes a larger kandi project easier to plan because you can record the bead sequence before assembling the design. Assign a number to each color and write the sequence for each section of the chosen cuff pattern. This is especially useful when the design includes repeated stripes, diamonds, or contrasting panels. Choose a beginner-friendly ladder pattern that clearly shows the bead order and construction method. Lay out each section before building it, then check the sequence as you work. Consistent tension helps keep the cuff neat, and checking the fit along the way prevents the finished piece from becoming too tight. If you make a mistake, correcting it early is easier than undoing several completed rows.
25. Multi-Stitch Panel Cuff Pattern
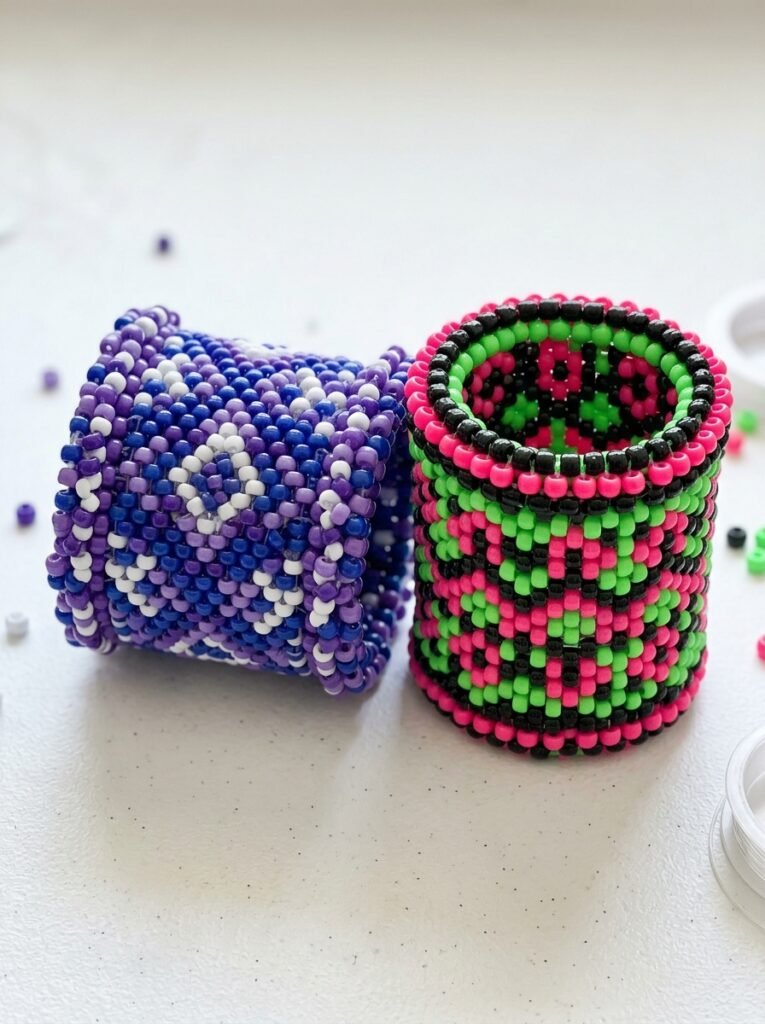
A multi-stitch panel cuff combines layered bead connections with a broad central design area. This allows you to create more detailed motifs, such as diamonds, stripes, or repeated geometric shapes, while keeping the pattern visually organized. Choose a main color, two accent shades, and a contrasting border so the central panel stands out clearly. This project is best for crafters who already understand simple singles and basic cuff construction. Follow a pattern designed for the specific stitch method you are using, and check each section as you build it. Sketching the panel on a grid helps you maintain symmetry and avoid color-sequence mistakes. With careful planning, a multi-stitch panel cuff can become a standout piece in your kandi collection.
How to Make a Simple Kandi Bracelet: Step-by-Step Tutorial
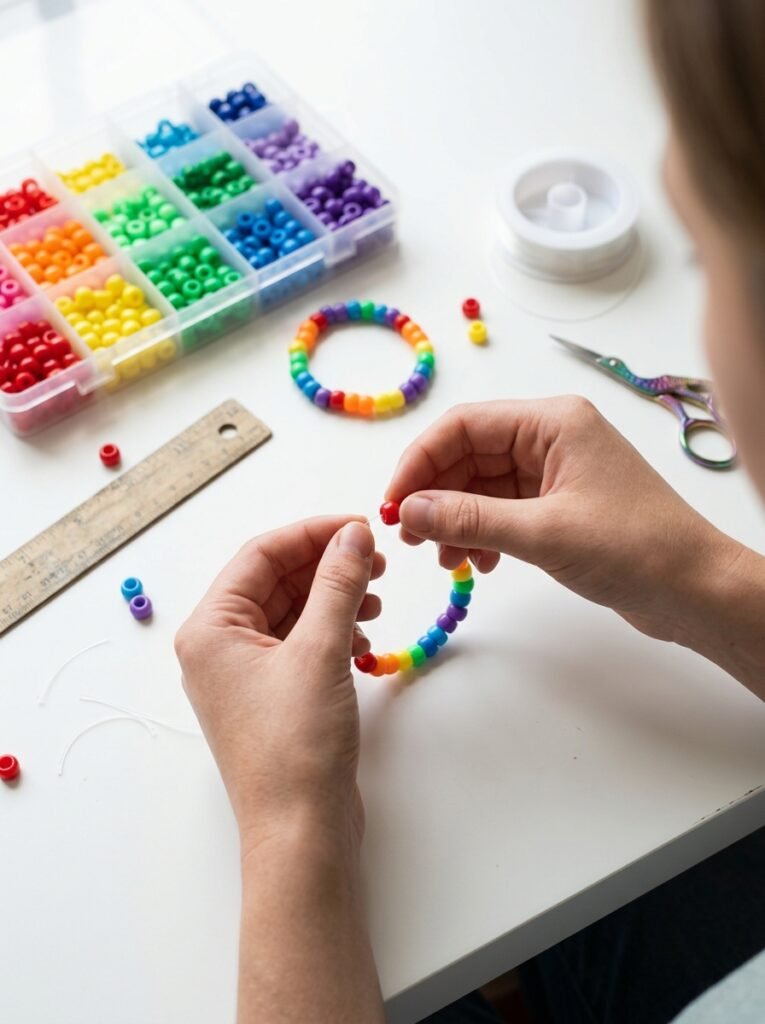
A single-strand bracelet is an excellent first project because it teaches you the basics of bead selection, sizing, and secure finishing.
Materials You Need
- Pony beads in your chosen colors
- Elastic cord suitable for bracelet making
- Scissors
- A ruler or measuring tape
- Optional alphabet beads or small decorative charms
Step 1: Choose Your Pattern
Pick two to five colors and arrange the beads in your desired sequence. Repeating patterns are easier to follow than completely random arrangements.
Step 2: Cut the Cord
Cut enough cord for the bracelet, leaving extra length for tying. Follow the cord manufacturer’s recommendations for sizing and knotting.
Step 3: Thread the Beads
Add the beads one at a time, following your chosen pattern. Lay the bracelet flat occasionally to check that the colors repeat correctly.
Step 4: Check the Fit
Carefully bring the ends together and check that the bracelet fits comfortably around your wrist and can pass over your hand without being too tight.
Step 5: Tie and Secure
Tie a secure knot appropriate for your elastic cord. Avoid pulling so tightly that the cord becomes damaged, and do not trim the excess until you have checked the knot.
Step 6: Inspect Your Work
Gently test the bracelet, check the bead spacing, and make sure any charm is securely attached.
For cuffs, ladder cuffs, and multi-stitch designs, follow a pattern specifically designed for that construction method. These projects require additional planning because the beads must connect in a particular sequence.
Helpful Tips for Better Kandi Patterns
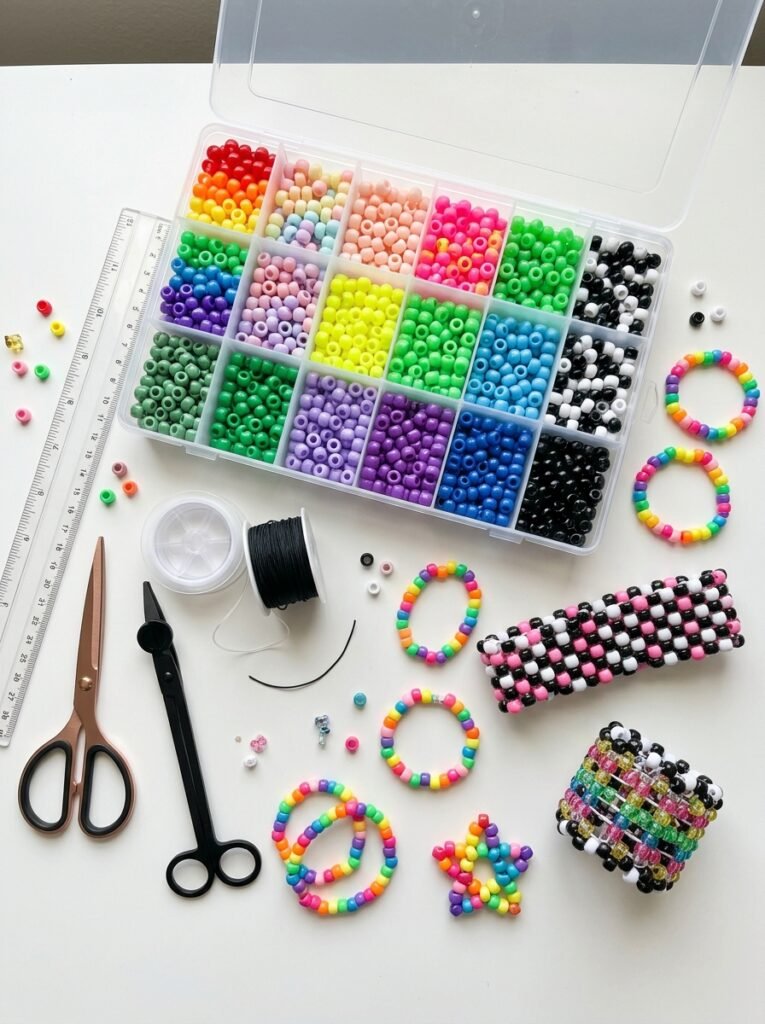
- Plan your colors first: Arranging beads before threading helps you identify mistakes and create balanced patterns.
- Use numbered sequences: Assign colors numbers or symbols when you need to repeat a longer pattern.
- Start with singles: Practise basic threading and knotting before attempting wider cuffs.
- Choose the correct construction method: Ladder cuffs, panel cuffs, and multi-stitch designs may require different patterns and techniques.
- Check the fit: Bracelets and cuffs should feel comfortable and allow normal wrist movement.
- Keep charms lightweight: Heavy decorations can strain the cord or make an accessory uncomfortable.
- Practise detailed motifs separately: Try a small star or animal design before adding it to a larger cuff.
- Store supplies safely: Keep loose beads, scissors, and small components away from young children and pets.
Printable Kandi Pattern Checklist
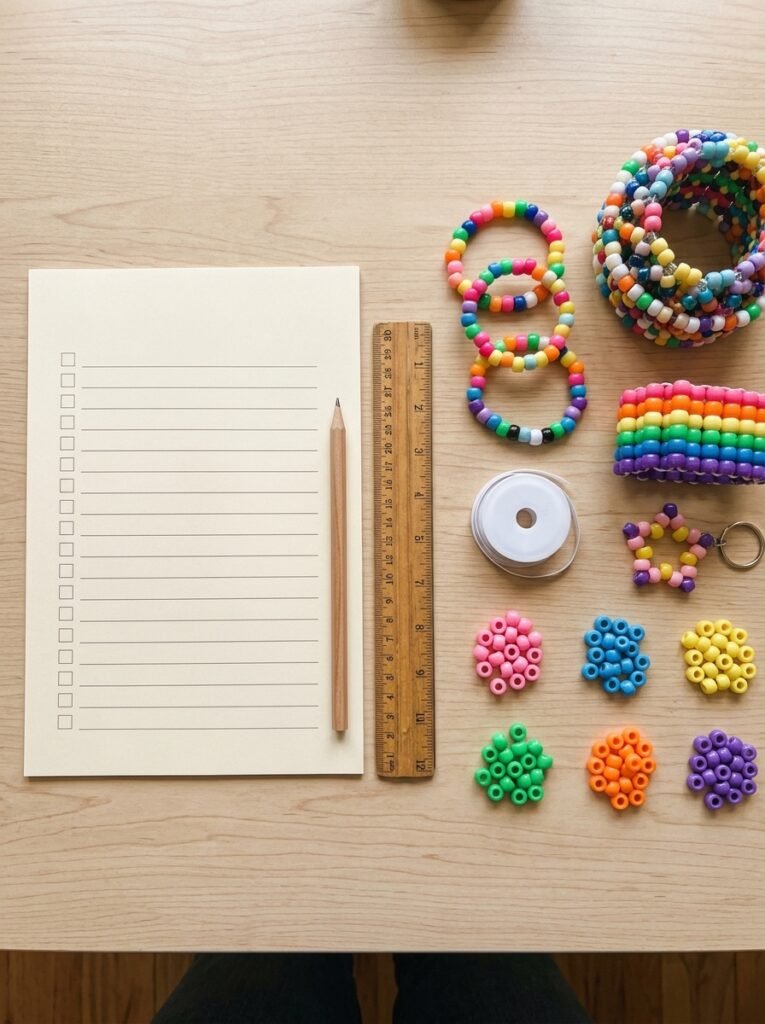
Use this checklist before beginning your next project.
- Choose a bracelet, cuff, bag charm, or keychain design.
- Select a color palette and pattern.
- Gather the correct pony beads and cord.
- Arrange the beads before threading or weaving.
- Write down a numbered sequence if the pattern is complicated.
- Check the size as you work.
- Follow the correct cuff construction method.
- Secure the knots and attachments.
- Inspect the finished accessory for loose beads.
- Store leftover beads and tools safely.
Final Thoughts
The best kandi ideas pattern projects combine color, structure, and personal creativity. You can begin with simple singles and repeating pony-bead sequences, then explore animal motifs, star charms, Halloween designs, bag accessories, and more advanced ladder or panel cuffs. Numbered patterns make complex designs easier to follow, while coordinated color palettes help your creations look polished. Start with a pattern that matches your experience level and build your skills gradually. With careful planning and a little practice, you can create a collection of kandi bracelets, cuffs, charms, and keychains that feels original and enjoyable to make.