

This post may contain affiliate links. Please read my disclosure policy.
In This Article Show
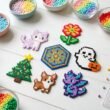
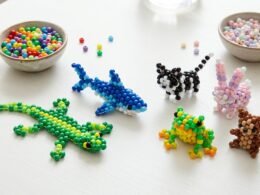
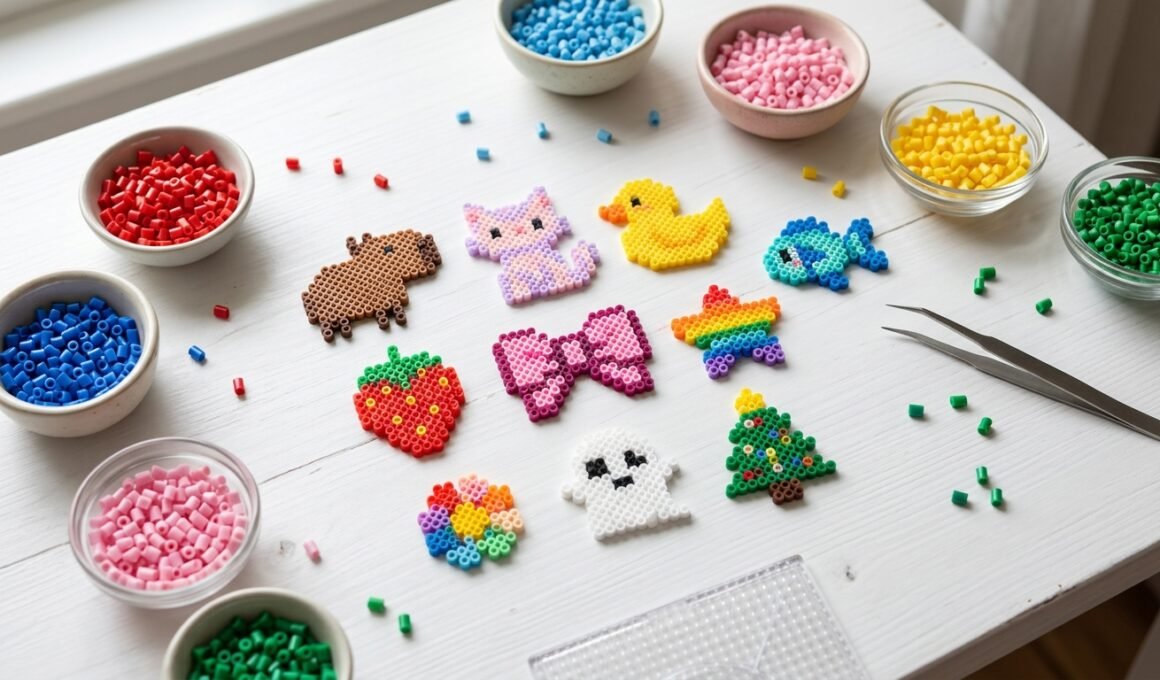
Small perler bead patterns are perfect for creating colorful pixel art without needing hundreds of beads or a large workspace. From tiny cats and capybaras to miniature food, flowers, Halloween decorations, and festive Christmas designs, these little projects are fun to make and easy to personalize. Whether you are a beginner or an experienced crafter, small perler bead patterns offer plenty of ways to turn a handful of colorful beads into adorable decorations, charms, and handmade gifts.
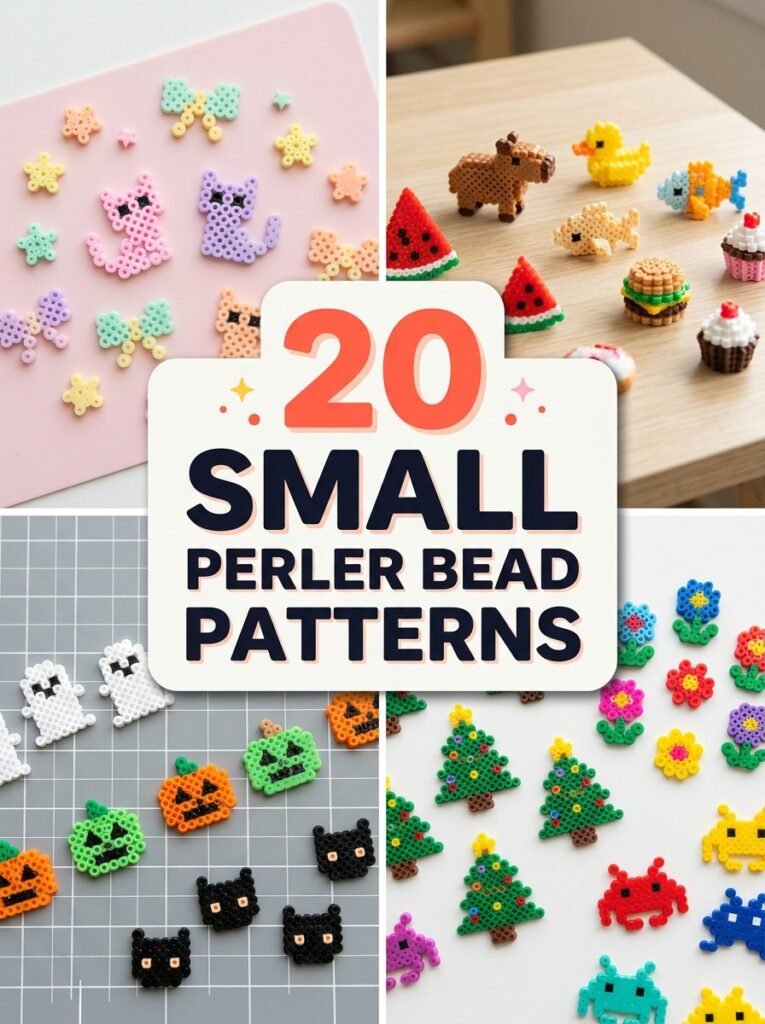
1. Tiny Perler Bead Minis for Beginners
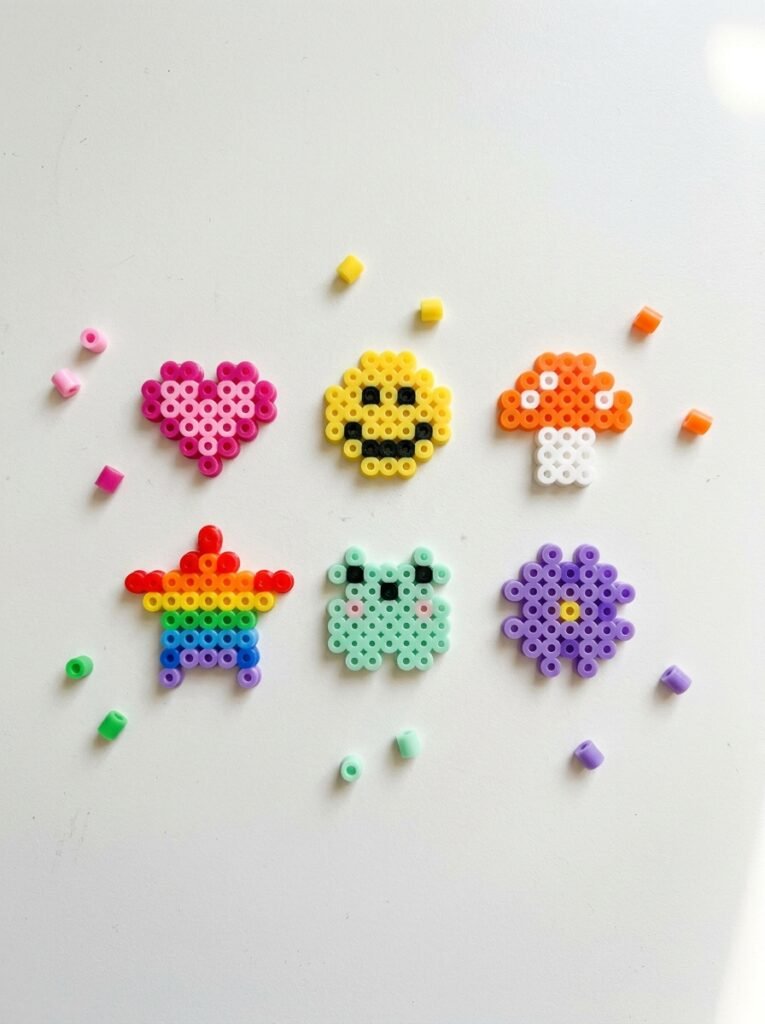
Tiny designs are an excellent starting point because they use fewer beads and usually have simple outlines. Try making a little heart, smiling face, mushroom, or tiny star with three to five colors. Keep the main shape compact and use one contrasting color for small details so the design remains recognizable. These minis are ideal for practicing bead placement, using leftover beads, or creating several small projects in one crafting session. You can display the finished pieces on a desk or turn suitable designs into decorative charms.
2. Easy Cute Mini Perler Bead Patterns
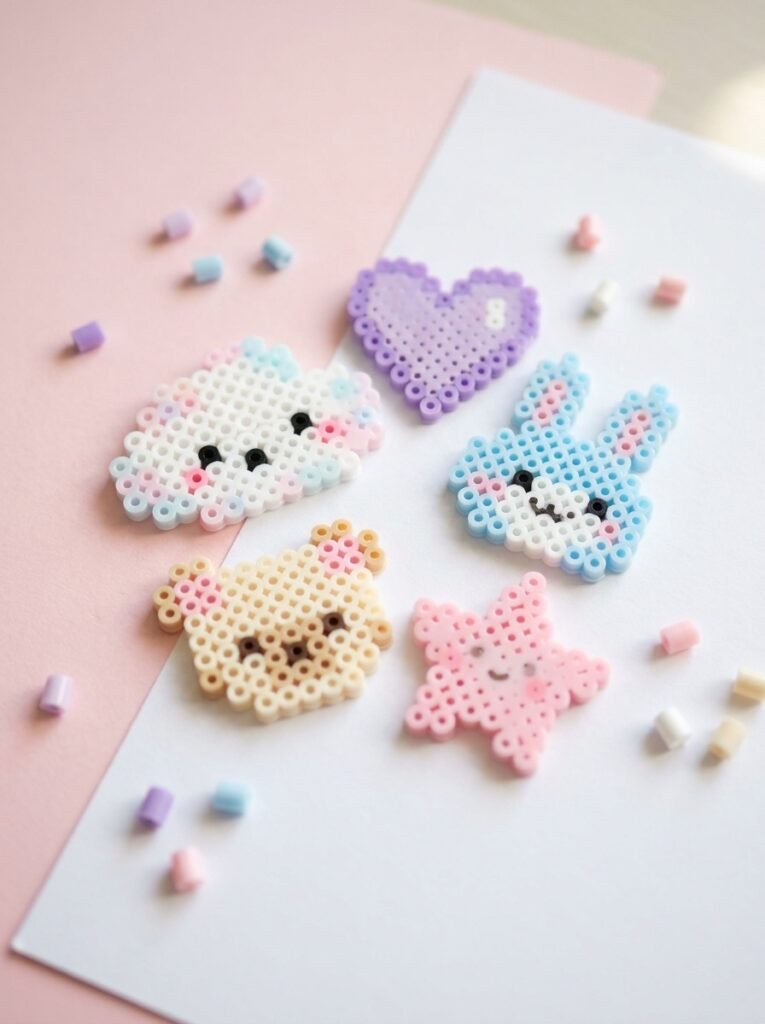
For an easy cute project, choose simple shapes with friendly expressions, rounded outlines, and cheerful colors. A tiny smiling cloud, pastel heart, sleepy face, or little bunny head can look adorable without requiring a complicated pattern. Use light pink, lavender, baby blue, and cream, then add dark beads for the eyes or mouth. Try making a matching collection in the same palette so each mini looks connected to the others while keeping its own personality.
3. Small Perler Bead Patterns on a Grid
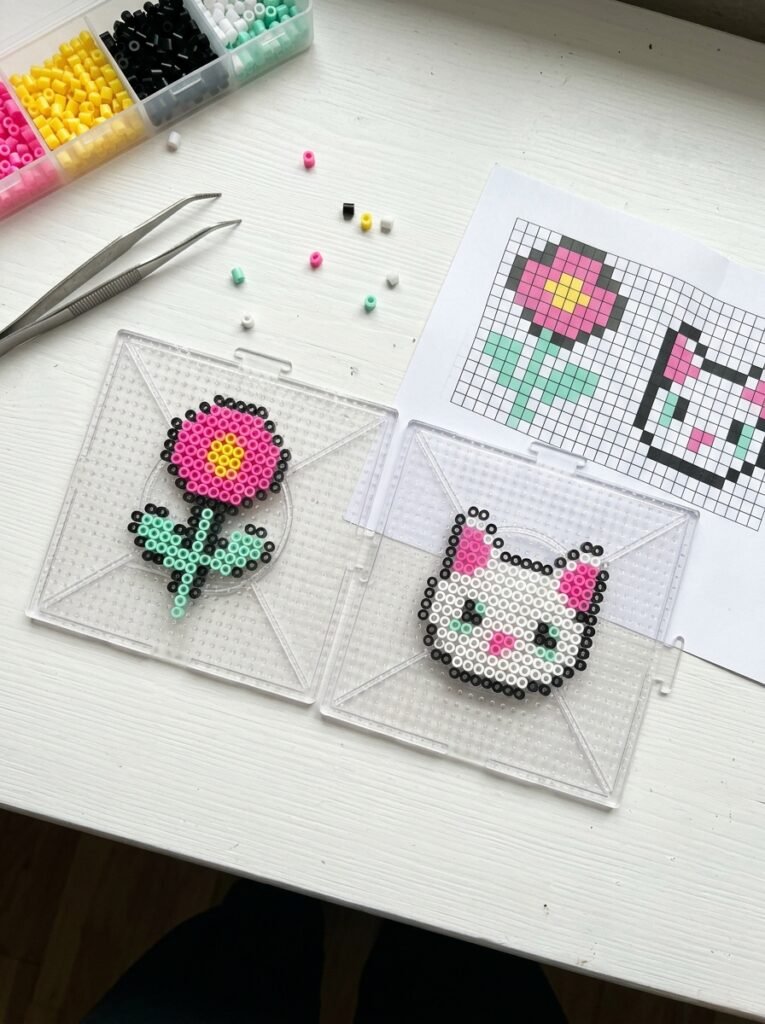
A grid-based pattern helps you plan tiny designs accurately before placing the beads. Start with a small square layout, such as a 10×10 or 14×14 grid, and choose a shape that fits comfortably inside it. A heart, flower, cat face, or simple fruit works well because each uses a limited number of colors. Mark the outline first, then fill the interior one row at a time. This method makes it easier to keep the design symmetrical and reproduce the same pattern later.
4. Easy Capybara Perler Bead Pattern
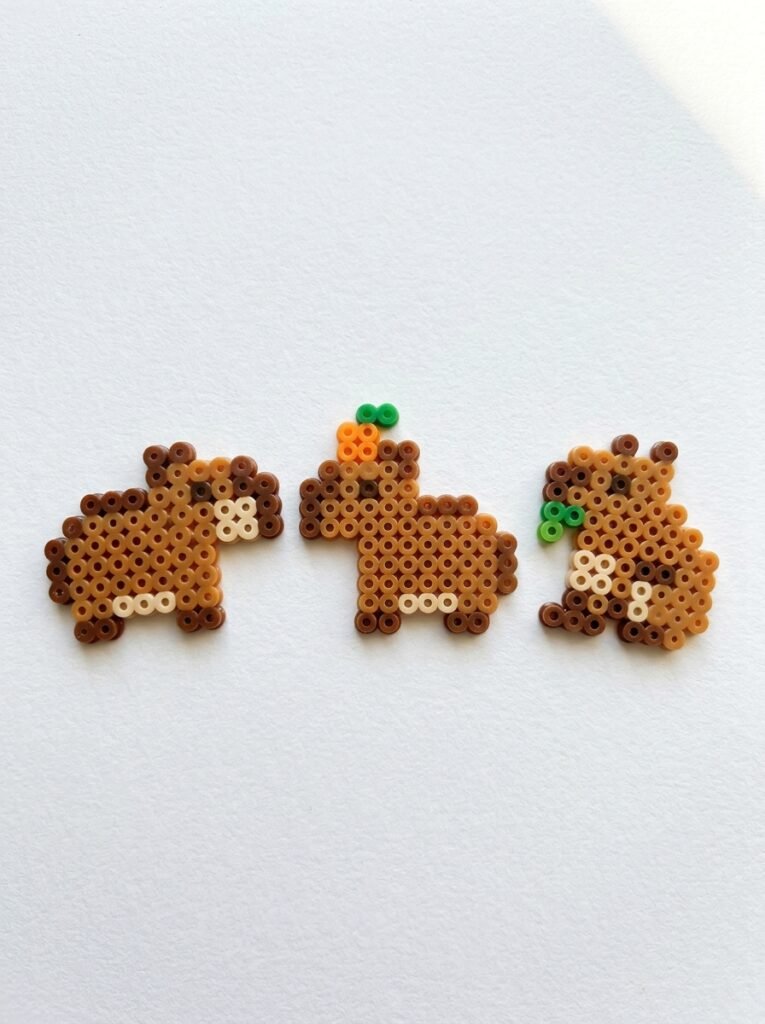
A tiny capybara makes a charming mini because its rounded body, small ears, and long nose can be represented with just a few shades of brown. Use light tan beads for the face, medium brown for the body, and darker brown for the nose and eyes. A miniature orange or green accent can add a playful touch without distracting from the animal. Keep the silhouette wide and low so the finished piece resembles a relaxed capybara rather than a generic bear.
5. Cute Mini Cat Perler Bead Pattern
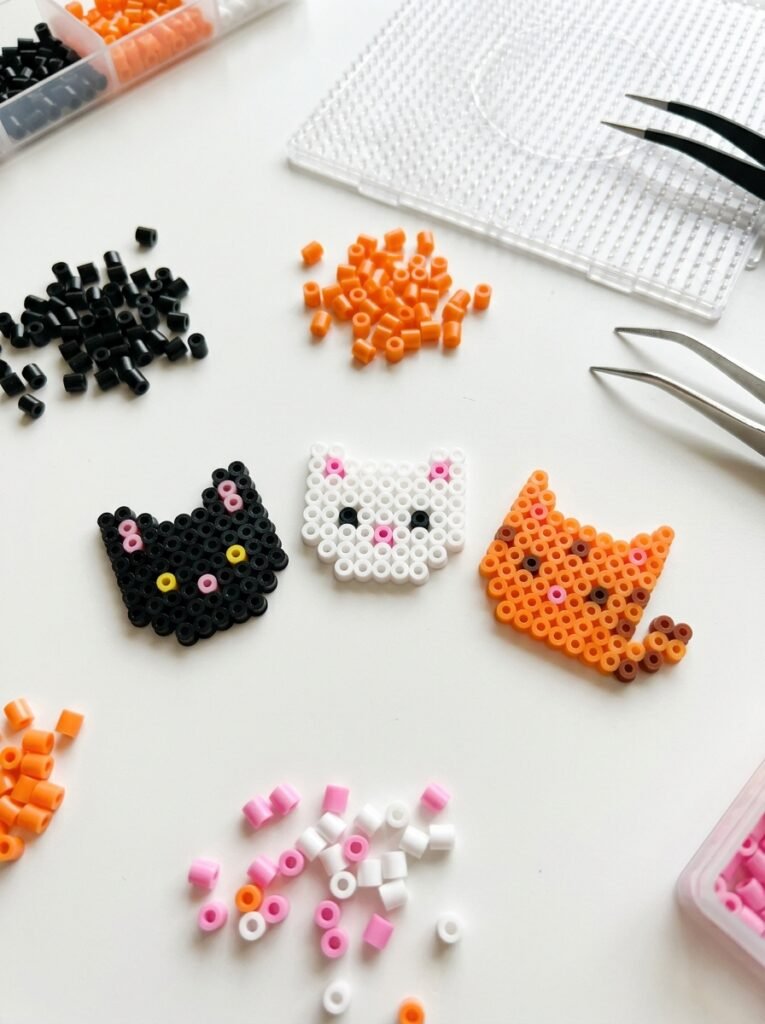
A small cat is a classic choice because pointed ears and simple facial details make the animal easy to recognize. Try a black cat with yellow eyes, a white kitten with pink ears, or an orange cat with a tiny striped tail. If you are using a very small grid, focus on the face instead of adding a full body. Use a contrasting outline to define the ears and cheeks, and keep the eyes spaced evenly so the expression looks balanced.
6. Mini Duck Perler Bead Pattern
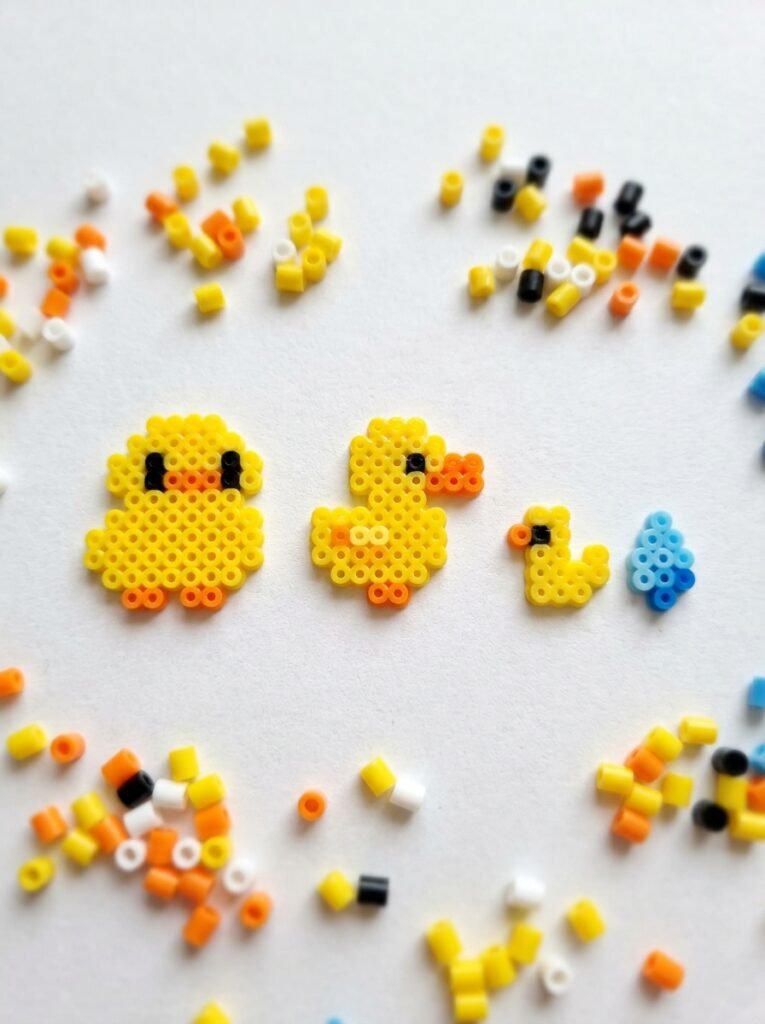
A little duck is ideal for a bright, beginner-friendly project. Use yellow beads for the body, orange for the beak and feet, and black for the eyes. A simple side-facing duck or a round duckling works well on a small grid. For extra personality, add a tiny blue water drop or a small green leaf beside it. Keep the beak short and clearly separated from the body color so the duck remains recognizable even when the design is only a few rows tall.
7. Small Fish Perler Bead Patterns
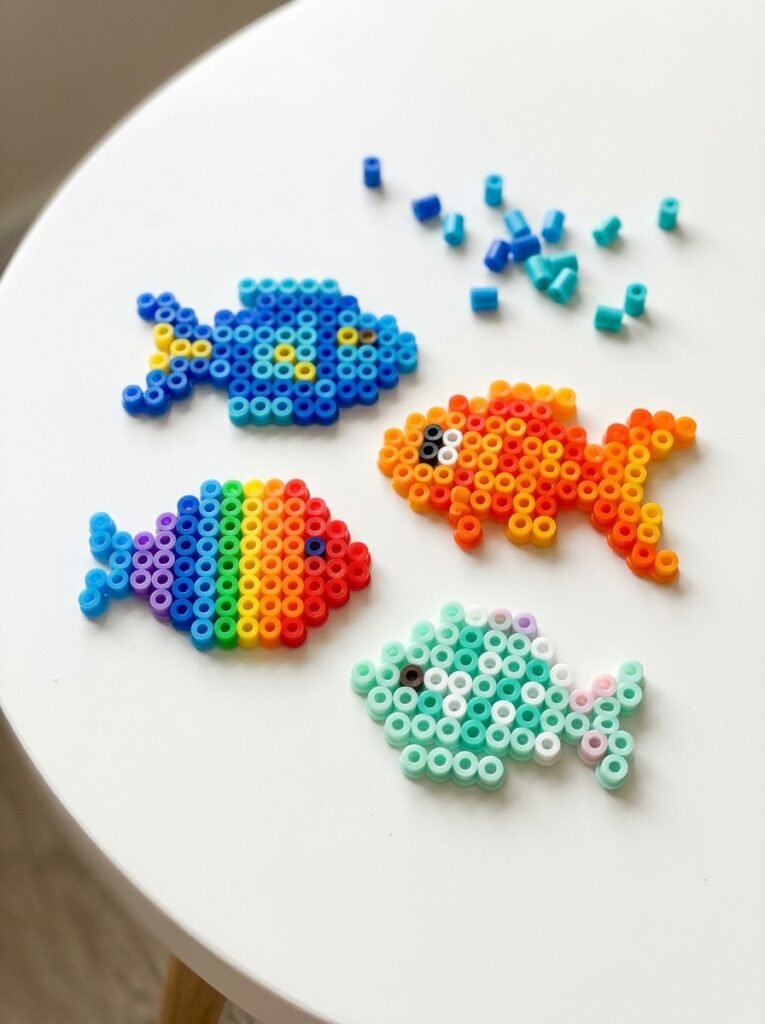
Fish patterns work well in miniature because a few beads can form the body, tail, and eye. Try a blue tropical fish, an orange goldfish, or a rainbow fish with alternating color bands. Use a contrasting color for the tail so the silhouette stays clear. For a very small pattern, avoid adding too many stripes or tiny details; a simple body shape and one dark eye are often enough. You can make several fish in different colors to create a little underwater collection.
8. Tiny Alien Perler Bead Patterns
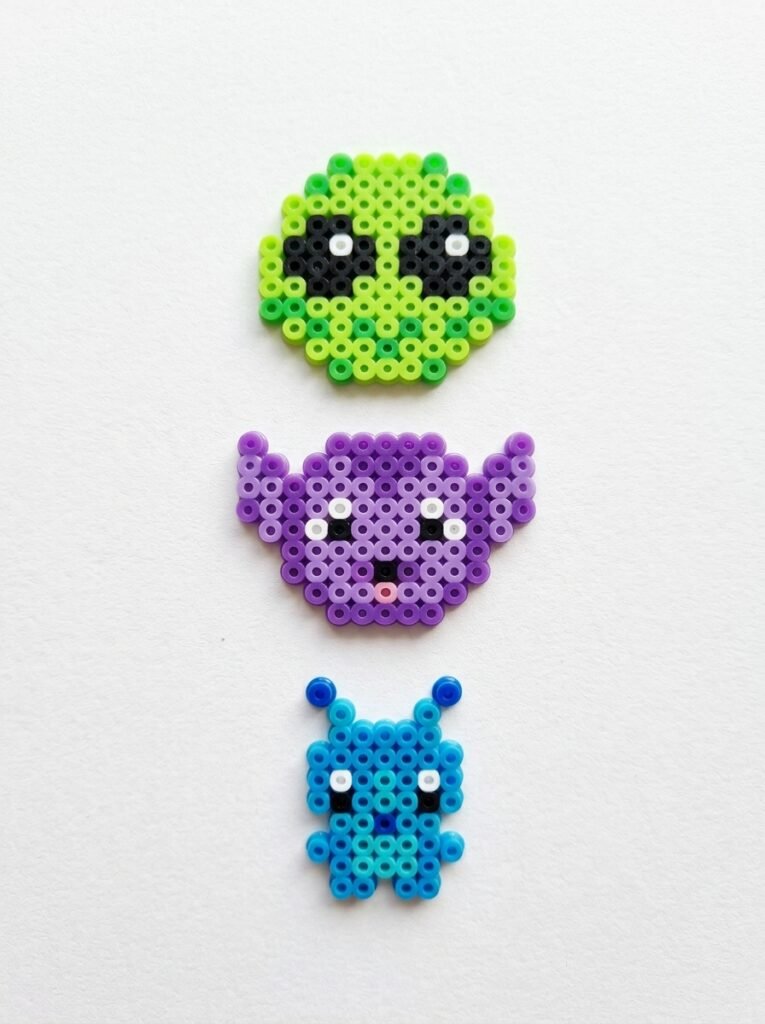
Alien minis are a fun way to experiment with unusual colors and expressive shapes. Make a small green alien face with oversized dark eyes, a purple alien with pointed ears, or a tiny blue extraterrestrial with antennae. Use a contrasting background color around the eyes to make the expression stand out. If you want a collection, vary the head shapes and colors while keeping the same basic size. These original designs are great for decorating a gaming desk, craft board, or handmade accessory.
9. Cute Mini Character Perler Bead Patterns
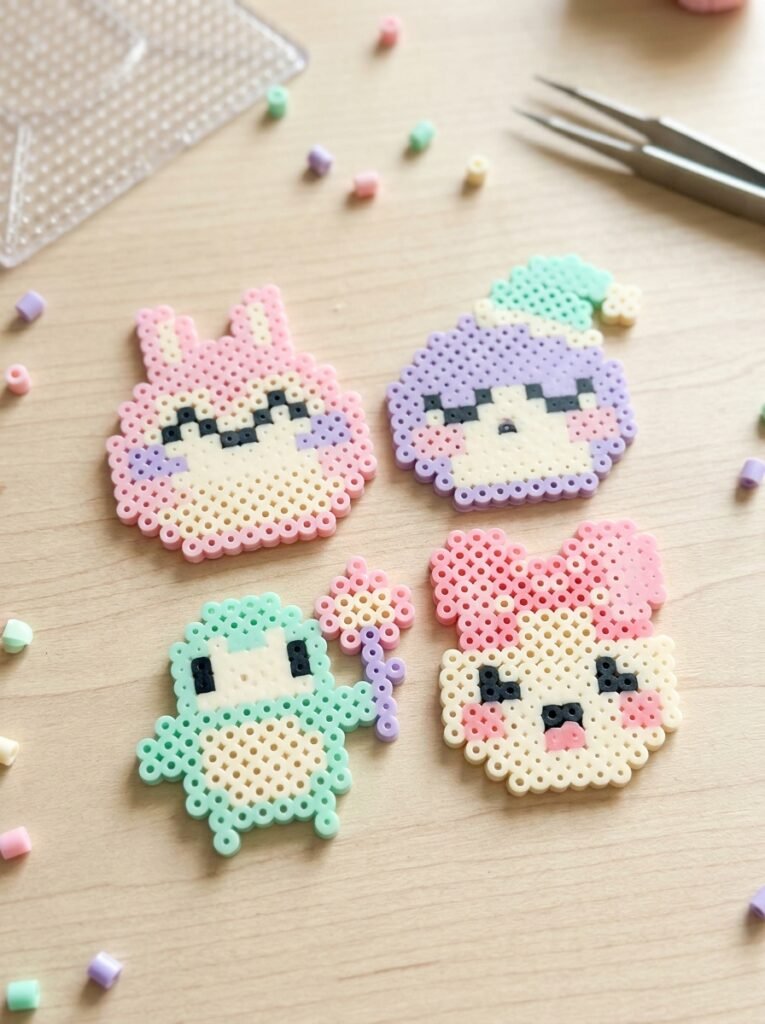
Original mini characters let you combine simple faces, accessories, and colors into a design that feels personal. Try a sleepy character wearing a tiny hat, a smiling creature with oversized eyes, or a small figure holding a flower. Limit each design to a few main colors so the features remain clear on a small grid. You can create a themed set by giving every character the same outline color while changing the hair, outfit, or accessory details.
10. Pokémon-Inspired Mini Perler Bead Patterns
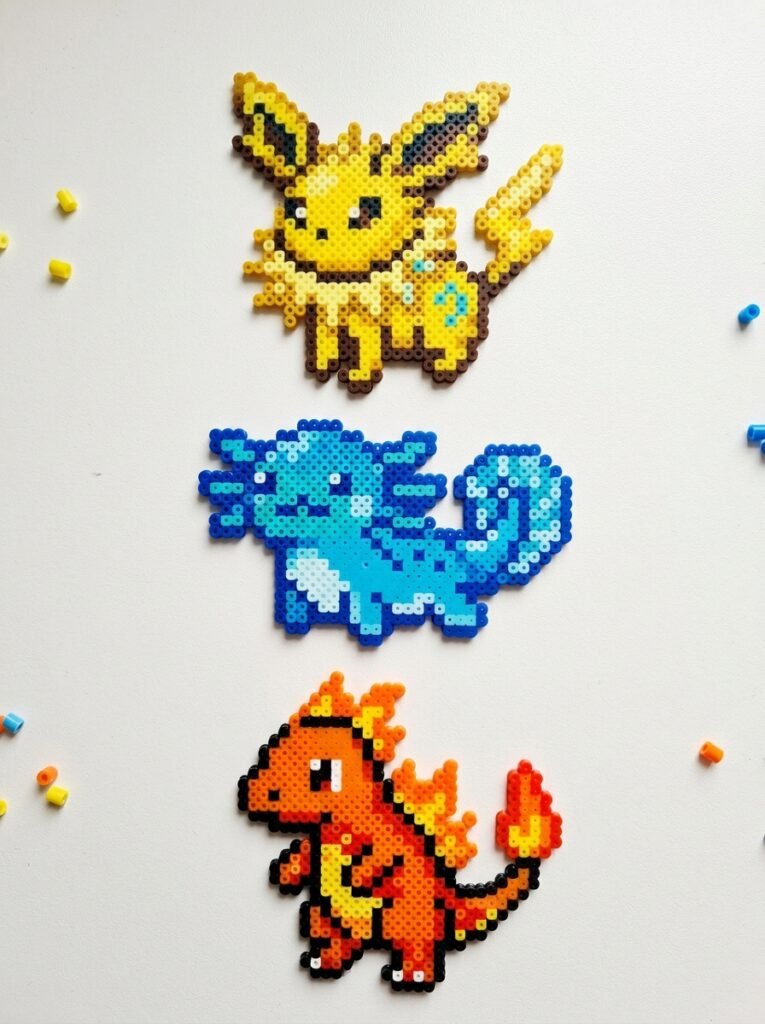
Creature-collecting games provide plenty of inspiration for small pixel-art projects. Create an original yellow electric-inspired creature, a little blue water creature, or a small orange fire-themed animal. Use familiar color associations as a starting point, but design your own silhouettes, facial details, and accessories rather than reproducing exact copyrighted characters. Small designs benefit from bold outlines and simple features, so concentrate on one recognizable detail, such as pointed ears, a water-drop tail, or a flame-shaped accent.
11. Anime-Inspired Small Perler Bead Patterns
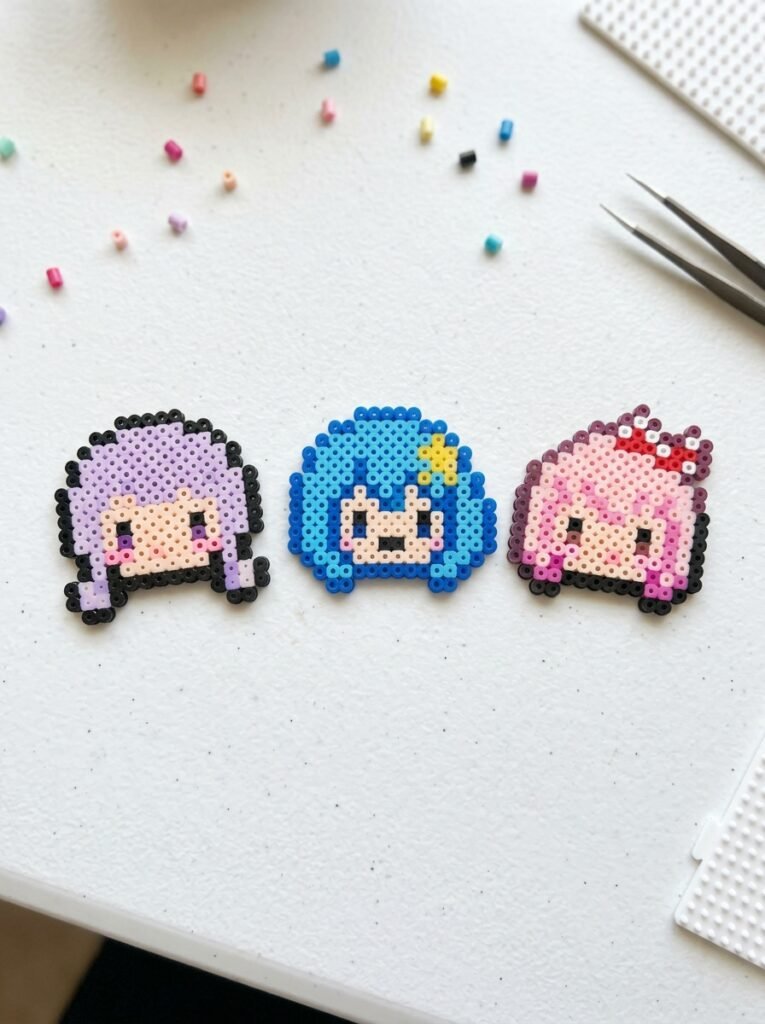
Anime-inspired minis work best when you simplify a design into a few defining features. Try a tiny face with colorful hair, a bow, expressive eyes, or a small star-shaped accessory. Rather than attempting a detailed portrait on a small grid, use a compact head-and-shoulders silhouette or a simple decorative symbol. Black outlines can help separate the hair and facial features, while pink, blue, lavender, and yellow add personality. Keep the design original so you can experiment freely with different expressions and color combinations.
12. Easy Food Perler Bead Minis
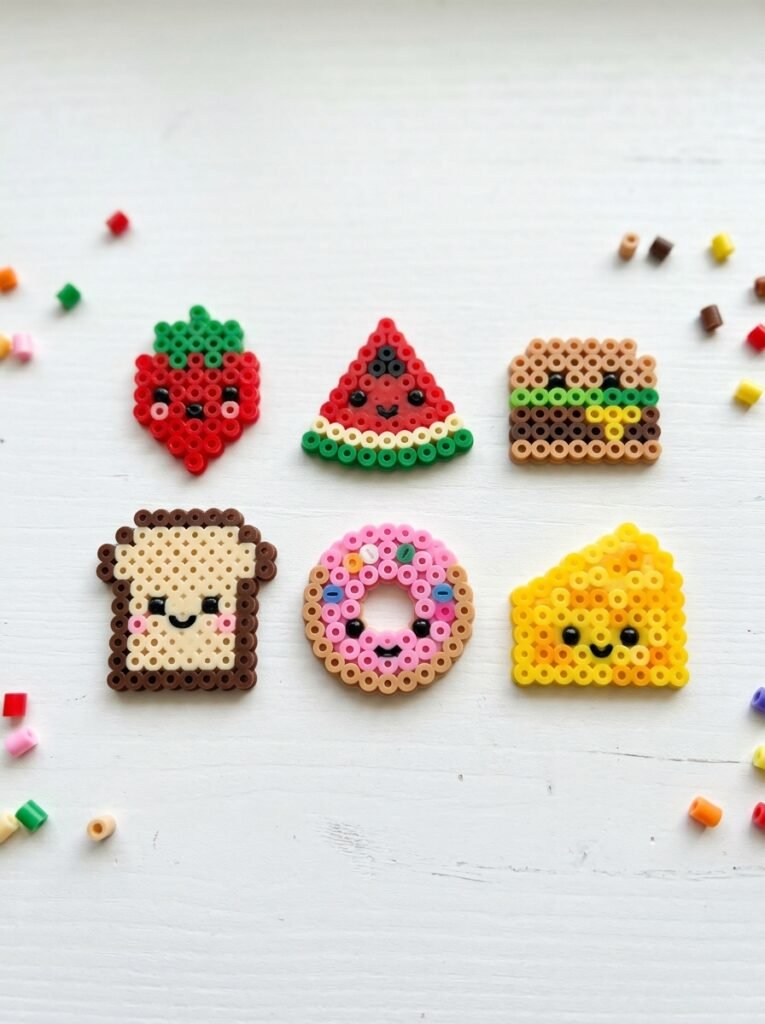
Food designs are excellent for small bead patterns because many familiar foods have simple, colorful shapes. Try a red strawberry with green leaves, a slice of watermelon, a tiny burger, or a smiling piece of toast. Use a small number of contrasting colors so each item is easy to identify. If you want a cute food collection, add simple eyes and a smile to each design. Keeping the designs approximately the same size makes them look coordinated when displayed together.
13. Mini Flower Perler Bead Patterns
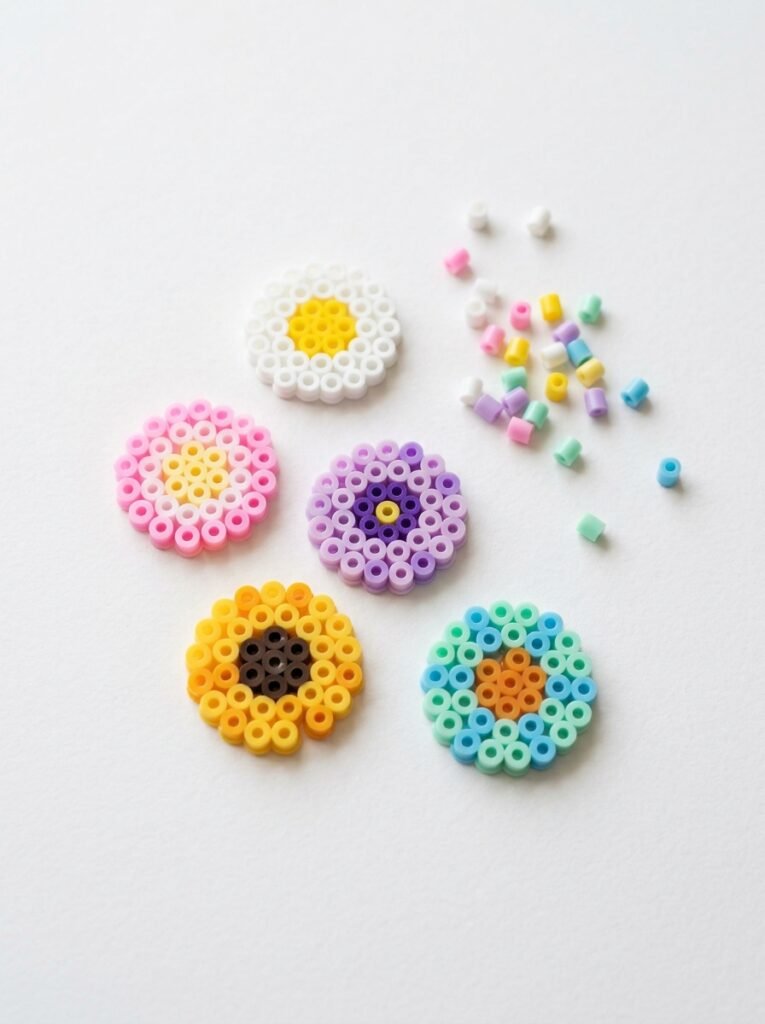
Flowers are easy to adapt to different sizes and color palettes. A tiny daisy can use white petals and a yellow center, while a pink blossom or purple flower can be made with just a few bead colors. Arrange the petals evenly around the center so the design looks balanced. If you are using a small grid, keep the flower compact and avoid adding too many separate petal shades. A set of flowers in different colors can become a cheerful miniature garden.
14. Cute Bow Perler Bead Patterns
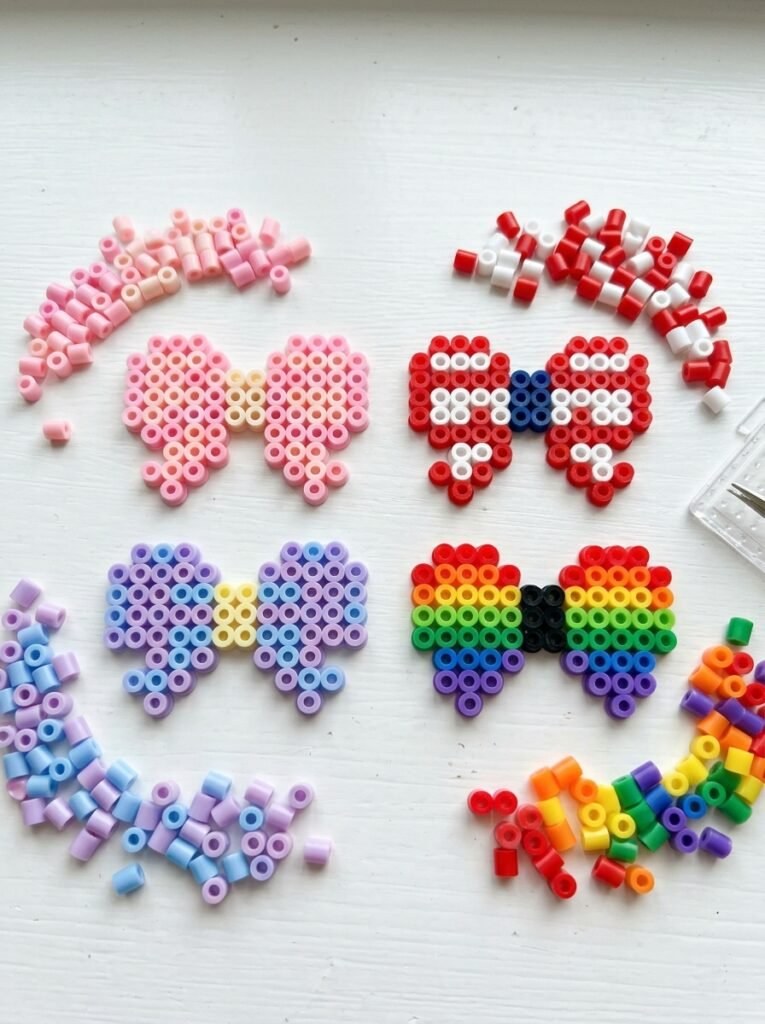
A bow is a lovely mini design because its shape can be created with two side loops and a small center. Use pink and white for a sweet pastel look, red and black for a bold combination, or lavender and blue for something softer. You can make a simple flat bow or add small contrasting beads to create a checkered or striped pattern. Keep the center knot clearly defined so the bow shape does not look like an ordinary butterfly or geometric tile.
15. Tiny Star Perler Bead Patterns
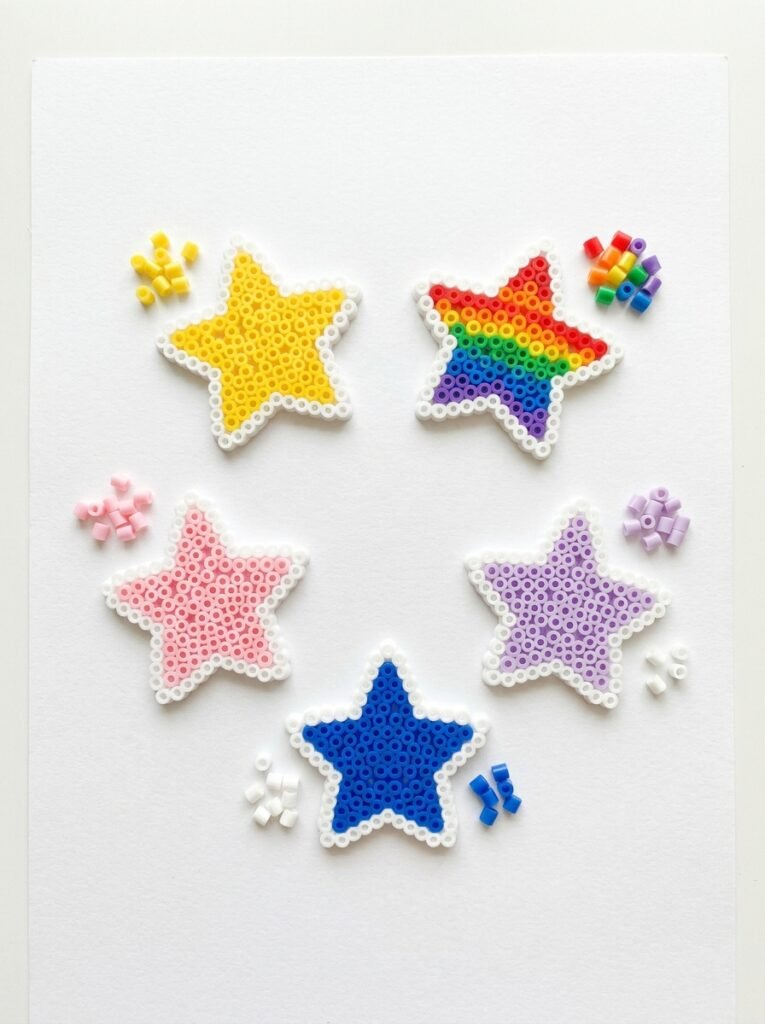
Stars are versatile because they work in almost any color palette. Make a classic yellow star, a pastel pink star, a rainbow star, or a blue star with a white outline. For very small designs, keep the five points simple and symmetrical rather than adding tiny decorative details. You can also place a small contrasting bead in the center to make the star more interesting. A matching collection of stars in different sizes looks lovely on a craft board or display shelf.
16. Circle Perler Bead Patterns
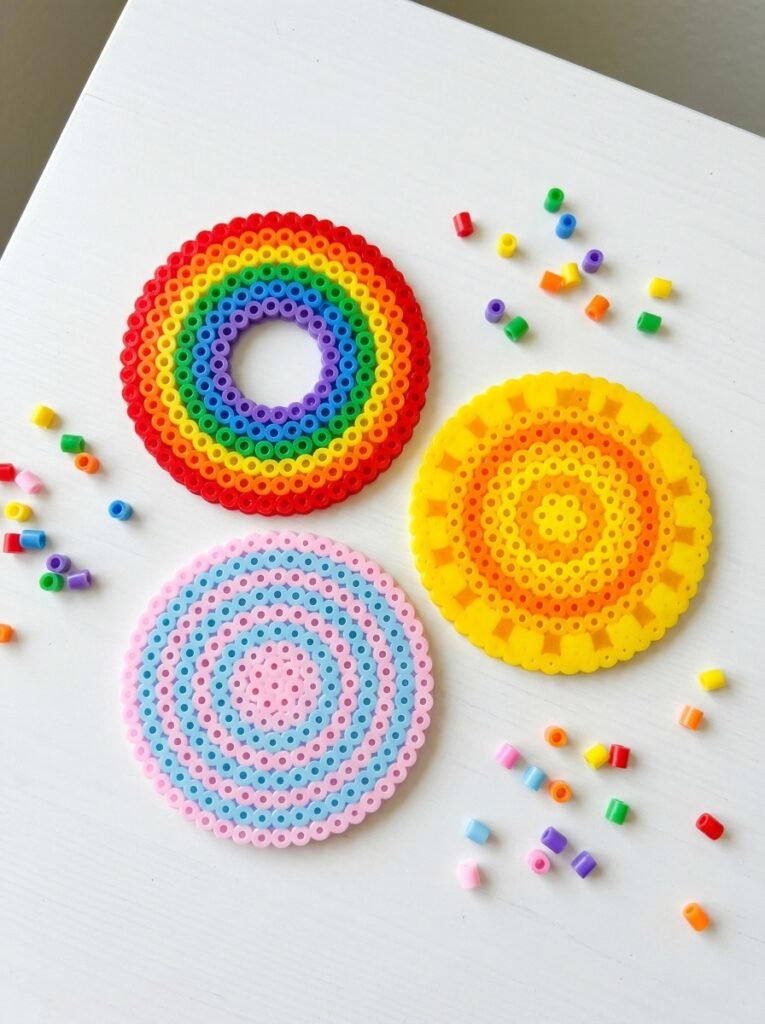
Circle designs can become tiny coasters, decorative tiles, or simple pixel-art medallions. Build a small ring of beads around a center point, repeating colors evenly to keep the shape balanced. Try a rainbow circle, a pastel ring, or a simple sunburst with yellow and orange beads. Since fuse beads sit on a square grid, the edge will look slightly pixelated rather than perfectly smooth. This effect is part of the charm and can make the design feel like classic retro pixel art.
17. Mini Hexagon Perler Bead Patterns
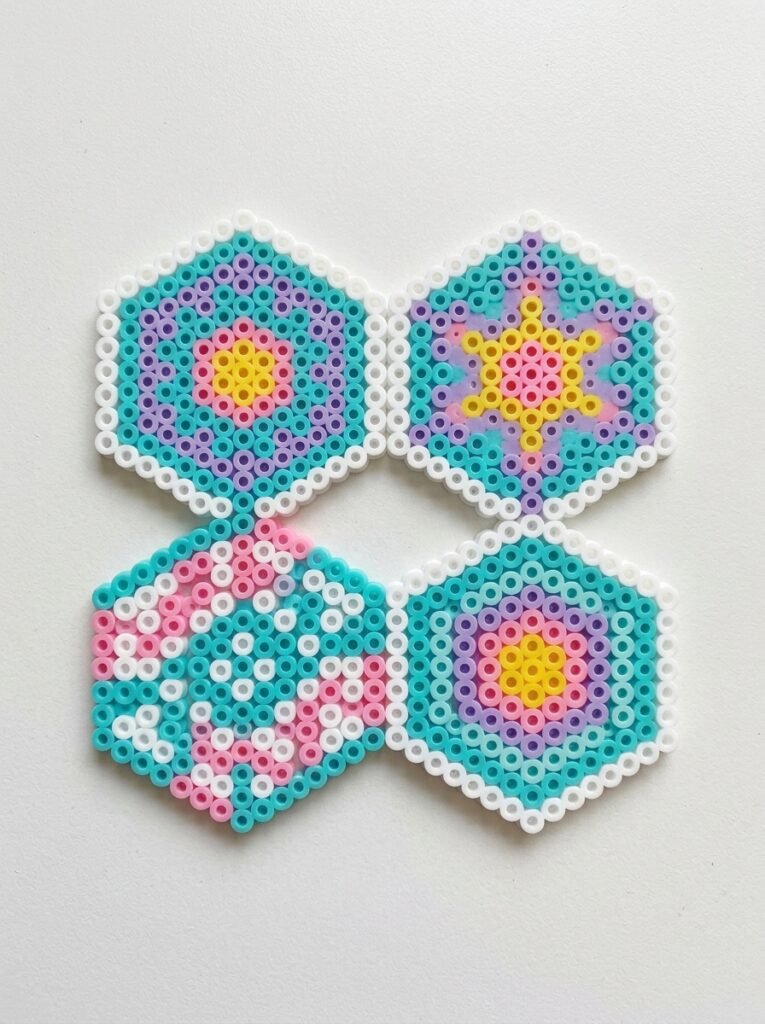
Hexagons are a fun alternative to standard square designs. Create a tiny geometric tile with a flower, star, checkerboard, or rainbow center. The shape works particularly well when you repeat the same design in several colors and arrange the finished tiles into a honeycomb display. Before starting, check the pegboard layout and pattern dimensions to make sure the hexagon fits properly. Use a consistent outline color so the edges remain easy to see against the inner design.
18. Easy Mini Halloween Perler Bead Patterns
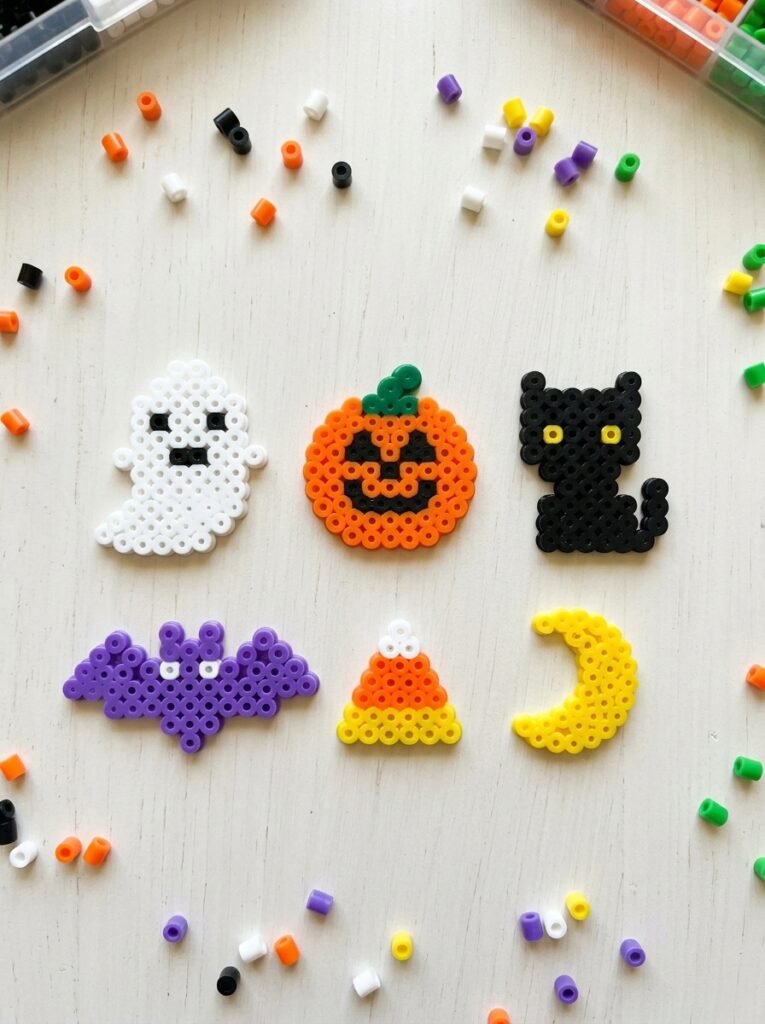
Halloween minis are perfect for seasonal decorations because ghosts, pumpkins, bats, and black cats have recognizable silhouettes. Use orange, black, purple, and white beads for a traditional spooky palette. Keep the designs cute rather than overly detailed: a smiling ghost needs only a few beads for its eyes and mouth, while a pumpkin can use a simple orange body and green stem. Create several small patterns together for a miniature Halloween display or use individual pieces as decorations.
19. Mini Christmas Perler Bead Patterns
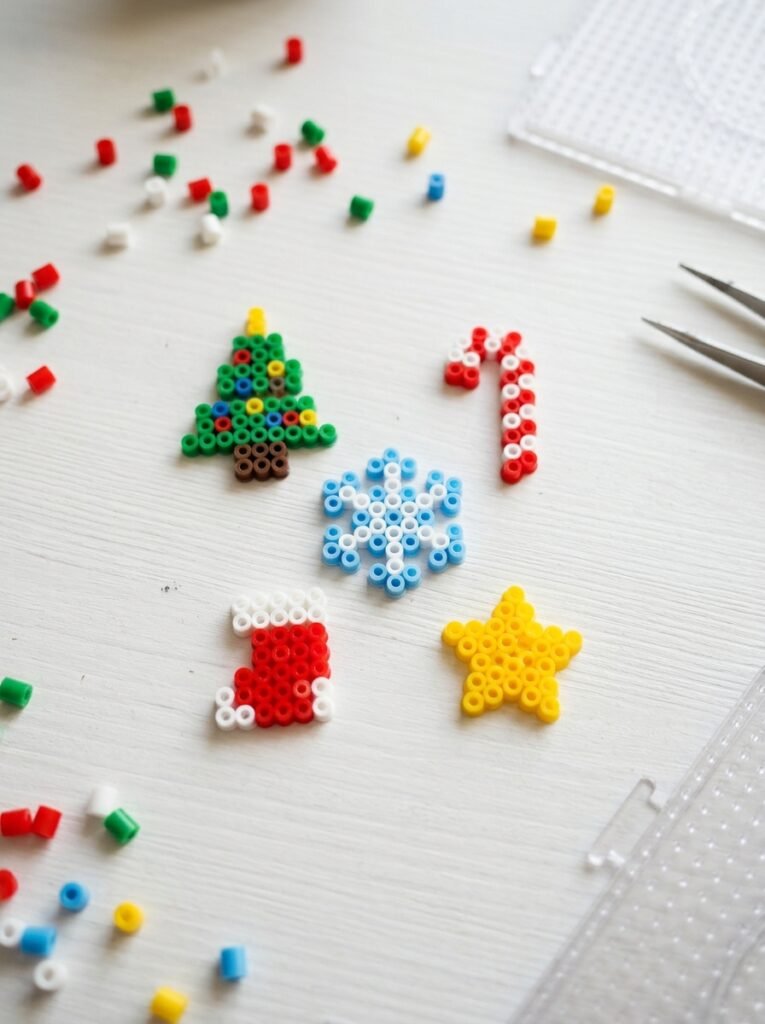
Christmas minis can turn a small collection of beads into cheerful seasonal decorations. Try a tiny green tree, red stocking, blue snowflake, candy cane, or yellow star. Use contrasting colors so the details remain visible at a small scale, and keep the pattern simple enough to fit the chosen pegboard. You can make a matching set of ornaments or create a miniature holiday scene. If you plan to hang a design, include a suitable opening or attachment point in the original pattern.
20. Rave-Inspired Mini Perler Bead Patterns
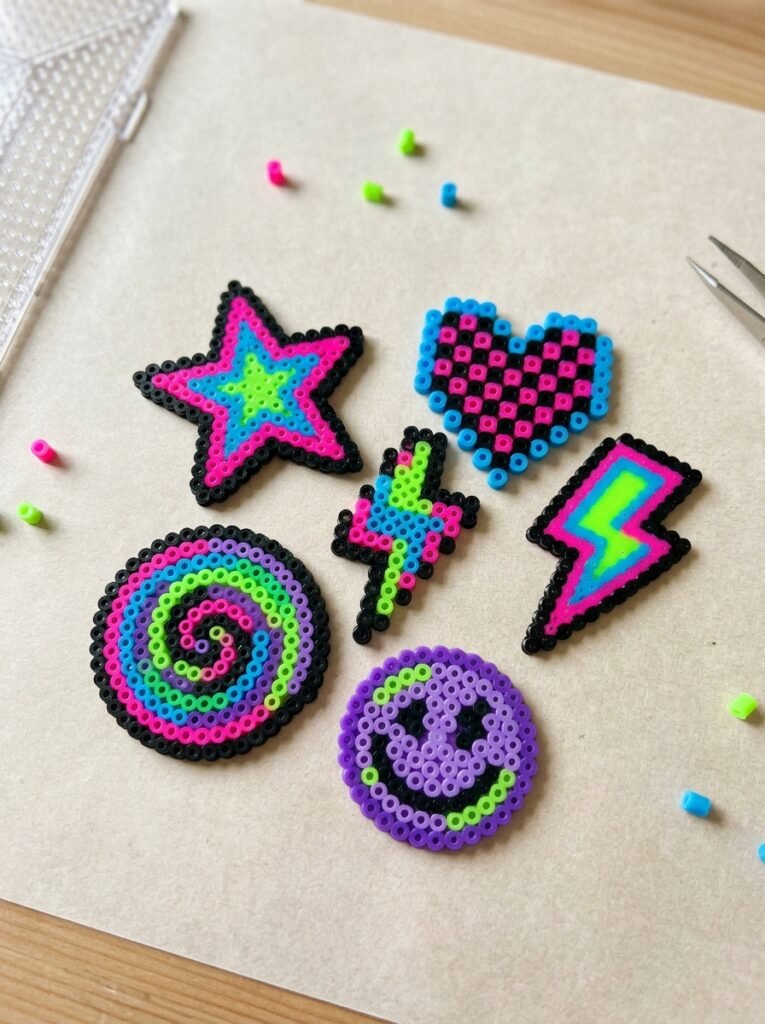
Rave-inspired minis use bold neon colors, stars, hearts, lightning bolts, and playful geometric shapes. Combine electric blue, hot pink, lime green, purple, and black to create high-contrast pixel art. A tiny neon star or checkerboard heart can be simple enough for beginners while still looking striking. Make a small collection with a consistent palette, then use the finished pieces as desk decorations or suitable accessory charms. If attaching them to wearable items, ensure the finished pieces are secure and comfortable.
How to Make a Small Perler Bead Pattern
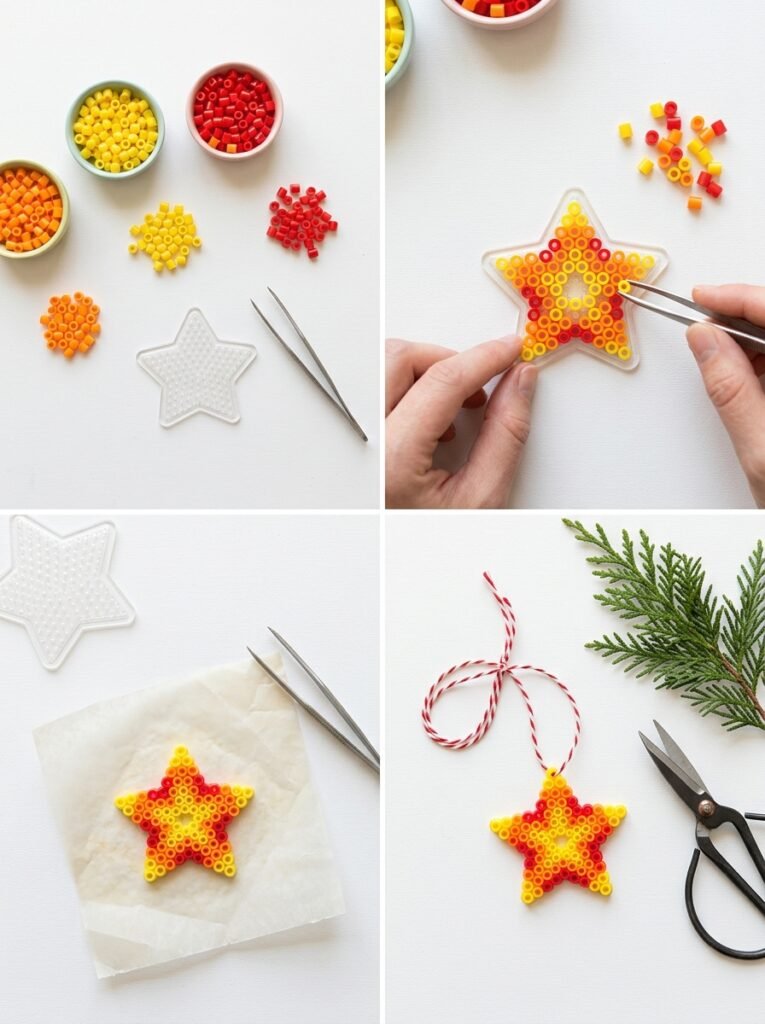
A small flower, star, or animal is a great beginner project. The basic process is straightforward, but the exact heating method and timing depend on the product you use.
- Choose a simple pattern. Start with a compact design that fits your pegboard and uses a limited number of colors.
- Sort the beads. Place the colors in small containers so you can find them easily while following the pattern.
- Place the beads carefully. Work row by row, checking the outline and color order against your reference.
- Review the design. Make sure the shape is symmetrical where needed and that no beads are missing.
- Fuse the beads safely. Follow the manufacturer’s instructions for the correct temperature, protective paper, and ironing technique. Keep the iron moving as directed.
- Let the design cool completely. Avoid bending or handling the piece while it is hot.
- Finish your project. Display it as a small decoration or add a suitable attachment after the piece has cooled.
Children should have adult supervision when ironing fuse beads. Always follow the specific manufacturer’s safety instructions.
Tips for Making Better Mini Perler Bead Patterns
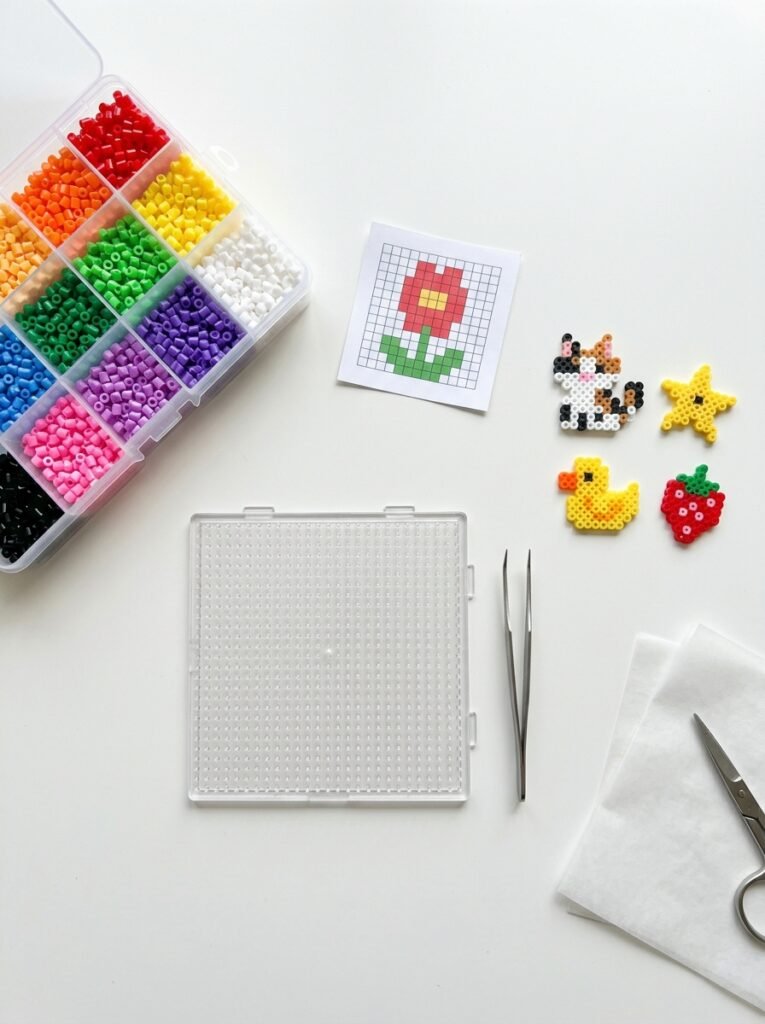
- Keep the design simple: Tiny patterns work best when they have a clear outline and only a few important details.
- Use contrasting colors: Dark eyes, bright centers, and distinct outlines help small designs remain recognizable.
- Check the grid size: Make sure your chosen pattern fits the pegboard before placing beads.
- Sort similar shades: Separating colors prevents mistakes and makes the process smoother.
- Follow the product instructions: Heating recommendations vary, so use the manufacturer’s instructions instead of guessing.
- Try matching sets: Repeating the same palette across cats, stars, flowers, and food creates a coordinated collection.
- Personalize original characters: Change colors, accessories, expressions, or shapes to make your designs unique.
- Store finished minis carefully: Keep them away from excessive heat and avoid bending thin fused pieces.
Final Thoughts
Small perler bead patterns make it easy to enjoy pixel-art crafting without needing a large workspace or a complicated design. From tiny capybaras, cats, ducks, and fish to cute food, geometric shapes, Halloween minis, and Christmas decorations, there is something for every style and skill level. Start with an easy pattern, use a few contrasting colors, and build a collection of designs that reflects your personality. Even the smallest project can become a delightful handmade creation.