





This post may contain affiliate links. Please read my disclosure policy.
In This Article Show
Gnomes have quietly become the face of Christmas crafting, and a polymer clay gnome might be the best handmade gift on this whole list. It is small, sturdy, full of personality and, best of all, there is no face to sculpt. Just a hat, a beard and a nose.

This diy polymer clay christmas gnome holiday gift idea guide builds the classic red hat gnome in full, step by step, then an ornament version and a mug buddy. After that come quick variations for magnets, garlands, place settings and a boxed gift set.
Polymer clay is a friendly material for gifts because it bakes hard in a home oven and keeps for years. One sampler pack of colors covers a whole batch of gnomes.
If you have never touched clay, start with the classic gnome. It teaches every shape the others use.
Quick Picks
- 1. Classic Red Hat Gnome: the essential gnome, tall red hat, big beard, round nose.
- 2. Gnome Ornament with a Hanging Loop: a gnome made for the tree, with a loop and a ribbon.
- 3. Gnome Mug Buddy: a gnome on a mug, ready to fill with cocoa and wrap.
1. Classic Red Hat Gnome
A Sculpey III 30 color sampler pack has the red, white, beige and green these gnomes need, with plenty left over for the variations below.
⏱ About 45 minutes plus baking🛠 Beginner friendlyGreat first gnome
Materials Needed
- Polymer clay in red, white or gray, beige, green and black
- A ball of foil for the hat core
- Clay knife and a toothpick
- Baking tray lined with parchment
- Acrylic paint for cheeks, optional
- Clear matte varnish, optional
How to Make It
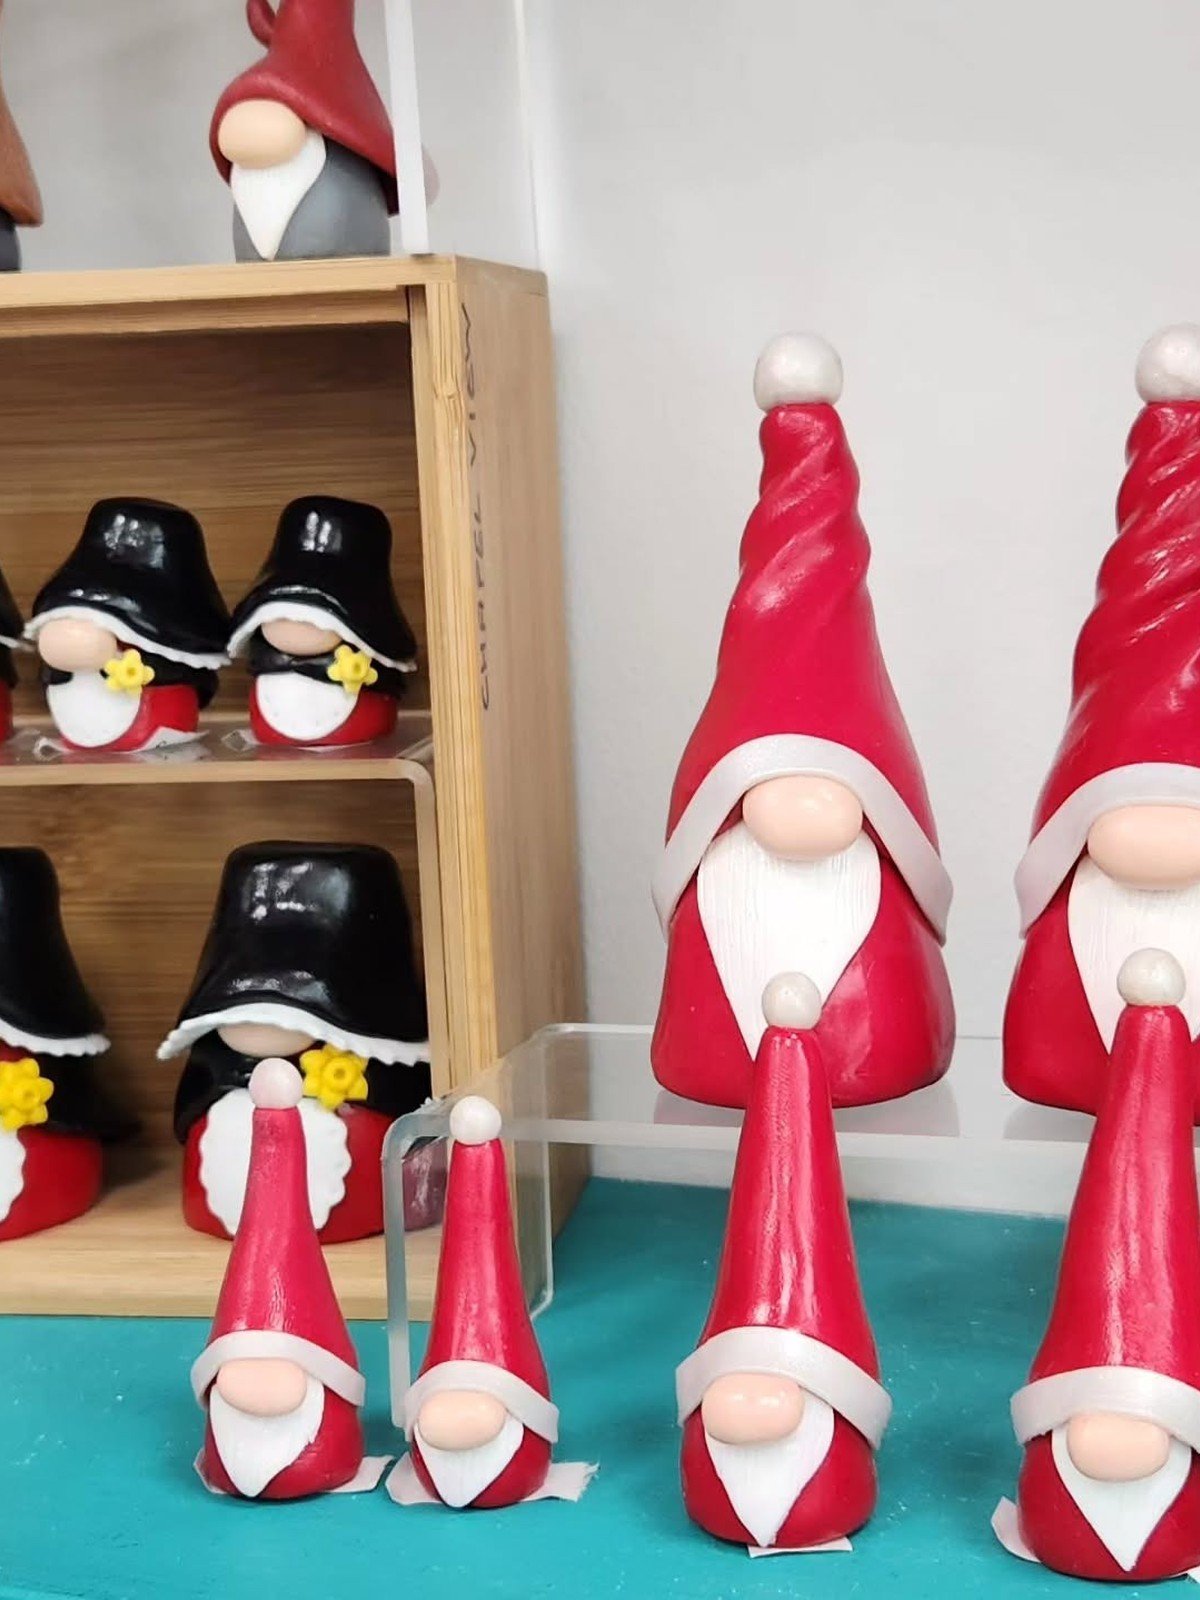
Step 1: Condition the clay by kneading each color until soft. Roll the body color into a rounded cone about 6 cm tall.
Step 2: Wrap a cone of red clay over a foil ball to make the tall hat, and sit it on the body so it covers the top third.
Step 3: Roll white or gray clay into a teardrop beard, press light lines into it with a toothpick, and attach it under the hat brim.
Step 4: Add a round beige nose where the hat meets the beard, and two tiny boots at the base if you like.
Step 5: Check the gnome stands flat, then bake it on parchment following the packet instructions for its thickness. Let it cool fully in the oven.
Tip: The nose placement makes or breaks a gnome. It should sit right at the hat brim, with the beard starting just below it. Move it before baking until it looks right.
2. Gnome Ornament with a Hanging Loop
⏱ About 40 minutes plus bakingTree readyMake a matching set
Materials Needed
- Polymer clay in your gnome colors
- An eye pin or a short length of wire
- Round nose pliers for the loop
- Small ribbon
- Baking tray and parchment
How to Make It
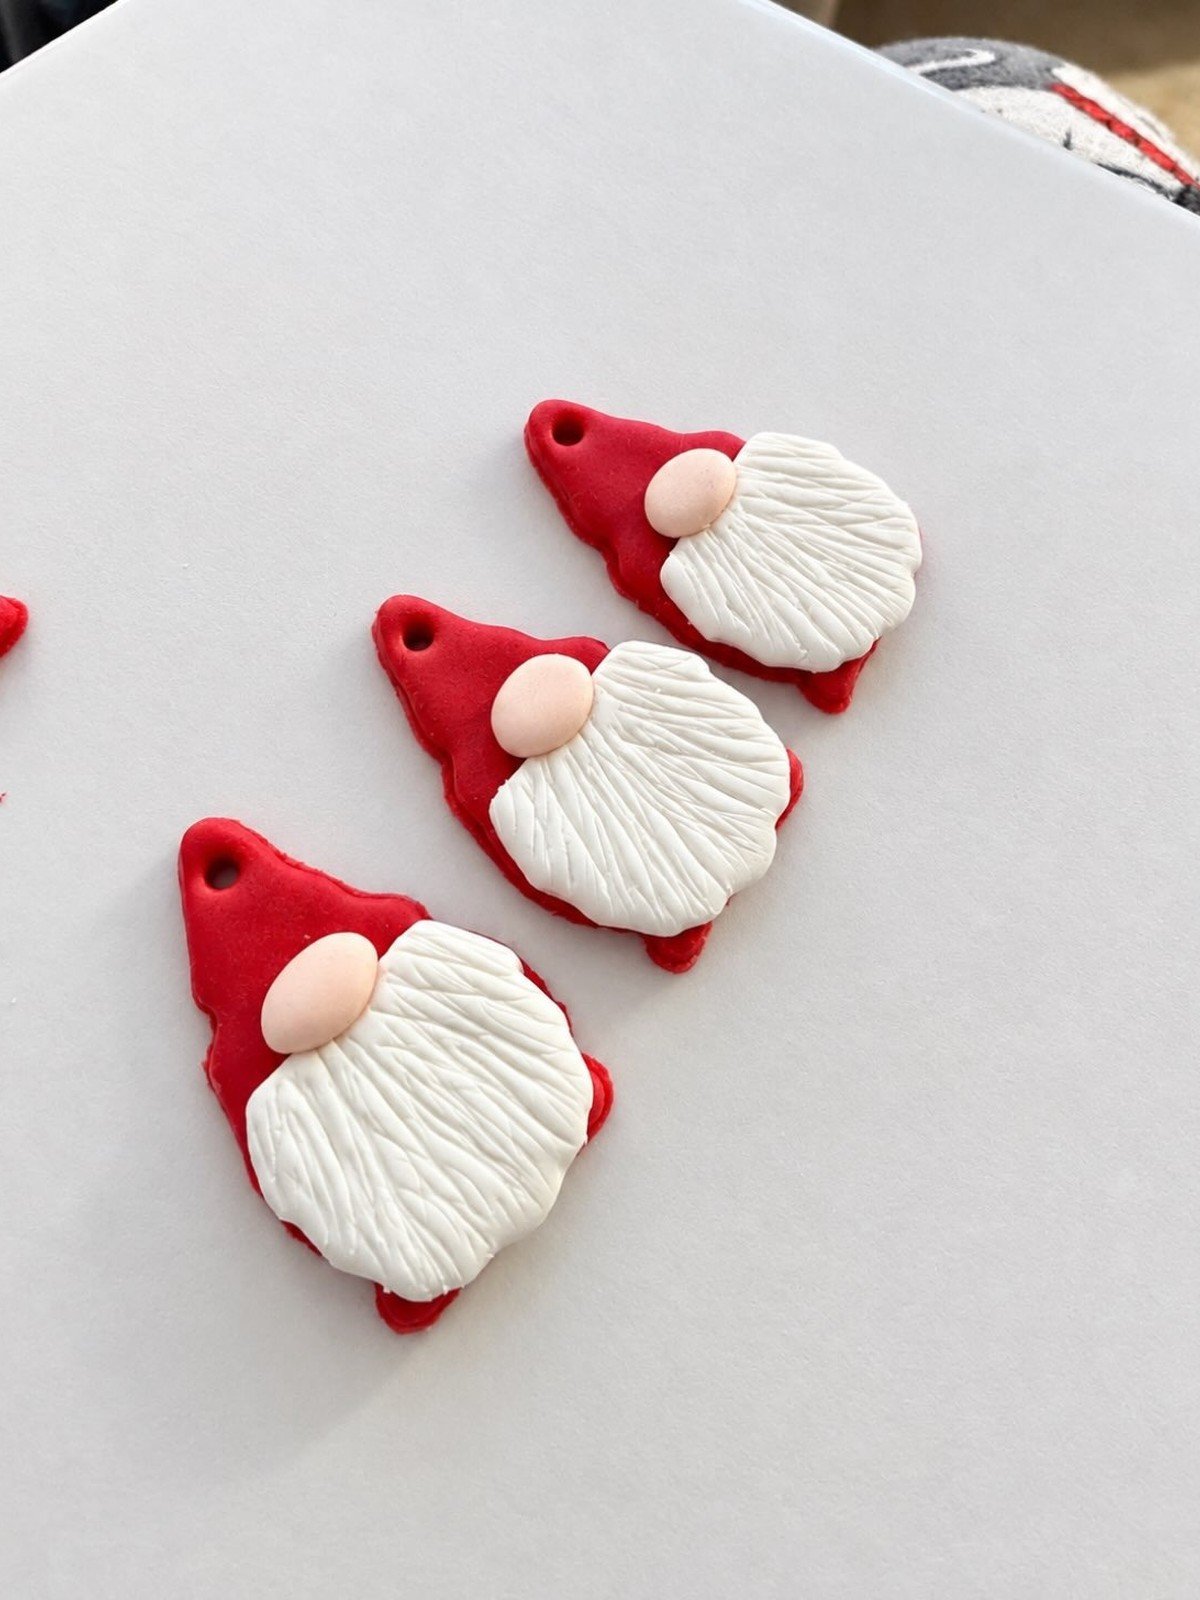
Step 1: Build a slightly smaller classic gnome, about 5 cm tall, so it hangs well on a branch.
Step 2: Push an eye pin into the top of the hat before baking, or shape a small wire loop and press it in.
Step 3: Add the beard and nose, keeping the front neat because ornaments are seen up close.
Step 4: Bake following the packet instructions, cool fully, then thread ribbon through the loop.
Step 5: Hang it and check the balance. If it tips forward, move the loop a little toward the back on the next one.
Tip: Make ornaments in sets of three with the same colors. A small matching family on the tree looks intentional and gift sets look generous.
3. Gnome Mug Buddy
⏱ About 1 hour plus bakingLovely gift with cocoaHand wash the mug
Materials Needed
- A plain oven safe ceramic mug
- Polymer clay in gnome colors
- Liquid polymer clay or bakeable glue
- Oven for baking the mug piece
- Clear gloss varnish, optional
How to Make It
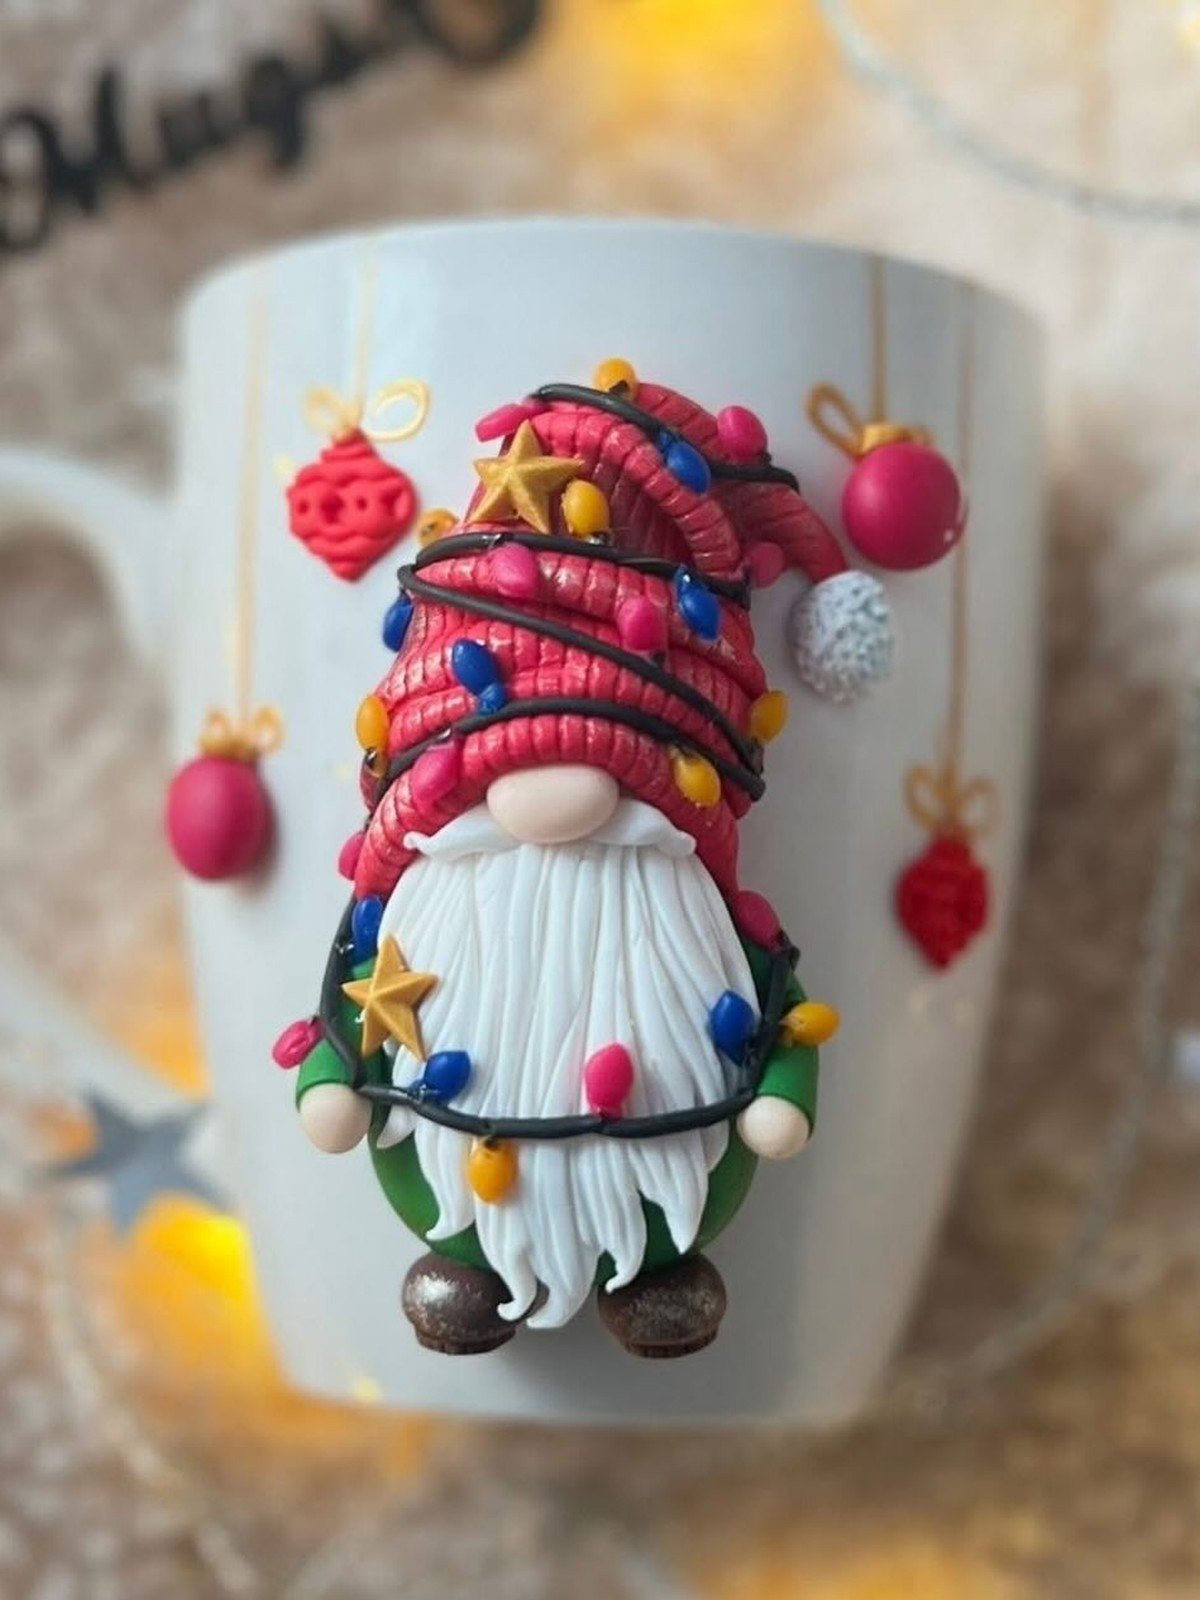
Step 1: Shape a flat backed gnome against the curve of the mug, pressing it gently onto the mug side so the back matches the curve.
Step 2: Build the hat, beard and nose on the front, keeping the clay layer fairly thin so it stays light.
Step 3: Bake the gnome on the mug if the mug is oven safe, following the clay packet instructions, or bake the gnome on parchment curved over a can and glue it on after cooling.
Step 4: Use liquid polymer clay or a bakeable glue for a strong bond, and let it set fully.
Step 5: Fill the mug with cocoa packets or candy, wrap it in cellophane and tie with ribbon.
Tip: Tell the gift receiver to hand wash the mug. Dishwasher heat and detergent are hard on clay decorations over time.
4. Mini Gnome Magnets
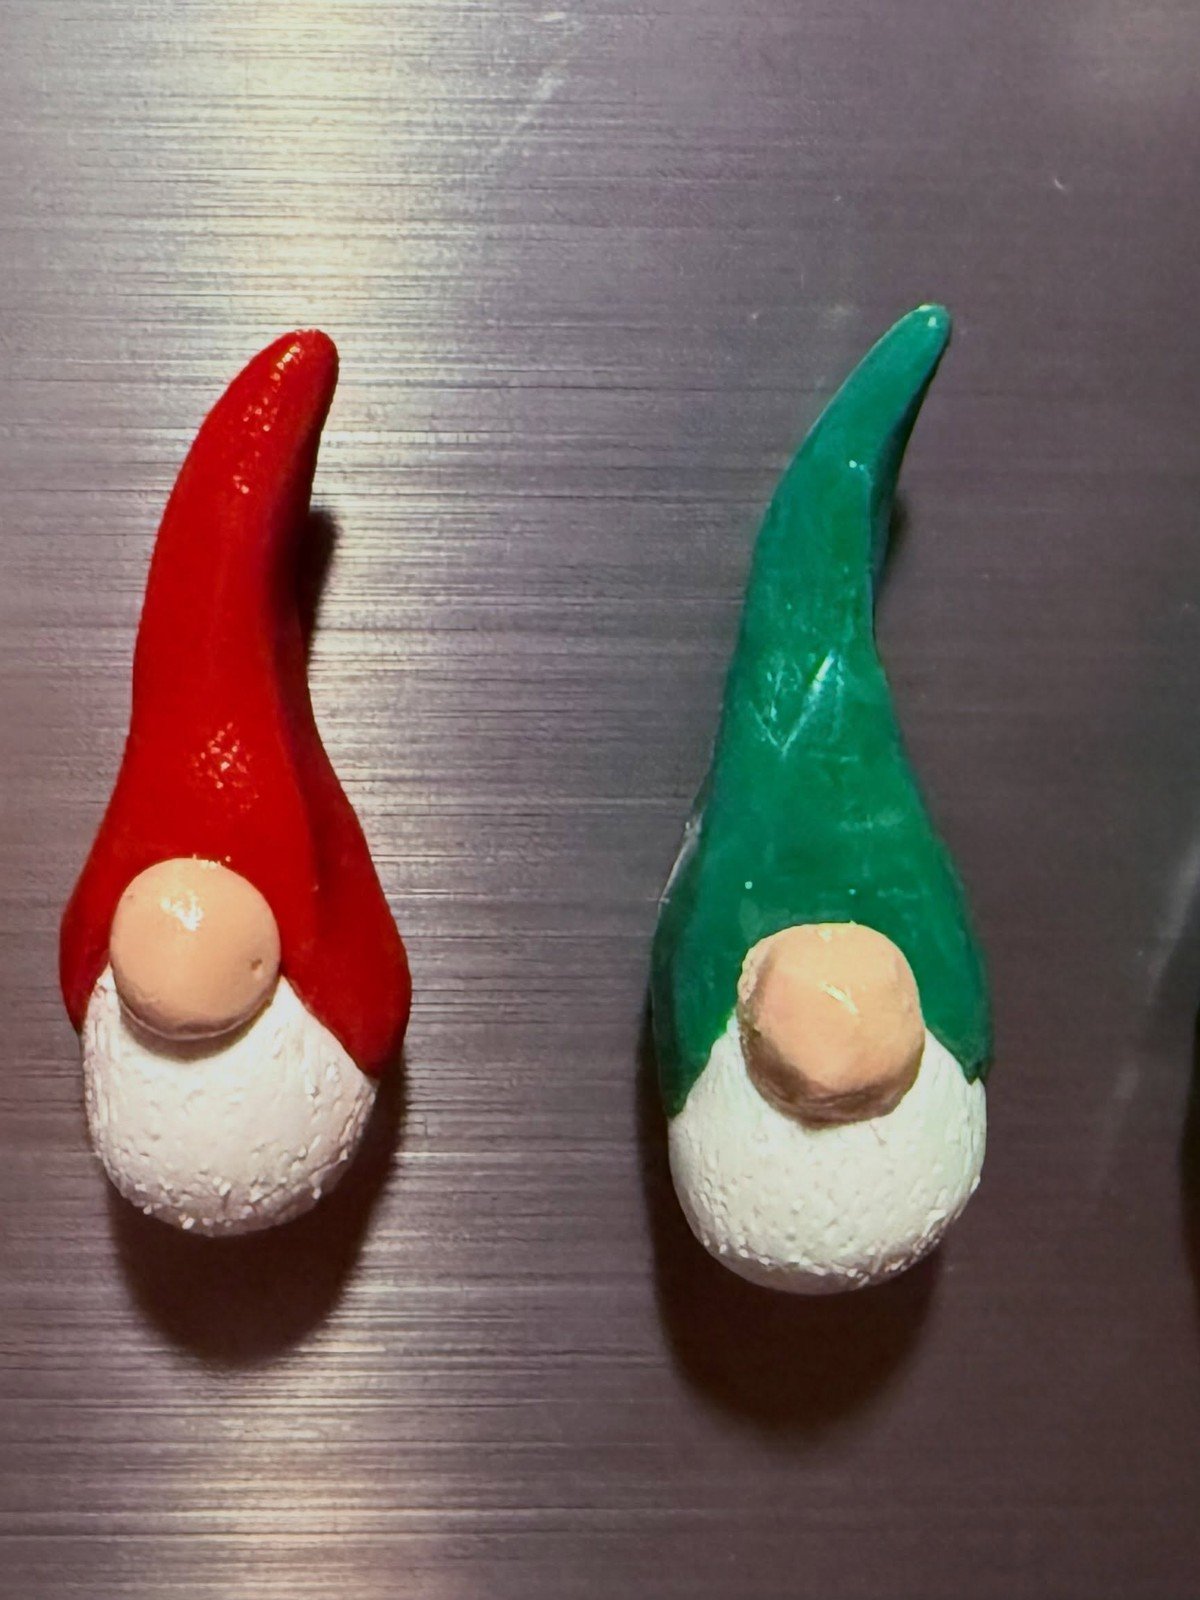
Scale the classic gnome down to 3 cm, keep the back flat, bake, and glue a small magnet on the back. A set of four in different hat colors, presented on a piece of card inside a card envelope, is a sweet little gift that posts easily to friends far away.
You’ll need: small amounts of clay, flat magnets, strong glue
Best for: stocking fillers and card enclosures
5. Gnome with a Christmas Tree Hat
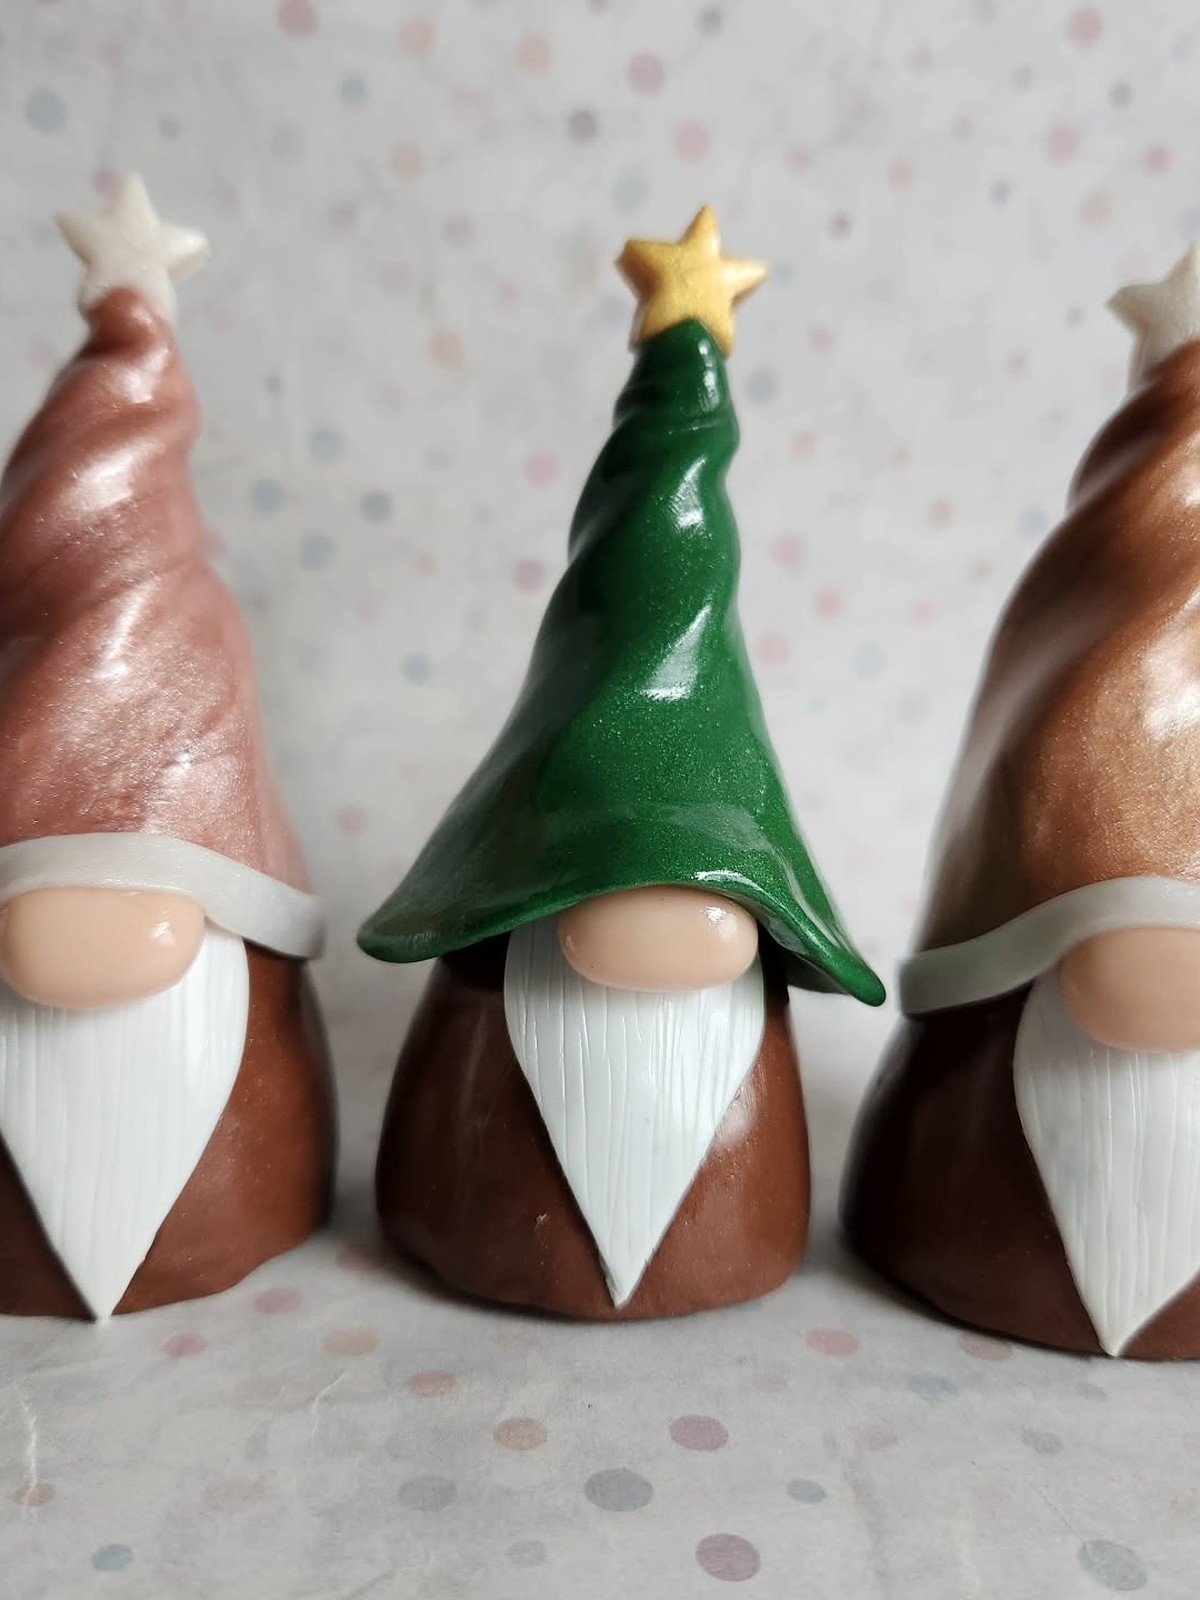
Swap the plain cone hat for a Christmas tree. Layer three flattened green cones, largest at the bottom, press in tiny colored dots as baubles and finish with a small star on top. The rest of the gnome stays the same, which makes this a quick second project after the classic.
You’ll need: green clay for the hat, tiny beads or clay dots for baubles, a small star
Best for: gnome lovers who already have the classic
6. Gnomes with Tall Curled Hats
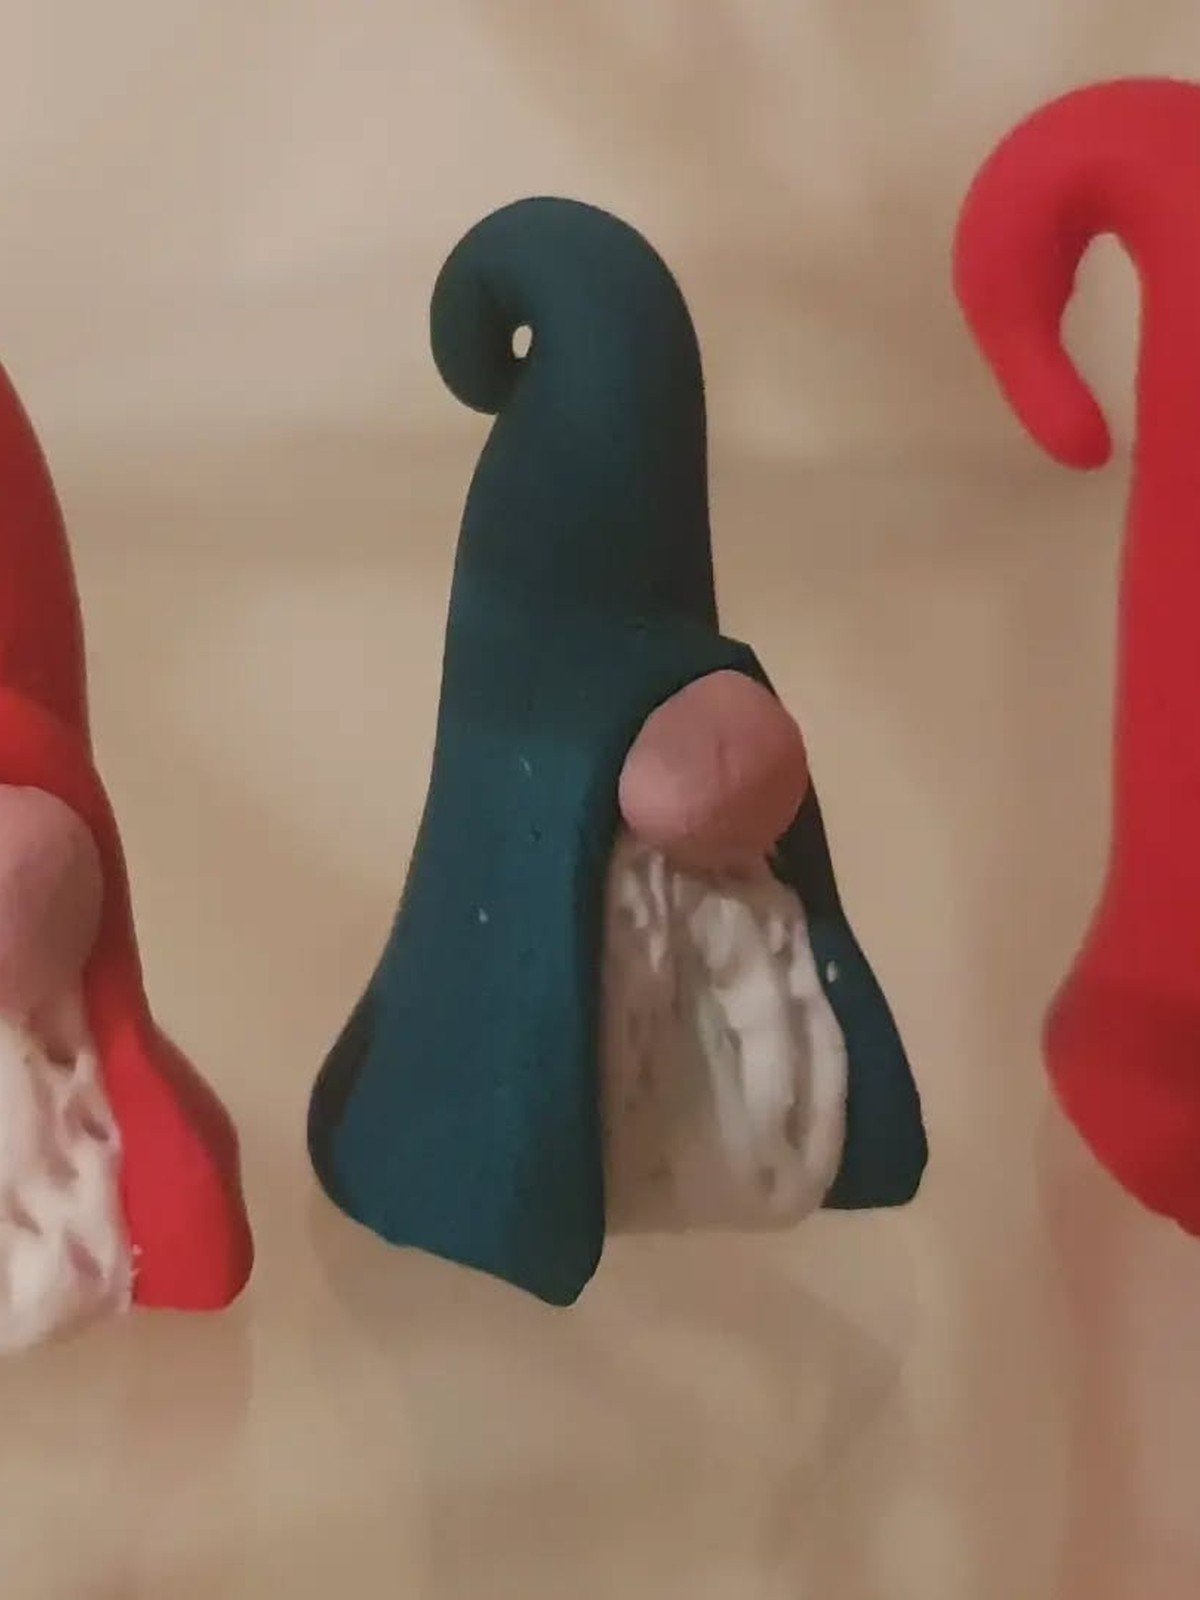
Give a classic gnome a party trick by stretching the hat tall and curling the tip over. Two in red and one in deep teal make a cheerful trio, and the long hats give you plenty of room for stripes, dots or a little gold paint at the tip.
You’ll need: polymer clay in red, teal and white, flesh tone clay for noses, a knitting needle or skewer for the curl
Best for: a mantel trio or a matched gift for three friends
7. Mini Gnome Gifts and Toppers
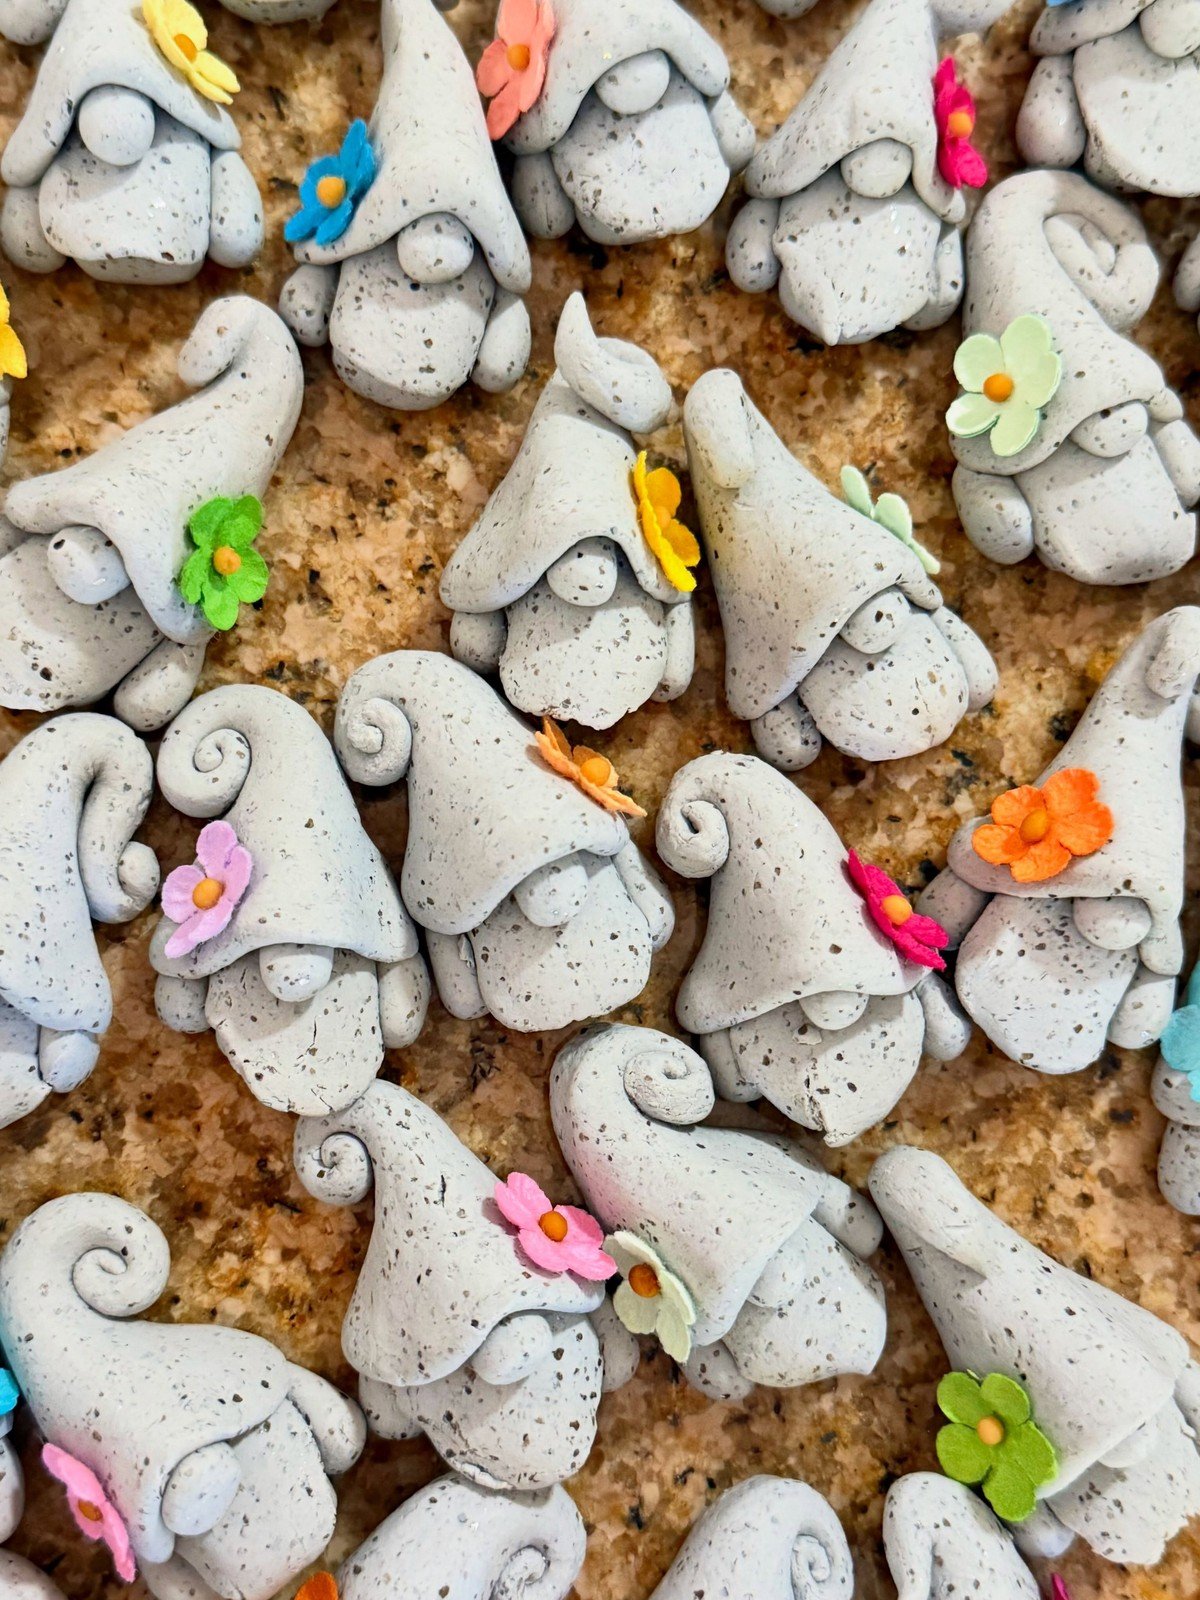
When you need a lot of little gifts fast, make a whole batch of mini gnomes in one sitting. These speckled gray minis each get one tiny flower or a colored hat detail, so every one is slightly different. Pop them on top of wrapped presents, tuck them into stockings, or add a magnet to the back.
You’ll need: speckled or light gray polymer clay, tiny clay flowers, flesh tone clay for noses, magnets (optional)
Best for: stocking stuffers, gift toppers and party favors
8. Gnome Place Card and Photo Holder
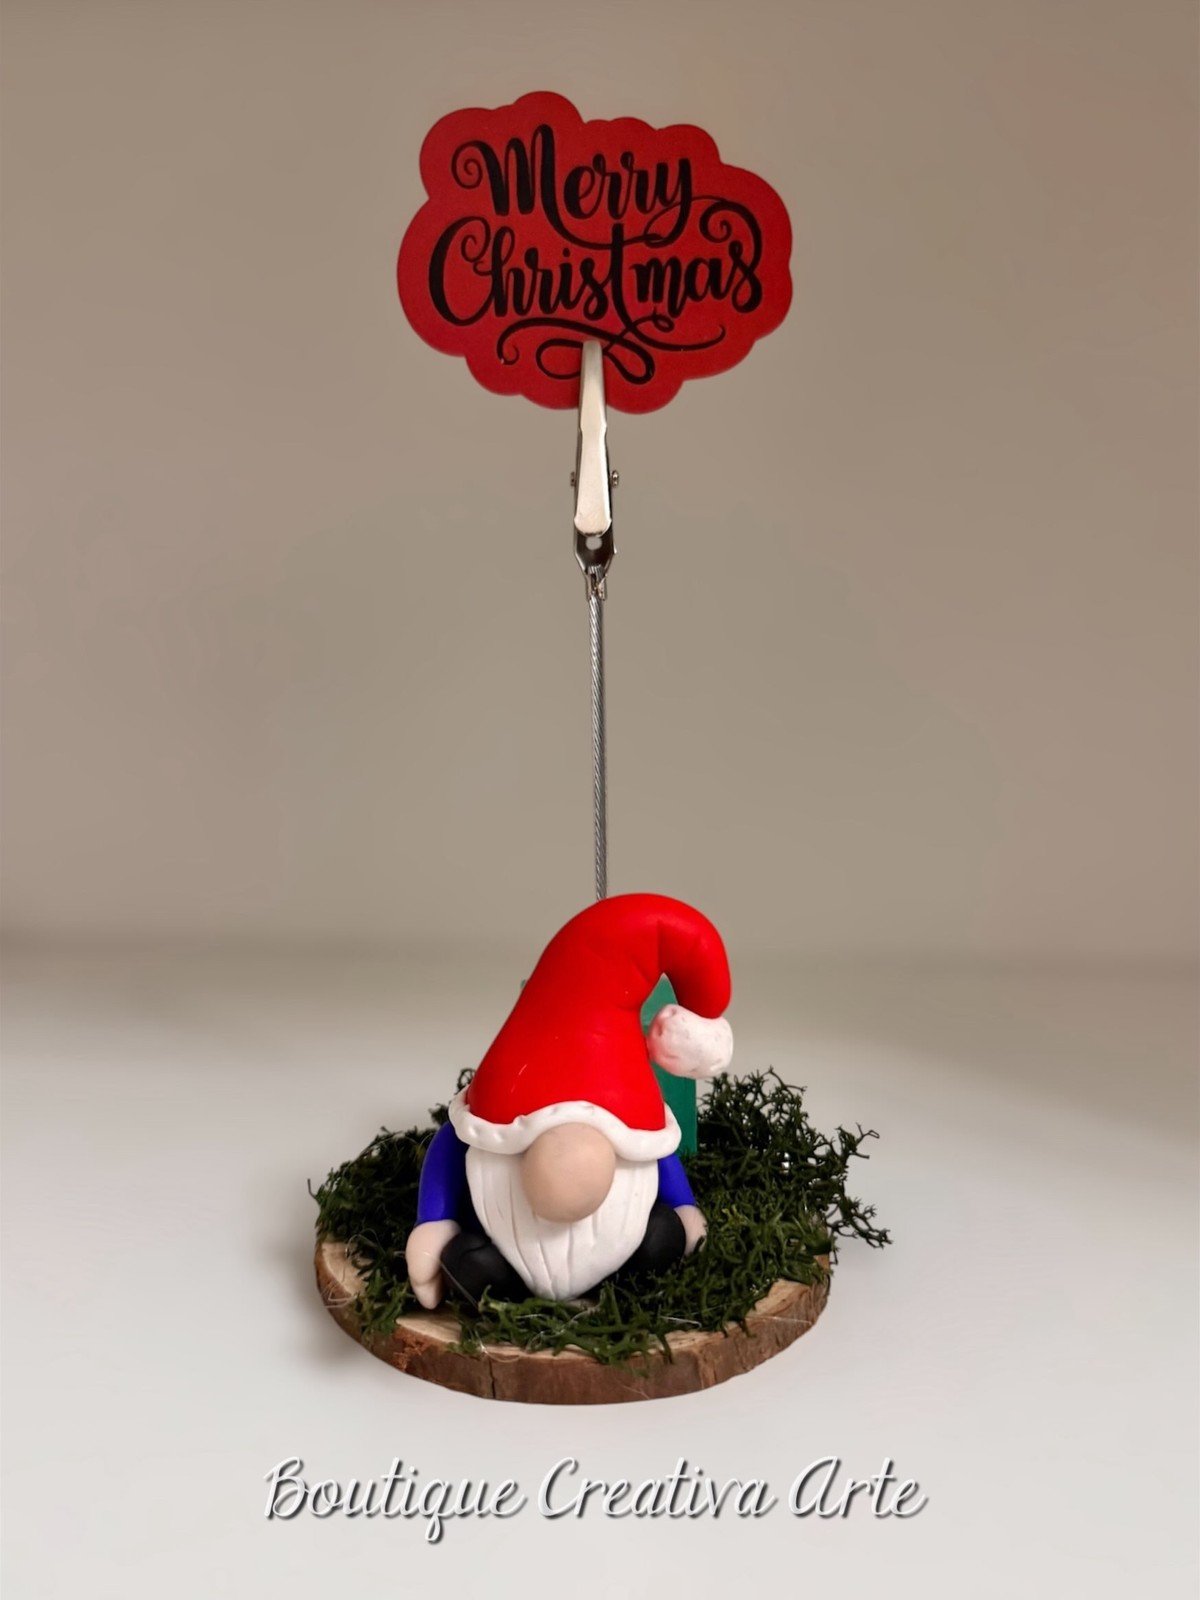
Set a small gnome on a wood slice, push a wire card holder into the base behind him, and you have a place card holder that guests can take home. This one holds a Merry Christmas card, but the same wire spiral grips a name card, a photo or a menu card just as well.
You’ll need: polymer clay for the gnome, a small wood slice, wire and pliers for the holder, moss or greenery for the base
Best for: the Christmas table, place cards and photo gifts
9. Mini Gnome Ornaments in Bright Hats

Small gnome ornaments get a playful twist with bright hats: turquoise with dark spots, soft olive, and a tiny painted house to keep them company. Keep the bodies simple and round, let the hats carry the color, and add a hanging loop to each one.
You’ll need: polymer clay in bright colors, white clay for beards, eye pins or cord for hanging loops
Best for: kids rooms and colorful trees
10. Gnome Collection Gift Set
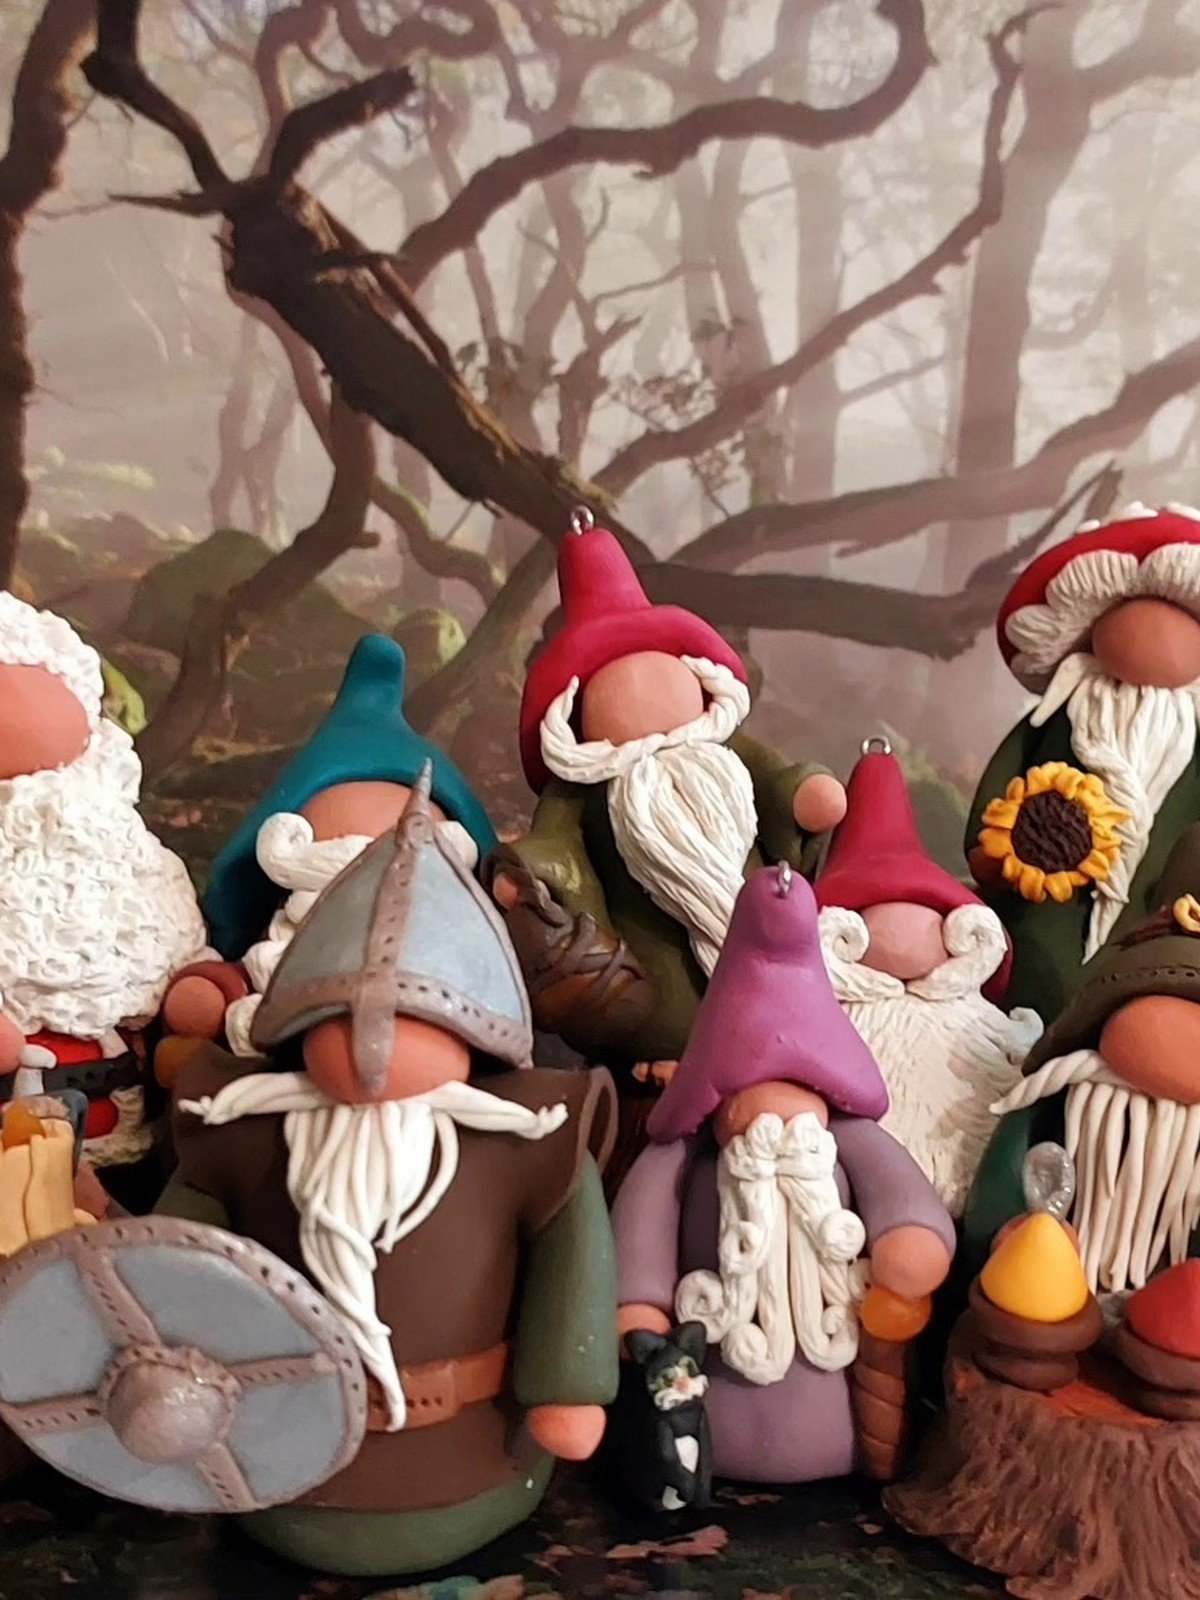
A whole gnome family in one display is the gift that makes people smile before they even open the card. This collection mixes Santa gnomes, woodland gnomes and little characters with props, all in different colors and sizes. Build your set a few at a time and box them together as one generous gift.
Safety note: Bake polymer clay exactly as the packet directs, in a ventilated kitchen, and let an adult handle the oven. Never use tools or trays for food after they have held clay unless they are washed thoroughly, and never microwave polymer clay.
You’ll need: polymer clay in many colors, props like tiny trees, books or mushrooms, a gift box and tissue for packing
Best for: one big gift for a gnome loving family
Frequently Asked Questions
What clay is best for Christmas gnomes?
Polymer clay, and for beginners a soft brand that conditions easily. One sampler pack with red, white, green, beige and black covers every gnome in this guide.
How long do I bake a polymer clay gnome?
Bake at the temperature on your clay packet, usually 275 degrees F or 130 degrees C, for the time given for the thickness. For most brands that is 15 to 30 minutes per 6 mm of thickness. Never microwave polymer clay.
Do gnomes need anything inside the hat?
Use a foil ball or a crumpled parchment ball inside the hat cone. It makes the gnome lighter, saves clay and helps thick parts bake evenly.
Can I make a gnome without sculpting a face?
Yes, that is the charm of the design. A gnome is a tall hat, a nose and a beard, with no face needed. It is one of the most forgiving first clay projects there is.
Can I paint details on after baking?
Yes. Paint after baking with acrylics and let it dry fully. Many makers bake the main colors and just paint small details like cheeks and hat patterns.
How do I store clay gnomes between Christmases?
Wrap it in tissue inside a small box, keep it away from soft plastics and vinyl in storage, and it will last for years. Polymer clay is sturdy but thin parts like hat tips can snap if they are crushed.
Final Thoughts on DIY Polymer Clay Christmas Gnome Holiday Gift Idea
A polymer clay gnome is one of those rare projects that looks impressive and is genuinely simple. Hat, beard, nose, bake, done, and suddenly you have a handmade gift that people actually keep.
Work through this diy polymer clay christmas gnome holiday gift idea list in order if you are new to clay. By the third gnome your hands will know the shapes, and a whole gift set becomes an afternoon project.