





This post may contain affiliate links. Please read my disclosure policy.
In This Article Show
Of all the things you can sculpt from polymer clay at Christmas, the tree itself might be the most fun. It is a friendly shape, it forgives wobbly branches, and every bauble you press on makes it more yours.

This fun diy polymer clay christmas tree idea guide builds the classic layered tree in full, with branch texture that actually reads as branches. Then come mini tree ornaments and a whole tree scene with presents, both with complete steps.
After the builds you will find the playful variations, a swirl lollipop tree, snowy white and pastel candy trees, charms, a candle holder, a clay forest and one big mantel statement tree.
One pack of green clay goes a long way here. Small trees use very little, so a single purchase can fill a whole shelf.
Quick Picks
- 1. Classic Layered Christmas Tree: the main build, layered branches and a gold star finish.
- 2. Mini Tree Ornaments: small, quick and made to hang in matching sets.
- 3. Tree and Gnome House Scene: a tree, a snowman and tiny presents on one little base.
1. Classic Layered Christmas Tree

A SmashAce 19 piece clay sculpting tool set gives you the needle and carving tips that make branch texture quick, and it will serve every clay project after this one.
⏱ About 1 hour plus baking🛠 Beginner friendlyAbout 12 cm tall
Materials Needed
- Polymer clay in two greens, plus red, gold, white and brown
- A foil cone for the core
- Clay sculpting tools or a toothpick
- A small star cutter or a knife
- Parchment lined baking tray
- Gloss varnish, optional
How to Make It
Step 1: Shape a foil cone about 10 cm tall and cover it with a layer of green clay, smoothing the join at the back.
Step 2: Roll small green cones or teardrops and press them in overlapping rows from the bottom up to form layered branches, or cut branch fringes into the cone with small scissors and lift each fringe outward.
Step 3: Texture the branches with a needle tool using short strokes that follow the branch direction.
Step 4: Press tiny balls of red, gold and white clay all over the tree as baubles.
Step 5: Add a brown trunk cylinder at the base and a gold star on top, then bake on parchment following the packet instructions and cool before handling.
Tip: Work from the bottom row up and overlap each row like roof tiles. That one habit is the difference between a green cone and a tree.
2. Mini Tree Ornaments

⏱ About 30 minutes each plus bakingTree readyMake a matching set
Materials Needed
- Green polymer clay in two shades
- Eye pins and ribbon
- Tiny clay balls for baubles
- A small star for each tree top
- Baking tray and parchment
How to Make It
Step 1: Shape a small green cone about 5 cm tall, solid clay or over a tiny foil core.
Step 2: Add two or three rows of branch texture with a needle tool or by pressing in small flattened teardrops.
Step 3: Press in tiny bauble balls and a mini star on top.
Step 4: Push an eye pin into the top beside the star, or thread it through the star itself.
Step 5: Bake following the packet instructions, cool, tie on ribbon and hang.
Tip: Ornaments look best as a family. Make five or six with the same bauble colors and slightly different heights, and group them on nearby branches.
3. Tree and Gnome House Scene
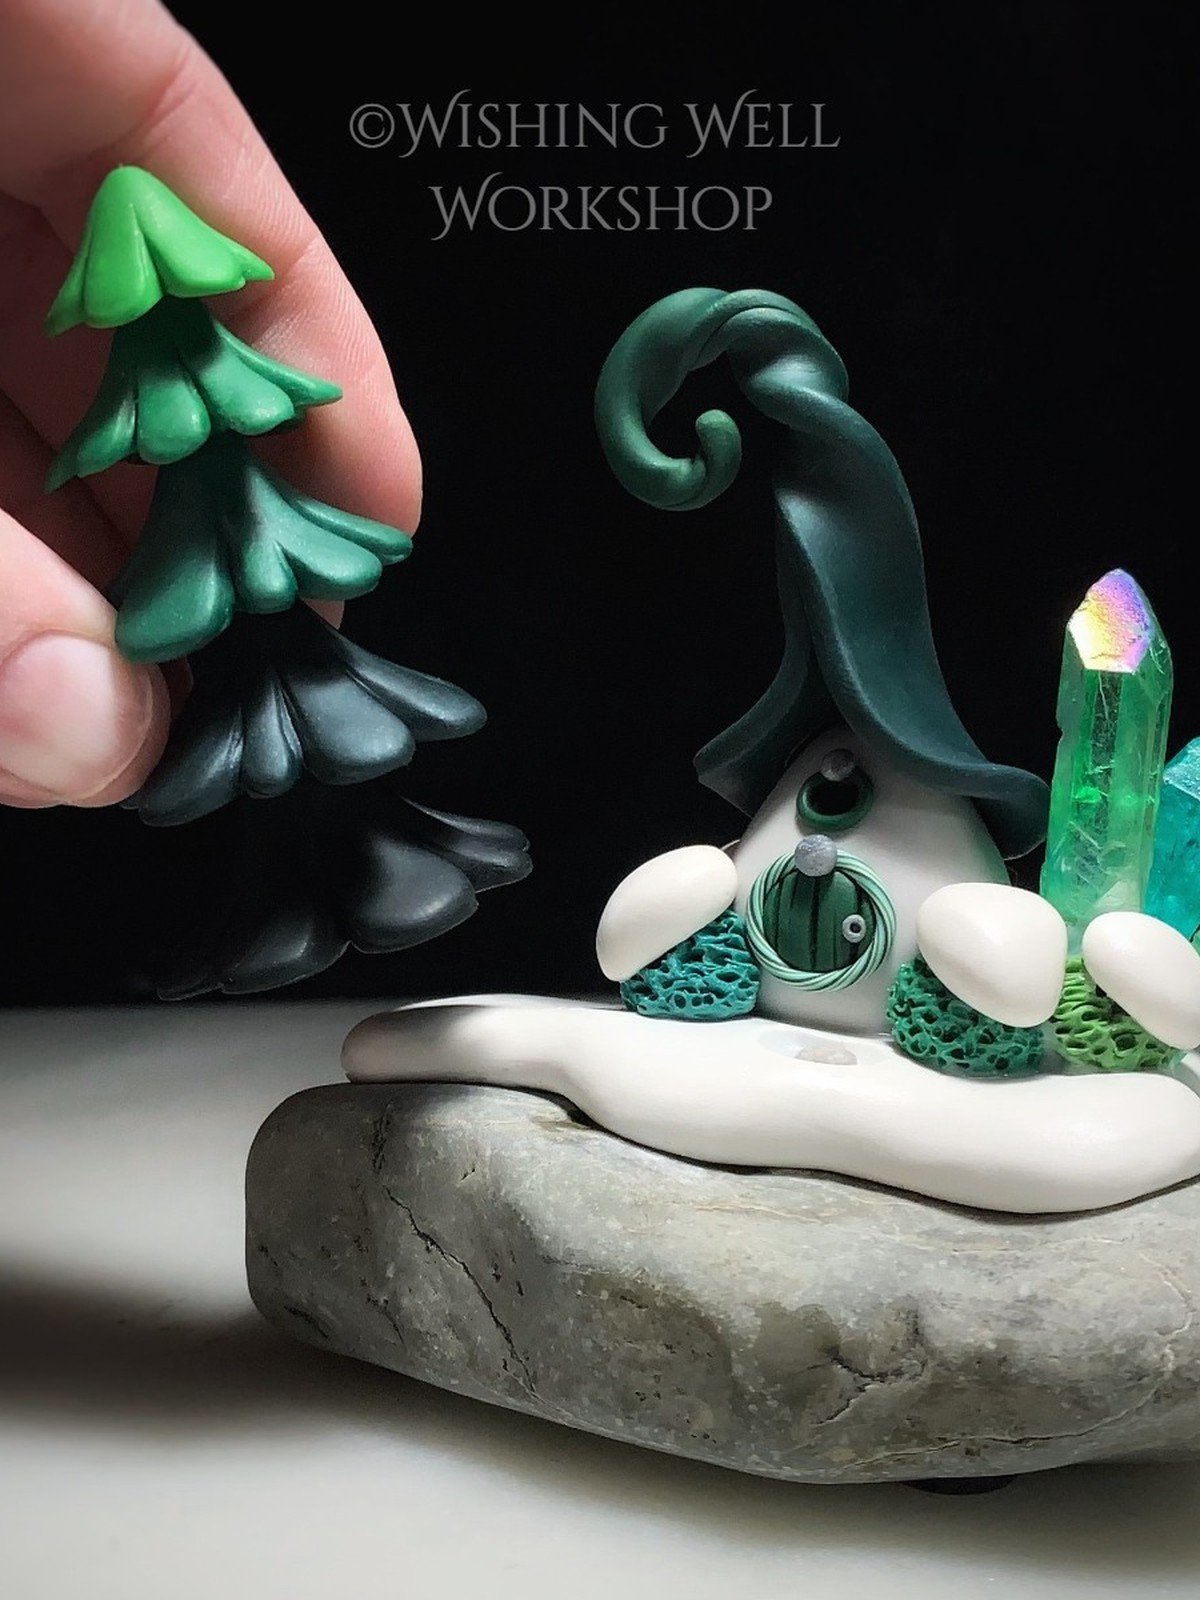
⏱ About 1.5 hours plus bakingA whole tiny worldLovely gift
Materials Needed
- Clay for a tree, a mini snowman and tiny gifts
- A wood slice or a clay base disc
- White clay for snow
- Glue for assembly after baking, optional
- Baking tray and parchment
How to Make It
Step 1: Build a classic layered tree at about 10 cm and set it on a wood slice or a flat clay snow disc.
Step 2: Shape two or three tiny gift boxes with ribbon crosses and a mini snowman with a carrot nose while the tree waits.
Step 3: Bake all the pieces following the packet instructions, since clay colors can bake together on one tray.
Step 4: Cool everything, then arrange and glue the pieces onto the base if needed.
Step 5: Finish with a dusting look by dry brushing white on the snow areas.
Tip: Bake pieces separately and glue the scene together after. You get cleaner colors and you can rearrange until the scene feels right.
4. Swirled Marble Tree Ornament
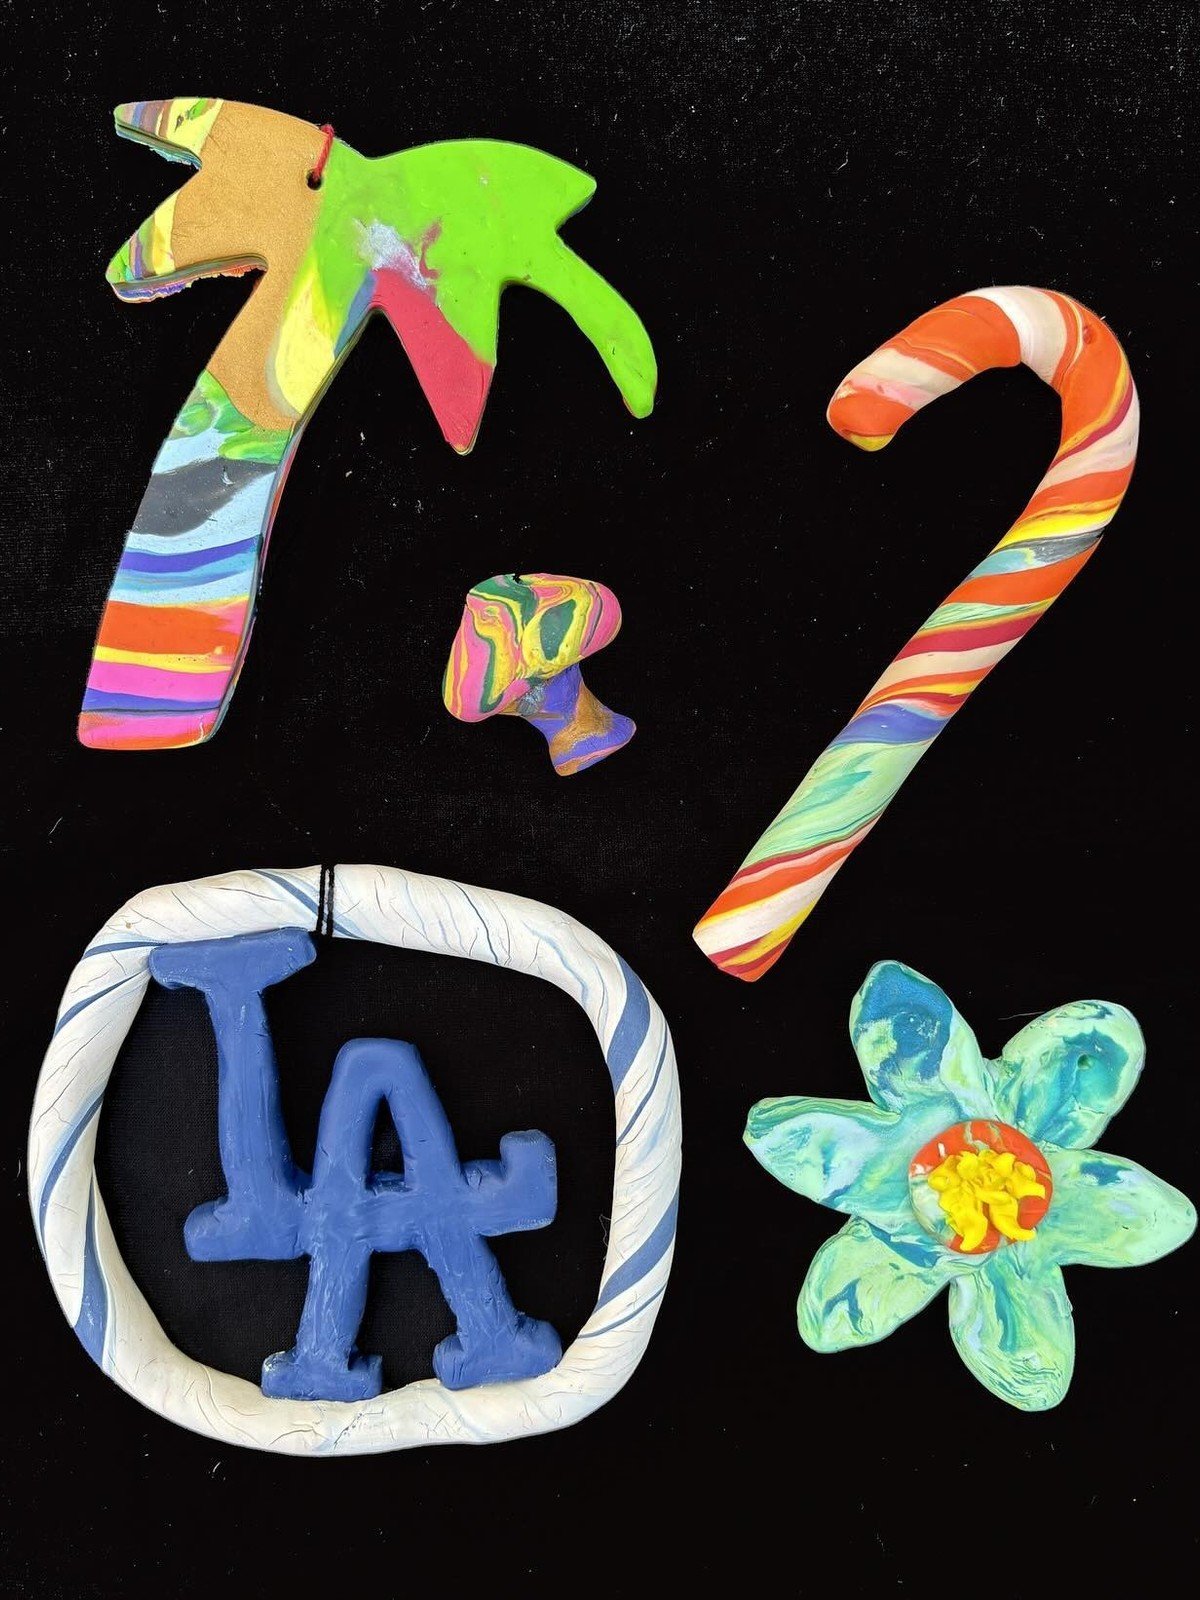
Marbled clay does the decorating for you. Roll two or three colors together, twist once or twice, then flatten and cut a tree shape: every slice comes out with different swirls, like this palm style tree ornament in rainbow marble next to a matching candy cane. Stop twisting early or the colors turn muddy.
You’ll need: polymer clay in two or three bright colors, a tree shaped cutter or craft knife, an eye pin for hanging
Best for: one of a kind ornaments where no two match
5. Snowy White Tree
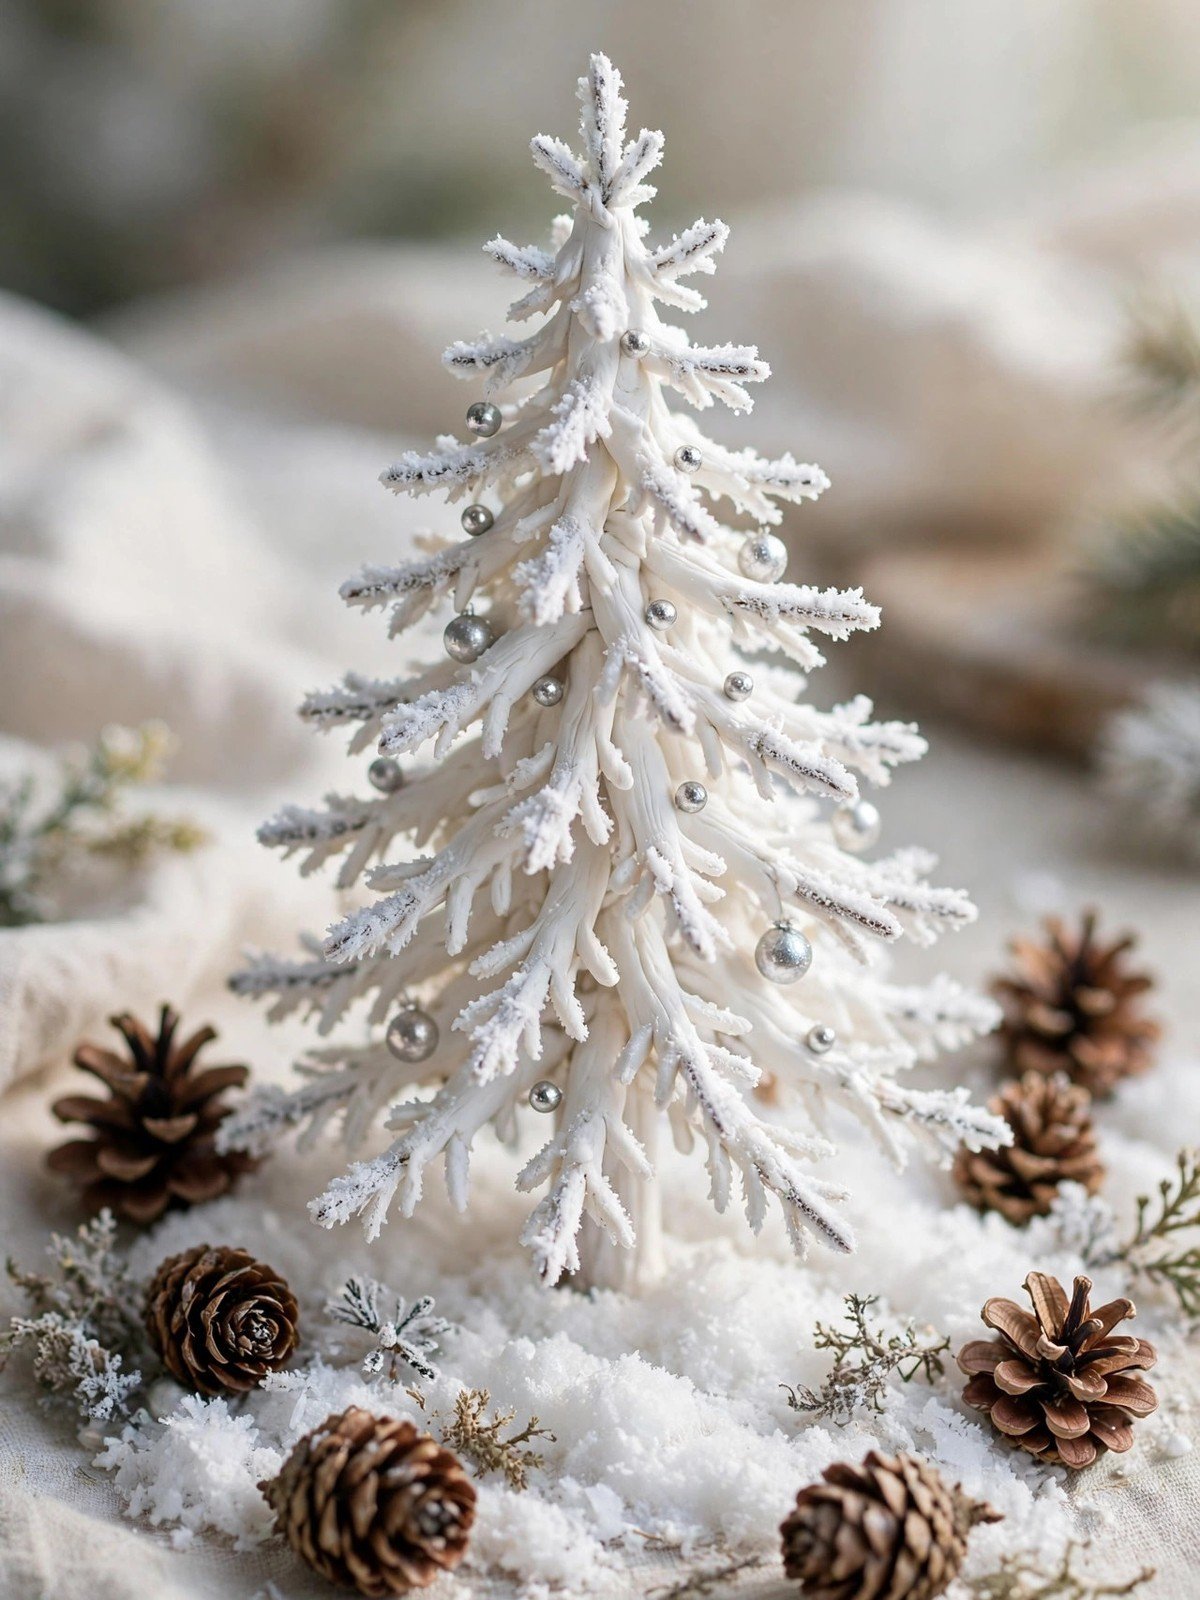
Build the classic tree in white clay with frosted branch tips, then add silver baubles and the smallest pale blue ribbon at the top. A white tree suits calm, Scandinavian style rooms and looks beautiful in a group with the green trees as a little snowy forest.
You’ll need: white clay, silver baubles or glitter clay, a pale blue ribbon
Best for: calm winter shelves and white decor themes
6. Candy Rainbow Tree

Stack the rainbow. This tree builds soft scalloped layers in pink, red, orange, yellow, green, blue and purple, tops them with a glowing star, and hides a tiny Santa scene in an arch at the base. A string of fairy lights or a small LED inside turns it from a tree into a lamp.
You’ll need: polymer clay in rainbow colors, a cone base, a star for the top, a battery LED or fairy lights, tiny figures for the base arch
Best for: a kids room night light or a candy themed mantel
7. Tree Charms and Earrings

Make trees at 2 to 3 cm with an eye pin in the top. Add earring hooks for a festive pair, or a keyring split ring for a bag charm. Charms use scraps of clay, sell well at craft fairs and make sweet little extras tucked into Christmas cards.
You’ll need: small amounts of green clay, eye pins, earring hooks or keyring parts, jump rings
Best for: earrings, keyrings and craft fair makes
8. Tree Candle Holder

Shape a wide tree with a flat hollow at the front base sized for a battery tea light, bake, and set the light in place. The glow through the branches is lovely on a dinner table. Always use battery lights with clay, never a real flame.
You’ll need: a chunky tree build, a battery tea light, a flat base
Best for: evening glow on a table or mantel
9. Clay Forest Set

One tree is a project; twenty trees are a forest. This maker is growing a whole clay forest for a holiday sale: simple cones with crosshatch, circle and scale textures, each topped with a wire star. Make them in batches, vary the height and texture, and group them along a mantel or down a table runner.
You’ll need: polymer clay or air dry clay in greens and gray, texture tools or a fork and knife, wire and small stars for toppers
Best for: mantel forests, table runners and craft fair stock
10. Big Statement Mantel Tree
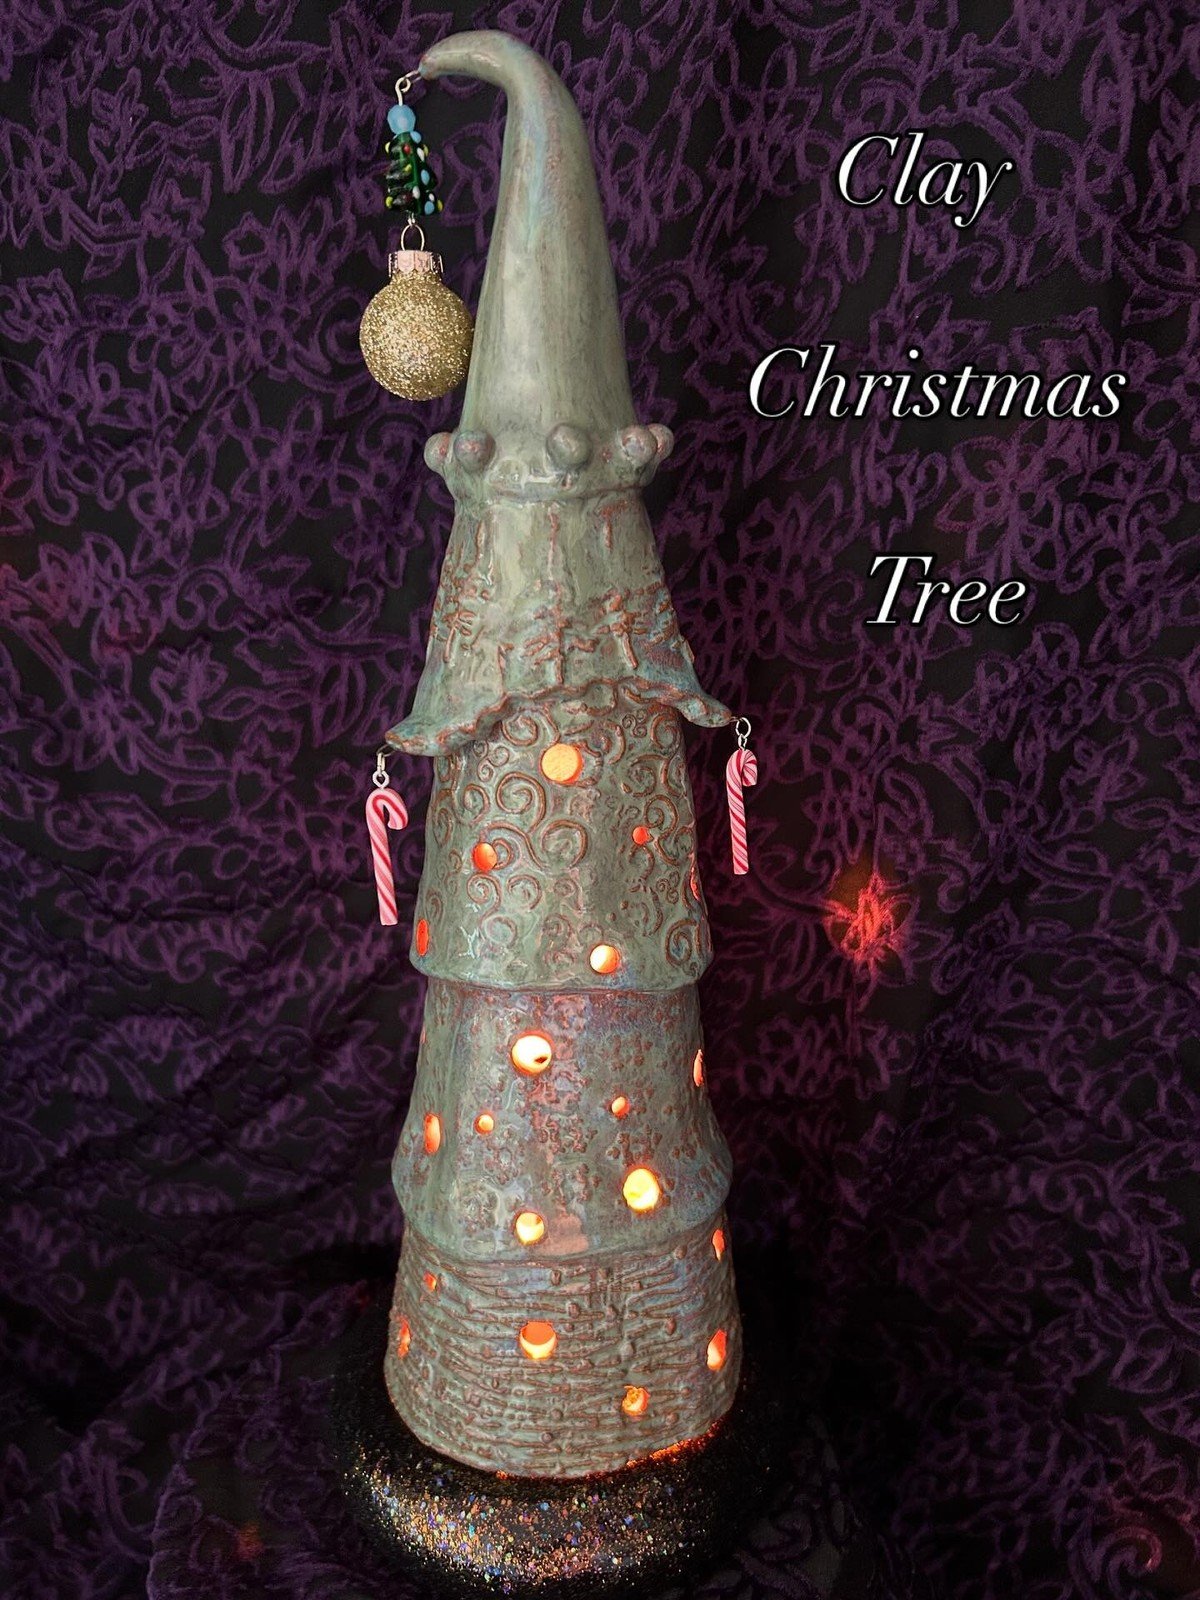
Scale the classic tree up to about 25 cm over a foil core, add gold garland swirls and a generous star, and give it the middle of the mantel. A big clay tree is a weekend project, but it becomes the piece everyone asks about, year after year.
Safety note: Bake polymer clay exactly as the packet directs, in a ventilated kitchen, and let an adult handle the oven. Use only battery tea lights with clay candle holders, never real flames, and keep small clay charms away from young children.
You’ll need: a large foil cone core, plenty of green clay, gold garland swirls, a big star
Best for: a mantel centerpiece with real presence
Frequently Asked Questions
What clay colors do I need for a clay Christmas tree?
Green for the tree, plus small amounts of red, gold, white and brown for baubles, the star and the trunk. A sampler pack covers every tree in this list with plenty left over.
How long do I bake a polymer clay tree?
Bake at the packet temperature, usually 275 degrees F or 130 degrees C, for the time given per 6 mm of thickness. Small trees bake in about 15 to 20 minutes, and a big mantel tree with a foil core needs the full time for its thickest part.
Do clay trees need a foil core?
A foil cone inside the tree keeps it light, saves clay and helps thick trees bake evenly. Mini ornaments are small enough to be solid clay.
How do I attach the baubles?
Press tiny balls of colored clay onto the branches before baking, or glue on small beads after baking. Pressed in clay baubles are stronger for ornaments that get handled a lot.
Can I paint details on after baking?
Yes. Paint a snowy finish, tiny lights or a face after baking with acrylics. Many makers bake the green tree plain and do all the decorating with paint and gloss varnish.
How do I store clay trees between Christmases?
Store them upright in a box with tissue between the layers. Thin branch tips are the most fragile part, so never stack heavy items on top of clay trees.
Final Thoughts on Fun DIY Polymer Clay Christmas Tree Idea
A polymer clay Christmas tree is pure fun from the first green cone to the last bauble. It asks for no watering, drops no needles and comes back out of the box every year looking exactly as cheerful.
Start with the classic fun diy polymer clay christmas tree idea build, then let the variations run, candy colors, snowy whites and a whole little forest. The hardest part of this craft is deciding which tree to make next.