
This post may contain affiliate links. Please read my disclosure policy.
In This Article Show
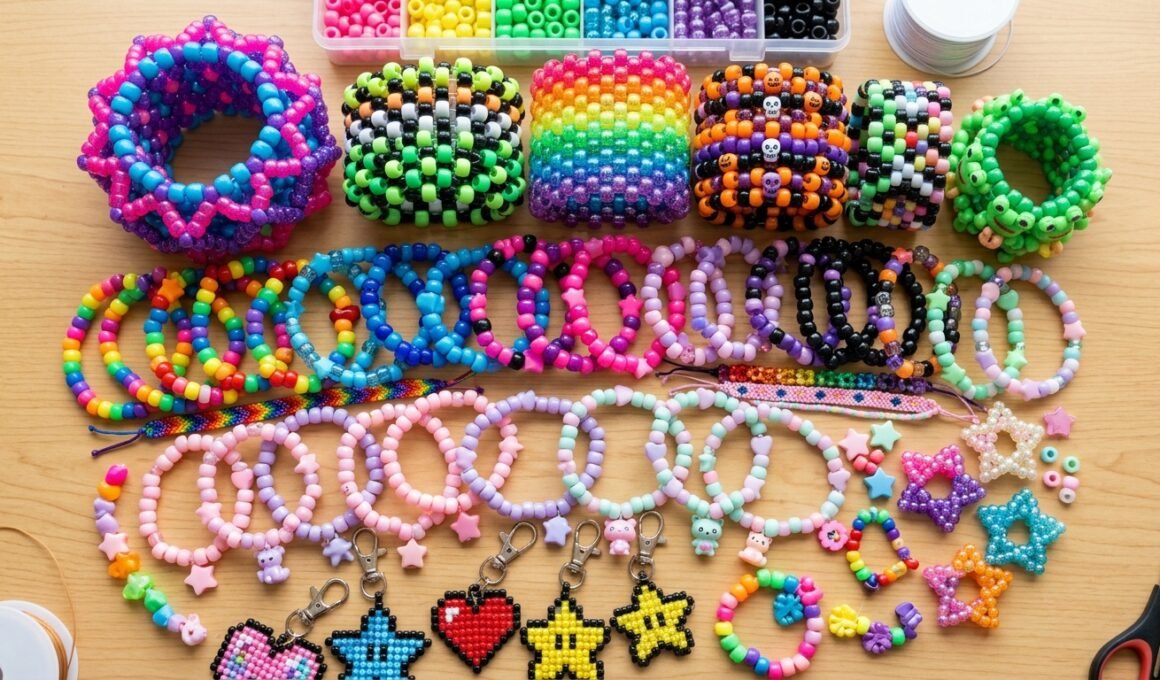
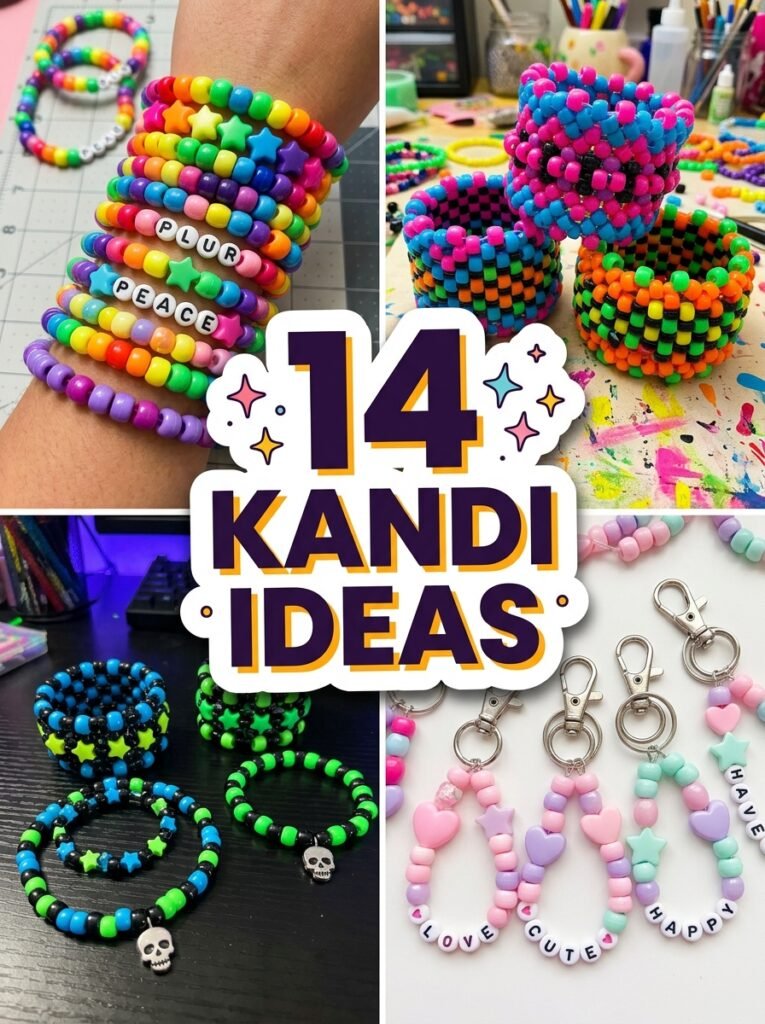
Kandi bracelets are more than colorful bead accessories. They are a creative way to express your personality, share friendship, and show off your favorite colors, patterns, and styles. Whether you love rave fashion, emo aesthetics, cute-core designs, or bold statement accessories, these kandi ideas will help you create something that feels uniquely yours. The best part is that you do not need advanced crafting skills to get started. With colorful pony beads, elastic cord, alphabet beads, and a little imagination, you can make simple singles, matching friendship bracelets, elaborate cuffs, and even three-dimensional accessories. You can also experiment with Halloween themes, Pride colors, animal designs, and character-inspired creations. In this guide, you will discover 14 creative designs, beginner-friendly instructions, pattern suggestions, and useful tips for making your kandi bracelets more comfortable, colorful, and durable.
1. Easy Kandi Singles for Beginners
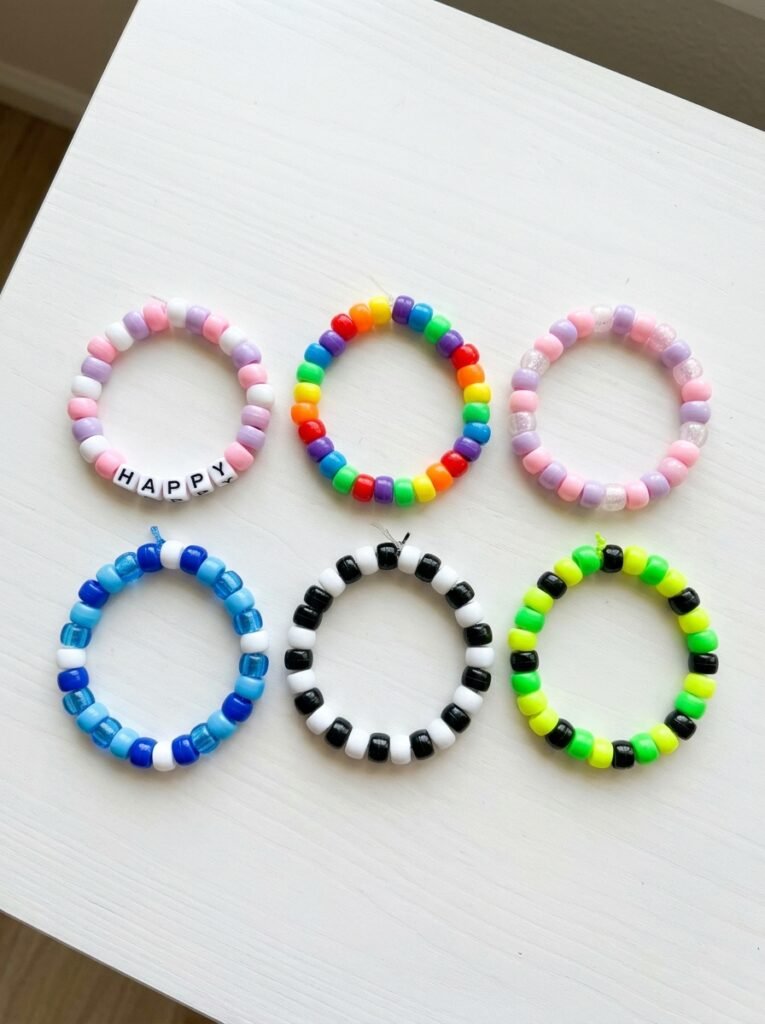
Kandi singles are classic, one-strand bead bracelets and one of the easiest projects for beginners. Choose a few pony bead colors, cut a suitable length of elastic cord, and thread the beads in your preferred order. You can create a random rainbow pattern, alternate two favorite colors, or use a repeating sequence such as pink, purple, blue, and white. Finish by tying a secure knot and checking that the bracelet fits comfortably without squeezing your wrist. These simple bracelets are ideal for building your bead-crafting skills before moving on to cuffs. You can make several singles to stack together, wear them individually, or exchange them with friends at concerts and festivals. Alphabet beads can also add your name, a favorite word, or a short personal message.
2. Cute Pastel Kandi Bracelets
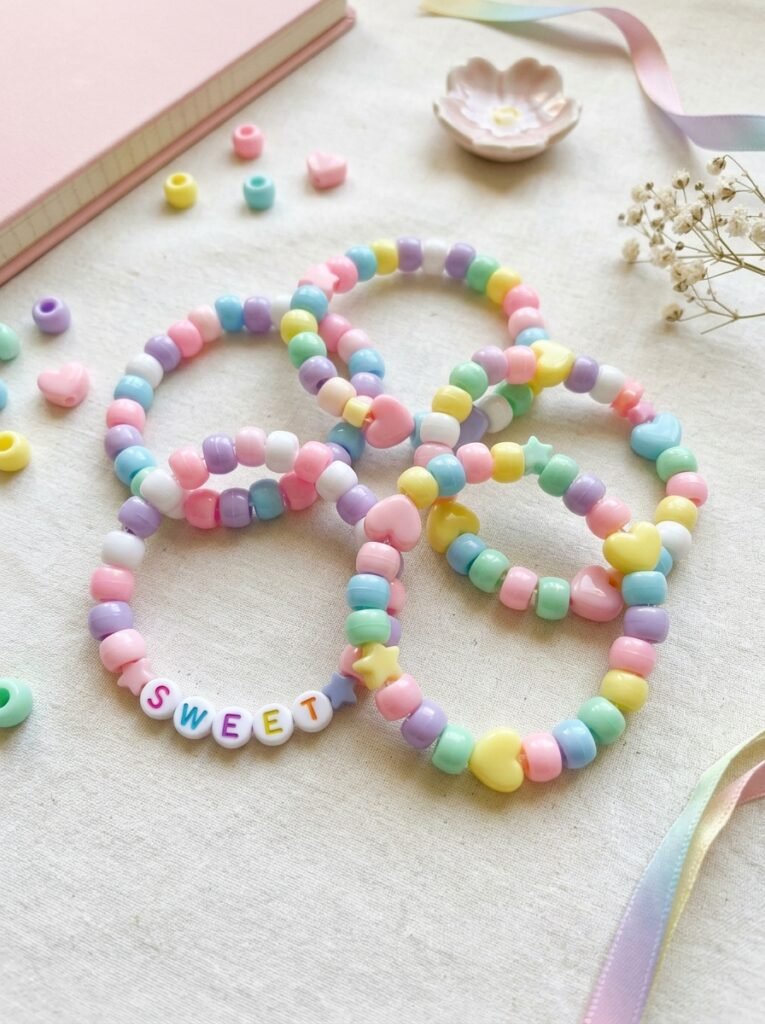
Pastel kandi bracelets are perfect for anyone who loves soft, playful accessories. Combine pastel pink, baby blue, lavender, mint green, butter yellow, and white beads to create a gentle color palette. You can use alternating colors, small rainbow sequences, or repeating groups of three beads. Add a few heart-shaped beads or alphabet beads to personalize the design without making it too crowded. These bracelets pair beautifully with cute-core outfits, pastel accessories, and everyday casual clothing. For a coordinated collection, make three or four singles using the same colors but different patterns. One bracelet could feature a pastel rainbow, another could alternate pink and white, and a third could include a short word. The shared palette makes the collection look intentional while allowing each bracelet to have its own character.
3. Emo and Scene Kandi Bracelets
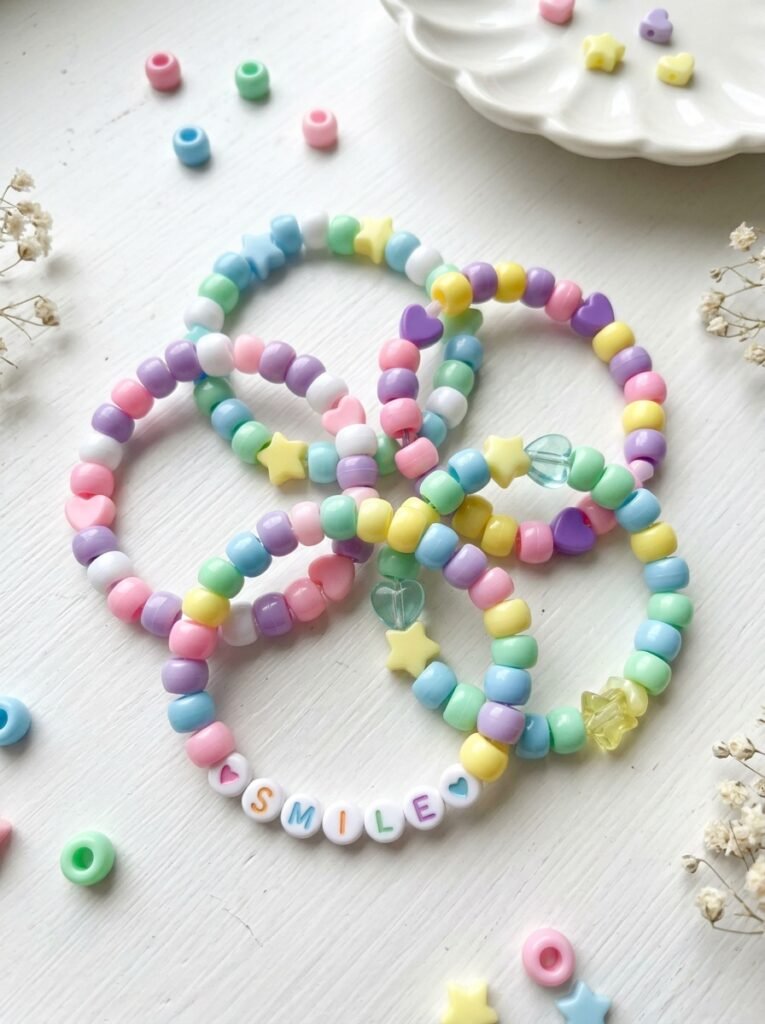
Emo and scene-inspired kandi bracelets use stronger contrasts, expressive colors, and playful combinations to create a more alternative look. Try black and hot pink, black and purple, electric blue and neon green, or red and black. You can alternate dark and bright beads, create checkerboard sections, or add alphabet beads with short expressions that reflect your personality. For an emo-inspired design, keep the palette darker and use bright colors as accents. Scene-inspired bracelets can be more colorful, with neon combinations and multiple contrasting sections. Layering several singles together gives the overall look more texture and visual impact. You can also combine kandi with other non-restrictive accessories, such as fabric wristbands or soft hair accessories, to build a coordinated alternative style.
4. Easy Pattern Kandi Bracelets
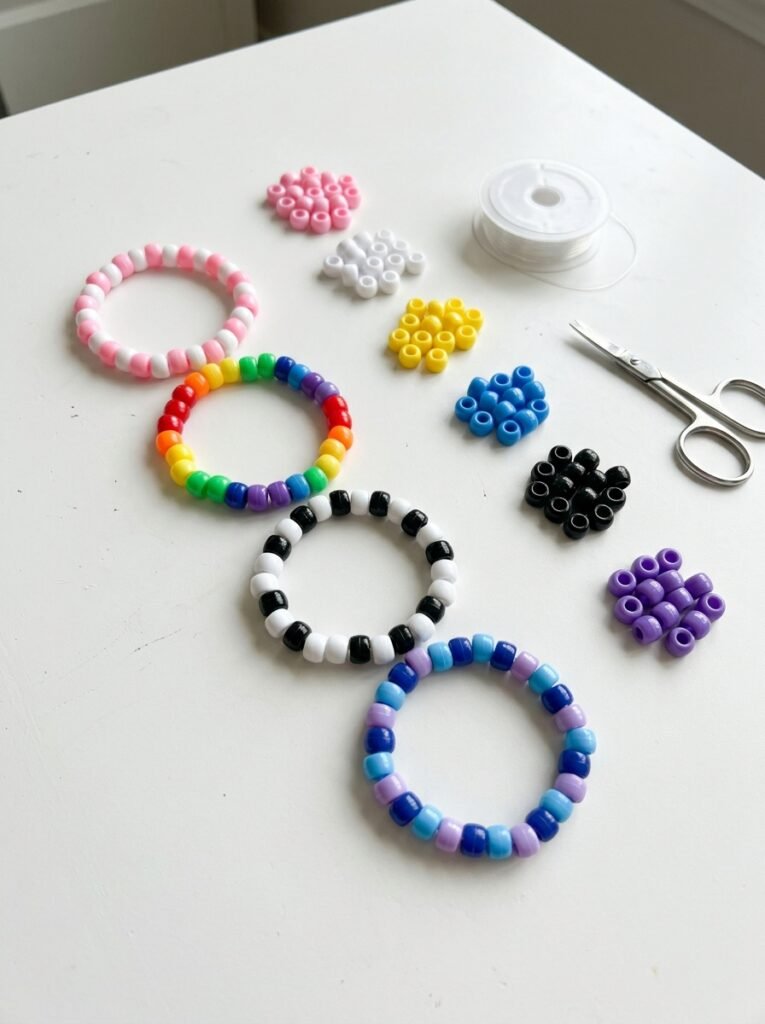
Pattern-based kandi bracelets are a great choice when you want your designs to look organized and polished. Instead of choosing beads randomly, decide on a sequence before you begin. For example, use four pink beads, two white beads, four pink beads, and two white beads to create a repeating pattern. You could also try rainbow gradients, checkerboard sequences, alternating geometric blocks, or symmetrical color arrangements. The easiest way to avoid mistakes is to lay out your beads on a flat surface before threading them onto the cord. This lets you check the spacing and color balance. Beginners should start with two or three colors and a short repeating sequence. Once you feel comfortable, experiment with more complicated patterns and alphabet beads. Keeping a small sketch or color chart can help you recreate a favorite bracelet later.
5. Rainbow and Pride Kandi Bracelets
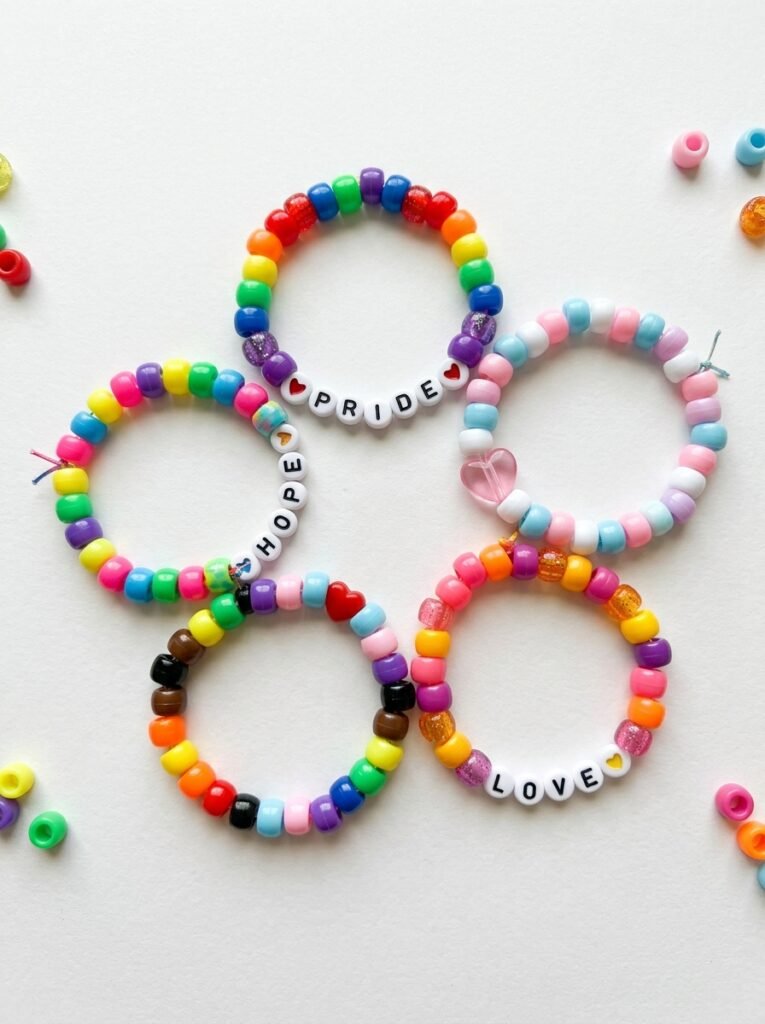
Rainbow and Pride kandi bracelets let you celebrate identity, friendship, inclusion, and self-expression through color. You can create a classic rainbow sequence using red, orange, yellow, green, blue, and purple beads, or choose a different color combination that has personal meaning to you. For a simpler design, use just two or three colors and repeat them evenly around the bracelet. Alphabet beads can add a short supportive message, while heart beads can make the design feel more personal. If you are making bracelets for friends, consider creating several variations using the same palette so each person receives a slightly different design. There is no single correct way to make a Pride-inspired bracelet: the colors, words, and decorative details can reflect the message you want your accessory to express.
6. Matching Kandi Friendship Bracelets
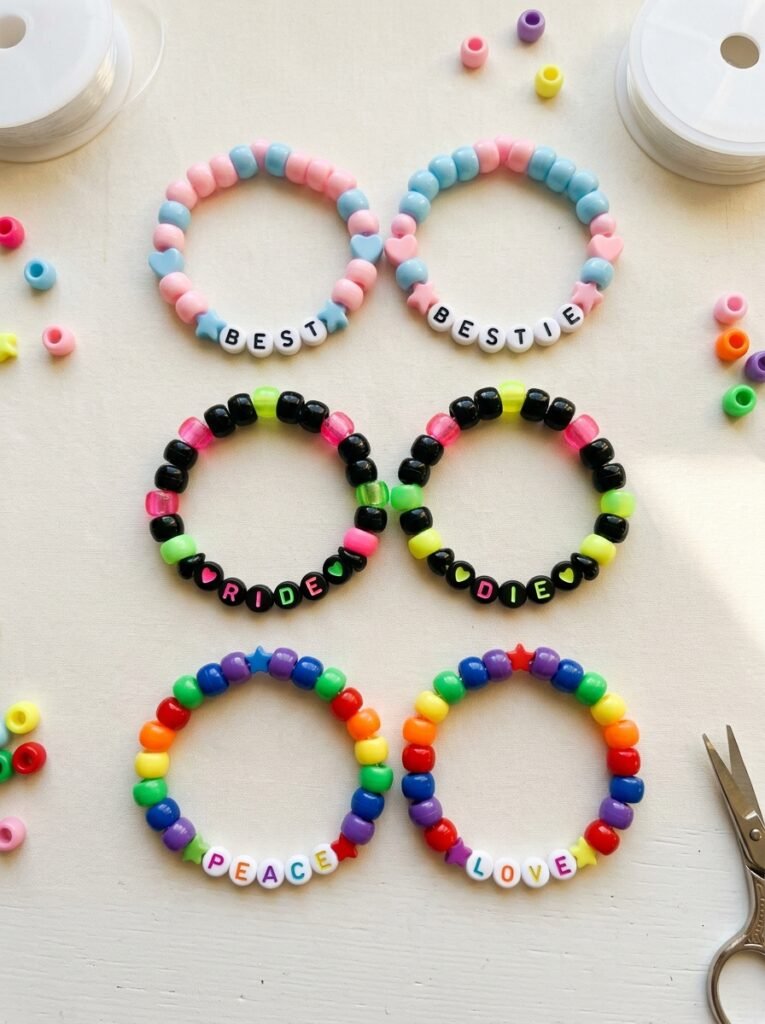
Matching kandi bracelets are thoughtful accessories for best friends, siblings, couples, or a group attending a festival together. The simplest approach is to create two bracelets using the same colors in different orders. For example, one bracelet might begin with pink and end with blue, while the matching bracelet reverses the sequence. You can also divide a rainbow palette between two bracelets or use complementary colors that look attractive together. For a personalized touch, add matching heart beads, initials, or short words that connect the designs. You do not need to make the bracelets completely identical; small differences can make the pair more meaningful. If you are crafting for a group, choose one shared color palette and let each person select their own accent color. This creates a coordinated set while allowing everyone to express their individual style.
7. Easy Kandi Cuffs for Beginners
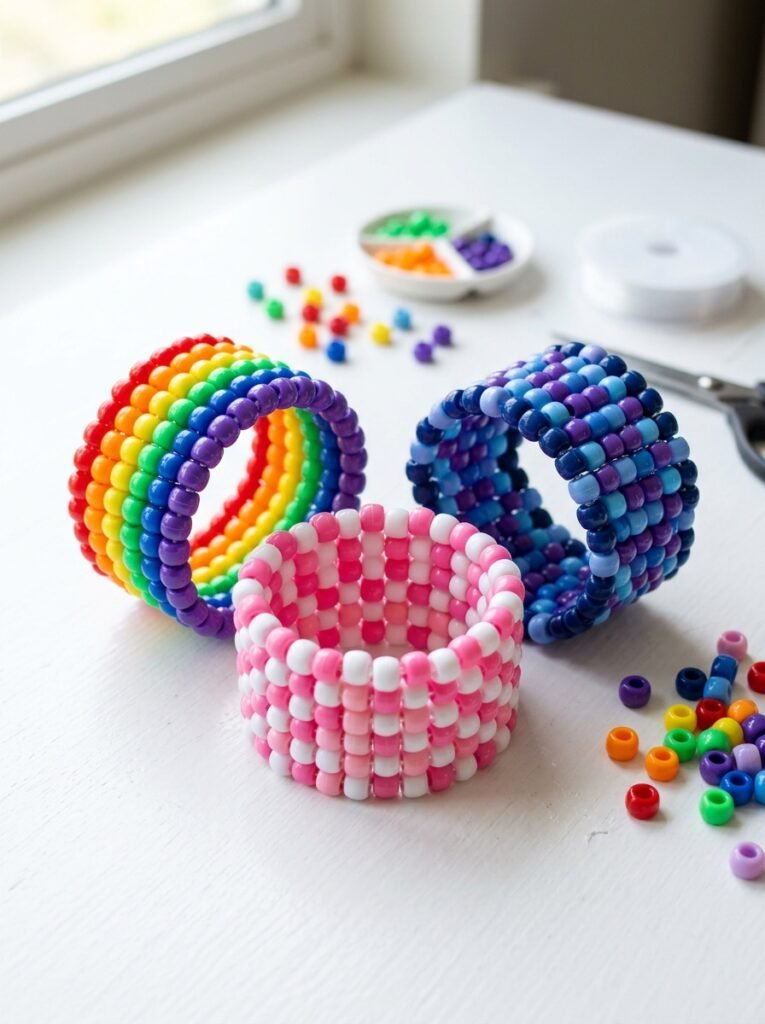
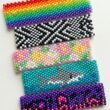
Kandi cuffs are wider bracelets made from multiple rows of beads. They create a bolder look than singles and offer more space for interesting patterns. A beginner-friendly cuff can use a simple checkerboard design, alternating color rows, or repeated blocks of two or three colors. Start with a bead pattern that is easy to track and use a suitable bead-weaving method or cuff pattern designed for beginners. Because cuffs require more beads and more construction than singles, it helps to plan the design before starting. Lay out your colors and follow the pattern carefully, checking that the rows remain even. Make sure the cuff fits comfortably around your wrist and does not feel too tight. Once you understand the basic structure, you can add extra colors or small decorative sections to make the design more distinctive.
8. Unique Pattern Cuffs with Geometric Designs
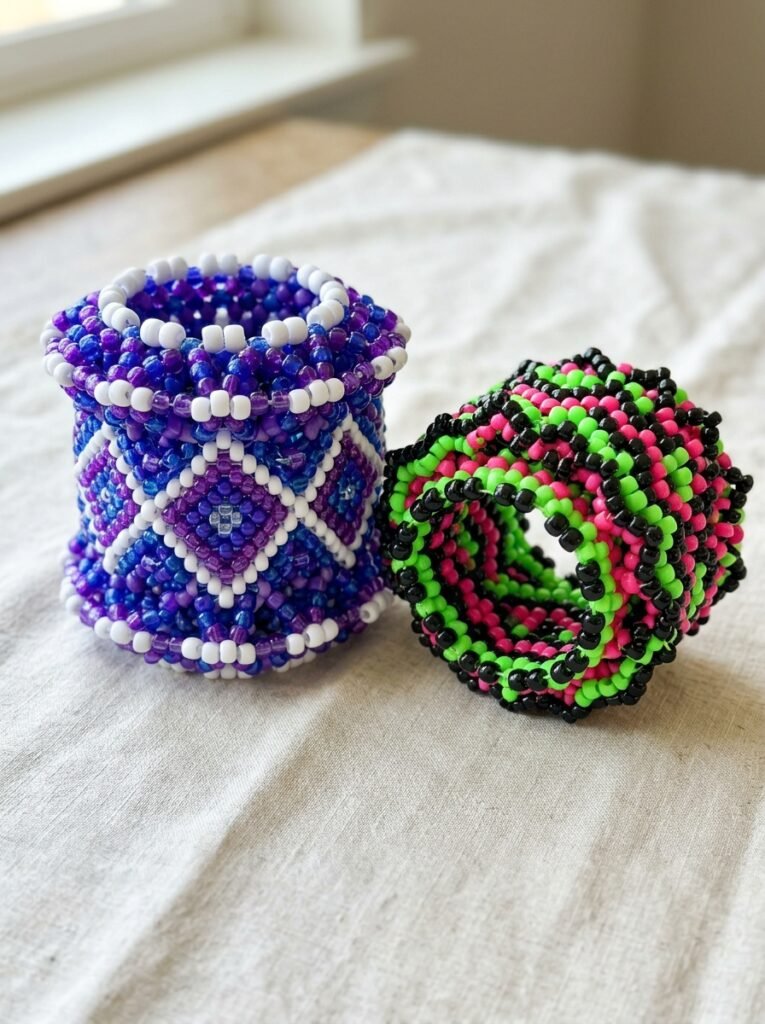
Pattern cuffs allow you to create more detailed beadwork using repeated shapes, contrasting sections, and symmetrical color layouts. You could design a cuff with diamond shapes, zigzags, checkerboard blocks, or a repeating rainbow motif. Start by choosing a main color, two accent colors, and a background shade. Sketch the pattern on grid paper or follow a bead-weaving diagram before beginning the construction. The most attractive pattern cuffs usually have a clear visual rhythm. Repeating the same motif around the cuff helps the design look intentional, while one contrasting section can create a focal point. If you are a beginner, work with a small number of colors first and expand the design once you understand the structure. Check the fit and flexibility as you work, and avoid pulling the thread so tightly that the cuff becomes uncomfortable.
9. Rave Kandi with Neon Colors
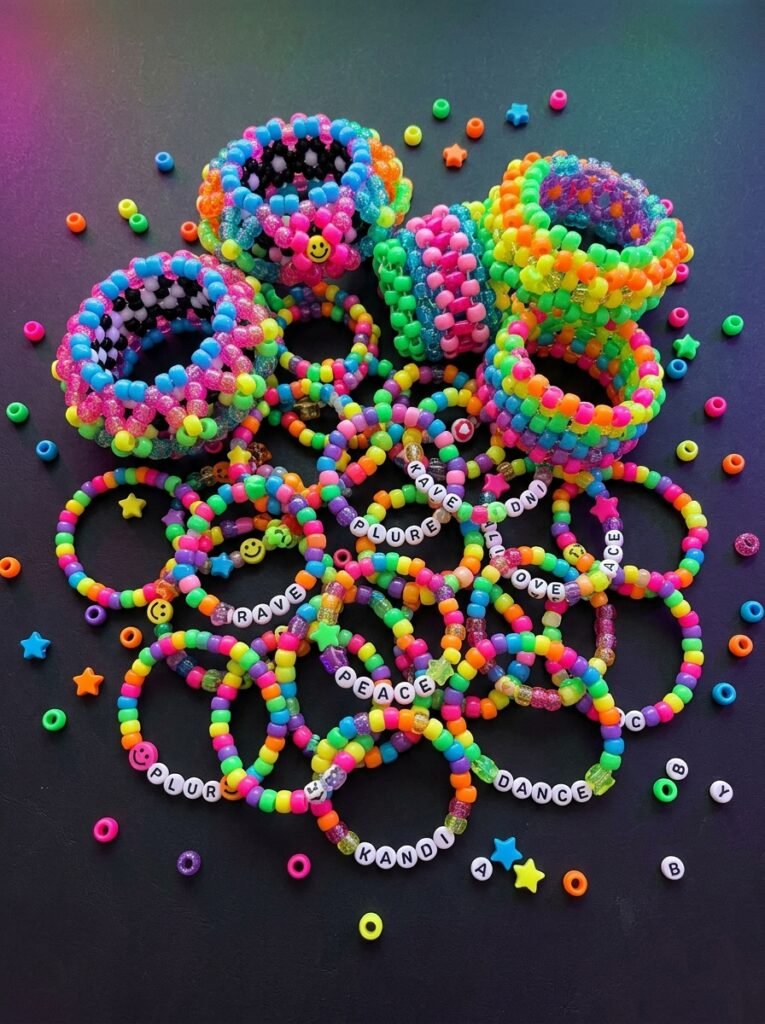
Rave kandi is all about energetic colors, expressive designs, and accessories that stand out in a crowd. Combine neon pink, electric blue, lime green, orange, and bright yellow to create high-contrast singles and cuffs. Alternating two neon shades creates a simple but striking design, while rainbow sequences offer a more playful appearance. You can also add alphabet beads with a short personal phrase or decorative symbols. For a coordinated rave accessory set, make several bracelets in different patterns but use the same three or four main colors. Pair a neon single with a wider cuff to create variety without making the collection feel random. Glossy beads can reflect available light and make the colors look vibrant in photos. If you plan to wear your creations for a long event, prioritize comfortable sizing and secure knots so the accessories remain enjoyable to wear.ark.
10. Cute-Core and 3D Kandi Designs
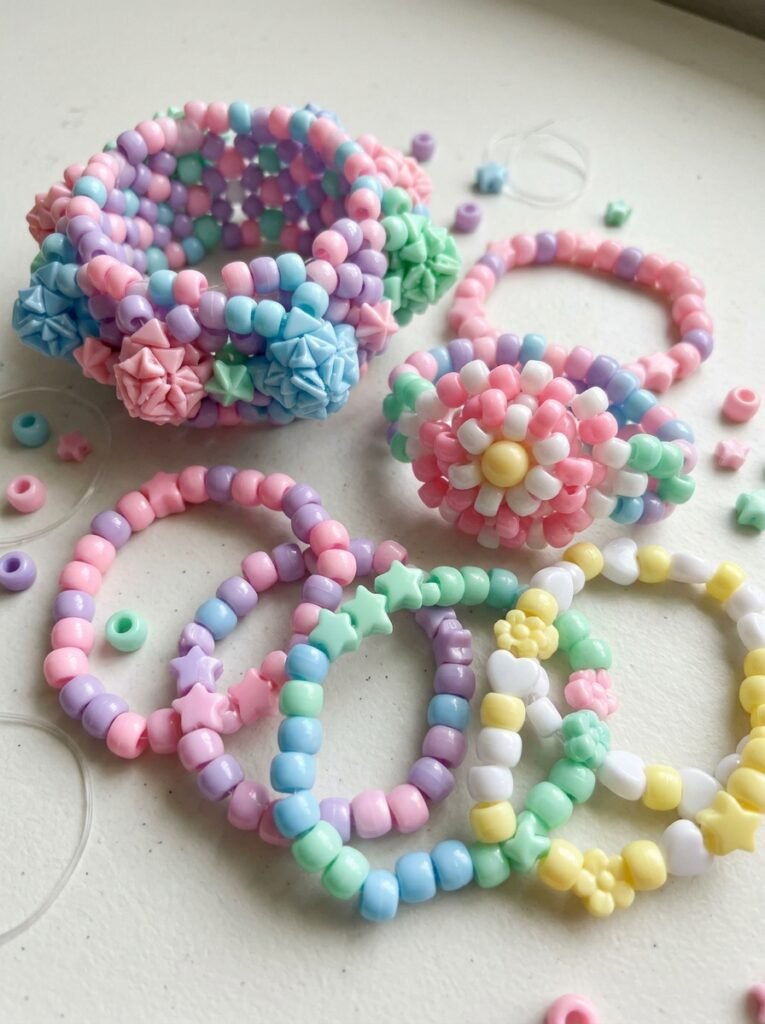
Cute-core kandi combines playful colors and charming details, while 3D kandi adds raised shapes and more dimensional decoration. Start with a pastel bracelet or cuff, then incorporate suitable heart-shaped beads, star beads, flower accents, or small decorative bead clusters. For a 3D effect, use a pattern specifically designed to build a raised flower, bow-like motif, or another dimensional shape. Plan the construction carefully so the added details remain secure. This style works particularly well with pastel pink, lavender, baby blue, and white, although bright colors can also create a playful result. Keep the raised decorations small enough that the bracelet remains comfortable and does not catch easily on clothing. If you are new to 3D beadwork, practise the motif separately before attaching it to the main bracelet. The goal is to make the design look dimensional without making it too bulky.
11. Halloween Kandi Bracelets and Cuffs
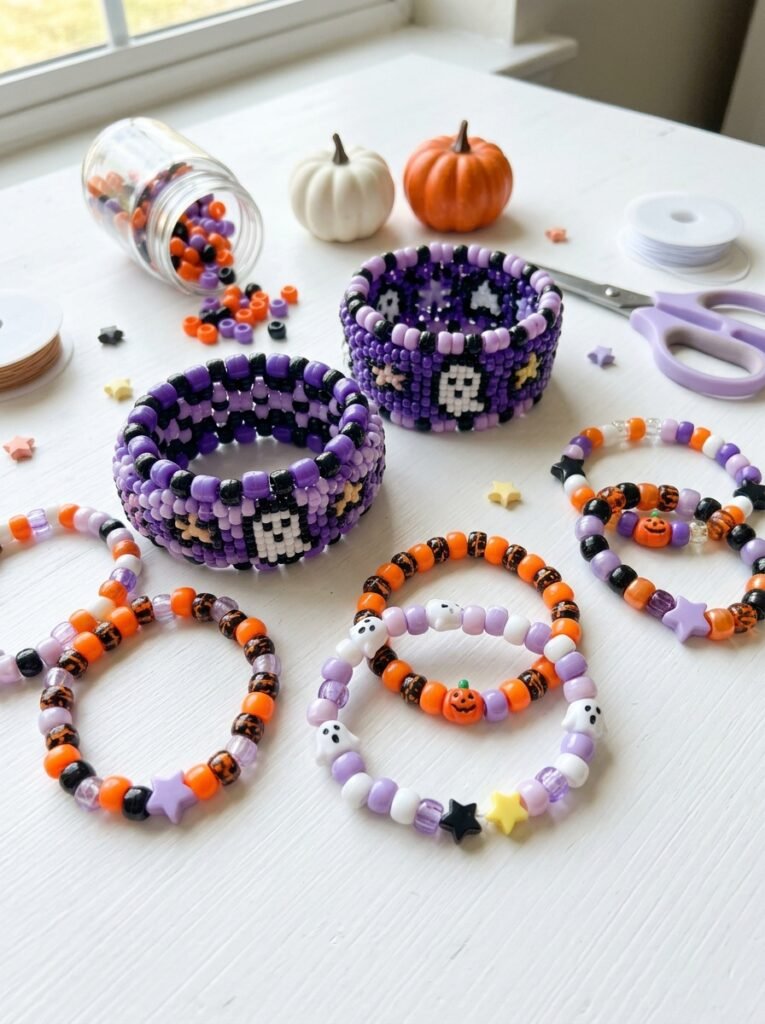
Halloween kandi bracelets are perfect for adding a seasonal twist to your collection. Use orange, black, purple, and white beads to create pumpkin-inspired patterns, ghost-like color combinations, or alternating dark and bright rows. Alphabet beads can spell short Halloween words, while star or skull-shaped accent beads can add more character if they fit your design. For a coordinated Halloween set, make a simple orange-and-black single, a purple cuff, and a white bracelet with black accents. These designs are easy to wear together or share with friends during seasonal events. You can also create a playful pastel Halloween version using lavender, pink, and white. Keep the colors consistent across the set so each bracelet looks different while still belonging to the same collection.
12. Animal-Inspired Kandi Bracelets
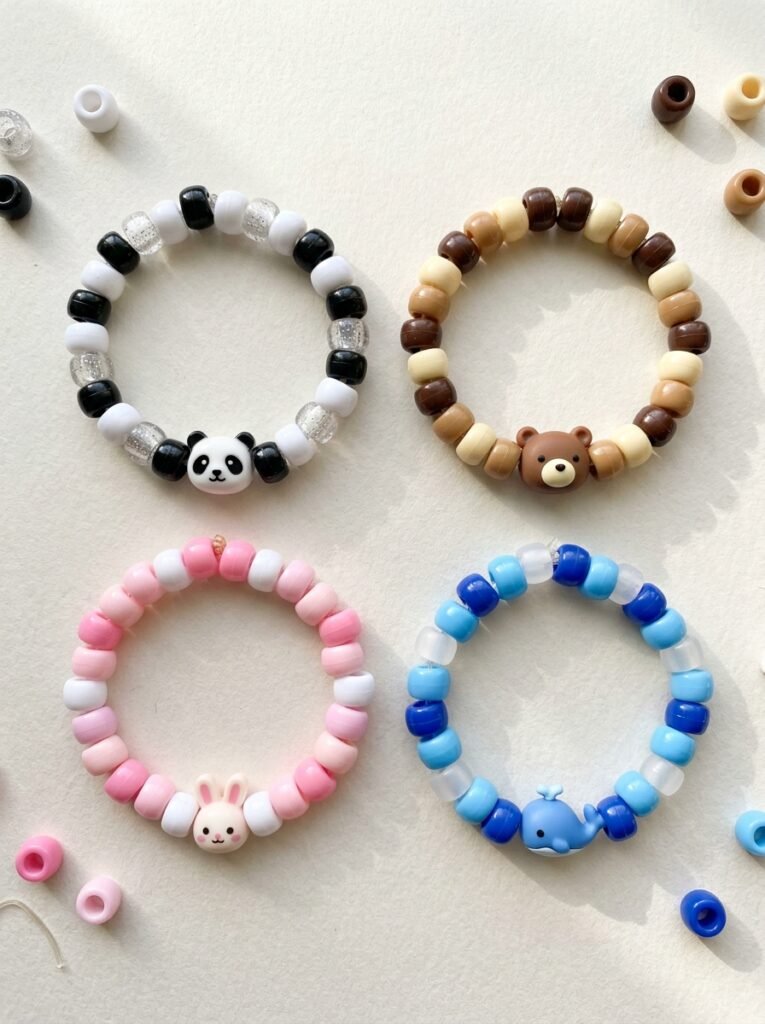
Animal-inspired kandi designs are a lovely option for anyone who enjoys cute patterns. You can represent animals through color combinations and small decorative motifs rather than trying to reproduce a detailed image entirely with beads. For example, use black and white for a panda-inspired bracelet, brown and cream for a bear theme, pink and white for a bunny-inspired design, or blue and white for a whale-inspired palette. You can create a repeating pattern of contrasting beads or add suitable animal-shaped charms to a simple single. If you want a more advanced design, use a bead pattern that forms an animal face or silhouette. Keep the main pattern clear and avoid using too many competing colors. A coordinated collection of three animal-inspired bracelets can look particularly attractive as a handmade gift set.
13. Character-Inspired Kandi and IKEA Alien Keychains
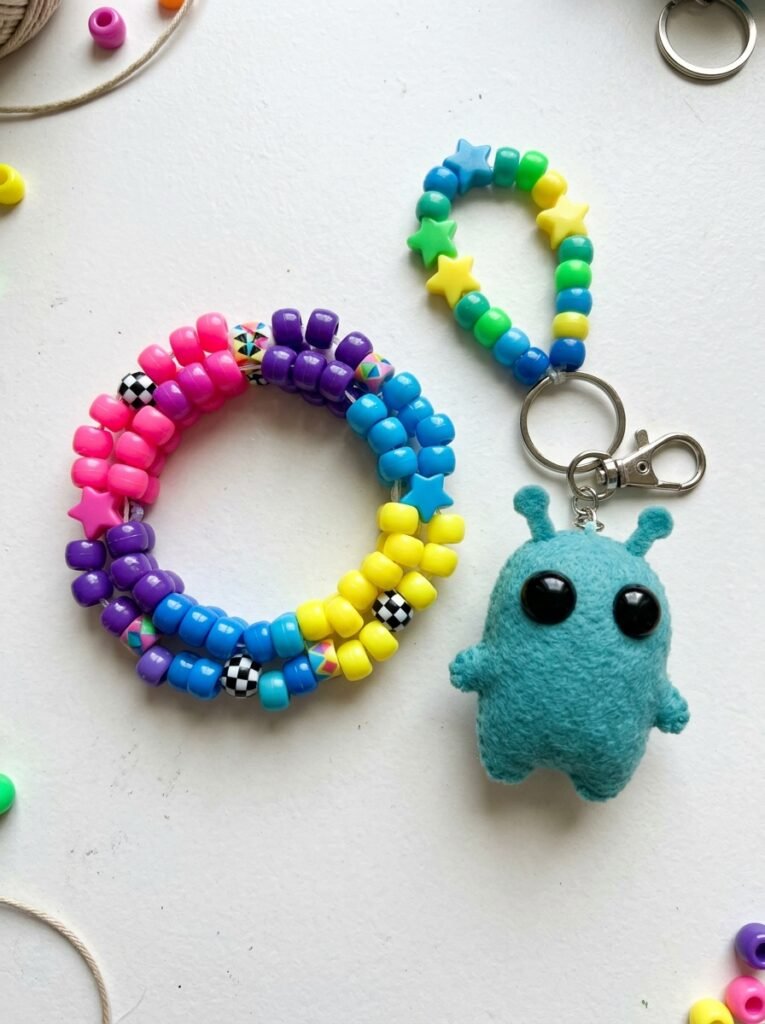
Character-inspired kandi lets you turn your favorite fictional worlds, playful creatures, or unusual color palettes into wearable accessories. Rather than copying an exact character design, choose recognizable colors, simple shapes, and original decorative details that capture the general mood of your inspiration. For example, you can make a colorful circus-inspired bracelet with contrasting neon beads, or a playful digital-fantasy cuff with bright geometric sections. For an IKEA-alien-inspired accessory, create an original little alien charm using blue or green beads, large expressive eyes, and a simple friendly silhouette. You could attach the charm to a kandi single or use it as the centerpiece of a keychain. Keep the design original instead of copying a specific branded character or logo. If you are making a keychain, use a secure attachment and avoid fragile protruding details that may break during everyday use.
14. Personalized Kandi Keychains and Gift Sets
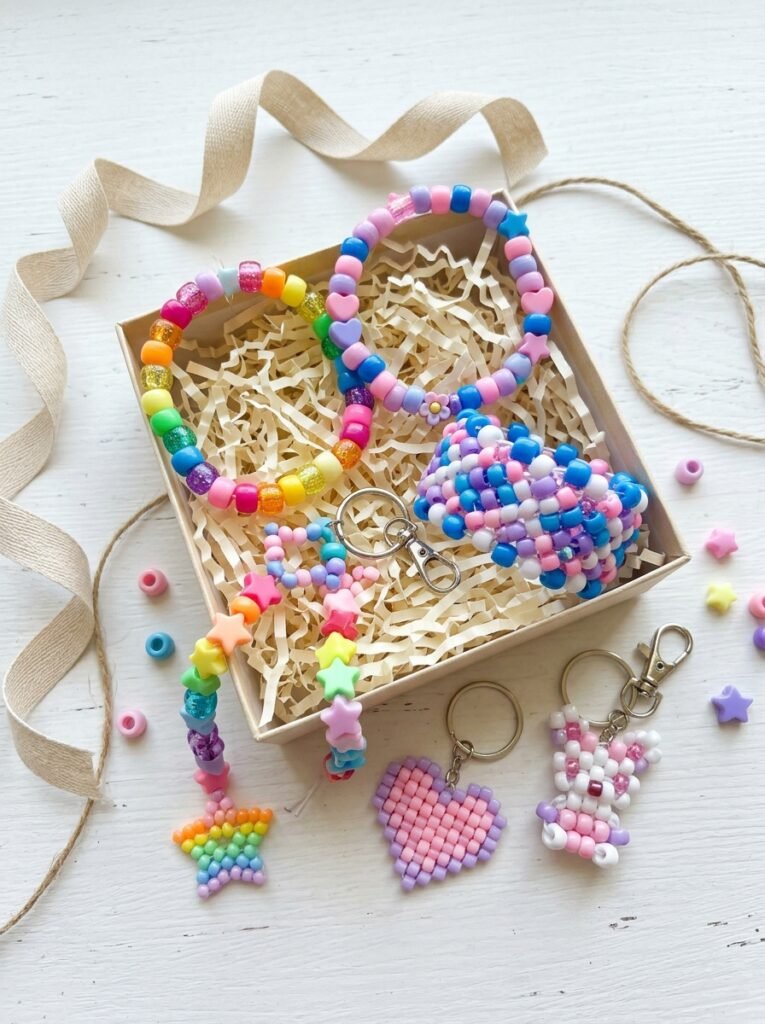
Kandi keychains are a creative way to take your bead designs beyond bracelets. Start with a small single or a compact bead pattern, then attach it to suitable keychain hardware using a secure connection. You can use alphabet beads to add initials, a favorite short word, or a meaningful date. For a more decorative design, combine contrasting bead colors with a small heart, star, or original animal charm. Gift sets are especially appealing when you want to make something for a friend or festival partner. Create a matching bracelet and keychain using the same colors, or make a coordinated set of three singles with different patterns. Place the finished pieces in a small gift pouch or a simple presentation box. Check all connections before gifting, particularly if the keychain will be attached to a bag and handled frequently.
How to Make a Simple Kandi Bracelet: Beginner Tutorial
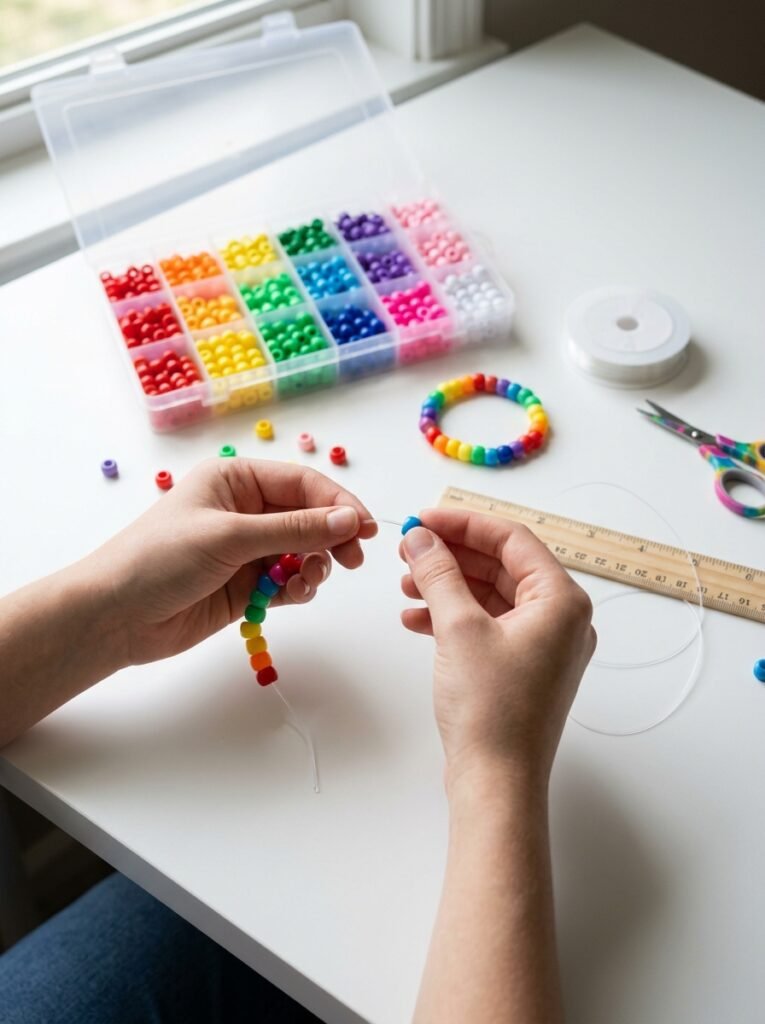
Making a single kandi bracelet is an excellent way to practise before moving on to cuffs, complex patterns, or 3D designs.
Materials You Need
- Colorful pony beads
- Stretchy bracelet cord suitable for your beads
- Scissors
- A ruler or measuring tape
- Alphabet or decorative beads, if desired
Step-by-Step Instructions
Step 1: Choose your pattern. Select two to five colors and arrange the beads in your desired order. A repeating sequence is easier to follow than a completely random design.
Step 2: Measure the cord. Cut a suitable length of elastic cord, leaving extra room for tying the knot. Check that the finished bracelet will fit comfortably around your wrist.
Step 3: Thread the beads. Add the beads one at a time, following your chosen pattern. Keep the sequence consistent and check the bracelet’s length before tying it.
Step 4: Check the fit. Carefully bring the ends together and make sure the bracelet can fit over your hand without being too loose or too tight.
Step 5: Tie a secure knot. Use a suitable knot for your elastic cord and follow the cord manufacturer’s recommendations. Avoid pulling so hard that the elastic becomes damaged.
Step 6: Test the bracelet. Gently check the knot and the bead spacing. Trim excess cord only after you are confident the knot is secure.
For cuffs and 3D designs, follow a pattern specifically designed for the construction method you are using. These projects generally require more planning than a single-strand bracelet.
Tips for Making Better Kandi Designs
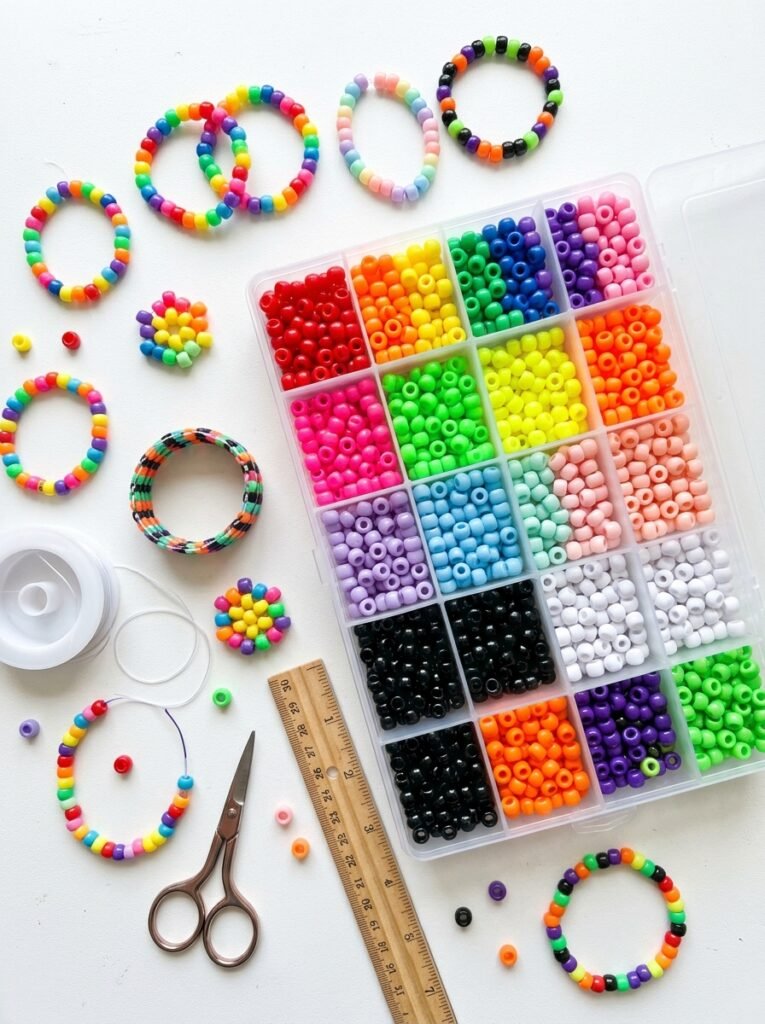
- Plan the colors first: Arrange the beads before threading them so you can spot uneven patterns and improve the overall design.
- Start with singles: Simple bracelets help you learn sizing, threading, and knotting before you attempt cuffs.
- Keep patterns consistent: Repeating colors or shapes creates a more polished result.
- Choose comfortable materials: Use suitable elastic or cord and make sure the finished bracelet does not restrict your wrist.
- Secure knots and attachments: Check every connection before wearing or gifting your creations.
- Experiment with themes: Emo, scene, rave, Pride, Halloween, animal, and cute-core styles can all inspire original color combinations.
- Practise 3D designs separately: Build a small decorative motif first before incorporating it into a larger cuff.
- Store beads safely: Keep loose beads and small accessories away from young children and pets.
Printable Kandi Craft Checklist
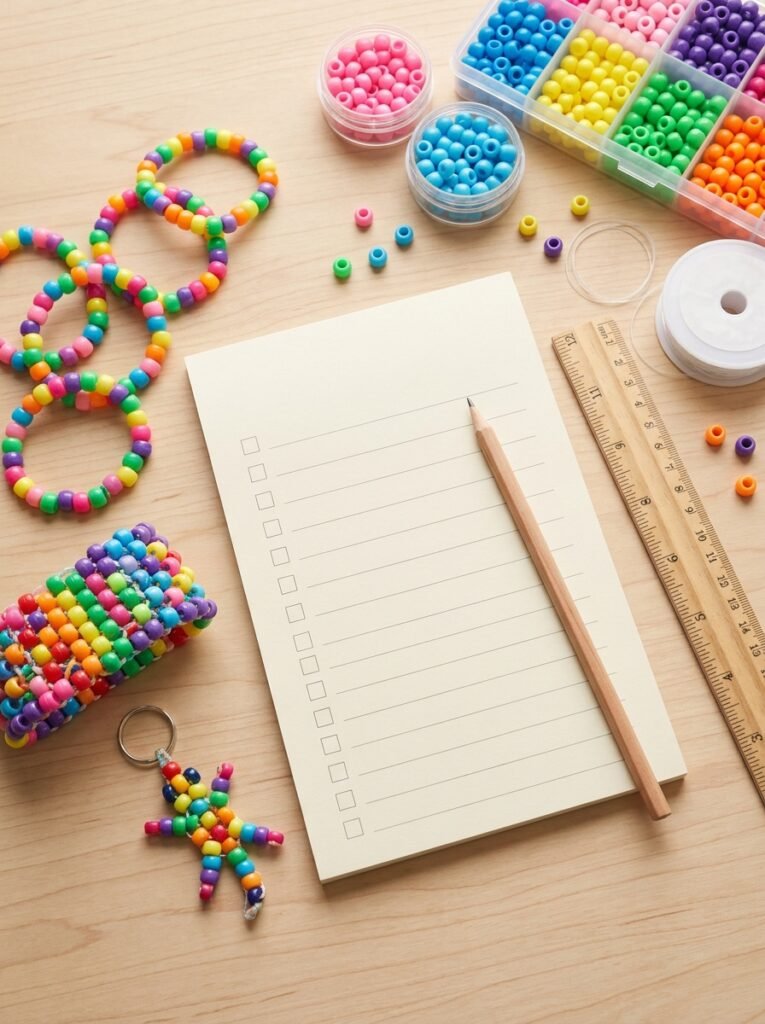
Use this checklist before starting your next project.
- Choose a bracelet, cuff, or keychain design.
- Select a color palette and pattern.
- Gather the correct beads and cord.
- Arrange the beads before threading.
- Measure the bracelet for a comfortable fit.
- Follow the pattern and check the bead sequence.
- Secure the knot or hardware connection.
- Test the finished accessory gently.
- Store leftover beads safely.
- Prepare a matching set or gift pouch if desired.
Final Thoughts
The best kandi ideas are the ones that reflect your personality and give you room to experiment. You can start with simple singles, explore repeating patterns, build wider cuffs, or create colorful accessories inspired by rave fashion, emo aesthetics, cute-core, animals, and seasonal themes. Do not worry about making every bracelet perfect on your first attempt. Try a few color combinations, learn how your materials behave, and gradually challenge yourself with more detailed designs. With a little practice, you can build a unique collection of kandi bracelets, cuffs, and keychains that are fun to wear, share, and gift.