

This post may contain affiliate links. Please read my disclosure policy.
In This Article Show
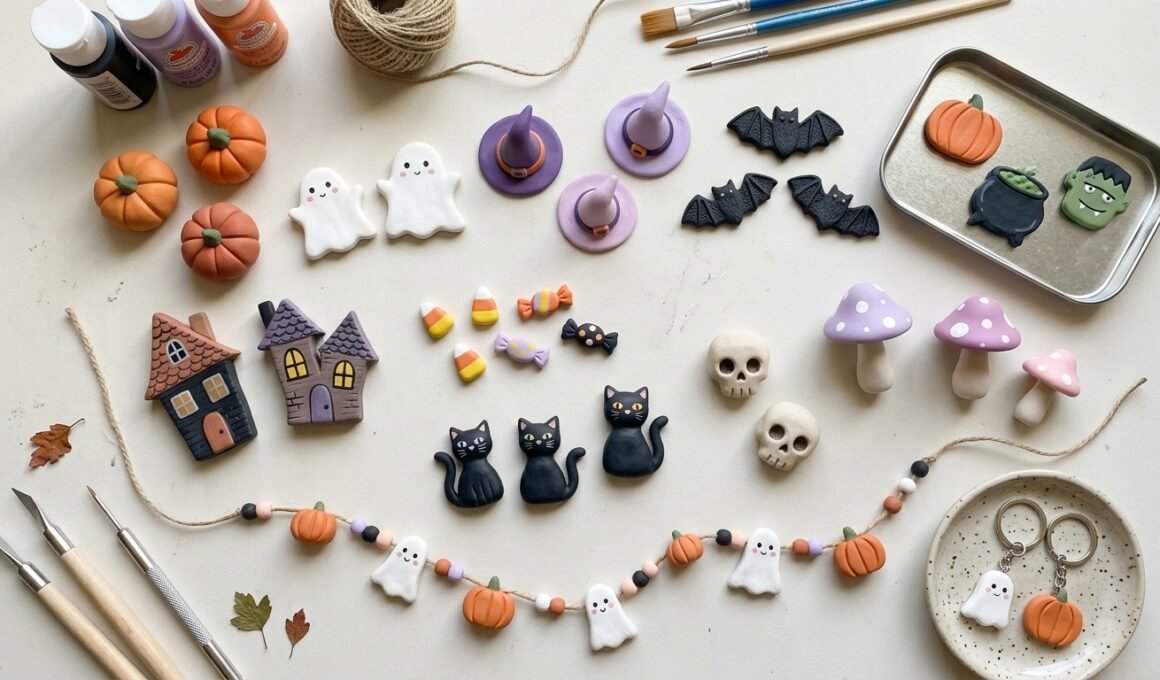
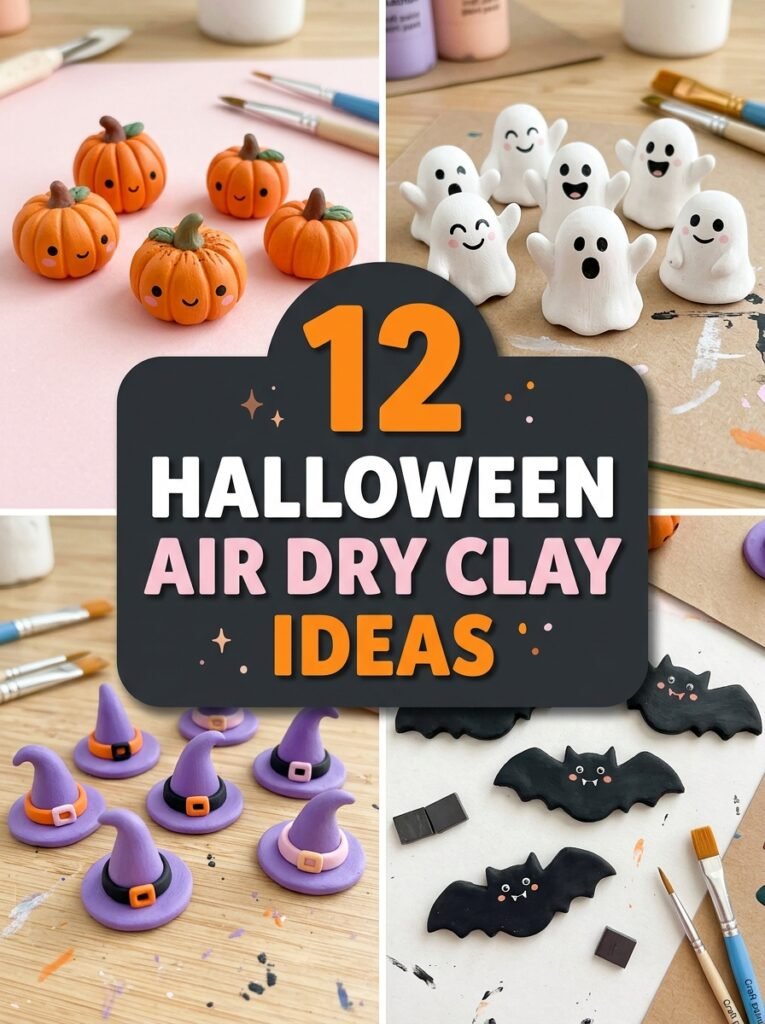
Halloween is the perfect time to get creative with handmade decorations, tiny spooky characters, and colorful seasonal crafts. These Halloween air dry clay ideas are ideal for beginners who want to make something special without a kiln or expensive equipment. From adorable pumpkins and friendly ghosts to witch hats, bat magnets, and miniature haunted houses, these projects offer plenty of inspiration for your Halloween craft collection. Air-dry clay is easy to shape and can be painted after it has dried completely. You can use traditional Halloween colors like orange, black, purple, and white, or experiment with pastel pink, lavender, and soft blue for a modern, cute aesthetic. Whether you are decorating your room, preparing for a Halloween party, or creating handmade gifts, these ideas will help you get started.
1. Easy Mini Clay Pumpkins
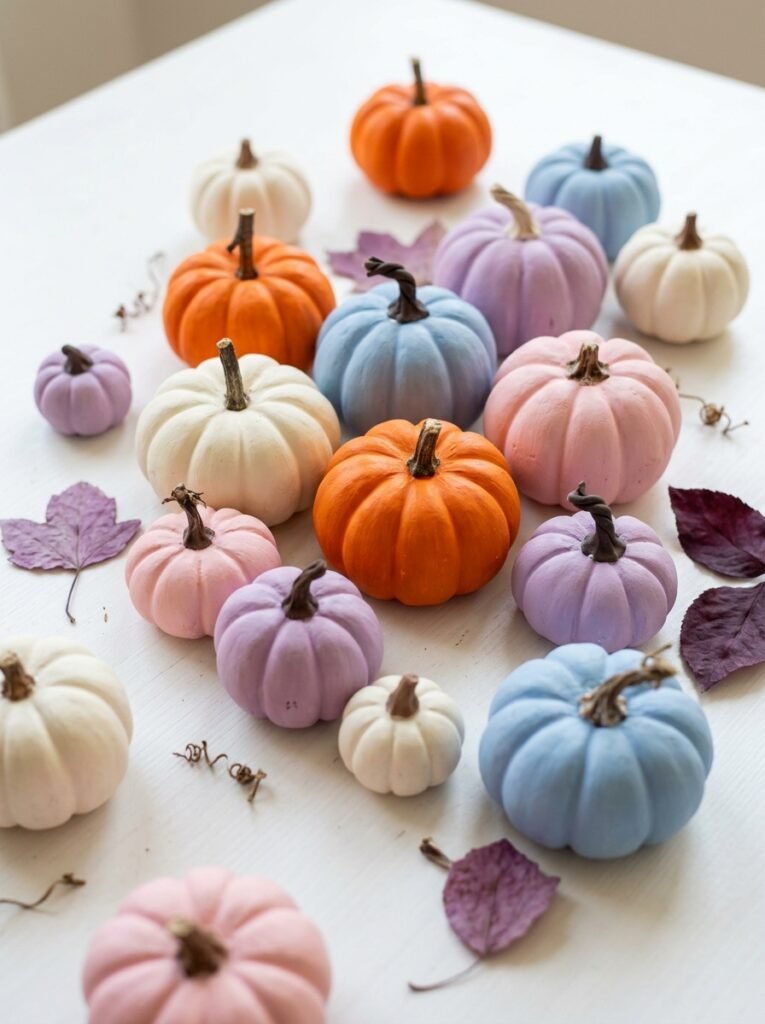
Mini clay pumpkins are a classic choice for anyone exploring Halloween air dry clay ideas. Start by rolling a small piece of clay into a ball and gently flattening its base so it can stand upright. Use a sculpting tool to create curved grooves around the sides, then add a tiny stem at the top. Once the pumpkin is completely dry, paint it bright orange and finish the stem in green or brown. For a modern twist, create white, pink, lavender, or pale-blue pumpkins instead. These little decorations look beautiful when displayed together on a shelf, windowsill, or Halloween-themed table. You can make several pumpkins in different sizes and add painted faces to create a cute jack-o’-lantern collection. Keep the shapes simple if you are new to clay crafting, and avoid making the walls too thick because thicker pieces may take longer to dry.
2. Cute Friendly Clay Ghosts
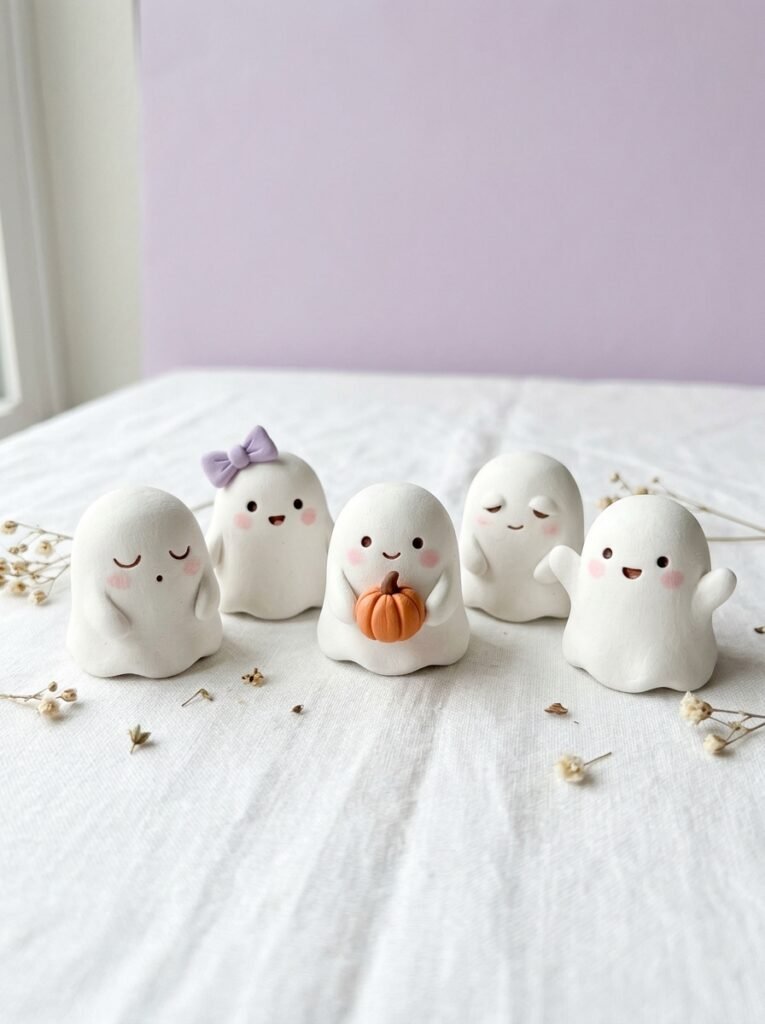
Friendly clay ghosts are perfect for people who prefer cute Halloween decorations instead of frightening designs. Shape a small rounded piece of clay into a ghost with a slightly flowing body and a wavy base. Gently curve the bottom so the figure appears to float. After the clay dries, paint it white and add two tiny black eyes, a smiling mouth, and delicate pink cheeks. You can personalize each ghost with a miniature purple bow, a tiny black hat, or a painted orange heart. Create a group of three to five ghosts with different expressions to make your display more interesting. Place them on a bookshelf, desk, or decorative tray alongside mini pumpkins. If you want a more playful look, give one ghost sleepy eyes and another a surprised expression. These are decorative crafts rather than toys, so keep small accessories away from young children.
3. Mini Witch Hats and Magical Charms
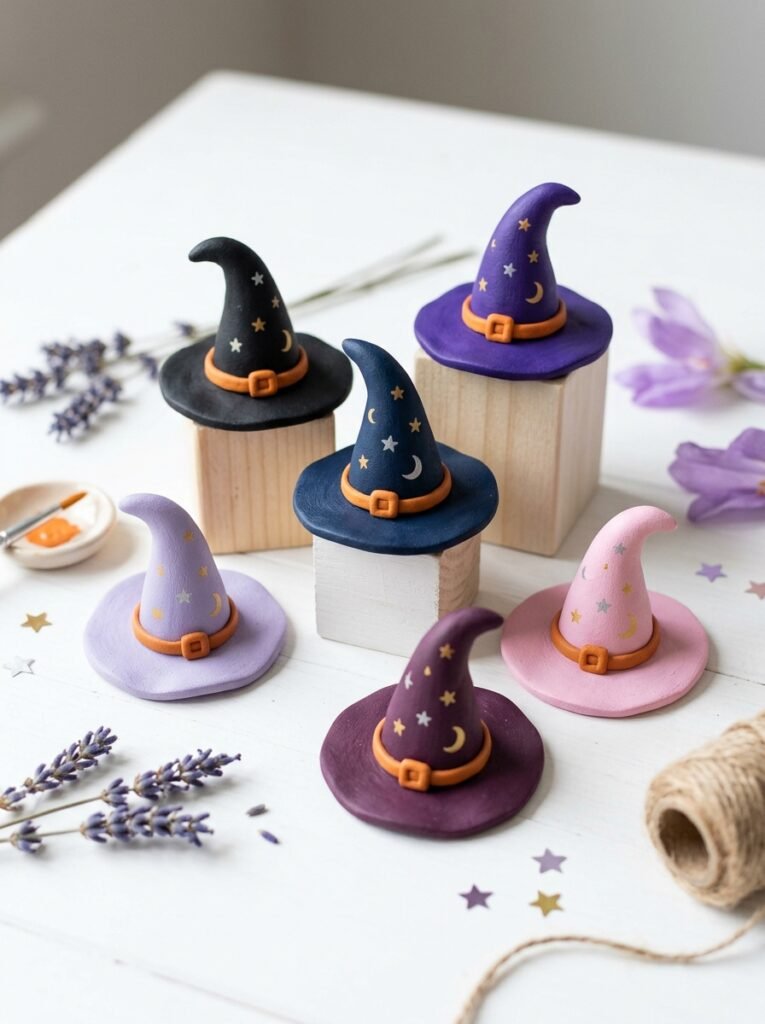
Witch hats are simple to sculpt and instantly make a craft collection feel Halloween-ready. Create a small cone from clay, flatten a separate piece into a circular brim, and carefully attach the cone to the center. Smooth the joint with a sculpting tool so the hat looks neat. Once dry, paint it black, deep purple, midnight blue, or pastel lavender. Add an orange band, tiny stars, or a crescent moon to give each hat its own personality. You can make these hats as standalone decorations or create several miniature versions for a coordinated display. A few painted gold details can make the hats look more polished without requiring advanced sculpting skills. If you plan to hang one as an ornament, create a small hole near the top while the clay is still soft, rather than trying to drill it after drying.
4. Spooky-Cute Clay Bats
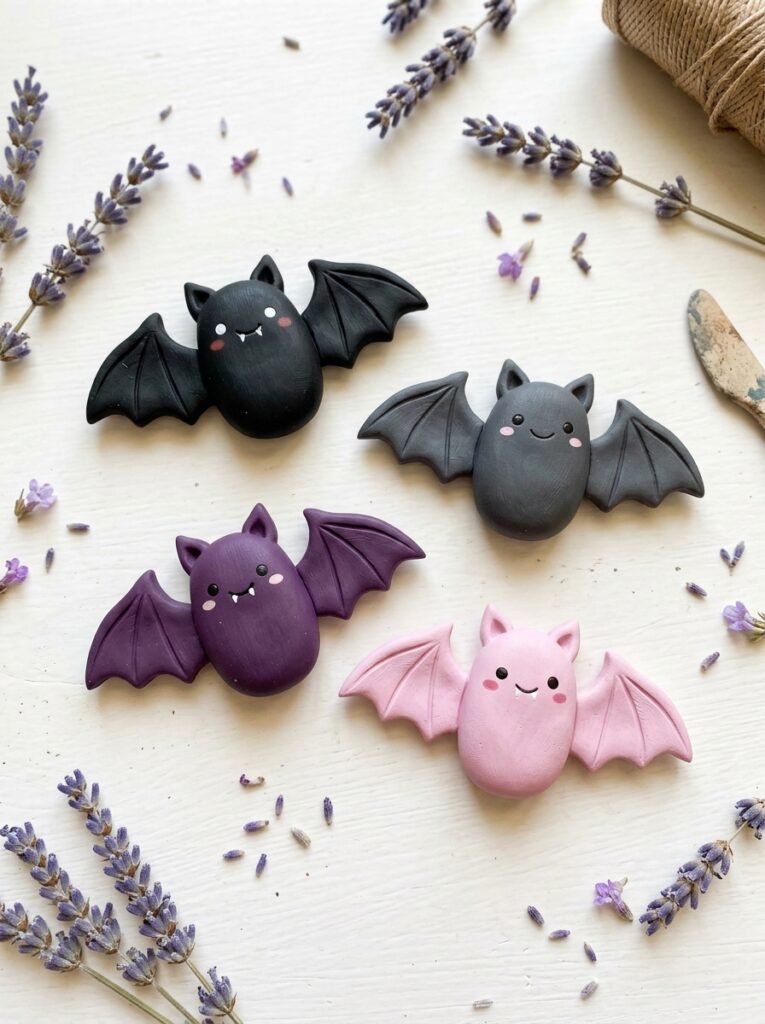
Clay bats add a classic spooky touch while still allowing you to create adorable designs. Start with a small oval body, then shape two wings with curved edges and pointed tips. Attach the wings carefully and smooth the joins. Add two small ears and simple facial details. When the clay has dried, paint the bat black or charcoal gray for a traditional look, or try purple and pink for a softer, playful style. The secret to making these bats attractive is balancing their wing shapes with the size of their bodies. Wide wings create a dramatic silhouette, while round bodies and large eyes make them look friendlier. You can arrange several bats on a decorative shelf or combine them with ghosts and pumpkins. For hanging decorations, plan the attachment point before the clay dries.
5. Halloween Clay Magnets
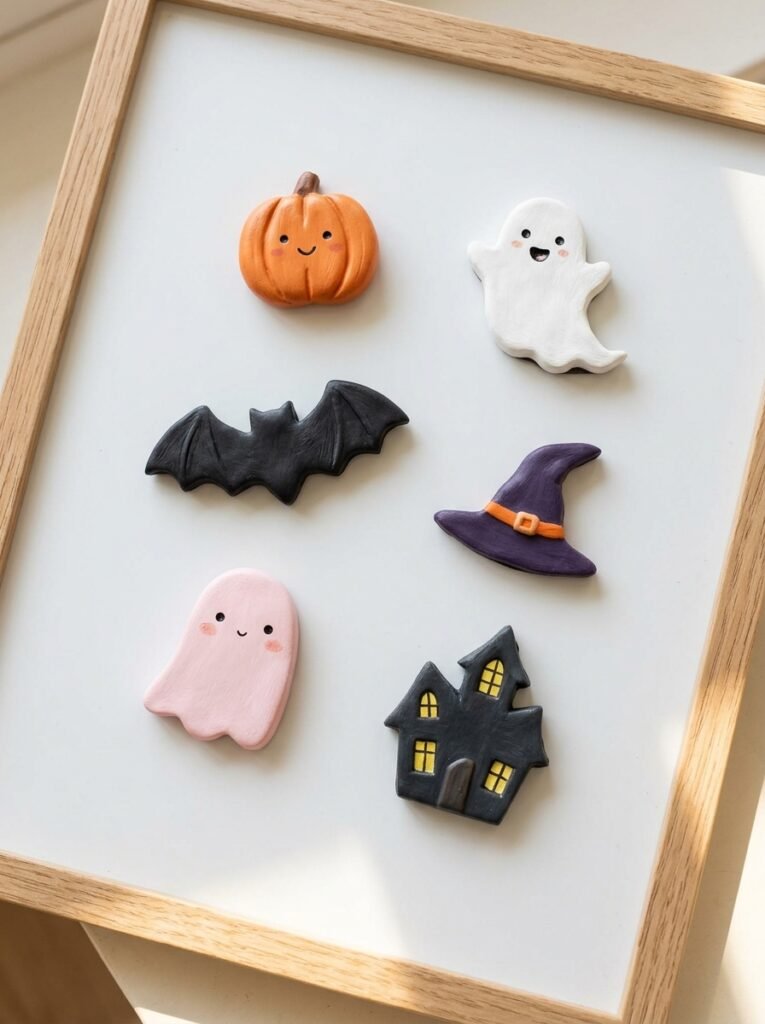
Halloween magnets are practical little crafts that can turn everyday magnetic surfaces into seasonal displays. Create flat pumpkin, ghost, witch hat, or bat shapes using a small amount of clay. Keep the pieces relatively thin and lightweight so they sit neatly against a refrigerator or magnetic board. After the clay dries completely, paint each design and let the paint dry before attaching a suitable craft magnet with an adhesive compatible with both materials. For a coordinated collection, use the same color palette across all the magnets. Orange pumpkins, white ghosts, black bats, and purple witch hats look especially attractive together. You could make a set for your own kitchen or create handmade seasonal gifts for friends. Make sure the magnets are securely attached and never leave loose or detachable magnets within children’s reach, as swallowing magnets can cause serious injury.
6. Miniature Clay Haunted Houses
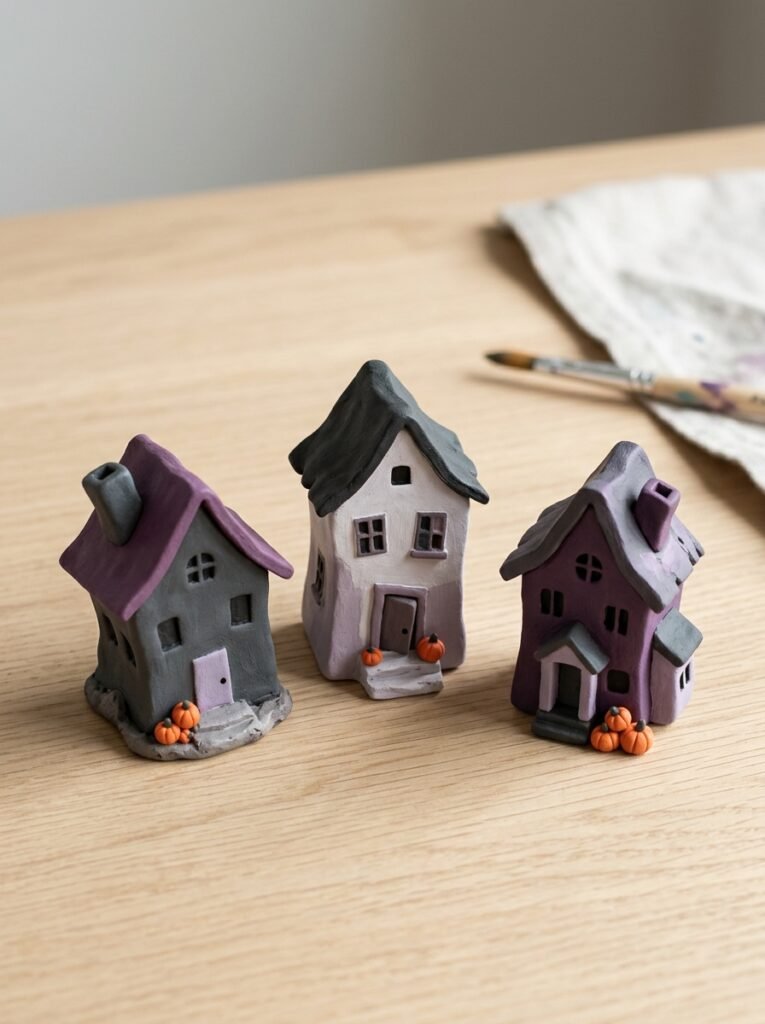
A miniature haunted house is a creative project for anyone who wants to build a tiny Halloween scene. Shape a small rectangular building, add a pointed or crooked roof, and create a little doorway with small windows. You can also add a tiny chimney or uneven roof edges to make the building look mysterious. After drying, paint the house gray, white, or deep purple, with black windows and orange accents. Make one house as a standalone decoration or build a small village with two or three buildings of different heights. Adding miniature pumpkins beside the doorway can make the design feel more complete. Keep the base wide enough to support the structure and avoid making the roof too heavy. Display the finished house on a dry shelf, away from direct heat and flames.
7. Mini Clay Halloween Candy
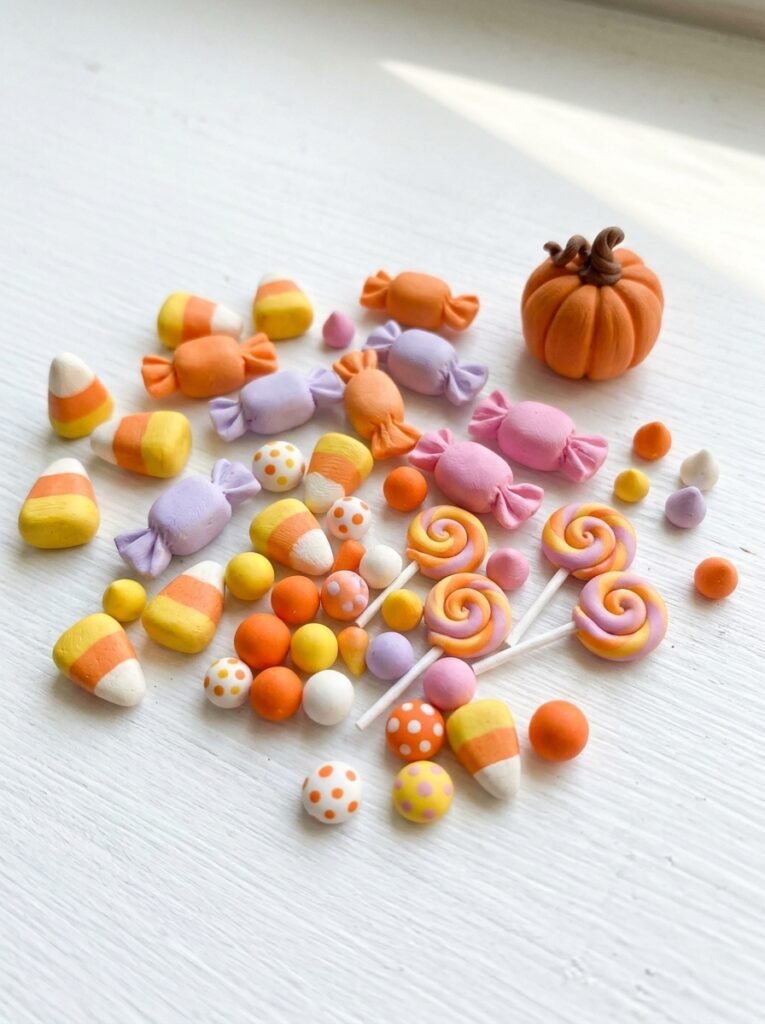
Miniature candy shapes bring a colorful, playful look to a Halloween clay collection. Use small pieces of clay to create wrapped sweets, candy-corn shapes, tiny lollipops, or round candy pieces. Shape the pieces carefully and add contrasting bands of color. For candy corn, use yellow, orange, and white; for wrapped candies, create a bright center with twisted ends. A fine paintbrush can help you add tiny decorative lines after the clay dries. These miniatures look lovely arranged in a small decorative bowl or placed beside clay pumpkins and ghosts. You can also use them as accessories in a miniature Halloween scene. Remember that ordinary air-dry clay is not food-safe, so these creations must never be eaten or mixed with real sweets. Because they are small, keep them away from young children and pets.
8. Cute Black Cat Clay Figurines
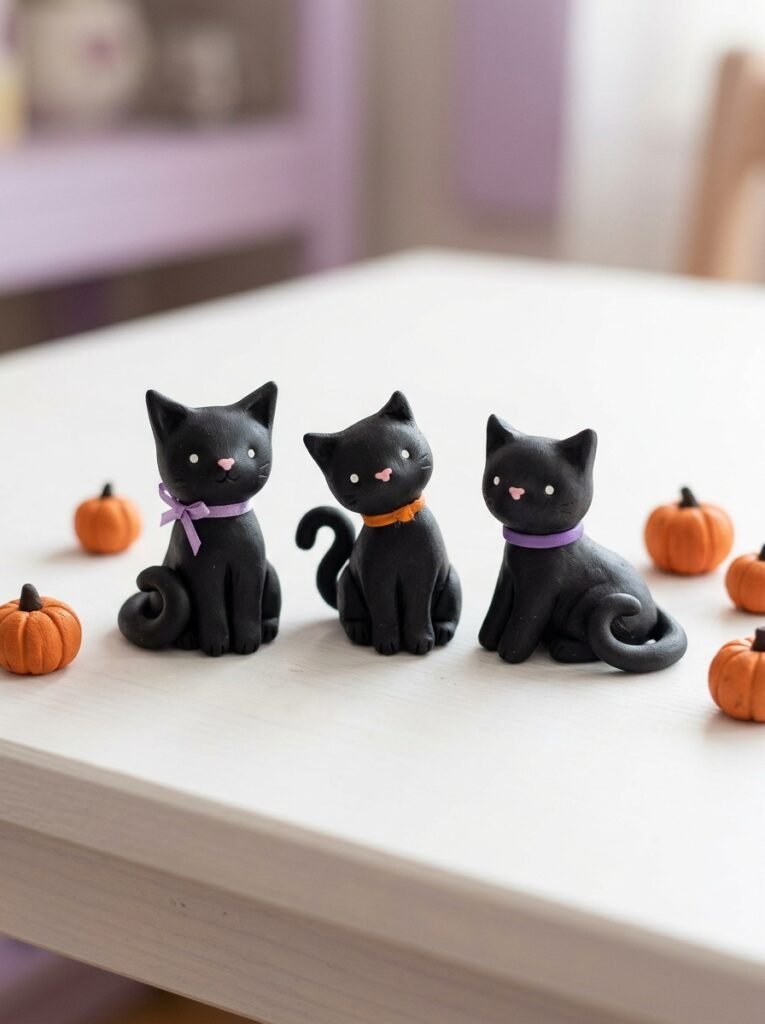
Black cats are a natural fit for Halloween, and their simple shapes make them fun to sculpt. Begin with a rounded body or an oval base, then create a small head with two pointed ears. Attach the head securely and shape a curled tail from a thin piece of clay. After drying, paint the figure black and add tiny white eyes, a small pink nose, and delicate whisker details. You can also create a purple collar or a miniature orange bow. For a beginner-friendly design, keep the cat sitting upright with its tail curled around its body. More experienced crafters can try a stretching cat or one sitting beside a tiny pumpkin. A collection of black cats in different poses can look especially charming on a shelf. Make sure the figure has a stable base so it stands without tipping over.
9. Clay Skull Decorations
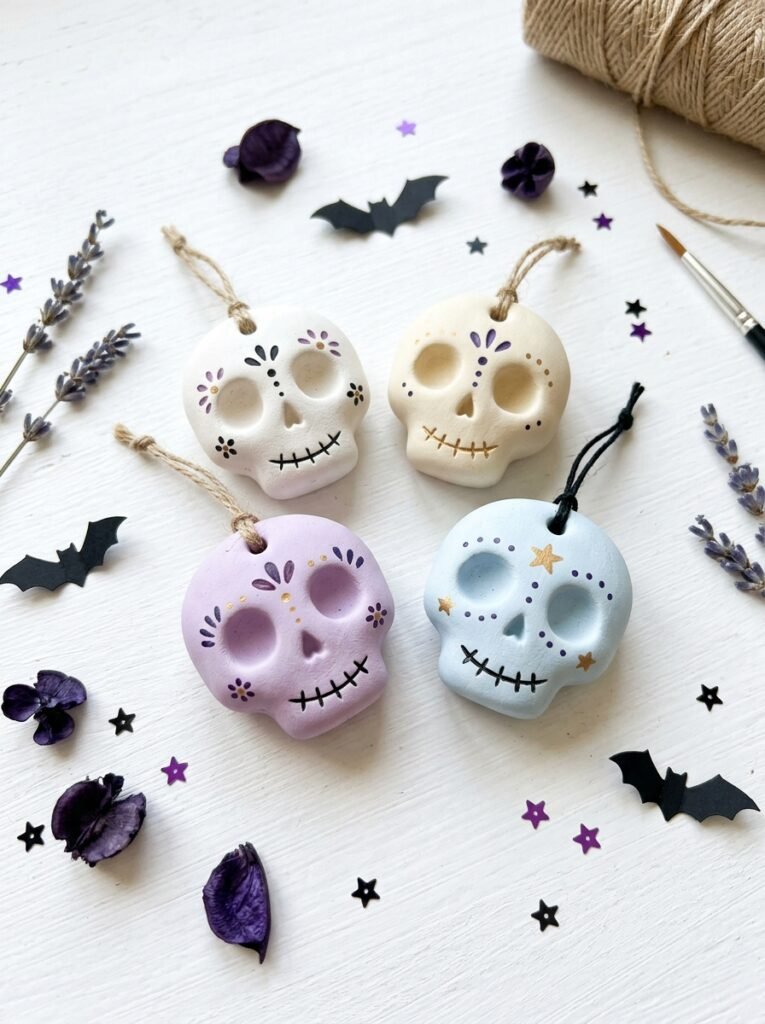
Small clay skulls can give your Halloween collection a slightly spooky look without making the entire display frightening. Start with a rounded oval shape, flatten the front gently, and use sculpting tools to create two eye sockets and a small nose opening. Add a subtle line for the mouth, keeping the details shallow and manageable. Once dry, paint the skull white or ivory and use gray or black paint to define the facial features. For a modern decorative style, you can also create pastel skulls in lavender, pale pink, or soft blue with contrasting details. Display one beside a black bat or group several small skulls together for a themed shelf arrangement. Smooth the edges carefully and allow the piece to dry fully before painting so the final surface looks neat.
10. Mini Clay Halloween Mushrooms
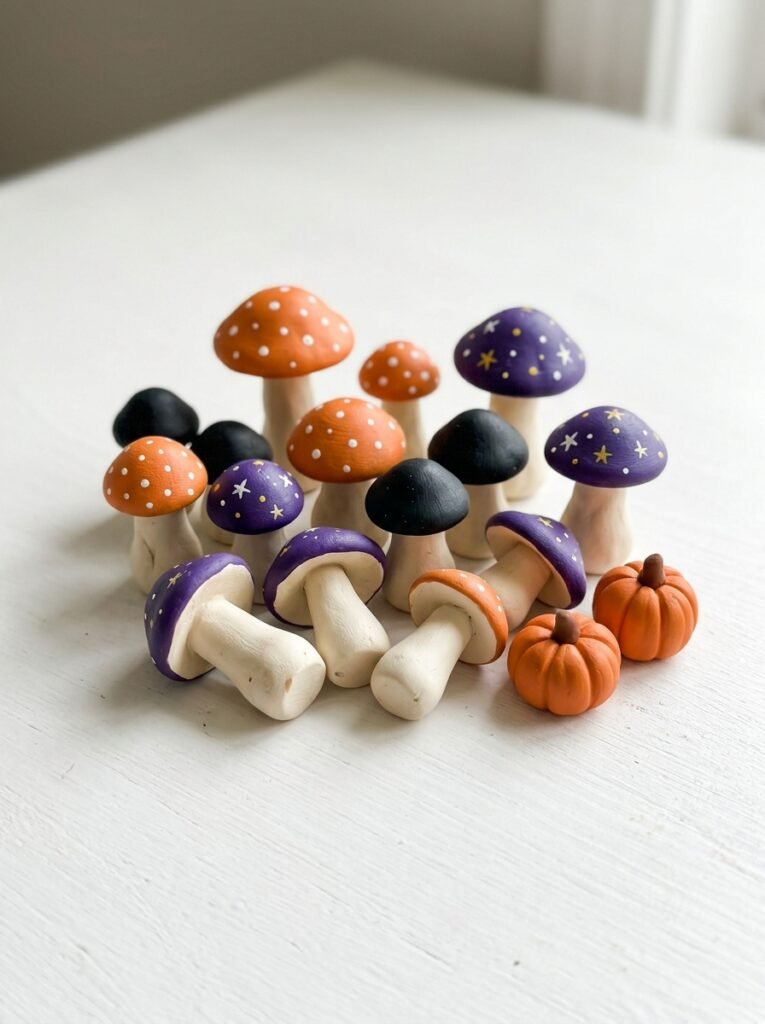
Halloween mushrooms are a whimsical option for people who love fantasy-inspired decorations. Shape a short, sturdy stem and a rounded cap, then attach them carefully. Paint the caps orange, purple, black, or bright red with contrasting white spots. You can also add tiny painted stars or little faces to make the mushrooms look magical. Allow the pieces to dry fully before adding the finishing details. Arrange several mushrooms beside miniature pumpkins or a haunted house to create a tiny enchanted Halloween garden. You can vary the cap sizes and colors to make the collection look more natural and interesting. Keep the stems thick enough to support the caps, and make sure the finished pieces stand securely on a flat surface.
11. Halloween Clay Garland
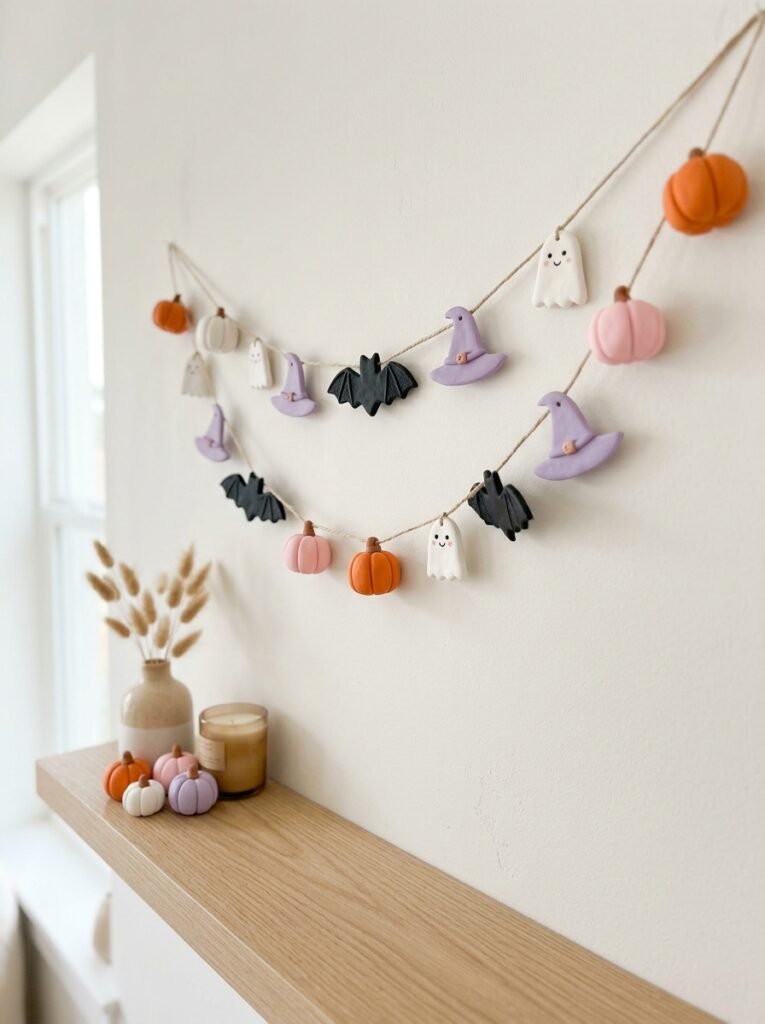
A handmade clay garland combines several small designs into one attractive seasonal decoration. Create flat pumpkins, ghosts, bats, and witch hats, making each piece similar in thickness so the finished garland hangs evenly. Before the clay dries, make a small hole near the top of each shape. After the pieces have dried and been painted, thread them onto a ribbon or sturdy string, leaving enough space between the decorations. A consistent color scheme makes the garland look polished. Traditional orange, white, and black creates a classic Halloween style, while lavender and pink produce a softer contemporary look. Hang the finished garland above a shelf or on a wall using secure supports. Keep it away from heaters, flames, and places where children or pets could pull it down.
12. Halloween Clay Keychains and Bag Charms
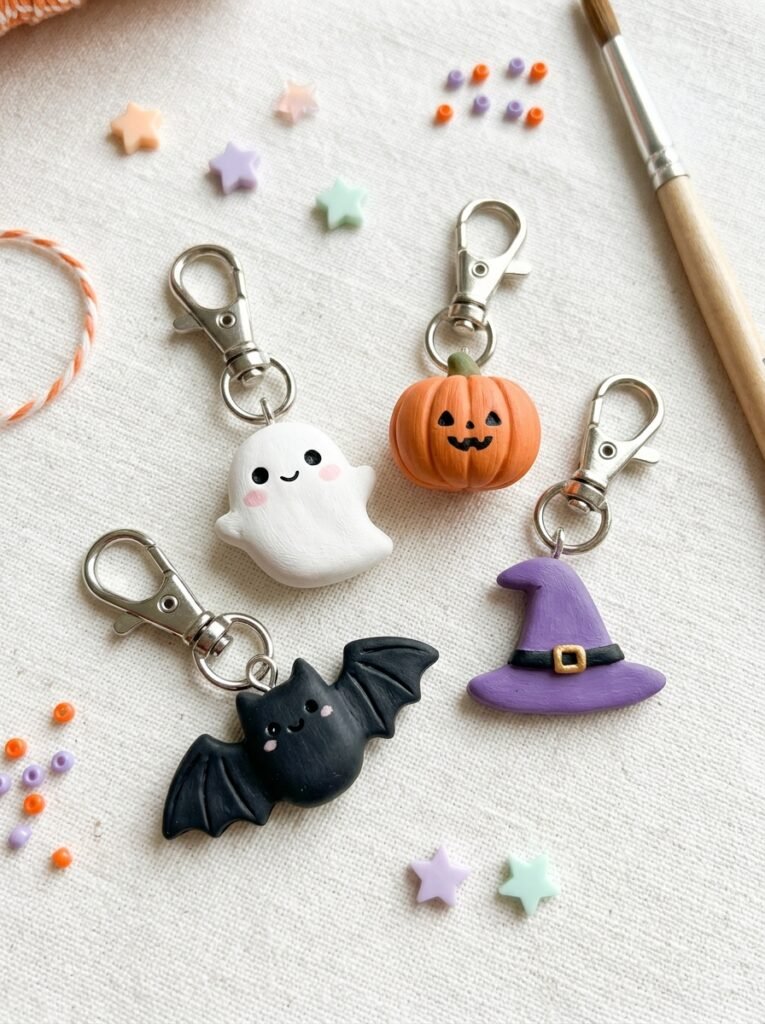
Small clay keychains and bag charms are a fun way to make your favorite Halloween designs portable. Shape miniature pumpkins, ghosts, bats, or witch hats, and create a hole near the top before the clay dries. Once completely dry, paint the pieces and attach suitable keychain hardware using a secure, compatible connection. For extra personality, add tiny painted stars, rosy cheeks, or contrasting color bands. Keep the designs small but not so thin that they break easily during everyday use. A ghost charm with a lavender bow or a pumpkin with a smiling face can look particularly cute. These accessories can make thoughtful seasonal gifts, but they should be handled gently because air-dry clay can chip or crack if dropped. Avoid using them where they will be exposed to frequent moisture.
How to Make Halloween Air Dry Clay Decorations
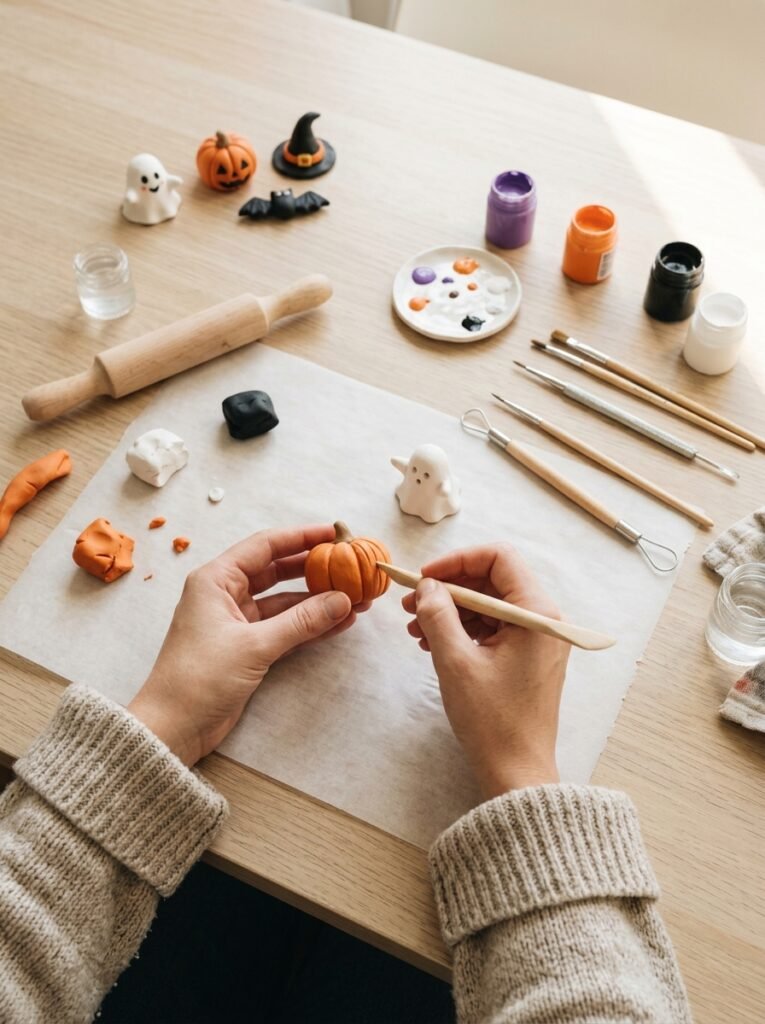
Making Halloween clay crafts is straightforward when you prepare your materials and follow a few simple steps. Start with easy shapes and gradually experiment with more detailed designs as your confidence grows.
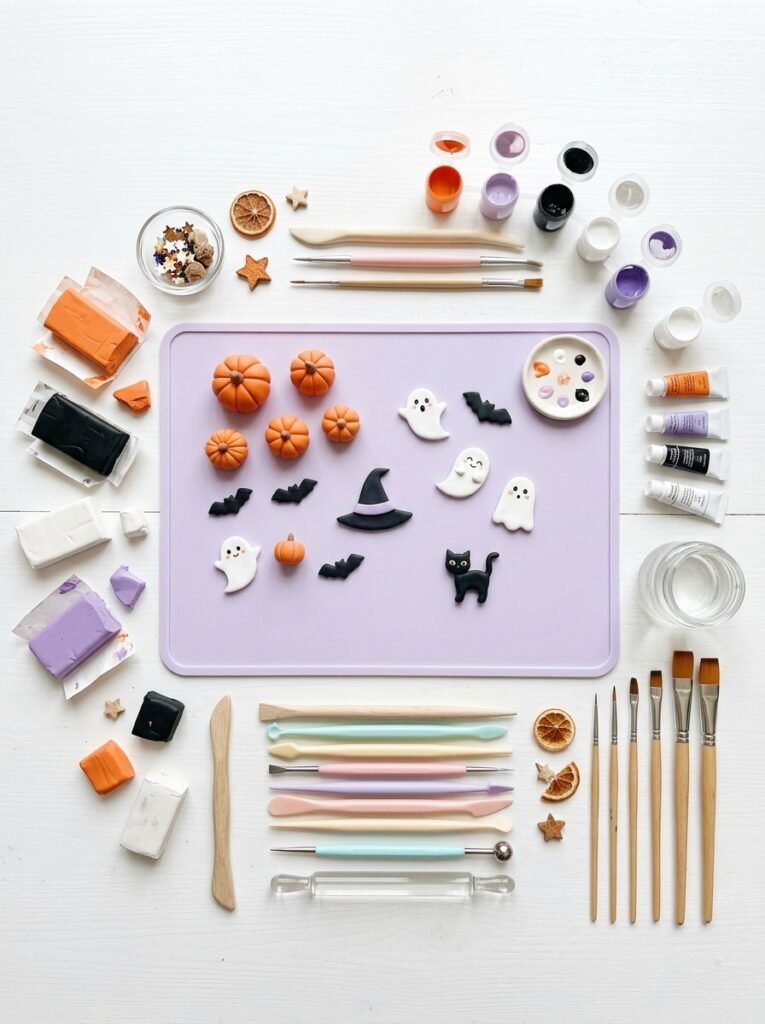
Materials You Will Need
- Air-dry clay
- A clean work surface or craft mat
- A small rolling pin or smooth cylindrical tool
- Plastic sculpting tools
- Acrylic craft paints
- Fine paintbrushes
- A suitable protective sealer, if desired
- Optional ribbon, craft magnets, or keychain hardware
Step-by-Step Instructions
Step 1: Prepare your clay. Knead a small amount until it feels smooth and easy to shape. Follow the manufacturer’s directions for the specific clay you are using.
Step 2: Choose your design. Begin with a pumpkin, ghost, or witch hat if you are a beginner. These shapes require fewer complicated details.
Step 3: Shape the main features. Use your fingers and simple tools to create grooves, eyes, wings, stems, or other decorative elements. Attach separate pieces carefully and smooth the joints.
Step 4: Allow the clay to dry. Place your creation on a flat, clean surface and let it dry according to the package instructions. Turn the piece if the manufacturer’s directions recommend it.
Step 5: Paint the decoration. Apply thin coats of acrylic paint only after the clay has dried completely. Let each coat dry before adding facial features or other small details.
Step 6: Add the finishing touches. Apply a compatible sealer if appropriate, then attach any ribbons, magnets, or keychain hardware securely. Store the finished craft in a dry place.
Helpful Tips for Better Halloween Clay Crafts
- Start with simple designs: Pumpkins, ghosts, and witch hats are manageable for beginners.
- Keep shapes stable: Give figurines a flat base so they can stand securely.
- Use a coordinated palette: Orange, black, white, and purple create a classic look, while pastel colors offer a cute modern style.
- Allow enough drying time: Thick pieces may take longer to dry than thin decorations. Follow the manufacturer’s instructions.
- Paint after drying: Painting too early can affect the finish and may trap moisture.
- Protect your creations: Store finished decorations in a dry location and use only a compatible sealer when needed.
- Prioritize safety: Keep small parts and loose magnets away from young children. Ordinary air-dry clay is not food-safe, waterproof, or heat-resistant unless the specific product states otherwise.
Printable Halloween Clay Craft Checklist
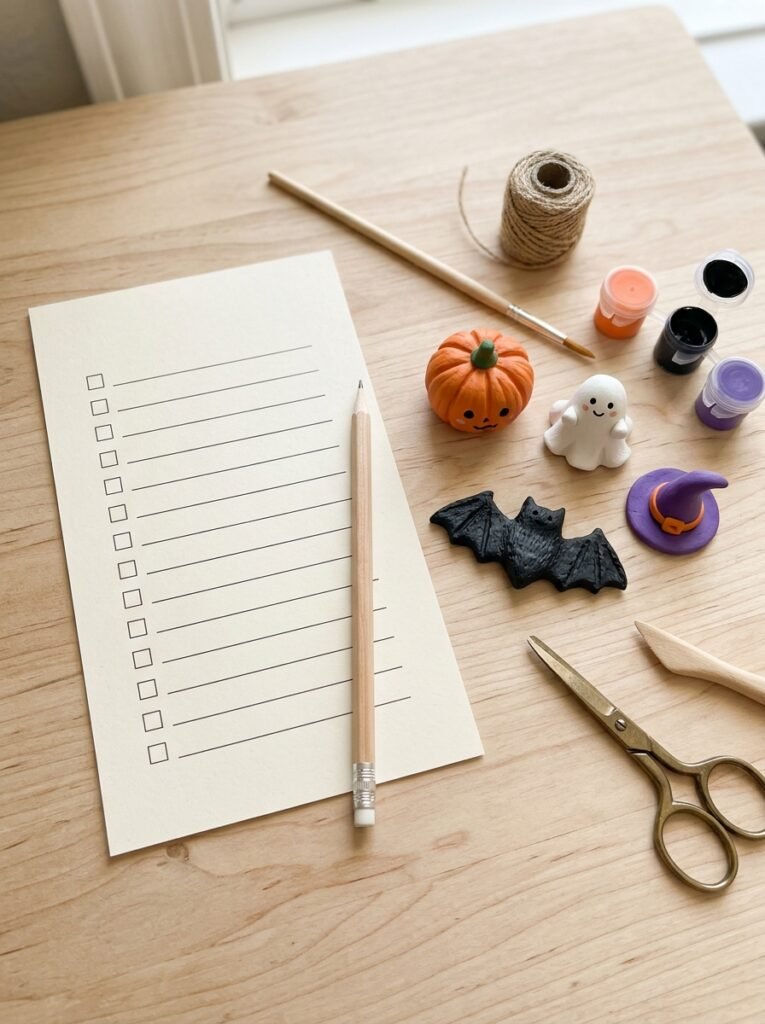
Use this checklist to prepare your supplies and keep your project organized from start to finish.
- Choose your favorite Halloween clay designs.
- Gather clay, sculpting tools, paints, and brushes.
- Select a matching color palette.
- Shape your decorations and smooth the edges.
- Create any required holes before the clay dries.
- Let every piece dry according to the package instructions.
- Add paint and allow it to dry fully.
- Attach magnets, ribbons, or hardware securely.
- Check for loose parts or weak connections.
- Display your finished decorations in a dry, safe place.
Final Thoughts
These Halloween air dry clay ideas offer a mix of beginner-friendly projects, cute characters, spooky decorations, and practical accessories. From mini pumpkins and friendly ghosts to Halloween magnets, haunted houses, and colorful keychains, you can create a collection that matches your personal style without needing complicated tools. Start with two or three designs, experiment with colors, and add your own small details to make each piece unique. With careful shaping, enough drying time, and a little creativity, your handmade decorations can become a memorable part of your Halloween setup.