


This post may contain affiliate links. Please read my disclosure policy.
In This Article Show
If there is one Christmas craft that works for every age, budget and skill level, it is the snowman. He is three round shapes and a smile, and he can be made out of almost anything in the house.
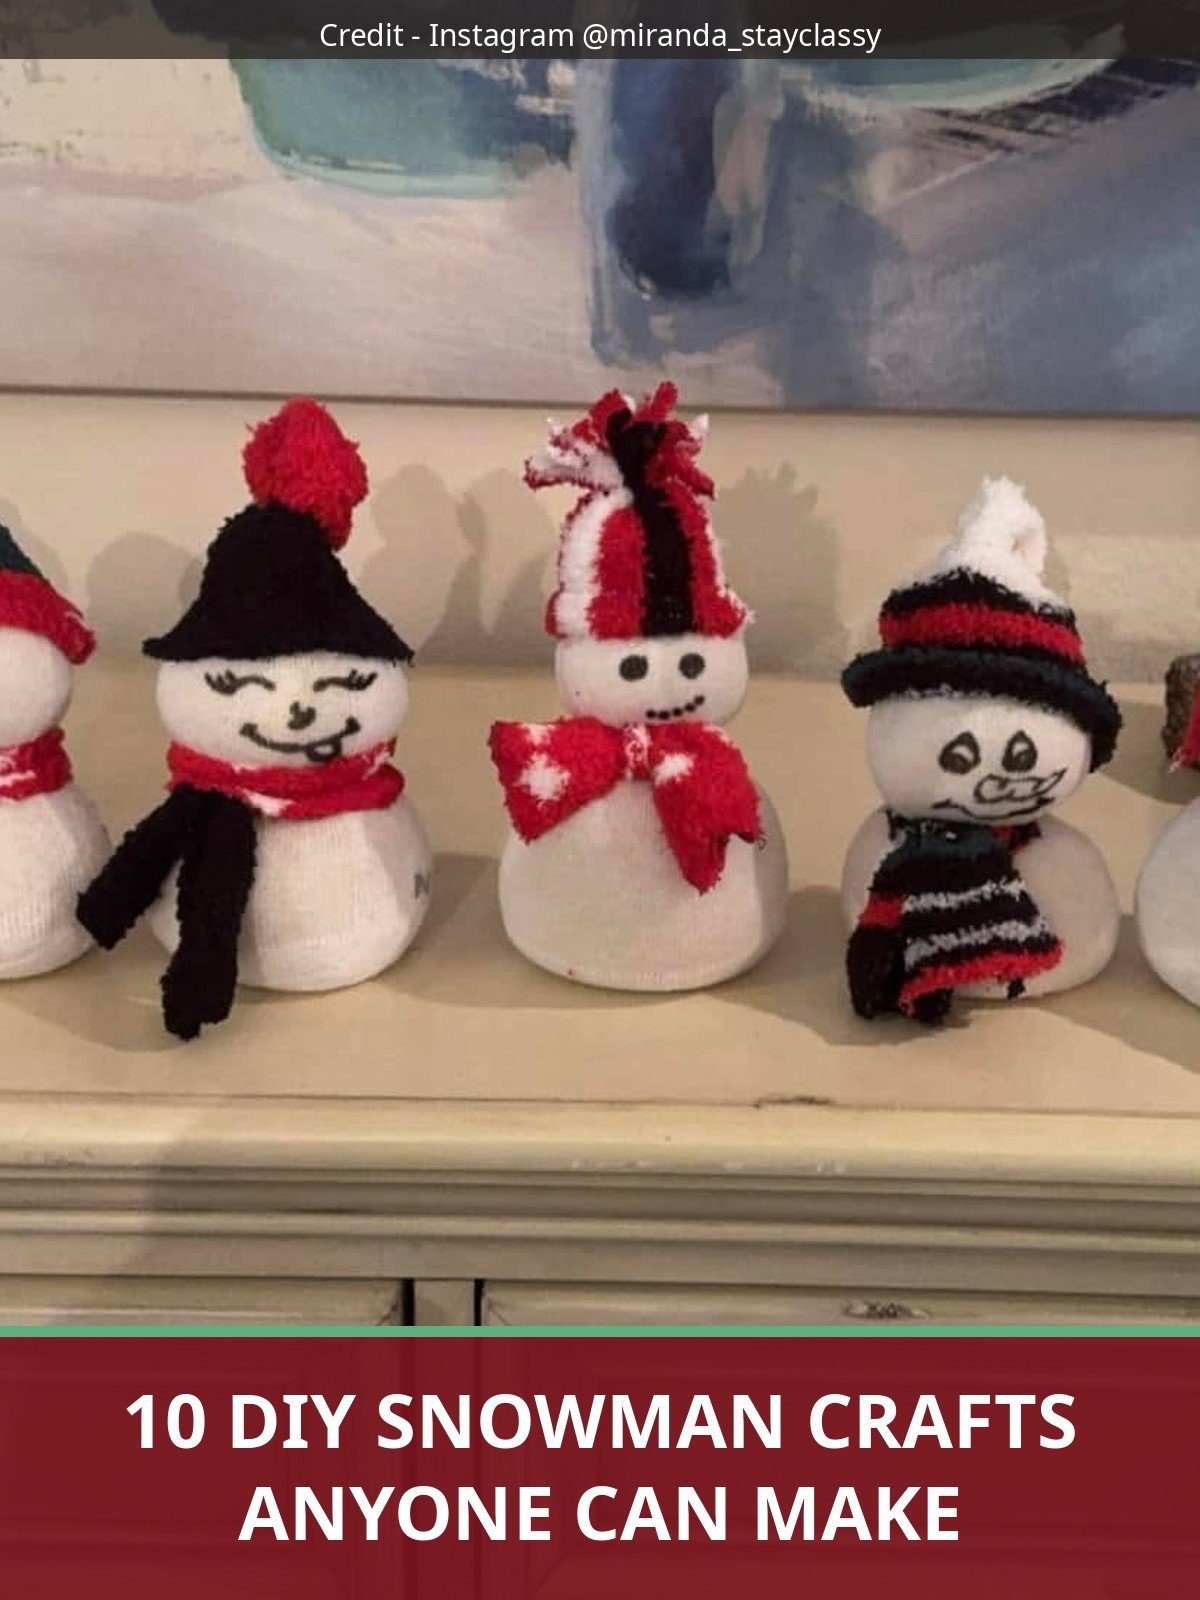
This diy snowman crafts collection proves it. The first three ideas are full builds, the beloved sock snowman, a sturdy foam ball snowman and the popsicle stick snowman children ask for every year. After that come pine cones, corks, jars, plates, spoons, a wreath and a glass bowl version.
Most of these use supplies you already own, which makes this a good list for a craft afternoon that starts on impulse.
Pick the snowman that matches what is in your cupboard, and let the rest wait for the next snowy day.
Quick Picks
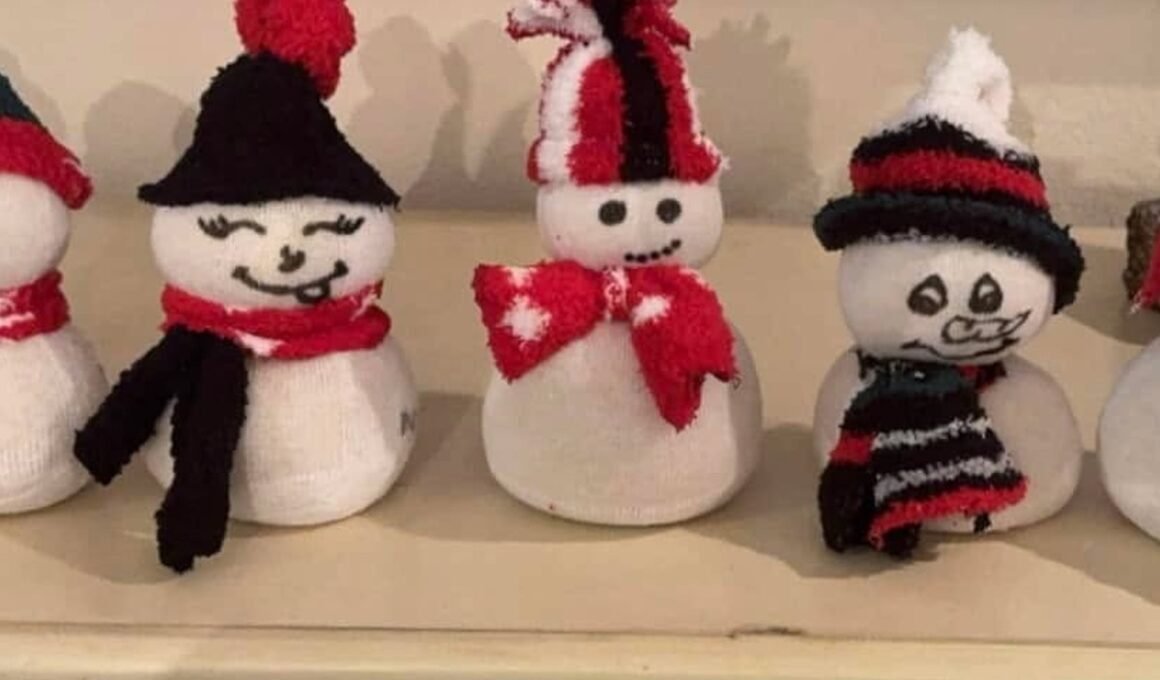
- 1. Sock Snowman: no sewing, no fuss, the snowman everyone makes first.
- 2. Foam Ball Snowman: sturdy, light and the best shelf sitter of the group.
- 3. Popsicle Stick Snowman: the kids favorite, flat, bright and fun to decorate.
1. Sock Snowman
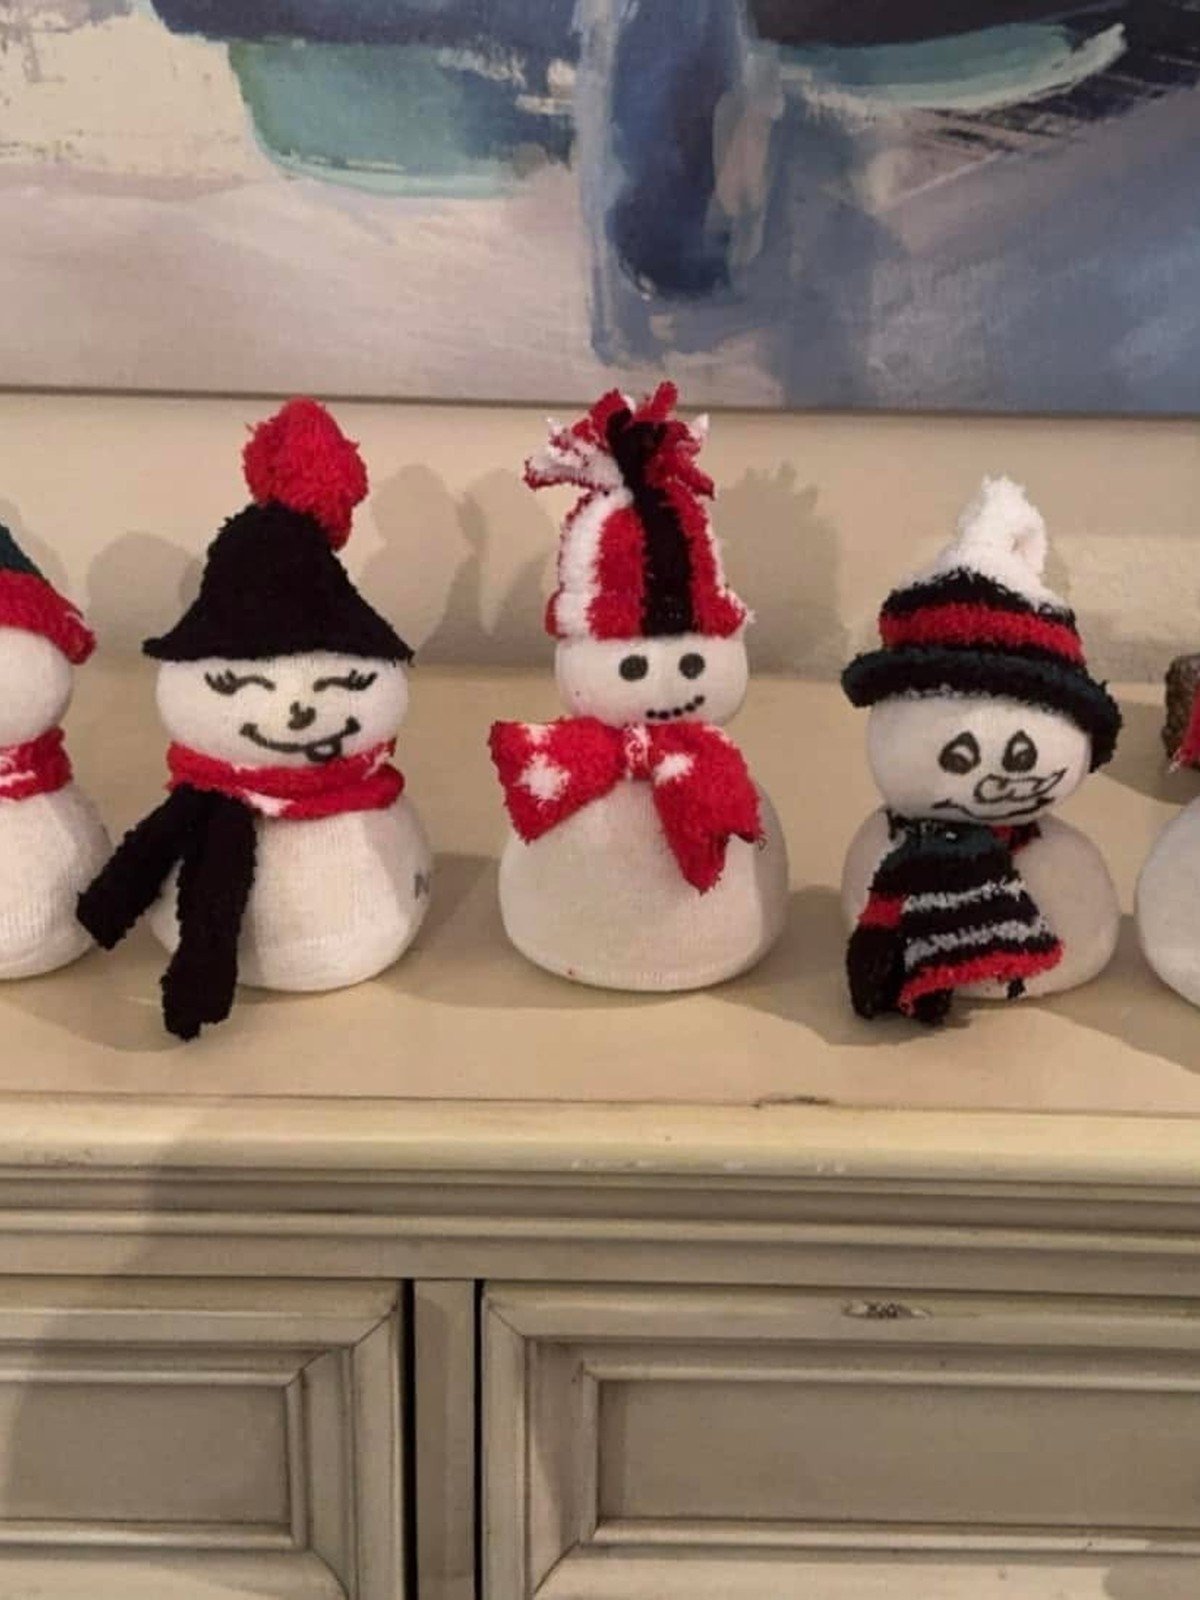
⏱ About 20 minutesNo sewGreat with kids
Materials Needed
- One white sock and one colored sock
- Uncooked rice, about 2 cups
- Two rubber bands or strong string
- Buttons or beads for eyes
- A small piece of orange felt or paper for the nose
- Ribbon or fabric strip for a scarf
- Glue and scissors
How to Make It
Step 1: Fill the white sock with rice until it is plump, then tie the top tightly with a rubber band and trim the extra sock above the tie.
Step 2: Tie a second band about a third of the way down to divide the body from the head, and roll the top cuff of the sock down as a hat base if you like.
Step 3: Cut the colored sock to make a hat and a scarf strip, and dress the snowman.
Step 4: Glue on button eyes, buttons down the tummy and a small orange felt triangle nose.
Step 5: Draw or glue on a smile, and sit the snowman somewhere it can be admired.
Tip: Make a whole row of sock snowmen with different hats and scarves. They are at their cutest as a group, and each one takes only minutes once the first is done.
2. Foam Ball Snowman
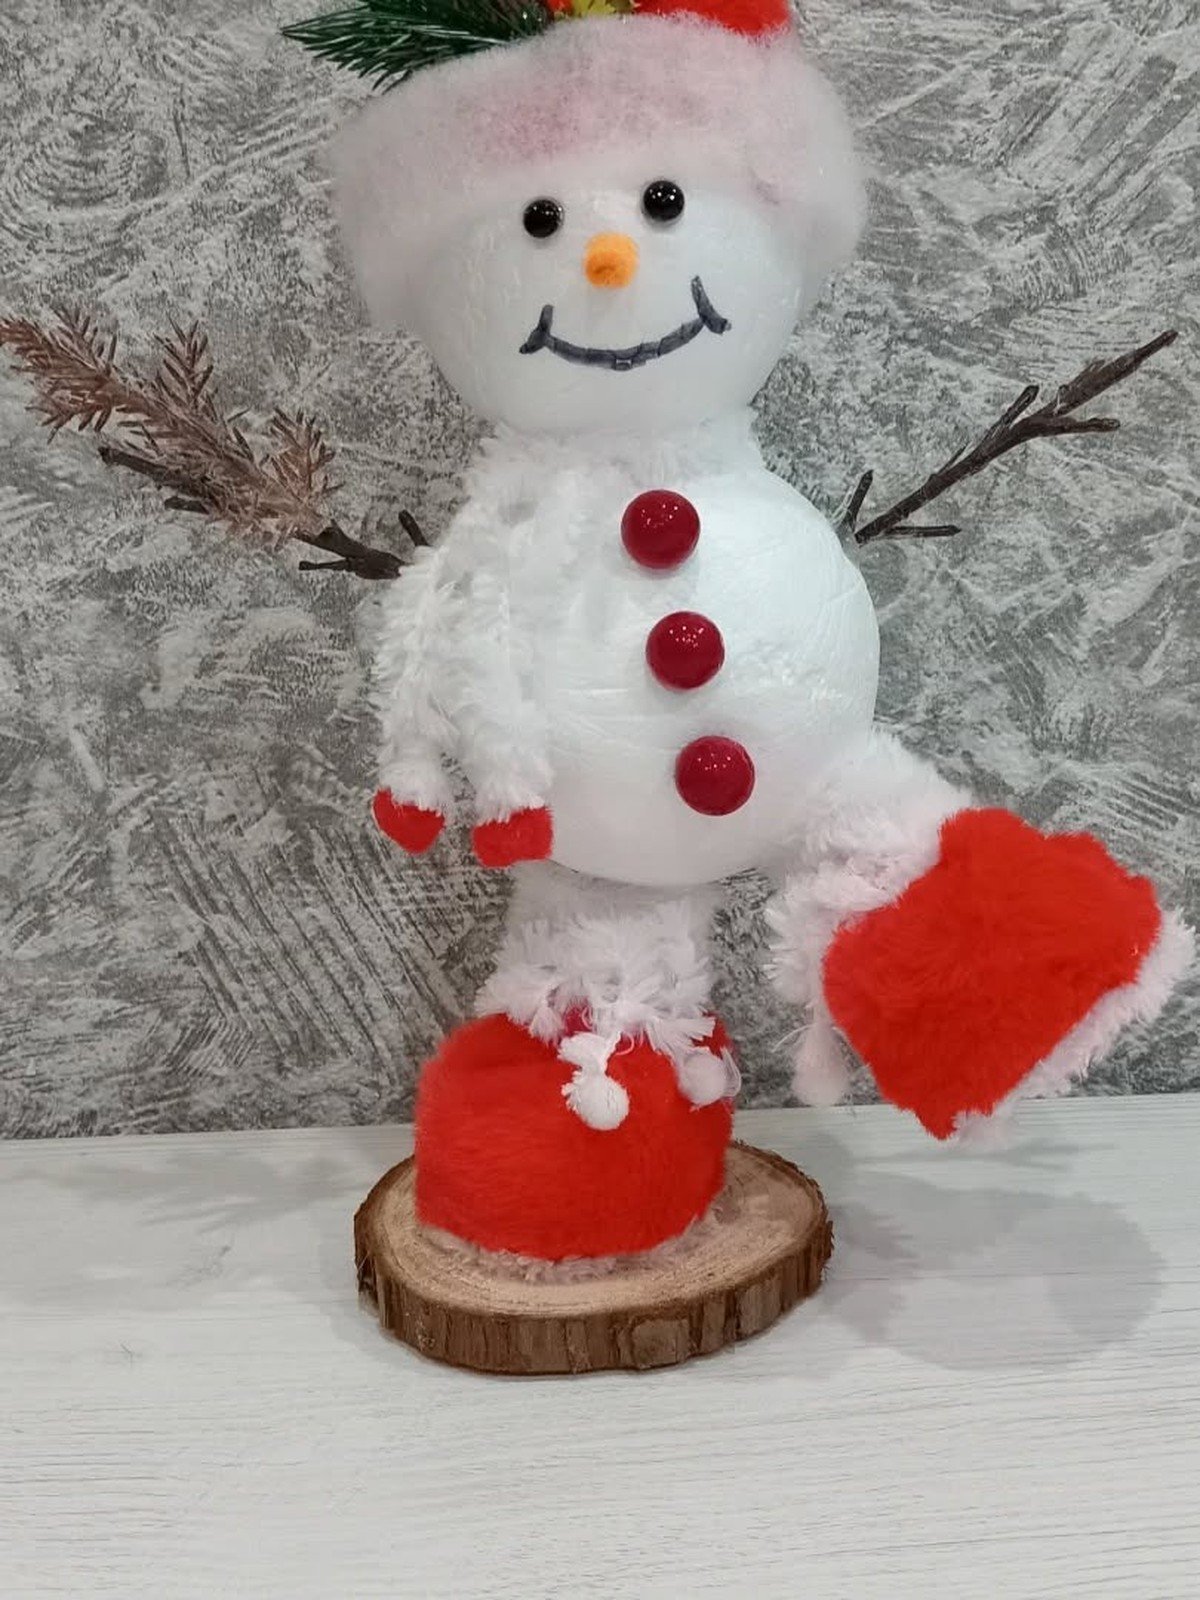
A Pllieay foam balls pack with five sizes gives you the big base and smaller head sizes these snowmen need, with spares for the whole street of snowmen that usually follows.
⏱ About 30 minutesSturdy and lightGood shelf size
Materials Needed
- Two or three foam balls in different sizes
- A wooden skewer or dowel
- Black felt or card for a hat
- Twig arms
- Buttons, ribbon and orange felt
- Glue gun or strong craft glue
How to Make It
Step 1: Push a skewer through the center of the largest foam ball and into the smaller head ball to join them, with a little glue at the join.
Step 2: Cut a small flat spot on the bottom of the base ball so the snowman stands steadily.
Step 3: Glue on twig arms at the sides of the body ball.
Step 4: Add button eyes, a felt carrot nose and buttons down the front.
Step 5: Make a hat from black felt or card, add a ribbon scarf, and your snowman is ready for the shelf.
Tip: Foam balls dent easily, so press pieces on gently and let glue do the holding. Paint the balls first if you want a smoother, less foamy finish.
3. Popsicle Stick Snowman
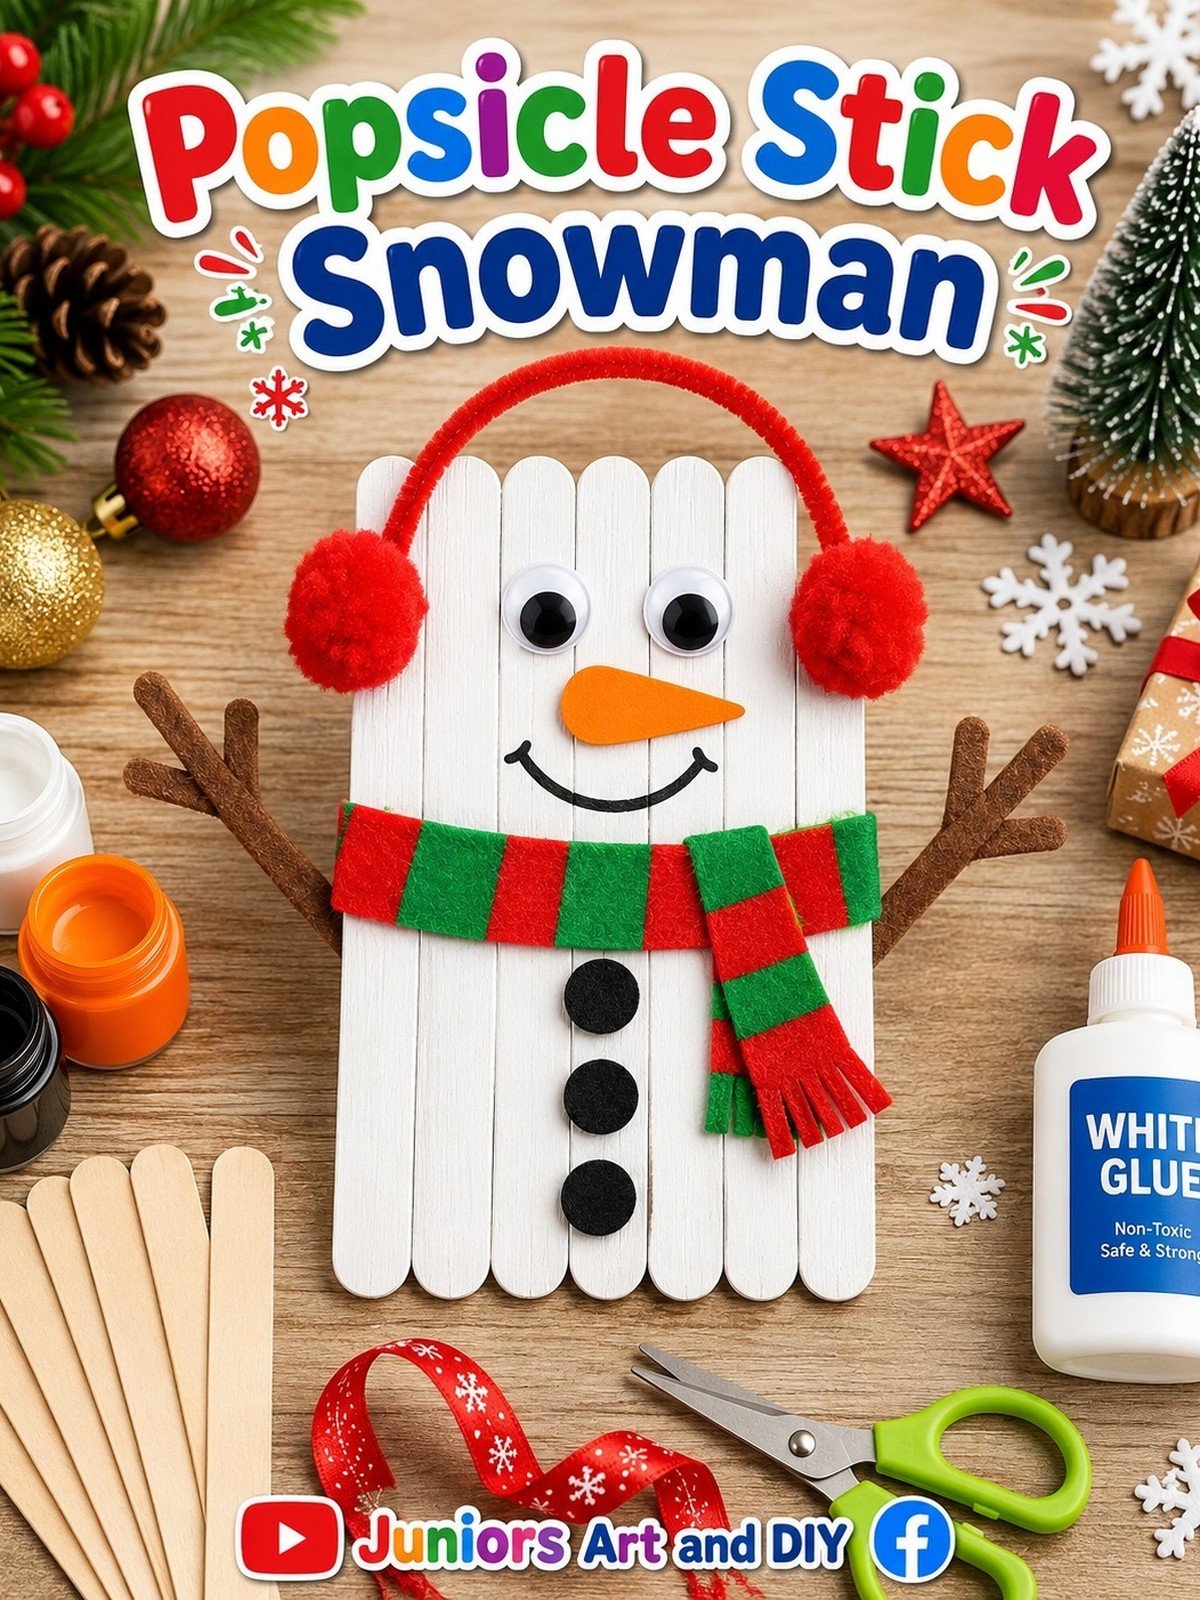
⏱ About 30 minutes plus dryingKids favoriteFlat for cards and doors
Materials Needed
- Seven wide popsicle sticks
- White paint and brushes
- Glue
- Googly eyes or black paint
- Orange paper or felt for the nose
- Felt or fabric for a scarf, pom poms and pipe cleaners for earmuffs
How to Make It
Step 1: Glue seven popsicle sticks side by side on two cross sticks at the back, and let the glue dry fully.
Step 2: Paint the front white and leave it to dry.
Step 3: Add googly eyes or painted eyes, an orange paper nose and a painted smile.
Step 4: Glue on a felt scarf across the lower third and three black buttons below it.
Step 5: Add pipe cleaner earmuffs with pom poms, or a paper hat across the top, and add a ribbon loop at the back if it will hang.
Tip: Paint the sticks before gluing them together if small hands are helping. It is far less messy, and the painted sticks dry while you prepare the decorations.
4. Pine Cone Snowman
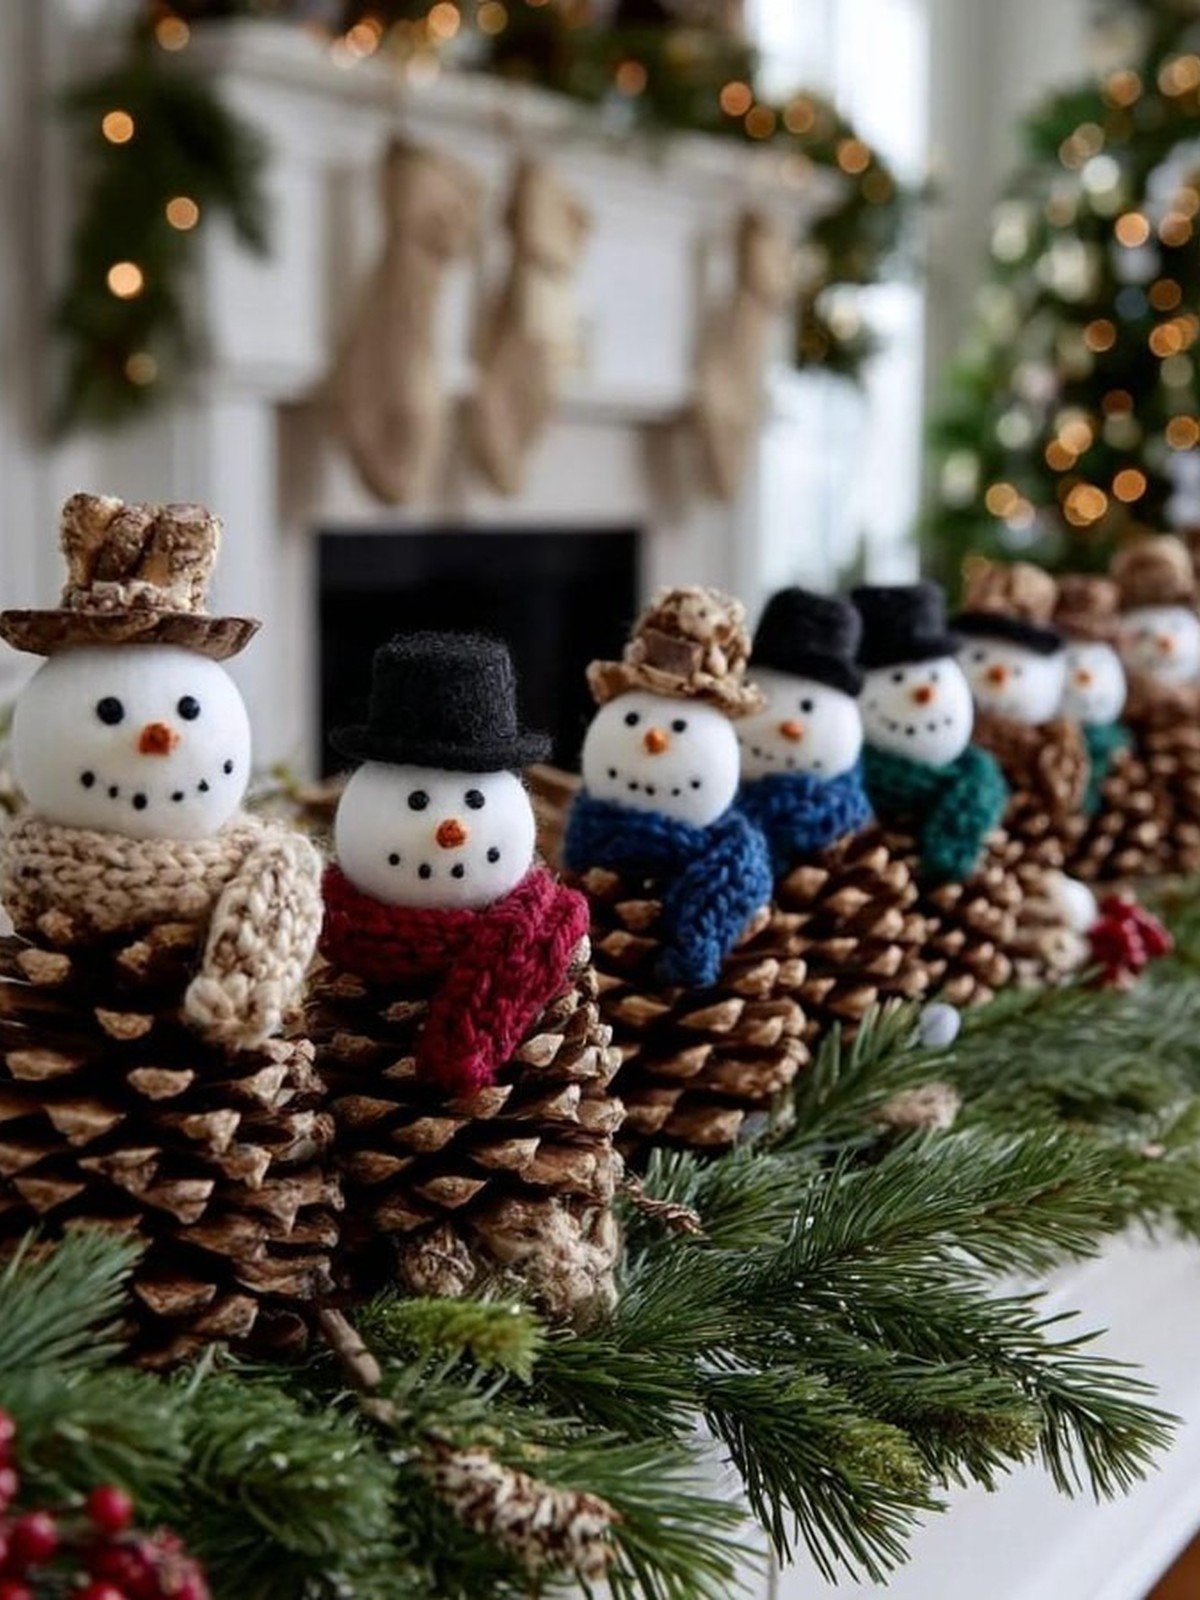
Dry brush a big pine cone with white paint so the edges look frosted, then add a felt hat and scarf around the top third and a tiny face on a small wooden bead head, or paint the face straight onto the cone. Pine cone snowmen suit woodland and rustic decorating, and no two ever match.
You’ll need: a large open pine cone, white paint, felt for hat and scarf, small pom pom nose or felt
Best for: a natural look and a woodland shelf
5. Wine Cork Snowmen
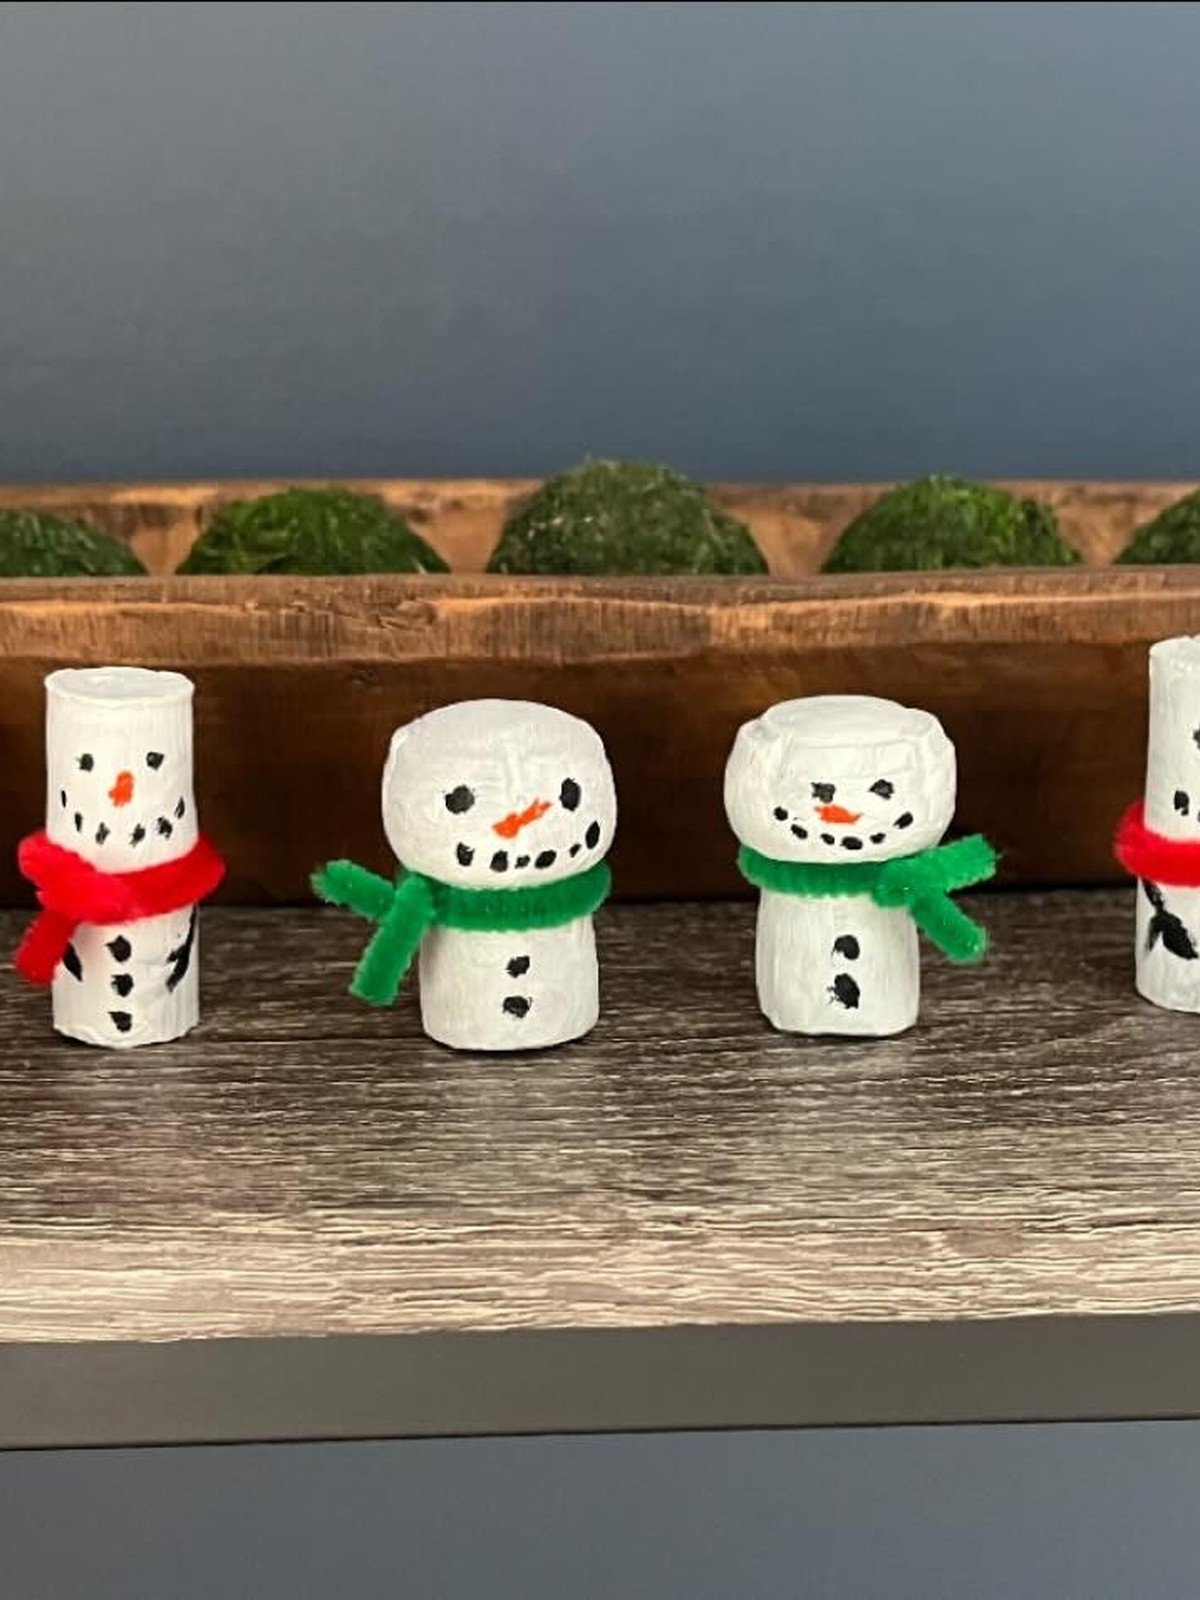
Paint corks white, draw on simple faces with a fine marker and add tiny felt hats and scarves. Cork snowmen take minutes each and work as place settings, bottle gifts and tree decorations. Make a set of six in a small box for an easy handmade present.
You’ll need: wine corks, white paint, fine marker, tiny felt scraps, glue
Best for: tiny gifts, place settings and tree decorations
6. Stacked Mason Jar Snowman Treat Jars
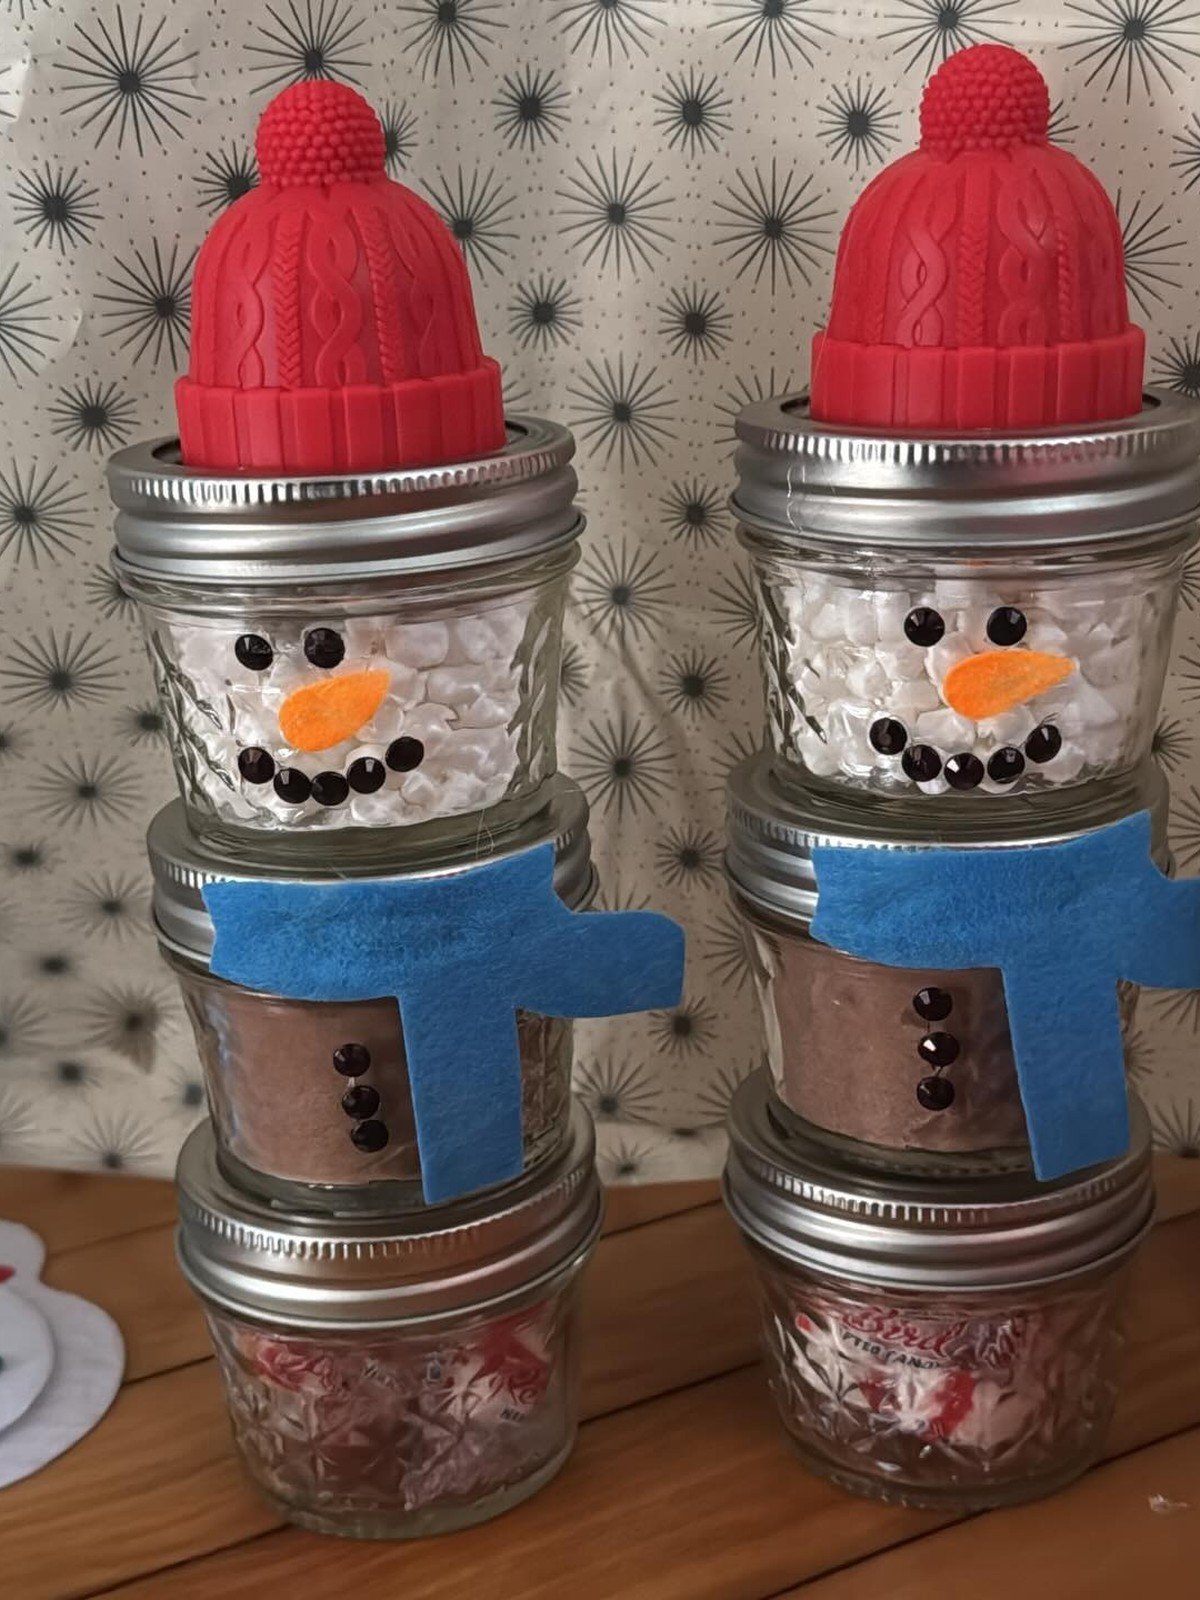
Stack three small mason jars and the snowman builds itself: the top jar holds marshmallows behind a painted snowman face, the middle jar holds cocoa mix with a felt scarf wrapped around the join, and the bottom jar holds candies. A tiny knit hat on the lid finishes him. These are gifts as much as decorations.
You’ll need: three small mason jars per snowman, marshmallows, cocoa mix and candies for filling, felt for the scarf, a mini knit hat, paint for the face
Best for: edible gifts for teachers, neighbors and coworkers
7. Paper Plate Snowman
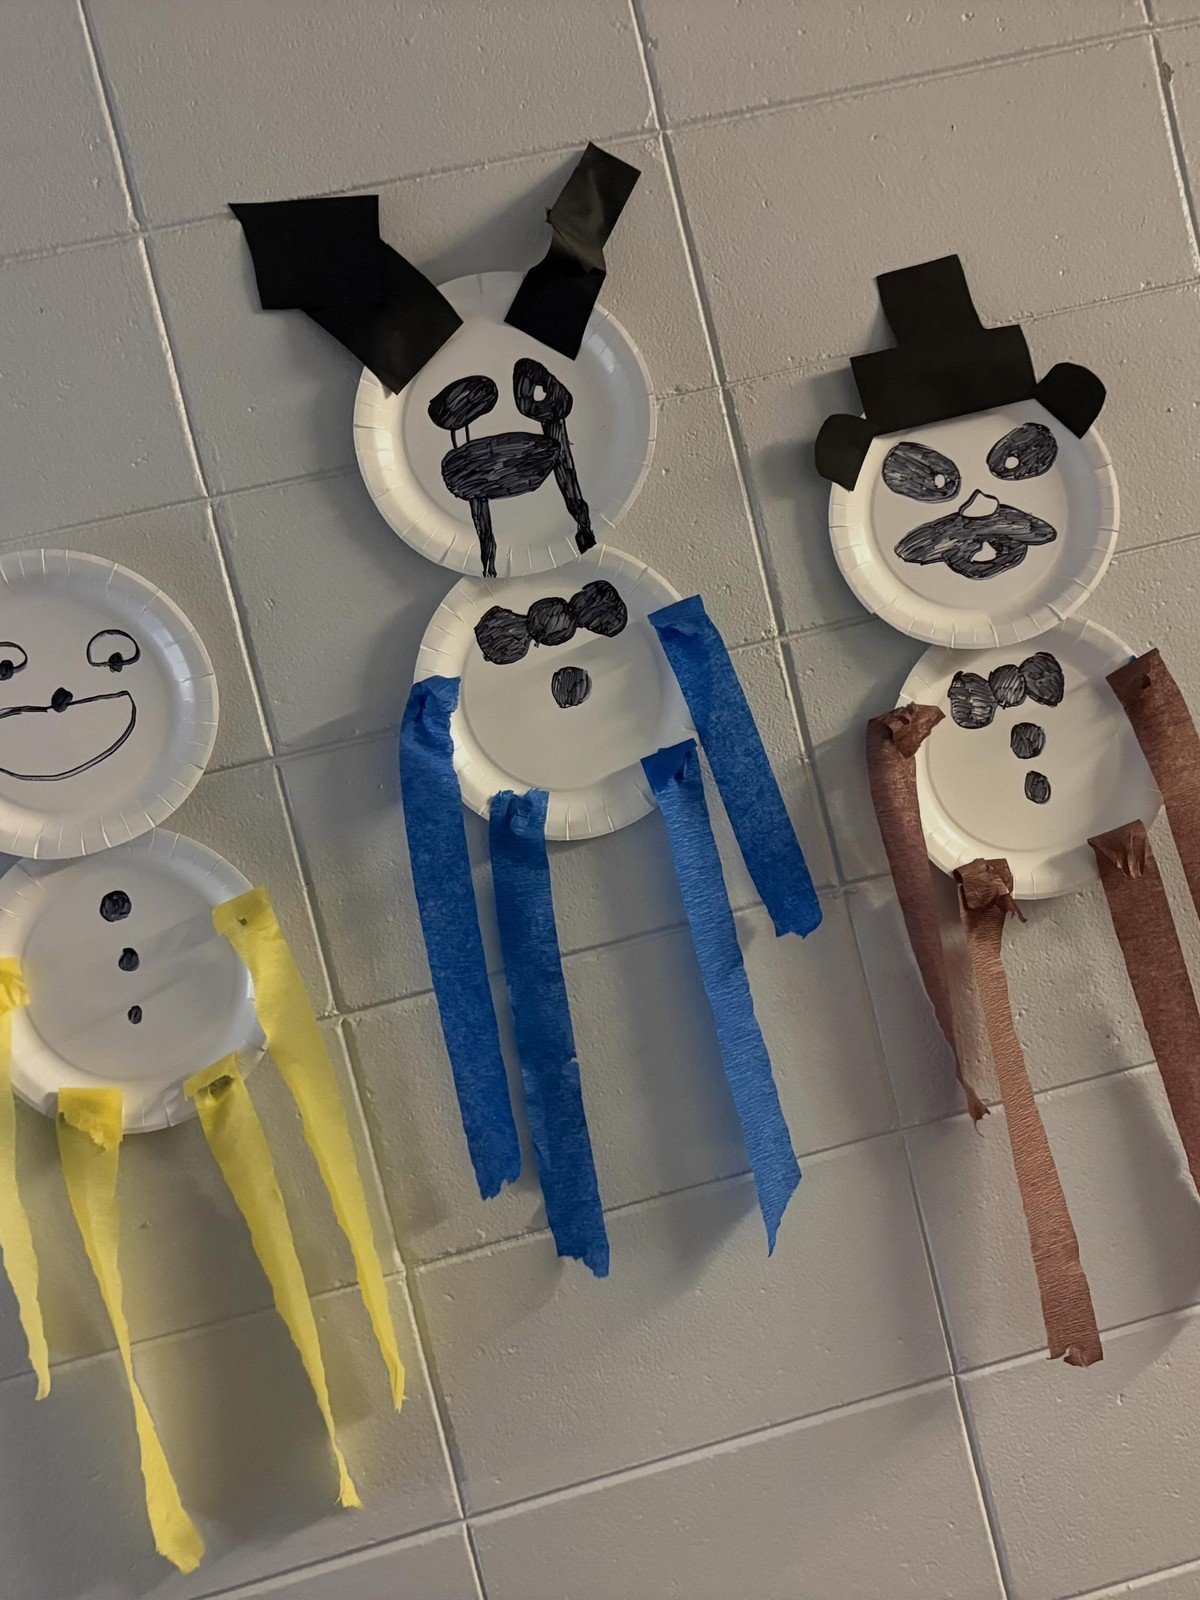
Glue two paper plates together as head and body, cover them with cotton balls for snow texture, then add paper eyes, a carrot nose and a big smile. It is the most forgiving snowman on this list for small children, and it hangs happily on a classroom or kitchen door.
You’ll need: two paper plates, cotton balls, paper and felt scraps, glue, crayons
Best for: young children and classroom crafting
8. Wooden Spoon Snowman
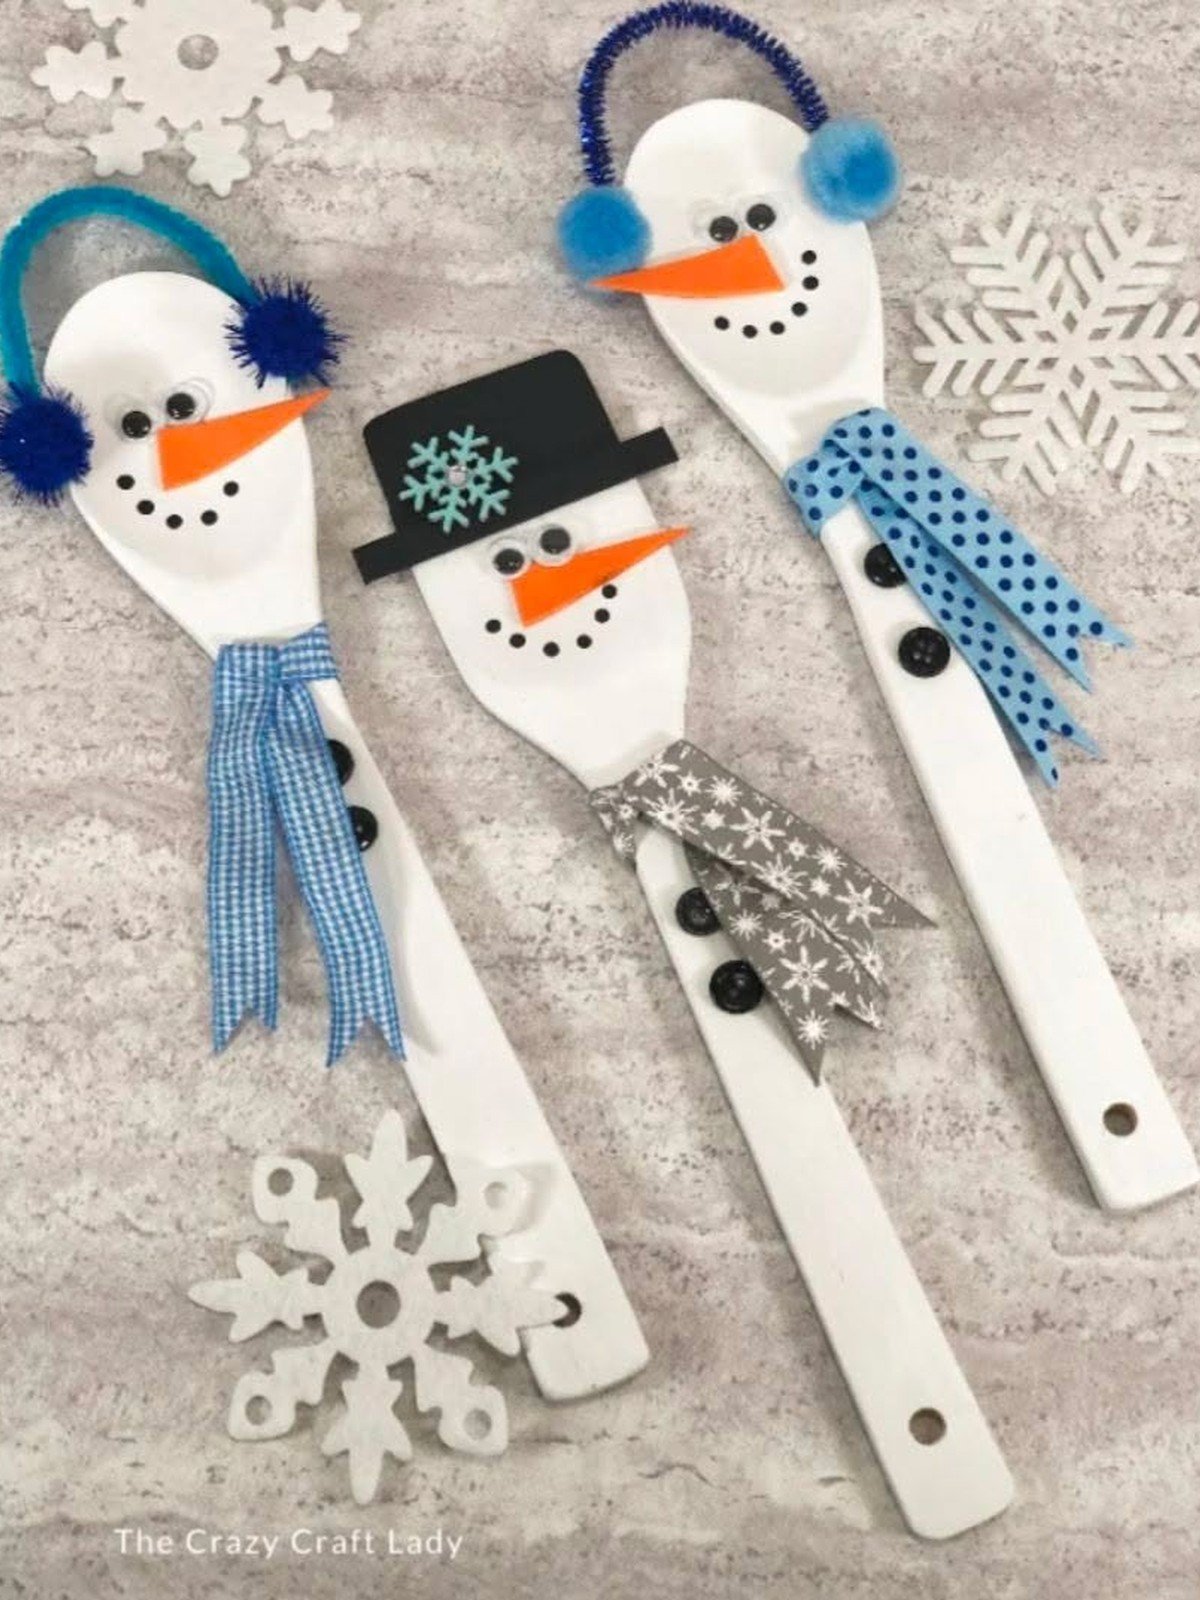
Paint the bowl of a wooden spoon white and draw the snowman face on it, wrap the handle in fabric or felt as a scarf body, and stand it in a pot of greenery. Spoon snowmen are tall and cheerful in a vase of winter branches.
You’ll need: a wooden spoon, white paint, fabric scraps for a body wrap, marker, a pot or vase to stand it in
Best for: plant pots, vases and table centers
9. Snowman Head Wreath
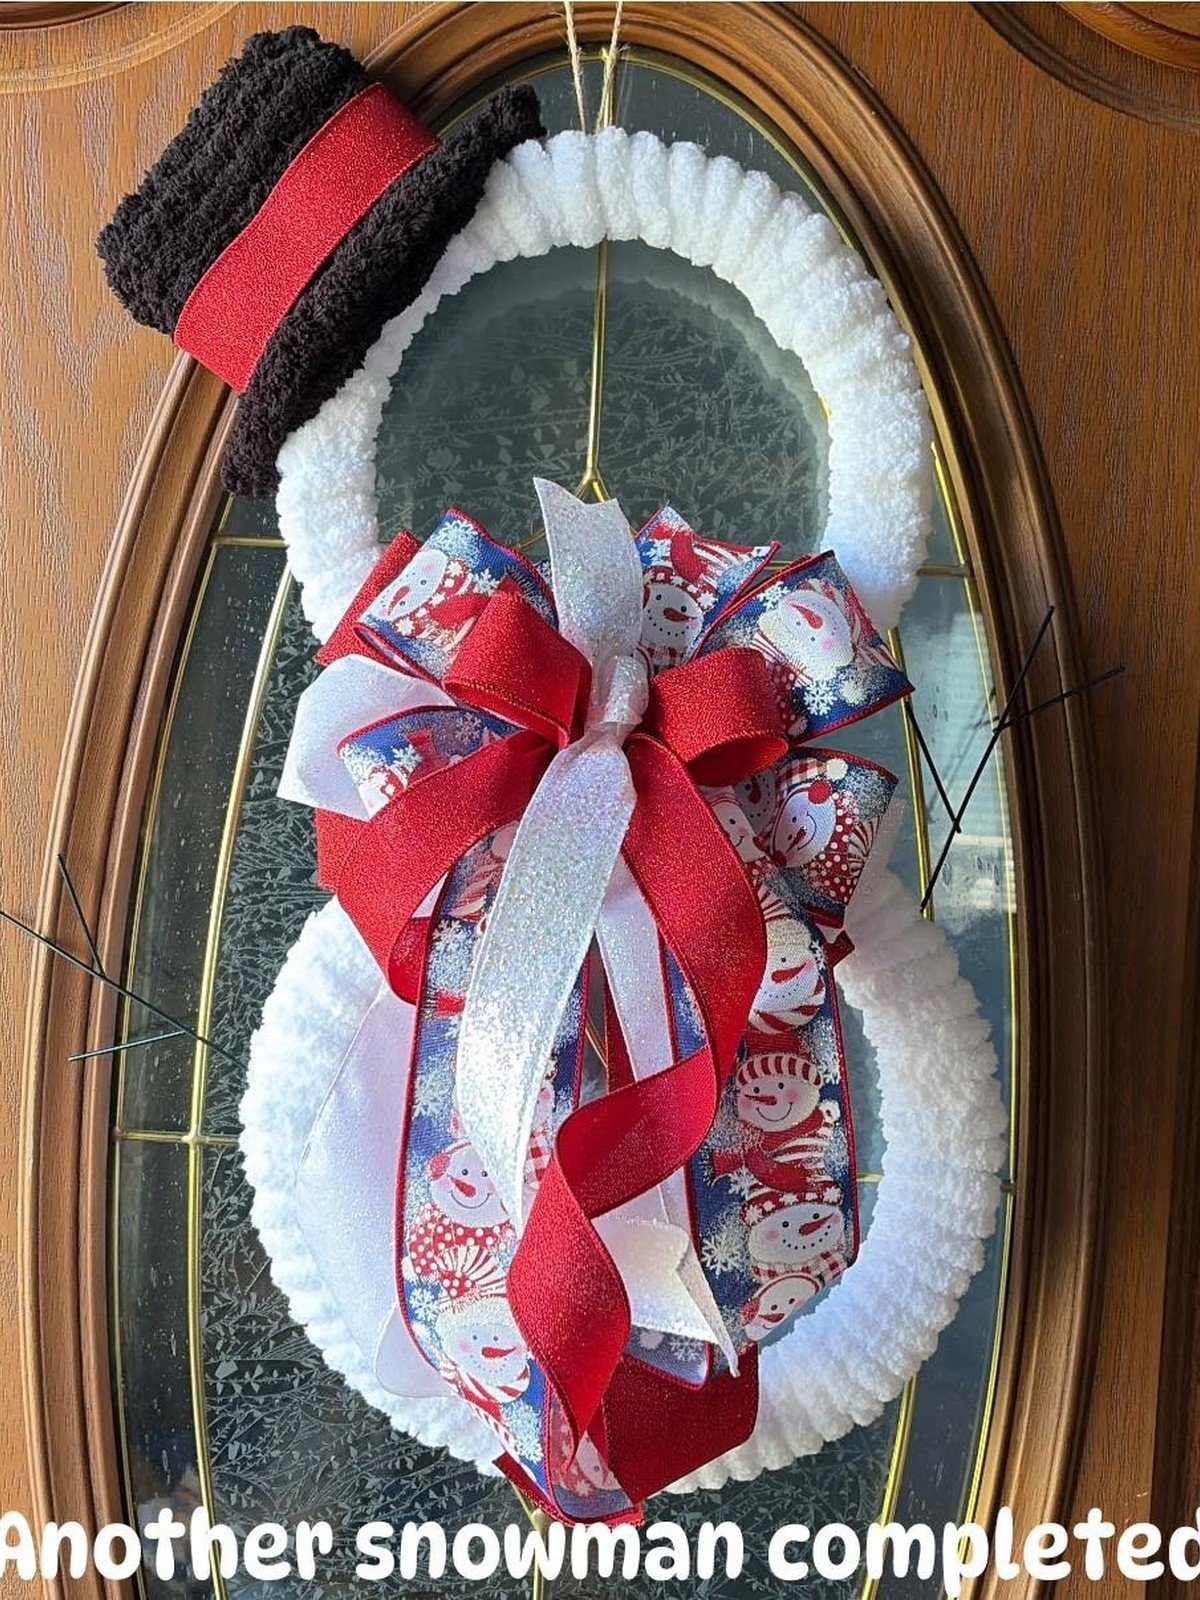
Turn a white wreath into a snowman face with two eyes, a carrot nose and a smile, add a black felt hat at the top and tie a wide scarf ribbon at the bottom. It is one of the fastest door decorations you can make, and it works from the first snow to the end of January.
You’ll need: a white round wreath base or a grapevine wreath painted white, black felt hat, face pieces, a wide scarf ribbon
Best for: doors and walls that need one big cheerful piece
10. Glass Bowl Snowman
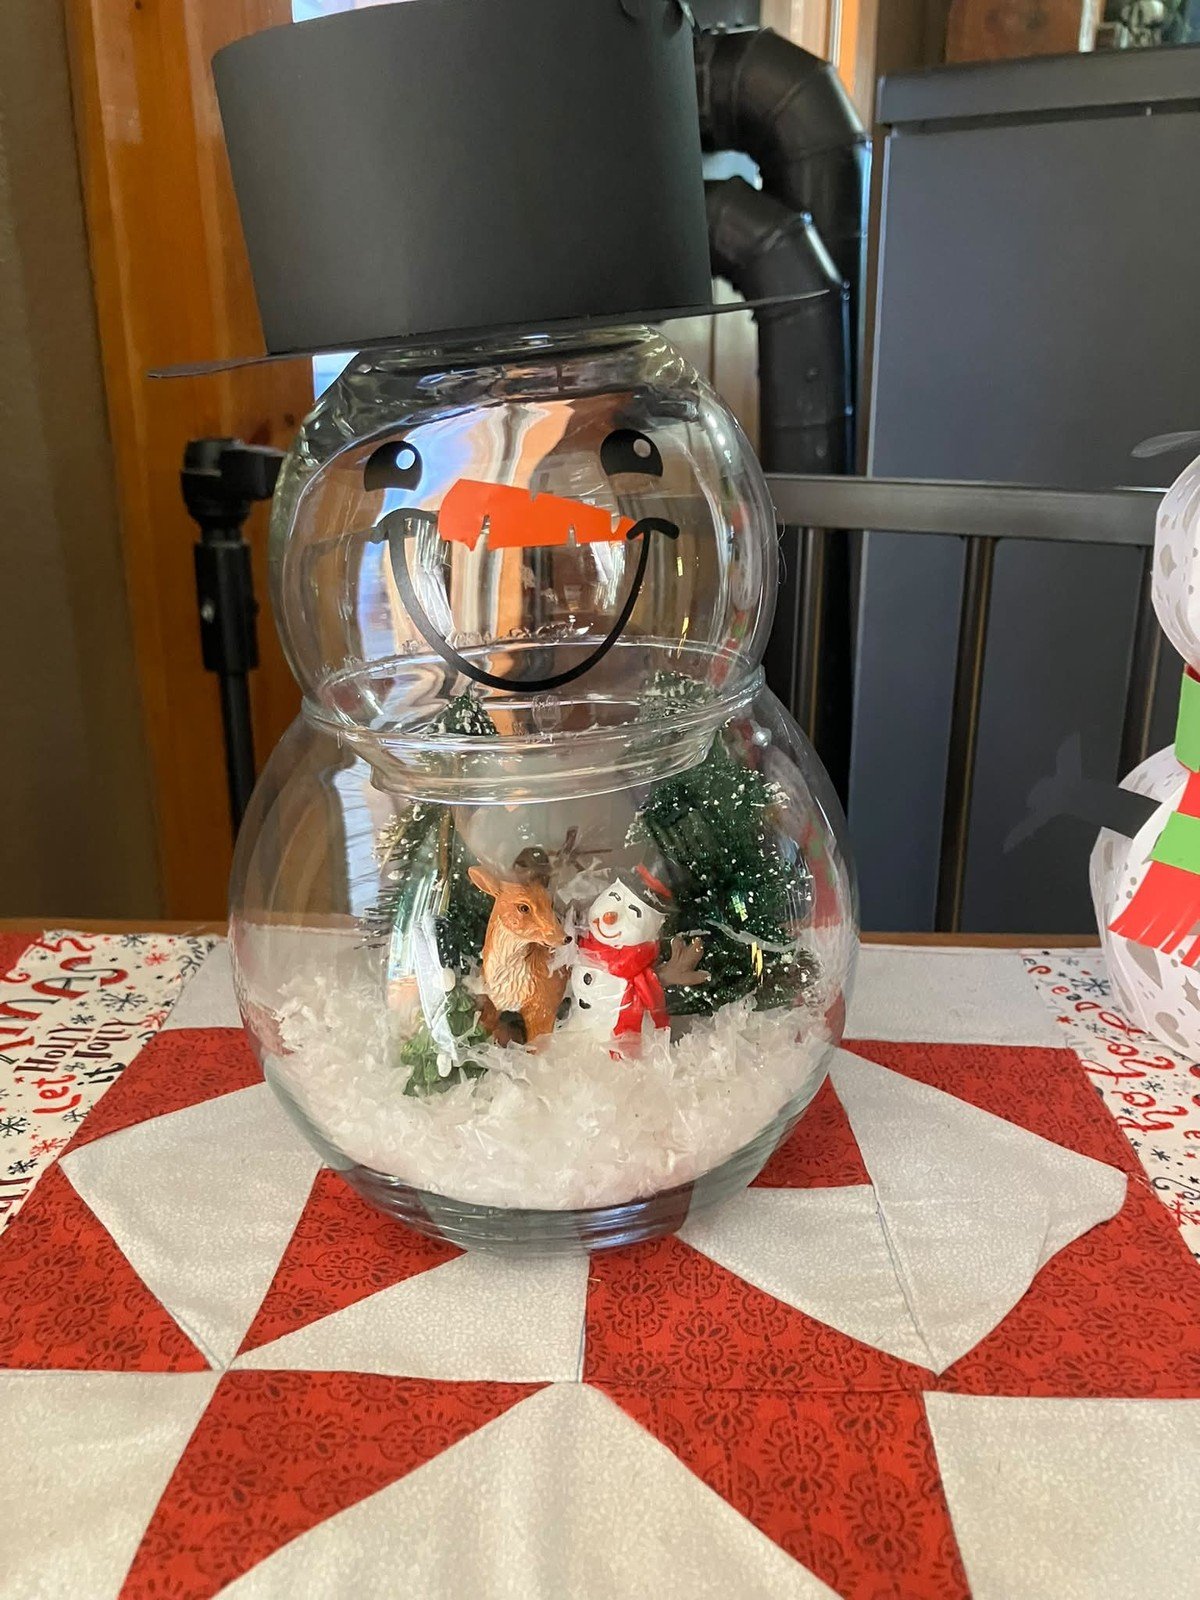
Stack two round glass bowls, fill them with white material, fake snow, cotton or even white sweets, then dress the top bowl with a face, hat and scarf. It makes a generous centerpiece, and the treat filled version empties itself happily through December.
Safety note: Let adults handle hot glue and scissors for young children, and keep small parts like buttons and beads away from children under three. Use battery tea lights in jar lanterns, never real candles near fabric scarves.
You’ll need: two round glass bowls or fish bowls, white filler or paint, hat and scarf, buttons
Best for: a mantel centerpiece that can hold treats
Frequently Asked Questions
Which snowman craft is easiest for a complete beginner?
The sock snowman. It needs no sewing, no paint drying time and no special tools, and it works first time for almost everyone.
What do I fill a sock snowman with?
Uncooked rice is the classic filling because it gives weight and a nice squish. Dry beans or polyester stuffing also work. Avoid anything that attracts pests if the snowman will be stored all year.
Are these snowman crafts suitable for kids?
Yes. The paper plate snowman, the popsicle stick snowman and the pine cone snowman are all good for children with supervision. Use school glue instead of hot glue for young kids, and pre cut any fiddly pieces.
What glue works best for snowman crafts?
Hot glue is fastest and holds fabric and foam well. For kids crafts and paper, school glue or a glue stick is safer. A low temperature glue gun is a good middle ground for family crafting.
Can these snowmen go outside?
Most of them, yes. Keep foam ball and glass bowl snowmen indoors or under cover, because foam and paint do not love rain. The wreath version lasts longest on a sheltered door.
How do I store snowman crafts for next year?
Store them upright in a box with tissue between them so faces and scarves do not rub. Sock snowmen keep their shape best stored sitting, not squashed flat.
Final Thoughts on DIY Snowman Crafts
The best thing about snowman crafts is that there is no single right way to make one. A sock, a foam ball, a pine cone and a jar can all become the same cheerful fellow, and each version suits a different afternoon, budget and age group.
Start with the three builds in this diy snowman crafts list, then raid the recycling and the craft box for the rest. A whole windowsill of different snowmen is a happy sight all winter.