



This post may contain affiliate links. Please read my disclosure policy.
In This Article Show
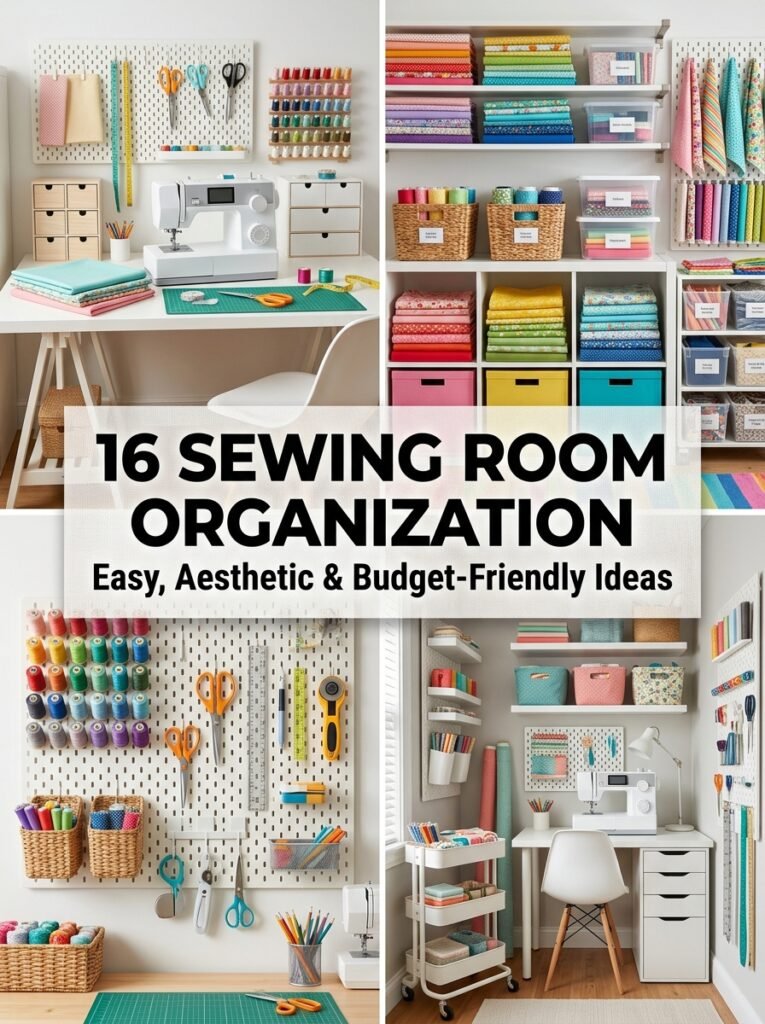
A sewing room can feel inspiring one day and completely overwhelming the next. Fabric piles up, thread disappears, patterns get folded into random drawers, and the cutting table slowly becomes a storage table. The good news is that you do not need a huge room or expensive furniture. Smart zones, vertical storage, clear labels, and a little creativity can change the way you sew. This guide brings together practical sewing room organization ideas for large rooms, tiny corners, small spaces, and budget-friendly craft areas. Whether you have a dedicated craft room or only one corner of a bedroom, the goal remains the same: make every important item easy to find. These ideas combine DIY, small space, fabric storage solutions, wall storage, and work stations so your room works harder without feeling crowded.
1. Create a Dedicated Sewing Station
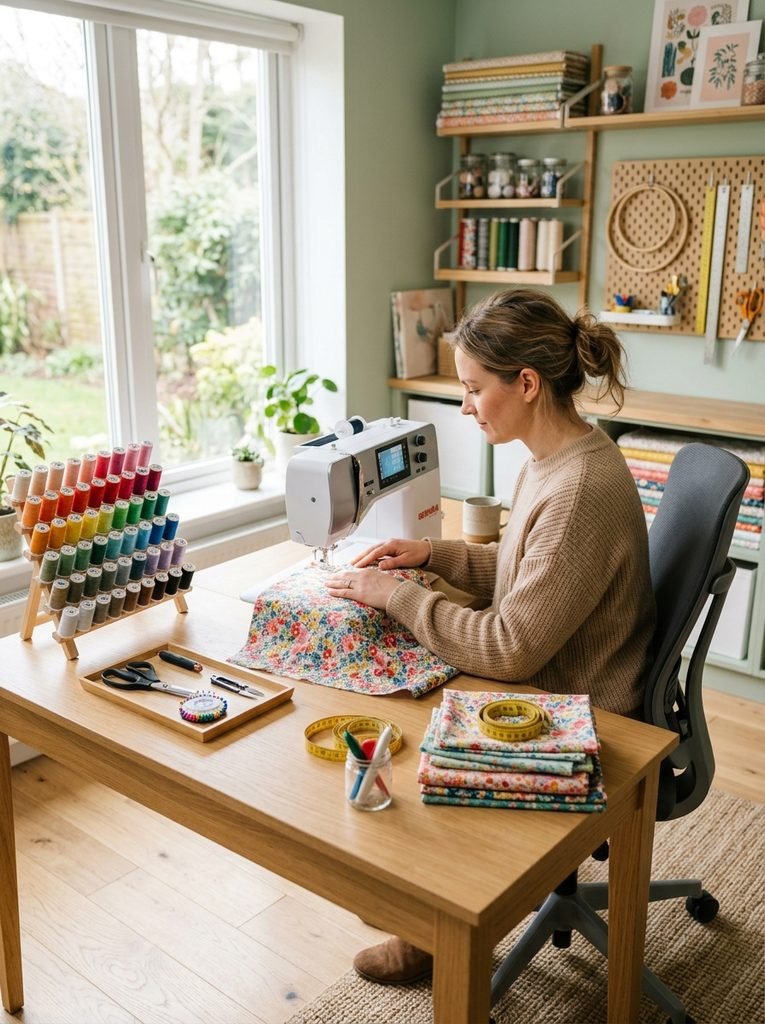
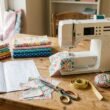
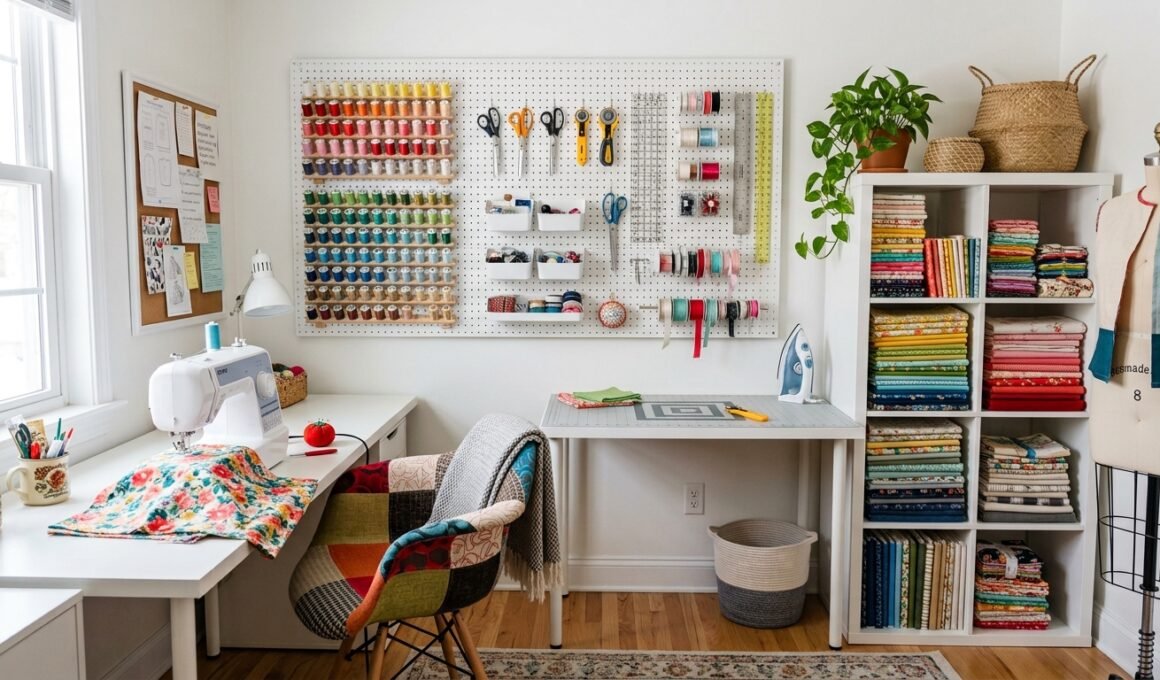
Start with the area you use most. Keep your machine, basic thread, scissors, seam ripper, measuring tape, and frequently used tools close together. A comfortable chair and suitable table height also matter. The Sewing & Craft Alliance recommends a sewing position that keeps your back upright, knees around 90 degrees, and forearms parallel to the floor.
2. Use a Pegboard for Wall Storage
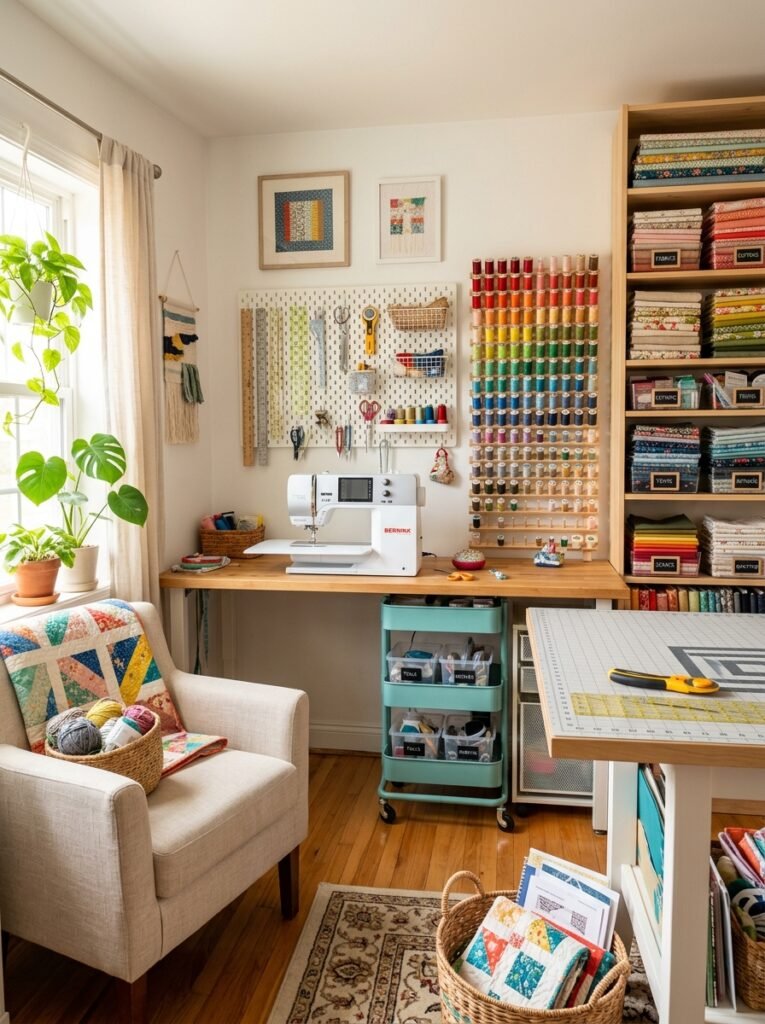
An empty wall can become valuable storage. Install a pegboard above or beside your desk and hang scissors, rulers, rotary cutters, thread, clips, baskets, and small containers. IKEA’s SKÅDIS system, for example, uses hooks, containers, and shelves to keep frequently used supplies visible and accessible.
3. Fold Fabric by Color
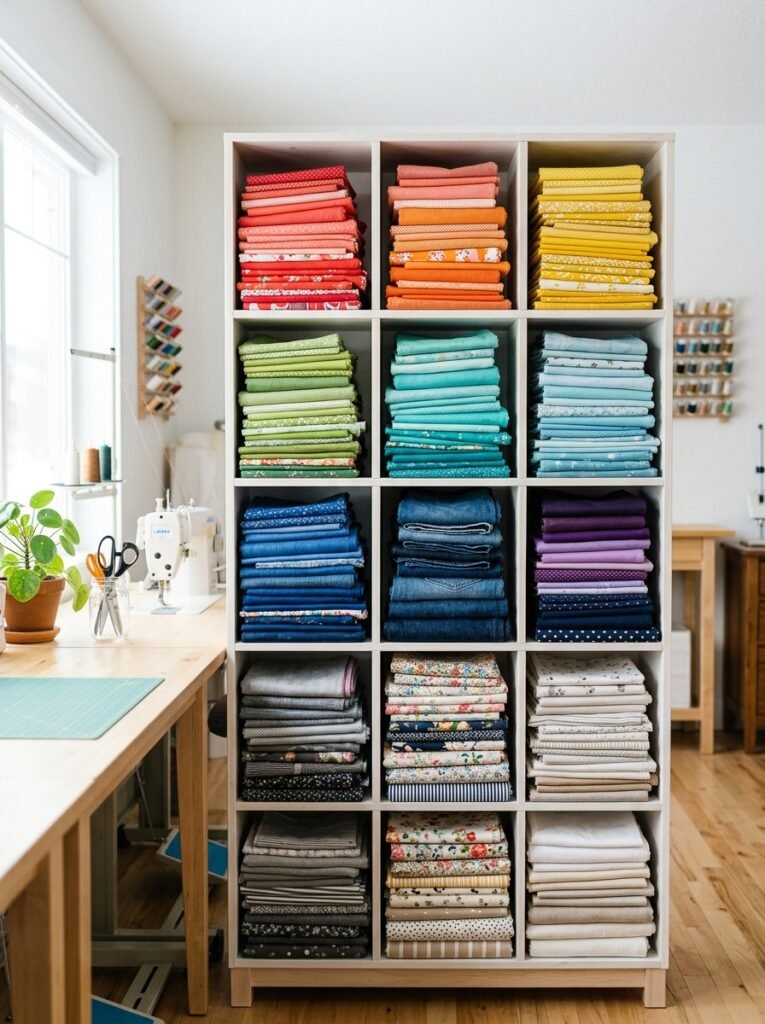
Fabric looks much easier to manage when you stop treating it as one giant pile. Fold similar-sized pieces neatly and group them by color, fabric type, or project. Clear shelves or open cubes make the collection easy to scan before buying more fabric.
4. Build a Scrap Fabric Storage System
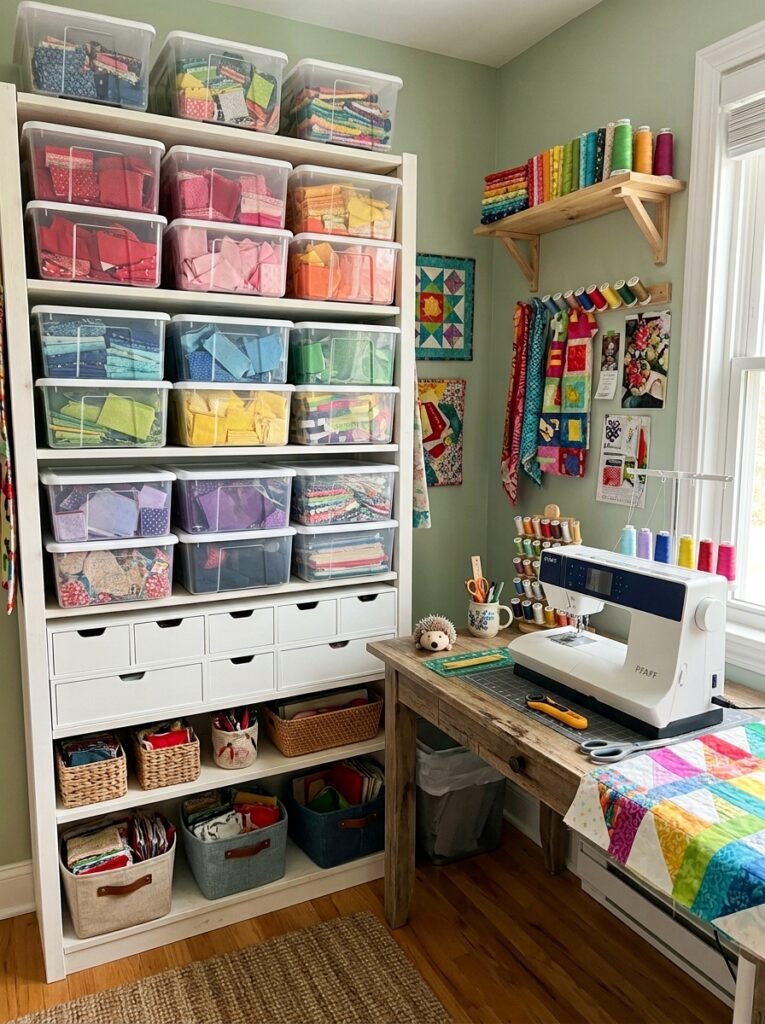
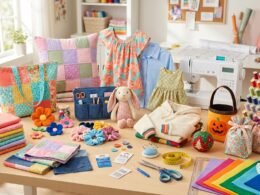
Small fabric pieces deserve their own home. Use clear boxes, baskets, or labeled drawers for cotton scraps, felt pieces, denim scraps, and tiny leftovers. A dedicated scrap fabric storage system helps you quickly find material for appliqué, patchwork, flowers, and small sewing crafts.
5. Add Labels to Every Storage Zone
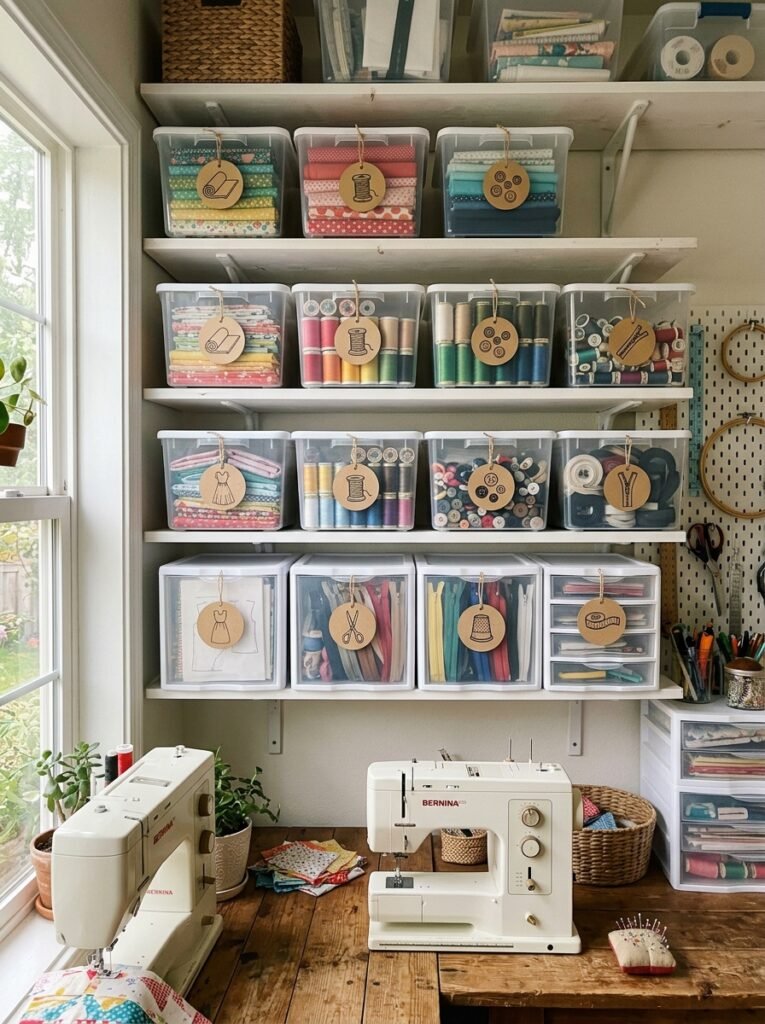
Labels remove guesswork. Mark containers as “Cotton,” “Denim,” “Thread,” “Buttons,” “Zippers,” “Patterns,” or “Scraps.” You can make simple labels with a label maker, cardstock, or a DIY printed system. Keep the wording short so you can recognize each category instantly.
6. Try IKEA Storage for a Modular Setup
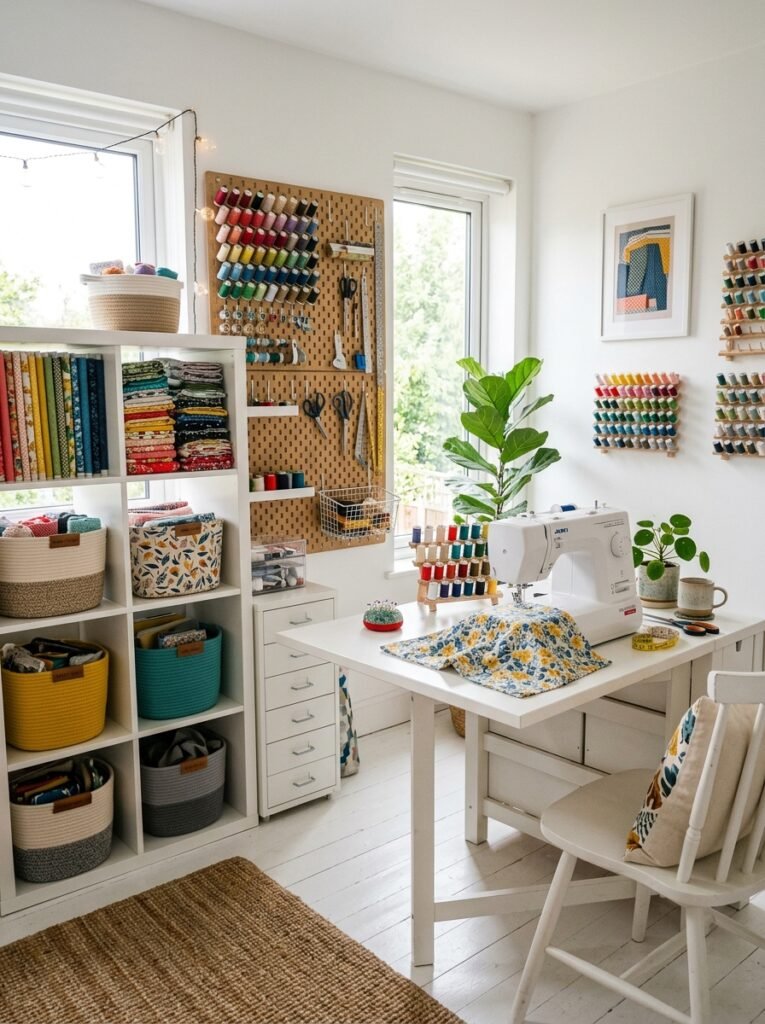
IKEA furniture can work well when you need flexible storage. Cube shelving can hold folded fabric and baskets, while drawer units can handle smaller sewing supplies. IKEA also highlights gateleg tables, pegboards, storage boxes, and customizable systems for sewing spaces.
7. Turn a Small Space Into a Workstation
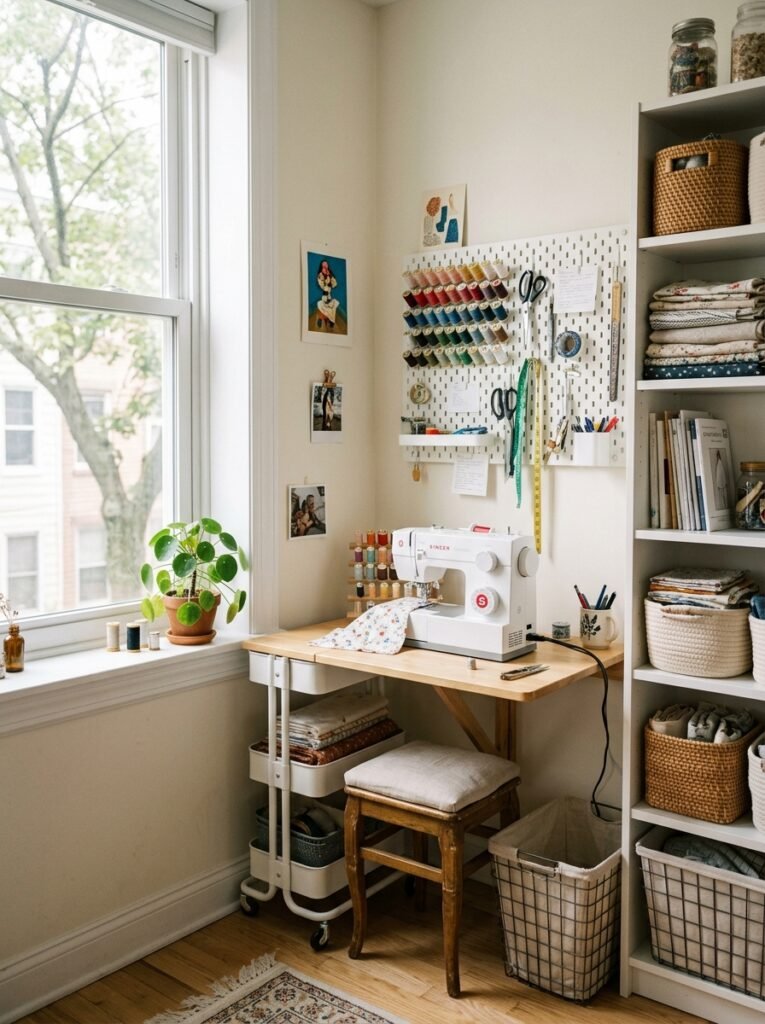
You do not need an entire room. A small space beside a window, inside a closet, or against one wall can become a useful sewing nook. Choose furniture that serves more than one purpose, such as a desk with drawers or a folding table that disappears when the project ends.
8. Make a DIY Thread Holder
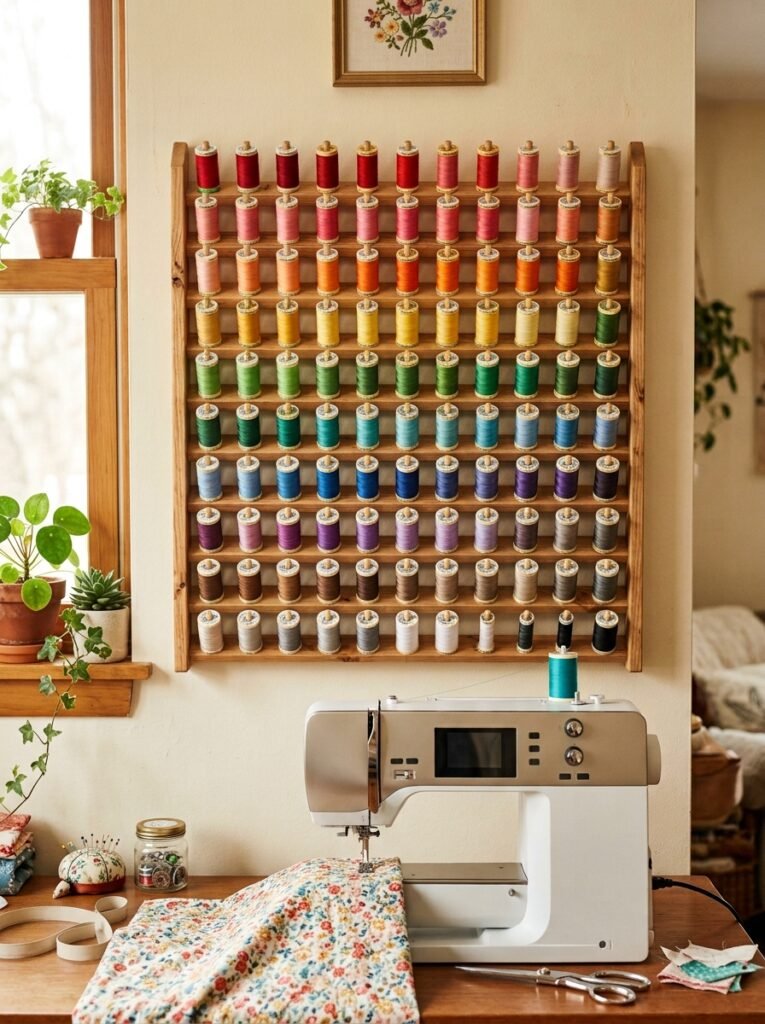
Thread becomes much easier to manage when you can see every spool. A wall-mounted rack, wooden dowels, small shelf, or DIY peg system can display your collection without filling a drawer. Arrange thread by color for a practical and aesthetic display.
9. Use Dollar Store Containers
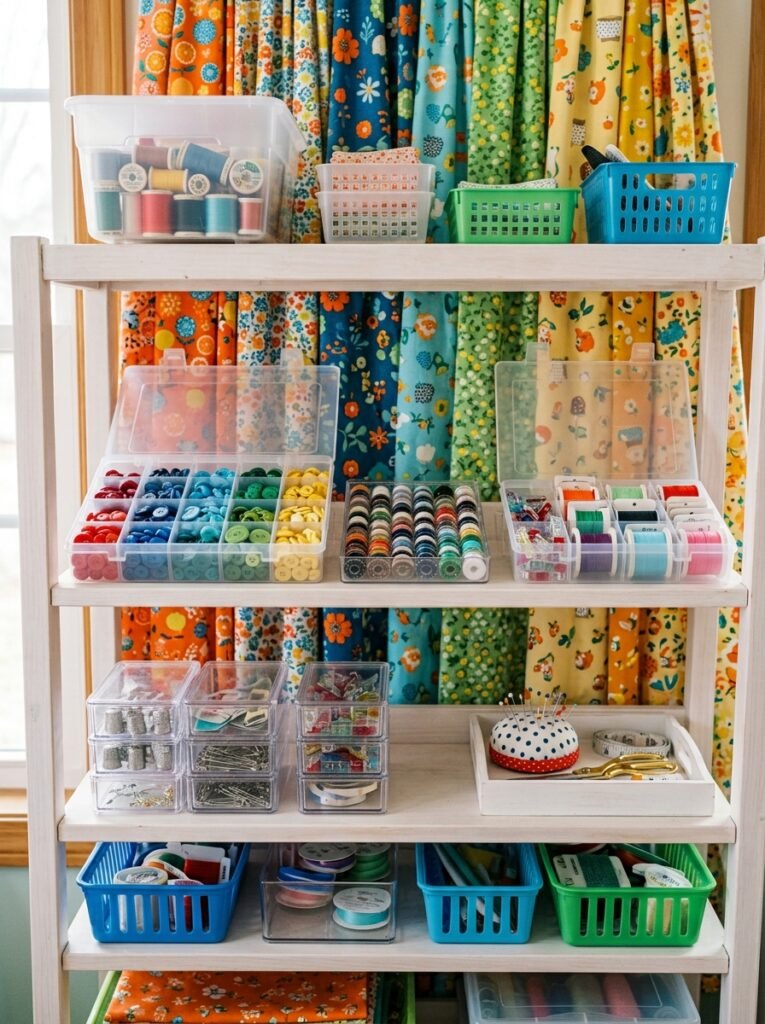
You can create useful storage without spending much money. Dollar store baskets, plastic boxes, pencil cases, trays, and small containers can hold bobbins, buttons, needles, clips, ribbons, and zippers. The Sewing & Craft Alliance also recommends everyday containers such as pill boxes, tackle boxes, and utensil caddies for sewing supplies.
10. Give Patterns Their Own Home
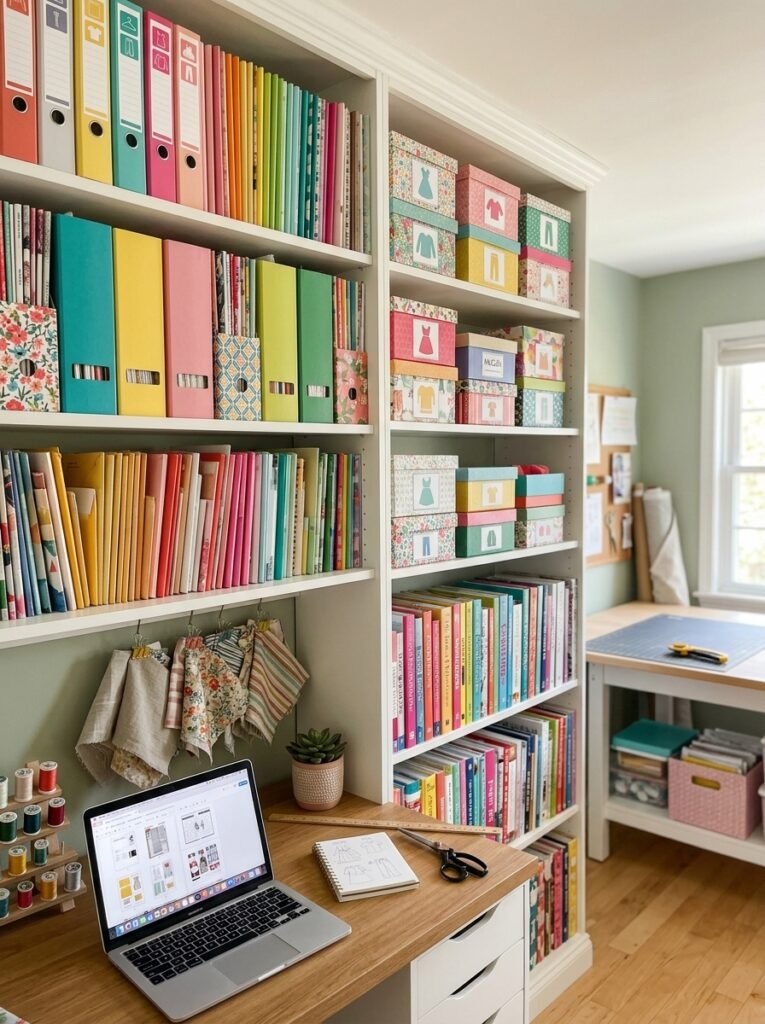
Patterns can quickly become one of the messiest parts of a sewing room. Store printed patterns inside folders, magazine files, envelopes, or labeled boxes. Keep digital patterns backed up on your computer while storing physical pieces according to project type, such as dresses, bags, quilts, or kids’ clothes.
11. Create a DIY Cutting Station
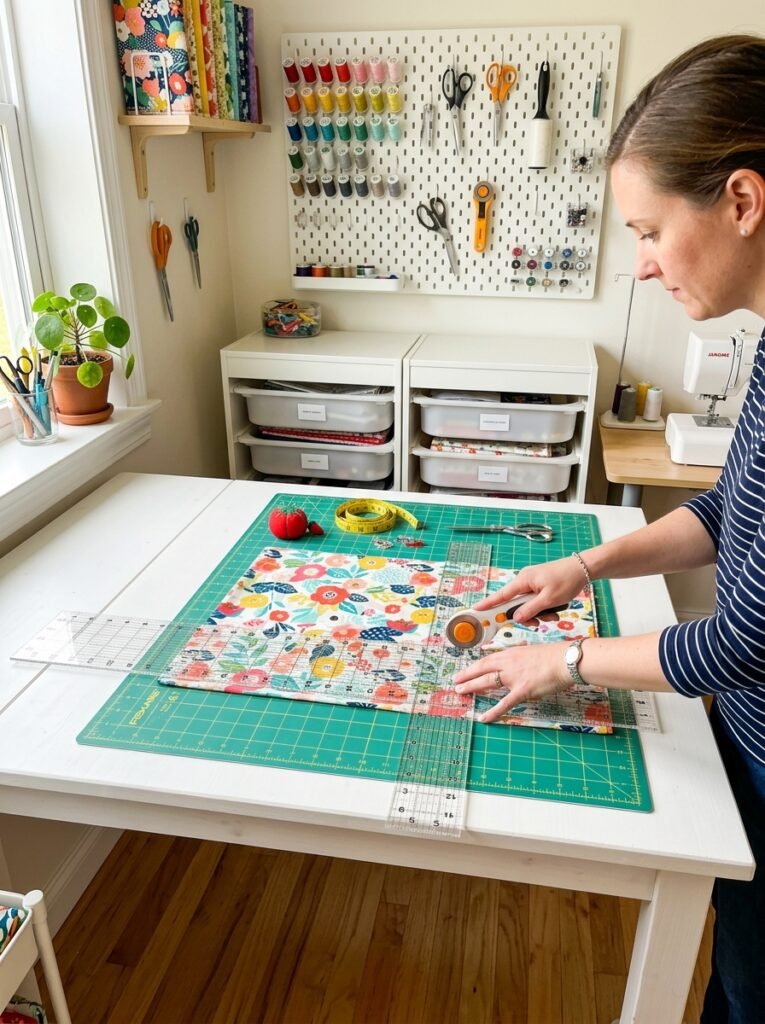
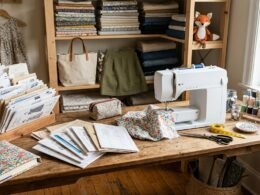
A good cutting area needs open surface space. If your room is small, use a folding table or extendable desk. Store rulers, rotary cutters, cutting mats, and measuring tools directly underneath or on a nearby wall. Keep the floor around the table clear so fabric can move freely.
12. Use Vertical Fabric Storage
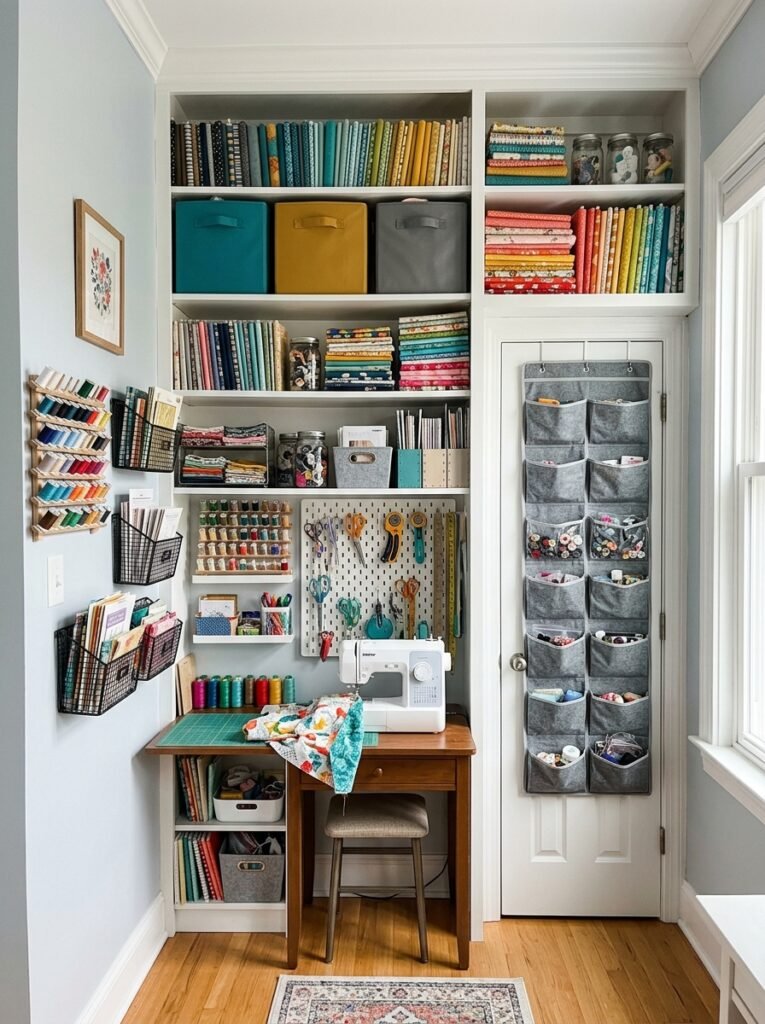
When floor space is limited, look upward. Tall shelves, wall-mounted cabinets, hanging organizers, and stackable bins can increase storage without taking much floor area. The Sewing & Craft Alliance specifically recommends wall units, hooks, stackable bins, and over-the-door storage when every bit of space matters.
13. Design a Small Rolling Craft Cart
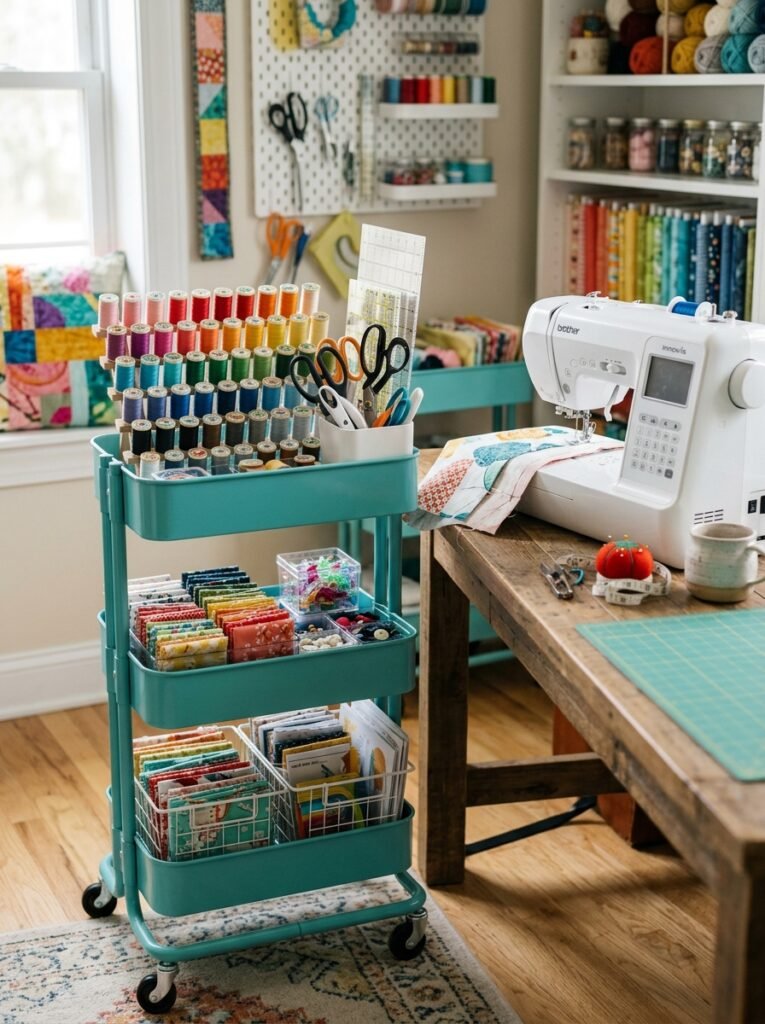
A rolling cart can solve a common problem: supplies are needed at different workstations. Keep thread, scissors, clips, rulers, and current projects on different levels. Move the cart from the sewing desk to the cutting station whenever you change tasks.
14. Make Work Stations That Match Your Workflow
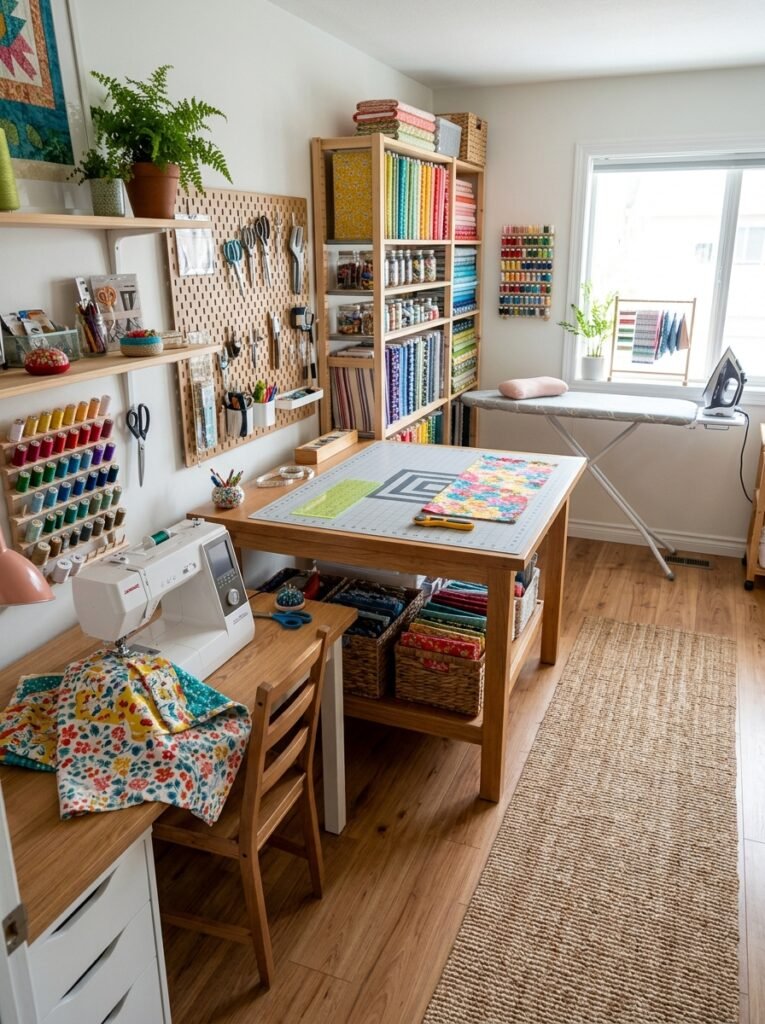
Think about how you actually sew. You may need one area for sewing, another for cutting, and another for pressing or finishing. The Sewing & Craft Alliance recommends keeping an ironing or pressing station near the sewing area so you can press as you work.
15. Try DIY Storage for Tiny Items
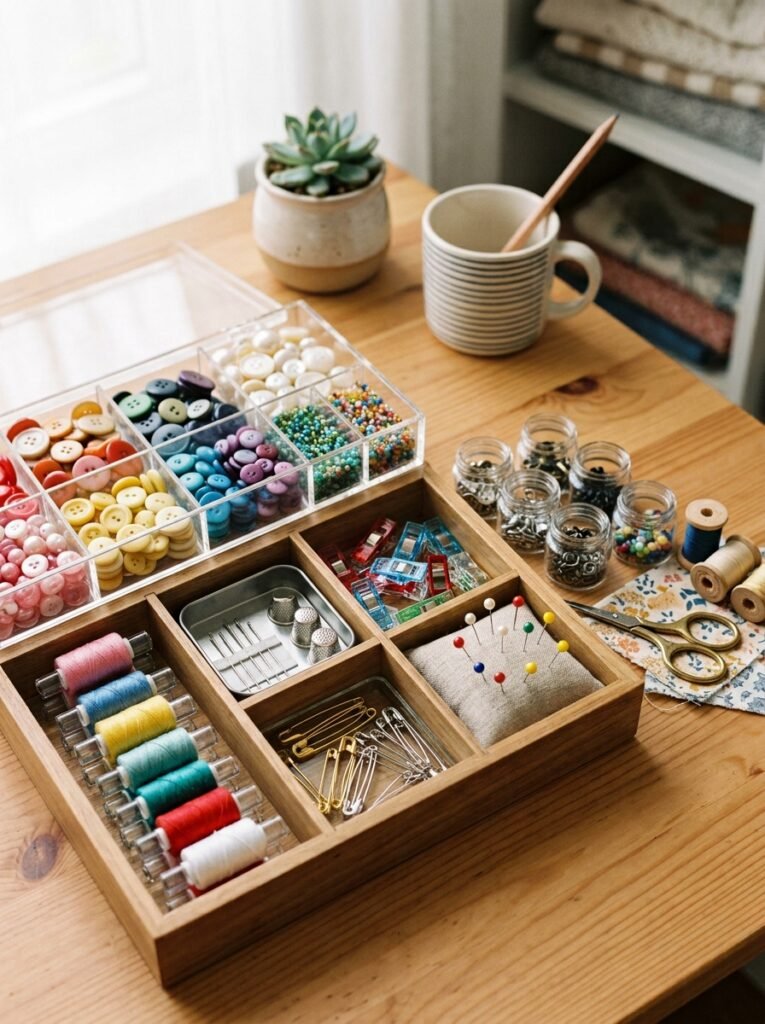
Tiny supplies create big clutter. Use divided boxes for needles, pins, buttons, snaps, hooks, bobbins, beads, and clips. Small compartments work especially well because you can separate similar items instead of mixing everything together. Clear containers also let you check supplies before opening every drawer.
16. Keep the Room Aesthetic but Practical
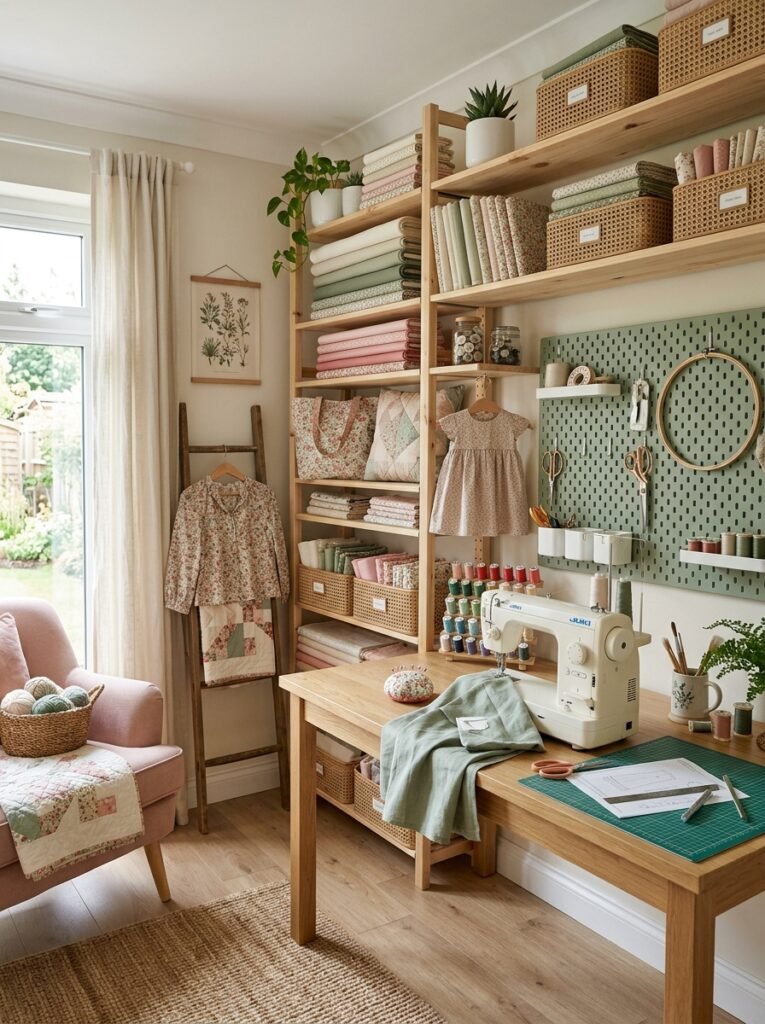
A beautiful sewing room should still support real work. Choose two or three main colors, repeat them through baskets and fabric displays, and keep the busiest tools within reach. Use closed storage for visual clutter and open shelves for beautiful fabrics or finished projects. Good layout ideas should make sewing easier, not simply make the room look pretty.
How to Plan Sewing Room Organization for Small Spaces
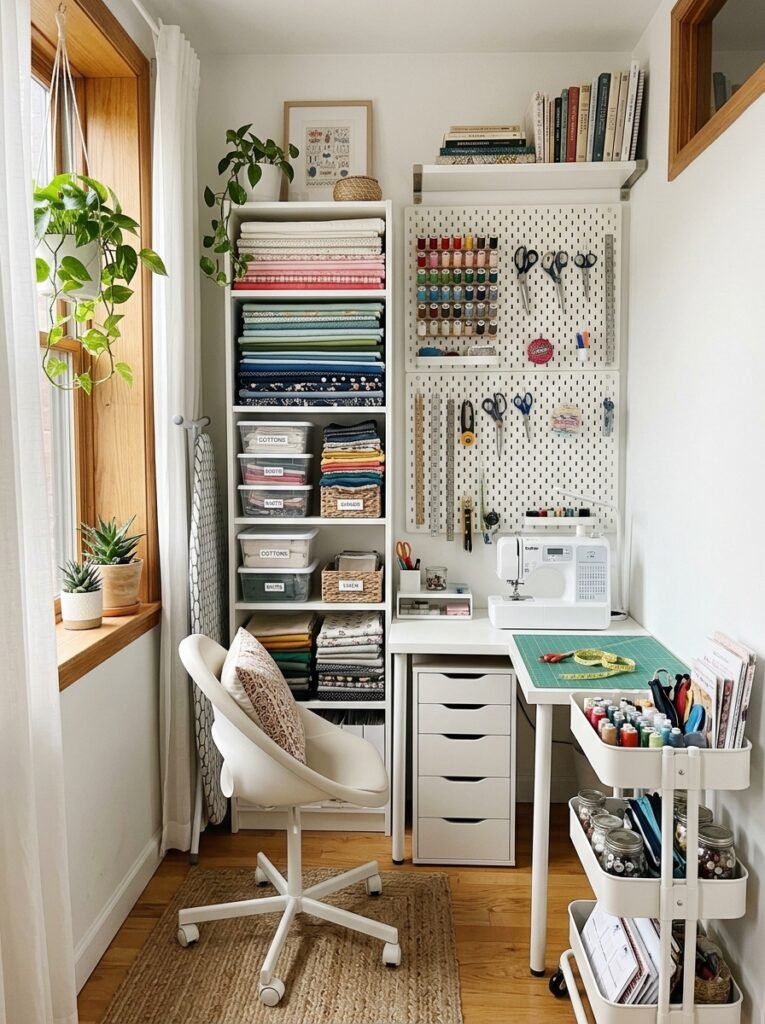
The smartest approach starts with your workflow rather than the furniture. First, decide where you sew, cut, press, and store materials. Then place the tools you use most often within easy reach. Keep heavier fabric and larger storage lower, while lightweight tools and frequently used supplies can sit at comfortable reach height. For ideas for small spaces, think vertically. A wall can hold thread, rulers, scissors, patterns, and small baskets. Under-desk drawers can store notions, while rolling carts can move between workstations. Over-the-door pockets can also add storage without taking floor space.
Budget-Friendly Sewing Room Organization Hacks
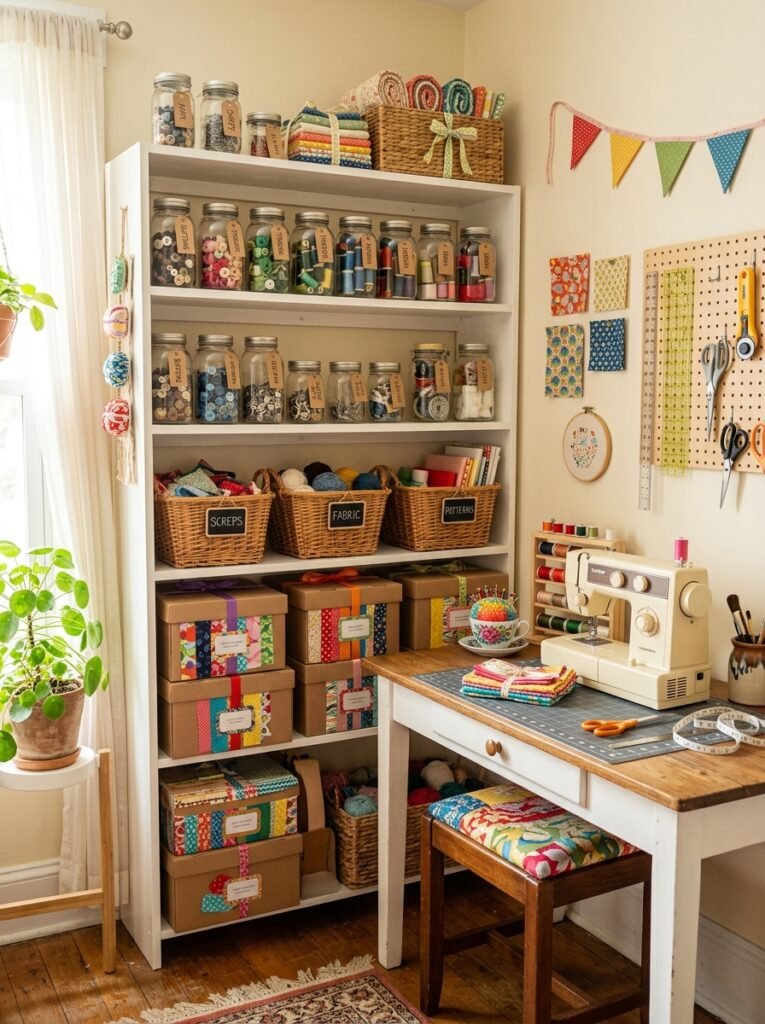
You do not need to replace everything to improve your room. Start with what you already own. Repurpose jars for buttons, boxes for patterns, baskets for fabric, and small trays for sewing tools. Add DIY dividers to drawers and use inexpensive Dollar Tree or dollar store containers for small supplies. One useful rule is simple: store each category where you naturally use it. Thread belongs near the machine. Cutting tools belong near the cutting table. Patterns belong near your planning area. This small change can save time every time you start a new project. The Sewing & Craft Alliance also recommends repurposing ordinary household organizers for sewing supplies.
How to Keep Your Sewing Room Organized
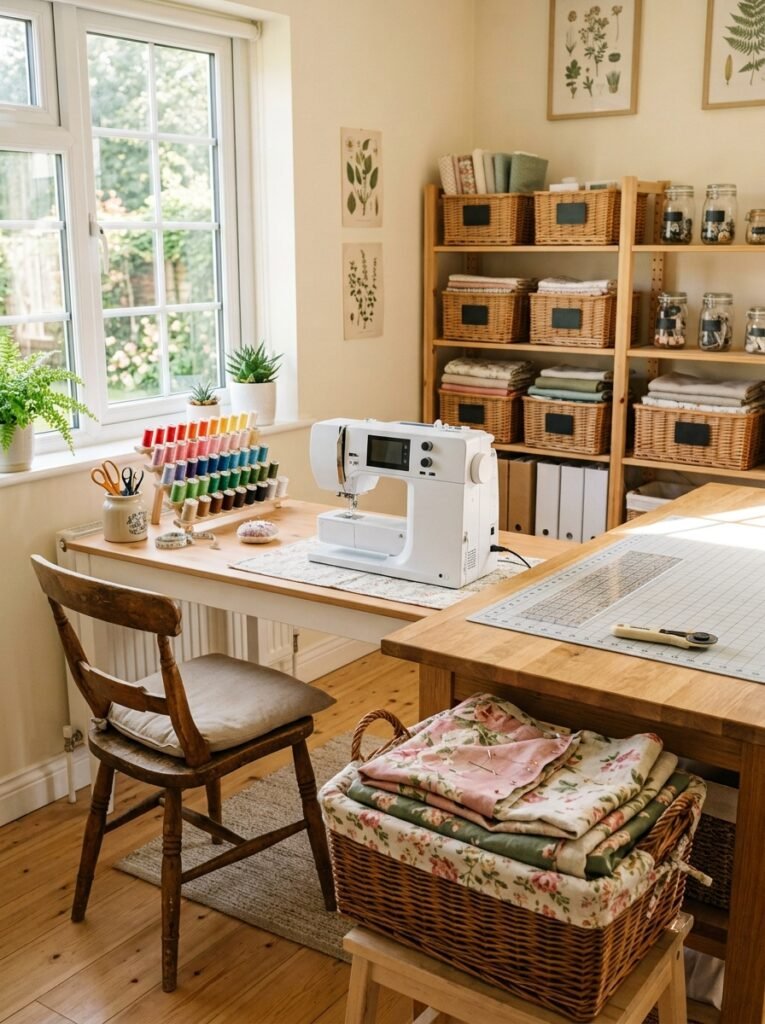
Organization only works when you can maintain it. At the end of each project, return scissors, thread, rulers, and tools to their assigned places. Put fabric scraps into the correct box instead of creating a new pile. Keep one basket for unfinished projects so works in progress do not spread across the entire room. Also avoid filling every shelf. Leave a little breathing room. When storage becomes completely packed, putting things away becomes harder, and clutter returns quickly. A good system should make cleanup easier than leaving everything on the table.
Final Thoughts on Sewing Room Organization
A well-planned sewing room organization system does more than make a room look clean. It gives every tool a purpose and every supply a home. Start with one drawer, one wall, or one workstation. Add storage slowly as you learn what you actually use. The best room does not need to look like a showroom. It needs to help you sit down, find your tools, spread out your fabric, and start creating without fighting through clutter. Whether your space is large, tiny, rented, or built on a budget, thoughtful storage can turn an ordinary corner into a place where creativity feels easy.