 Luis Nixon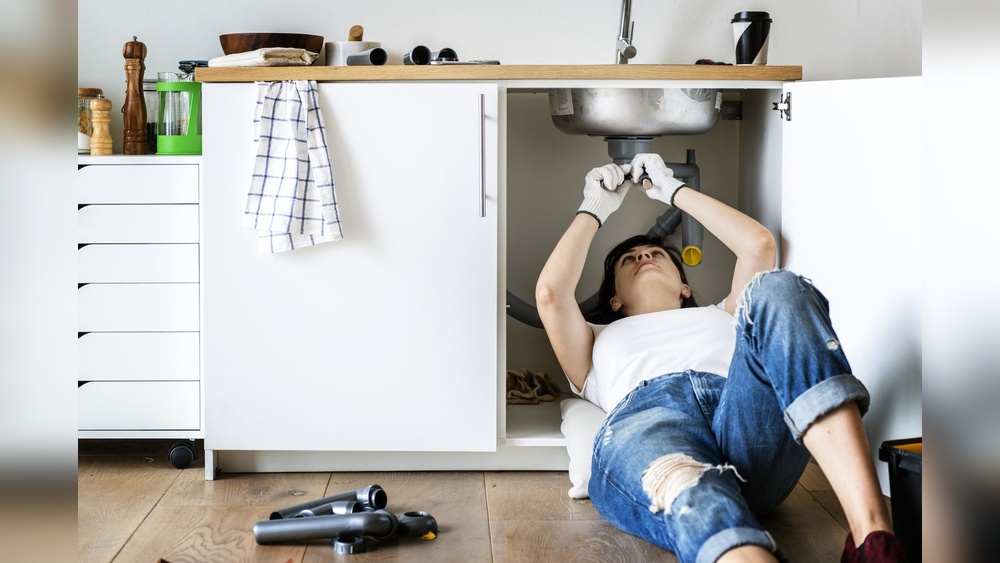
Plumbing problems can strike at the most inconvenient times, and calling a professional every time can get expensive and stressful. But what if you could fix many common plumbing issues yourself?
You absolutely can! With a few simple tools and clear instructions, you’ll save money and gain confidence in handling your home’s plumbing. You’ll discover 10 easy DIY plumbing repairs that anyone can tackle. Ready to stop leaks, clear clogs, and fix running toilets without waiting for a plumber?
Keep reading and take control of your plumbing today!
Common Plumbing Issues At Home
Plumbing problems happen in every home. Some are small and easy to fix. Others need a plumber. Knowing common issues helps you act fast. You can save money and avoid big damage.
Many plumbing troubles come from wear or blockages. Pipes, faucets, and toilets face daily use. Over time, parts break or leak. You can fix some problems yourself with simple tools.
Leaky Faucets
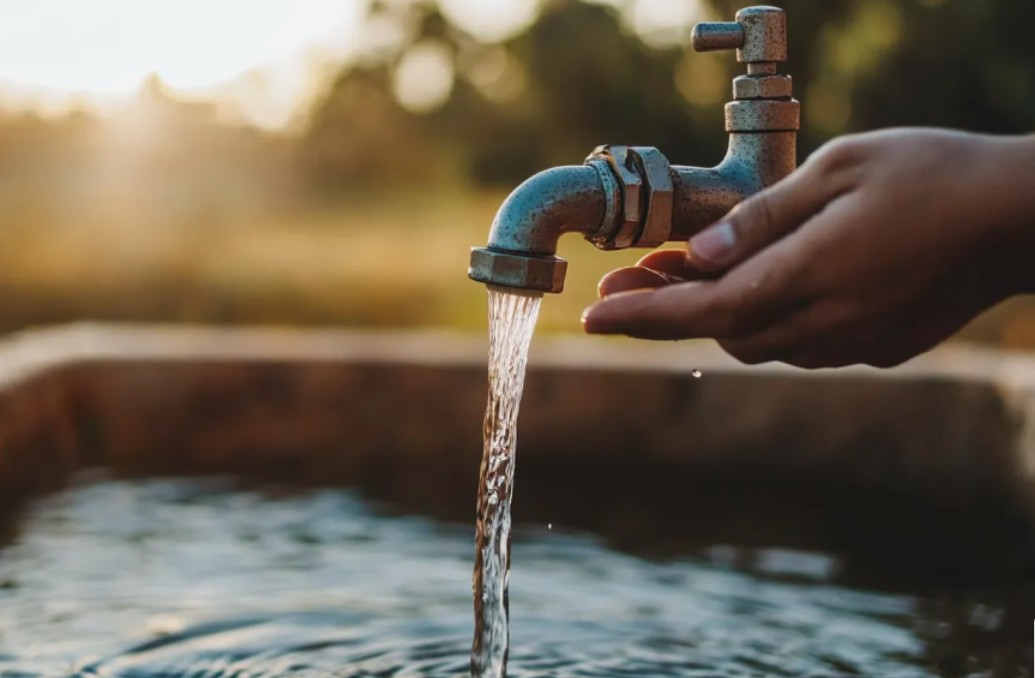
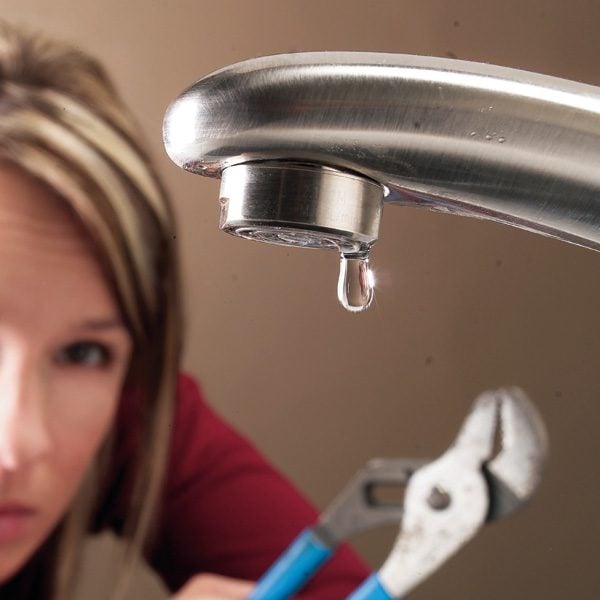
A dripping faucet wastes water and raises bills. Most leaks come from worn washers or seals. Tightening or replacing these parts stops the drip. It also prevents damage to sinks and counters.
Running Toilets
A toilet that runs constantly wastes water. The cause is often a faulty flapper or float. Replacing or adjusting these parts stops the water flow. This fix is quick and helps reduce your water bill.
Clogged Drains
Drains clog from hair, soap, or food buildup. Use a plunger or drain snake to clear blockages. Avoid harsh chemicals that may harm pipes. Regular cleaning keeps drains flowing smoothly.
Dripping Showerheads
Showerheads drip when washers or seals wear out. Removing and replacing these parts stops leaks. Cleaning mineral buildup can also improve water flow. Fixing a dripping showerhead saves water and energy.

Credit: upland-plumber.com
Tools For Diy Plumbing
Having the right tools makes DIY plumbing repairs easier and safer. Before starting any fix, gather essential items. The correct tools help you complete jobs faster. They also prevent damage to pipes and fixtures. Understanding what tools you need saves time and frustration.
Basic Plumbing Tools
Start with a good wrench set. Adjustable wrenches fit many nuts and bolts. Pipe wrenches provide grip on round pipes. A plumber’s tape helps seal pipe threads. A pipe cutter makes clean cuts on metal or plastic pipes. Channel-lock pliers grip pipes and fittings firmly. A plunger can clear simple clogs quickly. Keep a bucket handy to catch water spills. A flashlight helps see in dark spots.
Safety Gear Essentials
Protect your eyes with safety goggles. Gloves keep your hands clean and safe. Wear sturdy shoes to protect your feet. Use ear protection if using loud tools. Avoid loose clothing that can catch on pipes. Have a first aid kit nearby for small cuts. Good lighting reduces mistakes and accidents.
Choosing The Right Materials
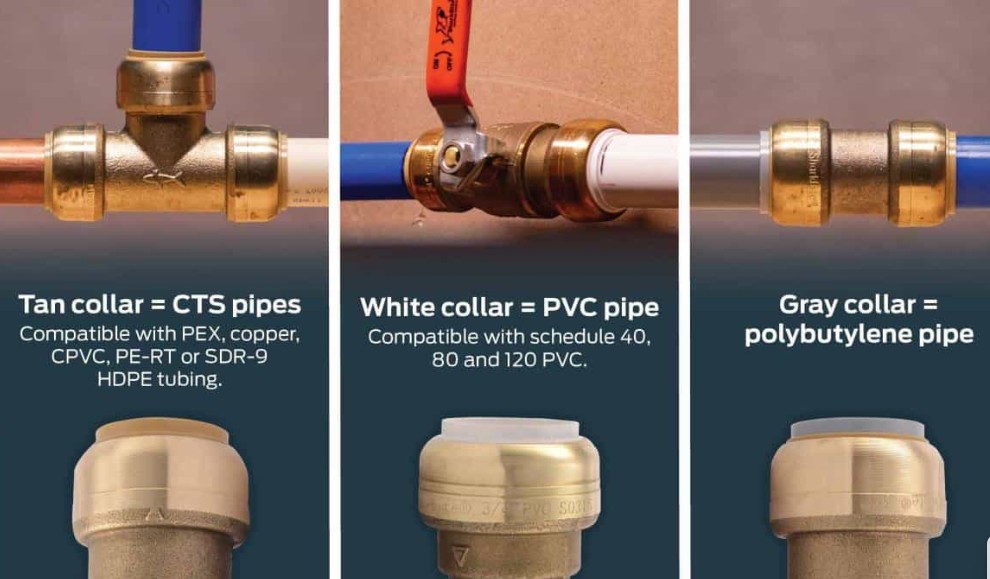
Select materials that match your plumbing system. Use PVC pipes for drain and vent lines. Copper pipes work well for water supply. Make sure pipe sizes fit your fixtures. Use plumber’s putty or silicone sealant for leaks. Choose rust-resistant fittings for durability. Check local codes for approved materials. Quality parts reduce future repairs.
Fixing Faucet Leaks
Fixing faucet leaks is a common DIY plumbing task that can save water and reduce your utility bills. A dripping faucet not only wastes water but also causes annoying sounds. Most leaks happen due to worn-out parts or loose fittings. Learning to fix these leaks yourself is simple and requires only basic tools. You can often solve the problem in less than an hour without calling a plumber.
Replacing Washers And O-rings
Worn washers and O-rings are the main cause of faucet leaks. These small parts create a seal inside the faucet. Over time, water pressure and use wear them down. To replace them, first turn off the water supply. Remove the faucet handle carefully using a screwdriver. Take out the old washer and O-ring. Match them with new ones from a hardware store. Insert the new parts and reassemble the faucet. Test the faucet by turning the water back on. The leak should stop immediately if the parts fit well.
Tightening Loose Parts
Loose parts inside the faucet can cause leaks as water escapes through gaps. Check all visible screws and nuts on the faucet. Use a wrench or screwdriver to tighten them gently. Avoid overtightening, which can damage the faucet or strip the screws. Tighten the faucet handle, spout, and base if needed. After tightening, turn on the water and watch for leaks. This quick step often solves dripping problems without replacing parts.
Stopping A Running Toilet
A running toilet wastes water and increases your water bill. It can also cause annoying noises. Fixing it yourself saves money and time. Most running toilets have simple problems that you can repair without a plumber.
Two common causes of a running toilet are a worn-out flapper or a faulty fill valve. Both parts are easy to adjust or replace. Here are steps to stop your toilet from running by fixing these parts.
Adjusting The Flapper
The flapper is a rubber seal at the bottom of the tank. It lifts to let water flush and then closes to refill the tank. A misaligned or damaged flapper lets water leak into the bowl.
First, turn off the water supply to the toilet. Flush the toilet to empty the tank. Check the flapper for cracks or mineral build-up. Clean or replace it if needed.
Adjust the chain length connecting the flapper to the flush handle. It should allow the flapper to close fully. Too much slack or tension keeps the flapper open. After adjustment, turn the water back on and test the flush.
Replacing The Fill Valve
The fill valve controls water entering the tank after a flush. If it malfunctions, water may keep flowing. This causes the toilet to run continuously.
Turn off the water supply and flush to empty the tank. Disconnect the water supply line from the fill valve. Remove the old fill valve by loosening the lock nut under the tank.
Install the new fill valve following the manufacturer’s instructions. Adjust the water level by setting the float. Reconnect the water supply and turn it on. Check for leaks and ensure the toilet stops running.
Clearing Drain Blockages
Drain blockages cause slow water flow or full clogs. Clearing these blockages quickly prevents bigger plumbing problems. You can fix many drain clogs yourself with simple tools and methods. This saves time and money.
Using A Plunger Effectively
A plunger creates pressure to push clogs free. Use a cup plunger for sinks and a flange plunger for toilets. Place the plunger over the drain opening and push down firmly. Pull up sharply without breaking the seal. Repeat this several times to loosen the clog.
Ensure there is enough water in the basin to cover the plunger cup. This helps create a better seal for pressure. Avoid harsh force to prevent pipe damage.
Applying A Drain Snake
A drain snake is a long, flexible tool that reaches deep clogs. Insert the snake into the drain and twist it clockwise. Push gently until you feel resistance from the blockage. Keep turning to break up or hook the clog. Pull the snake out carefully, bringing debris with it.
Snakes come in manual and powered versions. Manual snakes are easy for small drains. Use gloves and clean the snake after use to avoid mess.
Homemade Drain Cleaners
Natural cleaners clear minor clogs and freshen drains. Mix half a cup of baking soda with half a cup of vinegar. Pour this mixture down the drain and let it fizz for 15 minutes. Then flush with hot water to clear loosened debris.
Repeat this weekly to keep drains clean. Avoid harsh chemicals that can harm pipes and the environment. Homemade solutions are safe, cheap, and effective for regular maintenance.
Repairing Pipe Leaks
Pipe leaks cause water waste and can damage your home. Fixing leaks quickly saves money and prevents bigger problems. Many pipe leaks are simple to repair with basic tools and materials. This section explains two easy ways to stop leaks and keep your pipes working well.
Using Pipe Repair Tape
Pipe repair tape is a fast fix for small leaks. First, turn off the water supply near the leak. Dry the pipe surface completely to help the tape stick. Wrap the tape tightly around the leak, covering it fully. Stretch the tape as you wrap to create a strong seal. Overlap each layer to prevent water from escaping. Leave the tape on for the time recommended by the manufacturer. Turn the water back on and check for leaks. This method works best on minor cracks and pinholes.
Replacing Damaged Pipe Sections
Severe leaks need pipe section replacement. Start by shutting off the water supply. Use a pipe cutter or saw to cut out the damaged part. Measure and cut a new pipe section to fit. Clean and smooth the cut ends to avoid leaks. Connect the new pipe using appropriate fittings and sealants. Tighten the connections securely but do not overtighten. Turn the water on slowly and inspect for leaks. Replacing pipe sections is a reliable fix for larger or persistent leaks.
Unclogging Bathtub Drains
Bathtub drains often clog from daily use. Hair, soap scum, and dirt block water flow. Fixing a clogged drain saves money and avoids waiting for a plumber. Simple tools and methods can clear the drain quickly. Start with easy steps before using chemicals or calling a professional. Here are two effective ways to unclog bathtub drains yourself.
Removing Hair And Debris
Hair is the main cause of clogged bathtub drains. Use a pair of needle-nose pliers or a wire hanger. Insert it gently into the drain and twist to catch hair and debris. Pull out all visible clogs carefully. Dispose of the debris in the trash, not down the drain.
This method works well for minor blockages near the surface. Repeat a few times to clear the drain fully. Avoid pushing the clog deeper into the pipe. Flushing the drain with hot water after cleaning helps remove leftover residue.
Cleaning The Drain Stopper
The drain stopper often traps hair and soap buildup. Remove the stopper by unscrewing or pulling it out, depending on the type. Clean it with an old toothbrush and mild soap. Check the stopper’s mechanism for any stuck parts.
Cleaning the stopper improves water flow and prevents future clogs. Reinstall the stopper securely after cleaning. Test the drain by running water to ensure smooth drainage. Regular stopper cleaning keeps your bathtub drain clear and fresh.
Credit: www.familyhandyman.com
Fixing Compression Fittings
Fixing compression fittings is a useful skill for many small plumbing repairs. These fittings connect pipes without soldering, using a compressive force to seal. They are common in water supply lines and easy to work with. Knowing how to fix them helps stop leaks and saves money on plumber visits.
Compression fittings can leak if not handled correctly. The key is to ensure a tight, secure connection without damaging the threads or the fitting parts. Simple tools like wrenches and pliers usually do the job. Let’s explore two important steps for a proper repair.
Preventing Cross Threading
Cross threading happens when the threads do not align properly during assembly. This can damage the fitting and cause leaks. Start by hand-tightening the nut onto the pipe. Turn it slowly and feel for resistance. If it feels stuck or rough, back off and try again. Never force the nut to turn.
Align the fitting straight before tightening. This reduces the chance of cross threading. Using too much force or starting at an angle often causes thread damage. Taking your time at this step prevents leaks later.
Proper Tightening Techniques
After hand-tightening, use two wrenches for the final tightening. Hold the fitting body steady with one wrench. Turn the compression nut with the other wrench. Tighten just enough to stop leaks. Over-tightening can crush the ring inside or crack fittings.
Stop tightening when you feel firm resistance. Check for leaks by turning on the water slowly. If leaks appear, tighten a little more, but do not force it. Proper tightening keeps your plumbing safe and leak-free.
Removing A Stuck Cleanout Plug
Removing a stuck cleanout plug is a common plumbing task that homeowners can handle themselves. The cleanout plug covers access points in your drain system. It allows easy clearing of blockages and pipe maintenance. Sometimes, these plugs get stuck due to corrosion or mineral buildup. Knowing how to remove them safely saves time and money. This guide covers essential tools and safety tips for the removal process.
Tools Needed For Removal
- Pipe wrench or adjustable wrench
- Penetrating oil (like WD-40)
- Wire brush
- Rubber gloves
- Rags or towels
- Bucket to catch any water
Start by spraying penetrating oil on the plug threads. Let it soak for 10-15 minutes to loosen rust or grime. Use the wire brush to clean around the plug. This helps the wrench grip better. Select the right wrench size for a firm hold. Have rags ready to wipe off excess oil or water.
Safety Tips During Removal
Wear rubber gloves to protect your hands from dirt and chemicals. Place a bucket under the cleanout to catch any water spills. Avoid using excessive force to prevent pipe damage. Turn the wrench slowly and steadily. If the plug does not move, apply more penetrating oil and wait. Do not use a hammer or sharp tools that may crack the pipe. Ensure the area is well-ventilated when using chemical sprays. Keep children and pets away during the work.
Finding Hidden Leaks
Hidden leaks can cause big problems if not found early. They waste water and increase bills silently. Spotting these leaks saves money and protects your home from damage. Small drips behind walls or under floors often go unnoticed. Learning to detect hidden leaks helps you act fast and avoid costly repairs.
Checking Water Meter For Leaks
Start by turning off all water taps in the house. Watch the water meter for any movement. If the meter keeps running, it means water is leaking somewhere. Mark the meter reading, wait 15 minutes, then check again. A change in numbers shows a hidden leak is present. This method is simple and effective for early leak detection.
Inspecting Under Sinks And Appliances
Look under sinks and near appliances like dishwashers and washing machines. Check pipes and hoses for moisture or water stains. Feel for dampness or puddles that signal leaks. Tighten any loose connections or replace worn washers if needed. This hands-on check can catch leaks before they cause serious damage.
Preventing Plumbing Mistakes
Preventing plumbing mistakes saves time and money. Small errors cause big leaks and damage. Careful steps during repairs ensure lasting results. Focus on simple habits to avoid common pitfalls. These tips help you keep your plumbing in good shape.
Avoiding Over Tightening
Over tightening pipes and fittings can cause cracks or breaks. Tighten connections just enough to stop leaks. Use gentle force and check for leaks after. Avoid using excessive strength or power tools. Proper tightness keeps pipes secure without damage.
Cleaning Fittings Before Assembly
Dirt and debris cause poor seals and leaks. Clean pipe ends and fittings with a cloth before joining. Remove old tape or sealant residues carefully. Clean surfaces help fittings connect tightly and smoothly. This simple step reduces leaks and improves repair quality.
Credit: www.lendingclub.com
Frequently Asked Questions
Can I Fix Minor Plumbing Issues Myself?
You can fix minor plumbing issues like clogs, leaks, or running toilets using basic tools. Always check local codes first.
What Is The 135 Rule For Plumbing?
The 135 rule in plumbing requires a minimum 1/4-inch slope per foot for drain pipes. This ensures proper flow and prevents clogs.
Can You Fix Your Own Plumbing?
You can fix minor plumbing issues like clogged drains or leaks using basic tools. Always follow local codes and safety guidelines. Complex problems need professional help.
What Is The Most Common Plumbing Repair?
The most common plumbing repair is fixing leaking faucets. These leaks waste water and increase bills. Repairing them saves money and prevents damage.
Conclusion
Tackling simple plumbing repairs saves time and money at home. Basic tools and clear steps make tasks manageable for everyone. Start with small fixes like leaks or clogs, and watch your confidence grow. Always check local rules before starting any work.
Remember, safety first—turn off water before repairs. Regular maintenance prevents bigger problems later. These easy DIY plumbing tips keep your home running smoothly. Give it a try and enjoy the satisfaction of fixing things yourself. Plumbing doesn’t have to be hard or costly.
Simple actions make a big difference.