


This post may contain affiliate links. Please read my disclosure policy.
In This Article Show
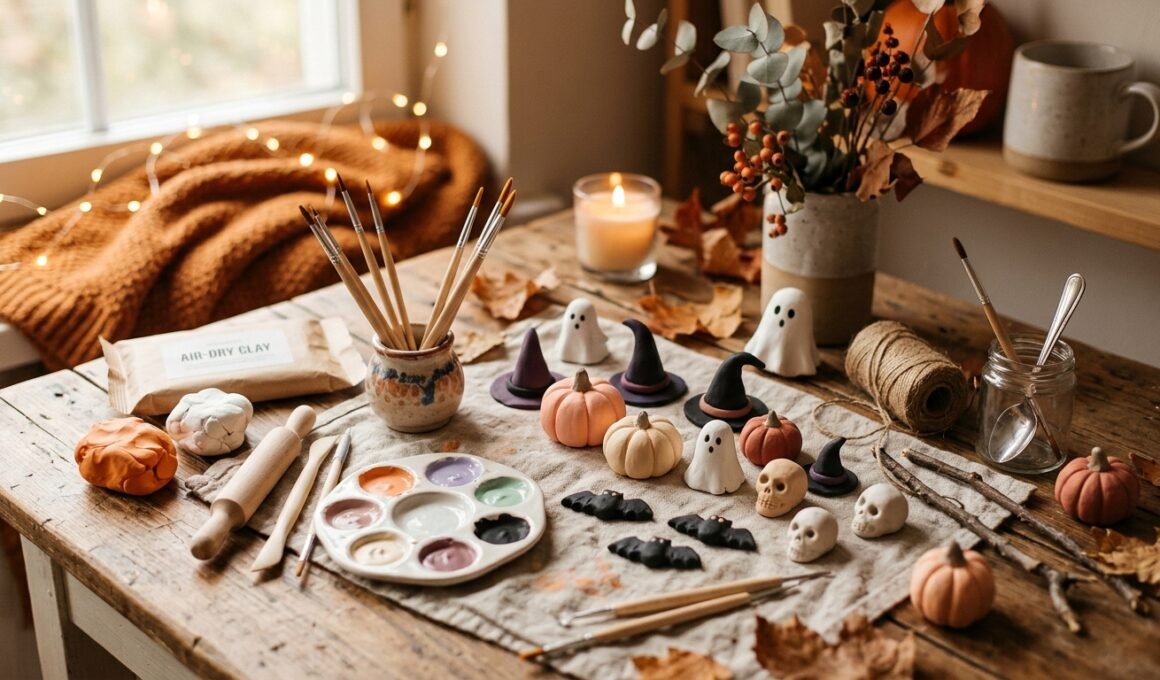
Halloween crafting does not always need complicated tools or expensive supplies. A small piece of air-dry clay can become a smiling pumpkin, a tiny ghost, a spooky bat, or a cute witch hat in one afternoon. That is what makes Halloween clay crafts so enjoyable. You can keep the designs simple for kids or add more detail for an aesthetic seasonal display. With a few basic tools, some paint, and a little patience, an ordinary craft table can quickly turn into a tiny Halloween world.
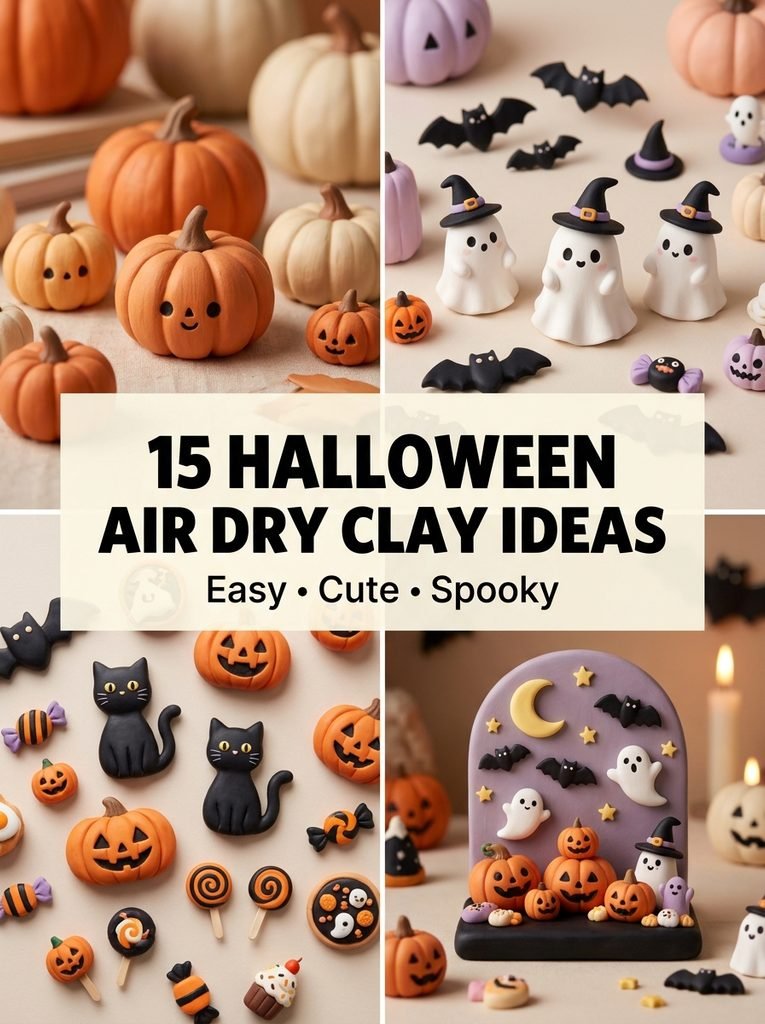
Why halloween air dry clay ideas Are Great for Fall Crafting
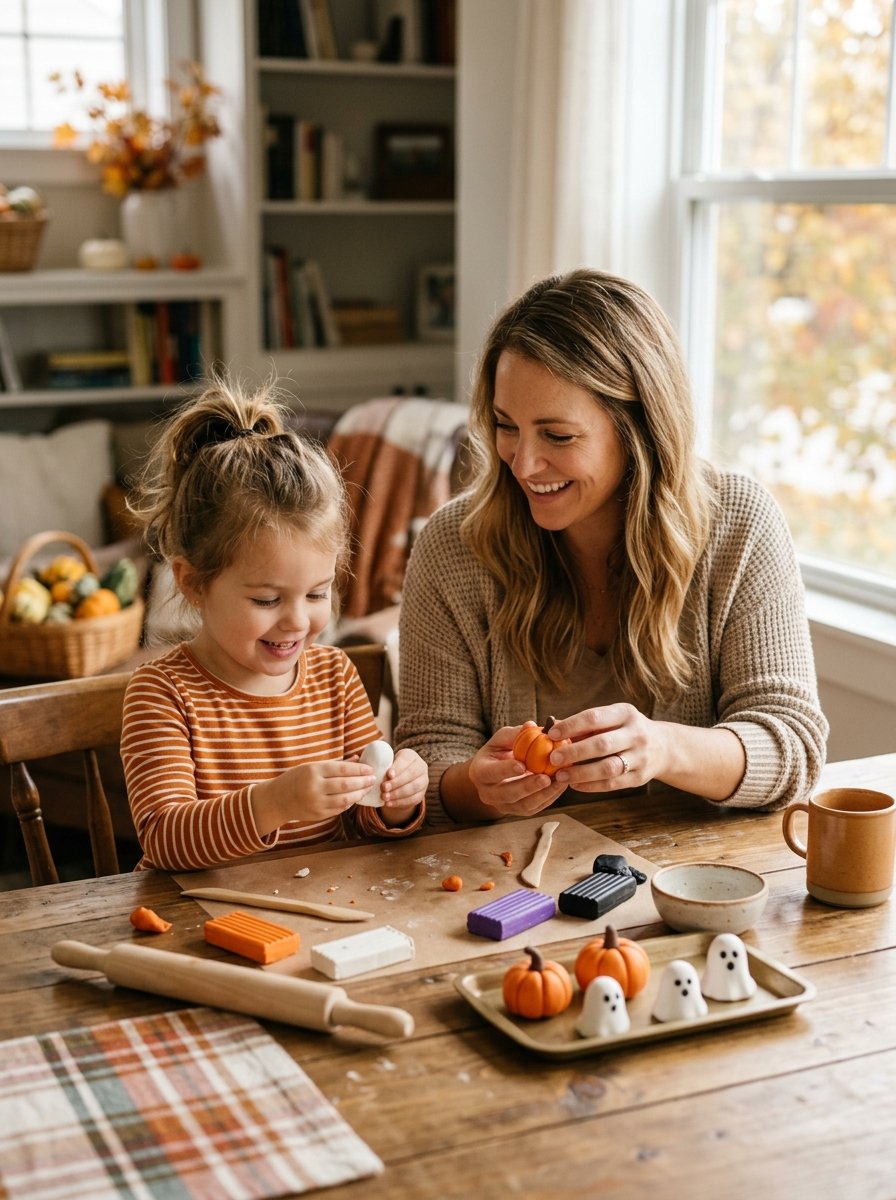
Halloween gives you a simple visual language: pumpkins, ghosts, bats, witches, moons, spiders, and autumn leaves. That makes it easy to create attractive clay projects without advanced sculpting skills. Kids can choose their favorite shape and make their own version instead of copying a perfect model. The American Academy of Pediatrics notes that play gives children opportunities to use creativity, imagination, dexterity, problem-solving, and decision-making skills.
1. Cute Mini Clay Pumpkins
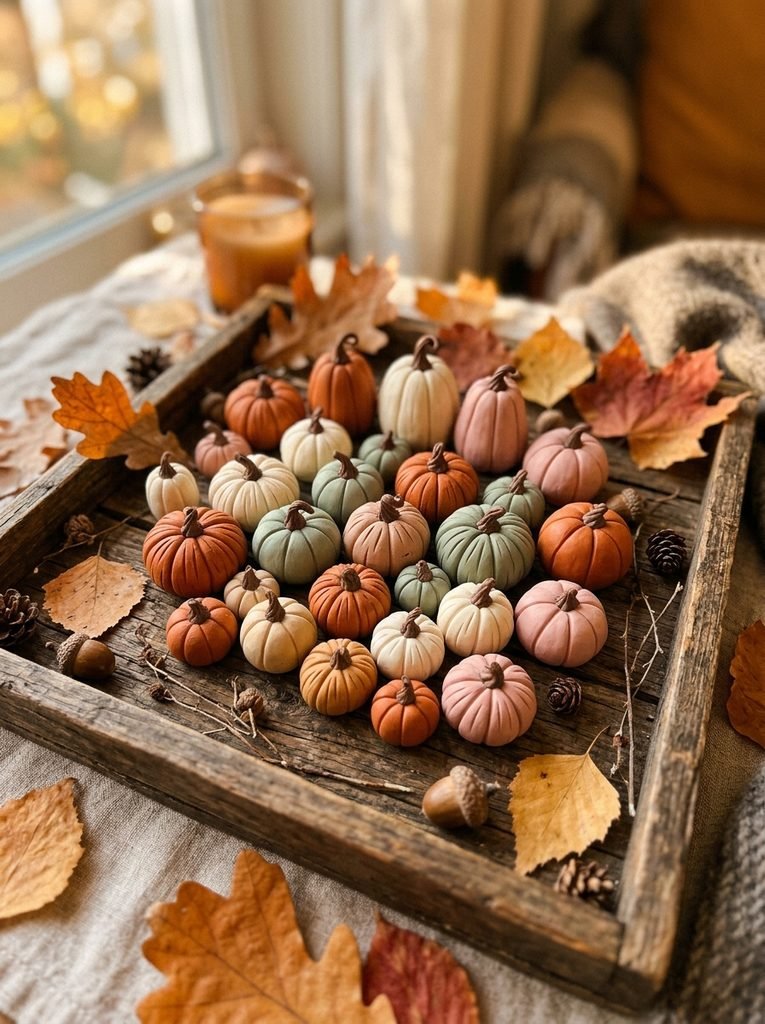
Pumpkins are the easiest place to start. Roll a small ball of clay, gently press it from the sides, and use a sculpting tool or toothpick to create vertical lines. Add a tiny stem on top. You can paint the pumpkin bright orange, cream, sage, or even soft pink for a modern Halloween look. Make several sizes and group them together on a tray, shelf, or table.
2. Friendly Ghosts
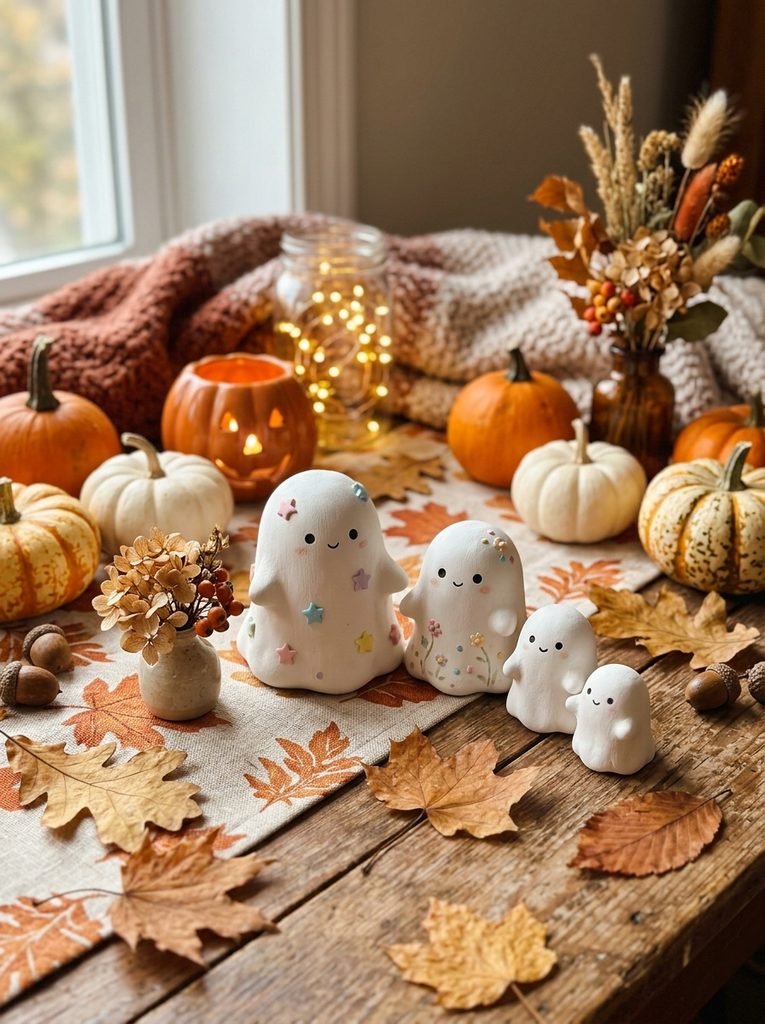
A ghost shape needs very little detail. Create a small rounded body and gently pull the lower clay outward to form a flowing edge. Add two tiny eyes and a simple mouth. You can keep the ghost white or decorate it with tiny stars, flowers, or pastel patterns. Crayola even features an official Halloween air-dry clay ghost project using a draped clay form and decorative details.
3. Tiny Witch Hats
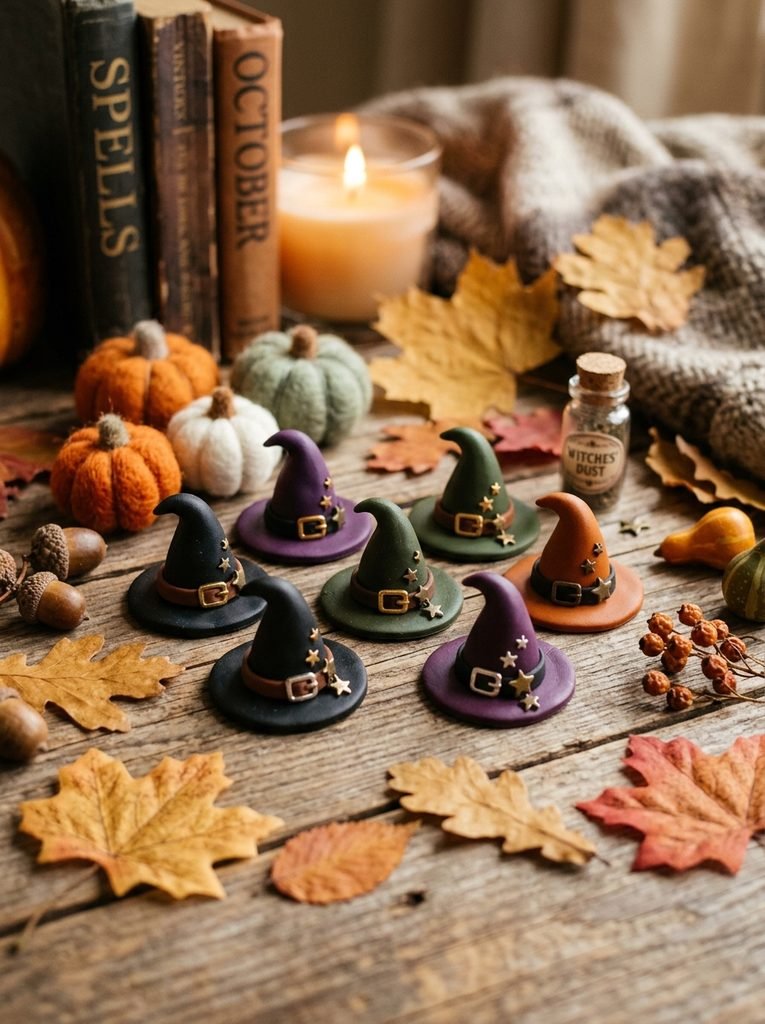
A miniature witch hat can become a fun table decoration or accessory for another clay character. Shape a cone for the main hat and add a thin flattened circle underneath as the brim. Add a small buckle, moon, star, or ribbon detail. Black and purple work well, but dark green and deep orange can create a more unusual fall palette.
4. Mini Clay Bats
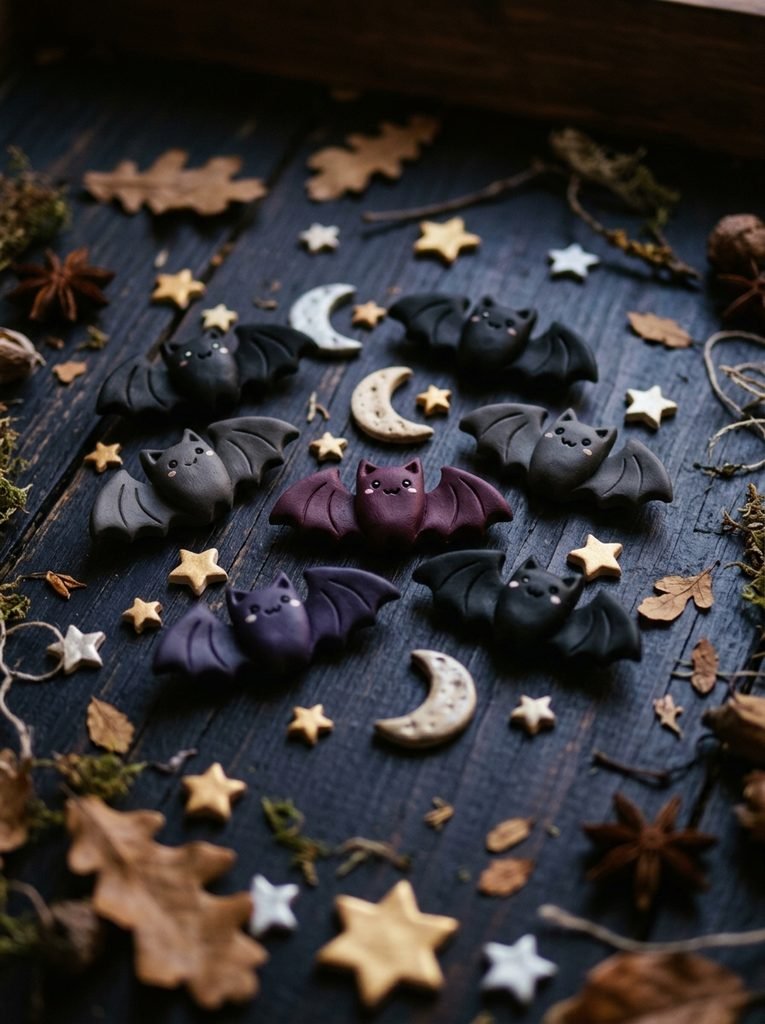
Bats look complicated until you break them into simple shapes. Start with a small body and two wings. Use a toothpick to create gentle lines across each wing. Add tiny ears and eyes for a cute expression. You can make flat bat magnets or small hanging decorations by adding a hole before the clay dries.
5. Halloween Clay Magnets
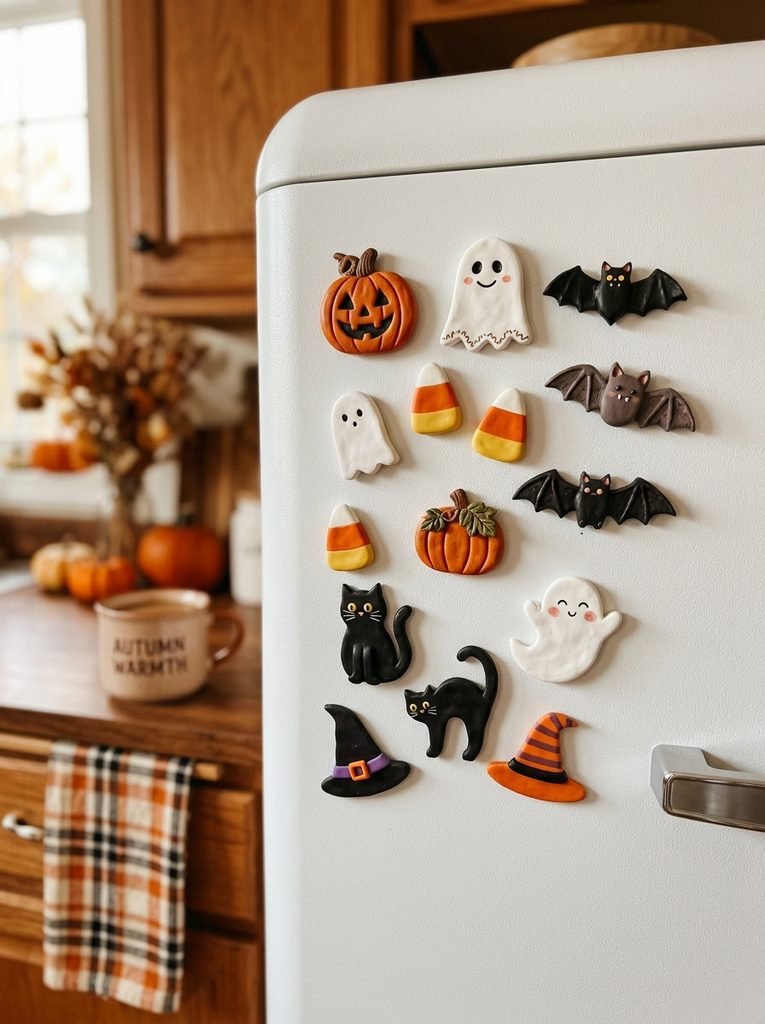
Magnets give your seasonal crafts a practical purpose. Make pumpkins, ghosts, bats, black cats, candy corn, skulls, or witch hats. Keep each piece relatively flat and lightweight. After the clay dries completely, attach suitable craft magnets to the back. A matching collection can turn an ordinary refrigerator into a small Halloween display.
6. Spooky Black Cats
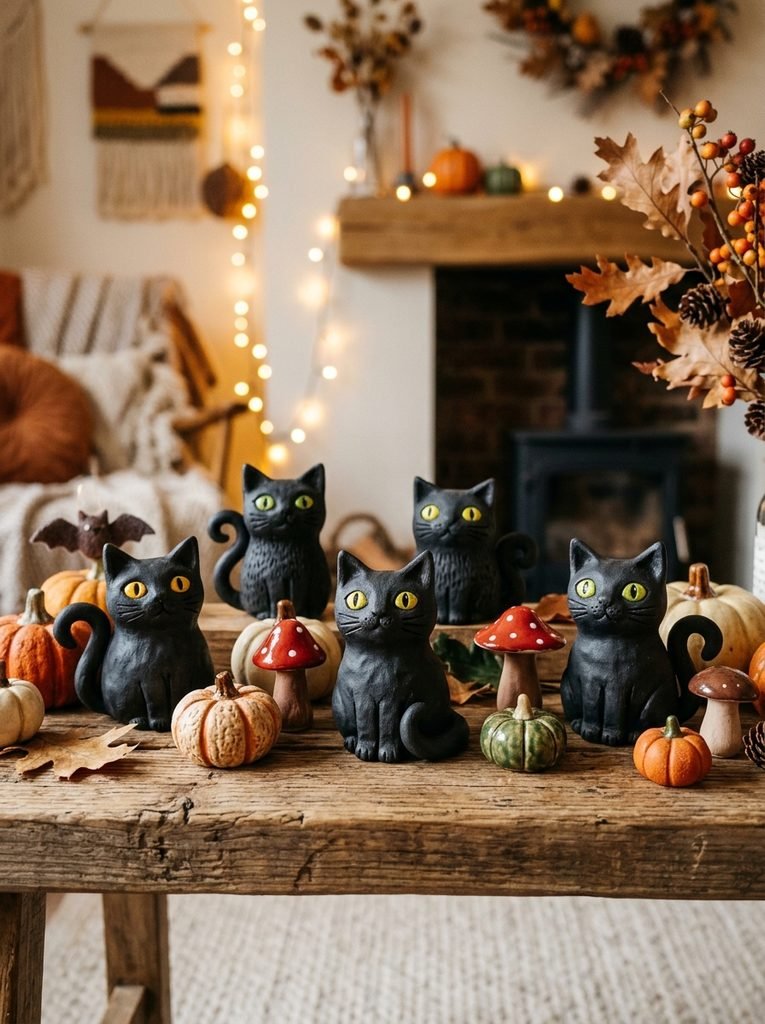
Black cats fit naturally into Halloween decor, but you can make them playful rather than scary. Shape a tiny sitting cat with pointed ears and a curved tail. Add bright eyes in yellow, green, or soft orange. Place one beside a pumpkin or create several cats in different sitting poses for a miniature Halloween scene.
7. Tiny Halloween Skull
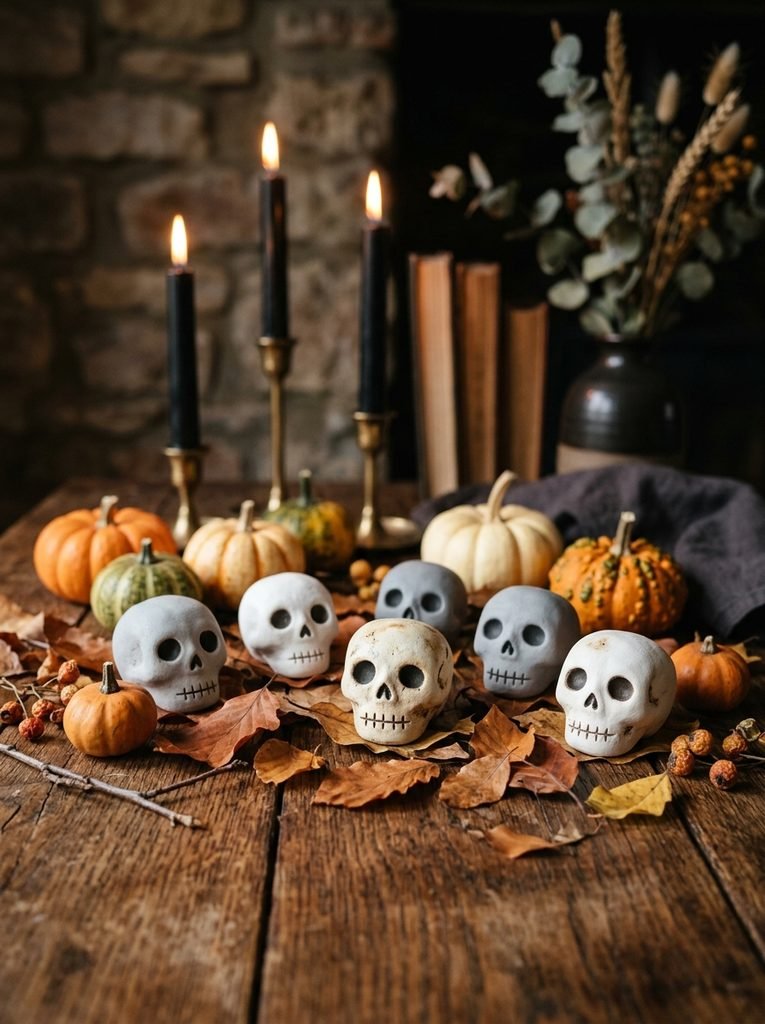
For a slightly spooky project, create a miniature skull. Start with a rounded head and flatten the lower section slightly. Use a toothpick to create two eye sockets, a small nose, and simple teeth. Keep the design small and stylized. White clay with gray shading can create a clean handmade look without making the piece too dark.
8. Halloween Air Dry Clay Ideas With Cute Food
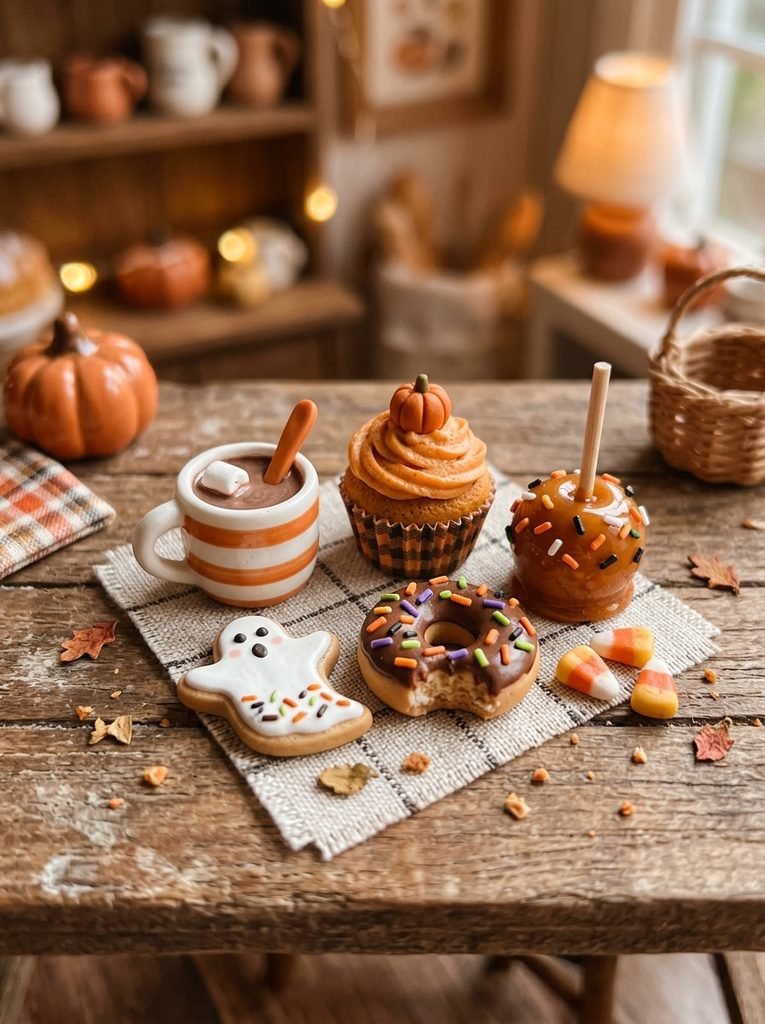
Halloween food shapes are perfect for beginners because you can build them from familiar forms. Make candy corn, cupcakes, cookies, caramel apples, tiny donuts, or little mugs of hot chocolate. Add small Halloween faces or pumpkin patterns. These pieces can become magnets, charms, mini decorations, or part of a miniature Halloween party scene.
9. Pumpkin Face Magnets
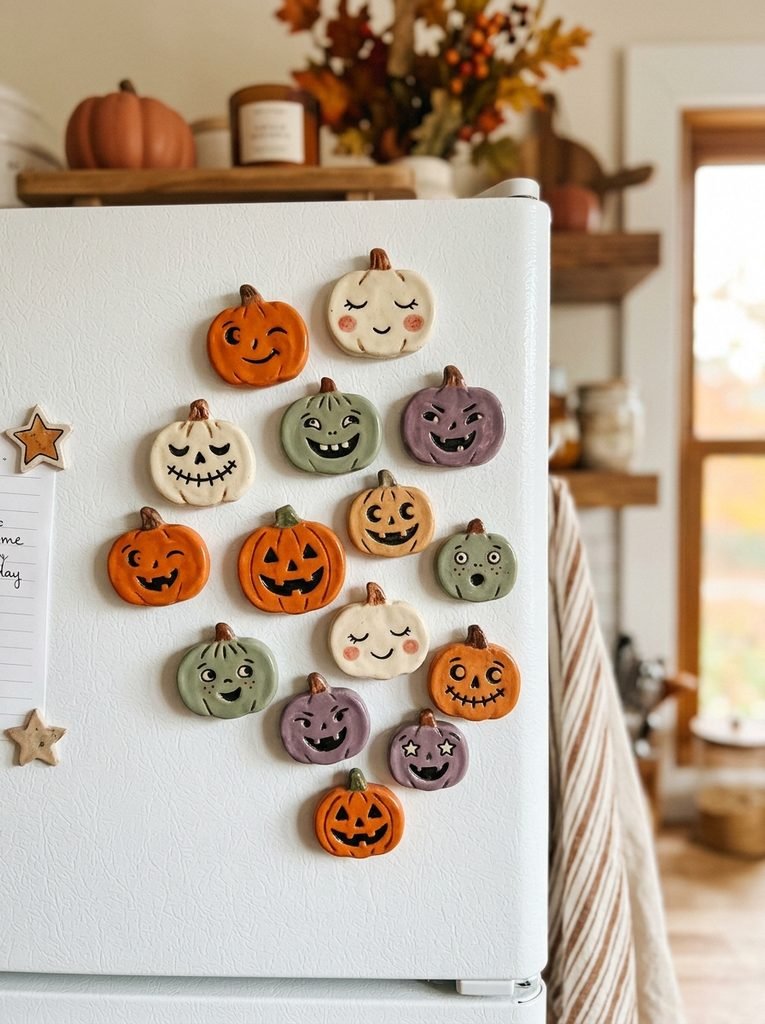
Give a basic pumpkin a little personality by adding a face. Try happy eyes, sleepy eyes, surprised expressions, or classic triangle shapes. Flatten the back slightly so the pumpkin sits neatly against a magnetic surface. Make several faces in different colors for a playful seasonal set.
10. Mini Witch Broom
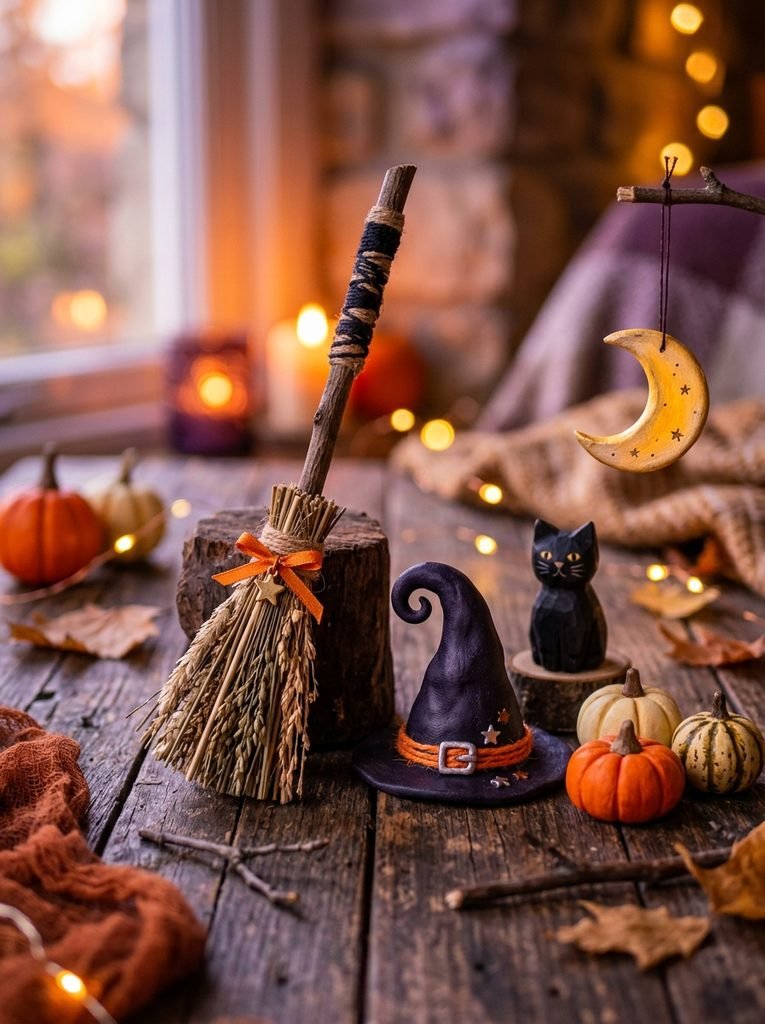
A tiny witch broom makes a great addition to a clay scene. Use a narrow clay handle or another suitable craft material according to your chosen design, then create a small bundle shape at the bottom. Add the broom beside a witch hat, pumpkin, or black cat. Keep the scale small so it works as part of a miniature display.
11. Halloween Moon and Stars
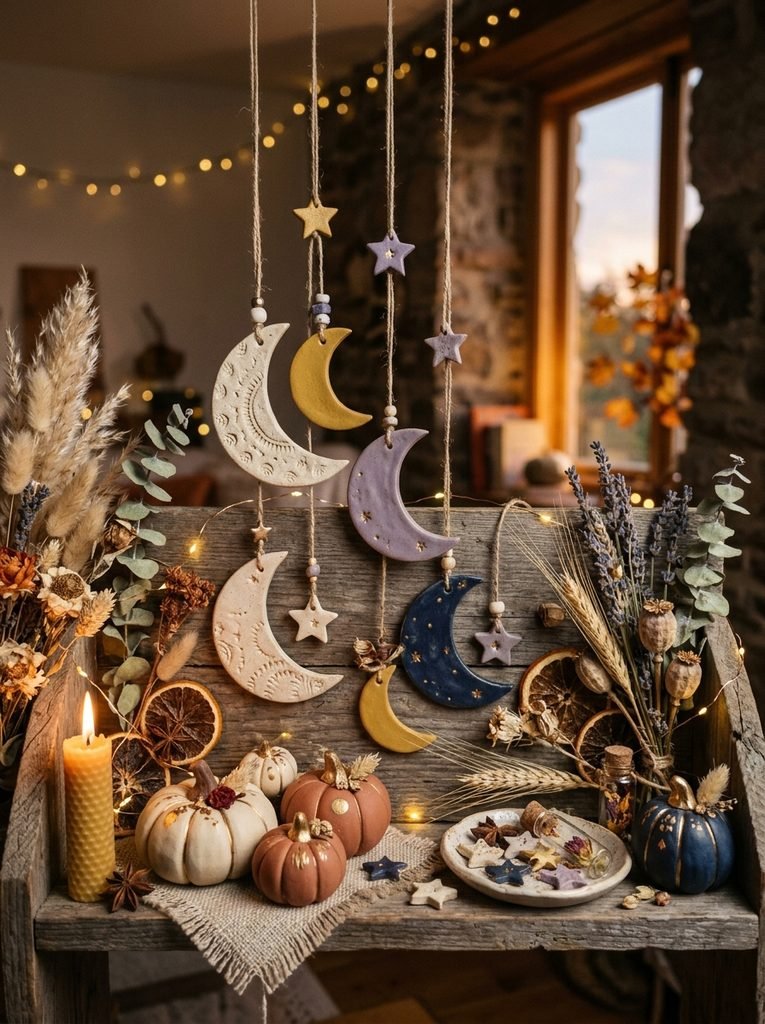
A crescent moon and tiny stars can create a softer Halloween look. Roll the clay flat and cut simple shapes, or shape them by hand. Add small dots and textures before drying. Paint them cream, muted yellow, gold, lavender, or dark blue. These pieces look beautiful on a shelf, wall display, seasonal tray, or miniature night scene.
12. Cute Pumpkin Tray
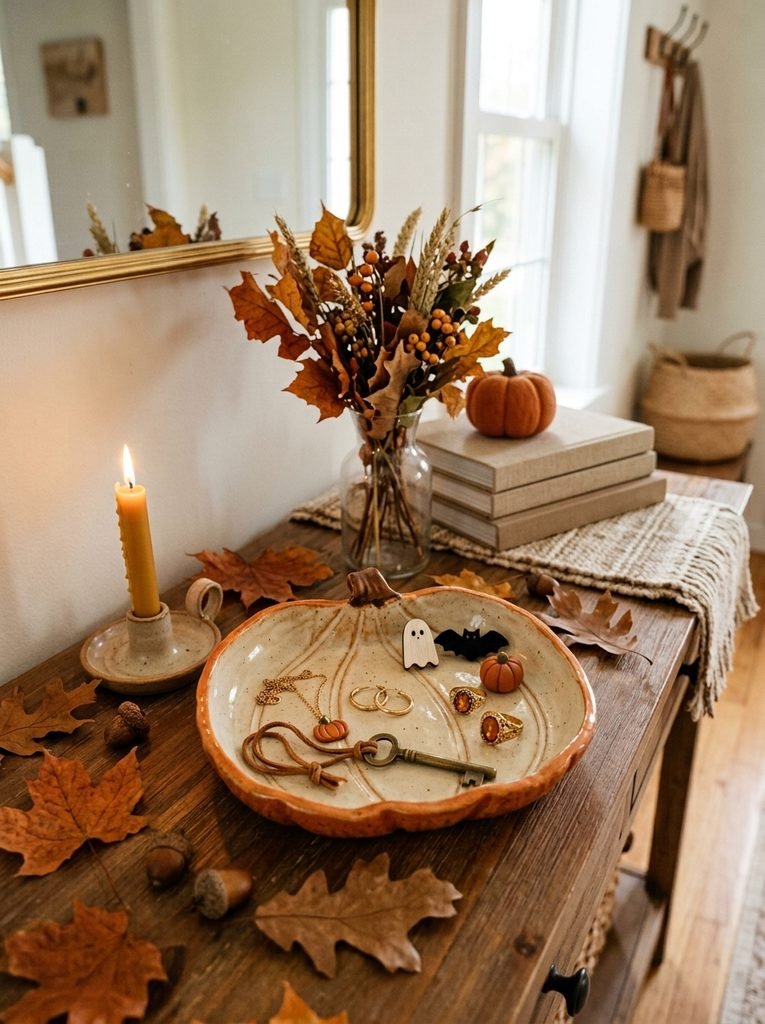
Combine decoration with function by making a shallow pumpkin-shaped tray. Create a round base and add a slightly raised edge. Add simple pumpkin lines around the surface. After drying and painting, use it to hold keys, jewelry, candy wrappers, or small Halloween accessories. Keep it indoors and away from liquids.
13. Mini Halloween Garland Pieces
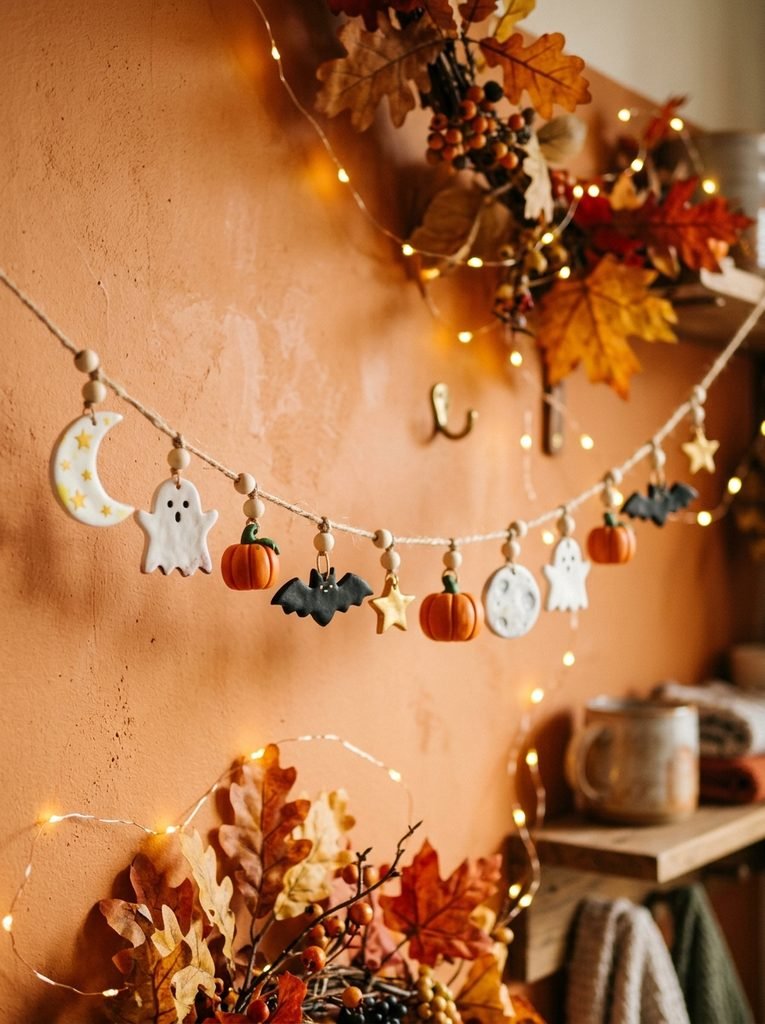
Make several small flat shapes such as pumpkins, ghosts, bats, stars, and moons. Create a small hole near the top of each piece before drying. Once completely dry, thread them onto suitable cord or ribbon to create a miniature seasonal garland. Use a repeating color pattern to make the finished decoration look neat.
14. Halloween Miniature Scene
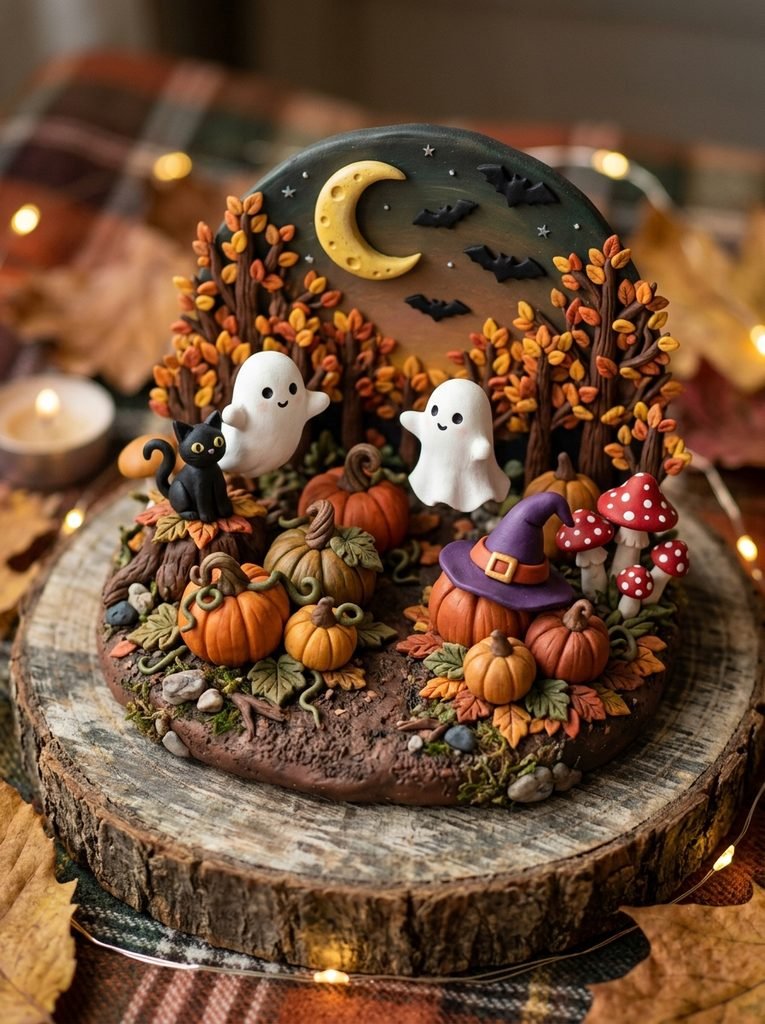
If you want a bigger project without making one large sculpture, build a tiny scene from several small pieces. Add a pumpkin patch, two ghosts, a black cat, a witch hat, mushrooms, bats, and a moon. Arrange everything on a small clay base or wooden display surface. This approach lets you practice several shapes while creating one complete story.
15. Personalized Halloween Keepsakes
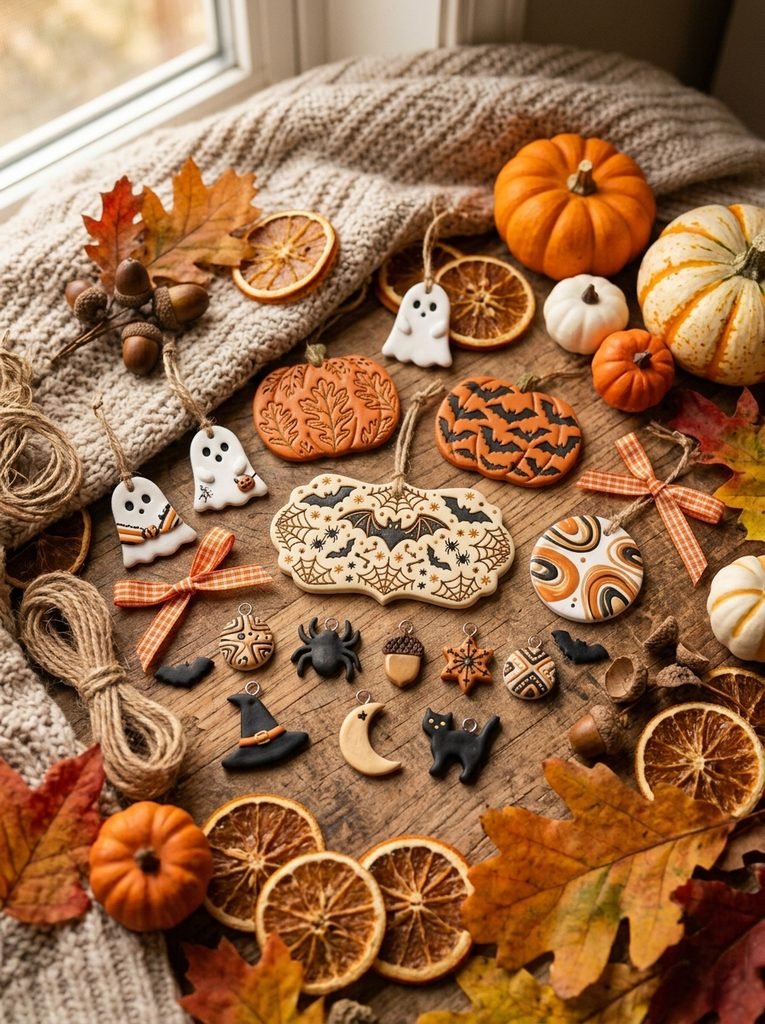
End your project collection with something personal. Create a small clay plaque, initial, name charm, pumpkin, or ghost and decorate it with Halloween colors. Add a family initial or a simple year marker if desired. These pieces can become seasonal keepsakes that you bring out every October. Keep the design simple so the handmade character remains visible.
Final Thoughts on Halloween Air Dry Clay Ideas
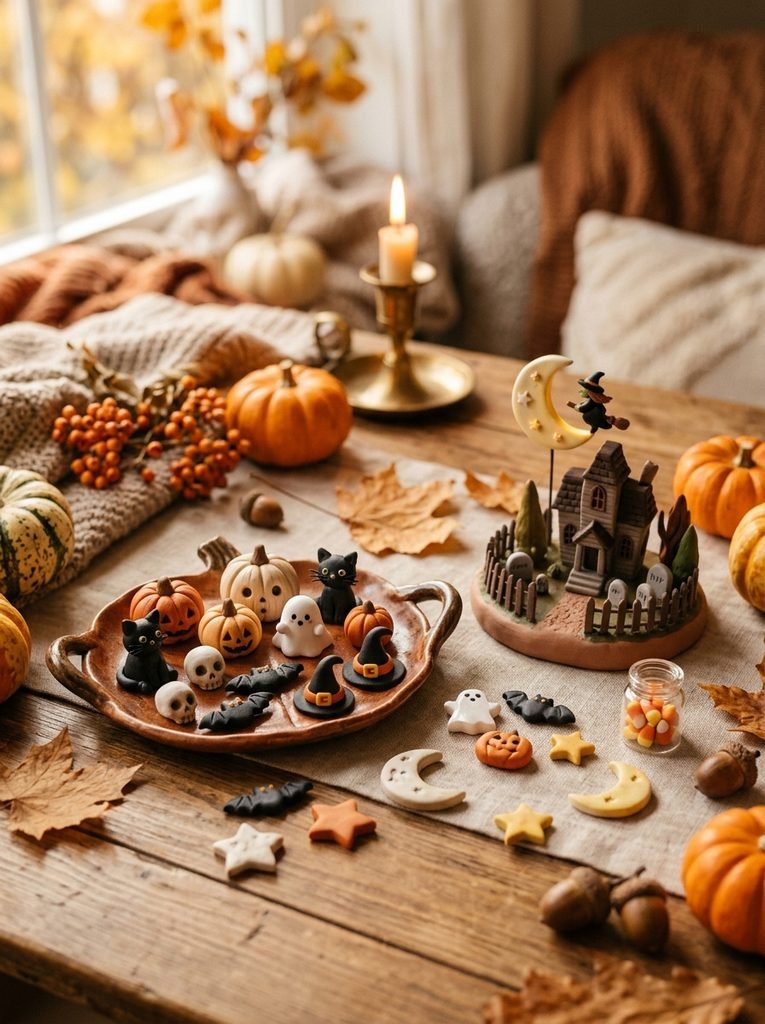
The best Halloween crafts do not need to look complicated. A tiny pumpkin can brighten a shelf. A smiling ghost can become a magnet. A little bat can join a seasonal garland. When you combine several simple shapes, you can create a complete Halloween display that feels personal and handmade. Start with one easy project, let the clay dry properly, and then add more pieces as your confidence grows. Soon, your craft table may look like a tiny Halloween village made entirely by you.