
This post may contain affiliate links. Please read my disclosure policy.
In This Article Show
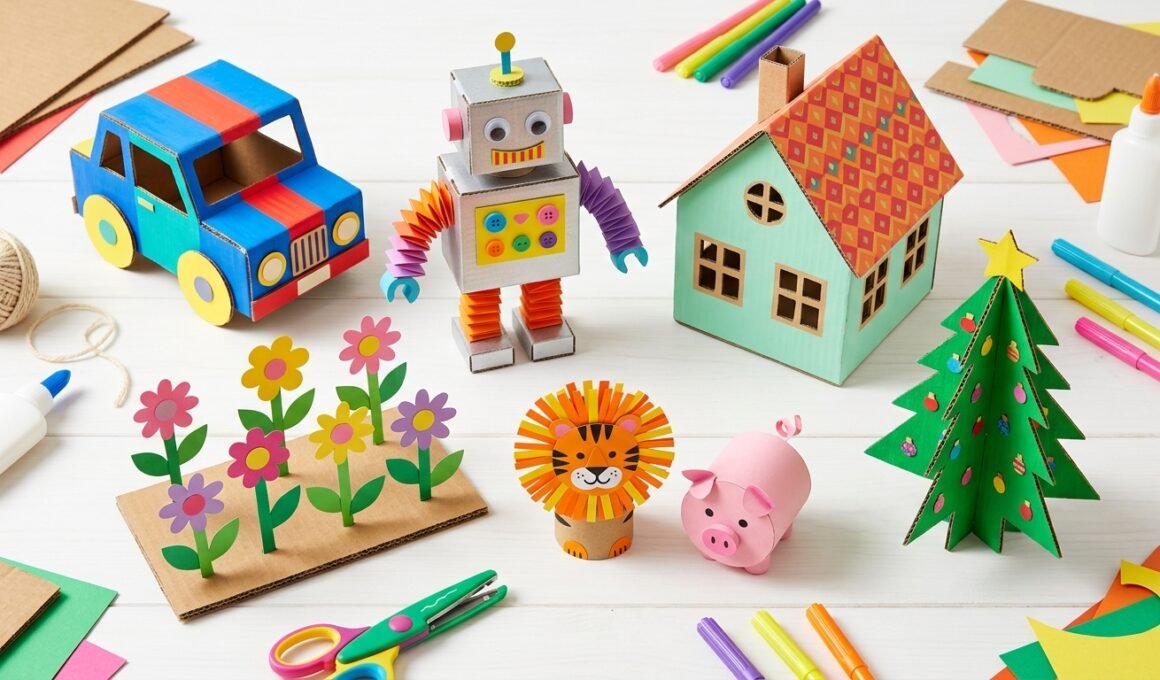
Empty cardboard boxes can become much more than recycling. With a little imagination, children can transform them into toy cars, animal figures, miniature houses, pretend kitchens, colorful flowers, and exciting games. These cardboard crafts kids can make at home are affordable, creative, and suitable for many different ages when the projects and tools are chosen carefully. Whether you need a quick preschool activity, an easy weekend project, or a seasonal Christmas or Halloween craft, cardboard offers endless possibilities. Most ideas use simple supplies such as clean boxes, paper, paint, markers, and child-friendly glue. Choose a project that matches your child’s age, gather the materials, and enjoy making something special together.
1. Easy Cardboard Toy Car
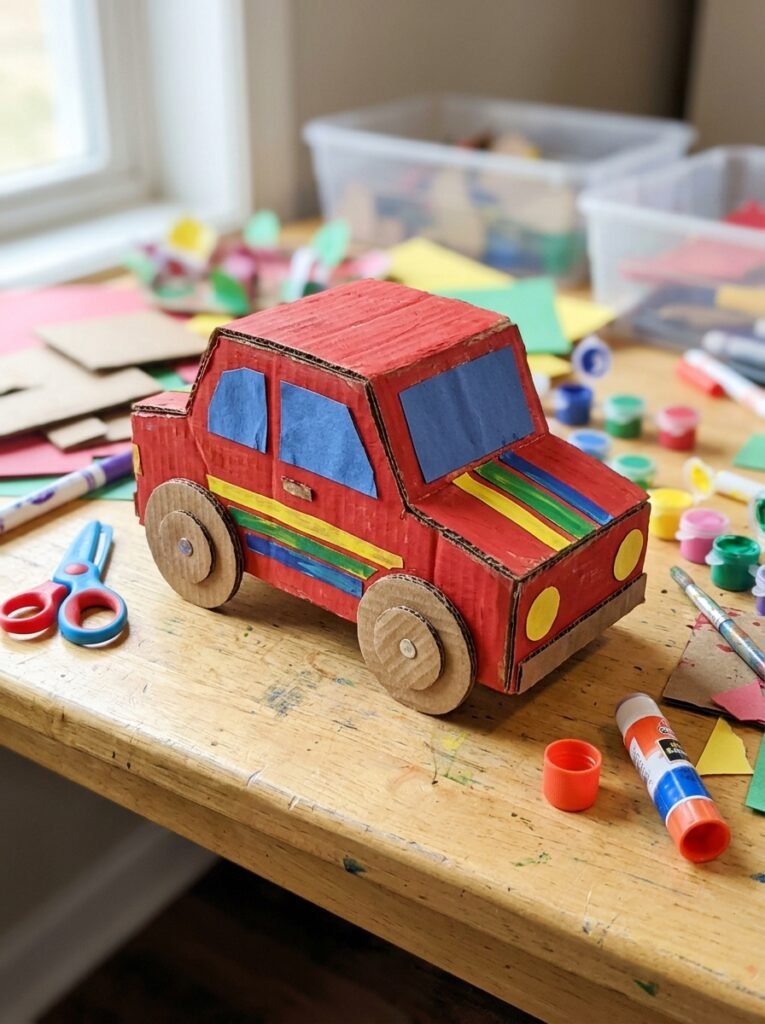
A cardboard toy car is an excellent first project for children who love vehicles. Start with a small rectangular box for the car body, then cut four circular wheels from sturdy cardboard. Add paper windows, headlights, and colorful racing stripes to give the car its own personality. Children can choose whether to make a racing car, a family car, or a delivery truck. For a version with moving wheels, an adult can help attach simple axles securely. Keep the finished car lightweight and smooth around the edges so little hands can handle it comfortably.
2. Mini Cardboard House
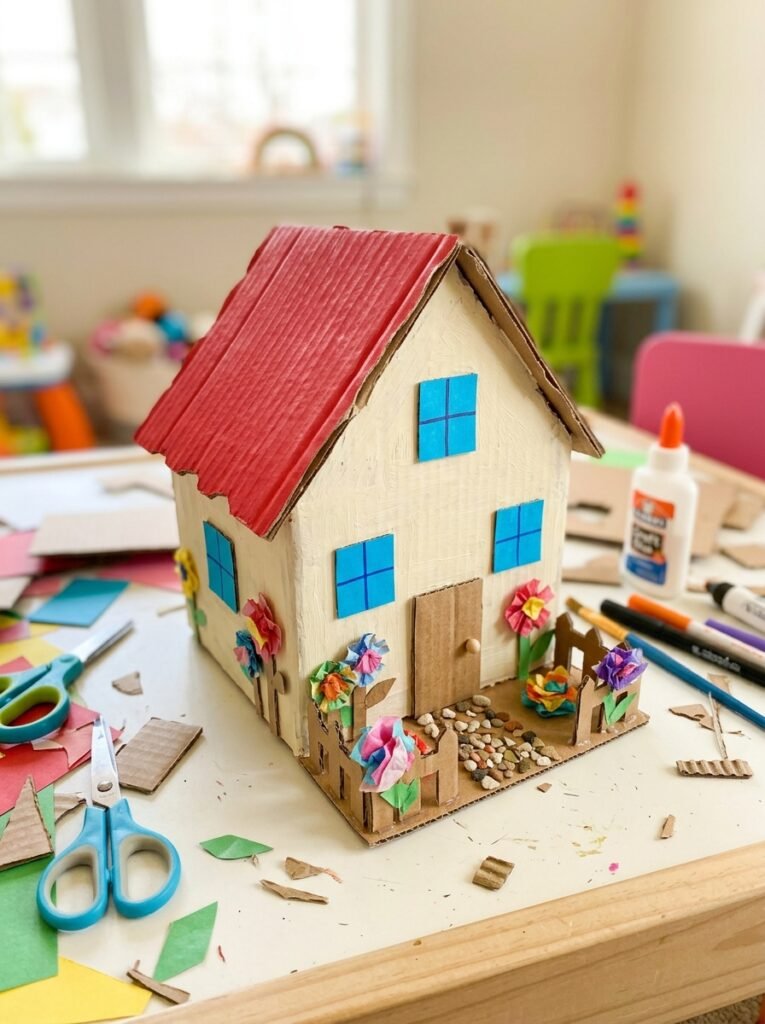
Building a miniature house gives children an opportunity to design their own little world. Use a small box as the main structure, then add a cardboard roof, windows, a door, and a chimney. Kids can paint the walls, decorate the windows with colored paper, and create a tiny garden using paper flowers. An adult can help cut the larger pieces, while children choose colors and decorate the finished structure. This project is ideal for imaginative play and can be expanded later with miniature furniture, a fence, or a small cardboard family.
3. Easy Cardboard Animal Friends
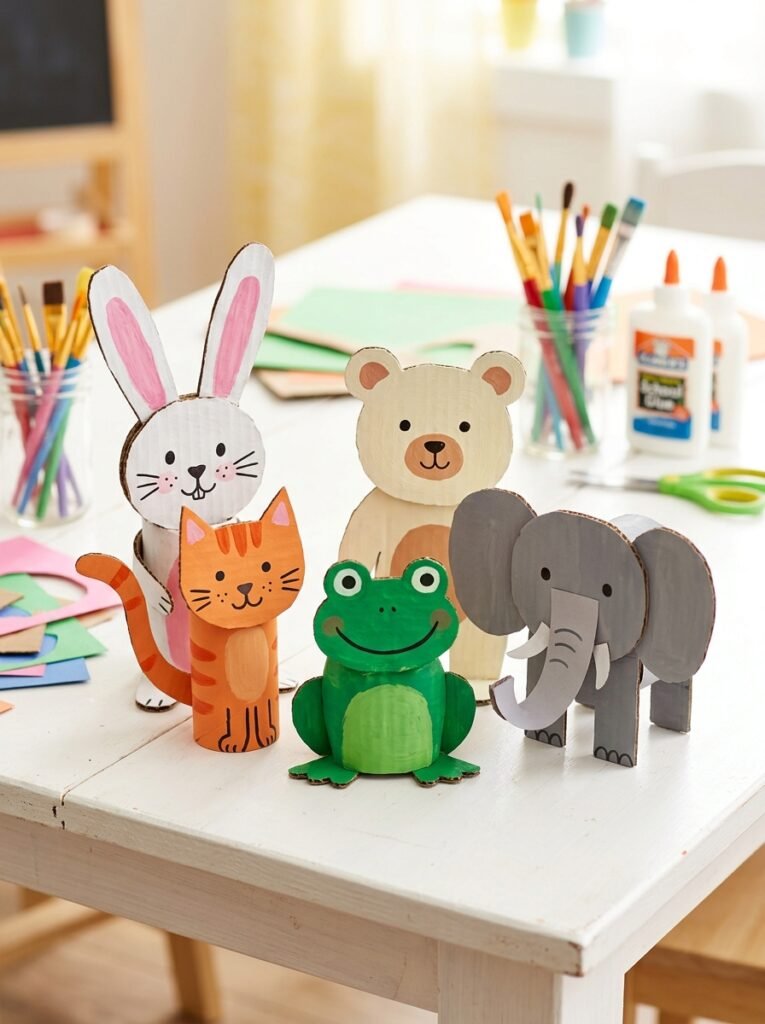
Turn cardboard scraps into a collection of friendly animals. A rabbit can have long ears, a cat can have pointed ears and whiskers, and a bear can have round ears and a wide nose. Begin with simple body shapes, then add colored paper, paint, and marker details to bring each animal to life. Children can create an entire animal family and give every character a name. These crafts are especially useful for storytelling, pretend play, and learning about different animals while practicing basic cutting, arranging, and decorating skills.
4. Cardboard Ice Cream Shop
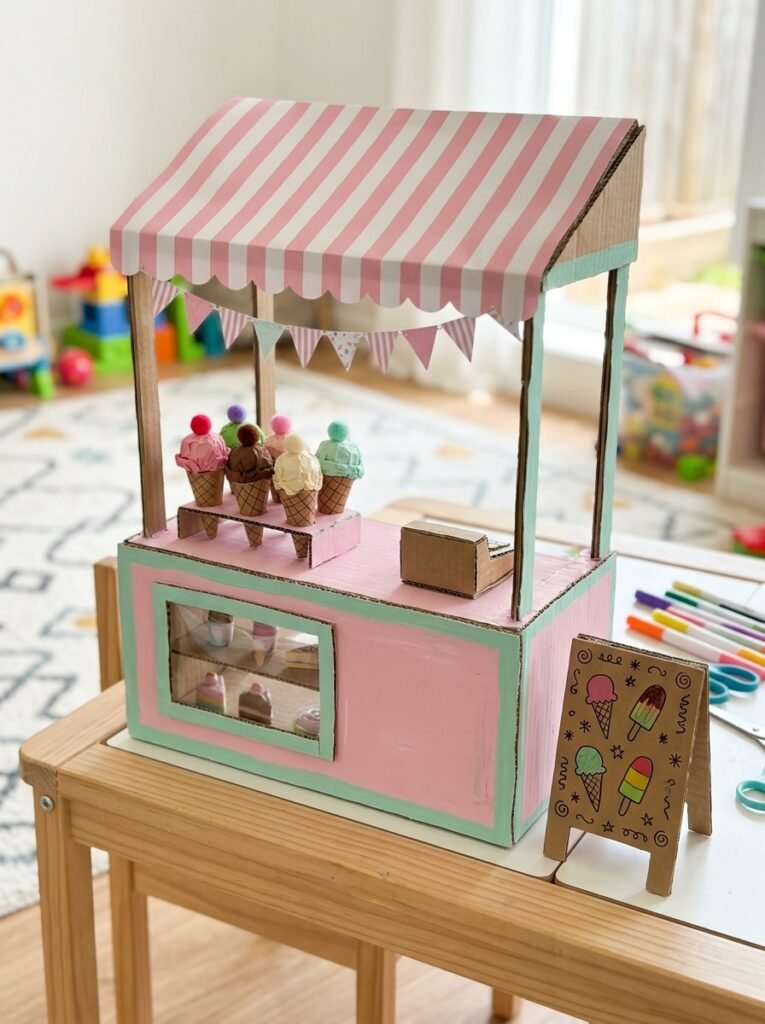
A pretend ice cream shop is a wonderful activity for children who enjoy playing store. Build a small counter from a sturdy cardboard box and decorate the front with colorful paper stripes. Make miniature ice cream cones from folded paper and small cardboard shapes, then arrange them behind a pretend display window. Add a menu board with pictures of different flavors, such as strawberry, chocolate, vanilla, and mint. Children can take turns being the shopkeeper and customer, practicing counting, colors, and friendly conversations through imaginative play.
5. Simple Cardboard Robot
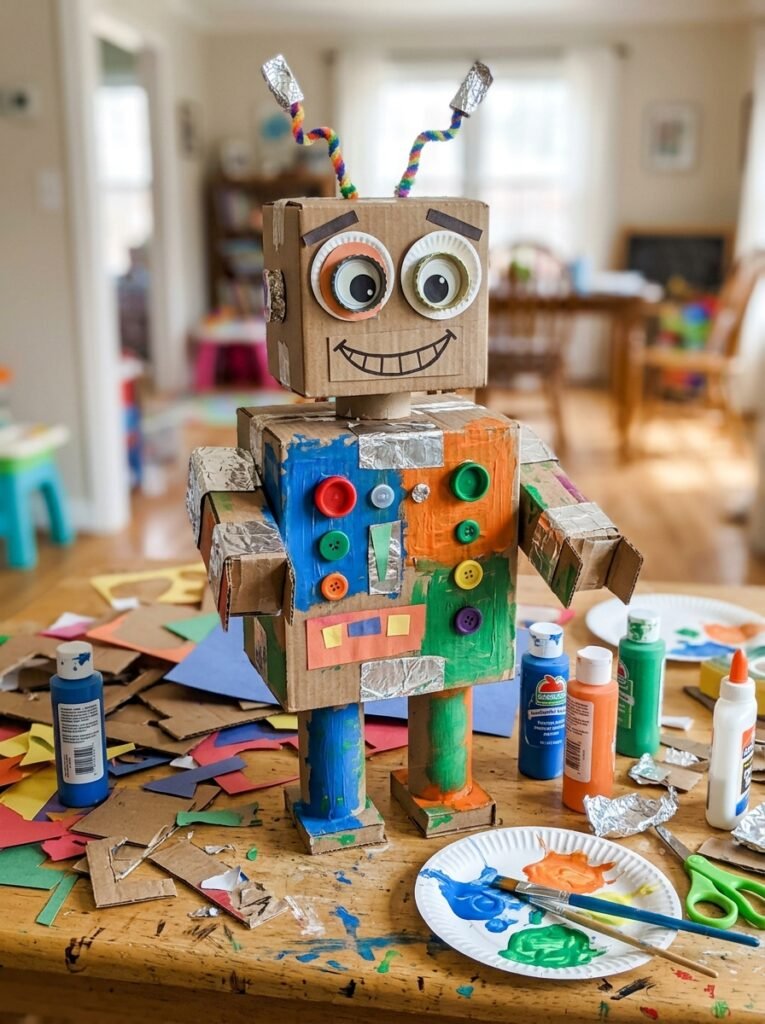
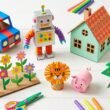
A cardboard robot is easy to customize and encourages children to invent their own characters. Use a small box for the body, another for the head, and cardboard scraps for arms, feet, and antennae. Add large paper eyes, colorful buttons, and a friendly smile. Children can paint their robots silver, blue, green, or any colors they like. They can even give the robot a name and decide whether it helps with cleaning, explores space, or delivers imaginary messages. This craft is a fun way to combine creativity with simple building skills.
6. Cardboard Christmas Tree
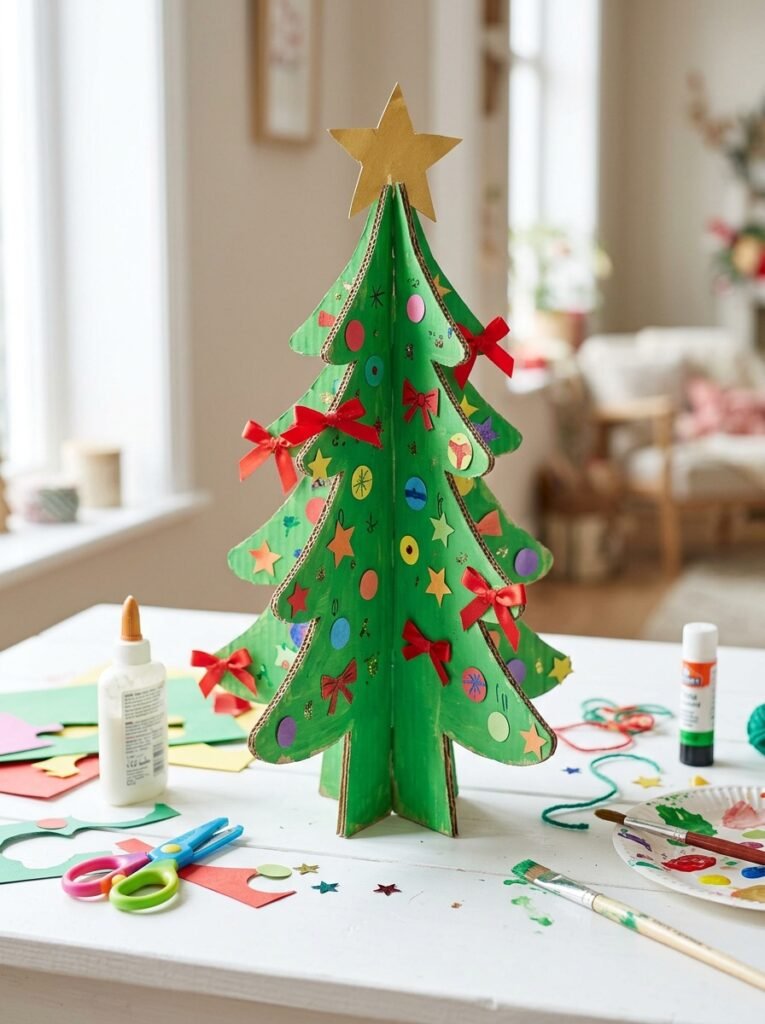
Make a festive Christmas tree from cardboard for a seasonal craft activity. Cut a large tree silhouette from a flat piece of cardboard, then let children paint it green and decorate it with paper ornaments, stars, and colorful circles. You can also create a freestanding tree by cutting two matching tree shapes and adding slots so they fit together with adult assistance. Use lightweight decorations to keep the tree stable. This project works well as a classroom display, a bedroom decoration, or a homemade centerpiece for the holiday season.
7. Cute Halloween Pumpkin
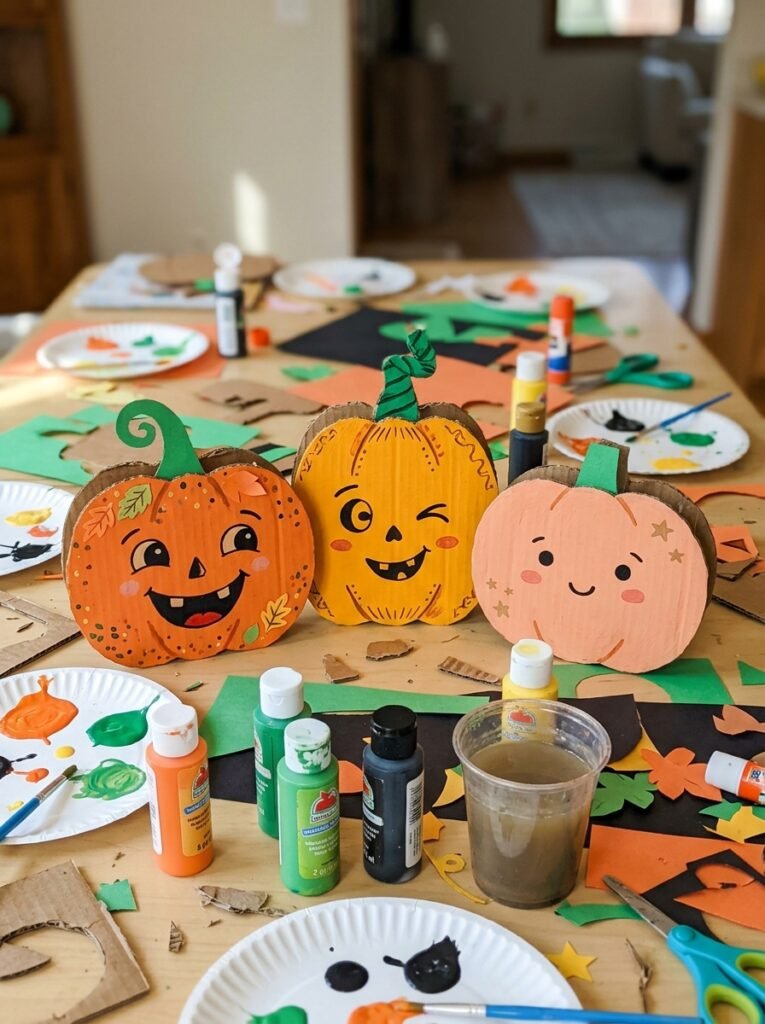
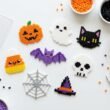
A cardboard pumpkin is a simple Halloween craft that can be made without complicated materials. Draw a large pumpkin outline on cardboard, cut it out with adult help, and let children paint it orange. Add a green stem and a friendly face using black paper shapes or washable paint. Children can choose a smiling face, a surprised expression, or a silly design rather than making it frightening. Make several pumpkins in different sizes to create a fun seasonal display for a classroom, playroom, or front window.
8. Cardboard Kitchen for Pretend Play
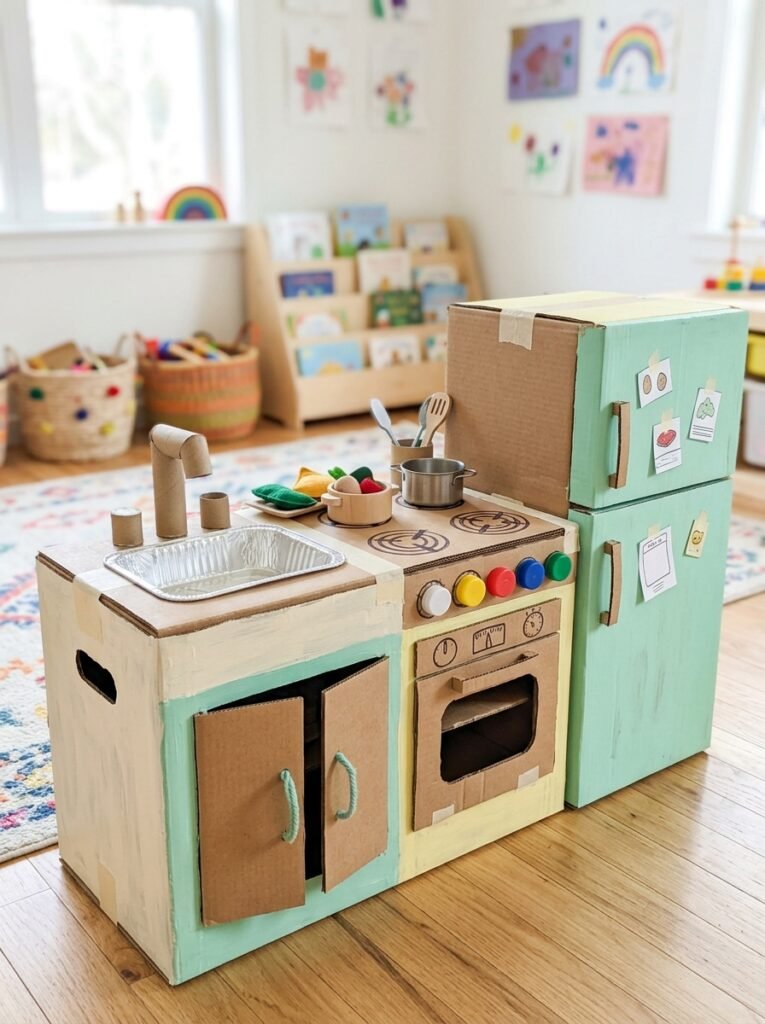
Create a miniature kitchen where children can pretend to prepare meals and serve their family. Use a large cardboard box for the main counter and smaller boxes for cabinets or a refrigerator. Draw stove burners on the top and attach lightweight cardboard circles as pretend knobs. Colored paper can become cupboard doors, while small empty boxes can serve as pretend food containers. Keep the design open and accessible so children can arrange toy dishes and play comfortably. This project is particularly enjoyable when children help decide where each kitchen feature should go.
9. Easy Cardboard Flower Garden
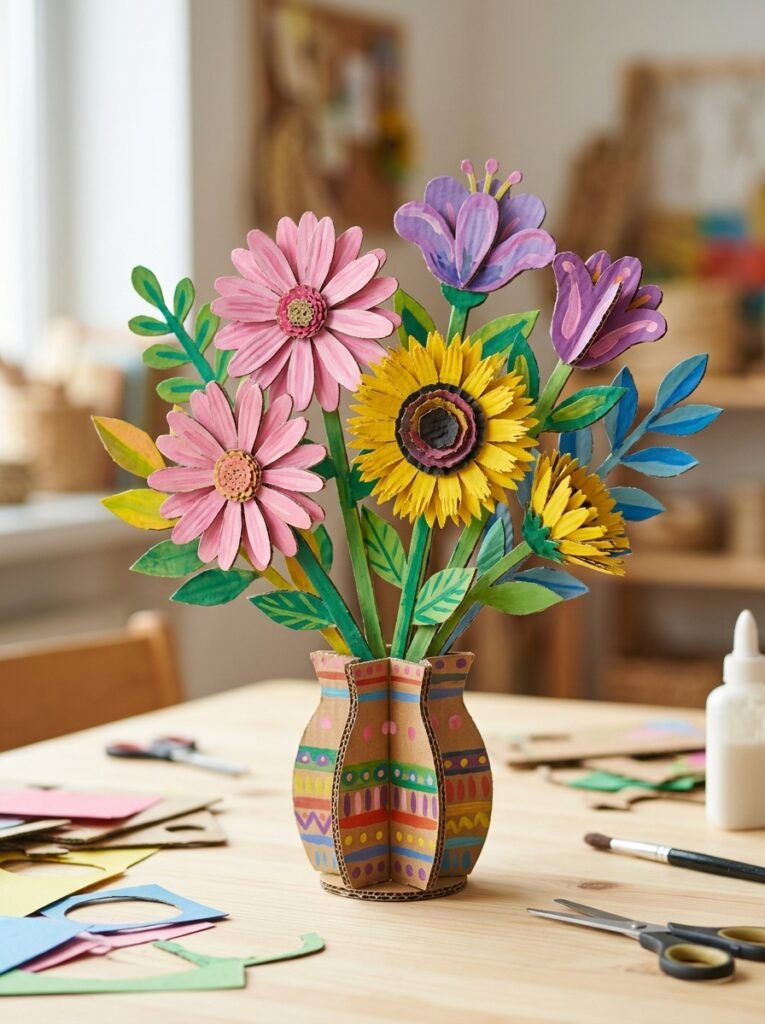
Make a bright flower garden from cardboard circles, petals, and green stems. Children can cut or select simple petal shapes, paint them in different colors, and attach them around a circular center. Add leaves and stems from green cardboard, then arrange the flowers on a larger background to create a garden scene. You can also attach the flowers to paper-covered sticks and place them in a lightweight cardboard vase. This project encourages children to explore colors, shapes, and patterns while creating a cheerful decoration for their room.
10. Cardboard Animal Masks
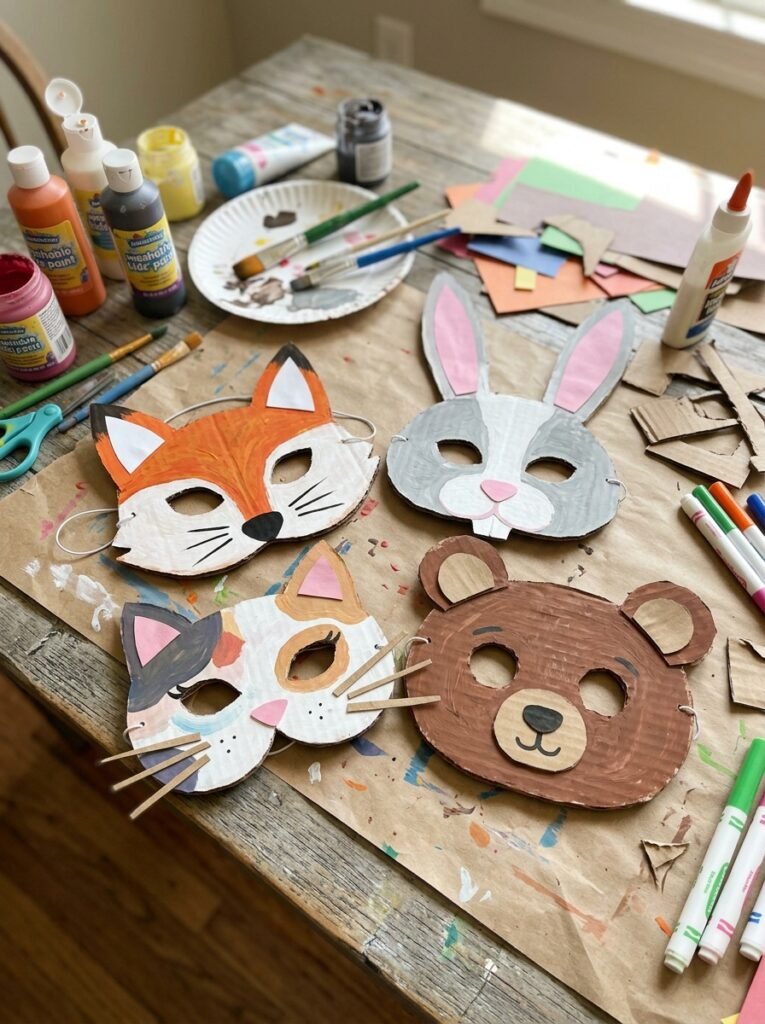
Animal masks turn a simple cardboard sheet into a fun dress-up accessory. Draw a rounded face shape, then add ears to create a cat, fox, bear, rabbit, or lion. Children can decorate the masks with paint, paper shapes, and marker details. An adult should cut the eye openings and help attach any elastic or ribbon. Make sure the eye holes allow clear vision, the edges are smooth, and the mask fits comfortably. These masks are ideal for pretend play, storytelling, and themed preschool activities.
11. Cardboard Marble Maze Game
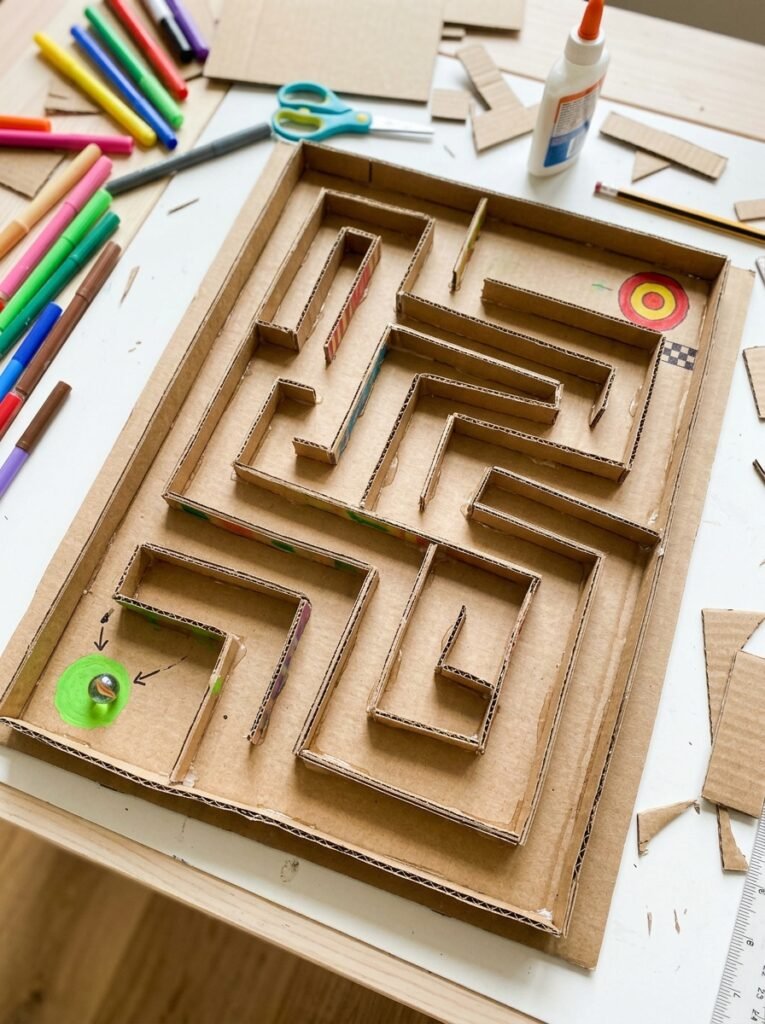
Create a simple maze game from a shallow cardboard tray and narrow cardboard strips. Glue the strips onto the base to form pathways, corners, and dead ends. Leave enough space for a marble to travel through the maze, and decorate the start and finish areas with bright colors. Older children can help plan the route before assembling the walls, making the project both a craft and a problem-solving activity. Because marbles can be choking hazards, this game is suitable only for children old enough to use them safely with appropriate supervision—not toddlers.
12. Easy Cardboard Phone Stand
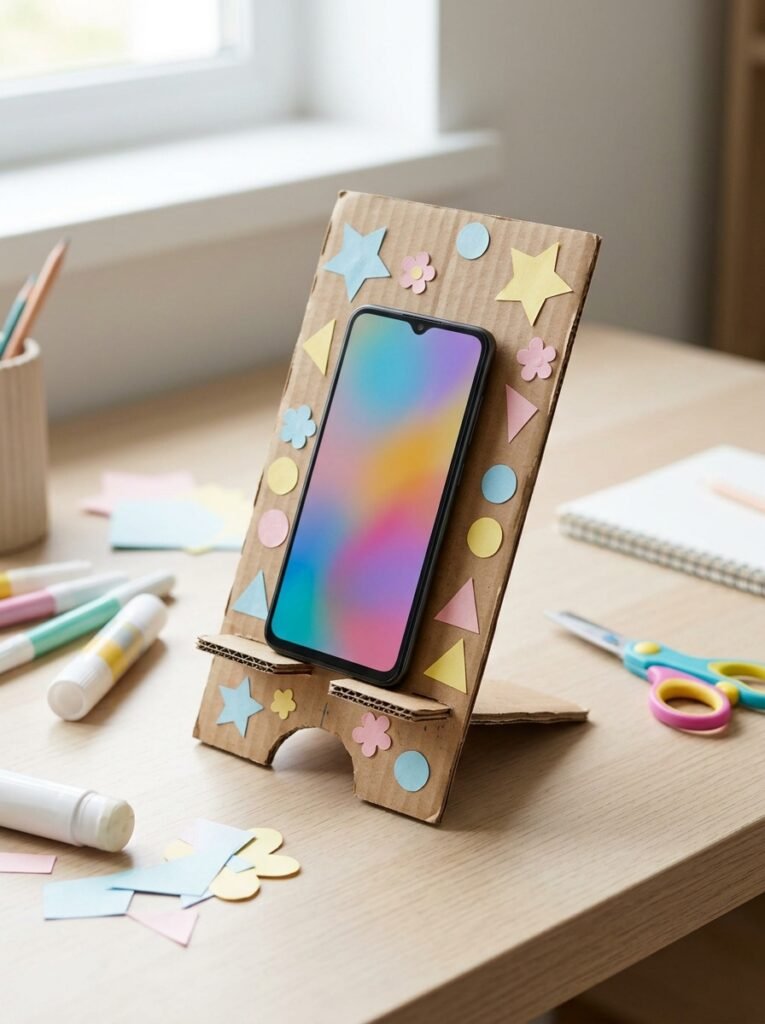
A cardboard phone stand is a useful project for older children and school-age kids. Cut two support pieces and a base, then assemble them into an angled holder with a small front lip that helps prevent the phone from sliding. Decorate the stand with stars, animals, flowers, or geometric patterns. Before using it, check that the structure is stable and can support the phone’s weight. Keep the stand dry and away from heat, and do not use it if the cardboard becomes bent or the joints begin to loosen.
13. Cardboard Toy Airplane
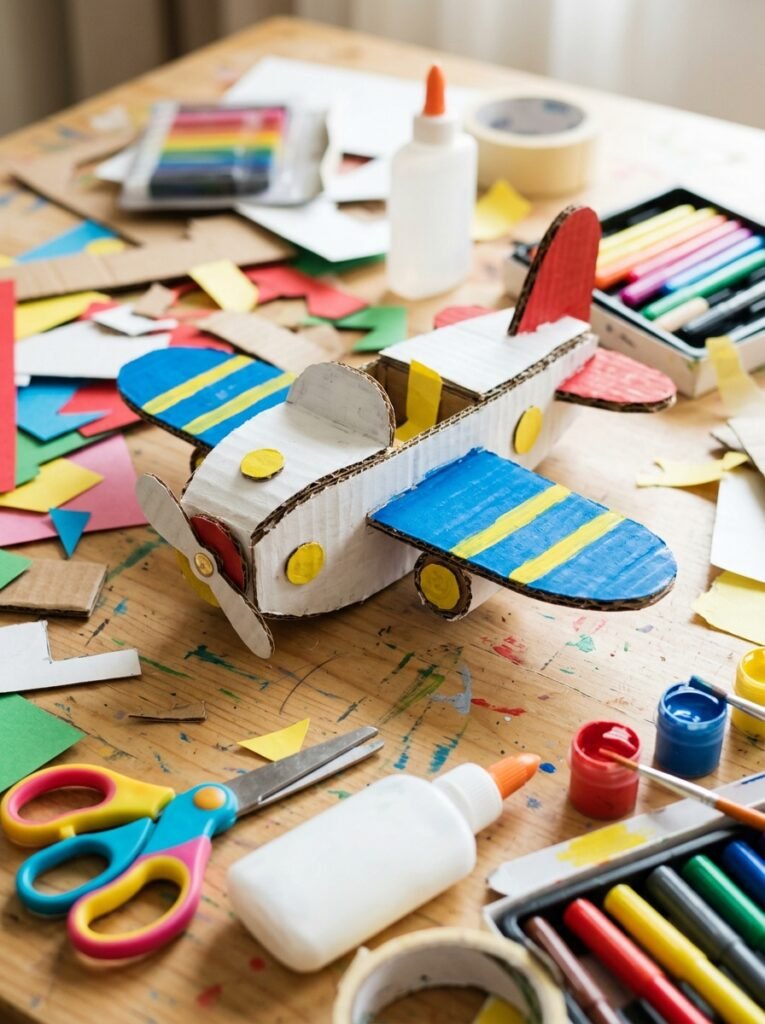
A toy airplane is a fun project for children who enjoy vehicles and imaginative adventures. Use a small rectangular box or folded cardboard for the body, then add two wings, a tail fin, and a simple paper propeller. Decorate the plane with stripes, stars, or colorful circles. An adult can help make precise cuts and secure the wings firmly. Keep the airplane lightweight and avoid sharp or pointed edges. Children can then use it for pretend flights around the room or create a miniature airport with additional cardboard buildings.
14. Preschool Cardboard Shape Puzzle
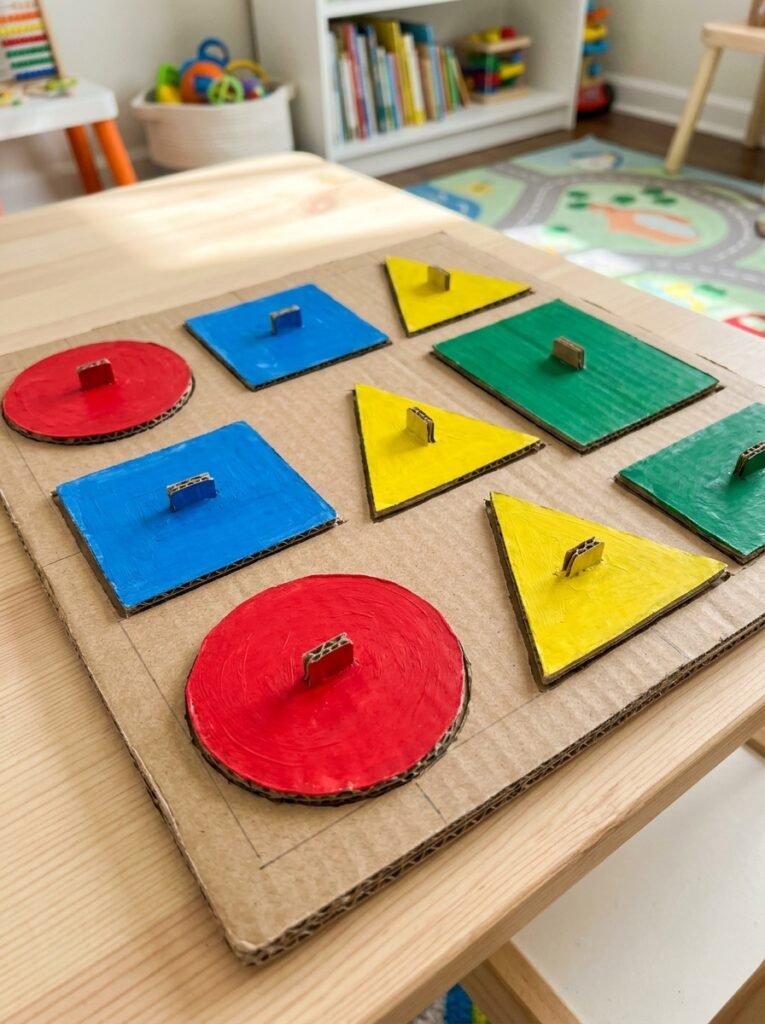
Make a simple shape puzzle using a flat piece of sturdy cardboard. Draw large circles, squares, triangles, and rectangles, then color each shape differently. For an interactive version, an adult can cut out the shapes and make matching openings in a second cardboard layer. Children can then match each piece to the correct space while learning about shapes and colors. Keep all pieces large enough for the child’s age, and supervise closely to prevent mouthing or swallowing. This activity combines basic learning with hands-on play.
15. Cardboard Ice Cream Cones
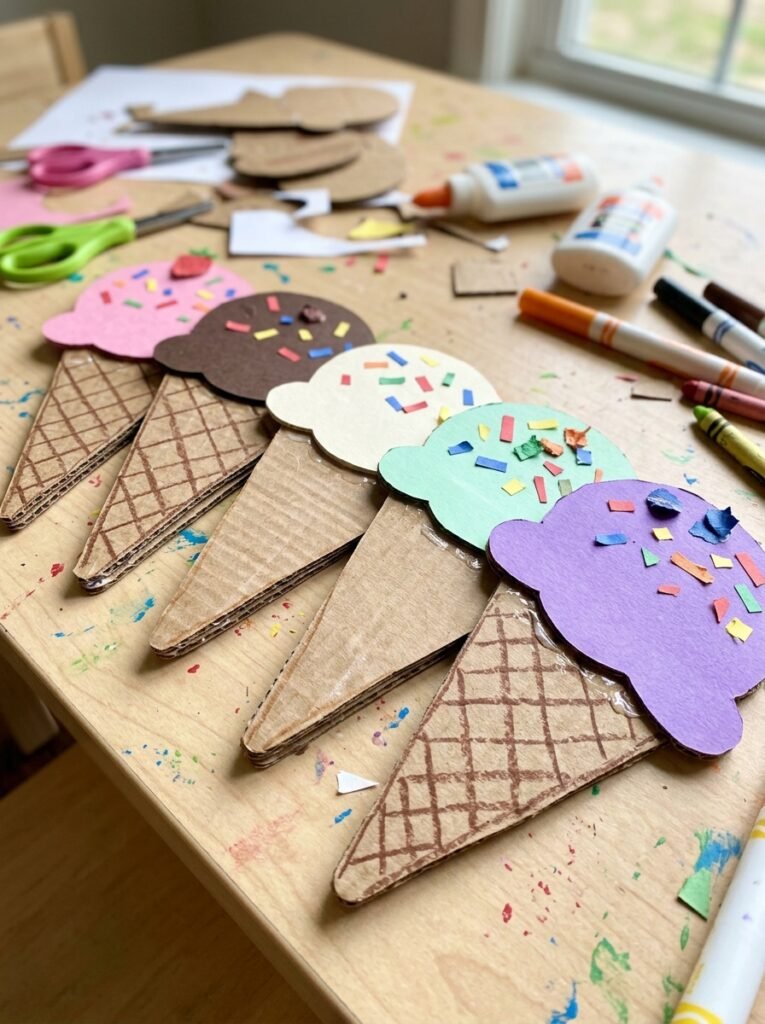
Create individual ice cream cones from small pieces of cardboard and colored paper. Cut a triangle for the cone, then add a round scoop above it using layered cardboard circles. Children can choose different colors to represent strawberry, chocolate, vanilla, mint, or blueberry flavors. Add paper sprinkles, tiny circles, or colorful lines to decorate each scoop. Make a whole collection and display the cones in a miniature cardboard ice cream shop. This quick craft is especially good for young children who enjoy simple shapes and bright colors.
16. Easy Cardboard Puppet Theatre
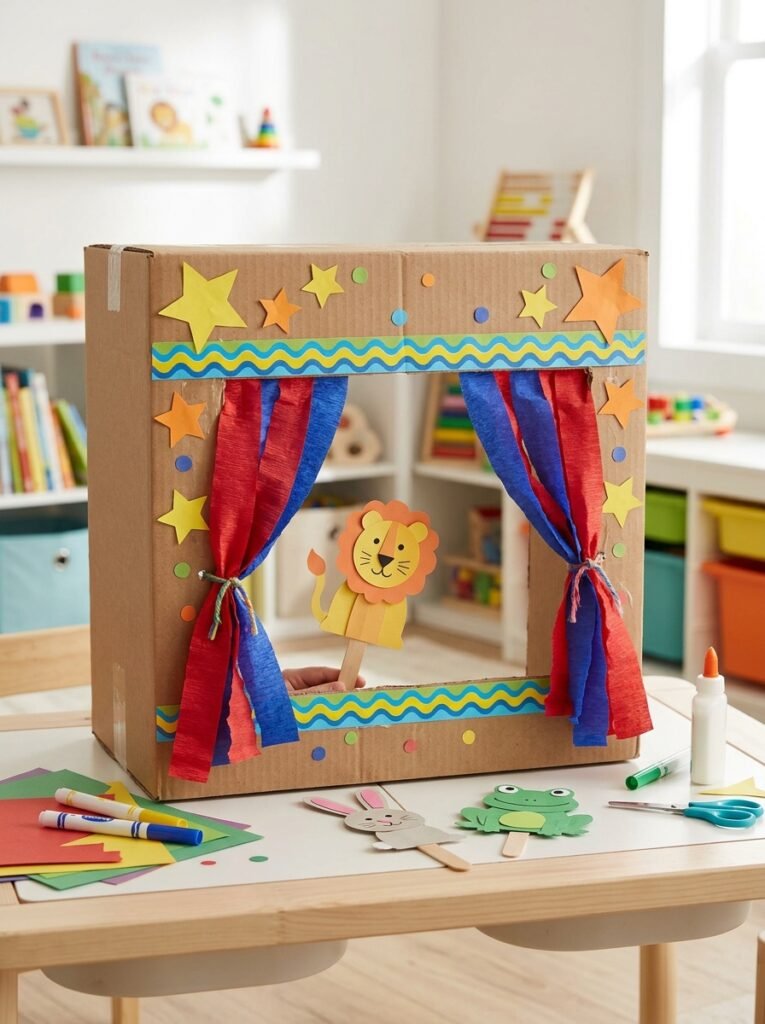
Turn a medium cardboard box into a small puppet theatre for storytelling. Cut a large window in the front with adult assistance, then decorate the frame with colorful paper curtains, stars, or a simple stage design. Children can make paper or cardboard puppets attached to craft sticks and invent their own stories. The theatre can become a castle, a jungle, a school, or a magical forest simply by changing the decorations. This project encourages creativity, language skills, and cooperative play when children perform together.
17. Cardboard Outdoor Scavenger Hunt Board
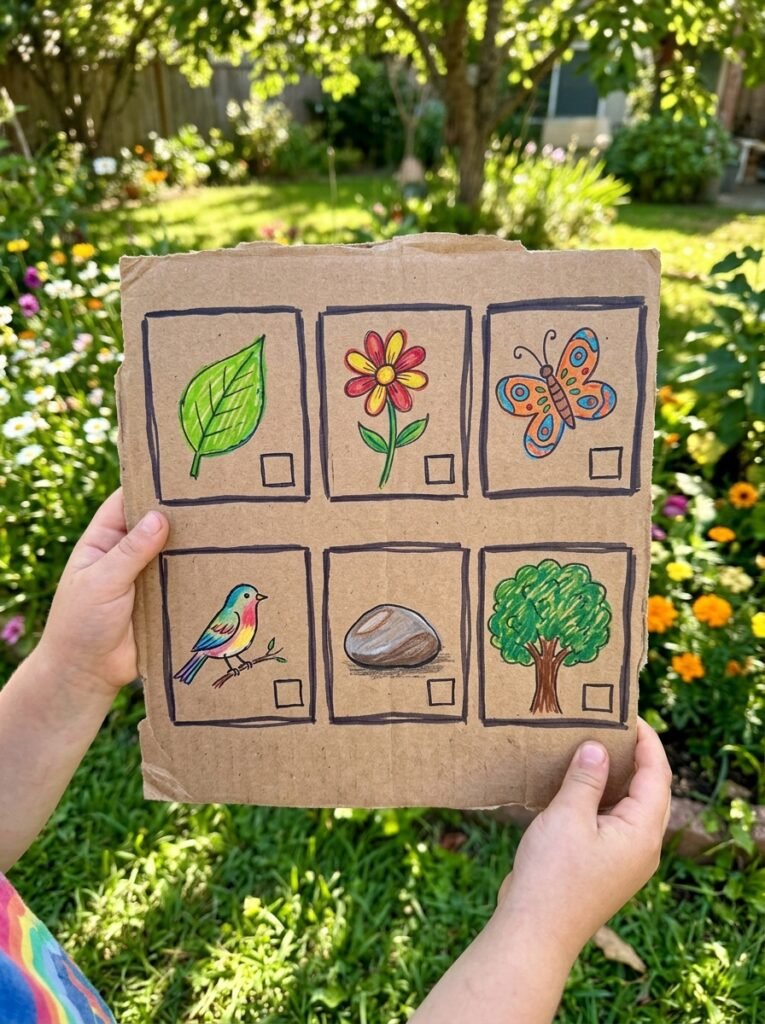
Take a cardboard craft outside by making a simple scavenger hunt board. Divide a flat cardboard sheet into large boxes and draw pictures of things children might find in a garden or park, such as a leaf, flower, smooth stone, bird, or butterfly. Children can mark each picture with a washable marker or a paper token when they spot the item. Keep the activity focused on observing nature rather than collecting anything unsafe. This is a fun way to combine a craft with movement, curiosity, and outdoor learning.
18. Cardboard Room Organizer
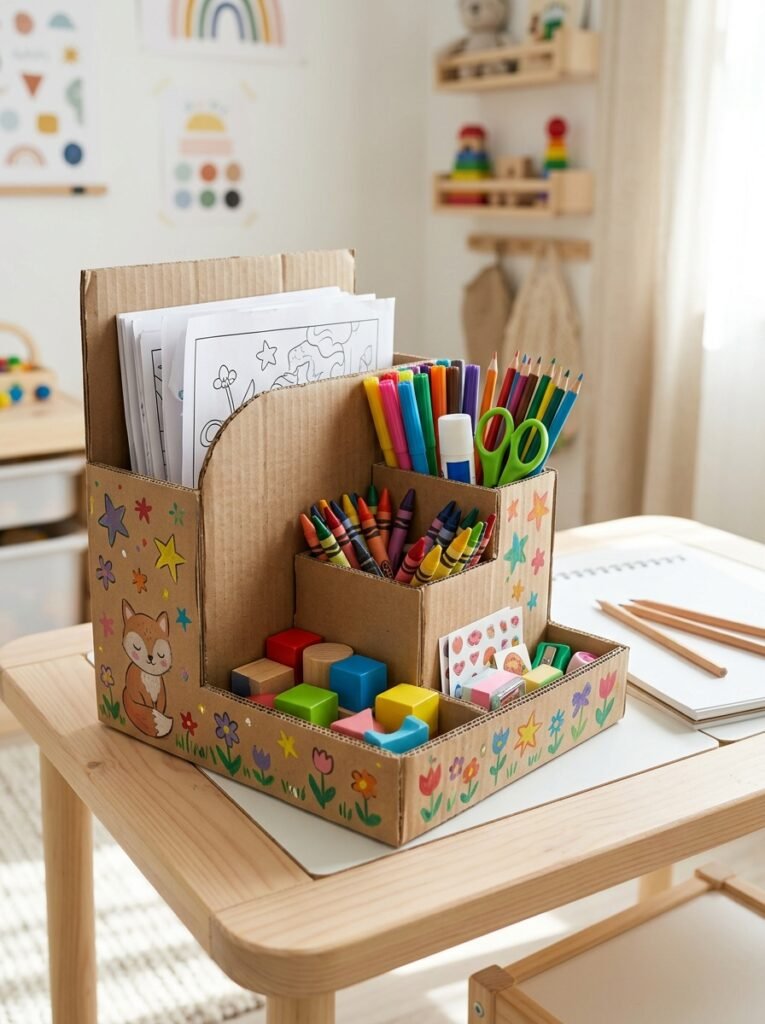
Make a lightweight organizer for toys, crayons, craft paper, or small stationery items. Use a sturdy box and add cardboard dividers to create separate compartments. Children can decorate the outside with painted stars, flowers, animals, or their favorite colors. Labeling the compartments with pictures can help younger children understand where each item belongs. Keep the organizer for lightweight objects and place it on a stable surface so it does not tip over. This craft combines creativity with a useful lesson in keeping a room tidy.
19. Simple Cardboard Boat
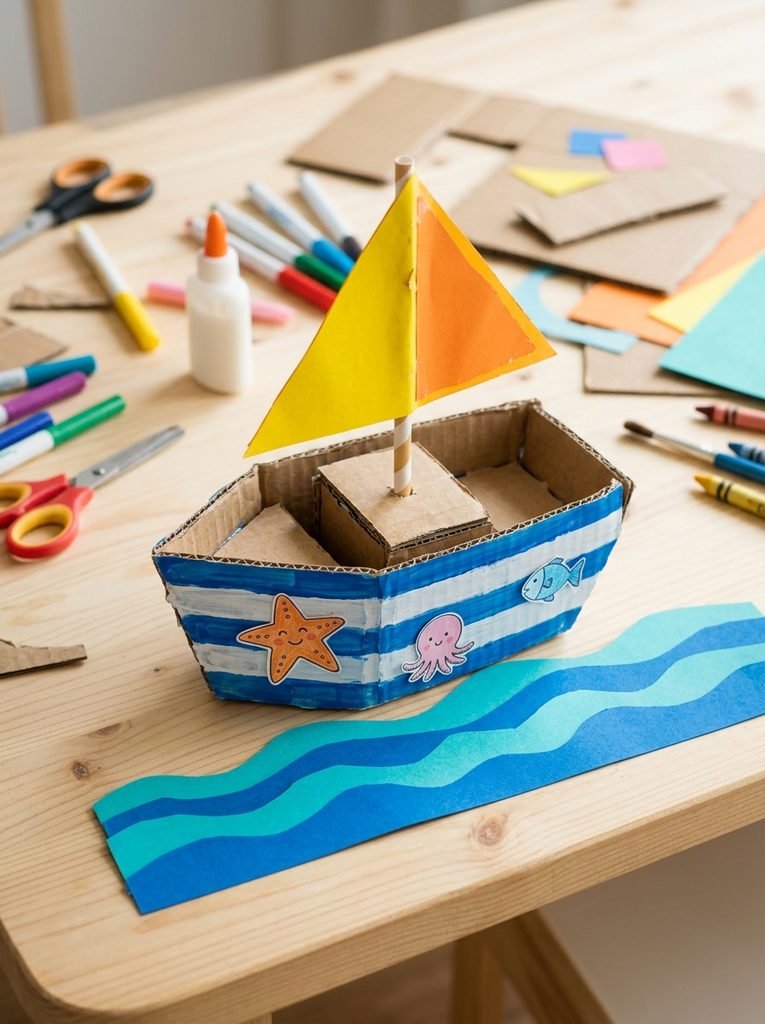
A cardboard boat is an imaginative craft that can be decorated for pretend adventures. Use a broad, shallow cardboard base and build simple sides to create a boat shape. Add a small mast and paper sail, then decorate the outside with colorful stripes or a friendly sea-creature drawing. This project is best used as a dry-play toy for pretend sailing. Ordinary cardboard softens when wet, so do not place it in water unless the materials and construction have been specifically designed for that use. Children can build a paper ocean backdrop for additional play.
20. Cardboard Christmas Ornaments
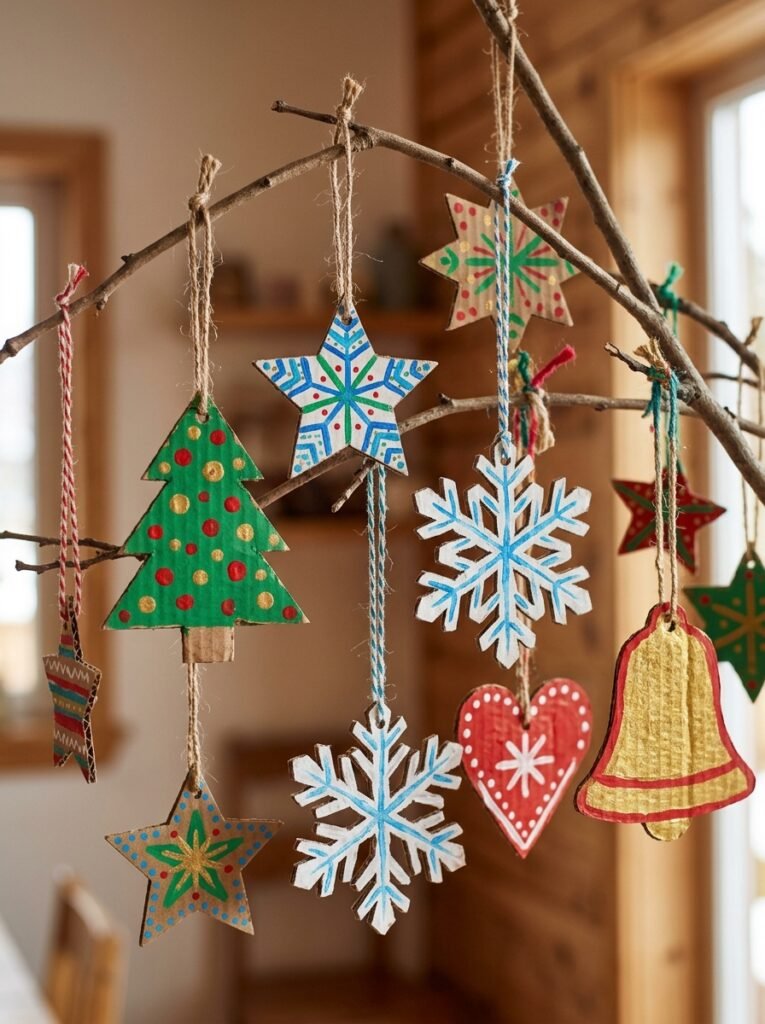
Create festive ornaments from cardboard stars, trees, bells, hearts, or snowflakes. Draw the shapes on clean cardboard, cut them out with adult assistance where needed, and let children decorate them with paint, paper, or large lightweight embellishments. Add a small hanging loop only after checking that it is secure. These ornaments can decorate a classroom display or a low, accessible part of a Christmas tree. Avoid placing cardboard ornaments near candles, heaters, or other sources of heat because cardboard is flammable.
21. Halloween Cardboard Monster
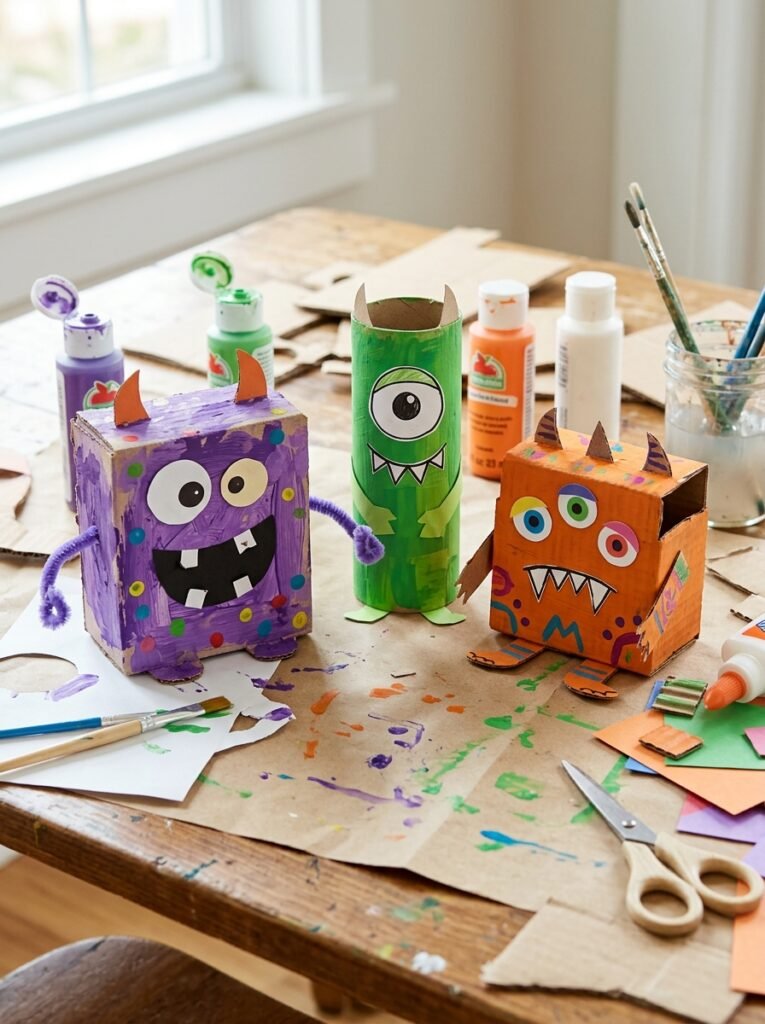
A cardboard monster is a great opportunity for children to invent a completely original character. Start with a rounded or square cardboard body, then add large eyes, funny teeth, paper horns, or colorful arms. Let each child choose a personality for their monster: friendly, sleepy, silly, or a little spooky. Use washable paint and paper shapes for the decorations, keeping small detachable parts away from younger children. Several monsters can be arranged together to create a playful Halloween display without making it frightening.
22. Easy Cardboard Flower Wreath
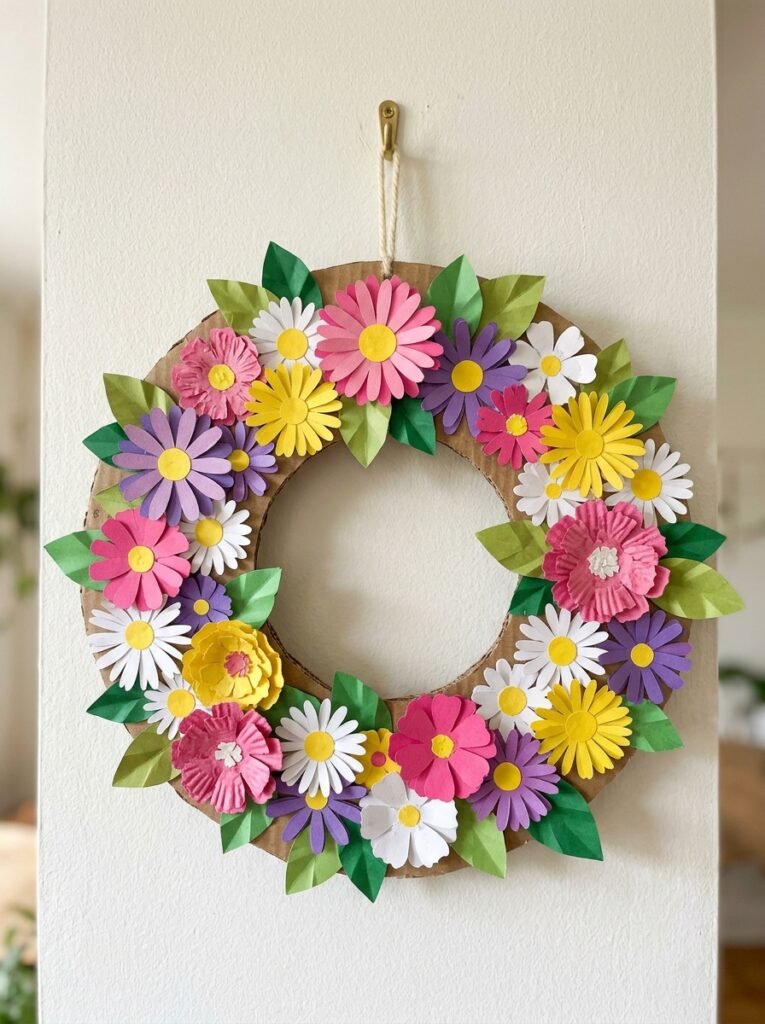
Make a colorful wreath using a circular cardboard base and simple paper or cardboard flowers. Cut a large ring from cardboard, then arrange flowers, leaves, and small circles around the front. Children can paint the pieces before attaching them, or use colored paper to create a bright layered look. Choose seasonal colors for spring, summer, Christmas, or a birthday decoration. Keep the wreath lightweight and hang it securely indoors. This project gives children a chance to practice arranging shapes while creating something they can display proudly.
23. Cardboard Toy Garage
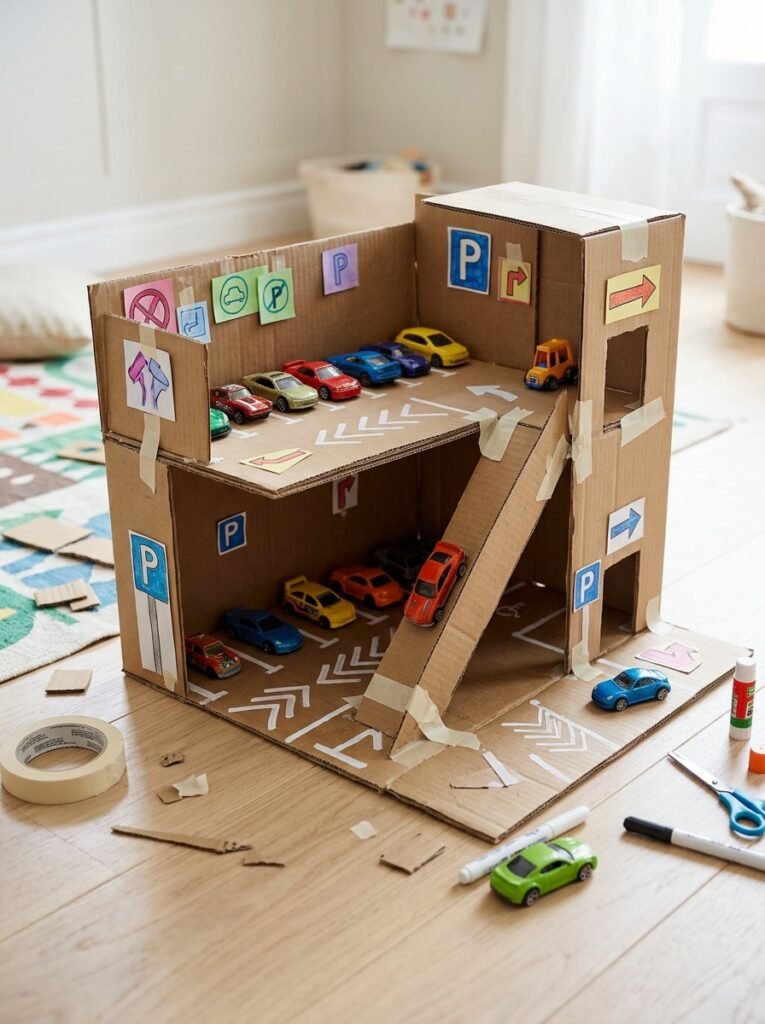
Build a toy garage from a large cardboard box by adding several parking spaces, a ramp, and a simple entrance. Draw white parking lines on the floor and decorate the walls with colorful signs or pretend charging stations. Children can park their cardboard cars or existing toy vehicles inside and invent their own traffic stories. Make sure the ramp is stable and the structure has no sharp edges. This project can be expanded with a miniature car wash, a service station, or an upper parking level as children develop new ideas.
24. Easy Cardboard Paint-and-Print Art
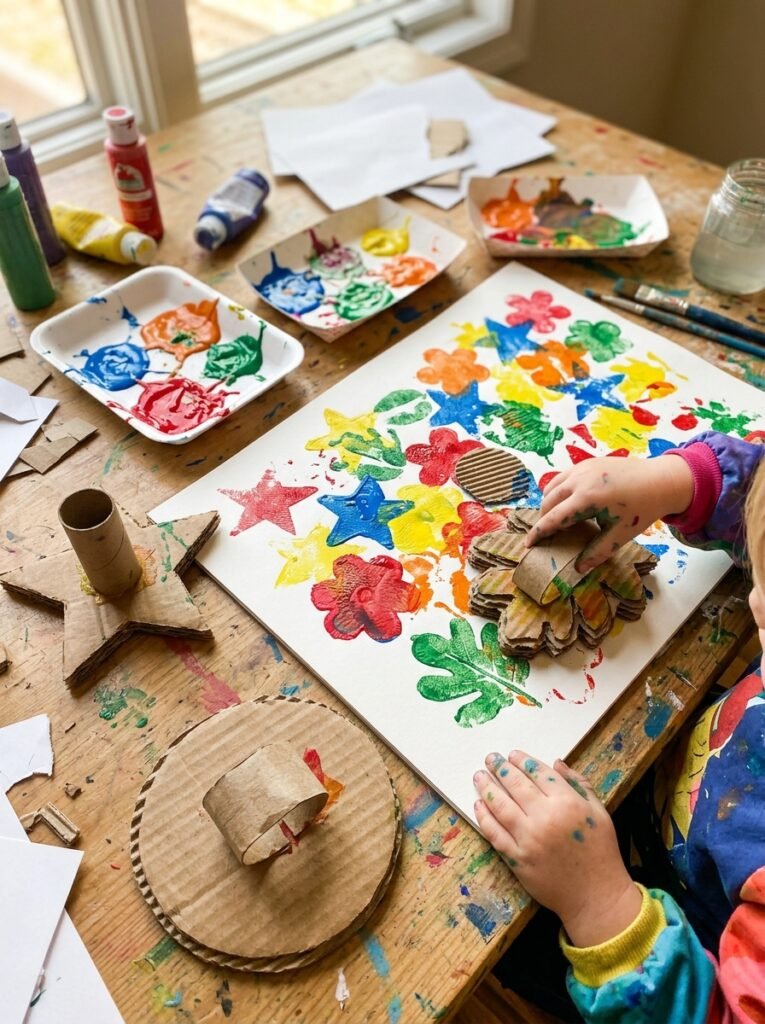
Cardboard is not just for building; it can also become a tool for creative painting. Cut simple shapes from thick cardboard to make stamps, such as circles, stars, leaves, or hearts. Dip the shapes lightly into washable paint and press them onto paper to create repeating patterns. Children can make wrapping paper, greeting cards, or colorful artwork using their own designs. Keep the stamps large and easy to grip, and use a washable surface to make cleanup simpler. This activity is especially suitable for preschool art sessions with adult supervision.
25. Cardboard Rocket for Pretend Space Adventures
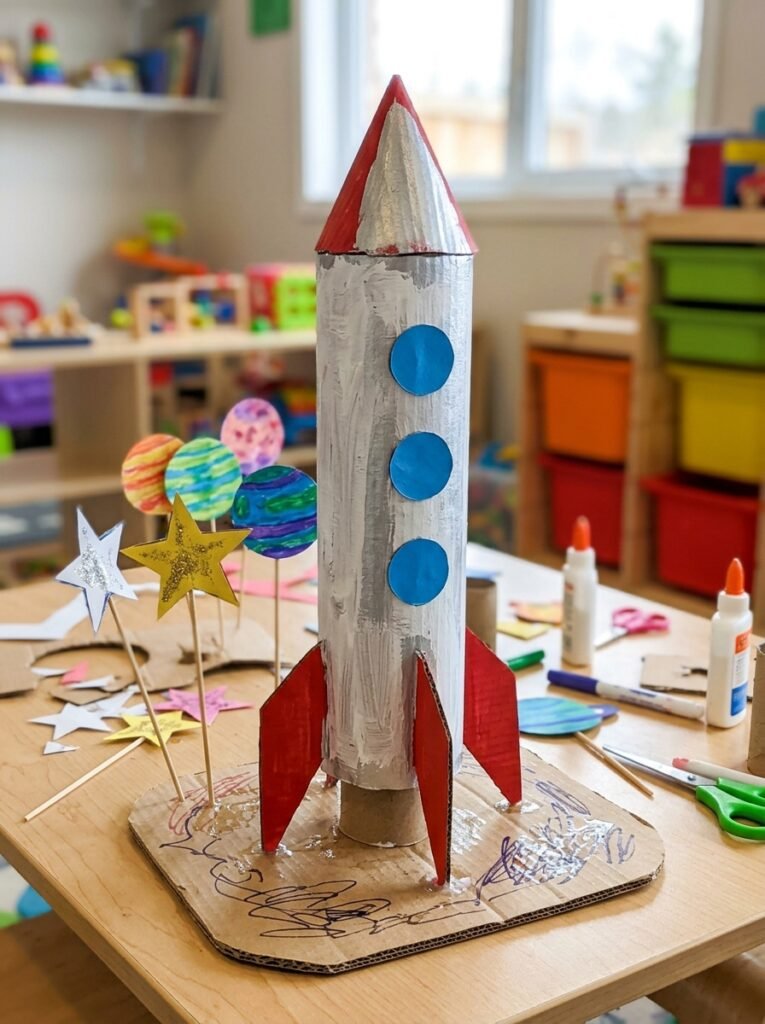
Finish the collection with a cardboard rocket that inspires imaginative space play. Use a tall cardboard tube or rolled cardboard for the main body, then add a pointed nose cone, fins, and paper windows. Paint it white, silver, blue, or red, and decorate it with stars and colorful stripes. A wide cardboard base can help it stand upright for display. Keep the rocket lightweight and use adult help for cutting and assembly. Children can create paper planets and stars to build their own miniature space scene.
How to Make Cardboard Crafts Kids Can Enjoy Step by Step
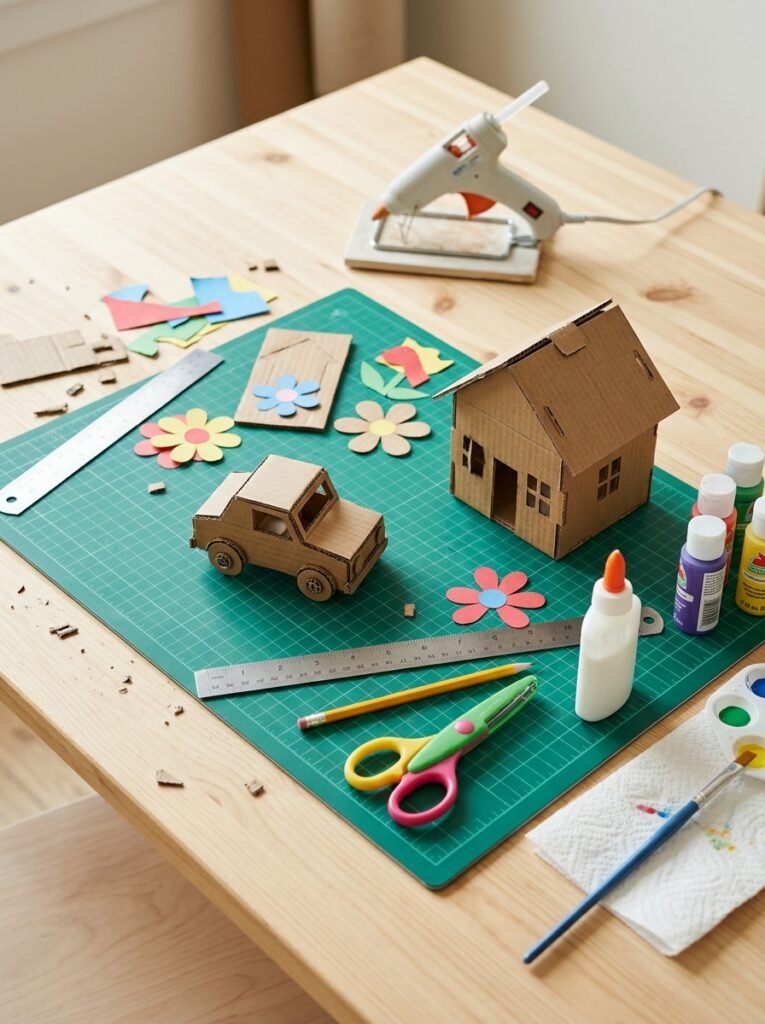
Most cardboard projects begin with a few basic supplies and a simple plan. Measuring before cutting and allowing glue to dry fully will help make the finished craft look neater and last longer.
- Choose an age-appropriate project. Start with flowers, painted shapes, or simple animal faces for younger children. Save more complicated structures for older kids with adult help.
- Gather the materials. Use clean, dry cardboard, a pencil, ruler, child-safe scissors, washable paint, colored paper, and suitable craft glue.
- Draw the design. Sketch the main shapes before cutting. For houses, cars, and garages, measure the panels so they fit together.
- Cut the pieces carefully. Adults should handle craft knives and difficult cuts. Supervise children when they use scissors.
- Assemble the structure. Apply suitable glue to the joints and hold the pieces together until they are secure. Allow enough drying time.
- Decorate the project. Use washable paint, colored paper, markers, and lightweight embellishments to make the craft unique.
- Check the finished item. Smooth rough edges, remove loose parts, and make sure the project is stable before children use it.
Hot glue safety: Hot glue can cause burns. An adult should operate the glue gun, keep it on a stable heat-resistant surface, and allow glued areas to cool before handling. For younger children, use suitable non-toxic craft glue instead. Never leave a hot glue gun unattended.
Tips for Successful Cardboard Crafts
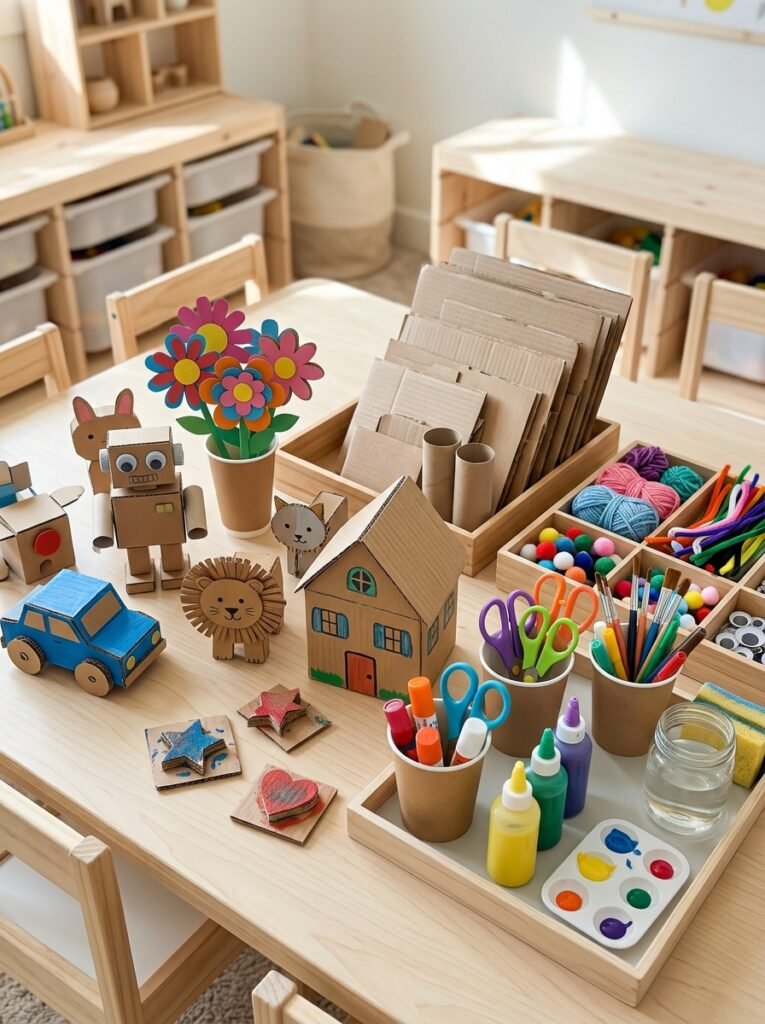
- Start with simple shapes: Circles, squares, triangles, and rectangles are easier for young children to cut and decorate.
- Use clean cardboard: Dry boxes and smooth panels are easier to work with than damp or damaged material.
- Choose washable supplies: Washable paint and non-toxic glue make children’s projects easier to manage.
- Reinforce important joints: Add extra cardboard strips inside a house, garage, or standing decoration if needed.
- Keep parts age-appropriate: Avoid small detachable pieces for toddlers, especially if they may put objects in their mouths.
- Let glue and paint dry: Moving the project too soon can weaken the joints or smudge the decoration.
- Make play part of the project: Turn a finished car into a race, a house into a story, or a flower into a pretend garden.
- Store crafts safely: Keep cardboard away from moisture, open flames, heaters, and other heat sources.
Final Thoughts
The best cardboard crafts kids can enjoy are the ones that combine creativity with a little hands-on fun. A simple box can become a toy car, a pretend kitchen, a flower garden, a Christmas decoration, or an imaginative rocket. These projects also encourage children to explore shapes, colors, problem-solving, and storytelling while reusing everyday materials. Start with an easy project that matches your child’s age and interests. With clean cardboard, a few basic supplies, and suitable adult supervision, ordinary packaging can become hours of creative play and memorable handmade creations.