
This post may contain affiliate links. Please read my disclosure policy.
In This Article Show
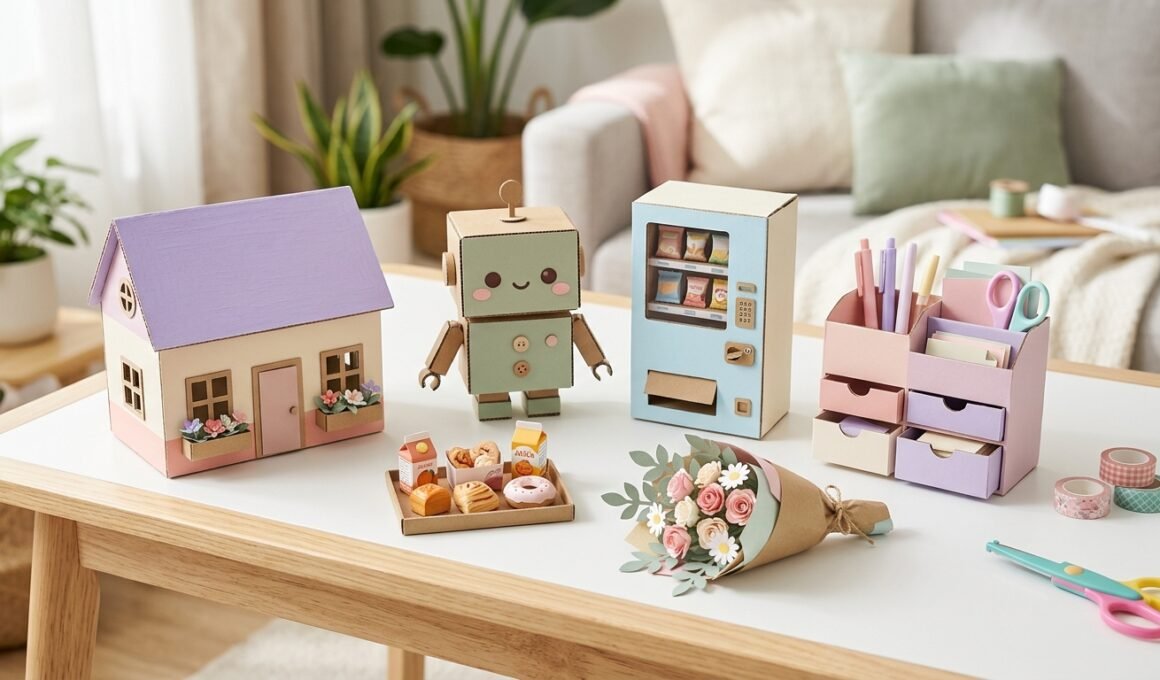
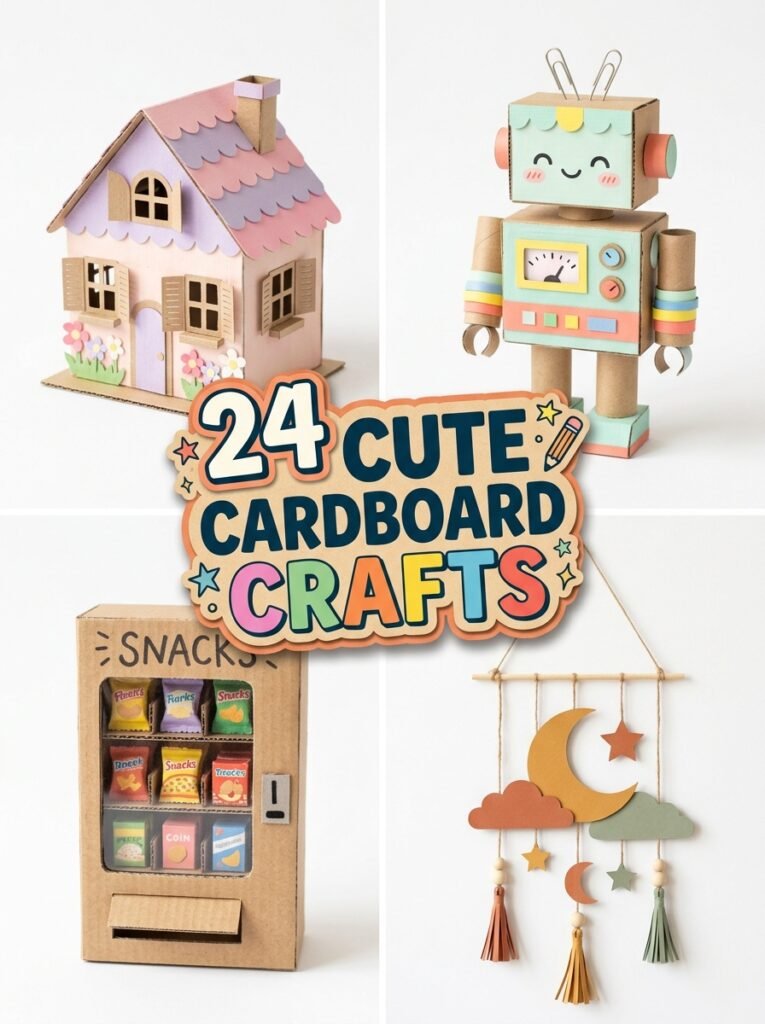
You do not need expensive supplies to create something adorable for your room. With a few cardboard boxes, colorful paper, glue, and a little imagination, you can make charming decorations, miniature furniture, cute animals, and personalized gifts. These cute cardboard crafts are perfect for anyone who loves aesthetic DIY projects and wants to turn ordinary materials into something special. Whether you prefer pastel room decor, tiny food models, cute character-inspired crafts, or practical organizers, these ideas offer plenty of inspiration. Some projects are quick and beginner-friendly, while others let you experiment with more detailed designs. Pick your favorite, gather your supplies, and start creating something uniquely yours.
1. Aesthetic Pastel Cardboard Wall Art
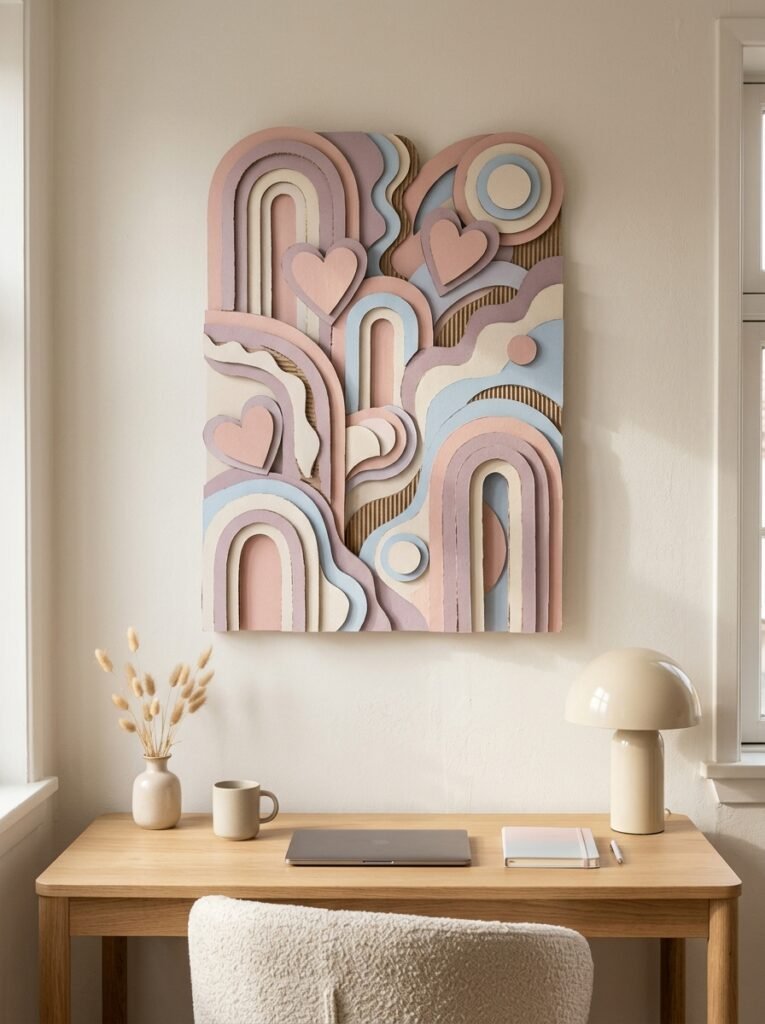
Create a beautiful piece of wall art using cardboard cut into arches, circles, hearts, stars, or wavy shapes. Paint the pieces in soft pastel colors such as blush pink, lavender, cream, and baby blue. Layering the shapes creates a lovely three-dimensional effect without requiring expensive materials. You can arrange them into a rainbow, flower, or abstract pattern that matches your bedroom. This is an easy way to make your room feel more personalized while recycling cardboard that might otherwise be thrown away.
2. Cute Cardboard Mini House
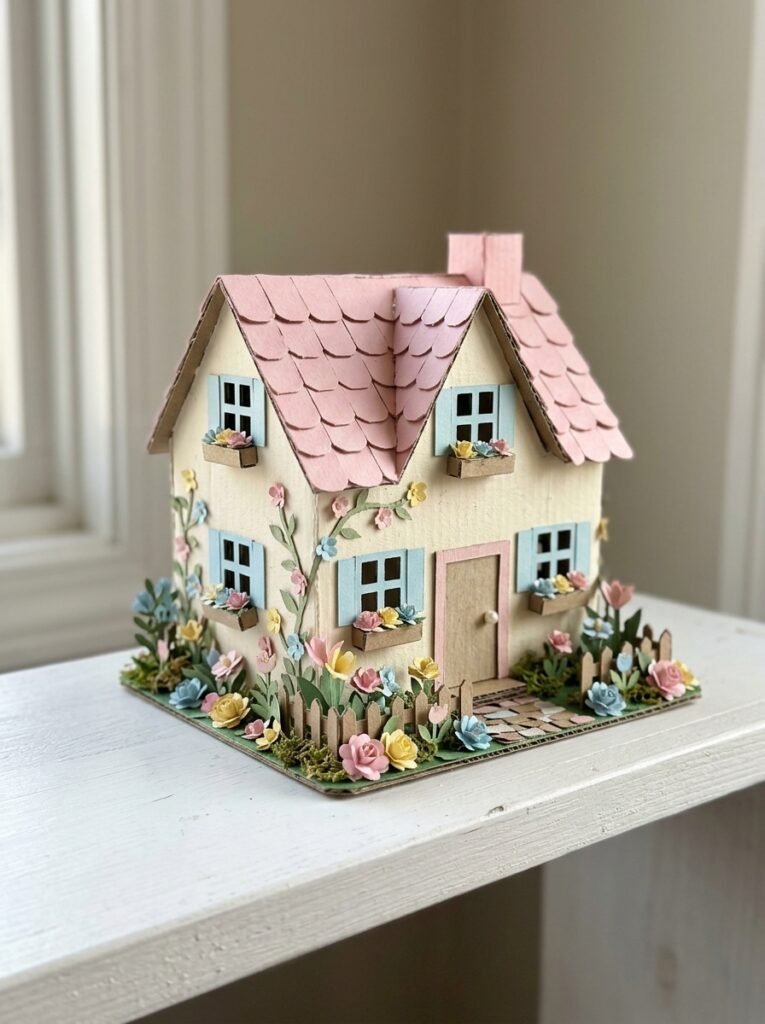
A miniature cardboard house is a fun project for anyone who enjoys tiny objects and detailed crafts. Use a small box as the main structure, then add a roof, windows, a front door, and little decorative details. Cover the walls with pastel paper or paint them in colors that match your room. You can even make a tiny garden with paper flowers and small cardboard stepping stones. Display the finished house on a shelf or desk, or create several matching houses to form a miniature neighborhood.
3. DIY Cardboard Desk Organizer
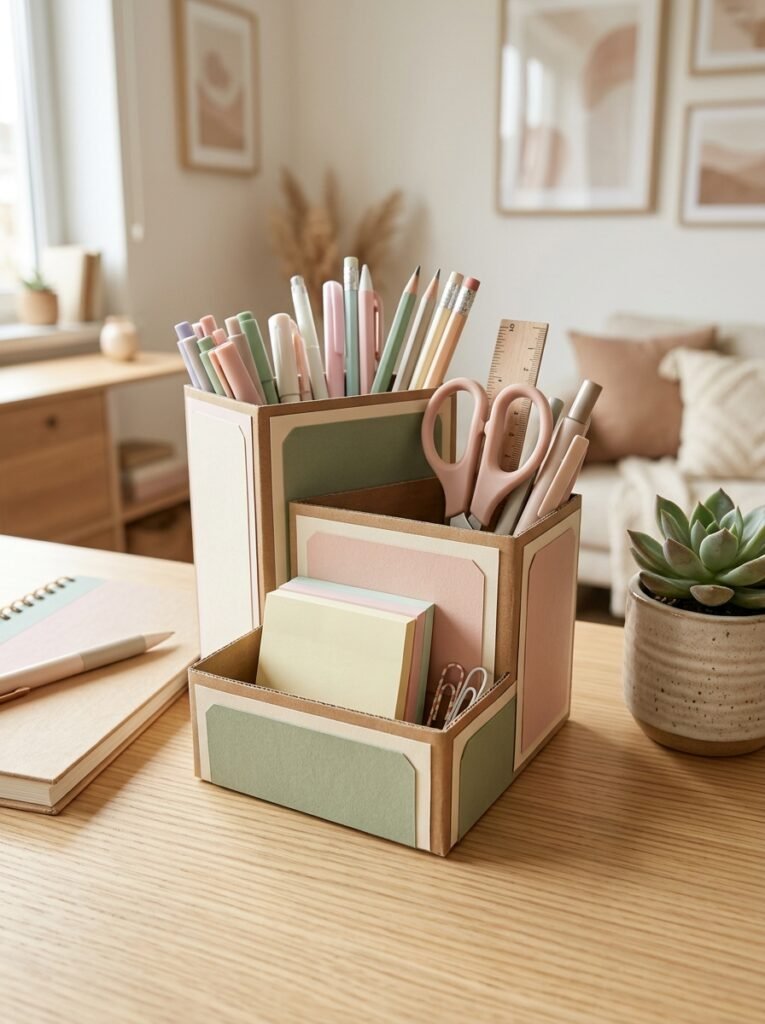
Turn a small cardboard box into a stylish organizer for pens, pencils, sticky notes, and other everyday essentials. Divide the inside into compartments using thin cardboard panels, then cover the outside with decorative paper. A cream-and-pink palette creates a soft aesthetic, while sage green and white give it a fresh modern appearance. Add small paper labels or decorative shapes to make it more personal. This project is both attractive and useful, especially if you want to keep your study table organized without buying new storage products.
4. Mini Cardboard Vending Machine
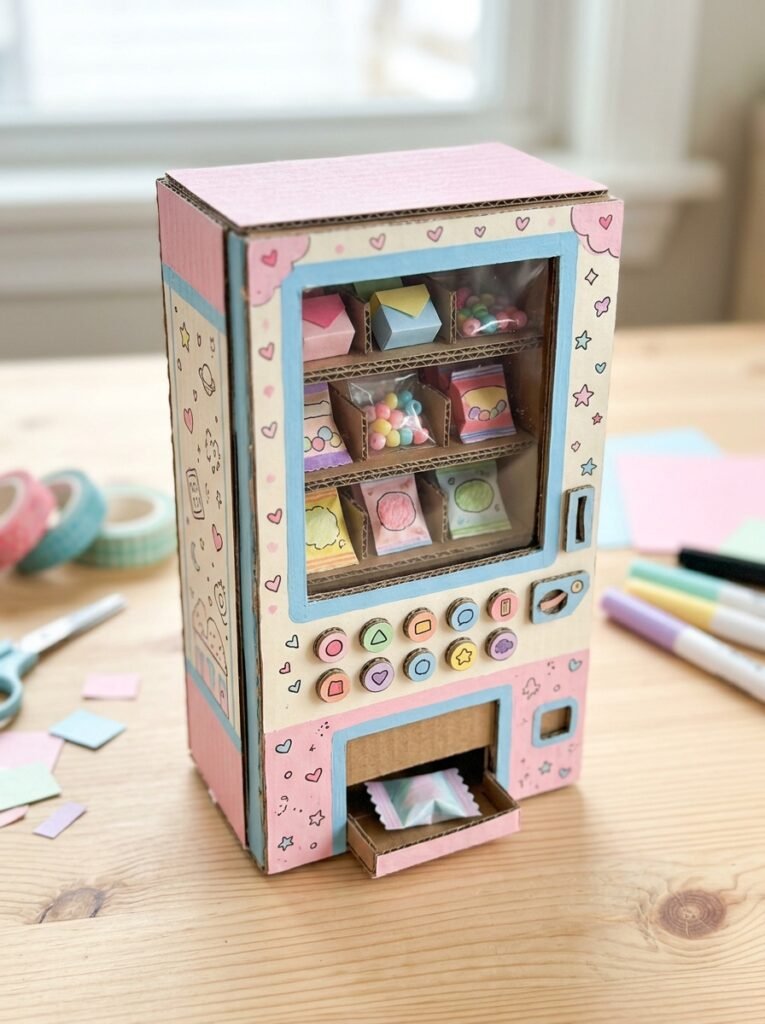
A miniature vending machine is one of the most exciting cardboard projects because it combines decoration with pretend play. Build a tall rectangular body from sturdy cardboard, then create a front display window and a small dispensing opening. Decorate the front with colorful paper buttons and tiny illustrations of drinks, snacks, or candy. For a simple version, place miniature products behind a clear plastic window and use the opening as a pretend dispenser. Older crafters can experiment with a manual sliding mechanism, but the structure should remain lightweight and easy to operate.
5. Cute Cardboard Robot
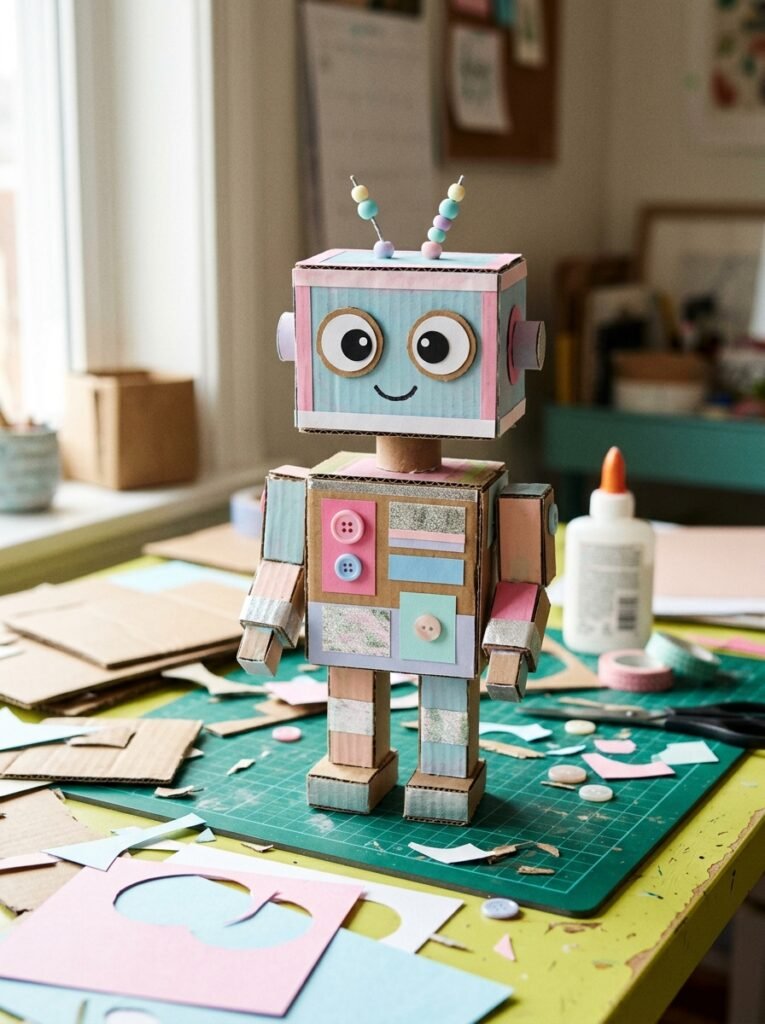
Make a friendly robot from a small cardboard box, a cardboard tube, and a few leftover scraps. Use the box for the body and head, then attach simple cardboard arms, feet, and antennae. Decorate the robot with big cartoon eyes, colorful buttons, and a cheerful smile. Silver, blue, pink, and white create a futuristic appearance, while pastel colors make it look softer and cuter. You can also give your robot a name and invent a little story about what it does around your room.
6. Mini Cardboard Food Collection
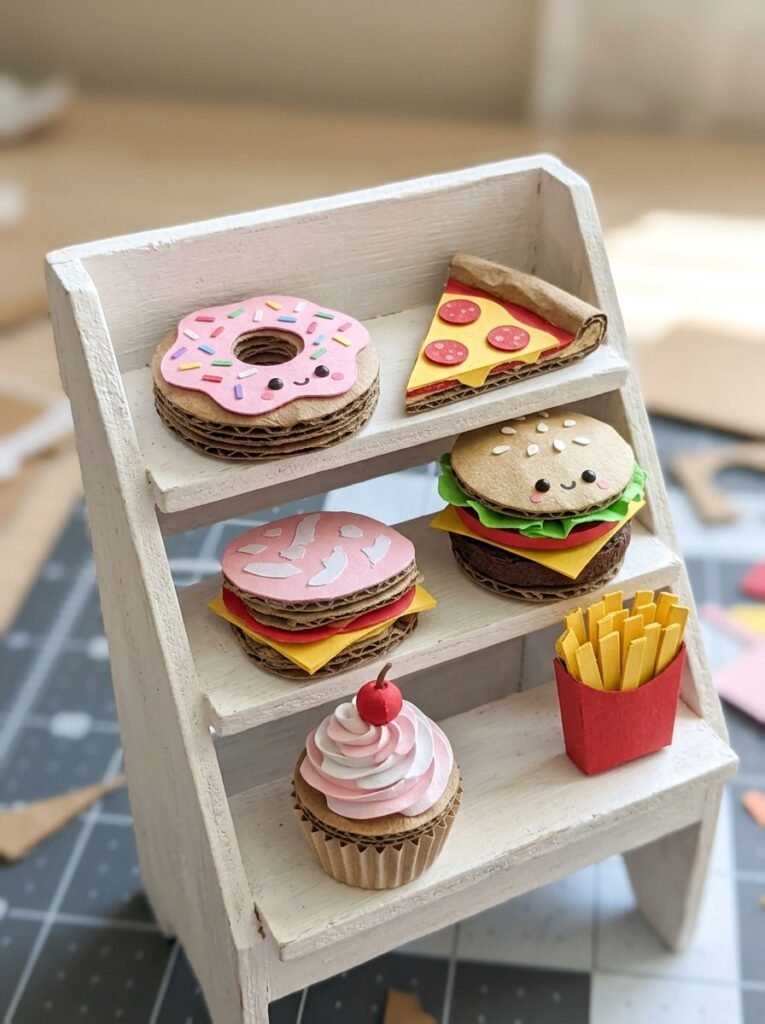
Tiny food crafts look adorable when displayed together on a shelf or desk. Use cardboard scraps to create miniature pizza slices, burgers, cupcakes, fries, or donuts. Cut simple shapes, layer them to add depth, and use colored paper or markers to represent toppings and frosting. For example, a pizza slice can have a yellow cheese layer and small red circles for pepperoni. A cupcake can feature a pastel wrapper and a pink frosting swirl. Keep the pieces lightweight and focus on bright colors that make each tiny food item easy to recognize.
7. Cardboard Animal Friends
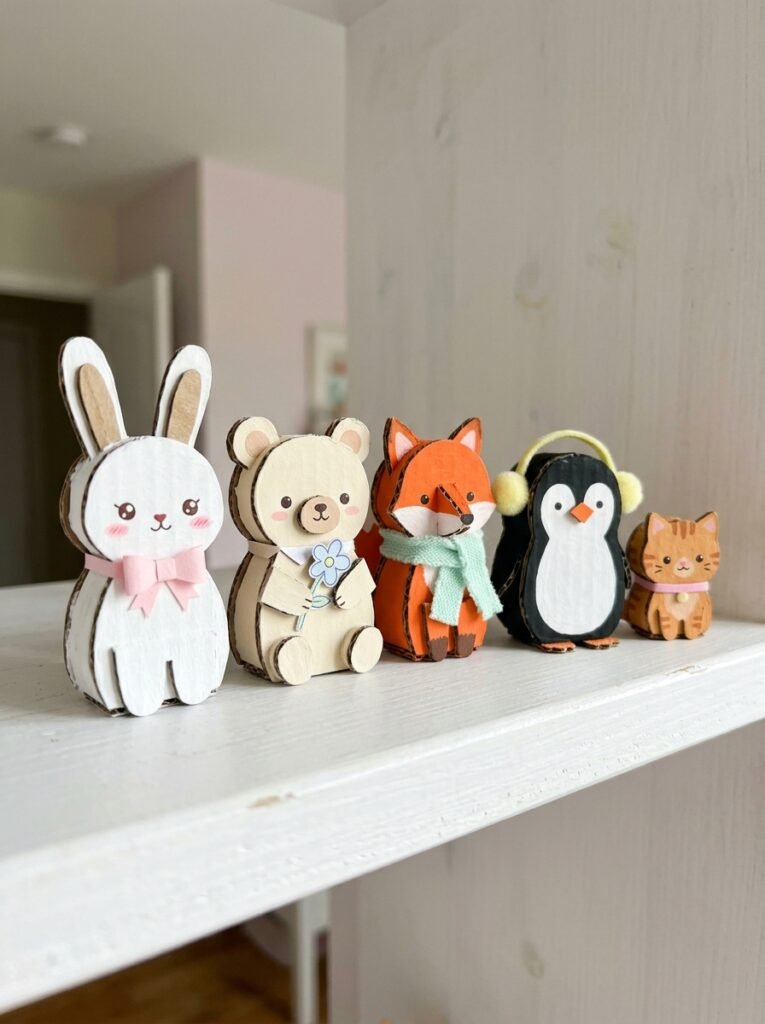
Create a collection of adorable cardboard animals using simple shapes and colorful details. A cat can be made from a rounded body with pointed ears, while a rabbit needs long ears and a small round tail. You can also make a bear, fox, penguin, or puppy by changing the body shape and facial features. Paint the animals or cover them with colored paper, then add eyes, noses, and tiny accessories. These cute cardboard crafts are wonderful for decorating shelves, creating a miniature animal village, or making handmade toys for imaginative storytelling.
8. Personalized Cardboard Gift Box
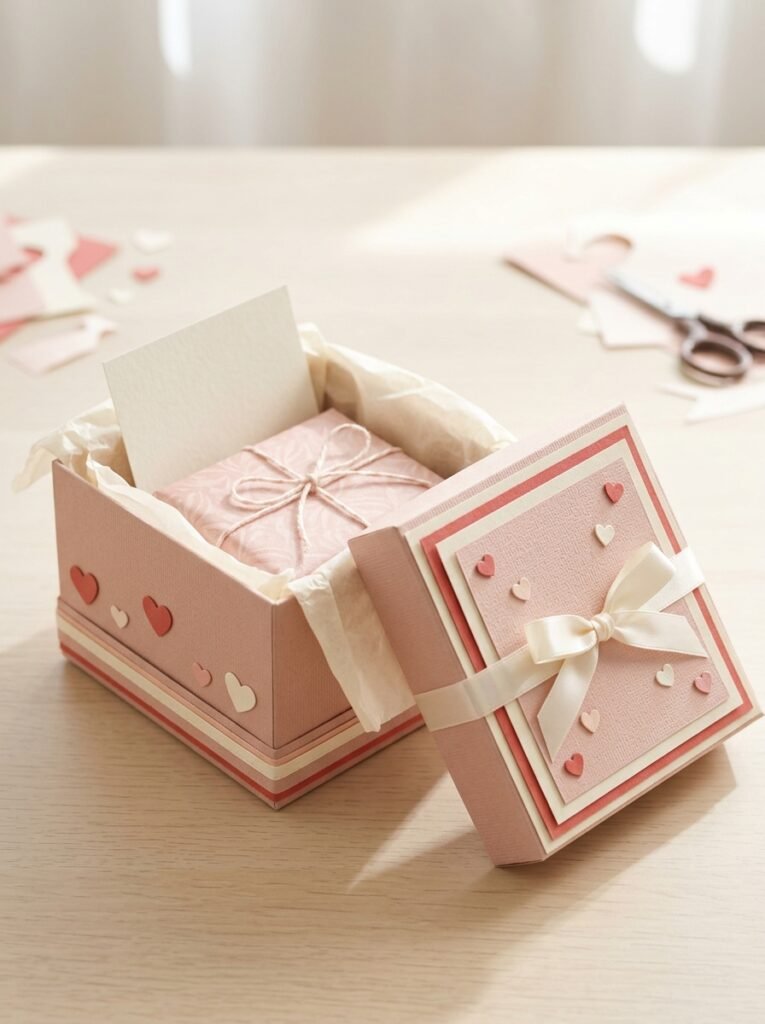
A handmade gift box can make even a small present feel thoughtful and special. Cut and fold cardboard into a simple square or rectangular box, then create a matching lid. Decorate it with paper hearts, stars, ribbons, or a color scheme that suits the person receiving it. You can place a bracelet, handwritten note, photograph, or another small gift inside. Take time to measure the contents before assembling the box so everything fits comfortably. This project is suitable for birthdays, anniversaries, friendship gifts, or a sweet surprise for someone you care about.
9. Cute Cardboard Gift for Your Girlfriend
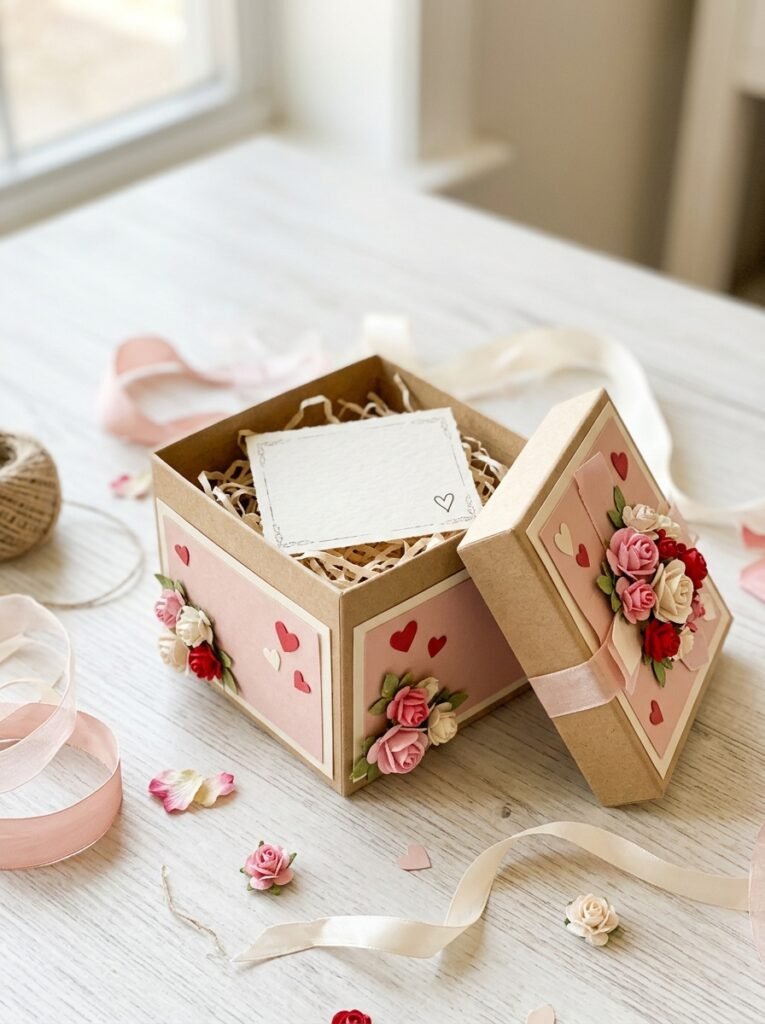
Make a personalized gift for your girlfriend by turning cardboard into a tiny memory box or decorative keepsake. Decorate the exterior with her favorite colors, small paper flowers, hearts, or a pattern that reflects her interests. Inside, add a handwritten letter, a favorite photo, or a collection of small notes describing happy memories. You can also make a miniature heart-shaped box or a little cardboard display stand for jewelry. The most meaningful part is the personal touch, so focus on details that show thought and care rather than expensive materials.
10. Aesthetic Cardboard Shelf Decor
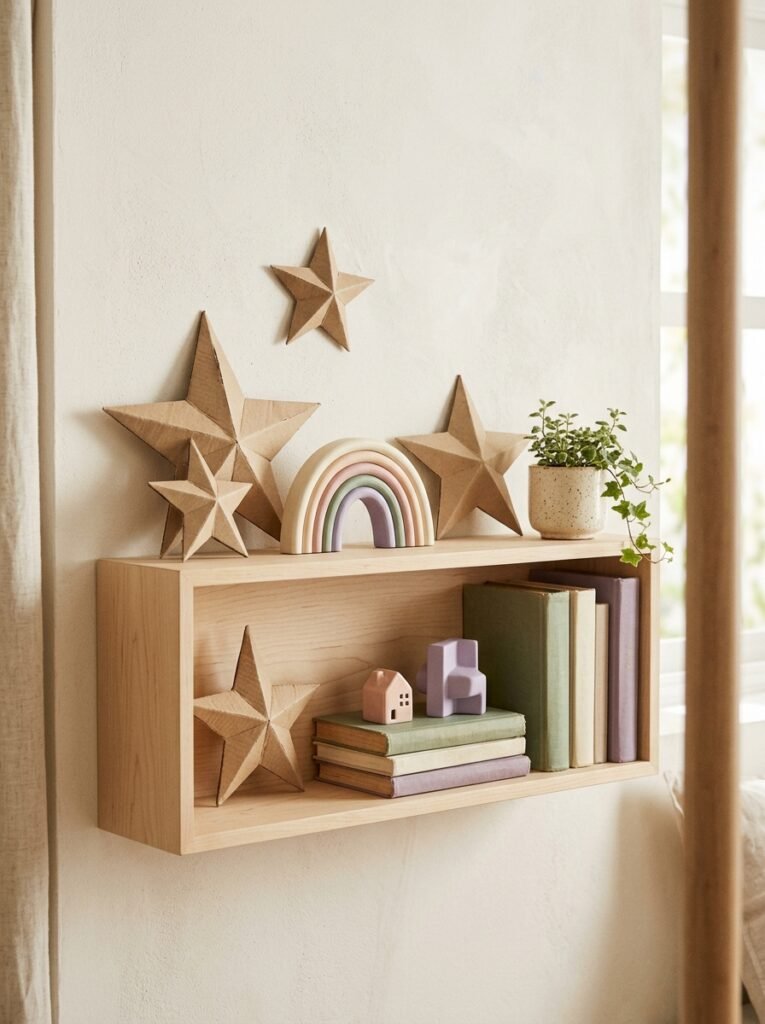
Small decorative objects can make an ordinary shelf feel more interesting. Create cardboard stars, mini rainbows, tiny houses, or abstract geometric sculptures and paint them in a coordinated palette. You can use layered cardboard to add thickness and dimension, then arrange the finished pieces beside books, plants, or photo frames. For a polished appearance, repeat two or three colors throughout the collection. This project is especially suitable for teens who want their room to feel stylish and personal without purchasing new decorative accessories.
11. Sanrio-Inspired Cute Character Stand
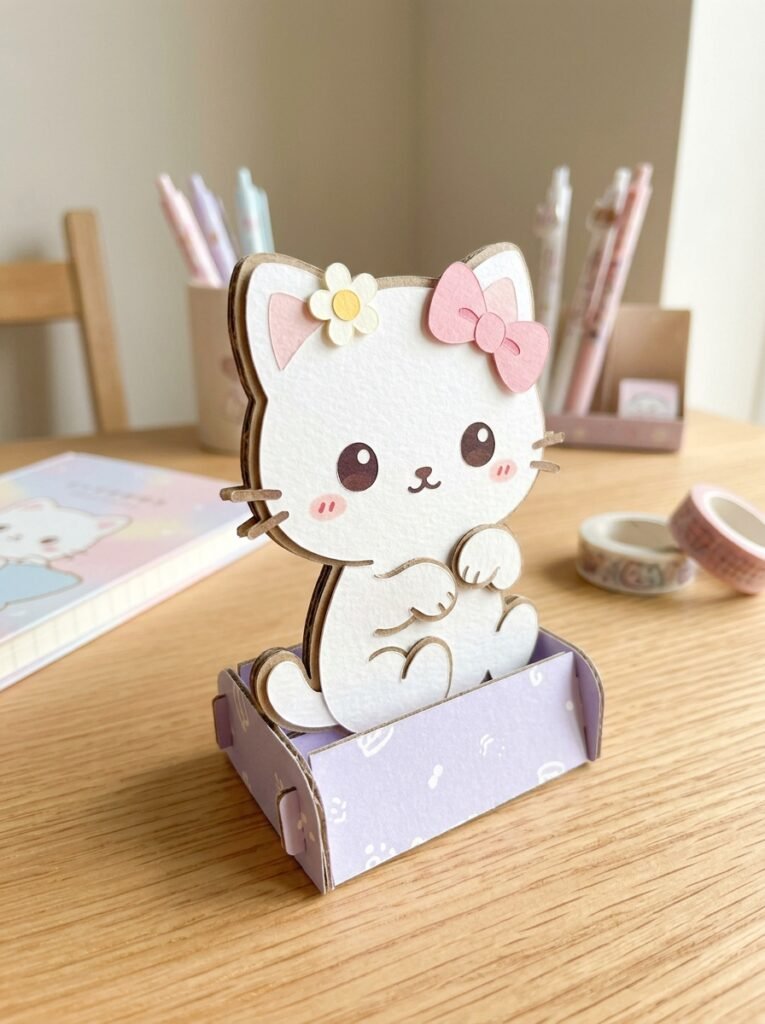
Create a sweet character display stand using cardboard as the base and backing. Cut a simple rounded silhouette, decorate it with pastel paper, and add original features such as a tiny bow, flower, heart, or star. You can draw your own adorable animal character and give it a distinctive expression. For a Sanrio-inspired mood, use soft pink, white, lavender, and baby blue, but design your own character rather than copying official character artwork. This makes a lovely desk decoration or a small display piece for a cute-themed bedroom.
12. K-Pop-Inspired Cardboard Photo Display
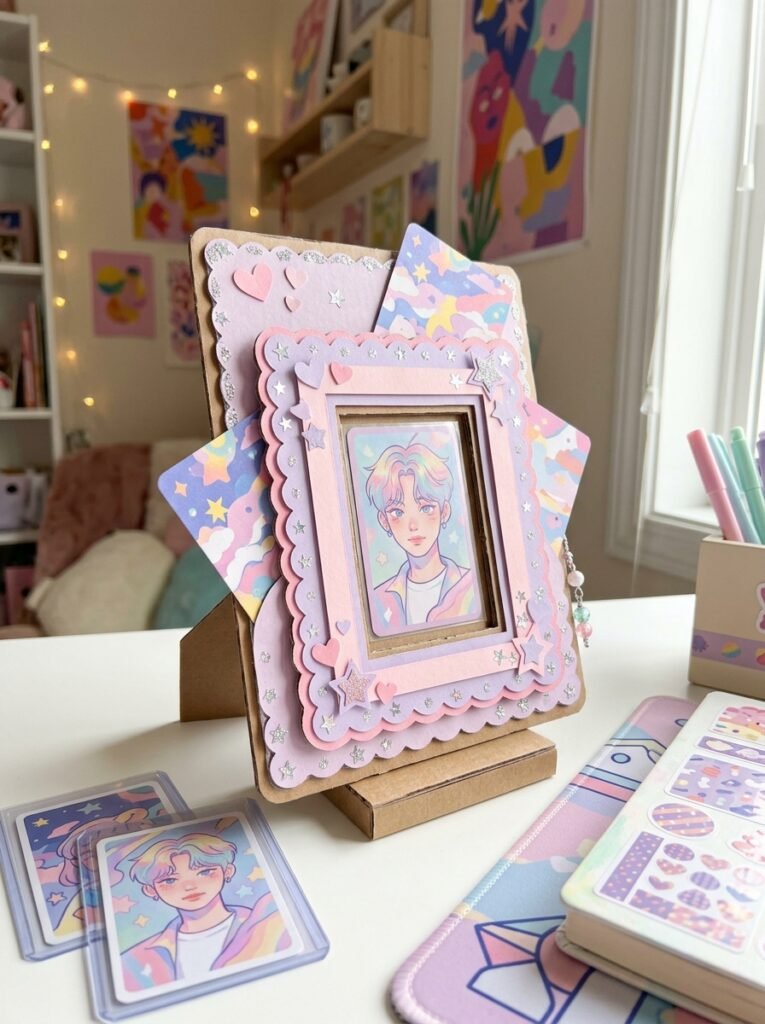
Make a stylish display for your favorite K-pop-inspired artwork, personal photos, or fan-made cards. Build a small standing frame from cardboard and decorate it with stars, hearts, sparkles, and bold color accents. Pastel pink and silver create a soft look, while black, purple, and electric blue give the display a concert-inspired feel. You can add small cardboard shelves or pockets to hold cards and notes. Use your own artwork or images you have permission to display, and customize the design to reflect your favorite music style.
13. Cute Cardboard Mirror Frame
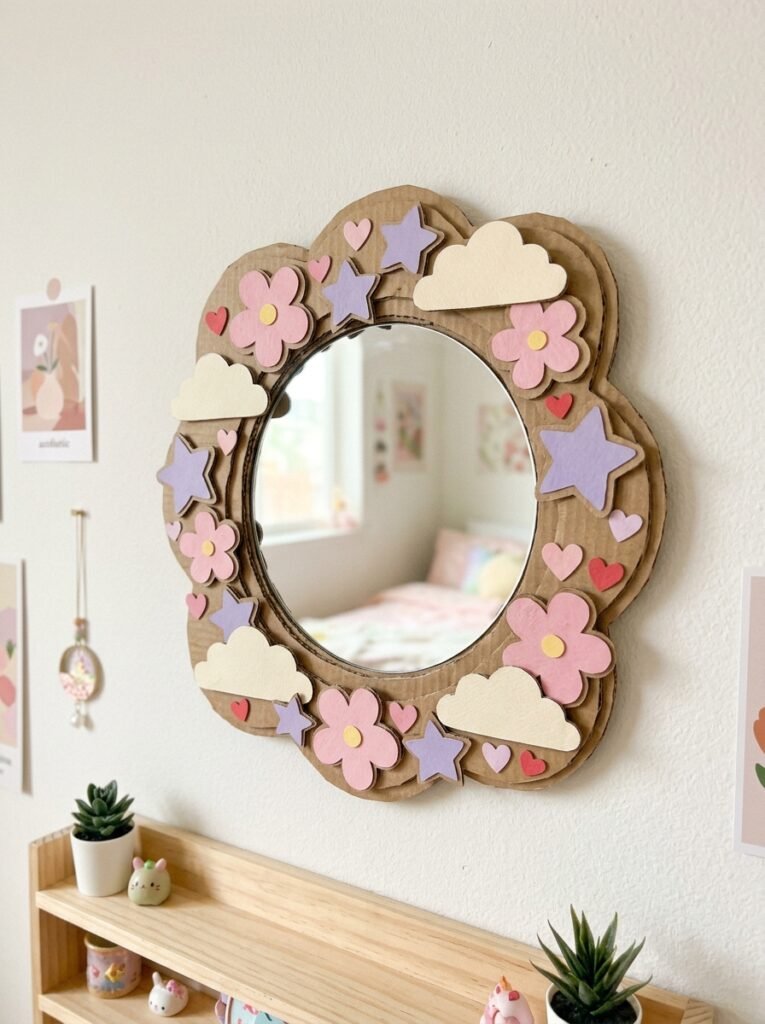
Transform a plain mirror into a cute decorative piece with a cardboard frame. Cut a frame shape that fits around the mirror, then cover it with pastel paper or paint it in your preferred colors. Add small cardboard flowers, clouds, hearts, or stars around the border to create a playful appearance. Make sure the frame does not cover the reflective area and that it is securely supported. Since cardboard can be damaged by moisture, keep the finished piece in a dry room away from bathroom splashes.
14. Mini Cardboard Bedroom for Dolls
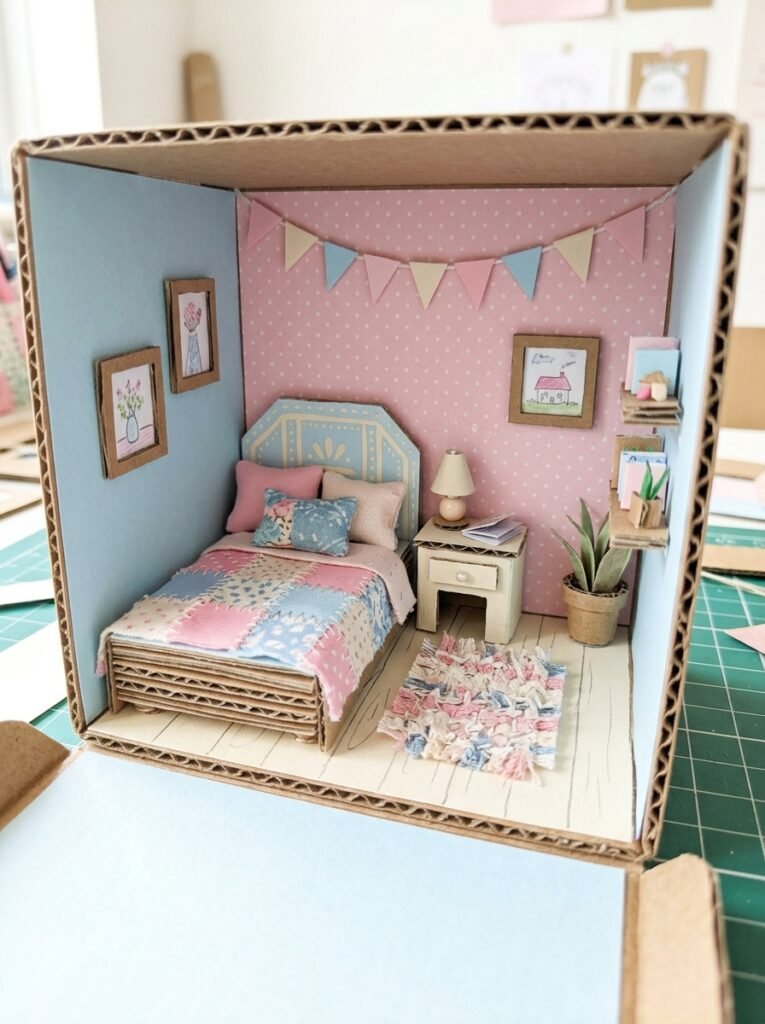
Build a miniature bedroom using a small cardboard box as the room structure. Create a tiny bed from folded cardboard, add a little headboard, and make a miniature bedside table from small boxes. Colored paper can become the wallpaper, while a small fabric scrap can serve as a blanket. You can also make a tiny rug, wall art, and decorative pillows from leftover materials. This project encourages careful measuring and creative design, and you can expand it over time by adding a wardrobe, desk, or window.
15. Cardboard Flower Bouquet
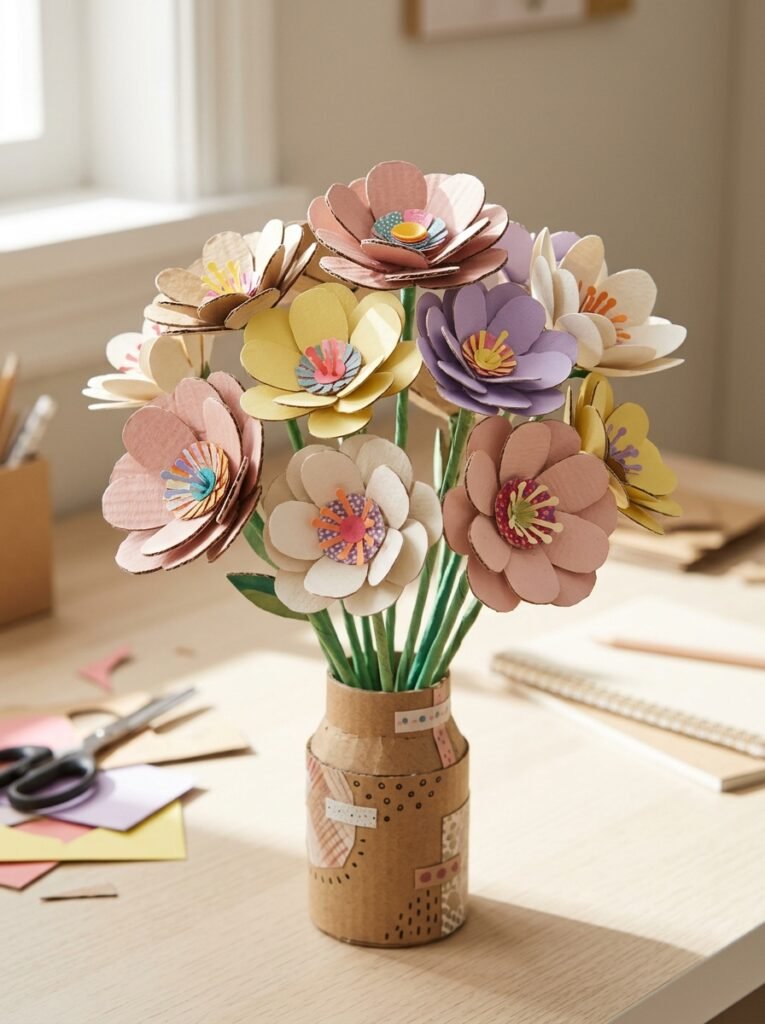
Make a lasting decorative bouquet from cardboard flowers. Cut simple petal shapes from thin cardboard, layer them around circular centers, and attach them to lightweight stems made from rolled paper or suitable craft sticks. Paint the flowers in pink, yellow, lavender, or white, and place them in a small cardboard vase. You can mix several flower shapes to create a more natural-looking arrangement. This project is perfect for shelf decor, desk decoration, or a handmade gift that does not require fresh flowers.
16. Cute Cardboard Phone Stand
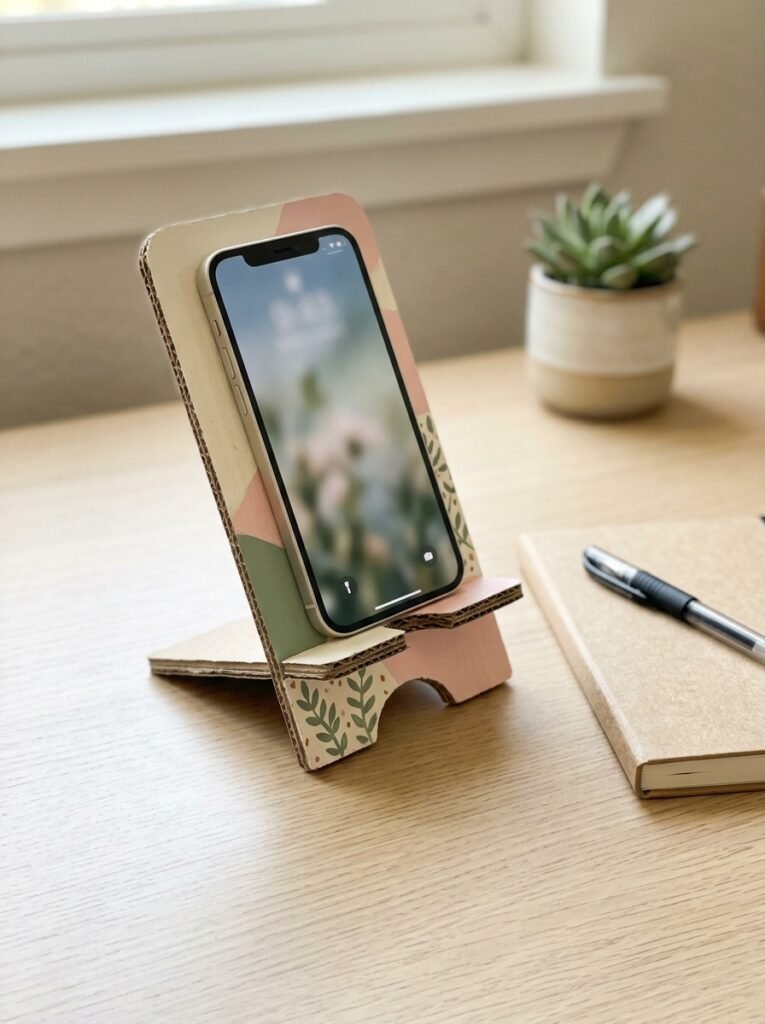
A cardboard phone stand is a simple project that can make a desk more practical. Cut two matching support pieces and a base, then assemble them into a stable angled holder with a small lip to keep the phone from sliding forward. Decorate the stand with colored paper, geometric patterns, or a tiny cartoon face. Before using it, check that the stand supports your phone’s size and weight without tipping. Keep the cardboard dry and away from heat, and do not use the stand if the structure becomes loose or unstable.
17. Mini Cardboard Ice Cream Shop
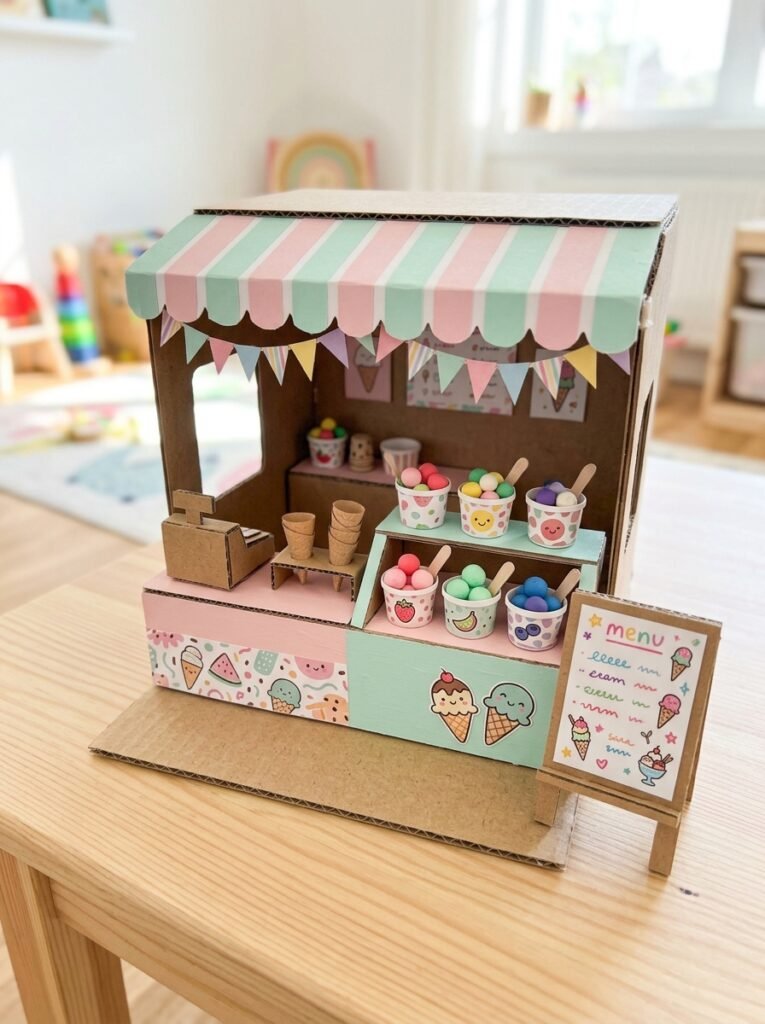
Create a tiny pretend ice cream shop using cardboard panels and a small box as the counter. Decorate the front with pastel stripes, a colorful sign shape, and miniature paper ice cream cones. Inside, add small compartments to represent different flavors, using colored paper circles or folded paper shapes. You can even make a tiny menu board from cardboard. This project combines imaginative play with simple design and is especially fun for children who enjoy running pretend shops or arranging miniature objects.
18. Cute Cardboard Animal Pencil Holder
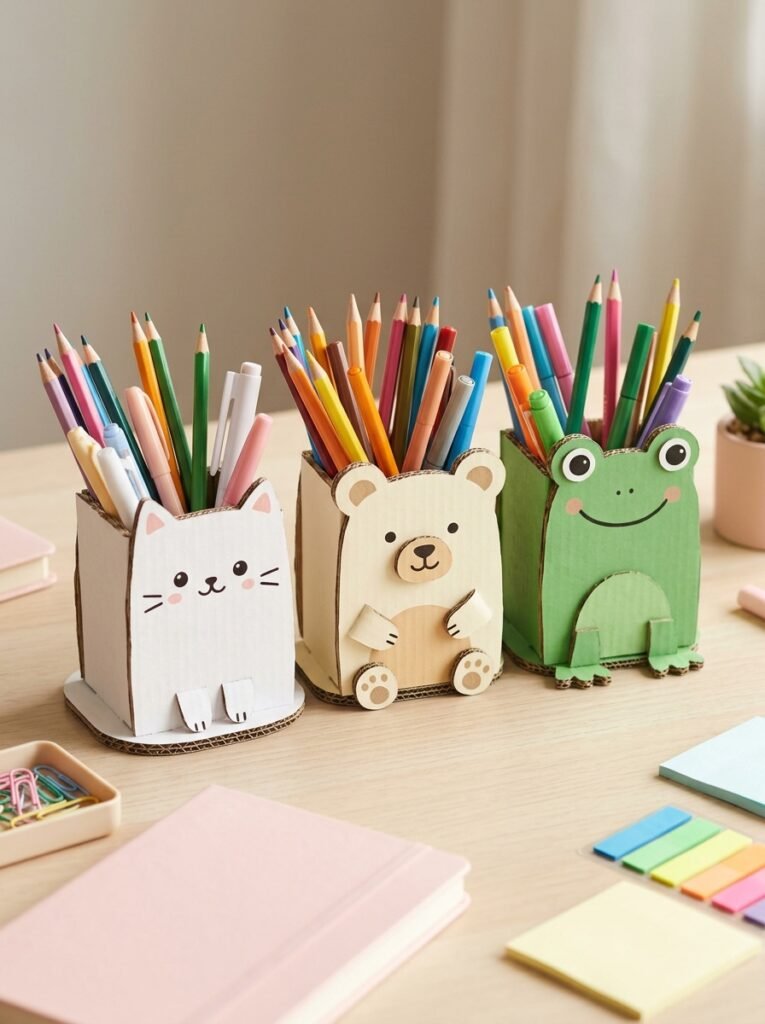
Turn a cardboard tube or small box into an animal-themed pencil holder. Choose a cat, bear, rabbit, or frog and add ears, eyes, a nose, and a friendly expression using paper and marker details. Attach the tube to a wide cardboard base so it stands securely. Decorate the outside with colors that match your study area. This project is useful for storing pens and pencils while adding a playful touch to a desk. Keep the holder dry and avoid placing heavy items inside it.
19. Aesthetic Cardboard Photo Collage
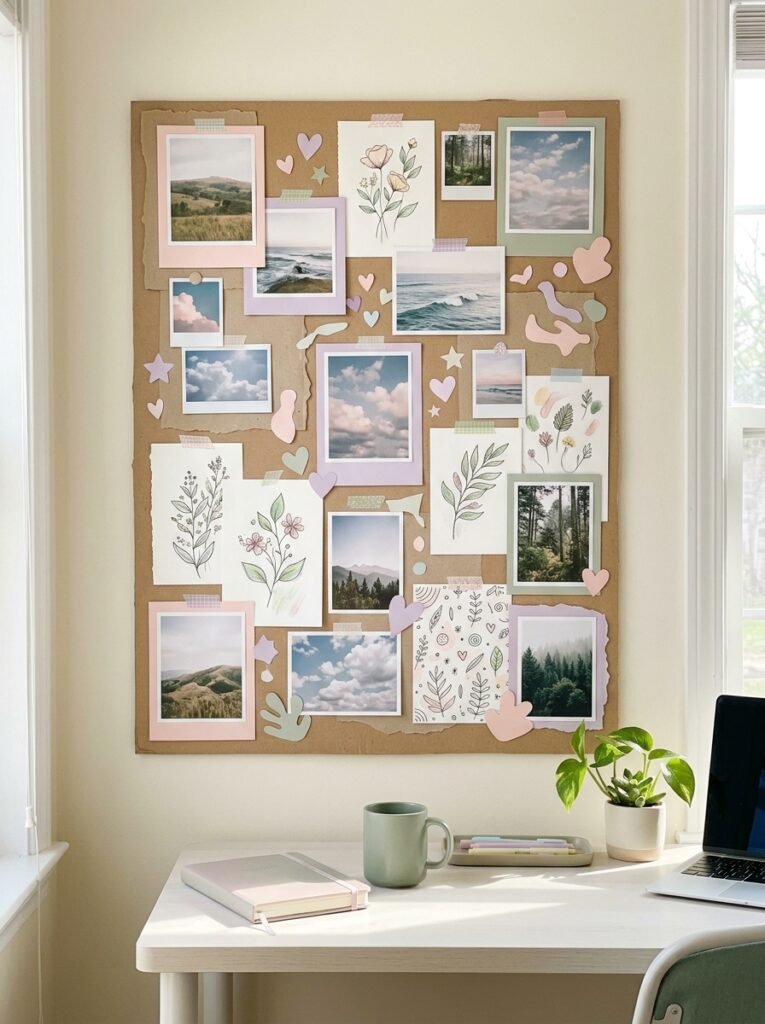
Create a personalized photo collage using a large piece of cardboard as the backing. Cover it with paper or paint, then arrange photographs, original drawings, decorative shapes, and small notes in a balanced layout. You can make the design minimalist with neutral tones or colorful with pastel borders and playful stickers. Leave some open space so the collage does not look overcrowded. This project is a lovely way to display memories, favorite color combinations, or creative inspiration above a desk or beside a bed.
20. Mini Cardboard Bakery
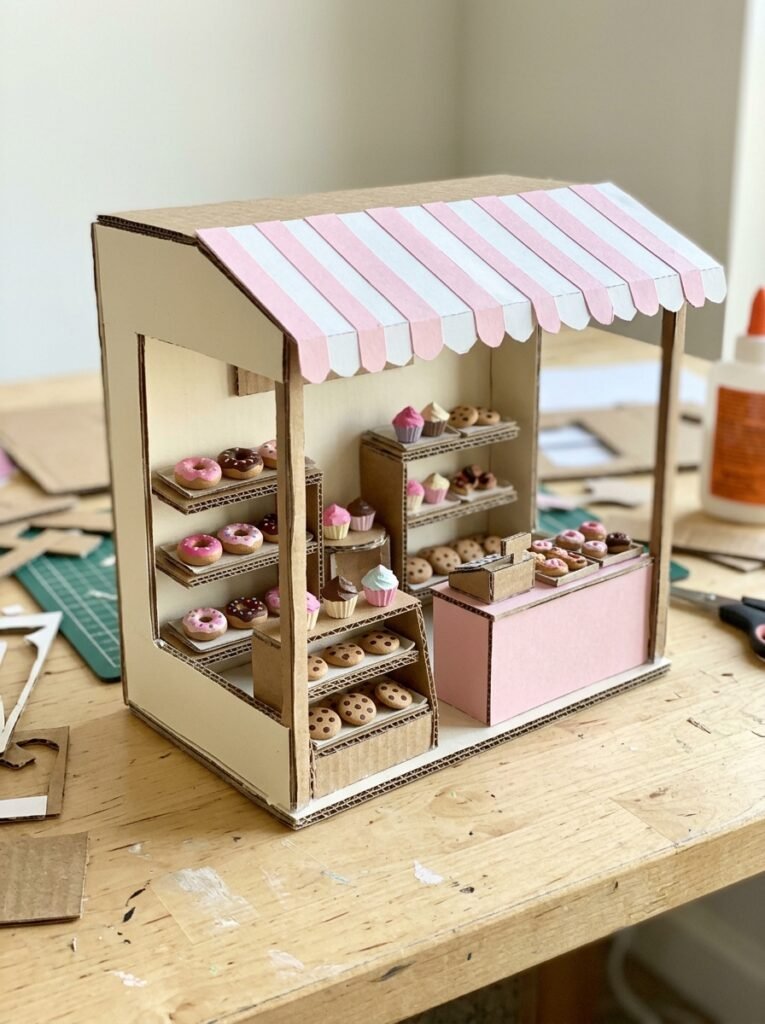
Build a miniature bakery from a small cardboard box, adding a counter, shelves, and a front display window. Make tiny cardboard pastries such as donuts, cupcakes, cookies, and bread rolls, then decorate the shop in cream, pink, and warm pastel colors. Use small paper labels or simple decorative shapes to distinguish the different sections. Keep the structure open at the front so you can arrange the miniature food items easily. This is a fun project for anyone who loves tiny shops, pretend play, and food-themed crafts.
21. Simple Cardboard Heart Garland
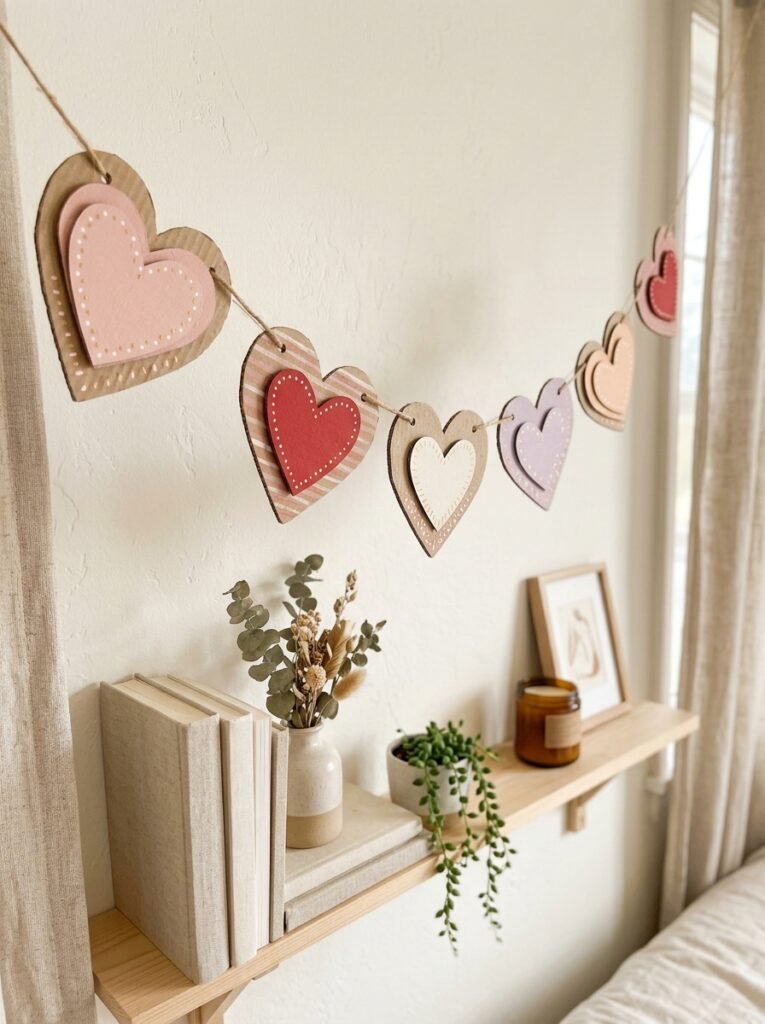
A heart garland is an easy decoration for a bedroom, party, or special gift. Cut matching hearts from thin cardboard and paint them in a coordinated palette, such as pink, red, cream, and lavender. Add small dots, stripes, or layered paper hearts to give each piece a different look. Once the decorations are dry, attach them to a suitable string with secure spacing. Hang the garland on a wall or shelf, making sure it is placed safely away from heat sources and does not interfere with doors or walkways.
22. Cute Cardboard Mini Vending Machine for Snacks
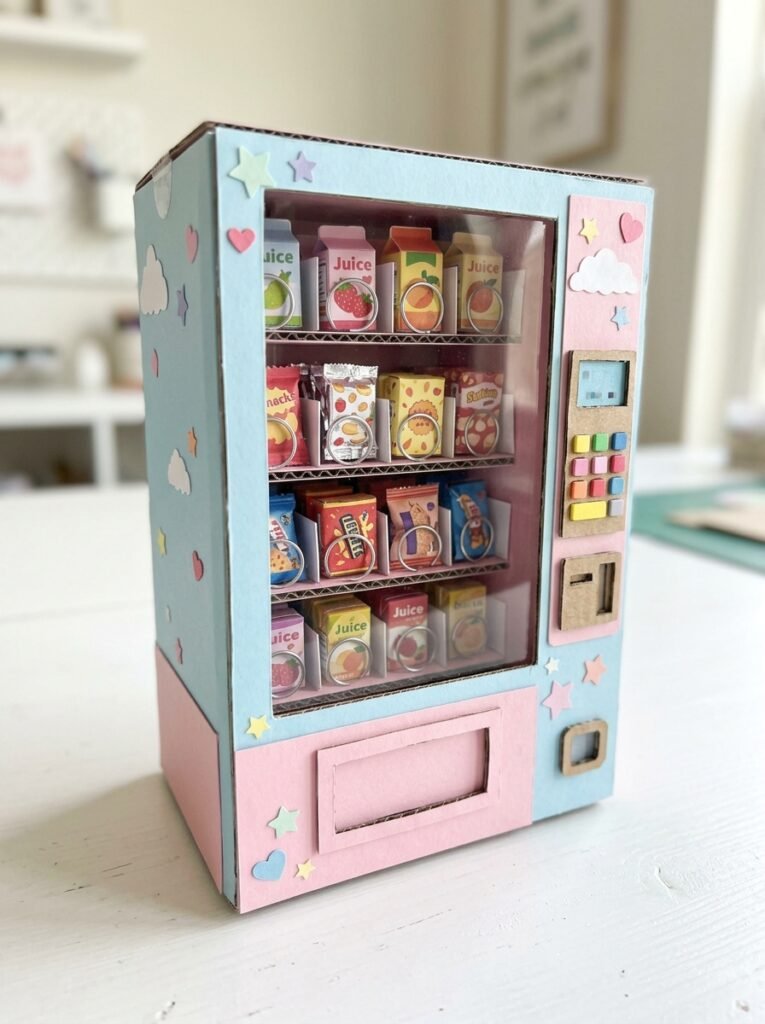
Take the mini vending machine idea further by creating a snack-themed design with separate product slots. Use a sturdy rectangular cardboard body, a front display window, and a small collection opening. Inside, arrange miniature cardboard chips, juice cartons, or candy packets made from folded paper. You can add simple pretend buttons and a manual sliding panel for play. Test the movement before decorating the machine, and avoid adding heavy mechanisms that could make the cardboard structure collapse.
23. Cardboard Shelf for Lightweight Decor
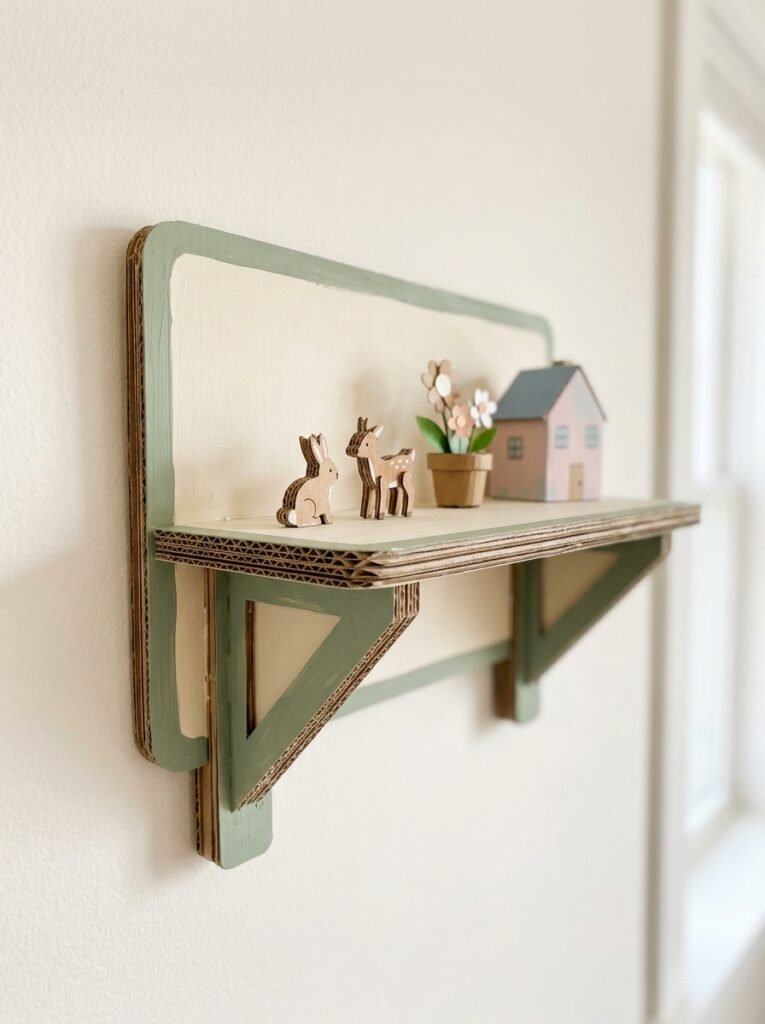
Create a small decorative shelf from layered cardboard panels and carefully reinforced supports. Cut a rectangular top, two side supports, and a backing panel, then glue them together and allow the structure to dry fully. Decorate it with paper or paint to match your room. This kind of shelf is best for lightweight items such as paper flowers, tiny cardboard figures, or miniature decorations—not heavy books or fragile valuables. Check that it stays level and secure before displaying anything on it.
24. Personalized Kawaii Memory Box
Finish your collection with a memory box that combines storage and decoration. Use a sturdy cardboard box with a lid, then decorate it with pastel paper, tiny stars, hearts, flowers, or original cute animal drawings. Inside, store handwritten notes, ticket stubs, small photographs, or other lightweight keepsakes. Add simple cardboard dividers if you want separate sections for different memories. This project is especially meaningful because you can design it around your own experiences and update it with new keepsakes over time.
How to Make Cute Cardboard Crafts Step by Step
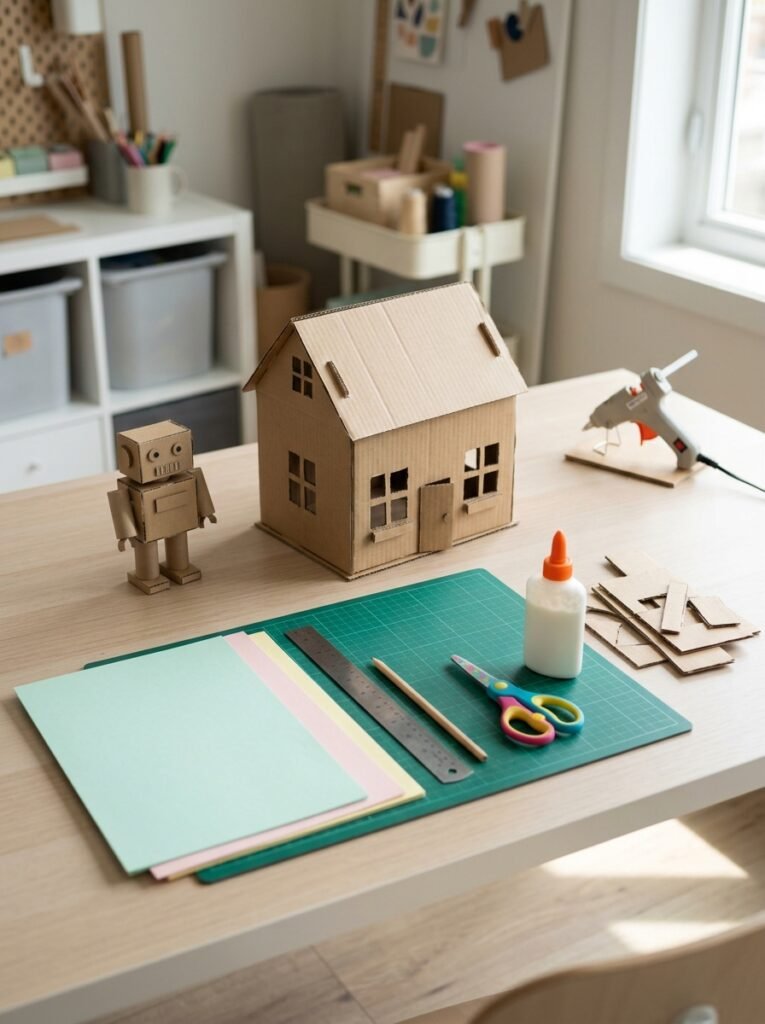
Most cardboard crafts begin with a few simple materials and a little planning. Measuring the pieces before cutting and allowing glue to dry fully can make a big difference in how neat and sturdy the final project looks.
- Choose your project: Start with something simple, such as a heart garland, animal pencil holder, photo frame, or miniature house.
- Gather your supplies: Use clean, dry cardboard, a pencil, ruler, child-safe scissors, colored paper, markers, and suitable craft glue.
- Sketch the design: Draw the shapes and measure the parts before cutting. For boxes and structures, check that the panels will fit together.
- Cut the cardboard: Children should use age-appropriate scissors with adult supervision. Adults should handle craft knives and difficult cuts.
- Assemble the pieces: Apply glue to the joints, hold the pieces in position, and let the structure dry before decorating.
- Add colors and details: Cover the surface with paper or paint it. Add flowers, faces, patterns, or small accessories once the base is secure.
- Check stability: Make sure the finished item stands properly and has no loose or sharp parts before using or displaying it.
Hot Glue Safety
Hot glue can cause painful burns, so an adult should handle the glue gun. For projects with young children, use a suitable non-toxic craft glue instead. Keep the glue gun on a stable, heat-resistant surface, never leave it unattended, and allow glued areas to cool completely before handling.
Tips for Making Your Crafts Look More Aesthetic
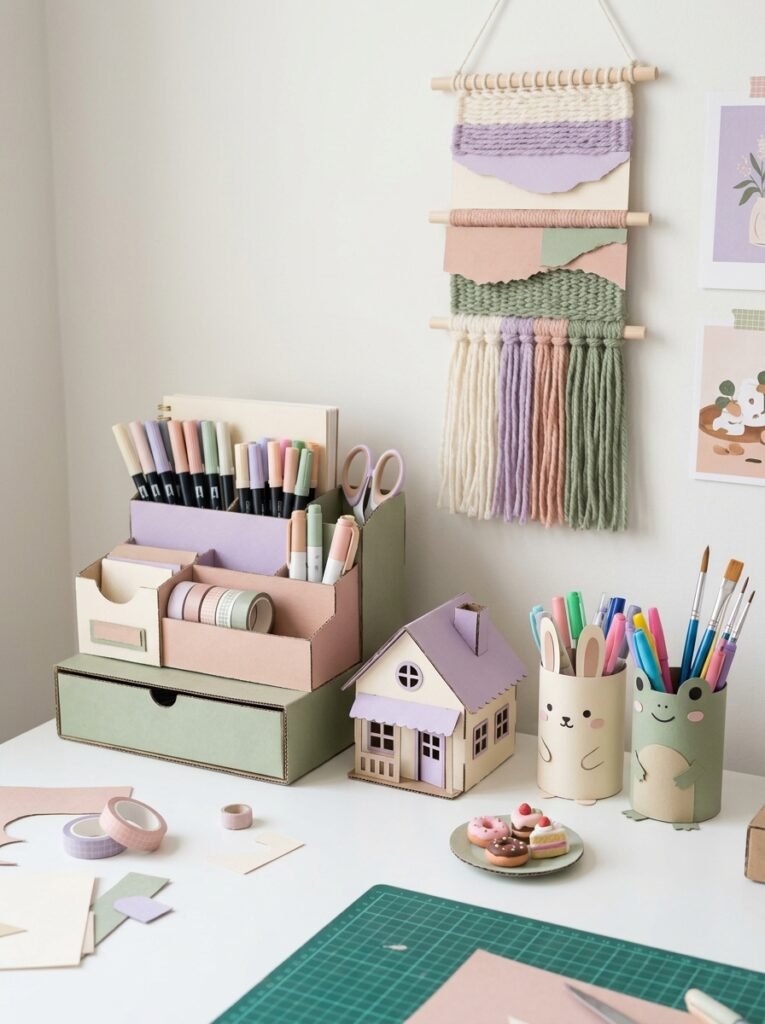
- Choose a color palette: Use two to four coordinated colors for a cleaner, more polished appearance.
- Cover rough edges: Add strips of paper around exposed cardboard edges for a neater finish.
- Layer simple shapes: Hearts, flowers, stars, and arches can create depth without complicated construction.
- Measure before cutting: Even edges help boxes, frames, and organizers look more professional.
- Reinforce important joints: Add extra cardboard strips to structures that need to stand upright.
- Keep decorations lightweight: Cardboard is ideal for small decorative objects, but it may bend under heavy items.
- Match the room: Repeat colors from your bedding, desk accessories, or wall art to create a coordinated look.
- Use age-appropriate materials: Keep sharp tools, hot glue, and tiny detachable decorations away from toddlers.
Final Thoughts
The best cute cardboard crafts combine simple materials with ideas that reflect your personality. You can create useful organizers, miniature shops, cute animal figures, pastel wall art, or thoughtful gifts without spending much money. Start with one easy project, use cardboard you already have, and experiment with colors and decorative details. Whether you’re refreshing your room, making something for a girlfriend, or enjoying a fun afternoon of DIY, these projects can turn everyday packaging into something creative and memorable.