



This post may contain affiliate links. Please read my disclosure policy.
In This Article Show
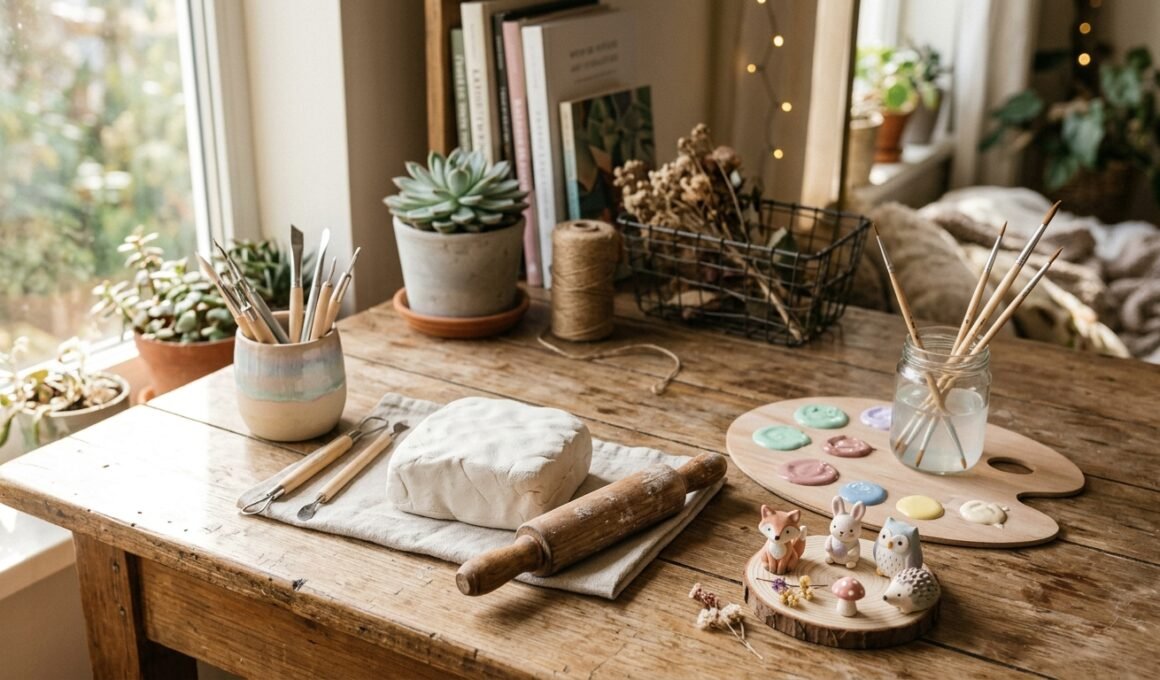
Sometimes the best craft projects start with the simplest material. A small piece of soft clay can become a tiny cat, a colorful magnet, a cute keychain, or even a useful jewelry holder. That is what makes clay so enjoyable for beginners, kids, and adults. You do not need a kiln or a large collection of tools. With a rolling pin, a little water, simple paint, and a few household objects, you can turn an ordinary afternoon into a creative project. Crayola also notes that its air-dry clay needs no oven or kiln and can be softened with water when needed.
Why air dry clay ideas Are Perfect for Beginners
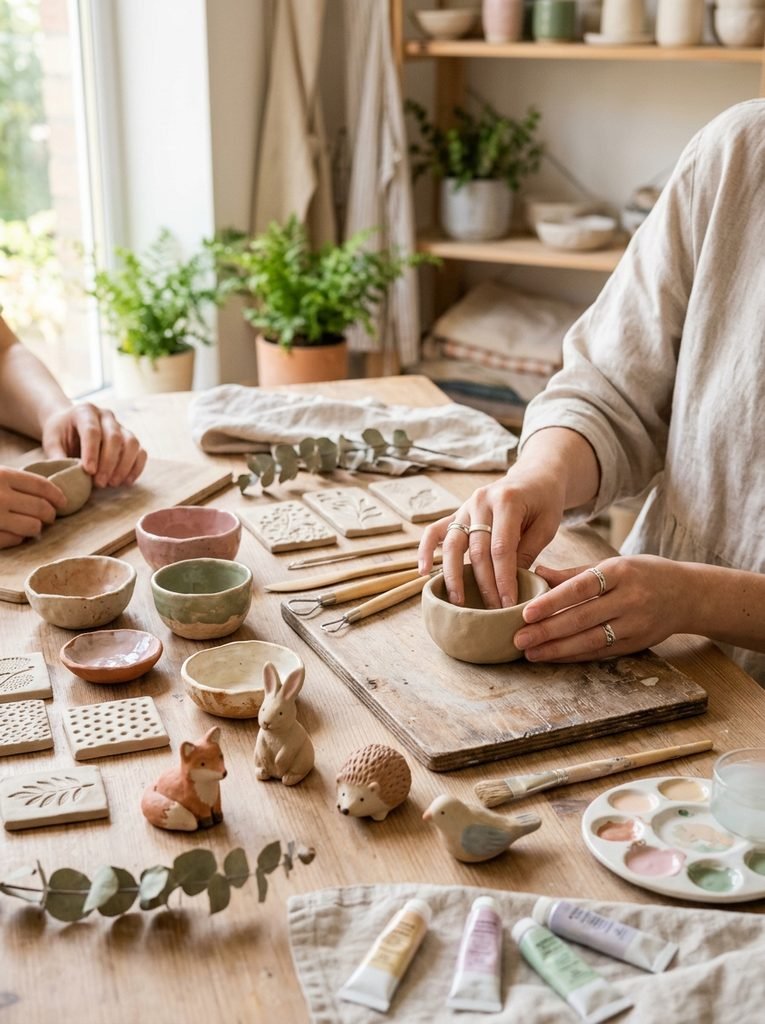
The real charm comes from how easy the material feels in your hands. You can start with a ball, flatten it, pinch the edges, or press a pattern into the surface. Beginners can make simple shapes without worrying about perfection. Kids can explore texture and form, while older crafters can turn small pieces into aesthetic room decor or useful gifts. Crayola’s own projects include textured tiles, animals, ornaments, geodes, and decorative letters, showing how many directions this material can take.
1. Easy Small Animals
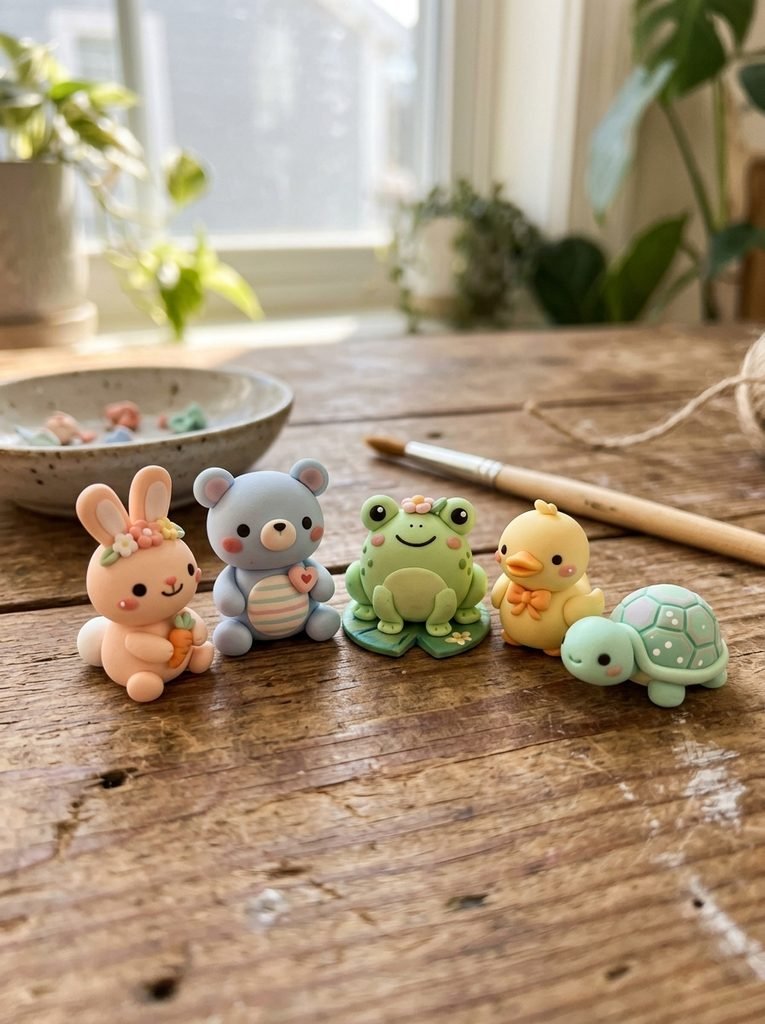
Start with tiny animals because they are forgiving and fun. Make a round body, add small ears, and use a toothpick for simple eyes and details. Try a bear, bunny, frog, duck, or tiny turtle. These easy small animals also make charming desk decorations. Keep the shapes chunky rather than thin so they remain easier to handle while drying.
2. Cute Cat Figurines
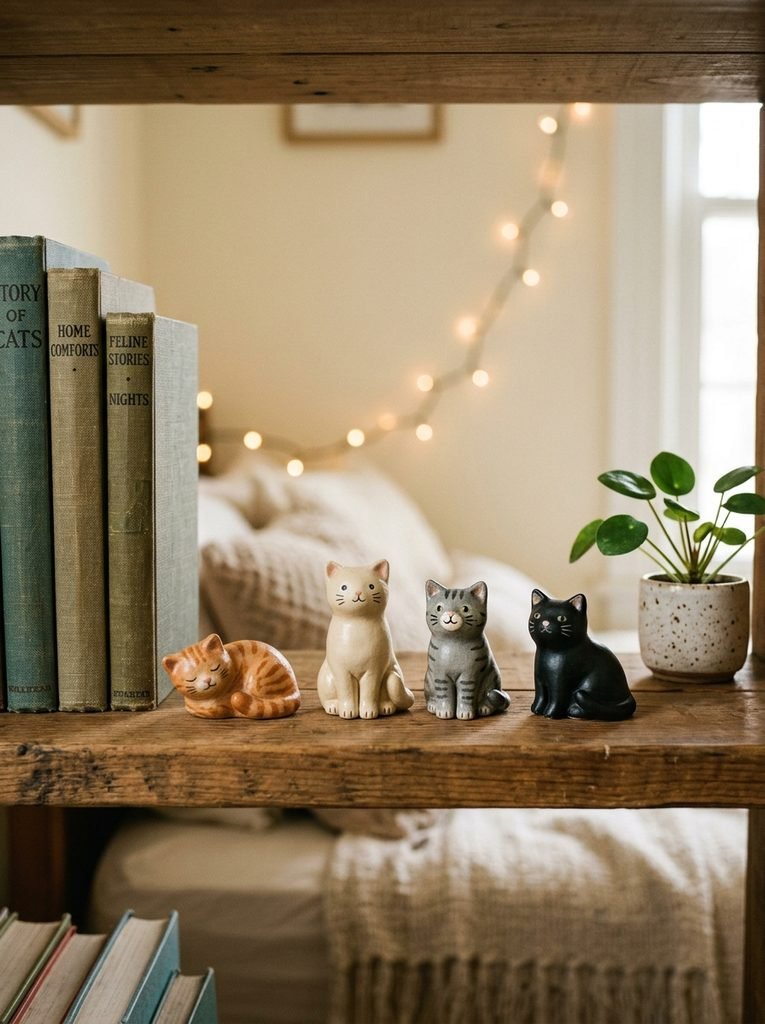
A cat is one of the easiest shapes to build. Roll a small body, create a pointed head, and add triangular ears. Paint it white, cream, gray, orange, or black. You can even create a tiny collection with different expressions. Place the finished figures beside books, plants, or a lamp for a simple aesthetic touch.
3. Personalized Keychain Charms
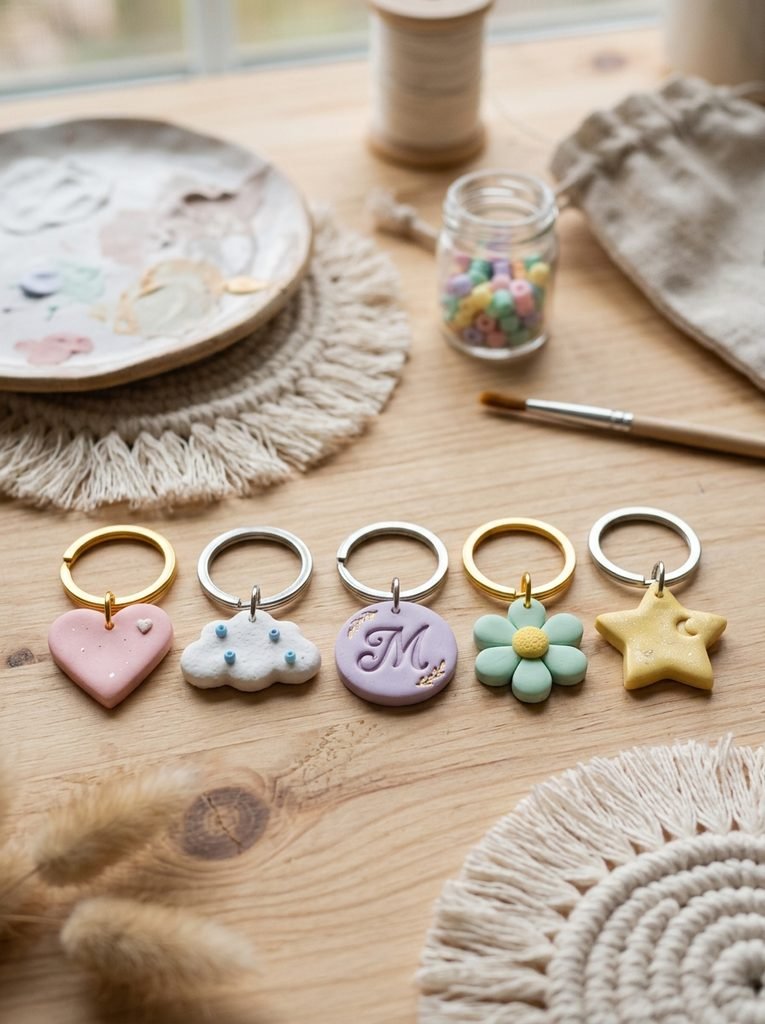
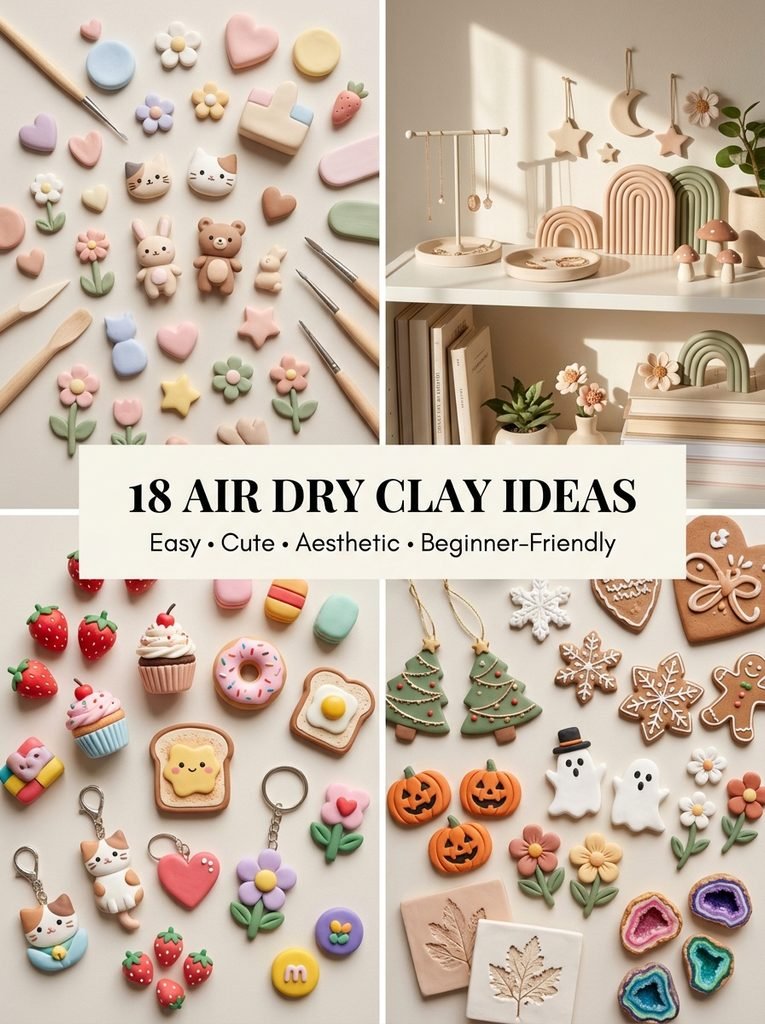
Turn a small clay shape into a useful accessory. Hearts, stars, initials, flowers, clouds, and tiny food shapes work especially well. Before the clay dries, carefully make a small hole near the top for a keychain ring. Let the piece dry fully before painting and assembling it. Keep the design light and simple.
4. Aesthetic Room Decor
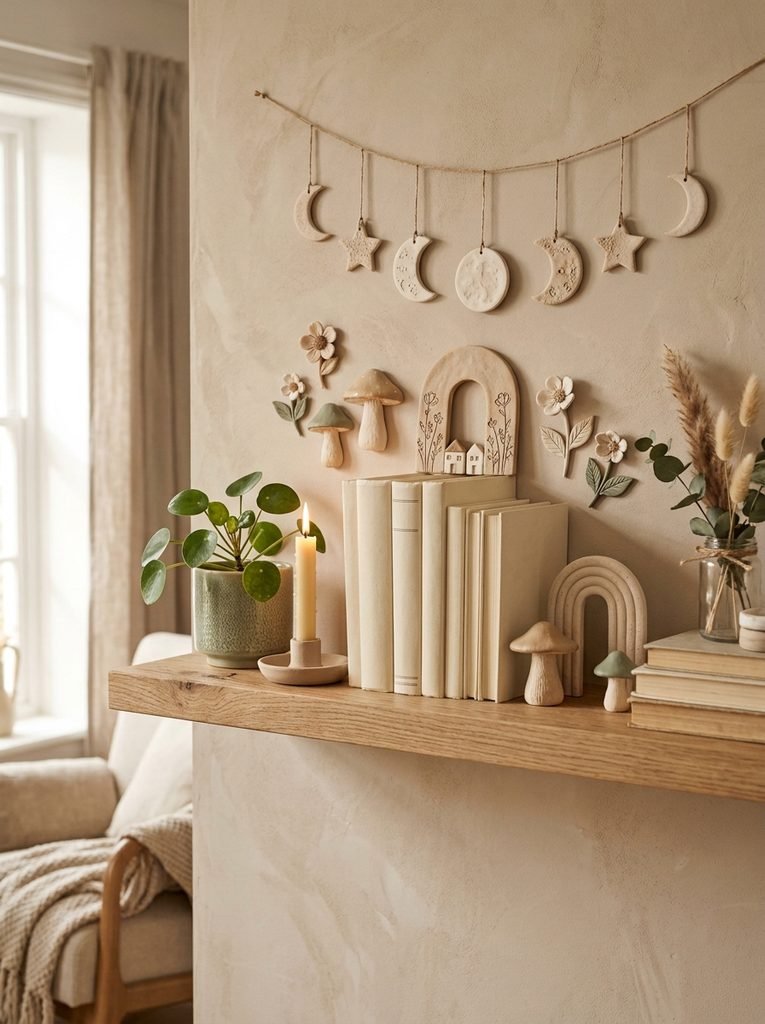
Small clay pieces can change the feeling of a shelf or bedside table without taking up much space. Create little moons, stars, arches, mushrooms, flowers, or abstract shapes. Paint them in cream, beige, sage green, dusty pink, or terracotta for a calm look. These pieces work beautifully with candles, books, plants, and framed prints.
5. Tiny Food Sculptures
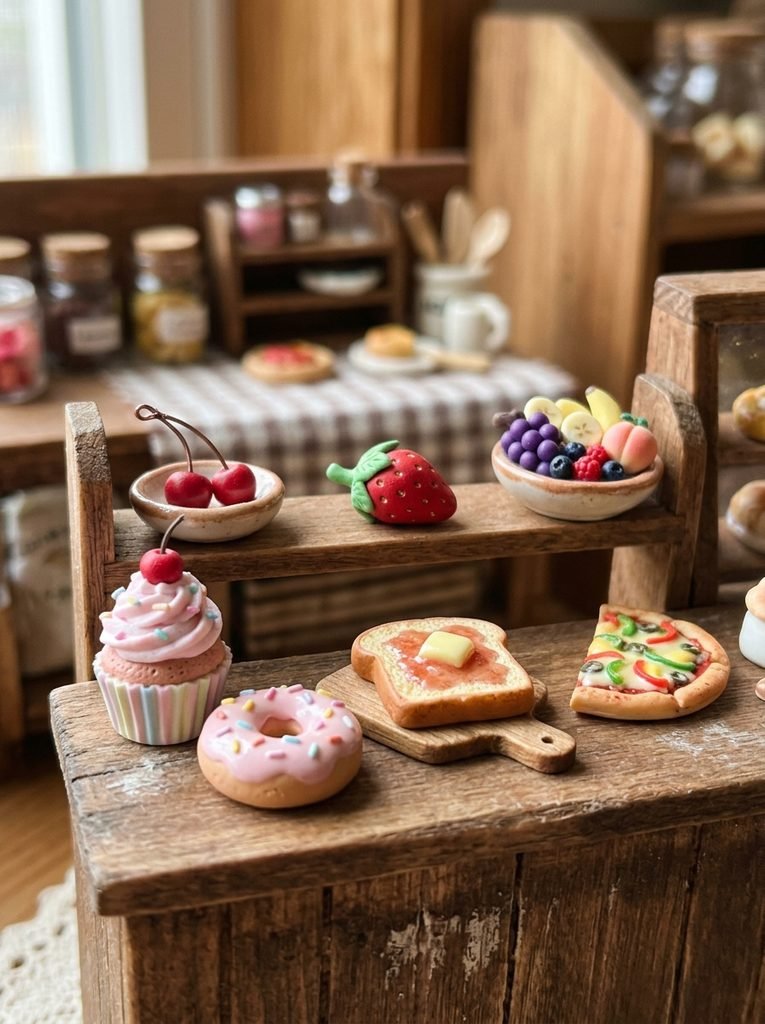
Food miniatures make excellent practice pieces because they use simple shapes. Make strawberries, cupcakes, cookies, cherries, toast, donuts, pizza slices, or tiny bowls of fruit. Use small dots and lines to create toppings. The goal is not perfect realism. A few strong details can make a miniature look surprisingly convincing.
6. Clay Magnets for the Fridge
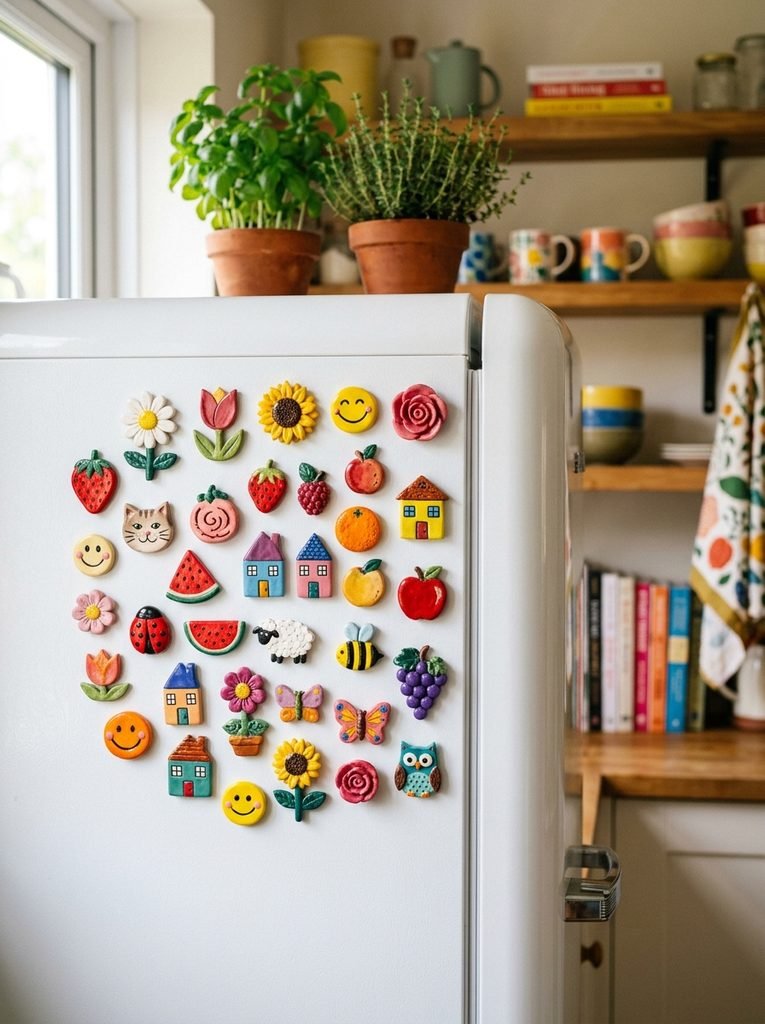
Magnets combine crafting with everyday usefulness. Shape flowers, fruits, animals, smiley faces, letters, or tiny houses. Once completely dry, attach suitable craft magnets to the back. Use strong adhesive and keep the finished pieces lightweight. A small group of matching magnets can make a plain refrigerator feel much more personal.
7. Jewelry Holder Dish
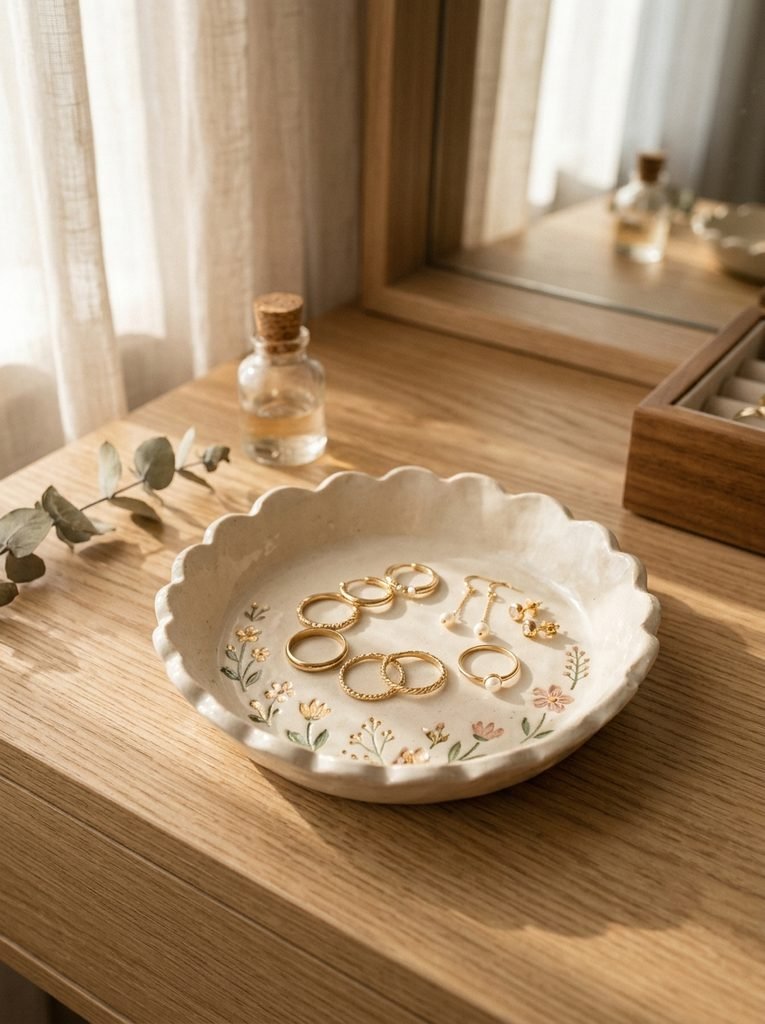
A shallow jewelry dish gives beginners a chance to practice shaping a smooth surface. Flatten a clay ball, gently press the center, and lift the edges. Add a scalloped rim or small flower details. After drying, paint it in a soft neutral shade and use it for rings, earrings, or small hair accessories.
8. Tic Tac Toe Game
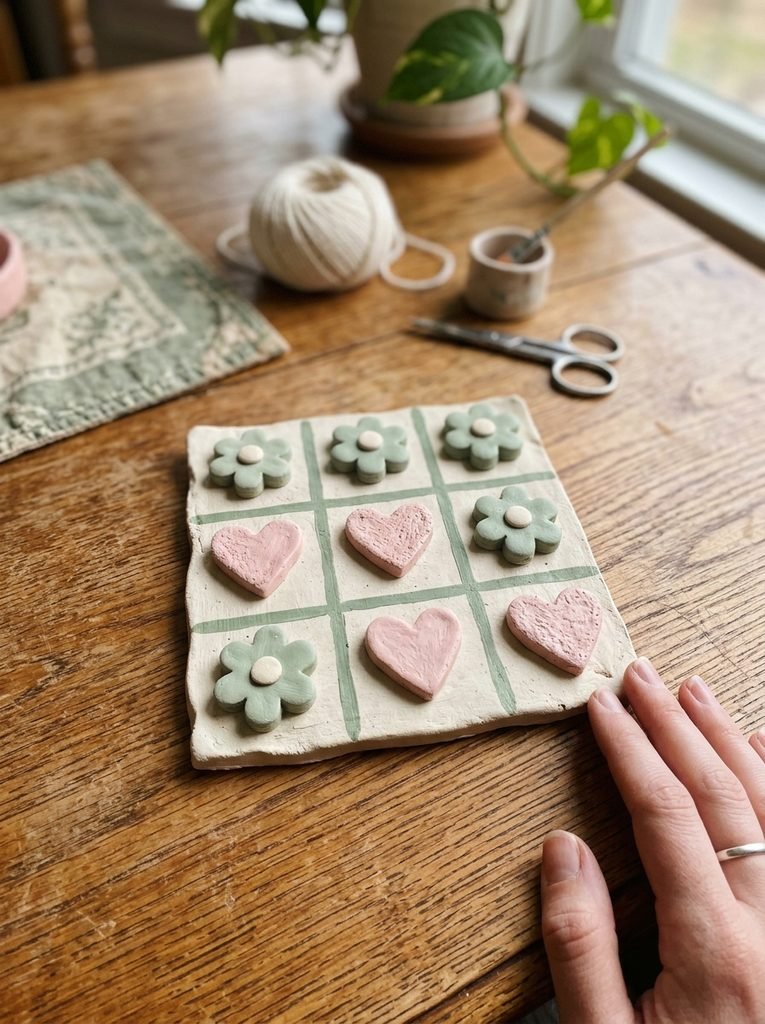
Make crafting more playful with a miniature tic tac toe set. Create a small square board and simple X and O pieces. You can shape the pieces like hearts, flowers, stars, or animals. Paint each side in contrasting colors. This project creates both a craft and a reusable tabletop game.
9. Easy Step-by-Step Clay Flowers
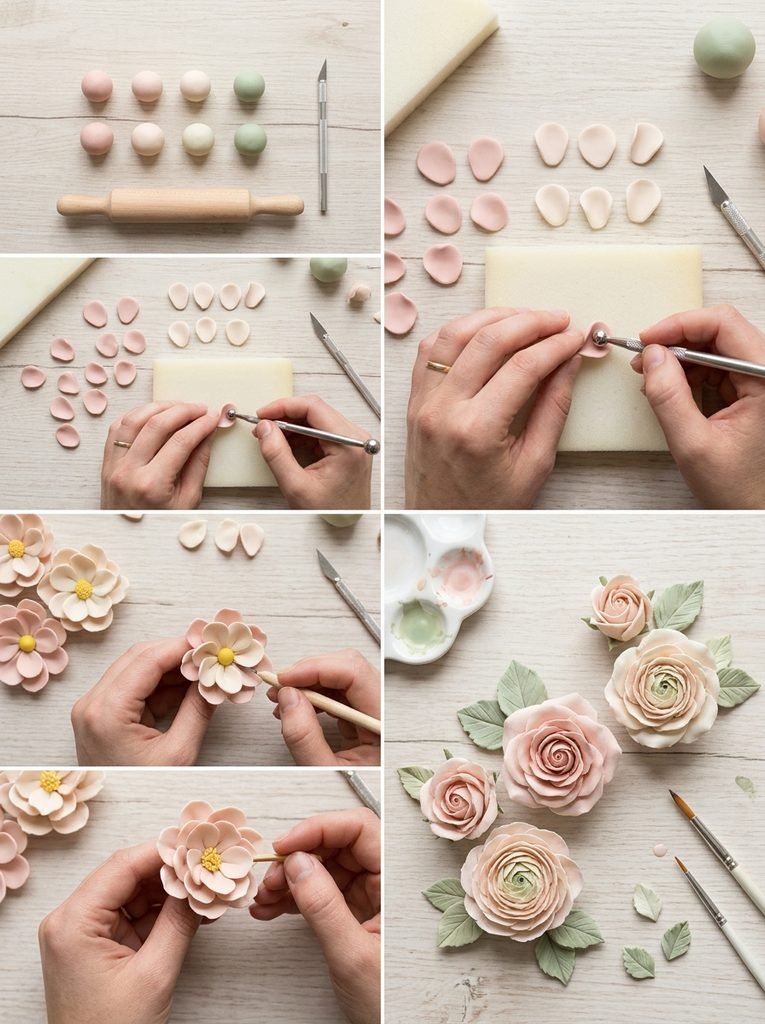
Flowers offer endless design options. Roll small clay balls, flatten them, and arrange the pieces around a center. Add a tiny dot or bead-like shape in the middle. You can make daisies, simple roses, five-petal flowers, or abstract blooms. Paint them afterward or leave them white for a clean ceramic-style appearance.
10. Christmas Ornaments
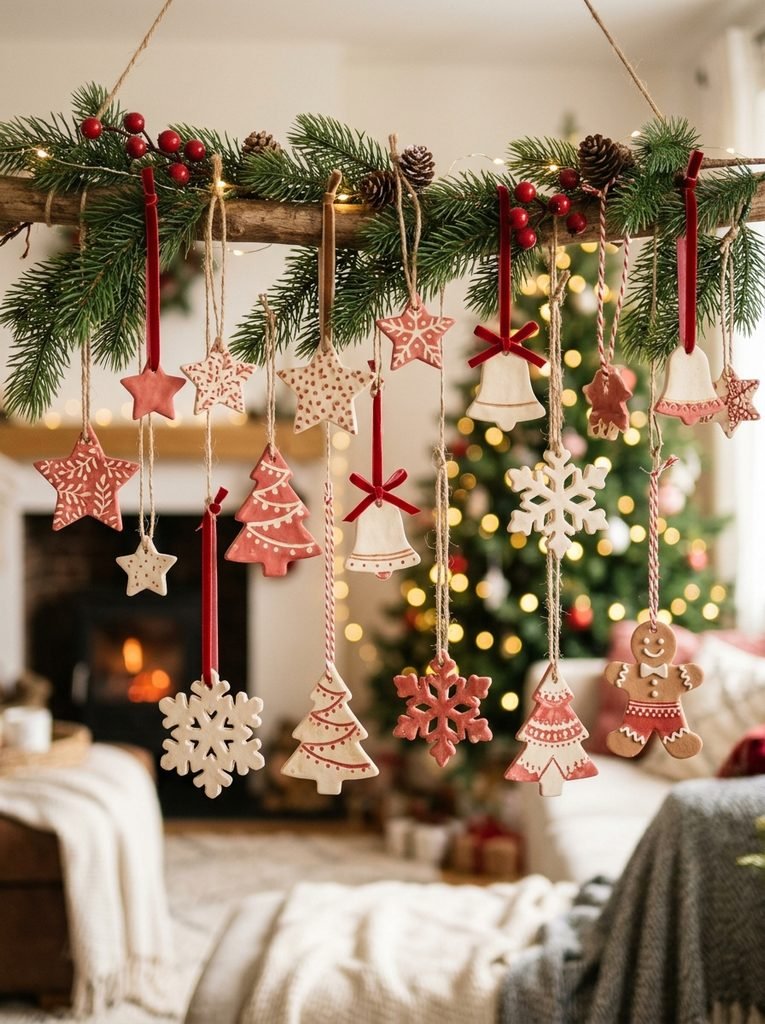
Holiday crafting feels more personal when you make decorations yourself. Roll the clay flat and cut stars, trees, bells, snowflakes, stockings, or gingerbread shapes. Add a small hanging hole before drying. Crayola’s ornament instructions also use cookie cutters and a straw to create the hanging hole, followed by painting after drying.
11. Halloween Clay Decorations
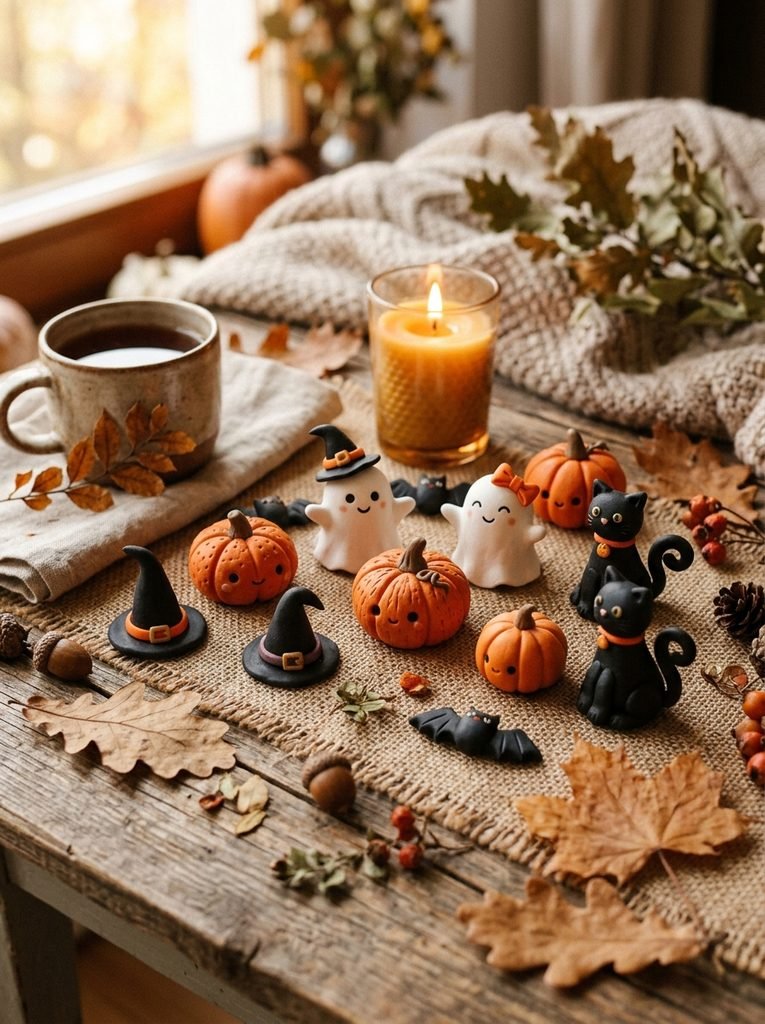
Halloween gives you permission to make playful shapes. Try tiny pumpkins, friendly ghosts, bats, black cats, skulls, or little witch hats. Keep the faces cute rather than scary if children will join the activity. Small clay decorations can sit on shelves, trays, desks, or a seasonal centerpiece.
12. Clay Hearts for a Boyfriend
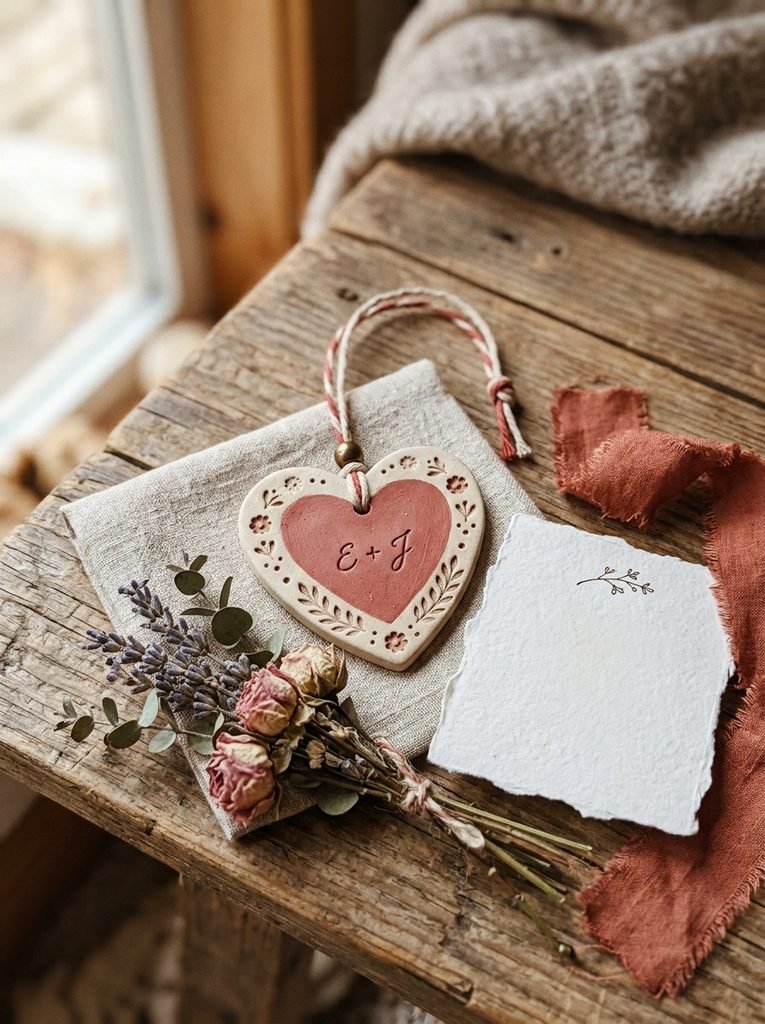
A handmade heart can feel more personal than a store-bought gift. Add initials, a meaningful date, a tiny symbol, or a short pattern. You could turn the heart into a magnet, hanging decoration, pocket keepsake, or small desk piece. Keep the design simple so the handmade character remains the main feature.
13. Soft Pastel Trinket Tray
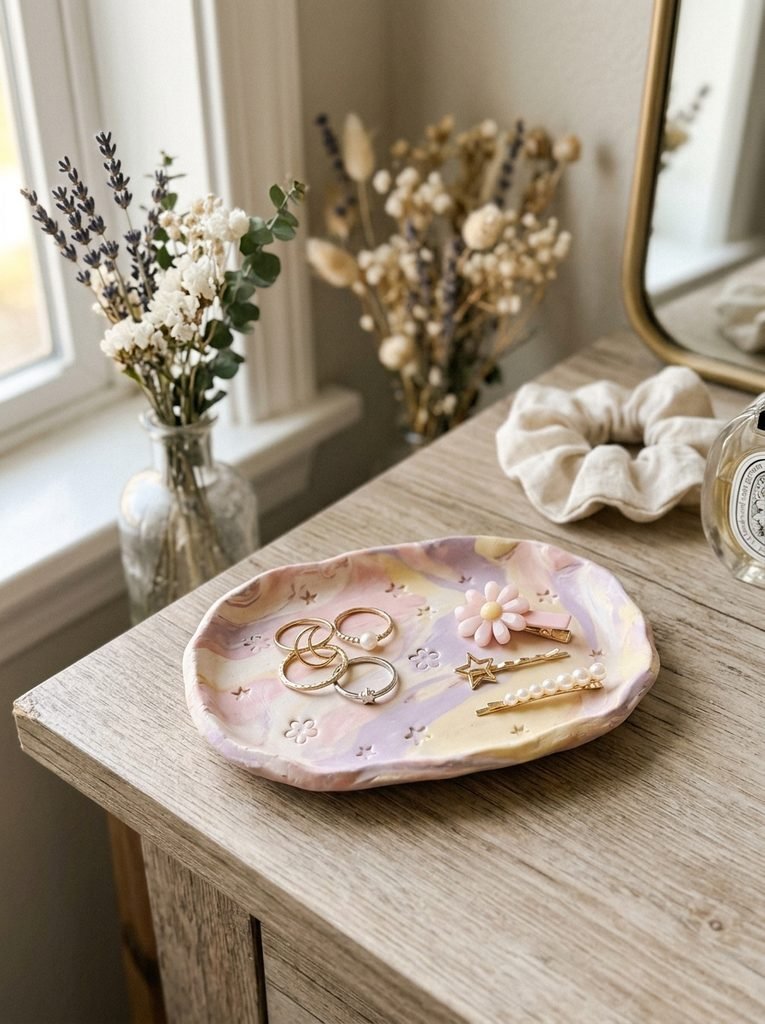
For a soft aesthetic, make a small tray with rounded edges. Use pastel blue, blush, lavender, cream, or butter yellow after the clay dries. Add tiny stars, dots, or flower impressions. The finished tray can hold hair clips, coins, rings, or other small everyday items.
14. Foam and Clay Mixed-Media Crafts
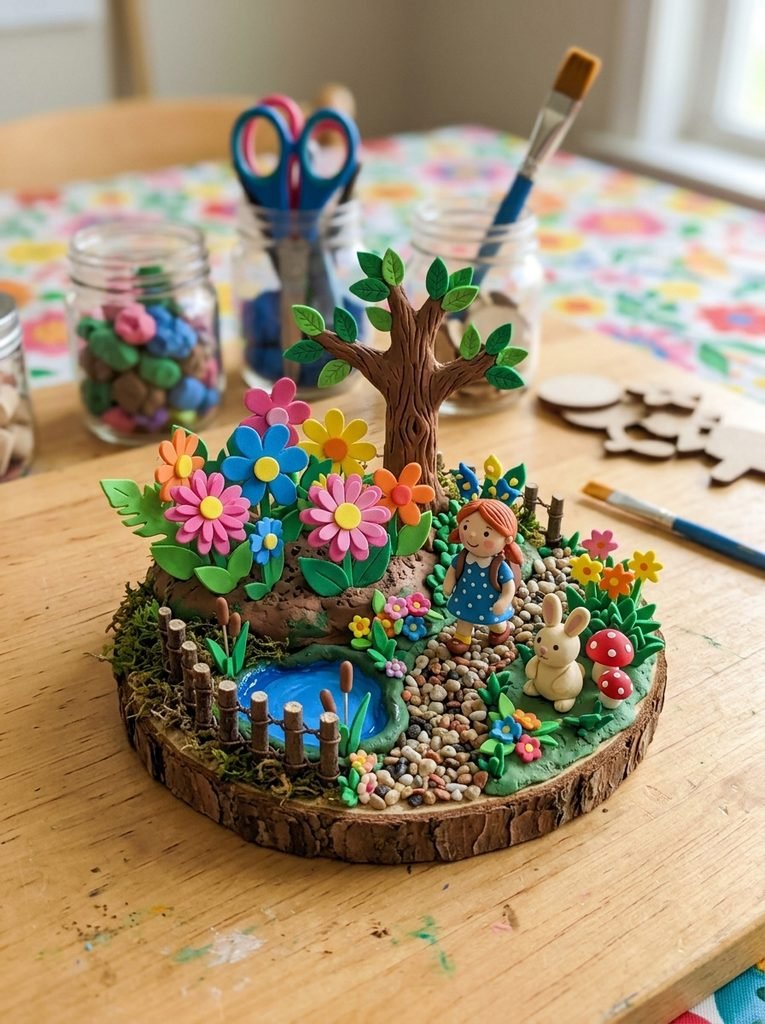
Foam can add lightweight details to a clay project. Use craft foam for leaves, wings, signs, tiny backgrounds, or decorative shapes while the clay forms the main object. This works especially well for small scenes and kids’ projects. Keep the foam pieces simple and secure them only after the clay has dried.
15. Clay Animal Wall Hanging
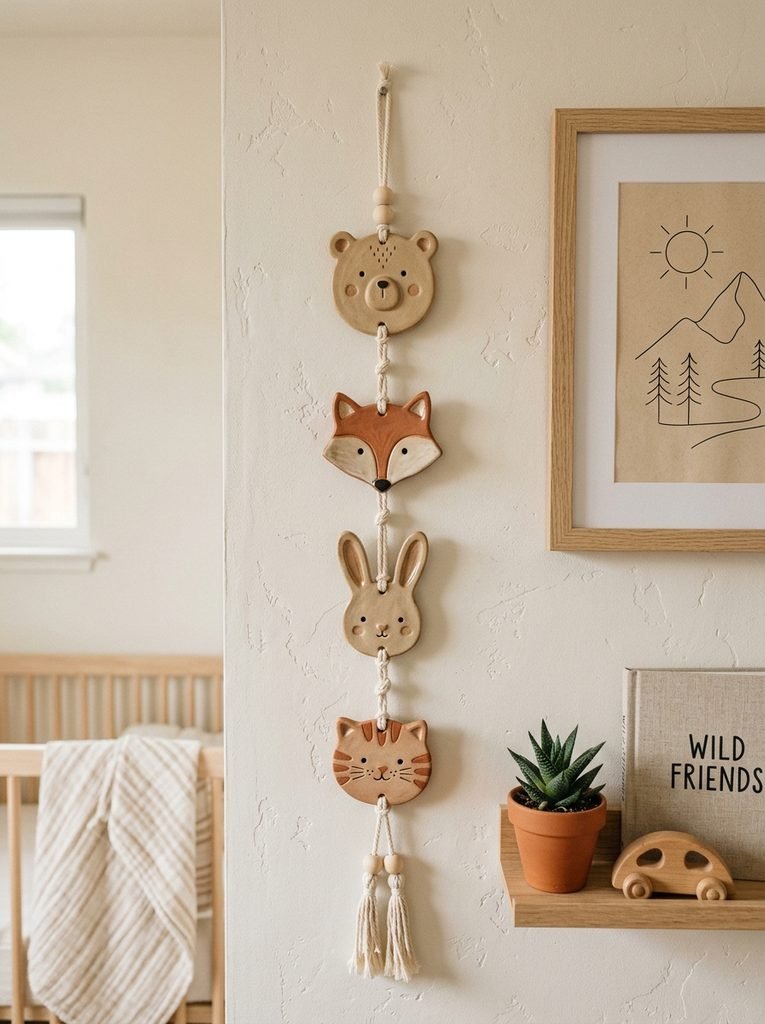
Create a small wall hanging with an animal face such as a bear, fox, rabbit, or cat. Shape the face from a flattened clay piece, add simple ears, and create a small hole at the top. Paint the finished piece in neutral colors and hang it with cotton cord.
16. Aesthetic DIY Letter Decor
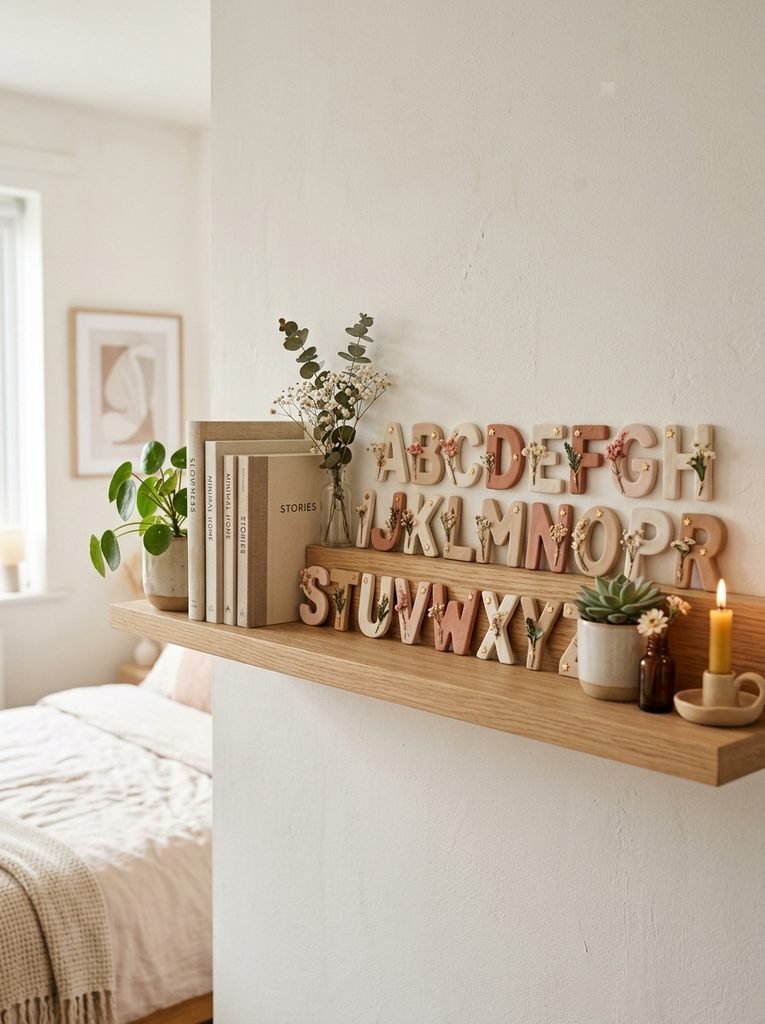
Clay letters can personalize a bedroom, study area, nursery, or creative workspace. Cut individual letters or create a short name. Add small flowers, dots, stars, or simple patterns. Crayola also demonstrates decorative clay letters finished with paint and decoupage techniques.
17. Nature Imprint Tiles
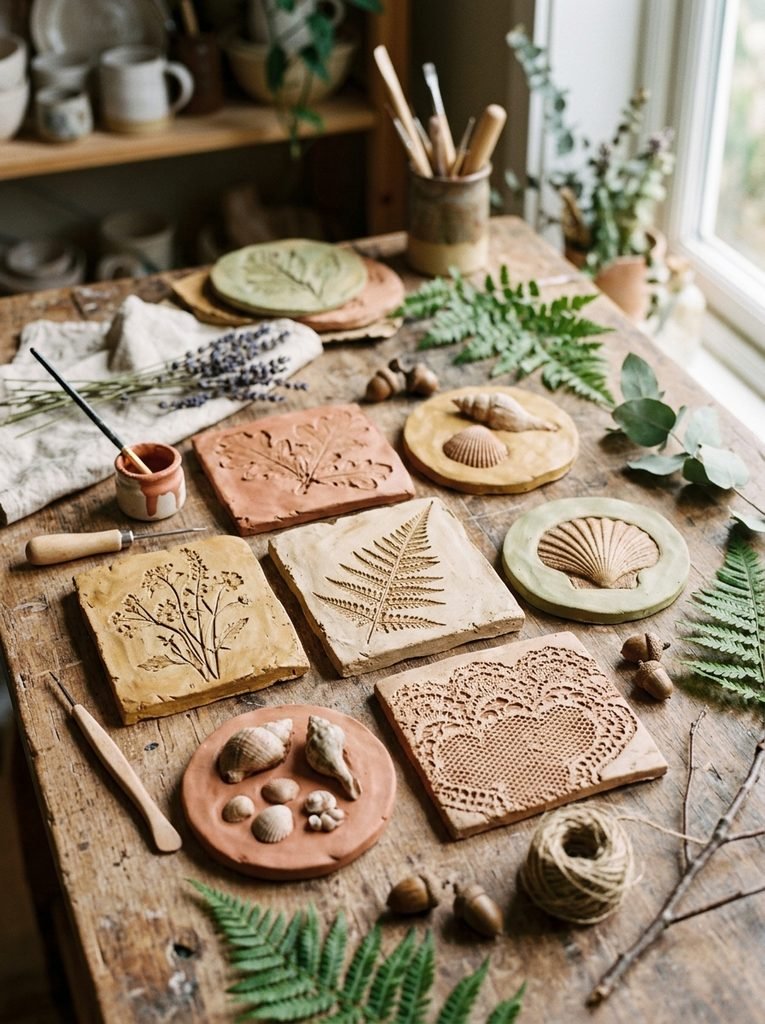
This project turns everyday textures into artwork. Press leaves, shells, fern pieces, lace, or textured fabric into a flattened clay slab. Remove the object carefully, let the impression dry, then add gentle paint to highlight the pattern. Crayola uses found objects such as shells and ferns for similar imprint projects.
18. Mini Clay Geodes
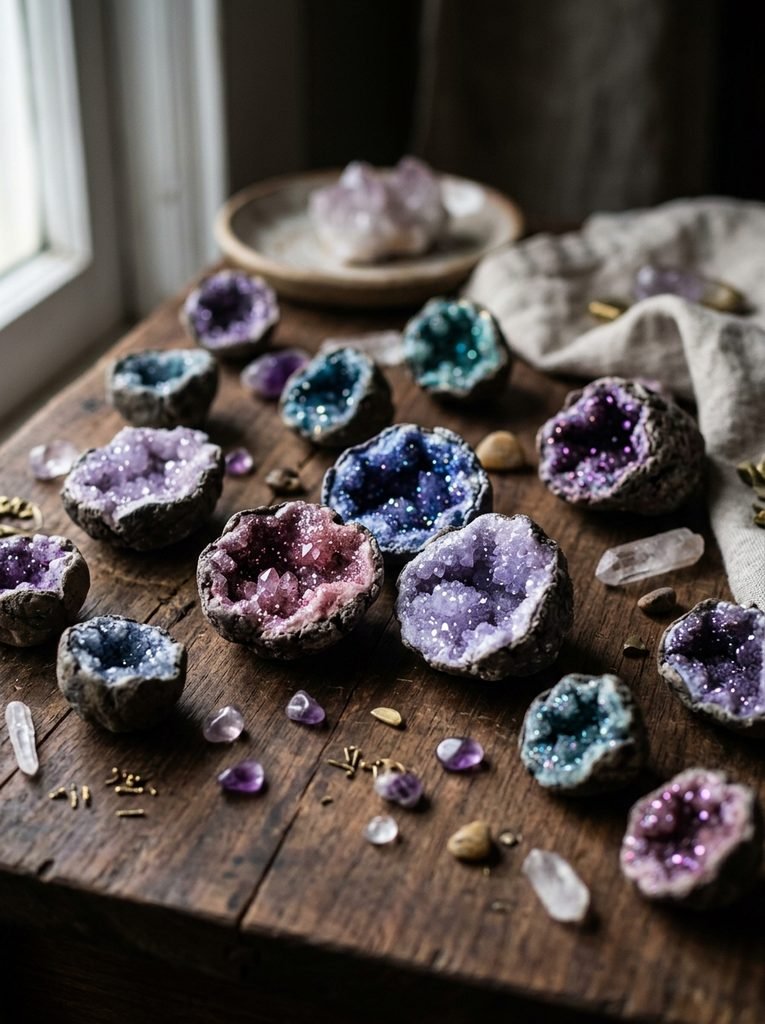
If you want something more colorful, try a miniature geode. Shape two shallow clay halves, place small decorative stones inside, and paint the outer surface like natural rock. Add glitter or bright paint inside for a crystal effect. This project works well as a decorative object or a fun kids’ craft.
Easy air dry clay ideas for Kids and Beginners
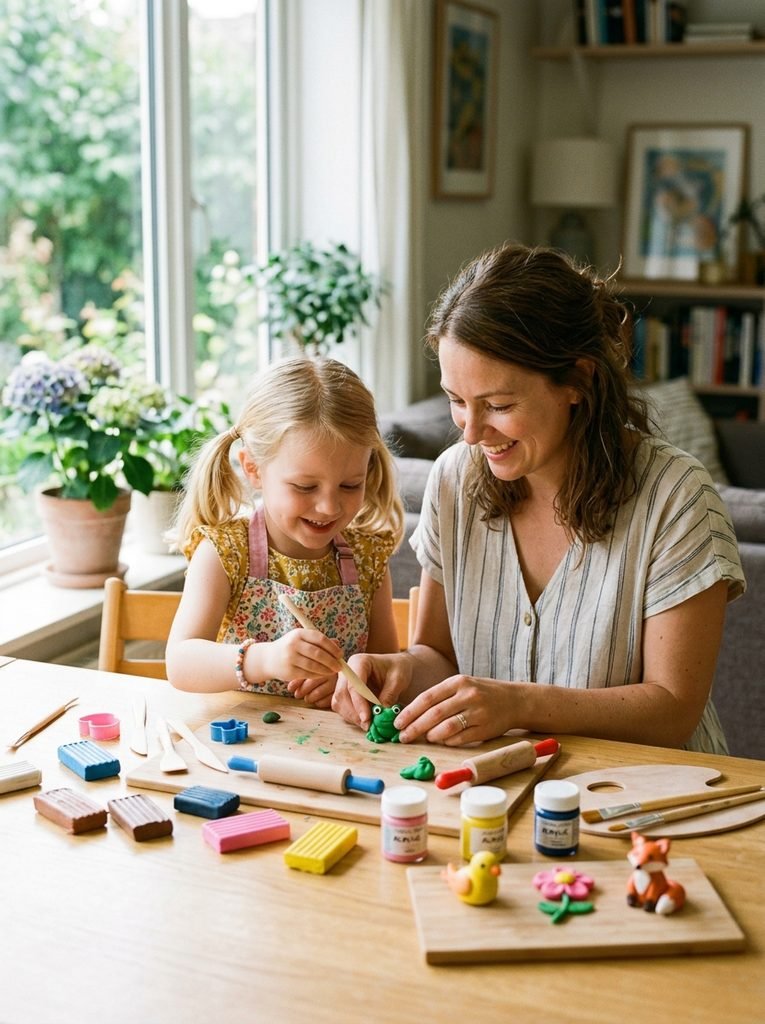
The best beginner projects have three qualities: simple shapes, few tools, and room for mistakes. Start with animals, magnets, flowers, food, or basic ornaments before moving toward detailed sculptures. If children take part, choose an age-appropriate product and supervise the use of small tools and craft materials. Crayola lists its Air-Dry Clay for children ages 6 and up, while some individual projects carry their own recommended ages.
How to Make Your air dry clay ideas Last Longer
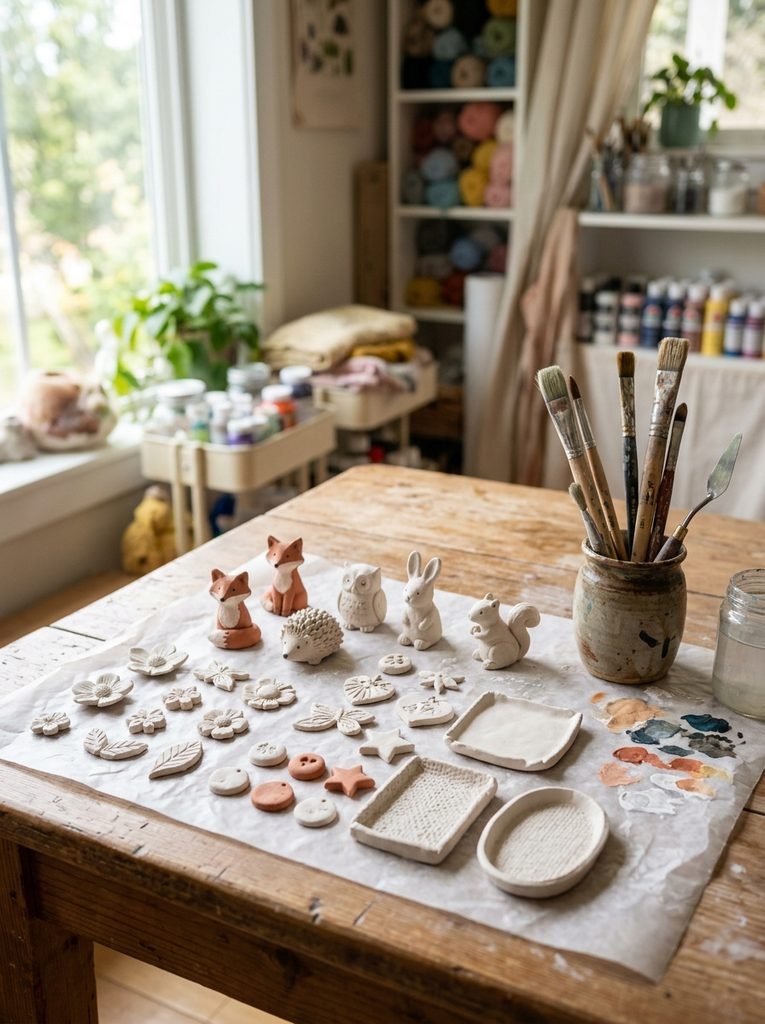
Patience matters more than complicated tools. Let your creation dry completely before painting or sealing it. Crayola states that its clay generally dries to the touch in about 24 hours and completely in about 72 hours, although thickness and environmental conditions can change the timing. Once fully dry, acrylic varnish can add a finished look, but sealing does not make the clay waterproof.
Tips for Better Results
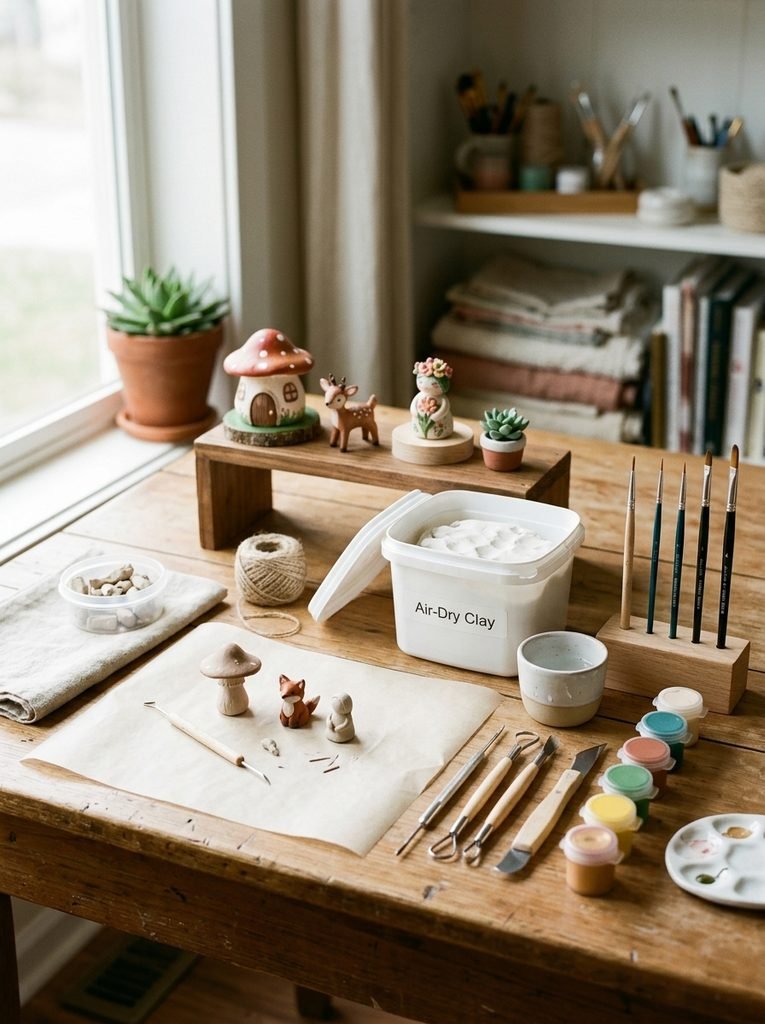
Keep unused clay sealed when you are not working with it. Protect your work surface, especially when children are crafting. If two clay pieces need to join, score or roughen the surfaces and use a little water to help them connect. Avoid making delicate parts too thin, and let each piece dry fully before adding paint or decorative layers. These small habits make beginner projects much easier to finish successfully.
Final Thoughts
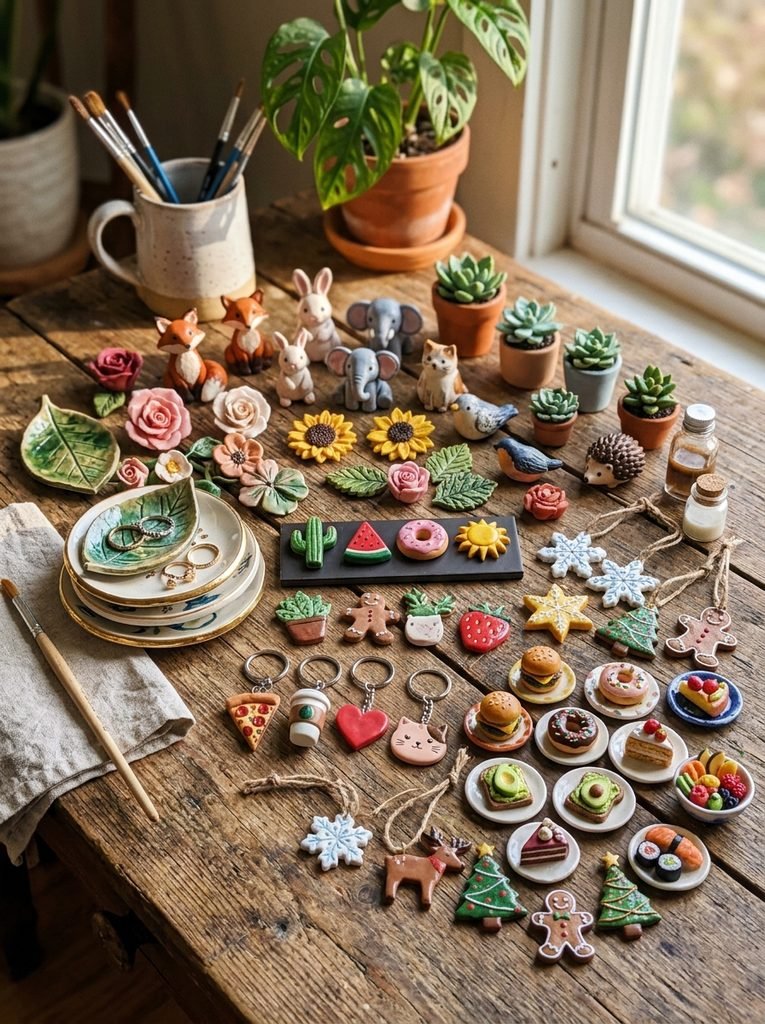
The beauty of clay comes from its flexibility. One small lump can become a useful dish, a tiny animal, a seasonal ornament, a thoughtful gift, or a piece of room decor. Start with something simple. Let your hands learn the material. Then slowly add color, texture, patterns, and personality. The best projects do not need to look perfect. They need to feel like something you enjoyed making.
