


This post may contain affiliate links. Please read my disclosure policy.
In This Article Show
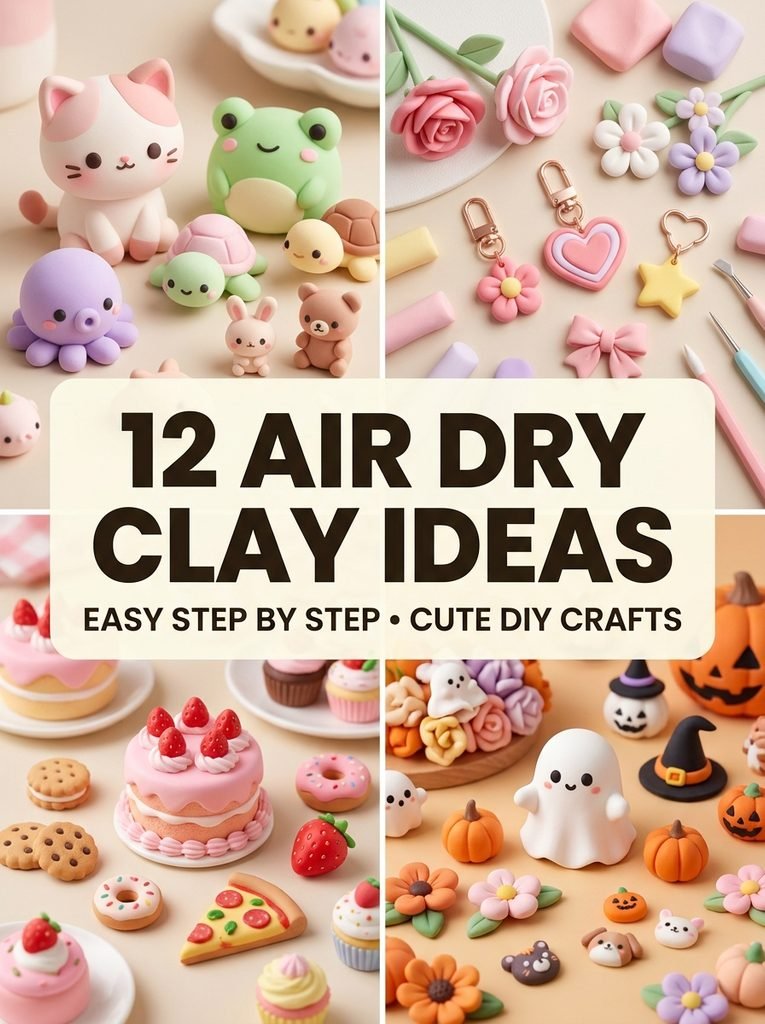
There is something special about turning a small piece of clay into something you can actually hold. You start with a simple ball, add a few details, and slowly a cat, flower, frog, or tiny cake appears in your hands. That is what makes air dry clay ideas easy step by step so enjoyable for beginners. You do not need a kiln or complicated equipment. With a few basic tools, some paint, and a little patience, you can create cute animals, food miniatures, keychains, flowers, and seasonal decorations right at home.
Why air dry clay ideas easy step by step Are Great for Beginners
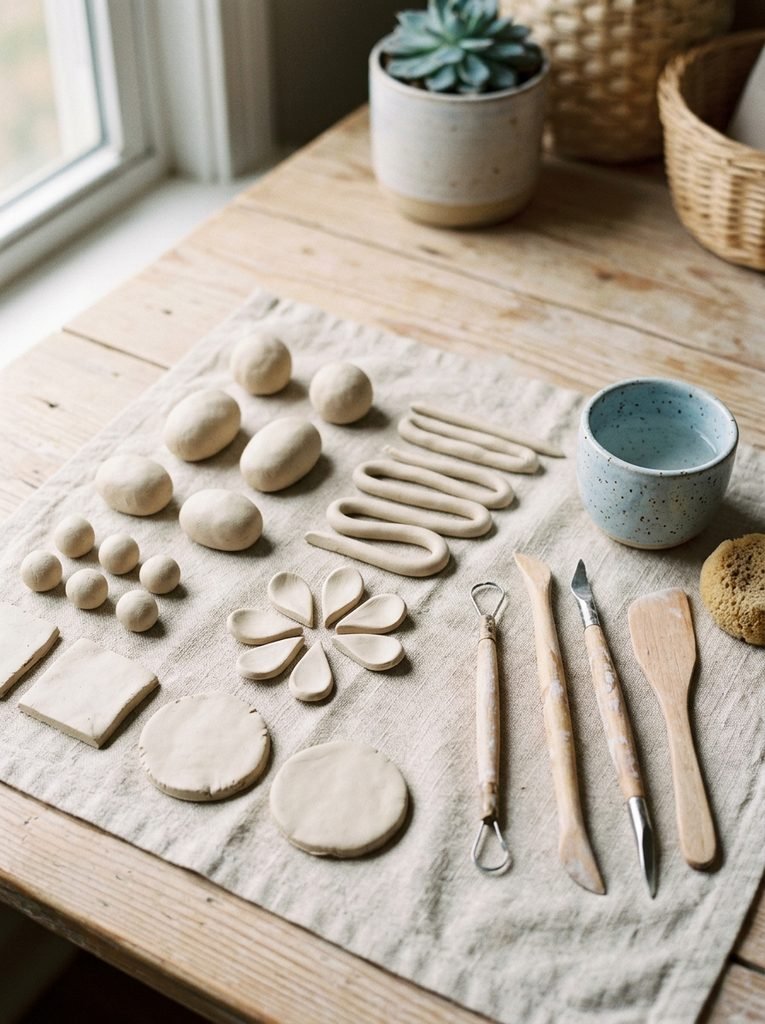
The best place to begin is with simple shapes. A ball can become a head. An oval can become a body. Thin coils can become tails, stems, or legs. Flat pieces can become flowers, trays, and decorations. You can also join separate clay pieces by roughening the surfaces and using a little water. Crayola recommends this type of scoring and joining technique for its air-dry clay projects.
1. Mini Clay Cat
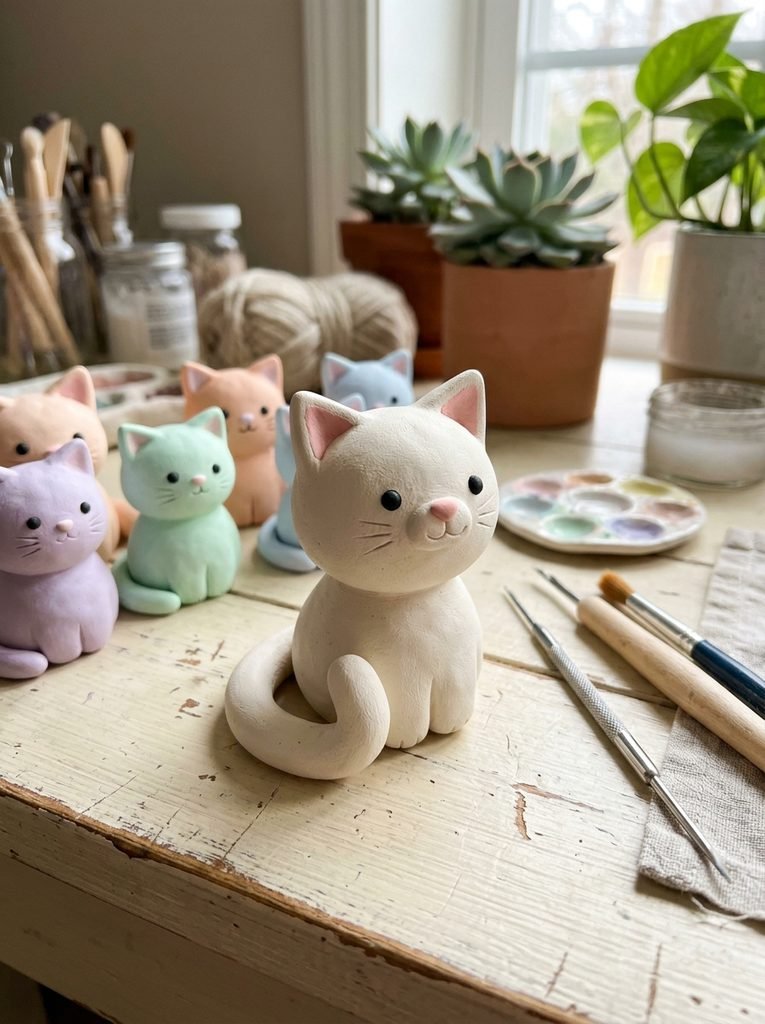
A tiny cat makes a wonderful first project because its shape stays simple. Start with a small oval for the body and a round piece for the head. Add two triangular ears and a curved tail. Use a pointed tool for the eyes and mouth. A tiny pink nose can give your cat a sweet finish. You can make several cats in white, cream, gray, orange, or soft pink.
2. Tiny Clay Turtle
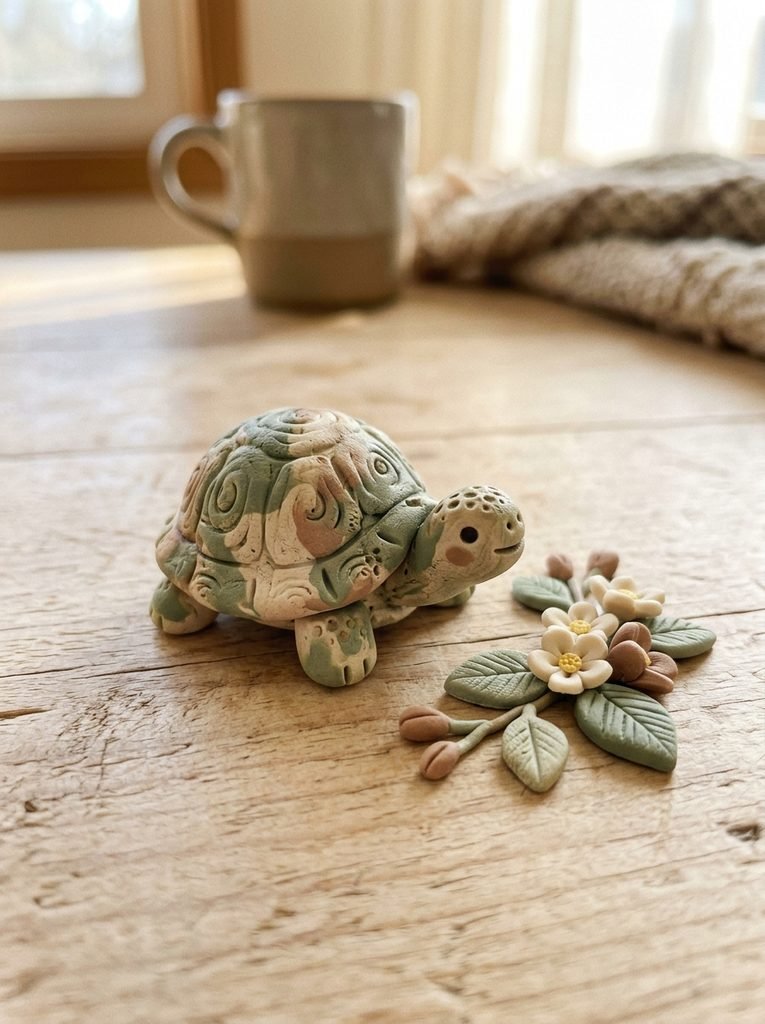
Turtles are another beginner-friendly choice. Make one rounded piece for the shell, then add four small legs and a little head. Press shallow lines into the shell to create a simple pattern. Green, beige, and brown shades make the turtle look natural, while pastel colors create a cute decorative style.
3. Cute Clay Frog
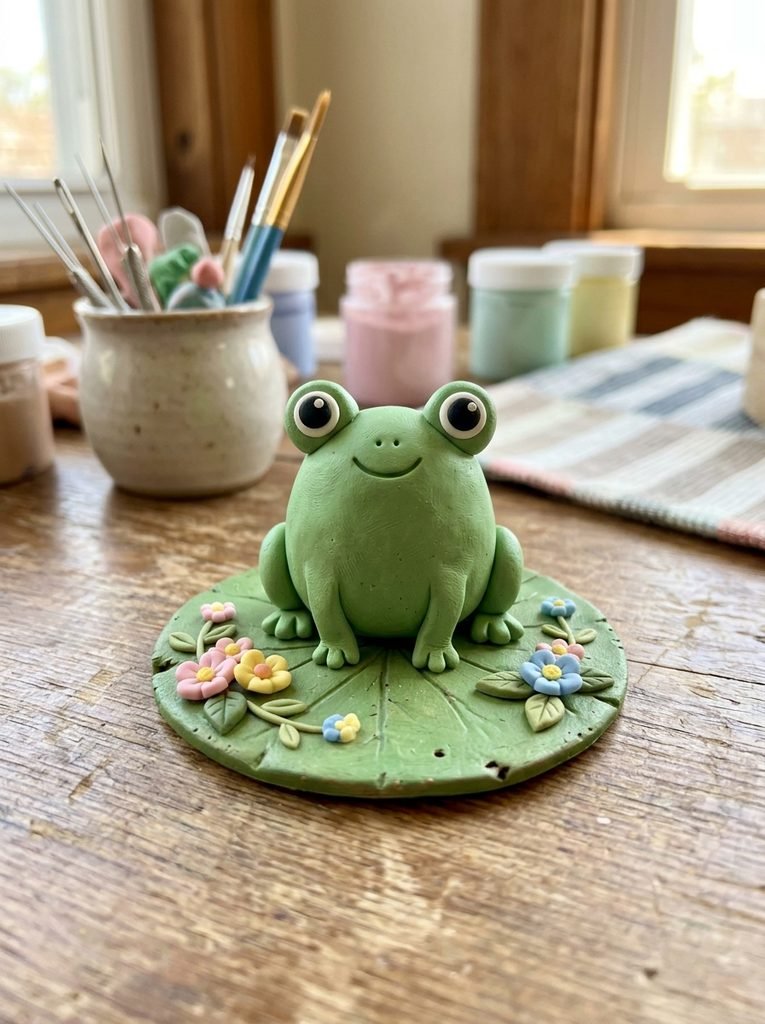
A frog can come together from only a few basic shapes. Create a rounded green body and add two small raised eyes. Make short legs and press a simple smile into the face. For an extra detail, place the frog on a tiny clay lily pad. This project works especially well for kids and beginners.
4. Mini Clay Octopus
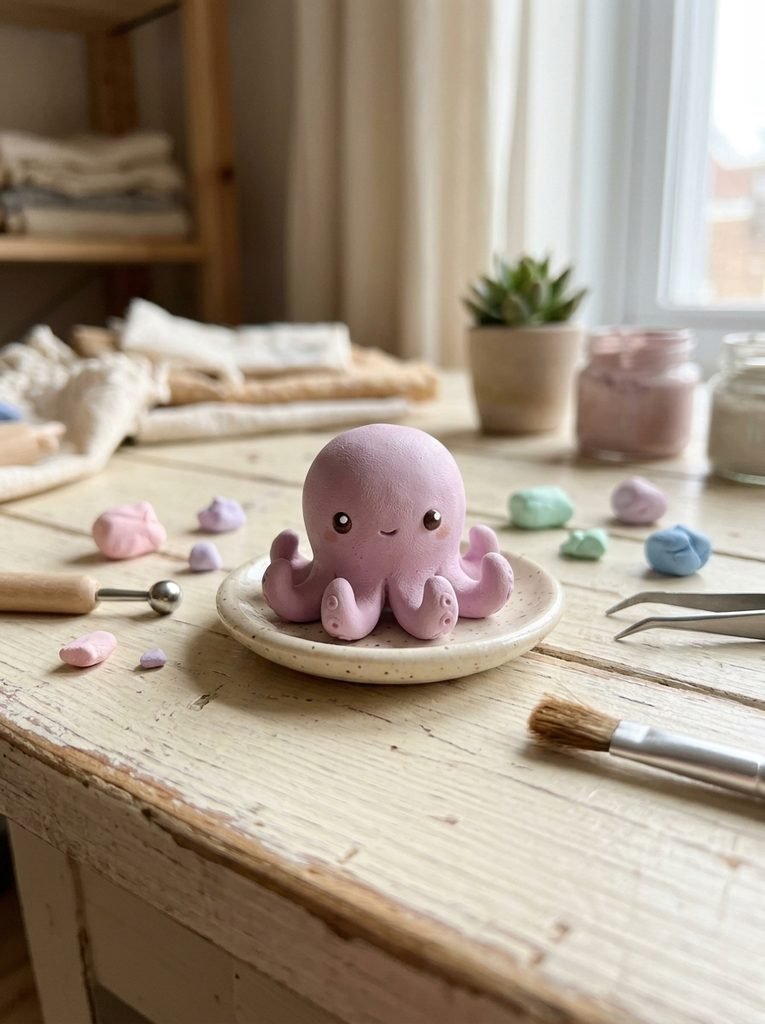
An octopus looks complicated until you break it into parts. Start with one rounded body and make eight short tentacles. Curve the tentacles gently so the figure can stand. Add two tiny eyes and a small smile. Pink, purple, lavender, and peach shades can give your octopus a soft and playful look.
5. Easy Clay Flower
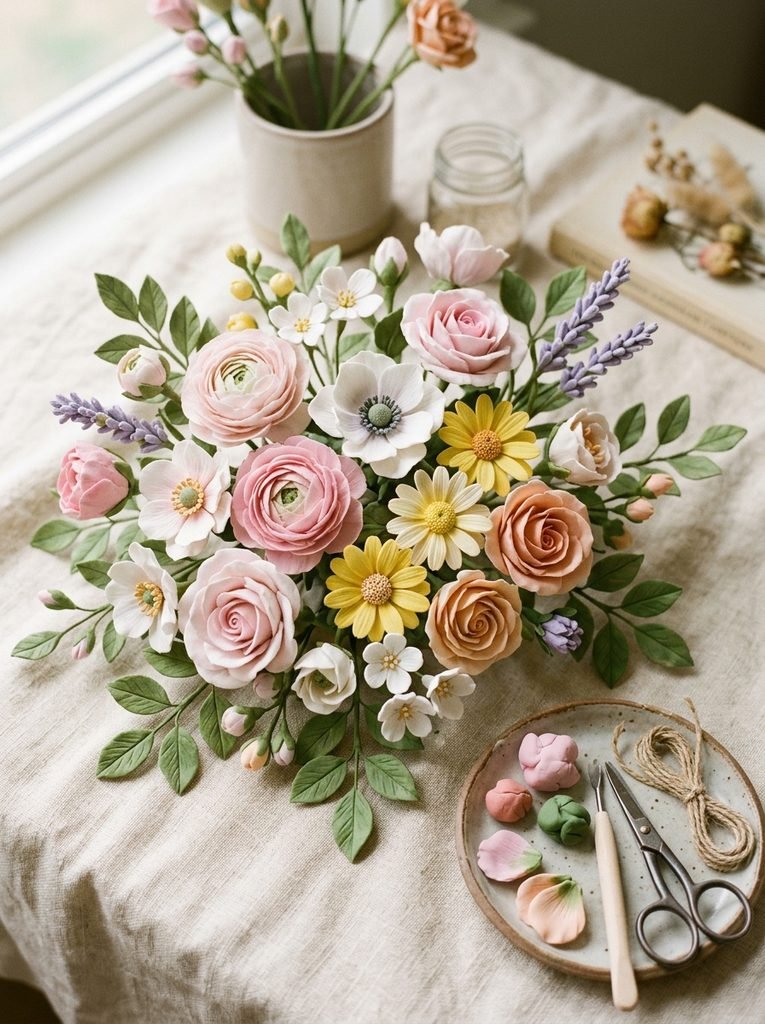
Flowers are perfect when you want something quick. Roll several small clay pieces into balls and flatten them into petals. Arrange the petals around a small center and gently press them together. Add a green clay stem or leaf if you want a complete flower. Make a collection using pink, white, yellow, peach, and lavender.
6. Personalized Clay Keychain
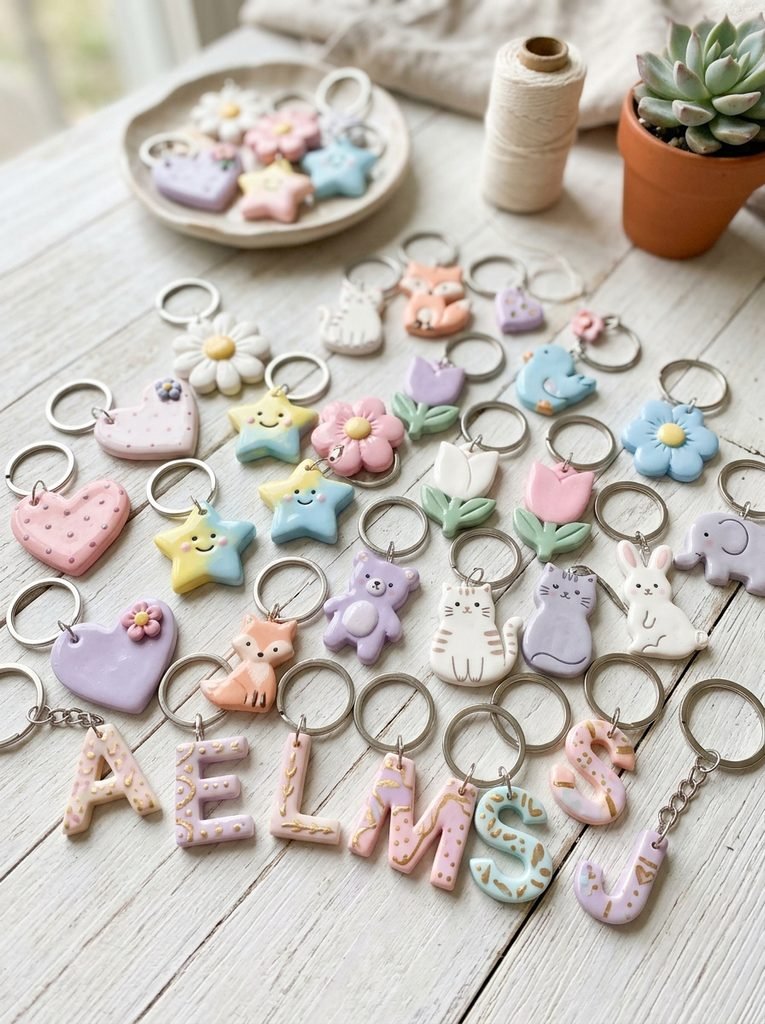
A clay keychain lets you turn a small craft into something personal. Shape the clay into a heart, star, flower, initial, cat, or tiny animal. Before it dries, make a small hole near the top. After the piece dries completely, paint it and add a keychain ring. This is also a simple handmade gift idea.
7. Tiny Clay Food
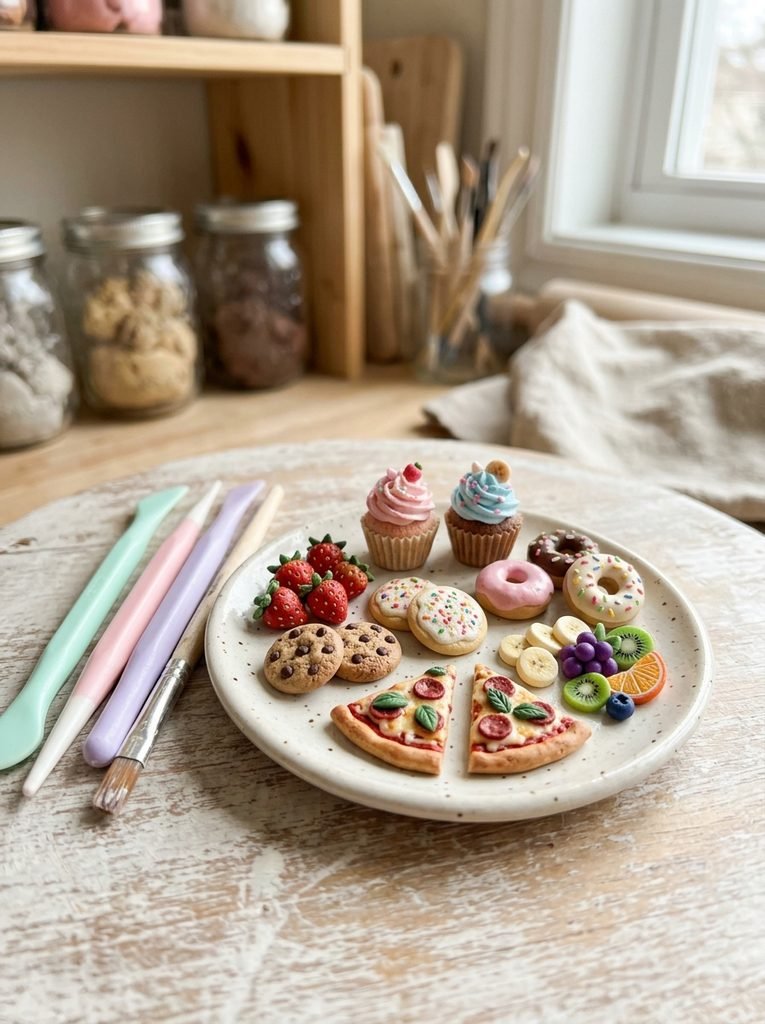
Making miniature food is one of the most fun ways to practice clay. Try strawberries, cookies, donuts, cupcakes, pizza slices, or tiny fruits. Build the main shape first, then add small details. For example, tiny dots can become sprinkles, while shallow lines can create texture on a cookie.
8. Mini Clay Cake
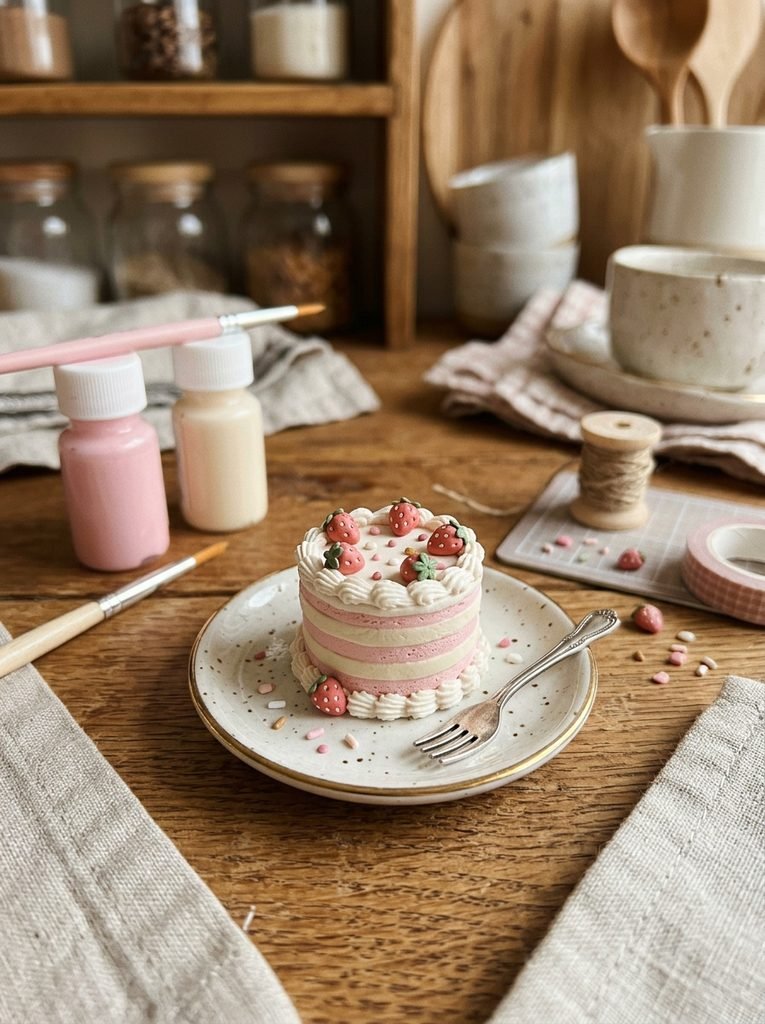
A tiny cake is surprisingly easy to build. Make two or three flat clay circles and stack them carefully. Add a thin layer of clay between each level to look like frosting. Finish with tiny strawberries or small decorative dots. Pink and white create a soft bakery-inspired look.
9. Small Clay Animals
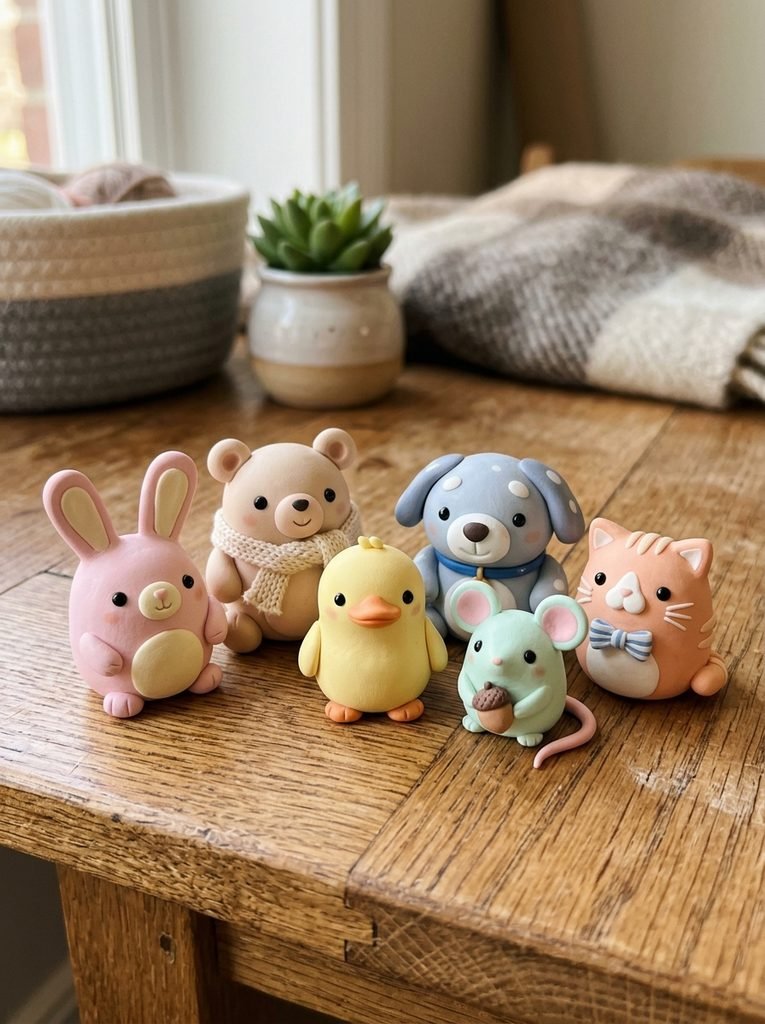
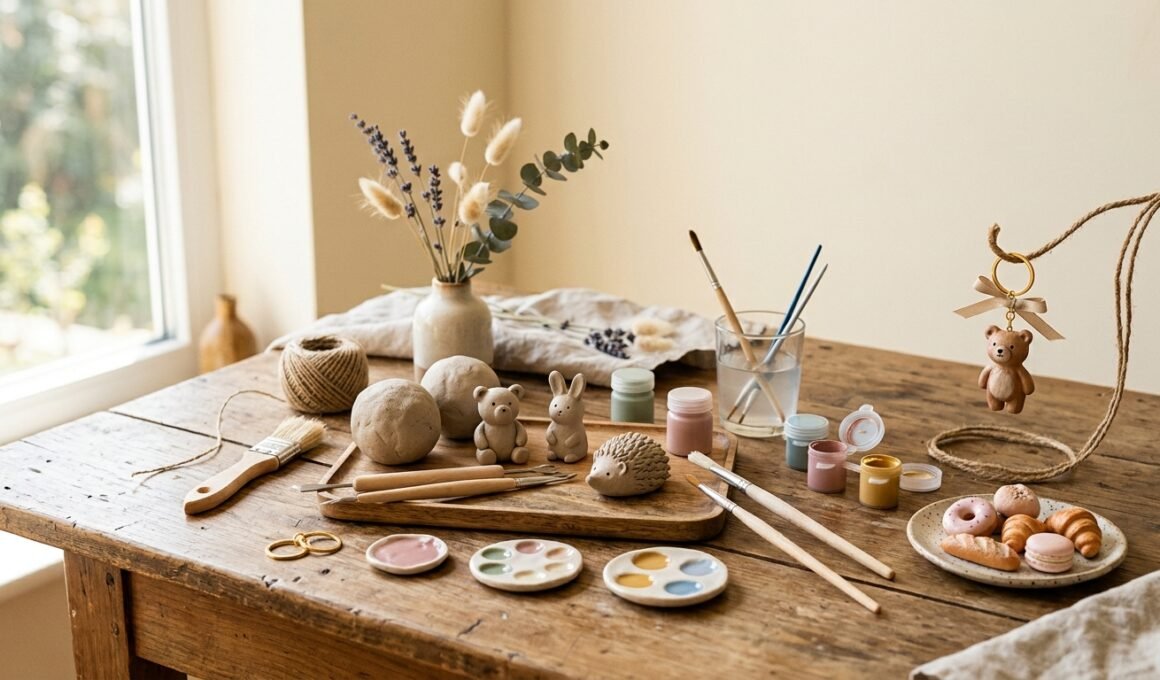
Once you understand basic shapes, create a whole collection of animals. A bunny, bear, duck, puppy, or mouse can all start with simple rounded forms. Keep the facial details small and clean. You can also use one color family so the animals look like a coordinated miniature collection.
10. Halloween Clay Ghost
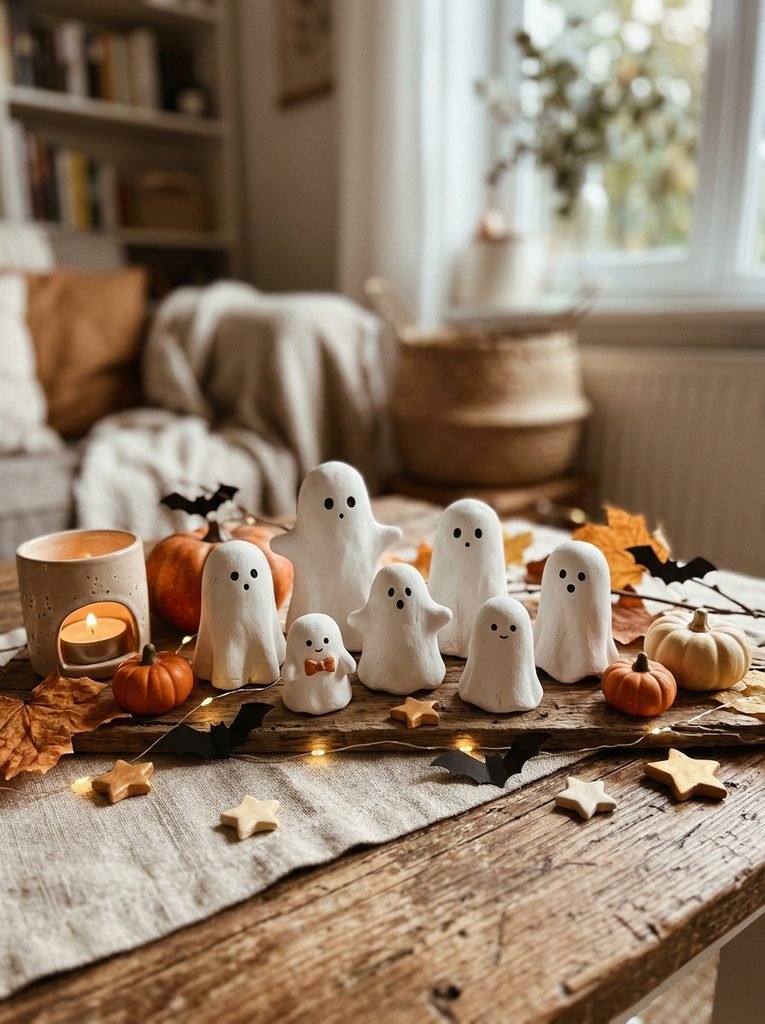
A tiny ghost is perfect for a seasonal craft. Roll a ball of clay, then shape another flattened piece around it so the clay drapes downward. Add gentle folds to create the flowing ghost shape. Finish with simple eyes after the piece dries. Crayola uses a similar draped-clay method for its air-dry clay ghost project and recommends at least 24 hours of drying, with up to 72 hours for maximum strength.
11. Pink Clay Bow
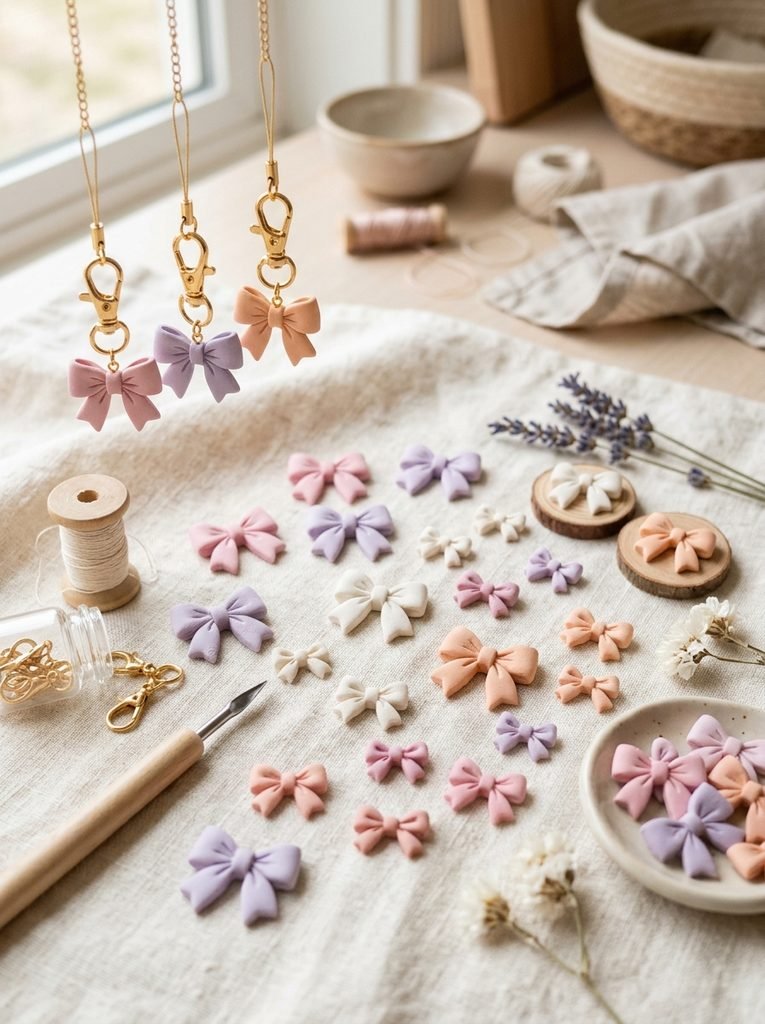
A small clay bow can become a cute decoration for a tray, keychain, magnet, or miniature display. Flatten a small piece of clay and form two loops. Add a narrow strip around the middle to create the bow shape. Soft pink gives it a sweet look, but lavender, white, or peach can work just as well.
12. Clay Flower Magnet
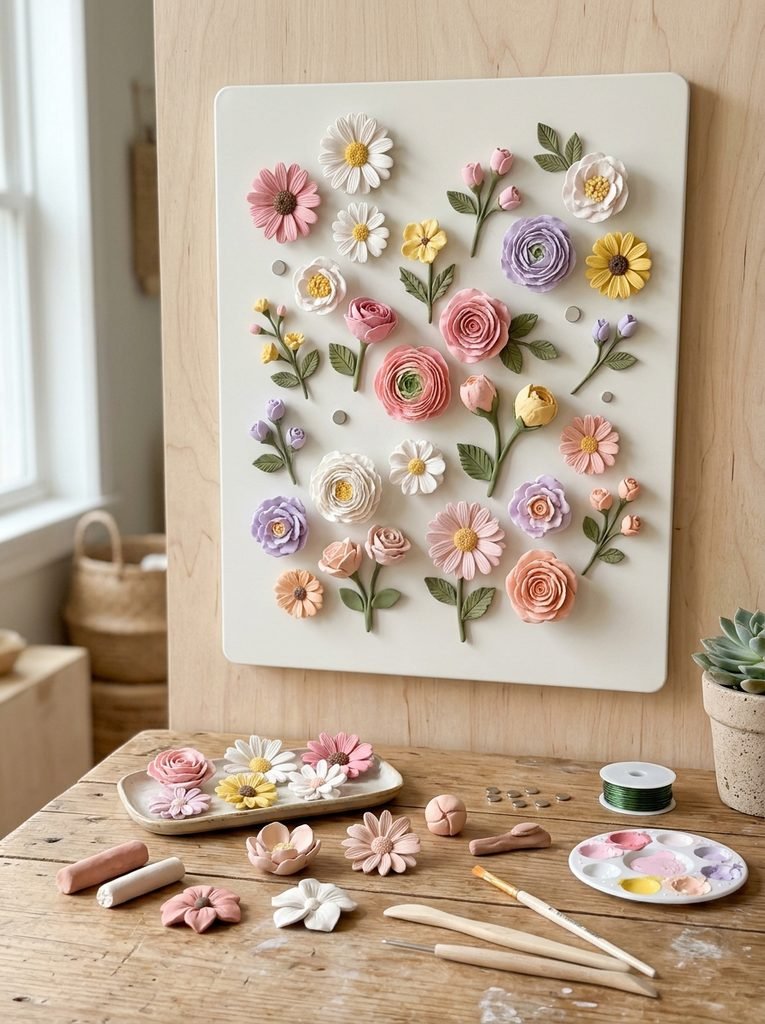
Turn your favorite flower into a useful little decoration. Shape the petals, add a center, and let the piece dry completely. Once it is ready, paint the flower and attach a suitable craft magnet to the back. Pink, yellow, white, and lavender flowers look especially beautiful against a plain refrigerator or magnetic board.
Final Thoughts on air dry clay ideas easy step by step
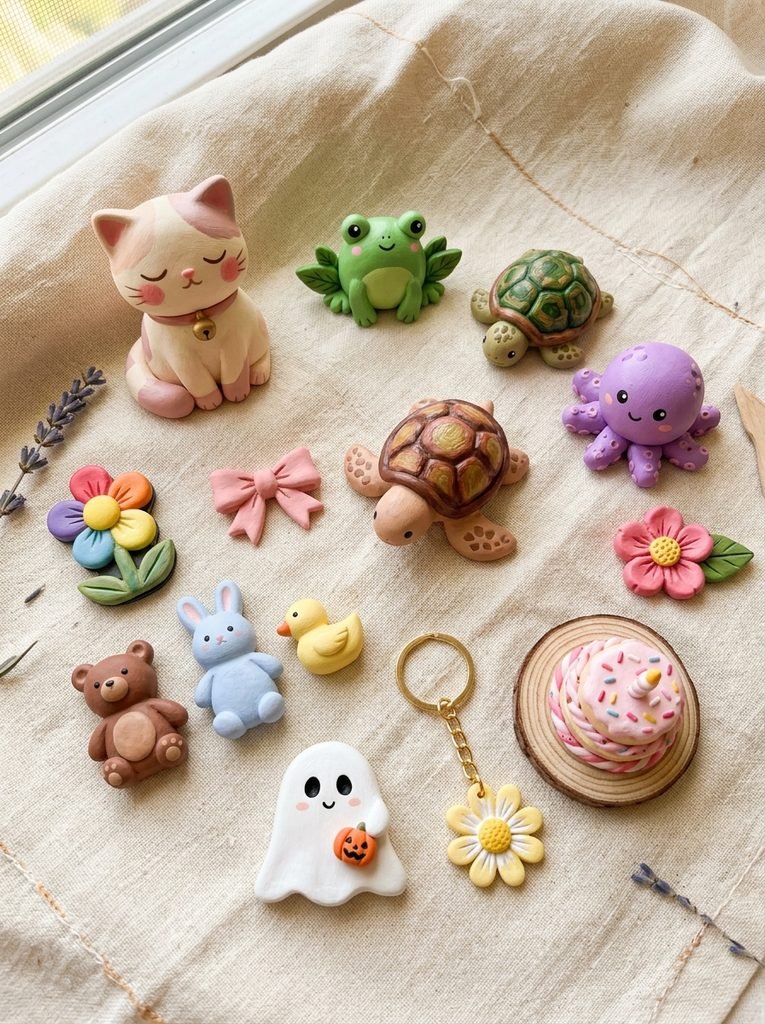
The beauty of clay is that you can start small. Make a cat today. Try a frog tomorrow. Then experiment with a flower, keychain, tiny cake, or Halloween ghost. You do not need perfect hands or advanced sculpting skills. You only need a simple idea, a little patience, and enough time to let the clay dry properly. These projects can also become thoughtful handmade gifts, room decorations, seasonal crafts, or small creative keepsakes. Once you learn the basic shapes, your next project becomes much easier.