





This post may contain affiliate links. Please read my disclosure policy.
In This Article Show
Santa is the one figure everyone wants to make at Christmas, and polymer clay is kind to him. His shapes are round and forgiving, his colors are simple, and his beard hides a multitude of joins.

This diy polymer clay santa claus guide builds the classic standing Santa in full, then a quick Santa head ornament and a Santa and Mrs Claus pair. After that come scenes, magnets, charms and the funniest Santa of all, the one stuck in the chimney.
Everything here uses the same handful of colors, red, white, beige, pink and black, so one clay purchase covers the whole list.
Take the beard slowly. It is the part everyone notices, and it is easier than it looks.
Quick Picks
- 1. Classic Standing Santa: the main build, round belly, textured beard and the kindest face.
- 2. Santa Head Ornament: a fast, repeatable Santa for the tree.
- 3. Santa and Mrs Claus Pair: the gift pair, made to stand side by side on a shelf.
1. Classic Standing Santa

A Sculpey III 12 bright colors pack covers Santa red, white and skin tones with smaller bars that suit figure making.
⏱ About 1.5 hours plus baking🛠 Beginner friendlyAbout 10 cm tall
Materials Needed
- Polymer clay in red, white, beige, pink and black
- Foil for the body core
- Clay tools and a toothpick
- Soft pastel or blush for cheeks
- Parchment lined baking tray
- Matte varnish, optional
How to Make It
Step 1: Make a foil egg for the body core and cover it with red clay, shaping a round belly. Add two black boots at the base and a black belt with a gold buckle square.
Step 2: Roll a beige ball for the head and press on a small nose. Add the head to the body with a short clay neck hidden by the beard later.
Step 3: Shape a white beard as a rounded triangle, texture it with wavy toothpick lines, and press it under the nose. Add a mustache as two small teardrops.
Step 4: Roll two red arms and two white cuff rings, and attach them at the sides, one arm down and one slightly raised.
Step 5: Add a red hat with a white brim and ball, dust pink on the cheeks, then bake on parchment following the packet instructions and cool slowly.
Tip: Paint or dot the eyes last, after baking, with the tip of a toothpick dipped in black paint. Two simple dots placed wide apart give the kindest face.
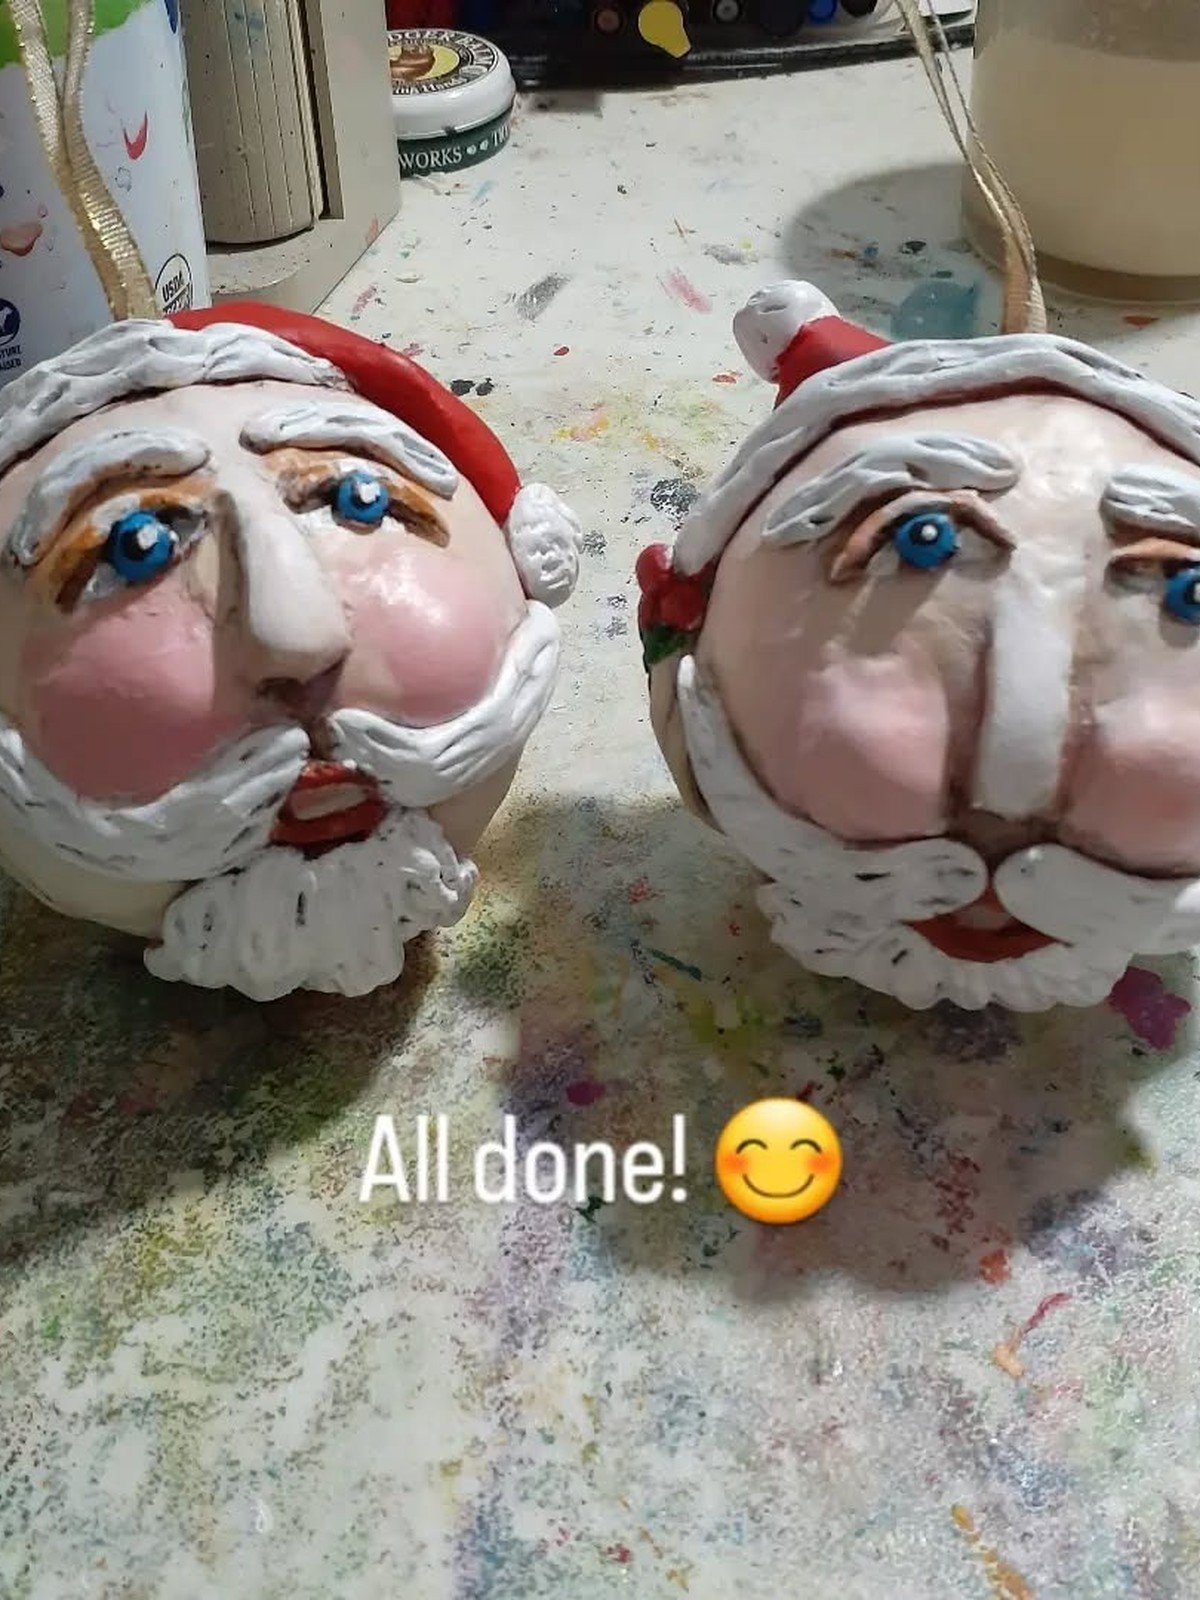
2. Santa Head Ornament
⏱ About 45 minutes plus bakingTree readyFast to repeat
Materials Needed
- Polymer clay in beige, white and red
- An eye pin and ribbon
- Clay tools and toothpick
- Soft pink pastel for cheeks
- Baking tray and parchment
How to Make It
Step 1: Roll a beige oval for the face and flatten the back so the ornament hangs flat against the branch.
Step 2: Add the beard as a large white teardrop below the face, textured with wavy lines, and a mustache above it.
Step 3: Press on a small round nose and a red hat shape across the top with a white brim and ball.
Step 4: Push an eye pin into the top of the hat, dust the cheeks pink, and bake following the packet instructions.
Step 5: Thread ribbon through the eye pin loop and hang it on the tree.
Tip: Keep head ornaments under about 6 cm. Clay is heavier than it looks, and small heads hang better on real branches.
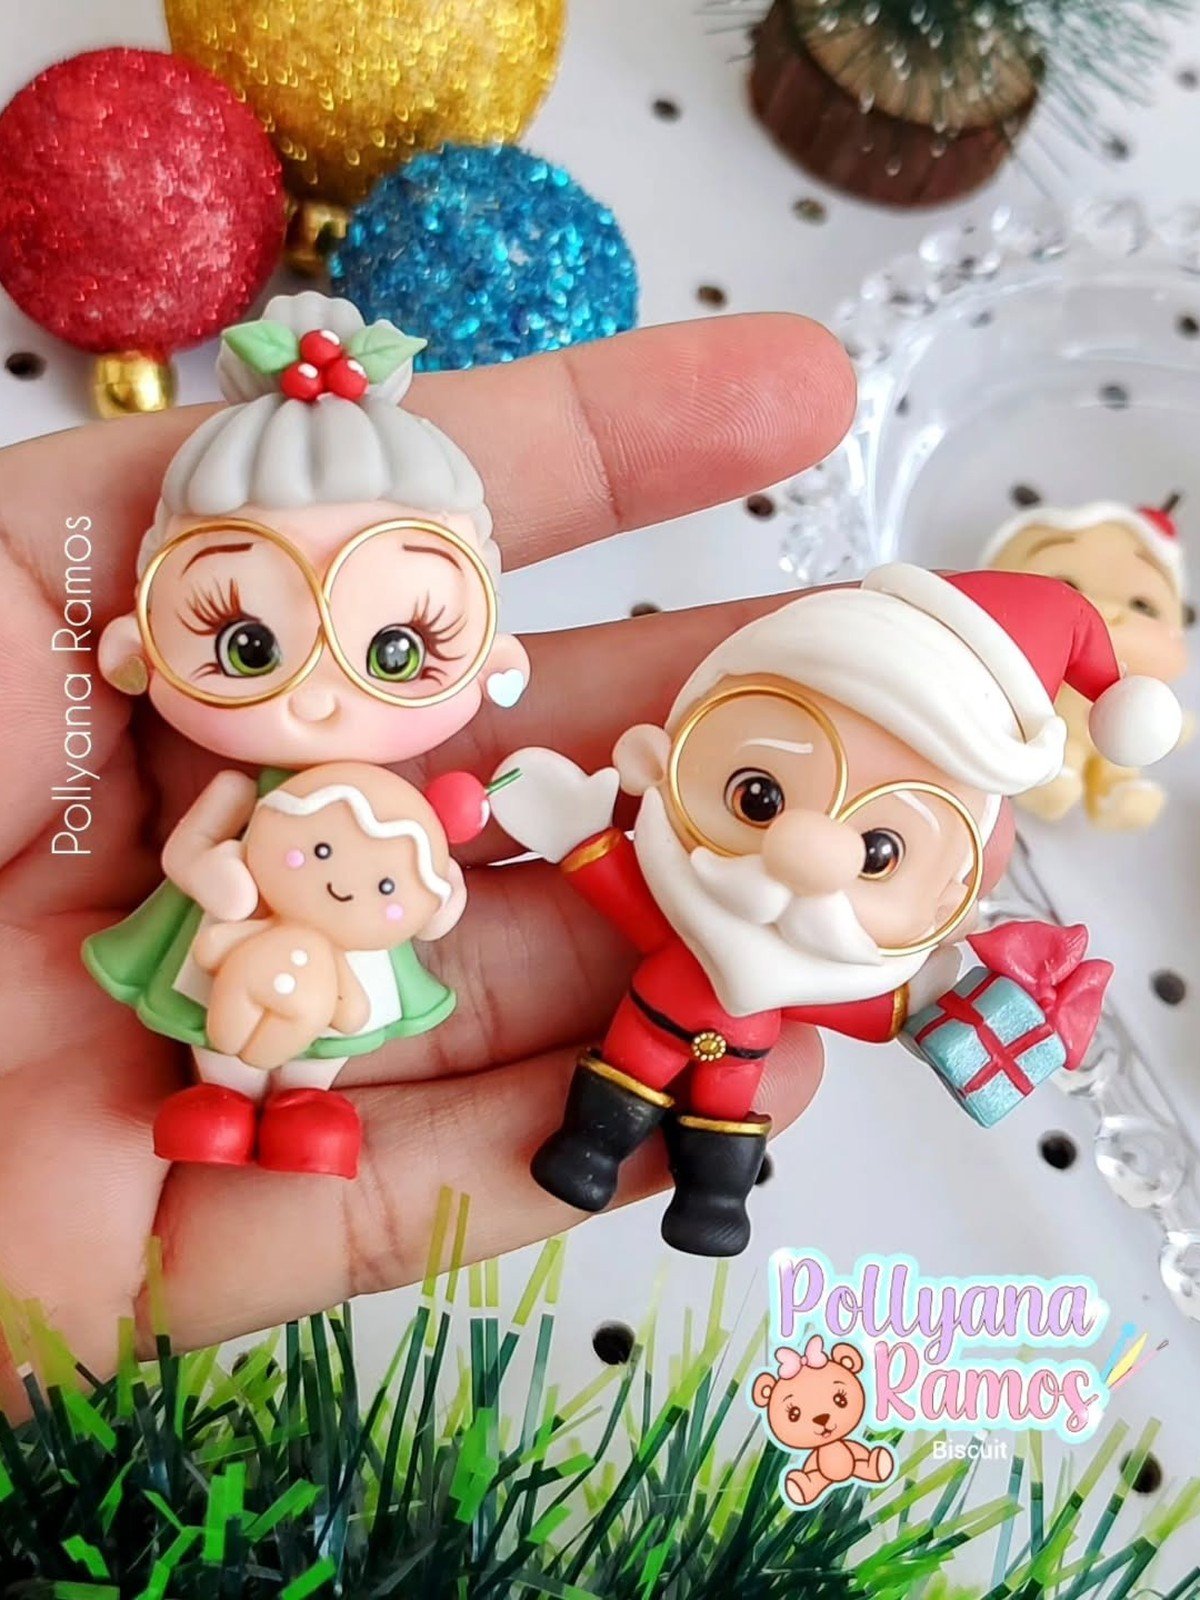
3. Santa and Mrs Claus Pair
⏱ About 2.5 hours plus bakingLovely gift pairShelf size
Materials Needed
- Polymer clay in red, white, beige, plus a dress color for Mrs Claus
- Foil cores for two bodies
- Fine wire or two small beads for glasses
- Clay tools
- Baking tray and parchment
How to Make It
Step 1: Build Santa as in the classic build, a little shorter, so the pair matches in scale.
Step 2: Shape Mrs Claus with a red dress body, a white apron panel on the front and a white bun of hair on top of her head.
Step 3: Give her a kind face with a small nose, rosy cheeks and two tiny spectacles bent from fine wire or two small bead circles.
Step 4: Add white cuffs and a small tray or a tiny gift in her arms if you like.
Step 5: Bake both together following the packet instructions, cool slowly, and stand them side by side.
Tip: Make the pair in one session with the same clay batches. Matching reds and skin tones are what make them look like a set rather than two singles.
4. Santa Fridge Magnets Set
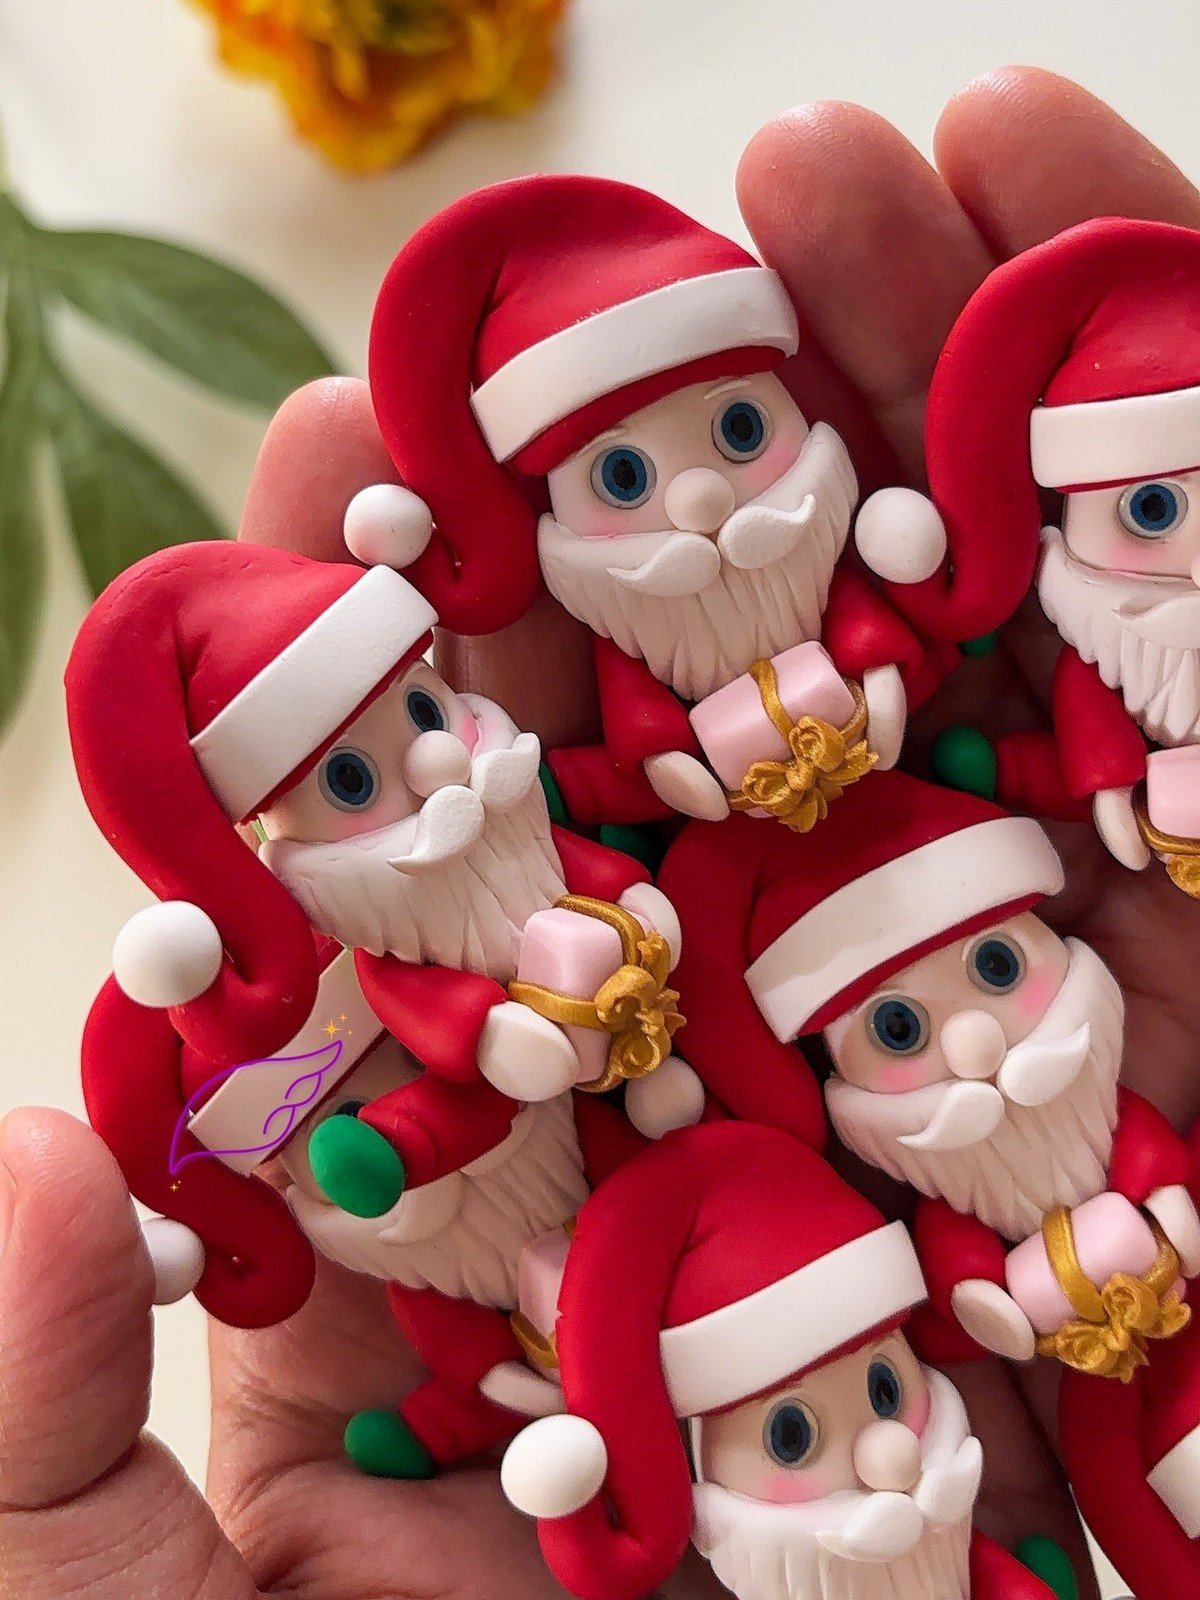
Make flat backed mini Santas, full body or just the head, bake them and glue a magnet on the back of each. A set of three on a card makes a sweet small gift, and children love rearranging them on the fridge through December.
You’ll need: small amounts of clay, flat magnets, strong glue, a gift card for presentation
Best for: fridge doors, card gifts and stocking fillers
5. Santa Christmas Scene on a Wood Slice
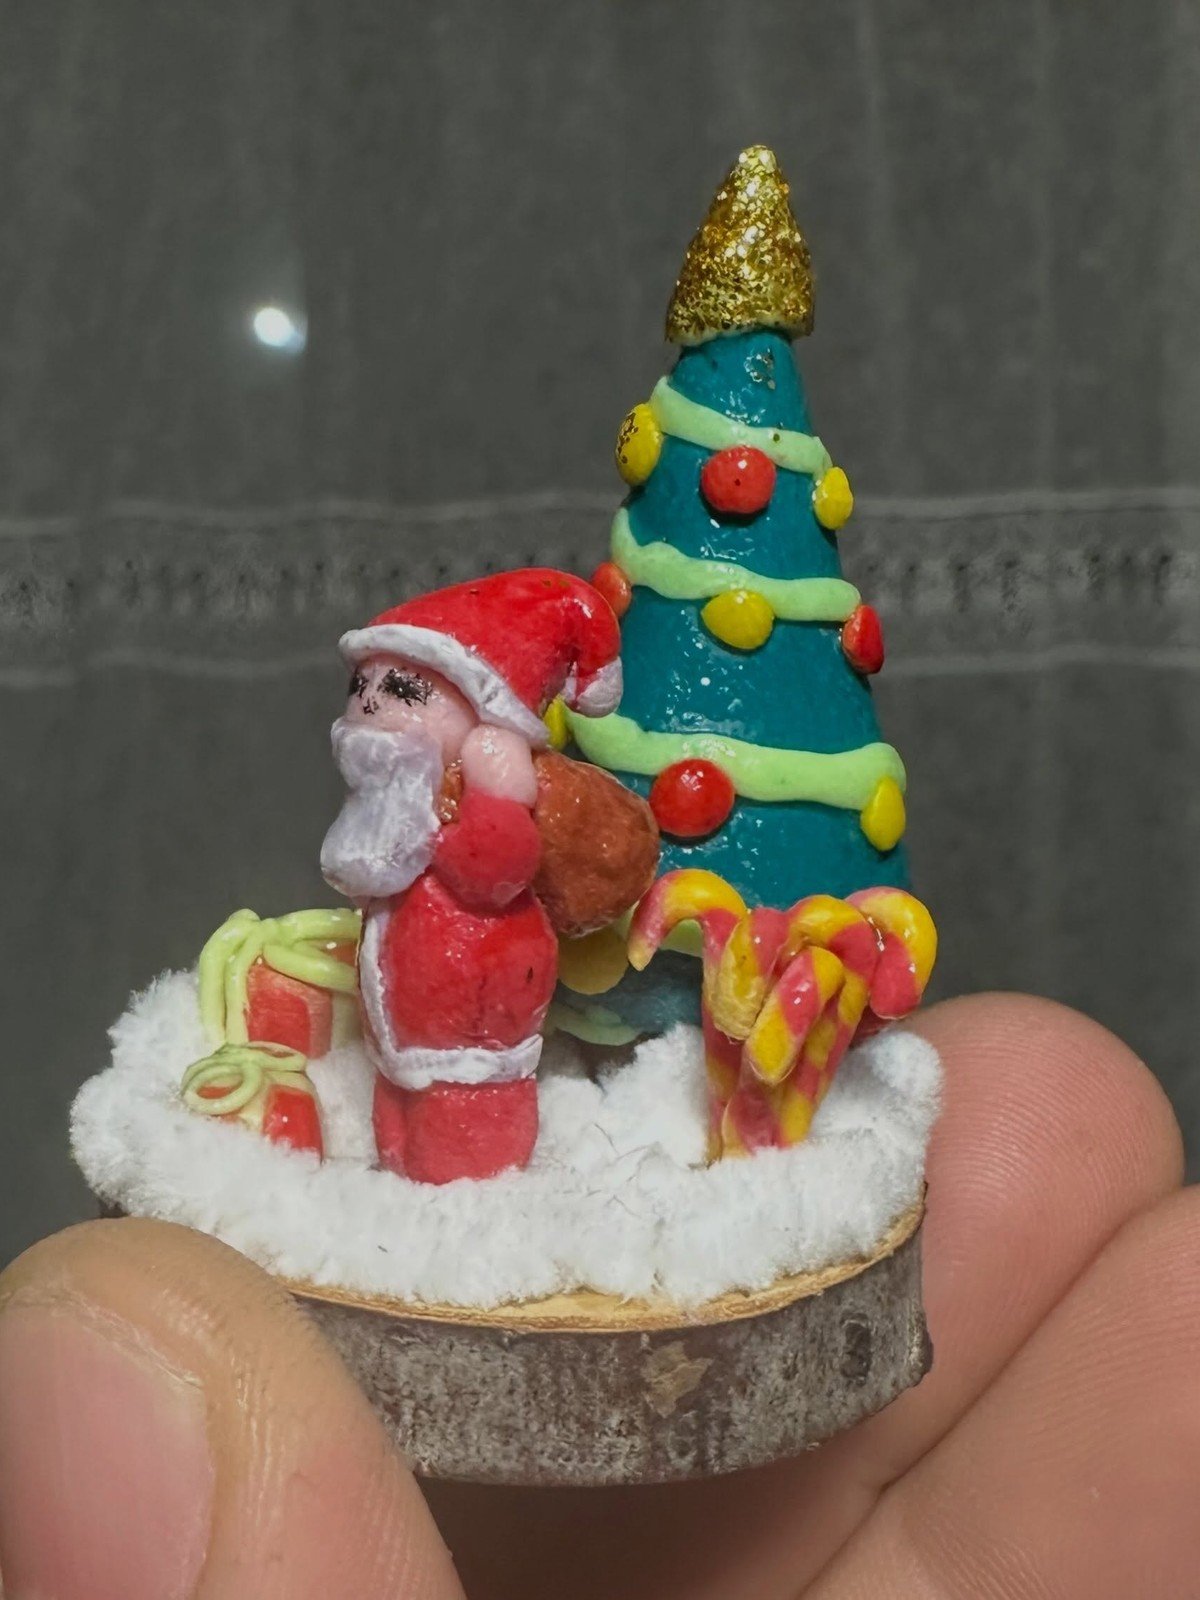
Build a whole moment on one base. A small Santa with his sack, a tiny tree, two candy canes and a gift or two, all on a snow covered wood slice. Scenes like this look impressive and are mostly simple shapes, so they are a kind way to use up leftover clay colors.
You’ll need: a wood slice base, mini Santa, tiny clay tree, candy canes and gifts, white textured clay for snow
Best for: a tiny world to display on a shelf or desk
6. Santa with a Bell Diorama

Build Santa a whole little stage. This diorama sets him on a white foam base edged with a colorful bead garland, holding a yellow bell, with a mini tree and a tiny reindeer for company. Make Santa first, then arrange the props around him before the base dries so everything sits in one scene.
You’ll need: polymer clay for Santa, a small foam or clay base, tiny tree and reindeer shapes, beads or trim for the border
Best for: a mantel or table centerpiece scene
7. Santa Face Brooch

Make a flat Santa head like the ornament but without the loop, bake it and glue a brooch back on. Worn on a coat or a Christmas jumper it gets compliments all season, and it is a thoughtful little gift for teachers and coworkers.
You’ll need: clay for a flat Santa head, a brooch pin back, strong glue
Best for: coats, bags and Christmas jumpers
8. Santa Holding a Tiny Reindeer

Santa gets a helper of his own here: a tiny reindeer cradled in one arm, with a second reindeer peeking out of the gift sack at his feet. Model the reindeer small and simple, just a head with antlers reads clearly at this scale, and let Santa do the posing.
You’ll need: polymer clay in red, white and tan, tiny black beads for eyes, a small sack shape for the second reindeer
Best for: a sweet gift for an animal loving friend
9. Reindeer and Sleigh Scene
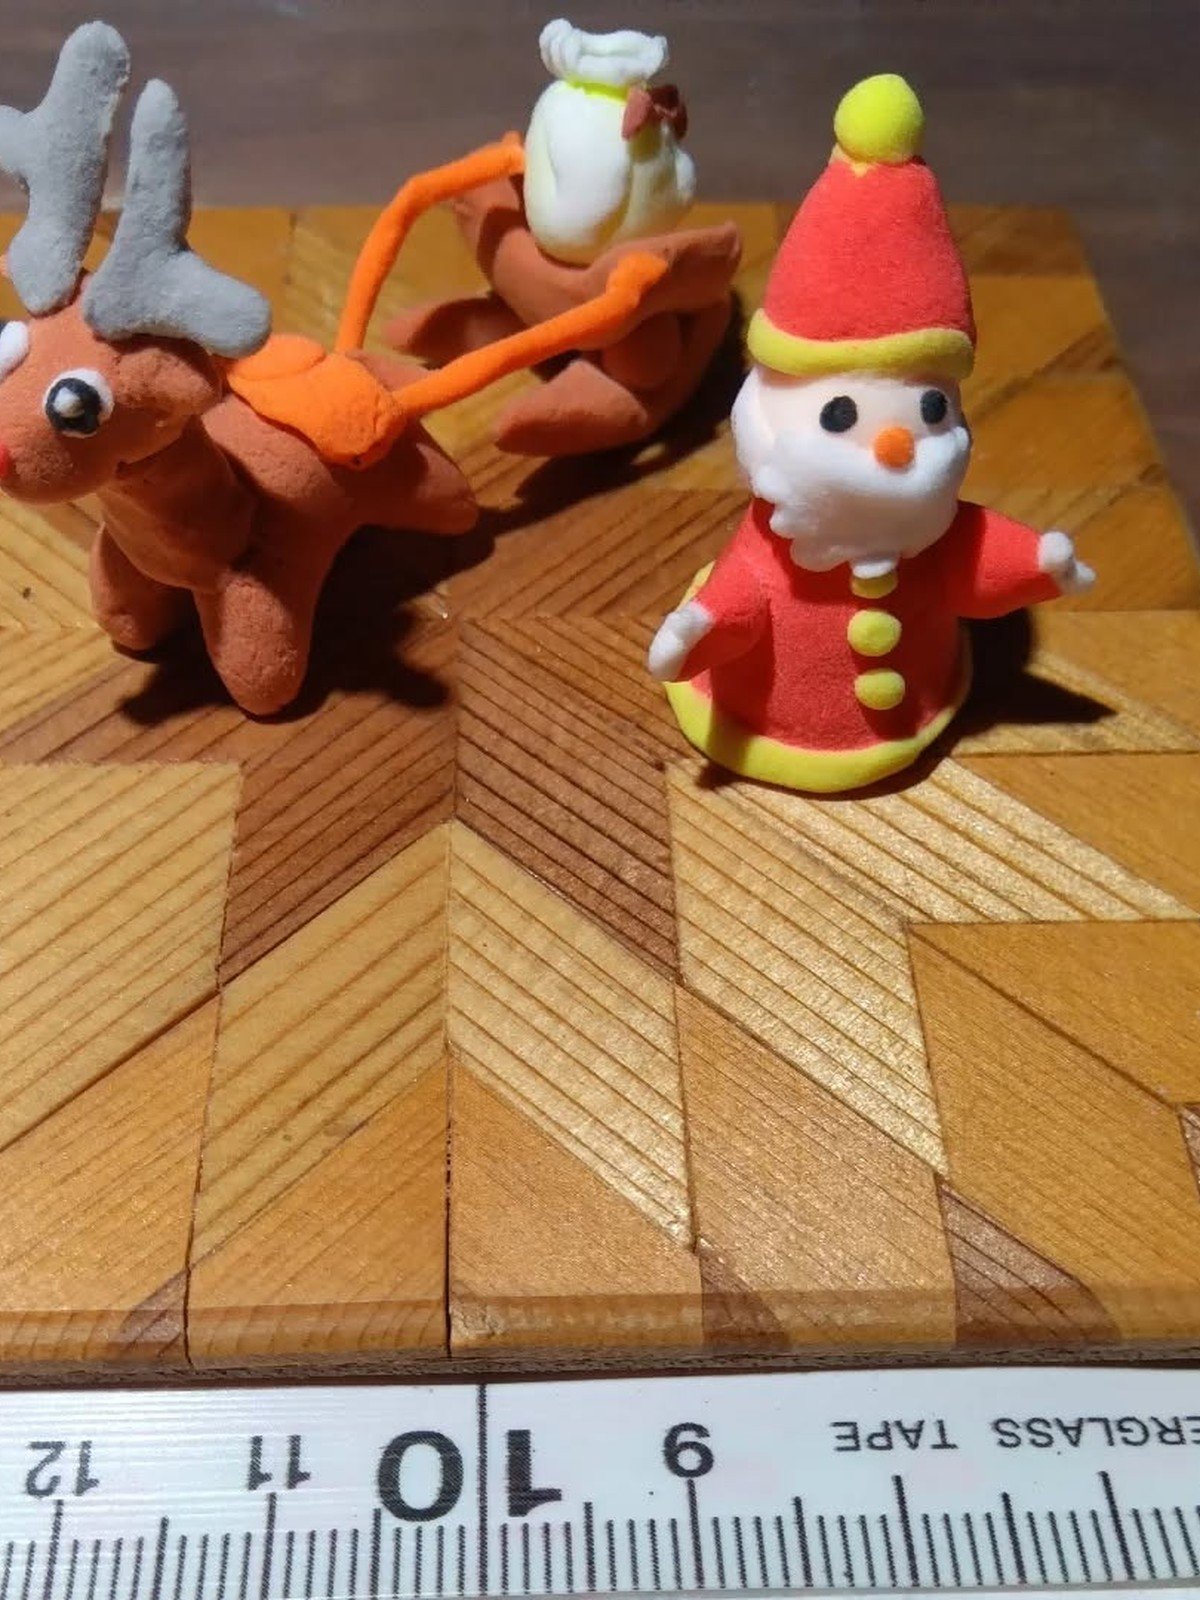
Santa needs his ride, so this scene builds the reindeer and sleigh on their own: a brown reindeer in an orange harness, a simple sleigh, and a cheerful snowman waving them off. It pairs beautifully next to a standing Santa from this same list, or works as a standalone mantel scene.
You’ll need: brown and orange polymer clay, gray clay for antlers, red and yellow clay for the snowman, a wooden board to display on
Best for: a mantel scene to sit beside your Santa figures
10. Tiny Santa Charms
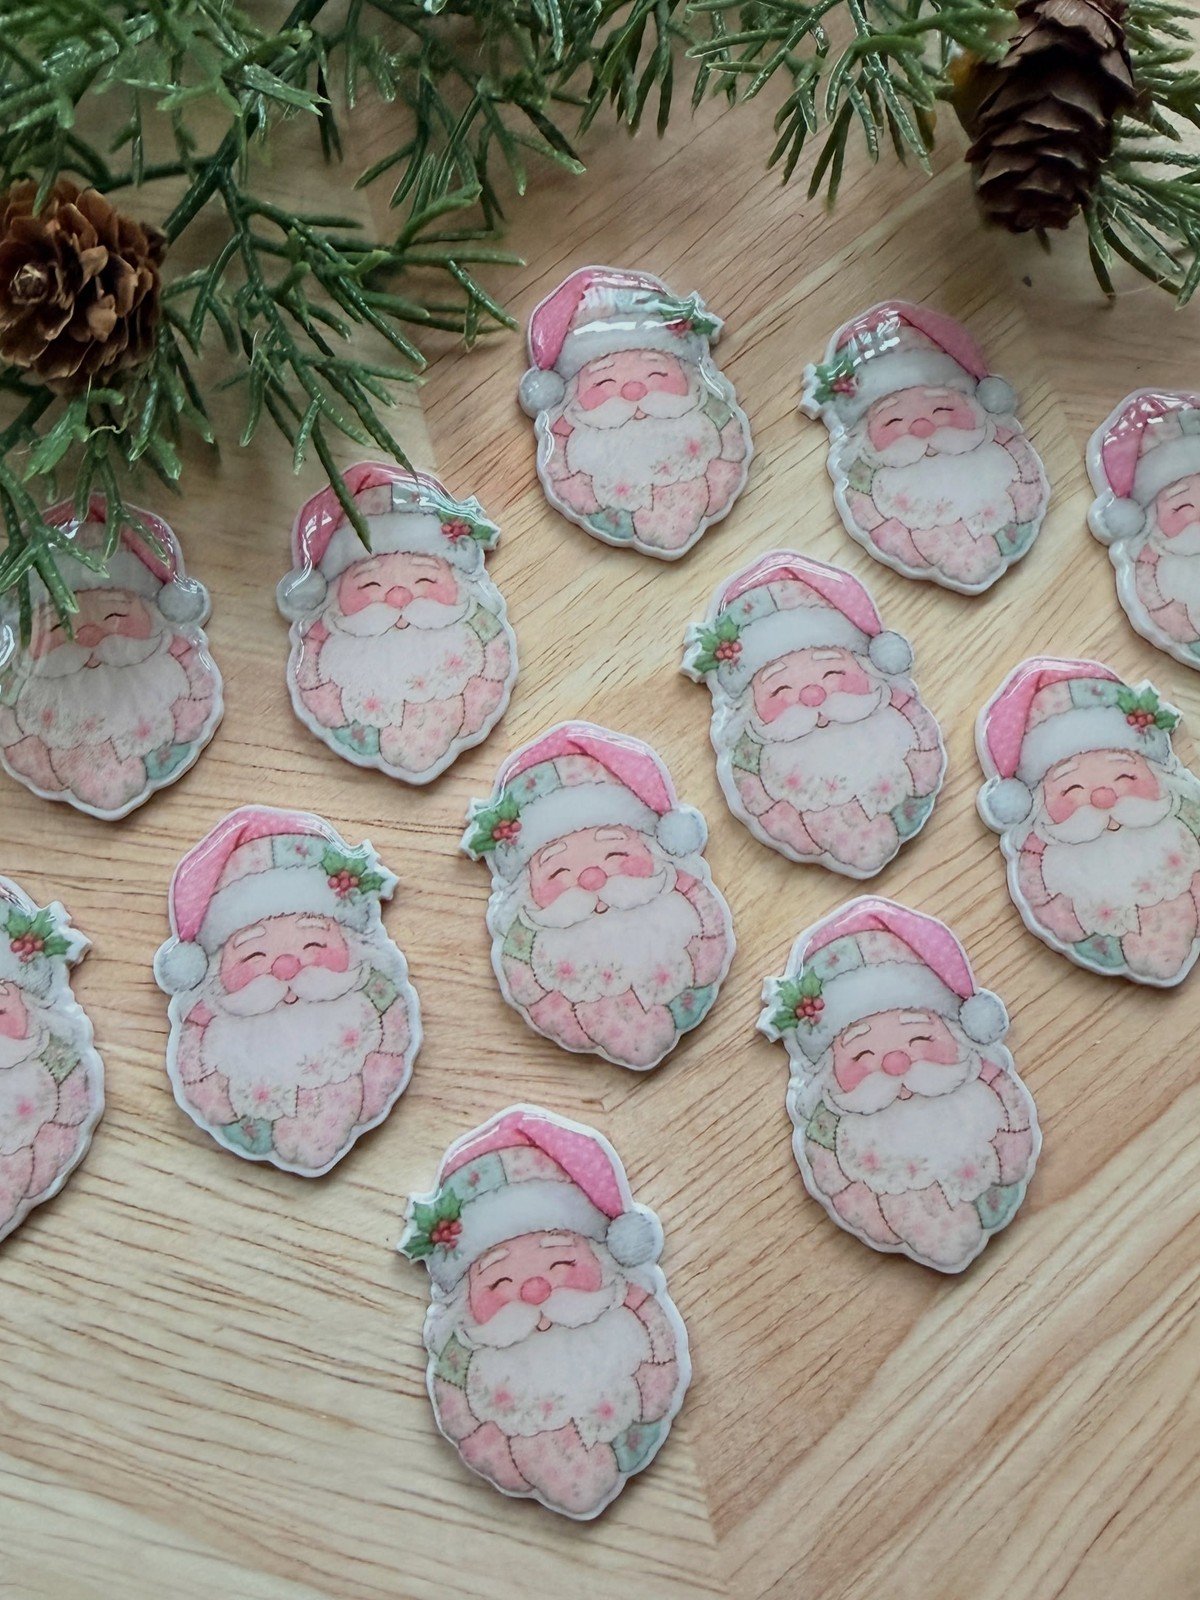
Make Santas at charm size, about 2 cm, with an eye pin in the hat. String them on cord for a mini garland, add one to a bracelet, or tie one onto a wrapped gift instead of a bow. They use tiny scraps of clay, so a whole set costs almost nothing.
Safety note: Bake polymer clay exactly as the packet directs, in a ventilated kitchen, and let an adult handle the oven. Thick figures should cool slowly in the oven to avoid cracks, and clay tools should not be used for food afterward.
You’ll need: small amounts of clay, eye pins, cord or ribbon
Best for: garlands, bracelets and gift wrapping
Frequently Asked Questions
What clay do I need for a Santa figure?
A soft, easy conditioning brand for faces and small parts, and a firmer brand for bodies if you have both. One pack with red, white, beige, pink and black covers a whole Santa family.
How long do I bake a polymer clay Santa?
Bake at the packet temperature, usually 275 degrees F or 130 degrees C, for the time given per 6 mm of thickness. A 10 cm Santa is thick, so support him on parchment and let him cool slowly in the oven for the strongest finish.
How do I make the beard look real?
Texture does it. Press the beard shape on, then drag a toothpick or needle tool down it in wavy lines, deeper at the edges. A second thinner layer on top makes the beard look full.
How do I get rosy cheeks?
Dust soft pink pastel or blush onto the raw clay cheeks before baking with a soft brush, or paint them after baking with watered down acrylic. A little goes a long way.
Does a bigger Santa need wire or foil inside?
An armature helps. A foil core inside the body and head keeps a taller Santa light, saves clay and prevents cracking in thick areas.
Can I paint details like eyes after baking?
Yes. Paint fine details after baking with acrylics and a small brush, eyes, belt buckle and boot shine. Seal with a matte or gloss varnish if you like.
Final Thoughts on DIY Polymer Clay Santa Claus
A handmade Santa has a warmth that shop bought figures never quite match, maybe because every beard wave and cheek blush is yours. These diy polymer clay santa claus ideas take you from one classic figure to a whole shelf of Santas.
Make the standing Santa first, take your time on the beard, and the rest of the list becomes play. By the third Santa, you will be inventing your own versions.