






This post may contain affiliate links. Please read my disclosure policy.
In This Article Show
Granny squares might be the most loved motif in crochet, and at Christmas they get a starring role. Stack them, layer them or drape them over a cone and you have a tree with more personality than anything from a store.
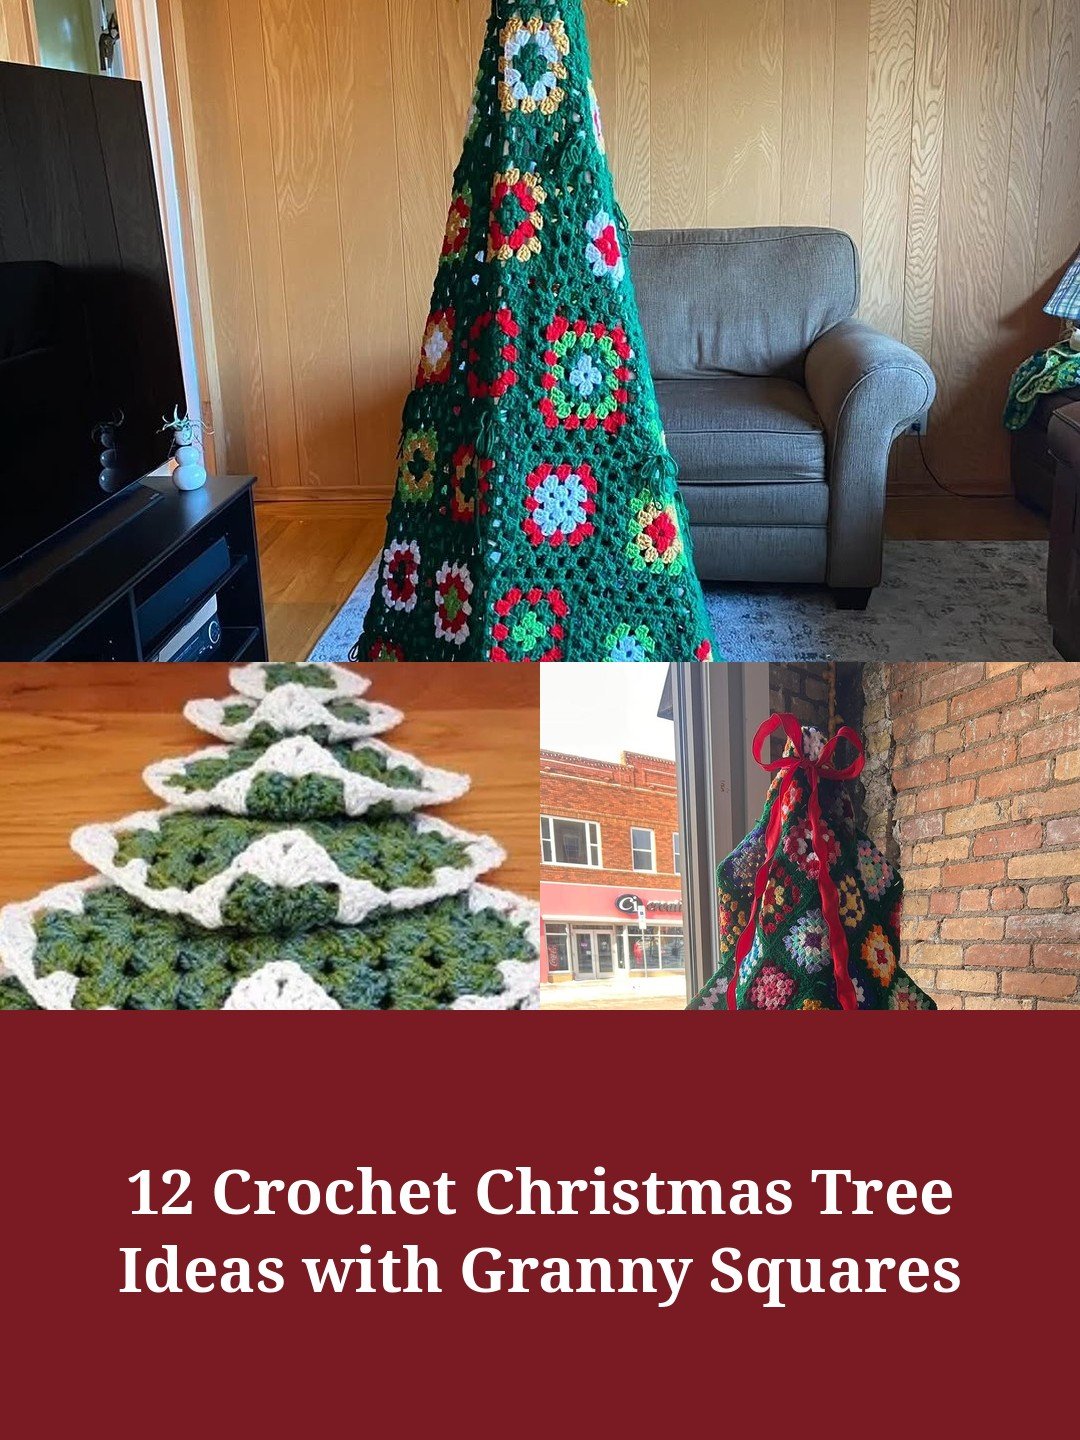
This list gathers 12 ways to build a crochet Christmas tree with granny squares, from a small layered tabletop tree you can finish in a weekend to the giant community trees that take hundreds of squares and a whole village of makers.
Every version starts with the same classic square, so your stash of leftover yarn is all the excuse you need. Keep your squares one consistent size, block them before joining, and the tree will sit straight and neat.
The first three trees are full builds with materials and original step by step notes. The rest are ideas with a short supply list, including wall hangings, a garland and matching granny baubles.
Quick Picks
- The Layered Tabletop Tree (idea 3): Best weekend make. Stacked lacy squares with snowy white edges, no frame needed.
- The Green Cone Tree (idea 1): Best classic look. Squares draped over a cone with a big star on top.
- The Community Tree (idea 4): Best group project. Everyone donates squares, one green border ties them together.
1. Green Cone Tree with Star Topper
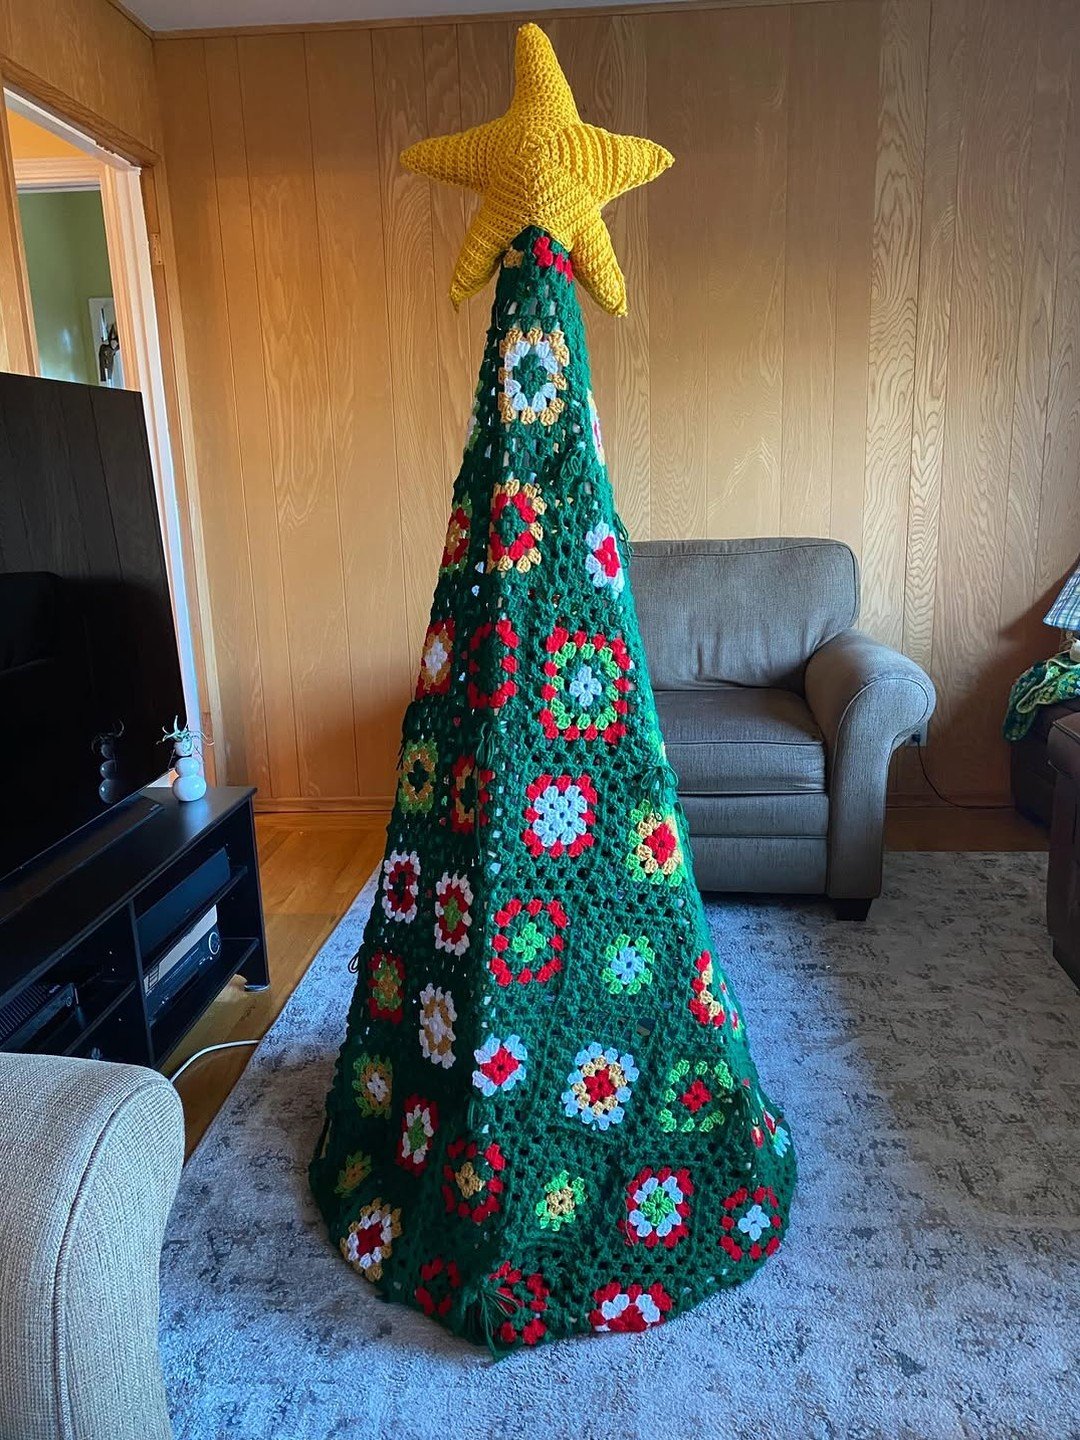
The showstopper version: green squares with colorful flower centers joined into panels and draped over a tall cone frame, finished with an oversized yellow star. It reads as a real tree from across the room and folds flat for storage in January.
Full size treeCone frameStar topper
Materials Needed
- Worsted acrylic yarn in green plus flower colors
- Foam cones or a wire cone frame in your tree height
- 5 mm crochet hook
- Yarn needle for joining
- Yellow yarn and fiberfill for the star
How to Make It
- Squares: work classic granny squares with a colorful flower center and a final round in green so every square shares the same border color.
- Panels: join squares into trapezoid panels with whipstitch or slip stitch joins, making each row one square shorter than the row below.
- Shape: drape the panels over the cone, pin at the seams, then stitch the panel edges together around the frame.
- Star: crochet two star shapes, join them around the edges with a little fiberfill inside, and sew or tie the star to the top point.
- Fluff the joins, steam lightly, and add battery fairy lights if you like a glow.
Tip: Make one test panel first and check it against your cone. Adjusting square size at this stage saves unpicking a whole tree later.
2. Chunky Flat Granny Tree with Bows
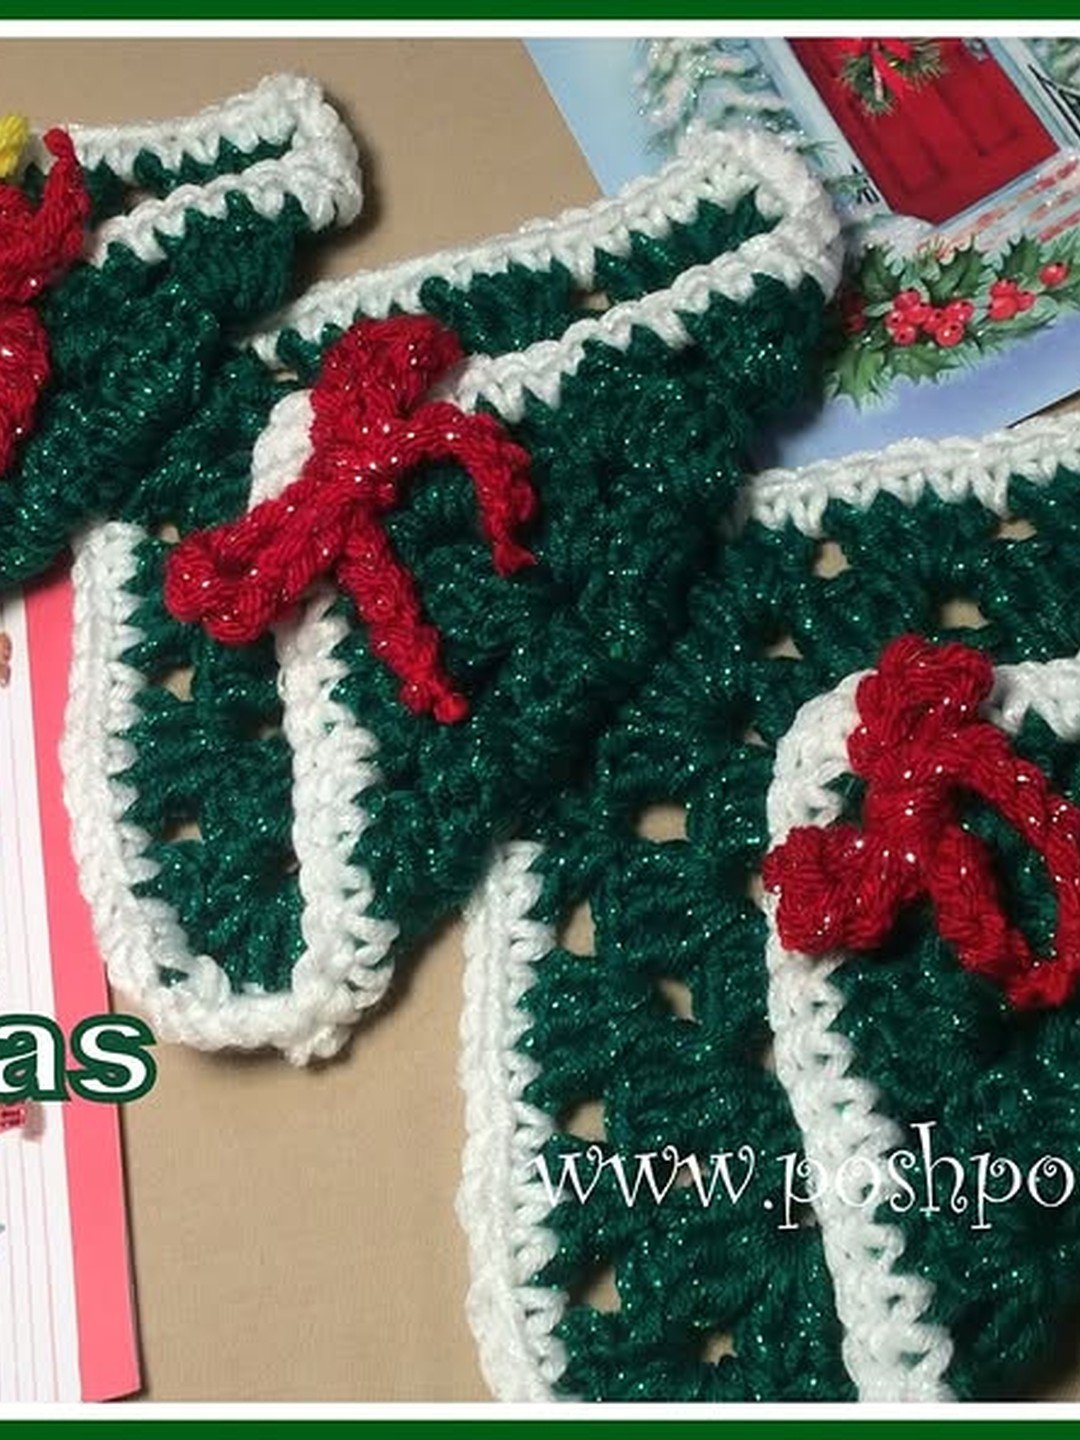
Worked in chunky yarn, these flat trees use joined squares and triangles to build a tree silhouette, then finish with red bows and a star. Hang one on a door or wall, or make a pair to flank the fireplace.
Flat designChunky yarnWall or door decor
Materials Needed
- Chunky yarn in green, white and brown
- Red yarn for bows
- 6 mm or 6.5 mm crochet hook
- Wood slice or small log piece for display (optional)
- Yarn needle
How to Make It
- Body: crochet granny squares and half squares (triangles) in green with white edging rounds.
- Layout: arrange the pieces into a tree shape on the floor, wide at the bottom and narrowing to a point, with a brown rectangle for the trunk.
- Join: slip stitch the pieces together from the back so the seams stay invisible from the front.
- Finish: add a yellow star at the point and tie small red bows onto the branches. Steam flat before hanging.
Tip: Chunky yarn makes this a fast make, but weigh the finished tree before choosing a hook or hanger for the wall.
3. Layered Squares Tabletop Tree
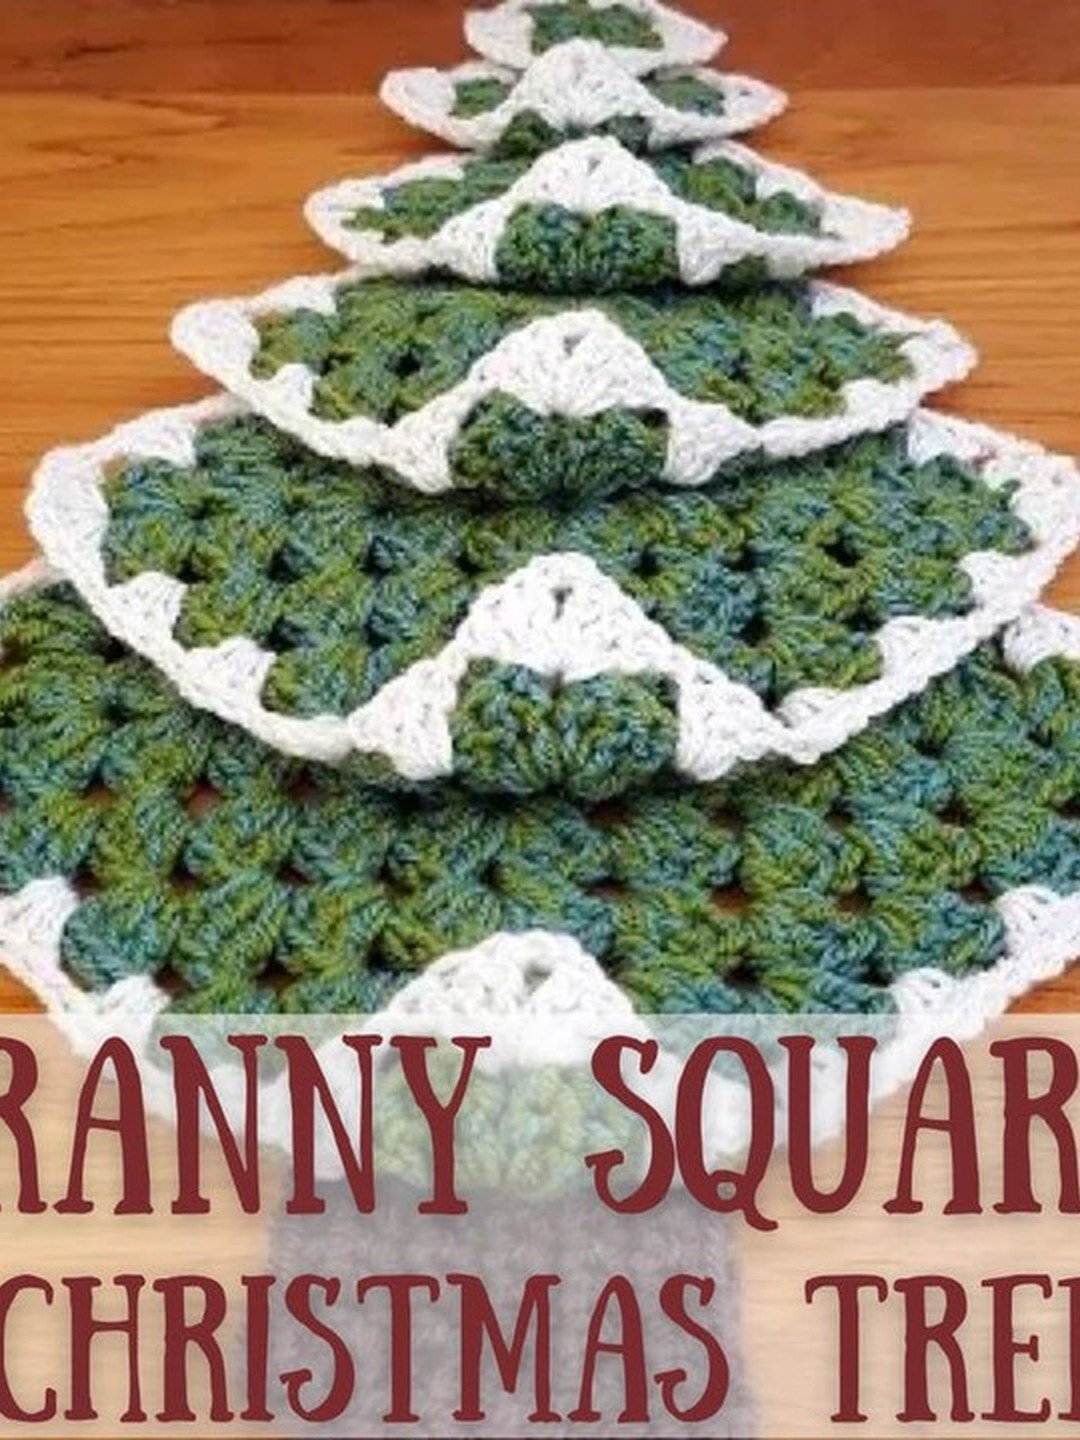
The sweetest small version: lacy green squares in decreasing sizes are stacked into tiers with white edging that looks like snow on the branches. It stands on its own with no frame and suits a mantel, desk or windowsill.
Tabletop sizeNo frame neededSnowy edges
Materials Needed
- DK or worsted yarn in green and white
- 4.5 mm or 5 mm crochet hook
- Stiffening spray or diluted craft glue (optional)
- Small star or bow for the top
- Yarn needle
How to Make It
- Squares: make one large square, then medium and small squares, each with a final white round for the snowy edge.
- Shape each square into a gentle cone by joining two corners underneath with a few stitches, or fold the corners down and tack them.
- Stack the tiers largest to smallest, rotating each layer so the corners offset like branches.
- Add the star, and stiffen lightly if your yarn is soft so the tiers keep their shape.
Tip: Work the white edging round on every tier, not just the top one. The repeated snow line is what sells the whole tree.
4. Community Tree with Donated Squares

A whole town’s worth of squares on one tree. Ask friends, a crochet group or library crafters to donate squares in any color, then work a unifying green border round around each one before joining. The mix becomes the charm, and the tree can grow every year.
You’ll need: Donated squares in any colors, green yarn for borders (this 20 skein acrylic pack covers a rainbow of centers), a cone frame, 5 mm hook
Best for: Libraries, schools and crochet groups
5. Plan It Flat: Tree Silhouette Layout
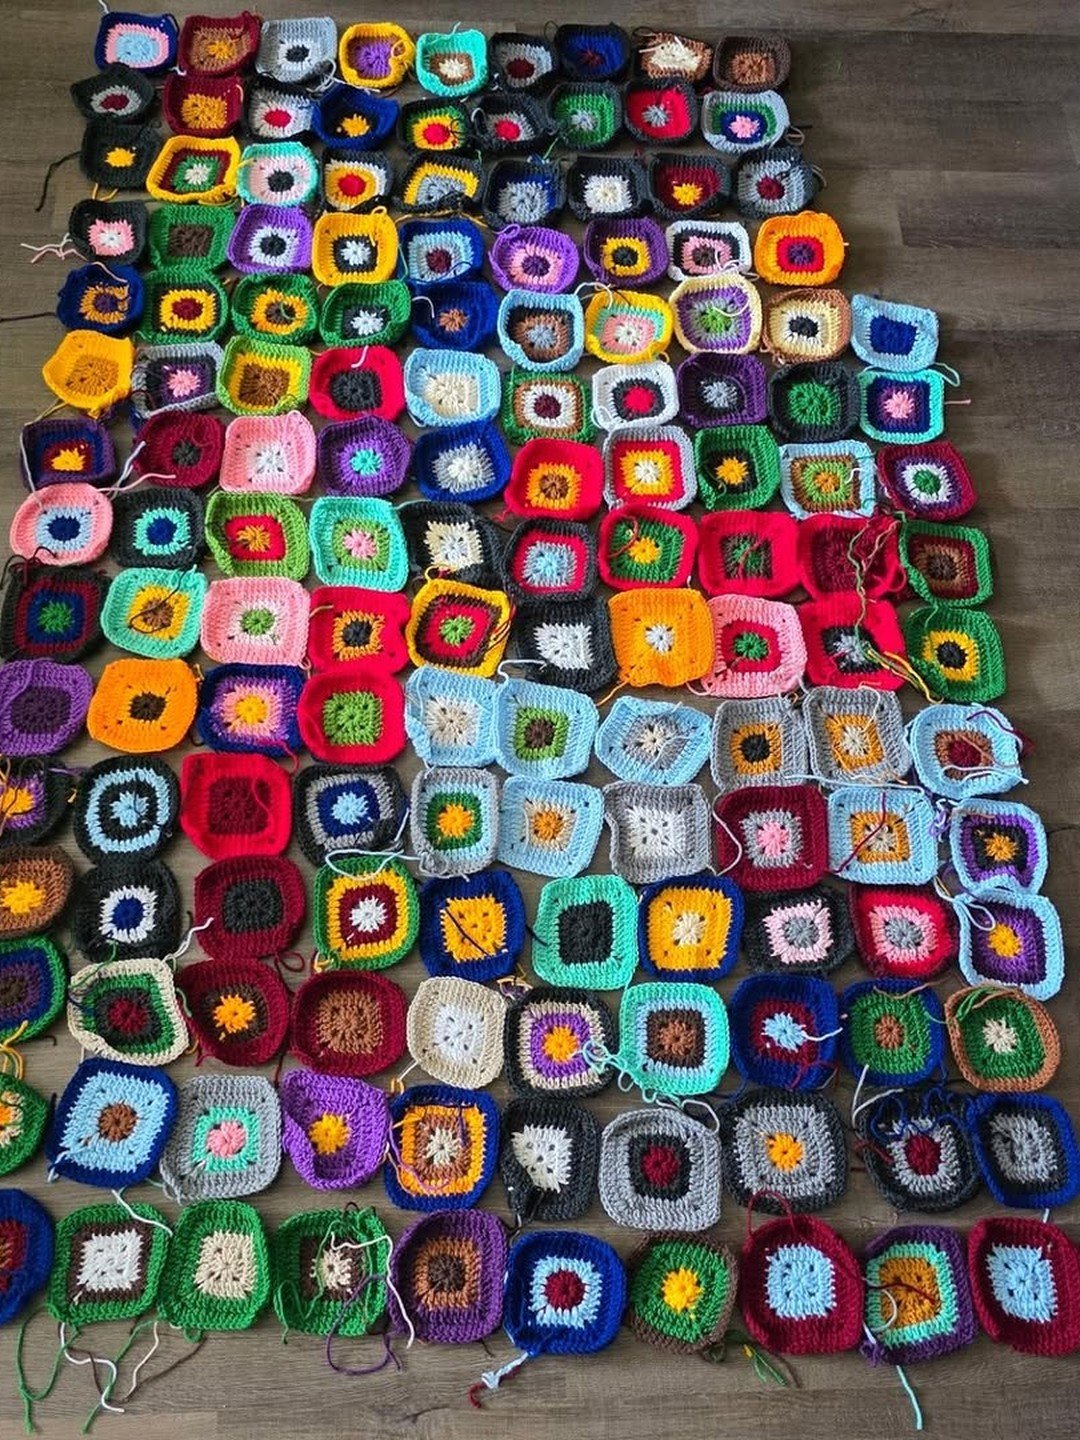
Before any big tree gets joined, lay every square on the floor in a tree silhouette. You can balance colors, spot gaps and count exactly how many more squares you need. Photograph the layout so you can rebuild it at joining time.
You’ll need: All your finished squares, a big floor or bed space, a phone photo for reference, a blocking board to even up sizes first
Best for: Planning big tree projects
6. Tree Motif Squares for a Christmas Blanket

Each square carries its own little tree, worked as a motif in green on a cream square. Join a few dozen and you have a Christmas blanket, or arrange them in steps as shown here for a playful wall display while the blanket grows.
You’ll need: Cream and green worsted yarn plus red for joining, 5 mm hook, patience for a longer project
Best for: A heirloom Christmas blanket
7. Granny Square Tree Wall Hanging
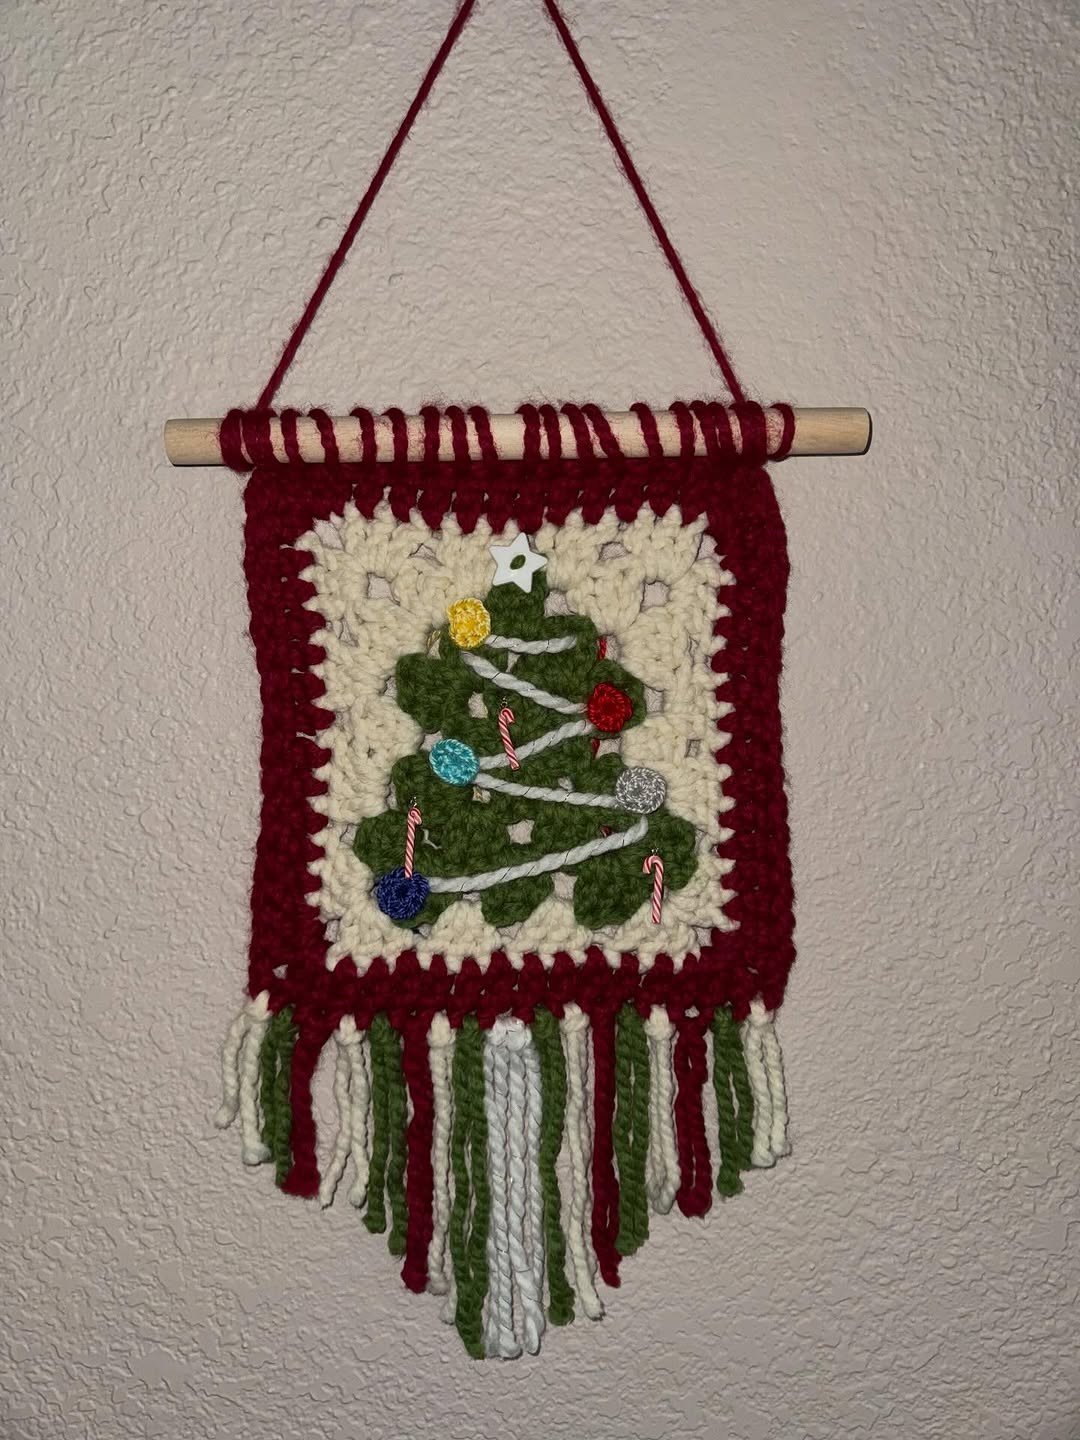
One cream square with a green tree at its center, framed in deep red and finished with long fringe, hung from a wooden dowel. A single evening of crochet for the square, and it fills a narrow wall space beautifully.
You’ll need: Chunky cream, green and red yarn, a wooden dowel, 6 mm hook, scissors for the fringe
Best for: Narrow walls and entryways
8. Granny Tree Garland for a Door

Small granny stitch trees linked corner to corner make a garland that drapes diagonally across a door or mantel. Add tiny pom pom baubles in red and lime as you join each tree.
You’ll need: Green DK yarn in two shades, small amounts of red and lime for baubles, 4 mm hook, ribbon to hang
Best for: Doors, mantels and banisters
9. Mini Freestanding Tree with Bows and Bells
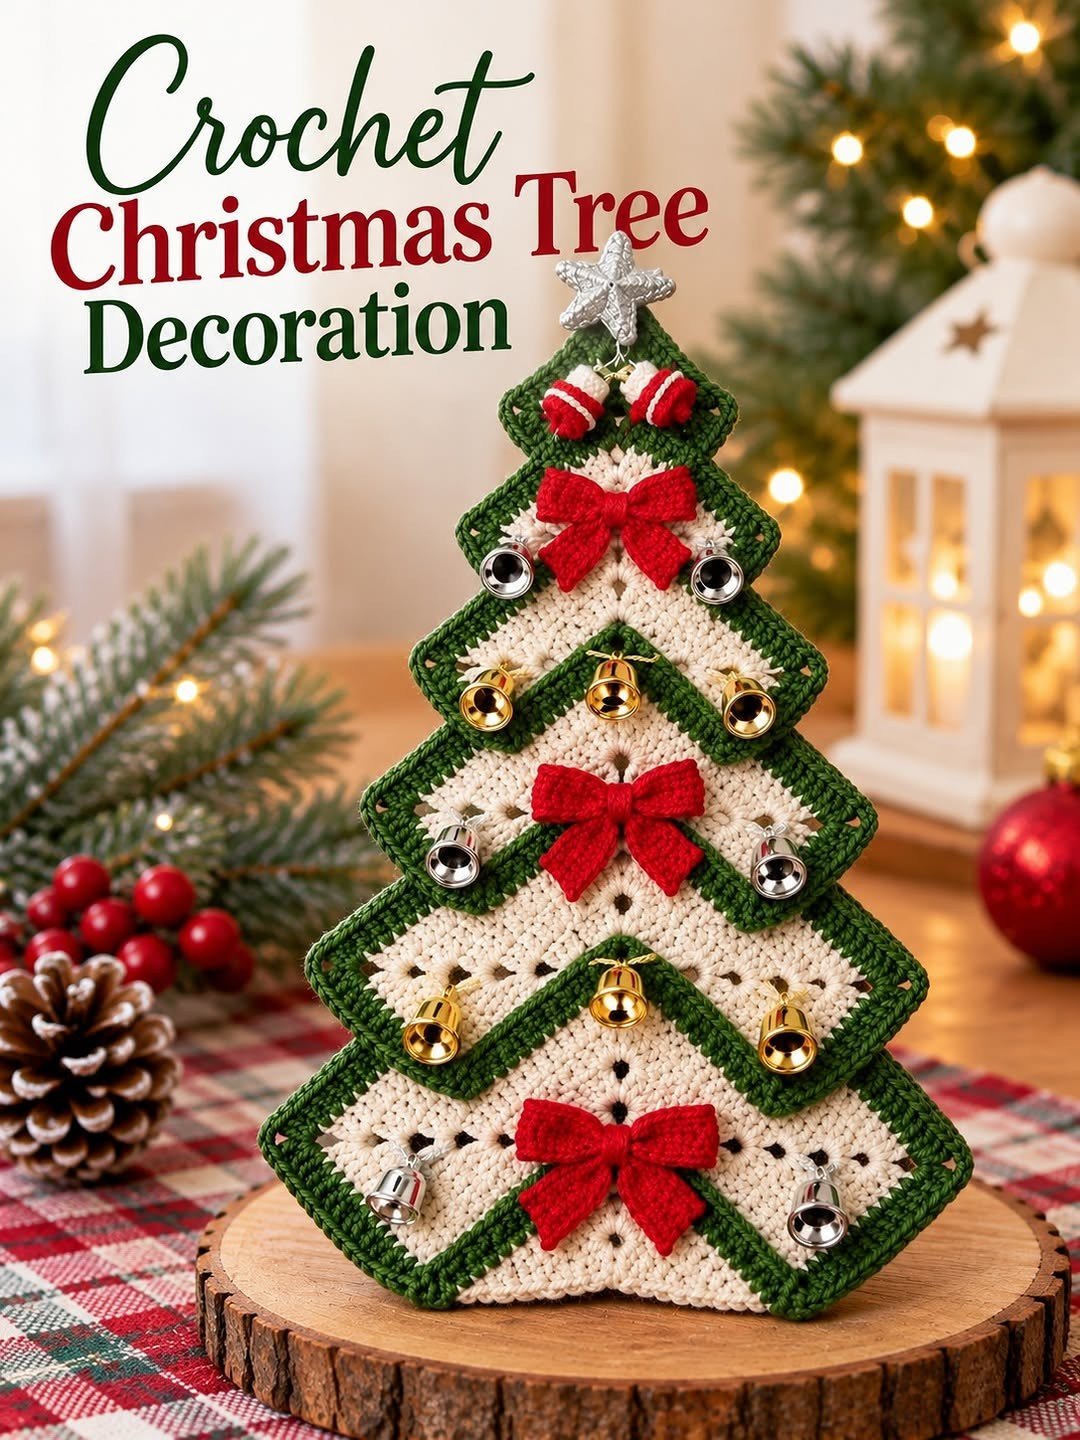
A palm sized tree built from small squares on a wood slice stand, dressed with red bows and tiny gold bells. Sweet on a desk or as a place setting gift at the Christmas table. For homes with toddlers, swap the bells for embroidered dots.
You’ll need: Small amounts of green and cream yarn, mini foam cones as a base option, red ribbon, a wood slice
Best for: Desk decor and table gifts
10. Giant Outdoor Granny Tree

The ultimate community project: a towering tree in a town square, wrapped in thousands of donated granny squares over a strong frame. If your town or festival wants a landmark make, this is the blueprint to dream about.
You’ll need: A sturdy outdoor frame, weatherproof acrylic squares by the hundreds, cable ties and many helping hands
Best for: Town festivals and charity projects
11. Outdoor Village Granny Tree

A village scale version of the giant tree, dressed in bright squares with a crocheted star on top. Acrylic yarn shrugs off winter weather, and the panels can be stored and reused year after year.
You’ll need: Acrylic squares in mixed colors (mini skeins like this 50 color yarn set help fill gaps), a garden cone frame, outdoor ties
Best for: Village greens and garden displays
12. Granny Square Baubles from Old Ornaments

Give tired baubles a second life with round granny covers in red and white. Two circles joined around the bauble with its cap left free for the hanger. It is the fastest stash buster on this list and matches any granny tree you build.
You’ll need: Old baubles, red and white DK yarn scraps, 3.5 mm or 4 mm hook, ribbon or yarn loops for hanging
Best for: Stash busting and matching sets
Frequently Asked Questions
How many granny squares do I need for a tree?
A tabletop layered tree needs as few as 3 to 6 squares in graded sizes. A cone tree around 2 feet tall takes roughly 40 to 60 standard squares, while full size and community trees run into the hundreds. Lay your squares out in a silhouette first to count your exact number.
How do I keep all my squares the same size?
Use the same yarn weight and hook for every square, count your stitches on the final round, and block the squares before joining. A blocking board with pegs makes short work of evening up a whole batch.
What is the best way to join squares for a tree?
Whipstitch through the back loops for a flat seam, or slip stitch join for a firmer panel. For cone trees, join squares into panels first, then join the panels around the frame so the shaping stays smooth.
Can beginners make a granny square tree?
Yes. The layered tabletop tree (idea 3) uses only the classic square in three sizes, and the flat chunky tree (idea 2) is very forgiving. Start small, then graduate to a cone tree.
How do I make the tree stand up?
Small trees stand on stacked, lightly stiffened squares or a mini foam cone inside. Bigger trees need a foam or wire cone frame, which the joined panels drape over and stitch around.
What yarn works best for outdoor granny trees?
Acrylic. It keeps its color, does not mind rain, and dries quickly. Community trees are almost always acrylic for this reason. Cotton and wool are better kept for indoor trees.
Final Thoughts on Crochet Christmas Tree with Granny Squares
Whether you stack three squares or three hundred, a crochet Christmas tree with granny squares turns leftover yarn into the decoration everyone asks about. Block your squares, plan the layout flat, and join with care.
Start with the tabletop tree this weekend, and who knows: next year your squares might be covering the library tree.