






This post may contain affiliate links. Please read my disclosure policy.
In This Article Show
Gnomes have quietly become the face of Christmas crafting, and the crochet version is one of the easiest amigurumi projects there is. These 13 crochet amigurumi Christmas gnome patterns include a classic gnome, an ugly sweater gnome and a plush Santa gnome, plus minis and ornaments for the tree.
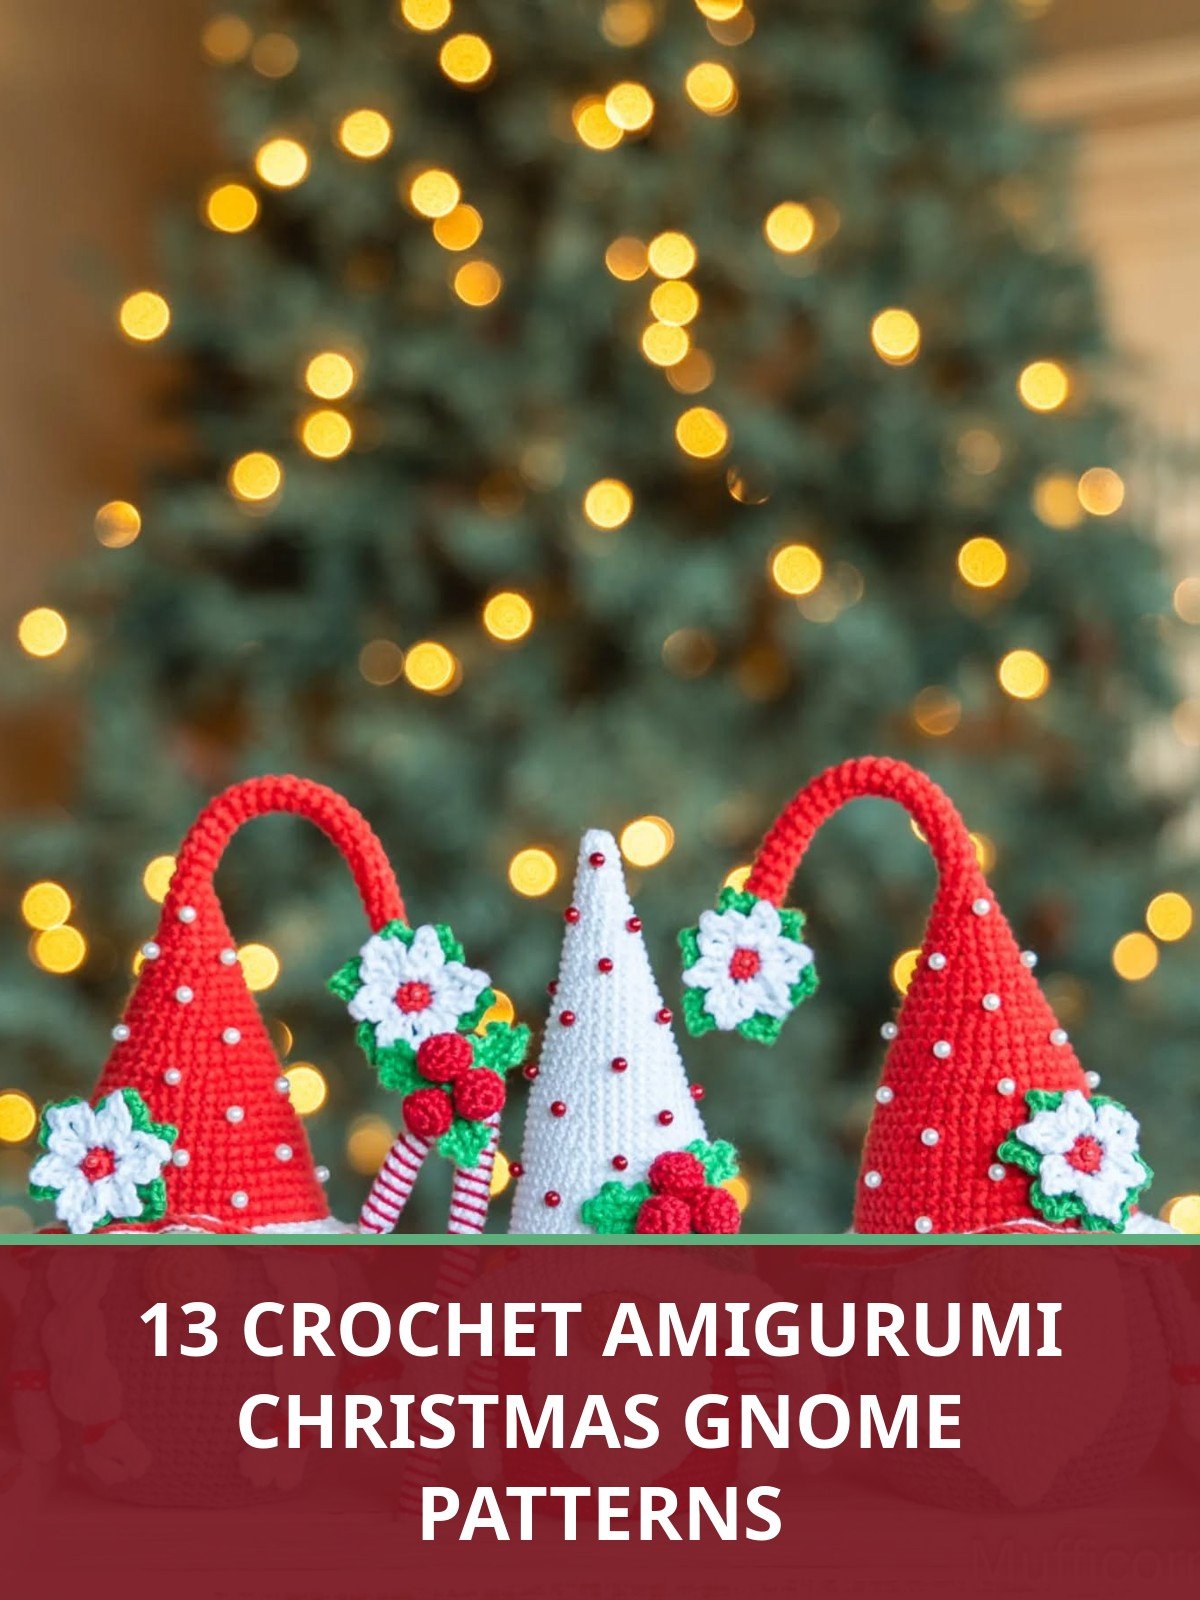
The first three ideas come with original pattern notes in plain words: body, tall hat, nose and beard, all worked from simple spiral rounds. The rest of the list is finished gnomes to inspire your colors, sizes and displays.
A gnome hides his face under his hat, which means there are no eyes to place and no expression to get wrong. It is the most forgiving character in the whole amigurumi world.
Make one for a shelf, then a few for the tree. Gnomes multiply happily.
Quick Picks
- 1. Best first gnome: Classic Christmas Gnome (idea 1) teaches the body, hat, nose and beard in one make.
- 2. Most personality: Gus the Ugly Sweater Gnome (idea 2) adds a colorwork sweater band to the same base.
- 3. Fastest big make: Santa Gnome Plush (idea 3) works up fast in chunky chenille yarn.
1. Classic Christmas Gnome
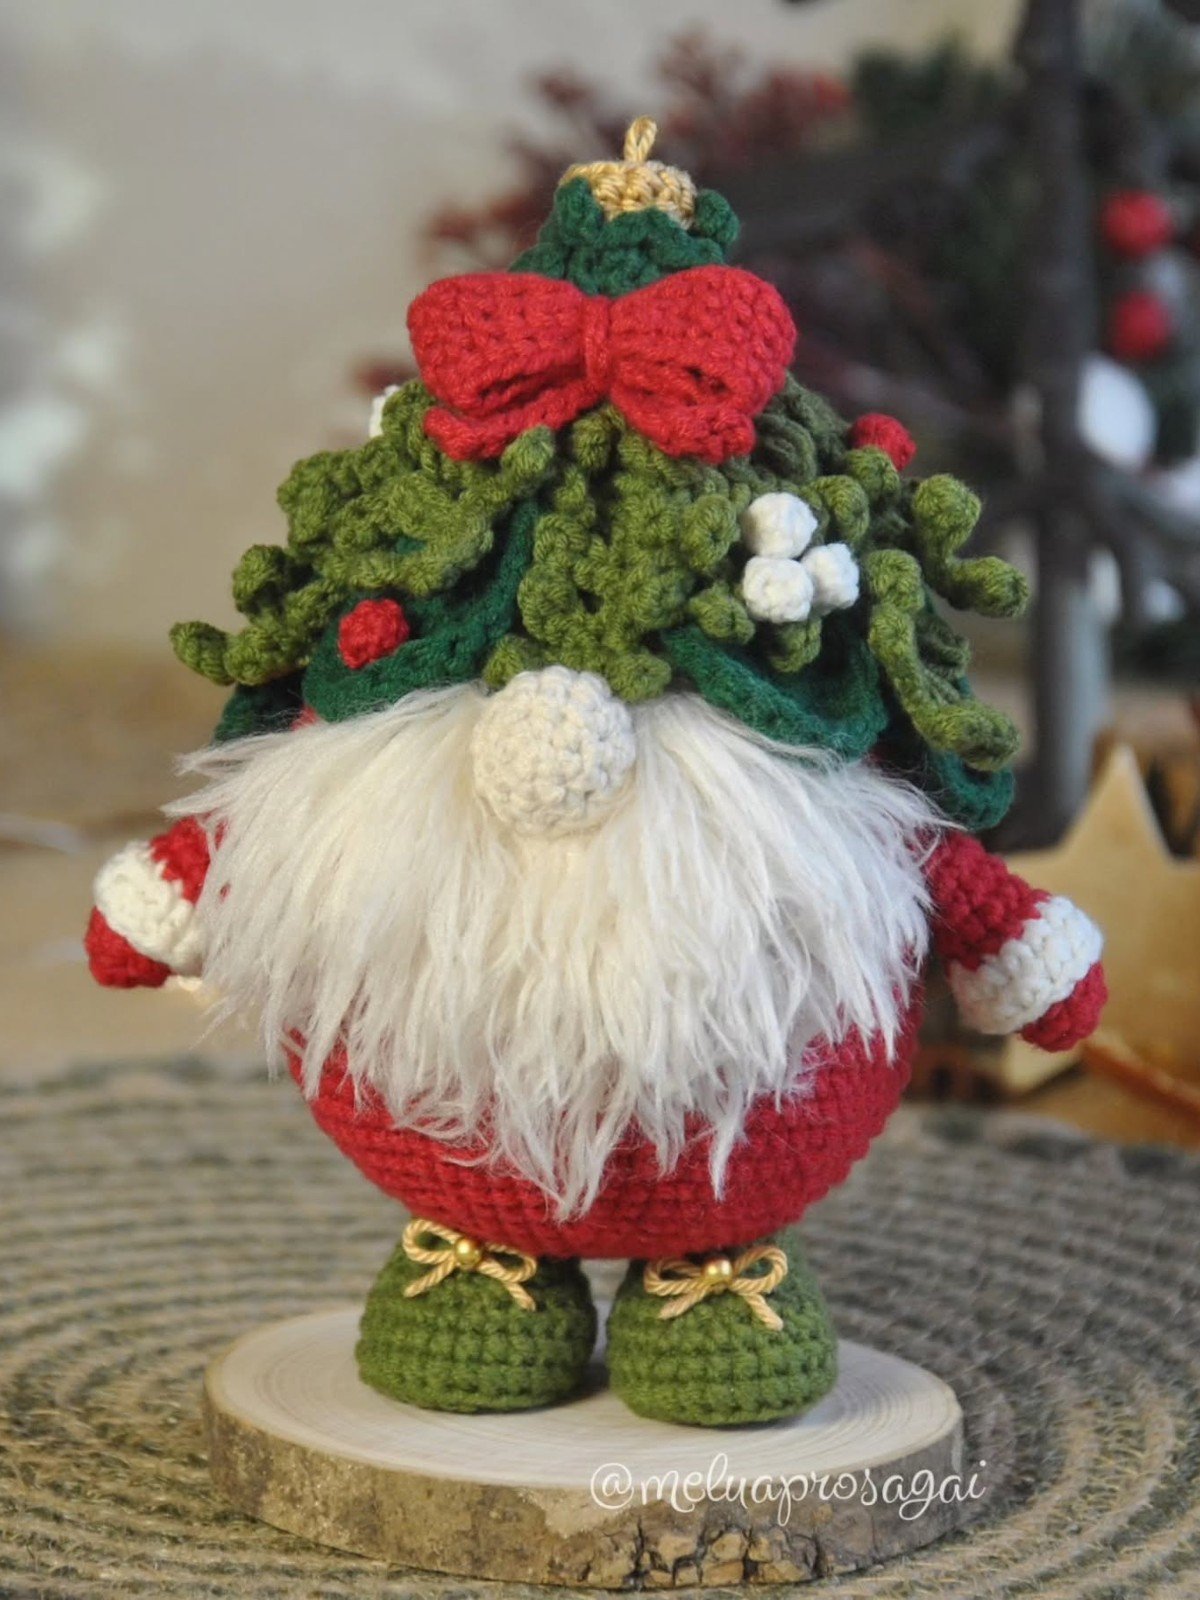
About 18 cm tall⏱ 2 to 3 hours🛠 Beginner friendly
Materials Needed
- Worsted yarn in red, gray and skin tone
- 3.5 or 4 mm crochet hook
- Toy stuffing
- Small bag of poly pellets (optional)
- Yarn needle and stitch marker
Pattern Notes
Step 1: Body: magic ring 6, increase to 30 stitches, then work 14 rounds plain for a rounded body. Add the pellet bag and stuffing, then decrease to close the top.
Step 2: Hat: in red, start with 4 stitches and increase 2 stitches every third round so the cone grows slowly. Work until the hat is tall and floppy, then finish with one round of white for a snowy brim.
Step 3: Nose: crochet a small ball of 12 stitches in skin tone.
Step 4: Beard: work a small triangle panel in white or gray, or sew yarn strands under the nose line and brush them gently.
Step 5: Assemble: glue or sew the nose at the front, pull the hat down until it just covers where eyes would be, and sew the hat edge in place.
Tip: Pull the hat lower than looks right at first. A gnome whose hat nearly touches his nose has the classic shy look everyone recognises.
2. Gus the Ugly Sweater Gnome

About 20 cm tall⏱ 3 to 4 hours🛠 Confident beginner
Materials Needed
- Worsted yarn in a sweater color plus contrast colors
- 3.5 mm crochet hook
- Toy stuffing
- Yarn needle
- Stitch markers for color changes
Pattern Notes
Step 1: Work the body as in idea 1, but crochet the middle rounds in the sweater color instead of plain gray.
Step 2: Add the ugly part: swap colors for two or three rounds to make a simple stripe or zigzag band, or sew a small crocheted tree, star or snowflake motif flat onto the front.
Step 3: Give Gus a plain tall hat so the sweater stays the star of the outfit.
Step 4: Finish with the standard nose and a full beard, brushed out so it looks well worn and cheerful.
Tip: Keep the colorwork band at belly height, below the beard line. If the beard covers the pattern, the joke of the sweater gets lost.
3. Santa Gnome Plush
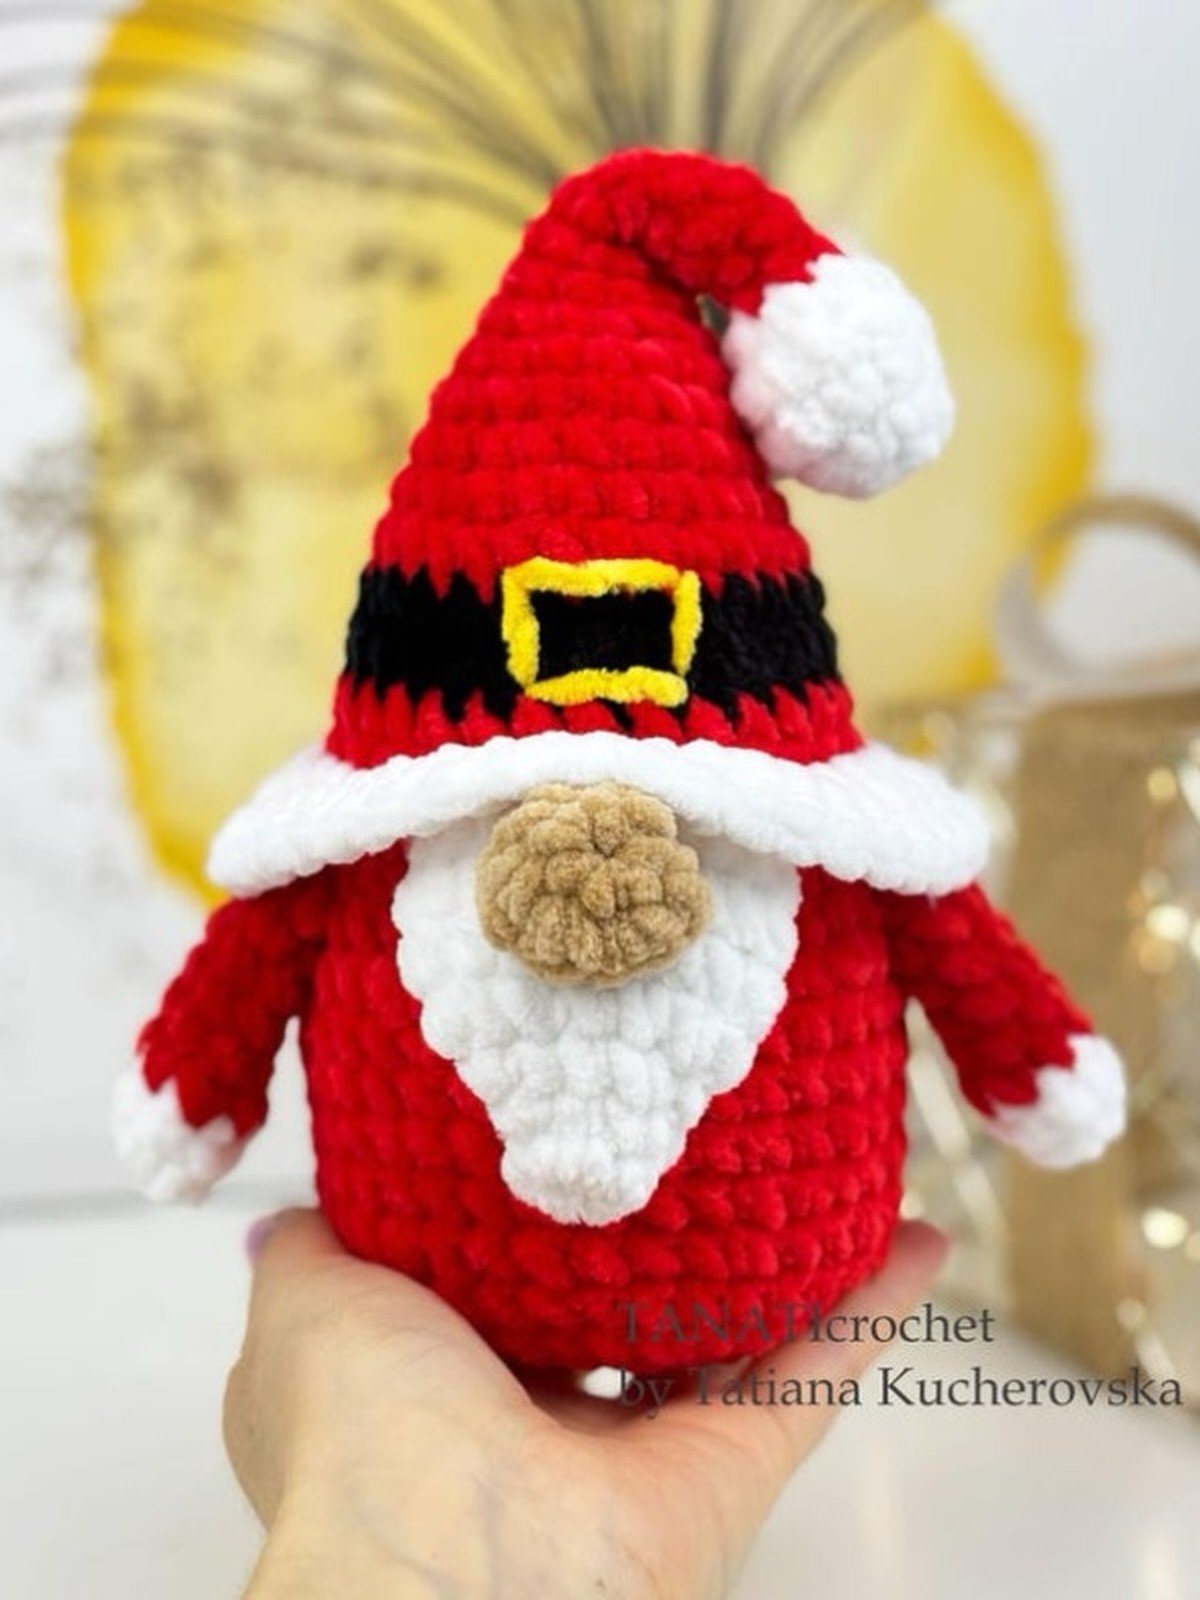
Plush gnomes eat rounds quickly when the yarn is chunky. Bernat Blanket Extra chenille yarn in a speckled shade gives a soft body with very few rounds to work.
About 25 cm tall⏱ 3 hoursFast chunky make
Materials Needed
- Chunky chenille yarn in red, white and skin tone
- 6 mm crochet hook
- Toy stuffing
- Safety eyes are not needed, the hat hides them
- Yarn needle with a large eye
Pattern Notes
Step 1: Use the classic gnome shapes but with chunky yarn and a 6 mm hook: body to about 24 stitches around, worked plump and round.
Step 2: Crochet the Santa hat in red with a thick white brim round and a white pom pom ball at the tip.
Step 3: Make the beard extra full in white, since a Santa gnome is mostly beard. Sew on strands and brush them for softness.
Step 4: Skip the pellet weight if the gnome is a cuddle toy, and stuff the body a little softer than a shelf gnome.
Tip: Chenille yarn hides stitches, which is forgiving, but count every round with a marker. Losing count is very easy in plush yarn.
4. Trio of Christmas Gnomes

Three gnomes standing together in the featured photo show the collection effect: same basic pattern, three hat colors and heights. A trio is the natural gift unit for gnomes, because one gnome always looks like he is waiting for his friends.
You’ll need: worsted yarn in red, green and gray, hook, stuffing, pellet bags
Best for: a ready made mantel group photo
5. Gnome Ornament with a Hanging Loop

This little gnome hangs from a white loop as a tree ornament. The build is the classic gnome at half scale, with the loop anchored through the hat tip before closing. Make a set in different hat colors and the tree gets a gnome family.
You’ll need: light yarn, small hook, hanging loop, light stuffing
Best for: hanging gnomes all over the tree
6. Gnome Doll on a Soft Background
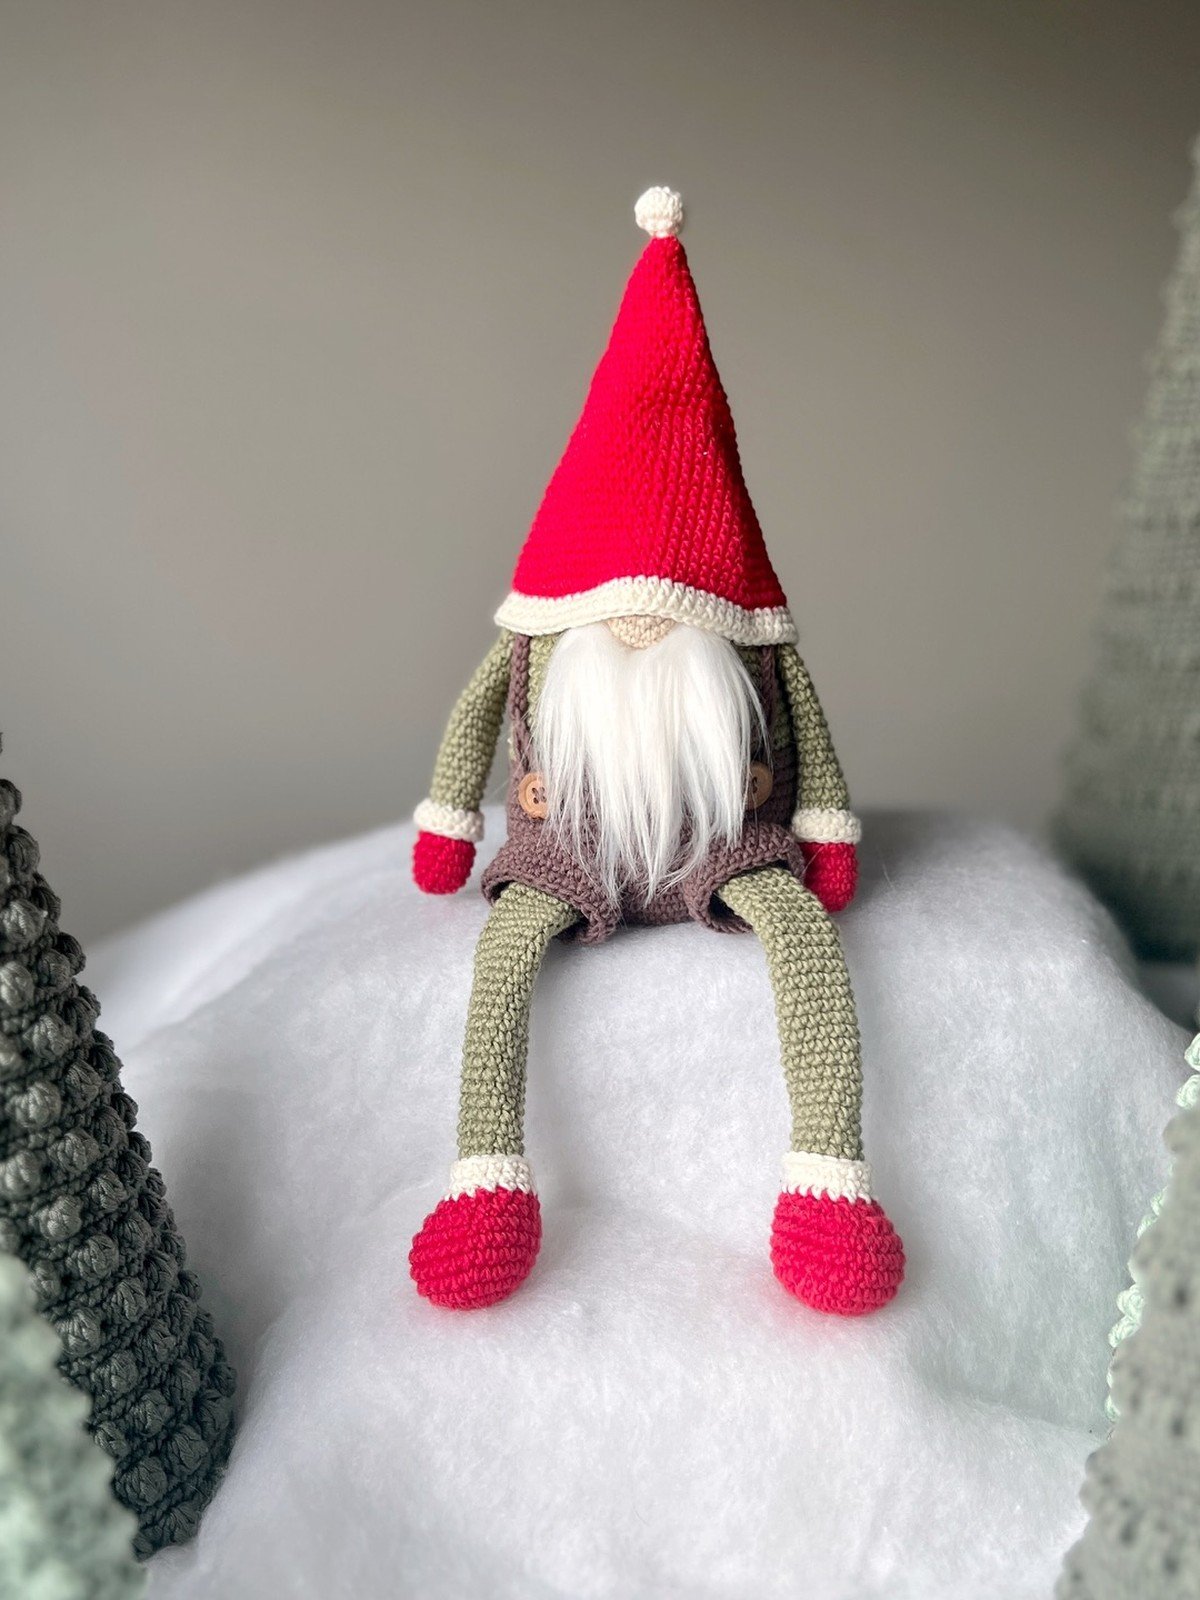
Photographed on a soft white background, this gnome shows the tidy end of the style: smooth stitches, a neat beard and a calm color palette. It is a good standard photo to compare your own tension and finishing against.
You’ll need: worsted yarn, hook, stuffing, yarn for the beard
Best for: a clean, minimal gnome style
7. Tall Hat Gnome Display
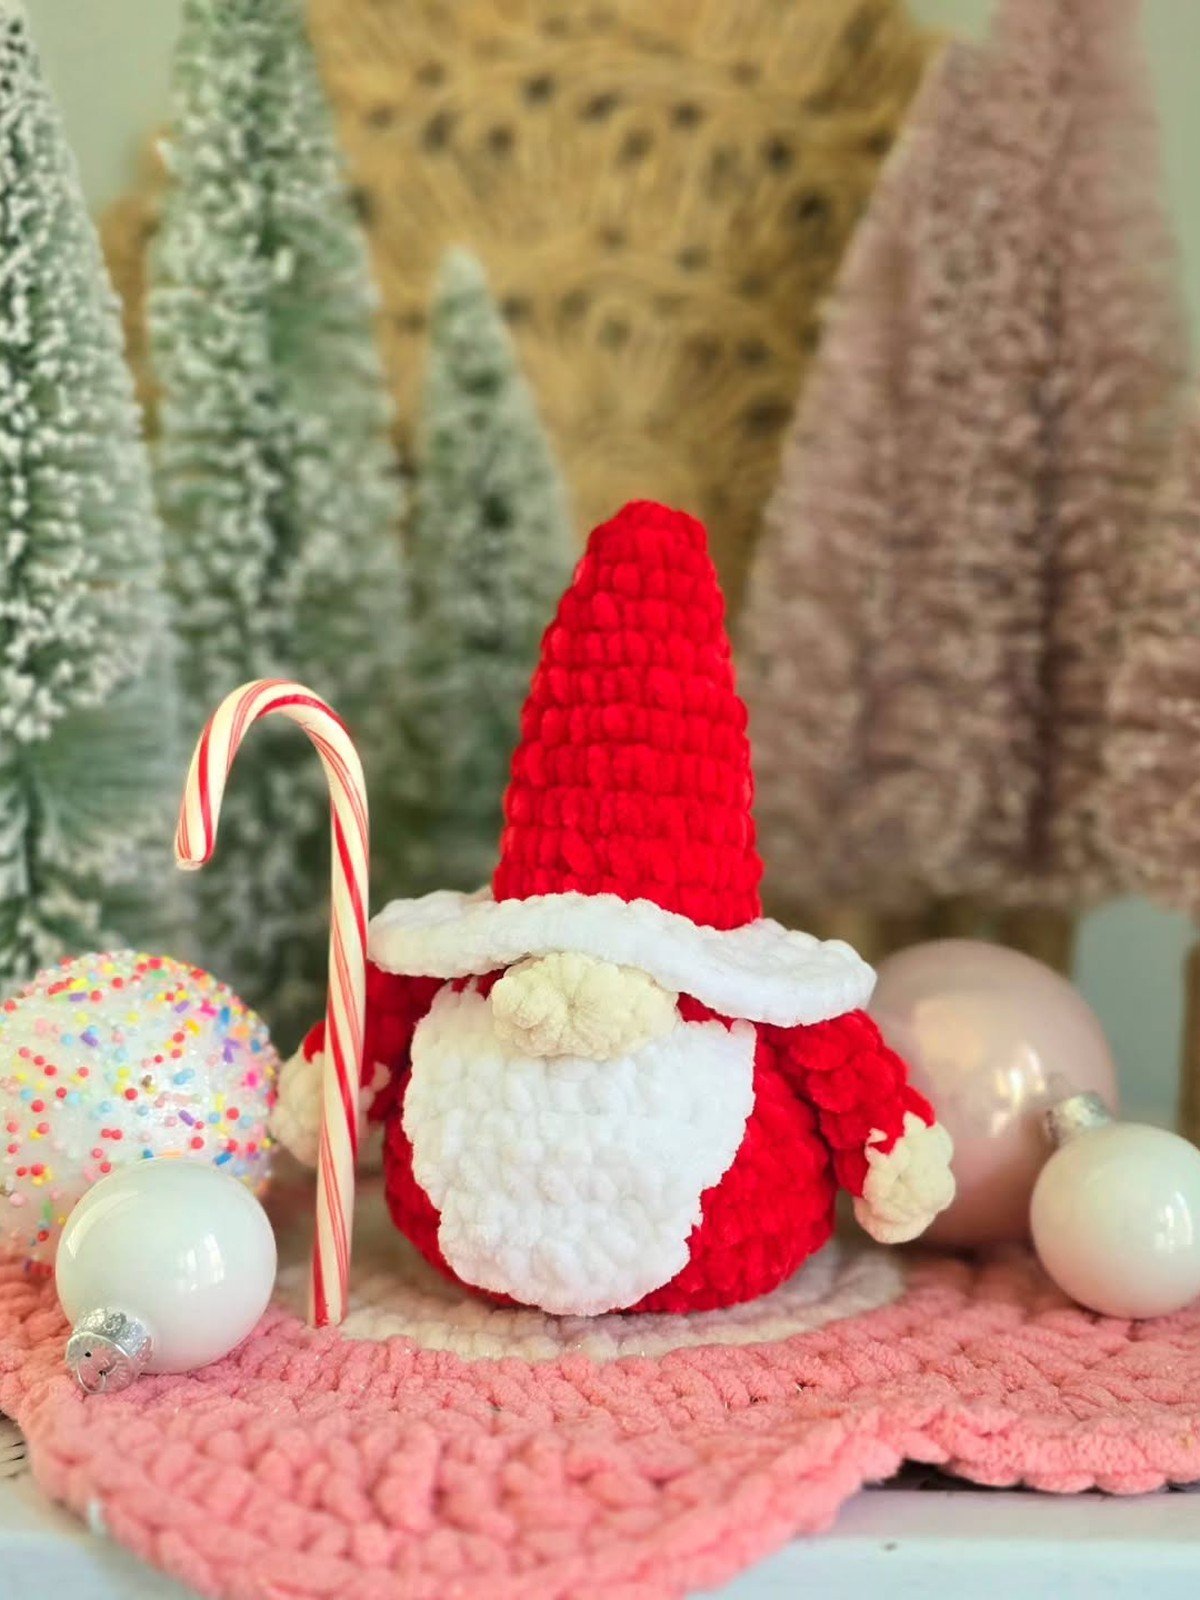
A tall hat gives this gnome display presence. The extra long cone, worked with very slow increases, drapes down beside the body and makes the gnome look twice as fancy for only a few extra rounds. A weighted base matters at this height.
A non traditional hat color makes a tall gnome a real focal point. Red Heart Super Saver in a rich teal is a sturdy, good value yarn for hats that need to hold a tall shape.
You’ll need: worsted yarn, hook, stuffing, pellet bag for balance
Best for: a shelf or stair display with height
8. Two Mini Gnomes

Two small gnomes with gray pointed hats prove how little yarn a gnome actually needs. Minis like these hang on garlands, tie onto presents and tuck into stockings. They are also the perfect first gnome for a nervous beginner, because one takes under an hour.
You’ll need: small amounts of yarn, hook, light stuffing
Best for: fast gifts and garland additions
9. Mini Santa Gnome

A mini Santa gnome packs the red suit, white beard and tall hat into a pocket sized toy. The proportions lean on the beard: at this scale, a generous beard and a small nose read better than any other detail.
You’ll need: red, white and skin tone yarn, small hook, stuffing
Best for: Santa fans who want the full red suit look
10. Gnome Ornament Among Pine Branches
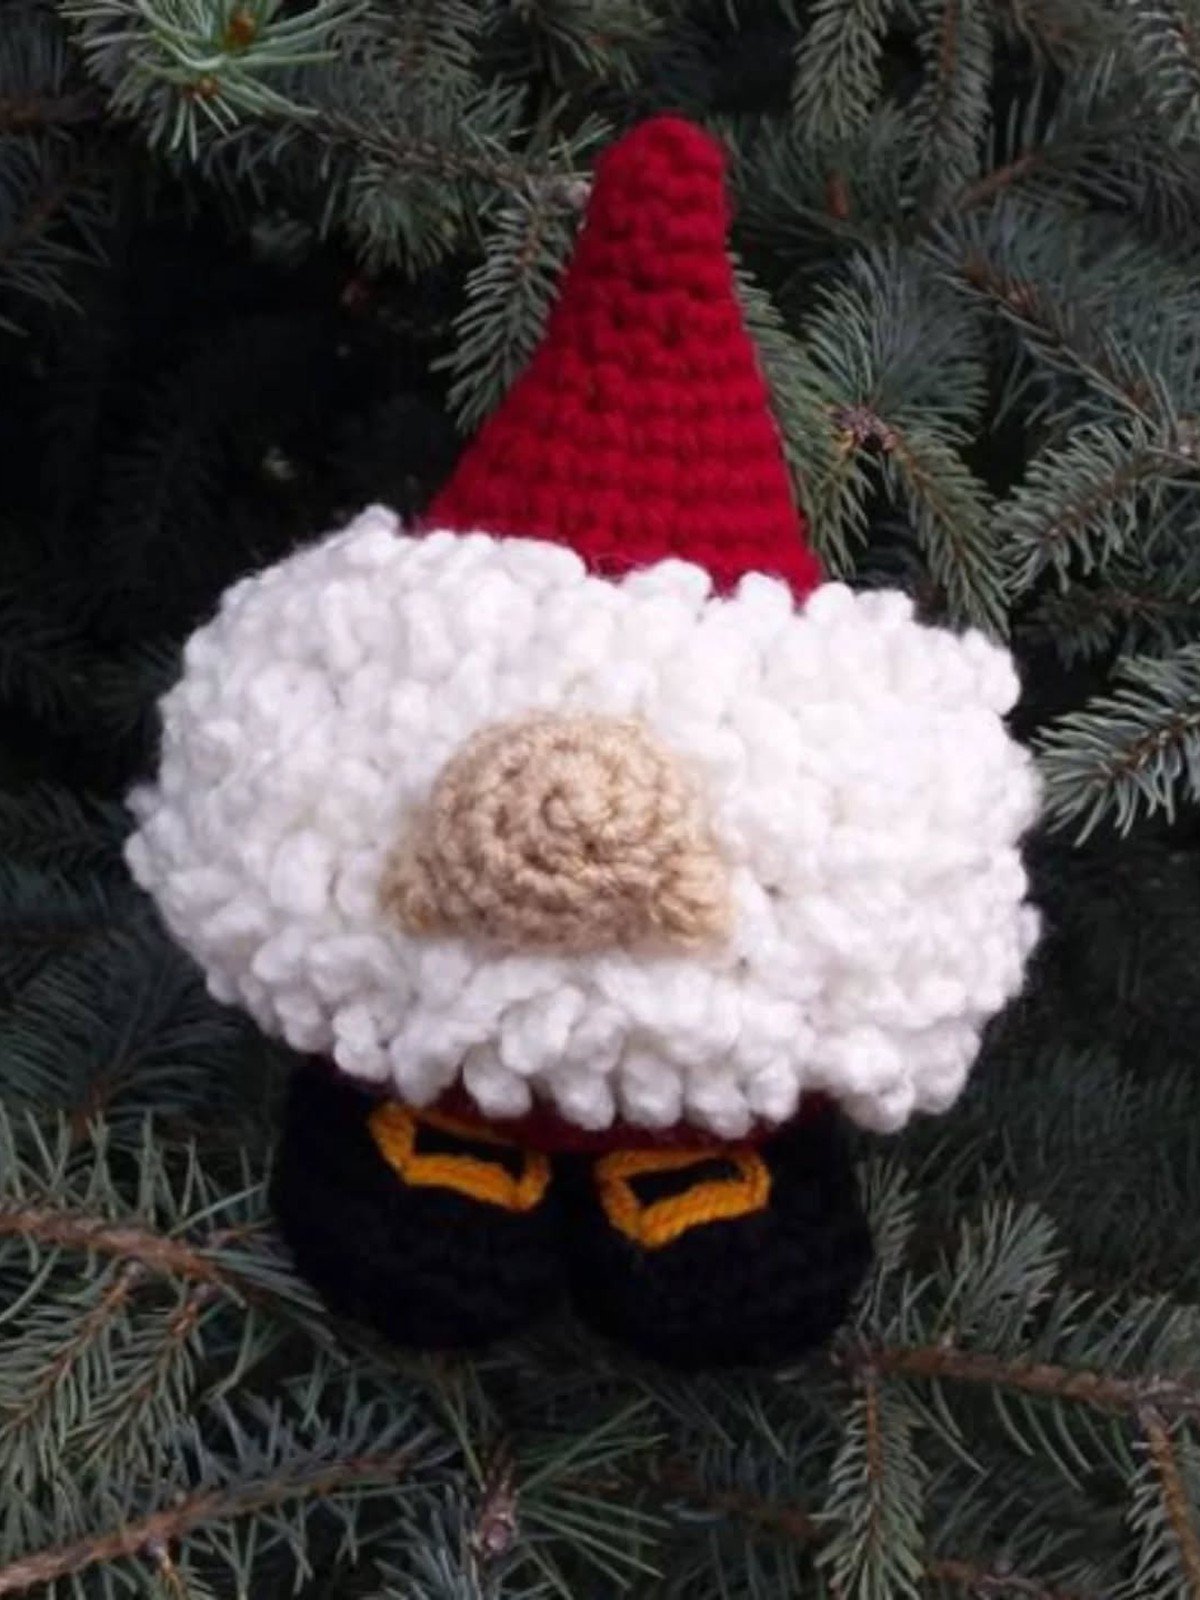
This gnome sits inside the pine branches rather than hanging in front of them, which makes him look like he lives in the tree. Tuck mini gnomes deep into the branches at eye level and let visitors discover them one by one.
You’ll need: light yarn, hook, hanging loop
Best for: nestling a gnome into the tree itself
11. Green Hat Gnome
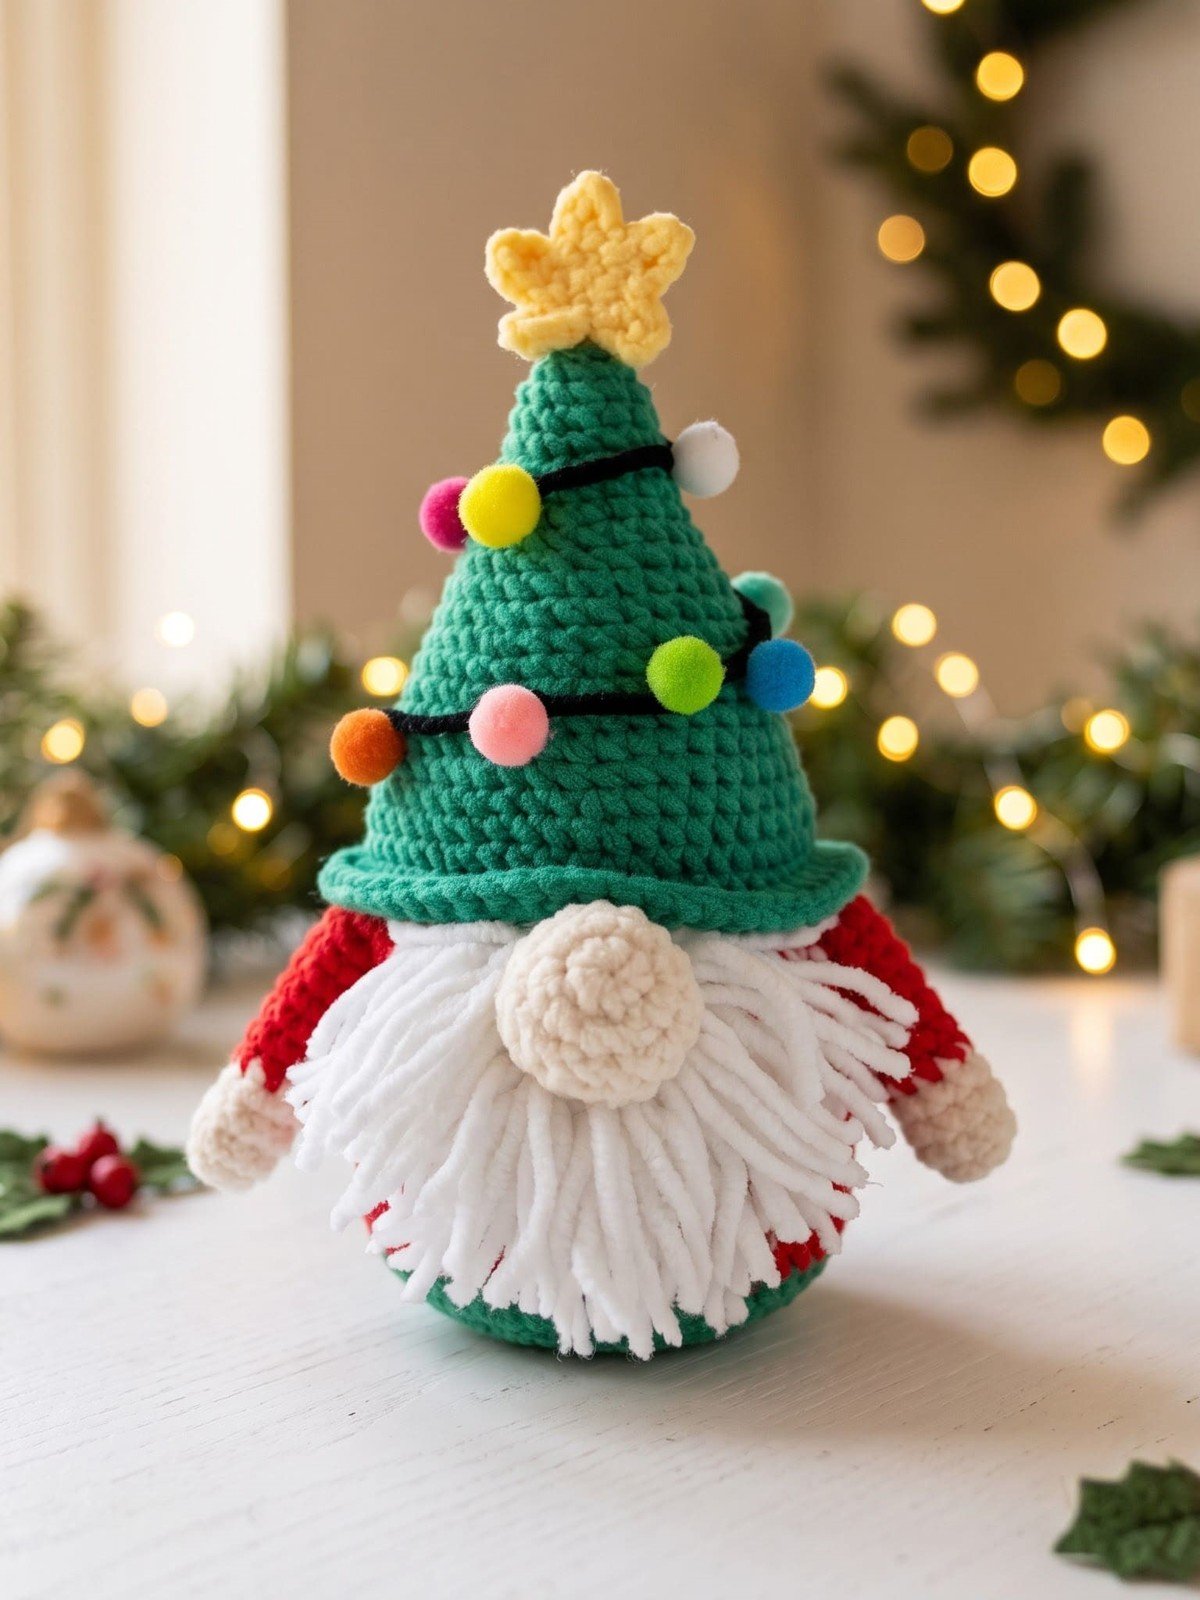
A green conical hat gives this gnome a woodland feel that suits garlands and natural decor. The build is the classic pattern with the hat color swapped, a reminder that one pattern plus a yarn change equals a whole new character.
You’ll need: green, white and skin tone yarn, hook, stuffing
Best for: a fresh color story for the gnome shelf
12. Gnome in a Gift Box
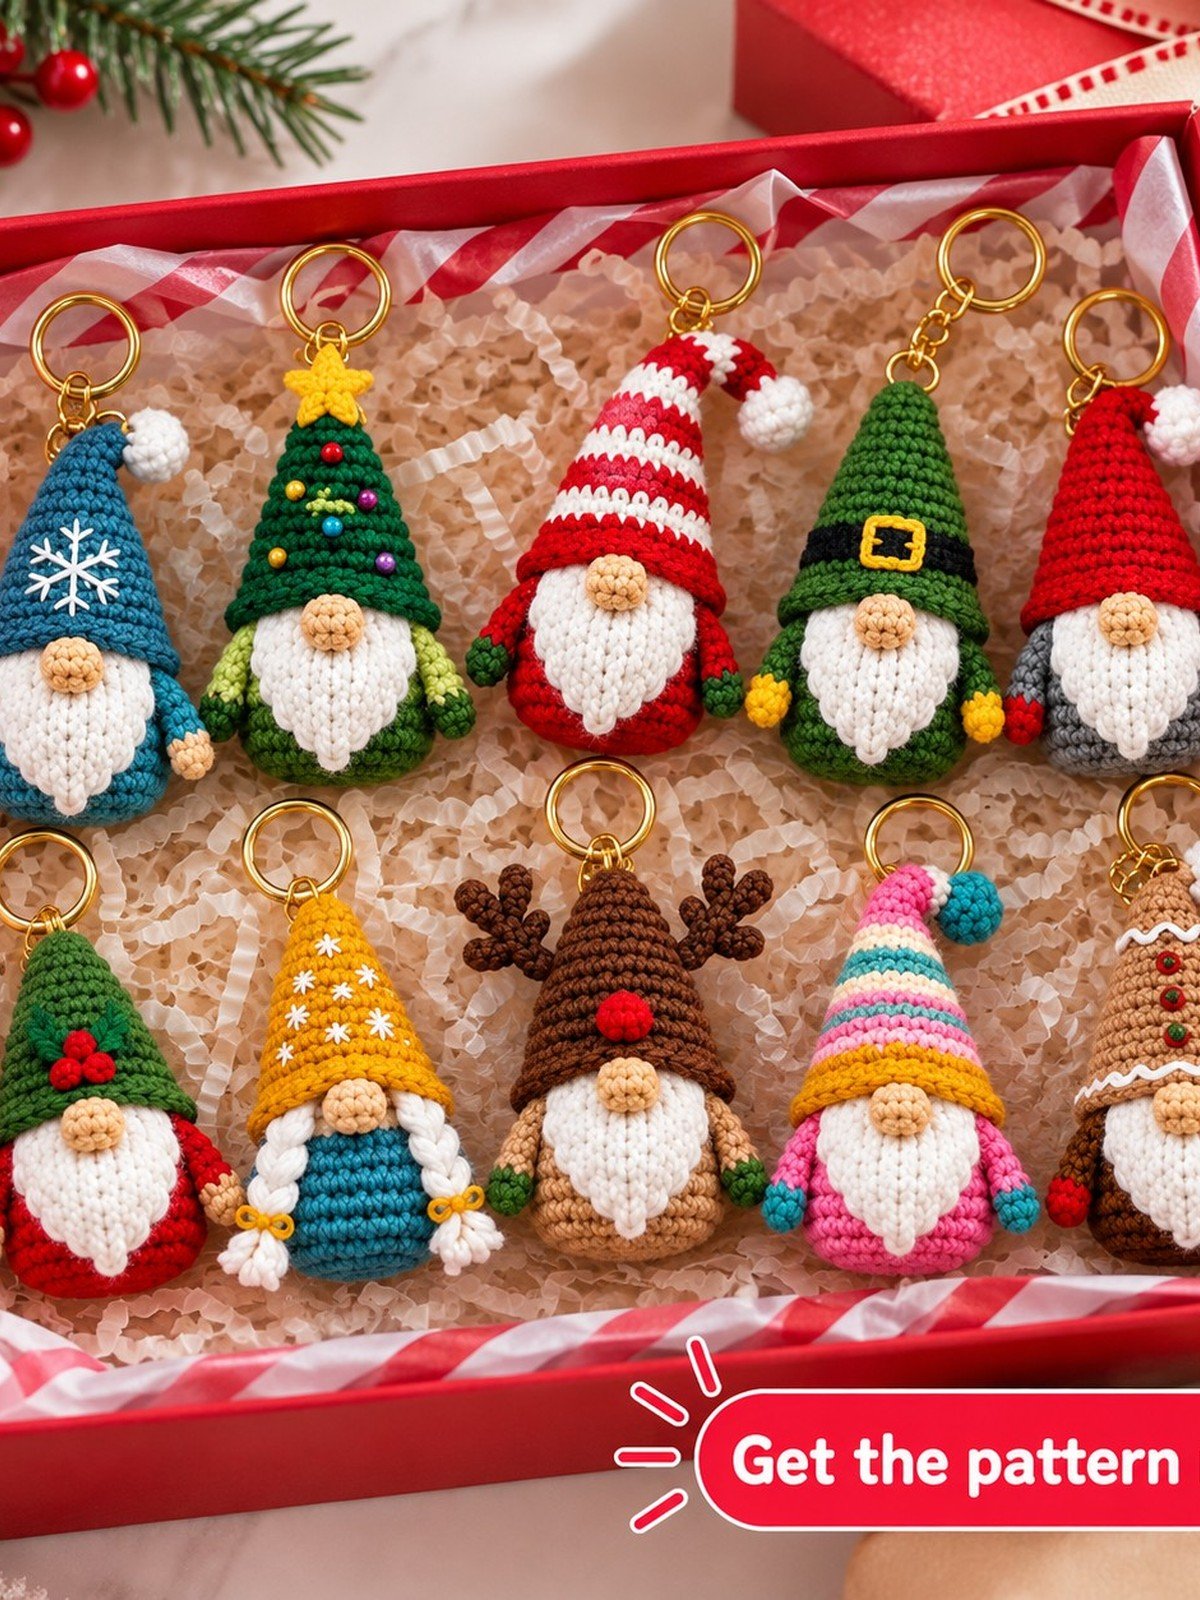
A gnome photographed inside a gift box lined with striped tissue shows how to present one as a present. The box does the wrapping, and the gnome peeking out does the charming. A good model for craft fair packaging too.
You’ll need: a finished gnome, a gift box, striped tissue paper
Best for: an unboxing style gift presentation
13. Gnome Standing in the Snow
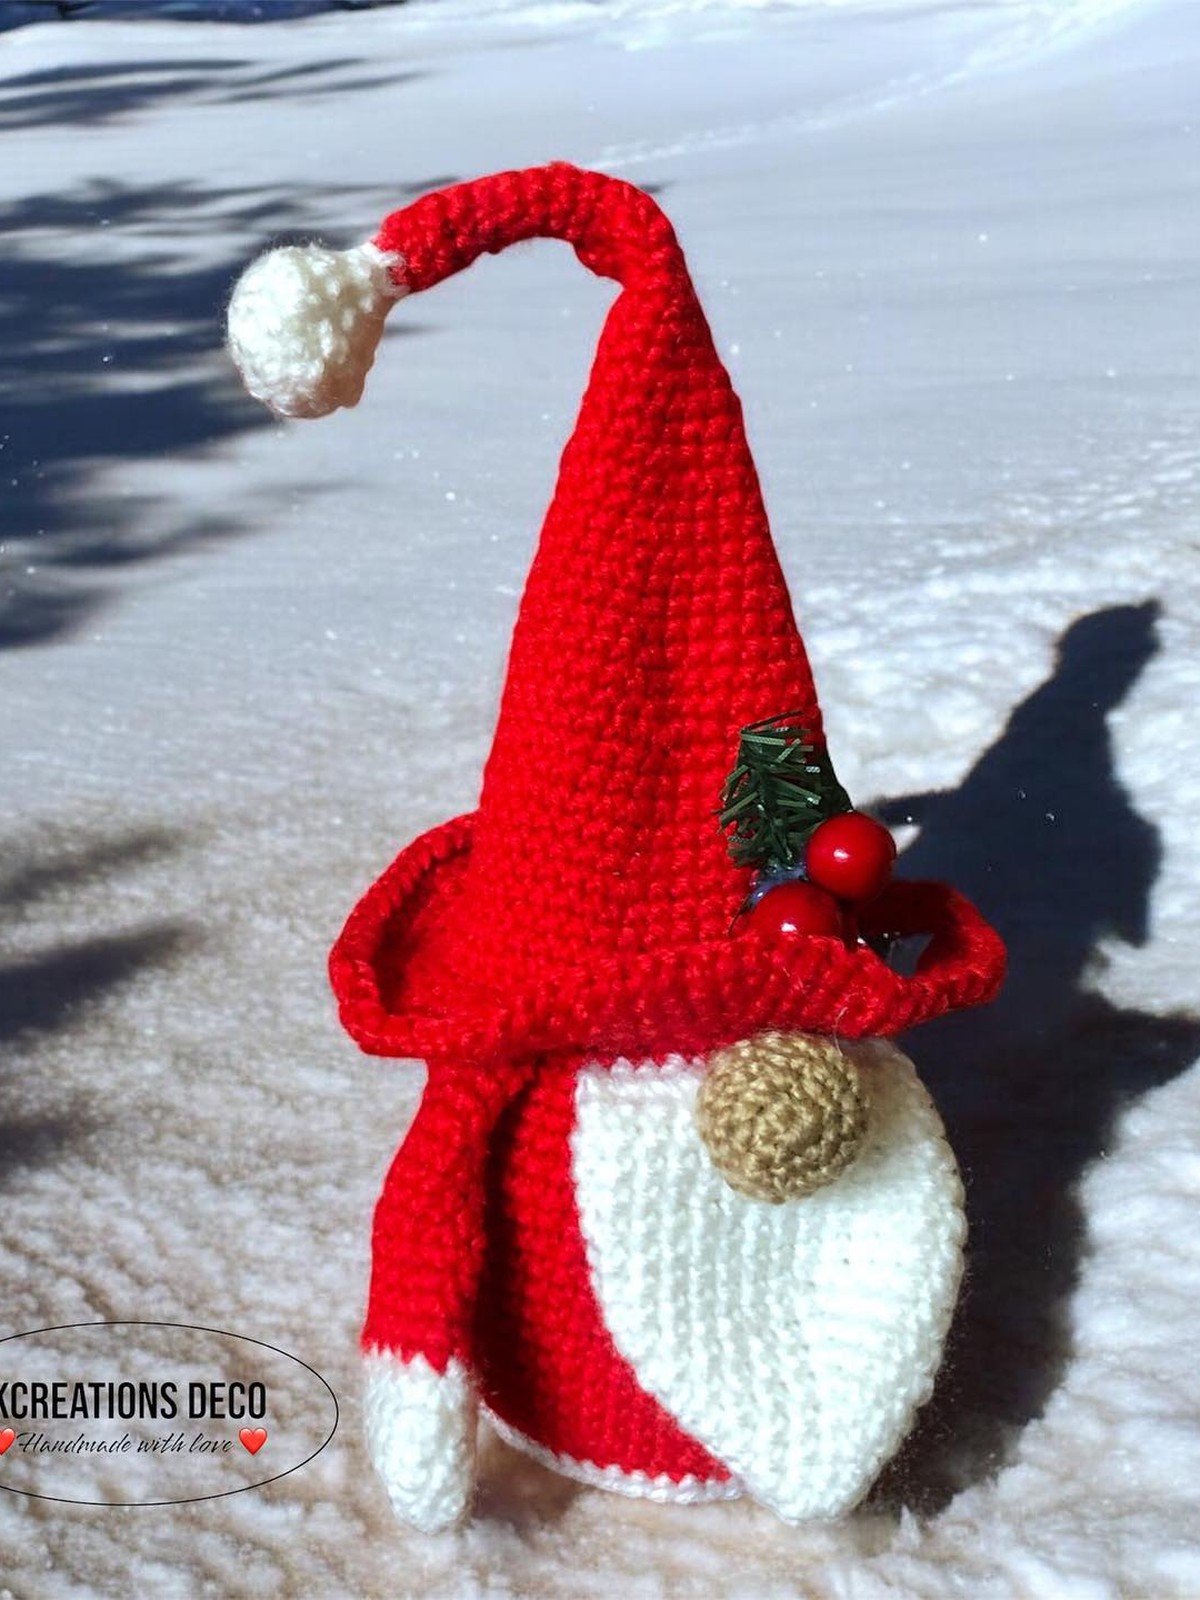
A gnome standing upright in real snow closes the list with the most seasonal photo of all. Firm stuffing and a weighted base keep him standing long enough for the picture. Bring him back inside to dry so the yarn stays fresh for next year.
You’ll need: a finished gnome with firm stuffing, a dry day
Best for: garden and outdoor Christmas photos
Frequently Asked Questions
What makes a crochet gnome shape?
A gnome is three parts: a cone or rounded body, a tall pointed hat that covers most of it, and a round nose peeking out from under the hat, usually with a beard worked in rows or added as yarn strands.
What yarn is best for amigurumi gnomes?
Any worsted yarn works for classic gnomes. For the big plush versions, chenille or blanket yarn with a 6 to 8 mm hook gives a soft gnome in half the rounds.
How do I make the gnome beard?
Three ways work well: crochet a beard panel in rows with a fuzzy stitch, sew on strands of yarn and brush them out, or work the front of the body in loop stitches. The sewn strand beard gives the fullest look.
How do I stop a gnome from tipping over?
A small bag of poly pellets or clean rice in the base, added before stuffing, keeps shelf gnomes upright. For ornaments, skip the weight and keep the stuffing light.
Can I really crochet an ugly sweater onto a gnome?
Yes, that is what makes the sweater design fun. Work the body in the sweater color, then add two or three rounds of a simple colorwork pattern or sew on a small crocheted motif, like a tree or a star, at the front.
How long does a crochet gnome take to make?
Most palm sized gnomes take one to two hours. The tall display gnomes and plush Santa versions take three to five hours, mostly because of the long hat and beard.
Final Thoughts on Crochet Amigurumi Christmas Gnome Patterns
A gnome is the friendliest shape in amigurumi: a body, a big hat and a nose. Once those three parts feel easy, every beard, sweater and scarf variation in this list is within reach.
Make the classic gnome first, then let the ugly sweater and the plush Santa follow. A shelf of gnomes by Christmas is a very reasonable plan.