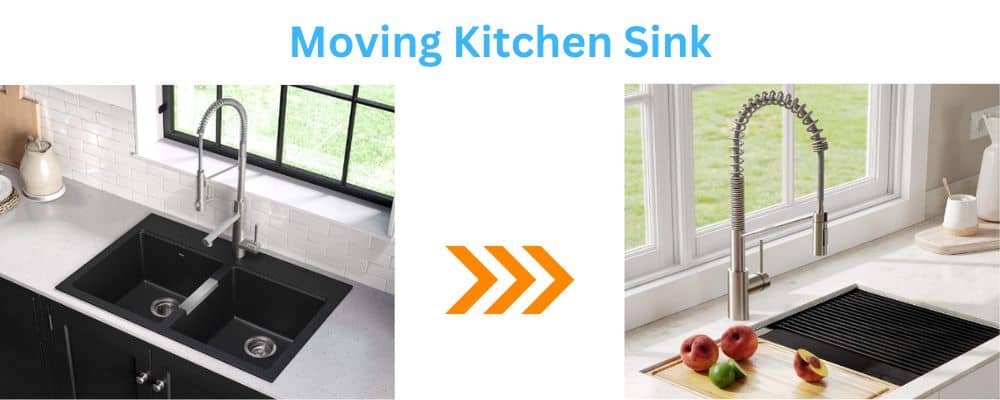
Moving a kitchen sink can be a daunting task, but with the right preparation and planning, it can be a relatively easy affair. Here are some tips to help you move your kitchen sink without any trouble.
1. Measure the width of the sink
Be as accurate as possible when measuring to avoid damaging your kitchen sink
When you’re ready to move your kitchen sink, be as accurate as possible when measuring. Use a level to make sure the sink is plumb and level before beginning the move. Use a sturdy ladder to help you get the sink onto the new wall, and be careful not to scratch or damage the surface of the sink or countertop. Use buckets or a large container to catch any water that spills during the move. Finally, use plywood or a cabinet hanger to hang the sink on the new wall.
2. Mark the wall where the sink will go
Use a level and a tape measure to make sure the sink is centered
1. Mark the wall where the sink will go with a pencil or a piece of tape. 2. Drill a hole in the wall as close to the plumbing as possible. 3. Once the hole is drilled, use a wrench to turn the faucet handle until it’s facing the new wall. 4. Install the sink by screwing it to the wall using screws and anchors.
3. Drill a hole in the marked wall
Using a drill, make a hole in the wall as close to the plumbing as possible. Once the hole is drilled, use a wrench to turn the faucet handle until it’s facing the new wall.
When moving a kitchen sink, be sure to secure it to the wall using screws and anchors. This will make the job much easier and ensure that your sink won’t fall off during transport. To drill a hole in the wall, use a drill bit that is slightly smaller than the diameter of the screw and anchor you will be using. Make sure the area is clean and dry before beginning, and wear protective gear (eye protection, gloves, etc.) to avoid accidents. Drill slowly and steadily into the drywall until you reach the wood below. Countersink the screw heads before tightening them with a wrench. Repeat this process for all screws and anchors.
4. Securely mount the sink to the wall using screws and anchors
When moving a kitchen sink, be sure to secure it to the wall using screws and anchors. This will make the job much easier and ensure that your sink won’t fall off during transport.
When you move the kitchen sink, be sure to securely mount it to the wall using screws and anchors. This will prevent it from moving and becoming a nuisance. If there’s any clutter or anything blocking the sink from moving, remove it before you begin your installation.
5. Remove any excess material from around the sink
Make sure there’s no clutter or anything blocking the sink from moving
Carefully remove any excess material from around the sink. This includes anything that might obstruct your view of the sink while you’re drilling: cabinets, countertops, appliances, and flooring. Once you have a clear area to work with, use a template to make the hole in the wall easier to create. Use a level to ensure that the hole is straight and the depth is correct. Make sure there are no sharp edges or corners on the outside of the sink where it will be mounted.
6. Cut a hole in the wall at that location
Use a template to make the hole in the wall easier to create.
Having a kitchen sink on one wall and the cabinets on another can be a pain in the neck when you want to move it. You can try drilling a hole in the wall, but that’s usually a hassle and it can be dangerous if the sink falls through. Instead, try attaching a hose to the faucet and turning on the water. Stick the other end of the hose through the hole in the sink and turn it off. The water will push the sink towards the wall you want it to go on, and then you can unscrew it and move it where you want it!
7. Attach a pipe or hanger to one end of the hose and thread it through the hole
Attach the hose to the faucet and turn on the water. Stick the other end of the hose through the hole in the sink and turn it off.
When you need to move your kitchen sink, there are a few things you can do. If you have a water filter installed, turn on the water at the main supply and attach the hose to the faucet near the sink. If not, attach a pipe or hanger to one end of the hose and thread it through the hole in the wall. Once you’ve attached the hose, turn on the water at the faucet near the sink and wait for it to reach a comfortable level before moving the sink. Be careful not to let too much water flow out of the faucet; this could cause damage to your home.
8. Connect the other end of the hose to the sink’s faucet
Find the nearest sink and turn on the water
If you’re moving your kitchen sink, you’ll need to first turn off the water supply to the sink. Fill a bucket with water and place it near the sink. Turn off the water supply to the sink, and then turn on the faucet. When the bucket is half-full, dump the water into the sink. Turn off both faucets and wait for the water to drain before moving the sink.
9. Turn on the faucet and wait for it to fill up with water
Fill a bucket with water and place it near the sink. Turn off the water supply to the sink and turn on the faucet. When the bucket is half-full, dump the water into the sink. Turn off both faucets and wait for the water to drain before moving the sink
If the sink is filled with water, twist the faucet handle to turn on the water. Hold the end of the hose in one hand and place your other hand under the spout. Gently lower the hose until it’s just below the surface of the water. When you see water coming out of the faucet, lift it up straight and hold it there for a few seconds.
10. Release the hold on the hose, allowing it to fall into the sink
Grip the hose with both hands and lift it straight up from the sink
If you’re struggling to move the kitchen sink, try releasing the hold you have on the hose. When you do, the water will fall into the sink instead of spraying all over the place. This technique is especially useful when trying to lift heavy objects.
11. Repeat steps 7-8 until your sink is firmly attached to the wall
Once the hose is in the sink, twist the faucet handle to turn off the water. Hold the other end of the hose tightly with one hand and use your other hand to twist it around and thread it through the hole in the wall. Once you’ve threaded it through, attach it to the faucet near the sink. Turn on the water at both faucets and wait for them to fill up with water before moving your sink. Repeat these steps until your sink is firmly attached to the wall.
Video
Conclusion
Moving your kitchen sink doesn’t have to be a hassle. By following these steps, you can easily and safely move your kitchen sink. Make sure to turn off the water before you start, and thread the hose through the hole in the wall carefully. Once you’ve done that, turn on the faucets and wait for them to fill up with water before moving your sink.
- Long Sweep 90 Vs Short Sweep: Which Is Better For You?

- J Bolt Vs Anchor Bolt: Get The Main Difference In 2026
- Accidentally Flushed Washcloth Down Toilet Septic System? Complete Solution
- Shower Drain Slow But Not Clogged: Easy Fixes for Speed Up Flow
- Are Sharkbite Fittings Legal in California
- What Are My Rights If I Have No Water: Essential Legal Insights
- Are Sharkbite Fittings Permanent? Essential Facts Revealed
- How to Cover Toilet Waste Pipe Or Drain Pipe: Easy & Durable Methods
- How To Fix A Shower Faucet Loose From Wall: Easy DIY Solutions
- How Strong are Sharkbite Fittings: Unmatched Durability Tested
- Boiler Drain vs Hose Bibb: Choosing Right Option for Your Plumbing Needs
- Fluidmaster Performax 400H-002 Universal High-Performance Toilet Fill Valve Review
- Water Heater Exhaust Pipe Size: Essential Guide for Safety & Efficiency
- Water Supply Disrupted: What You Need to Know Now
- Briggs Liberty Ultracast Bathtub Reviews
- American Standard Flush Valve Troubleshooting Guide: Quick Fixes
- How High Should an Air Admittance Valve Be: Essential Installation Tips
- How To Unclog A Toilet Clogged With Tampons: Quick Effective Tips
- No Water Coming Out of Bathtub Faucet: Quick Fixes That Work!
- Air Admittance Valve Installation Height: Essential Guide for Perfect Fit