

This post may contain affiliate links. Please read my disclosure policy.
In This Article Show
Small crafts can make a big difference when you want to decorate your room, create handmade gifts, or enjoy a fun DIY project without spending much money. With a few pieces of recycled cardboard, scissors, glue, paint, and colored paper, you can create tiny houses, miniature food, doll furniture, wall hangings, and adorable decorative accessories. These mini cardboard crafts are perfect for beginners because most projects use small pieces of material and simple shapes. You can customize each design with your favorite colors, patterns, and themes. Whether you love cute miniatures, anime-inspired decorations, cozy room accessories, or Christmas crafts, these ideas will help you turn ordinary cardboard into something special.
1. Mini Cardboard House with Tiny Windows
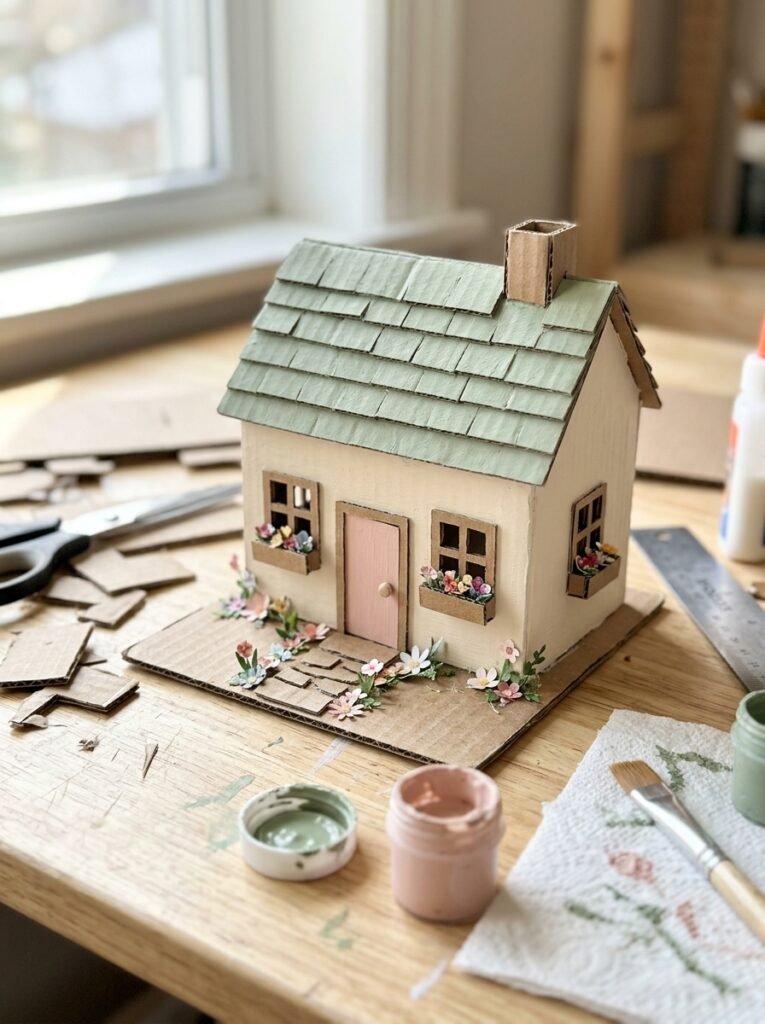
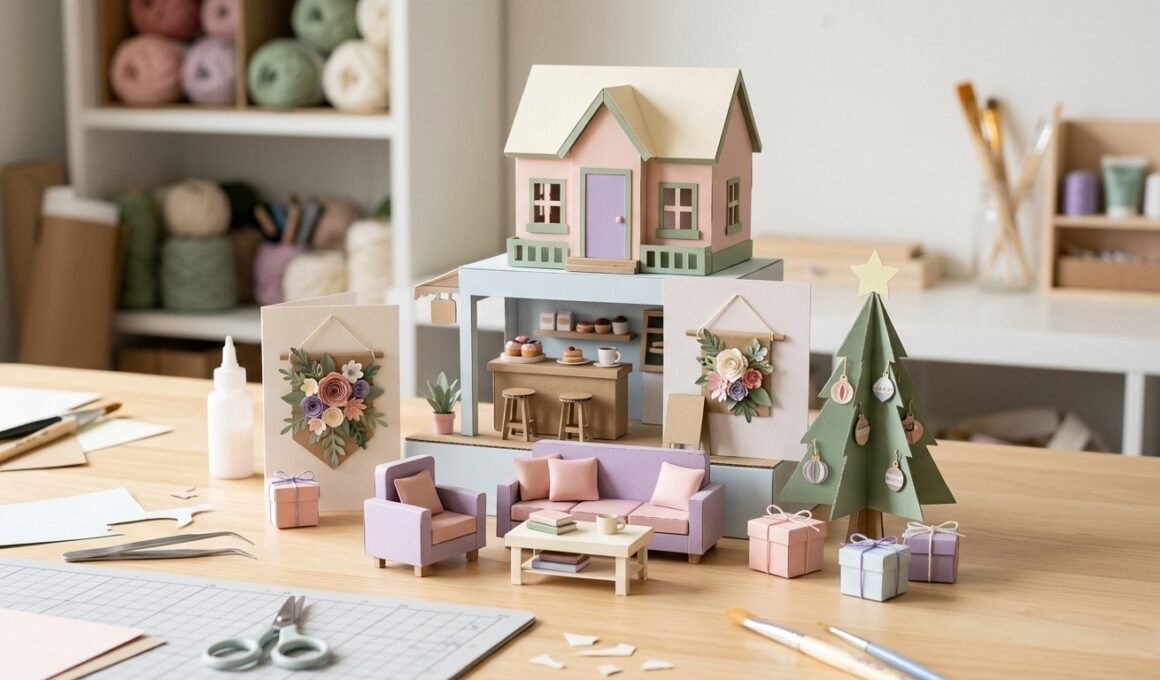
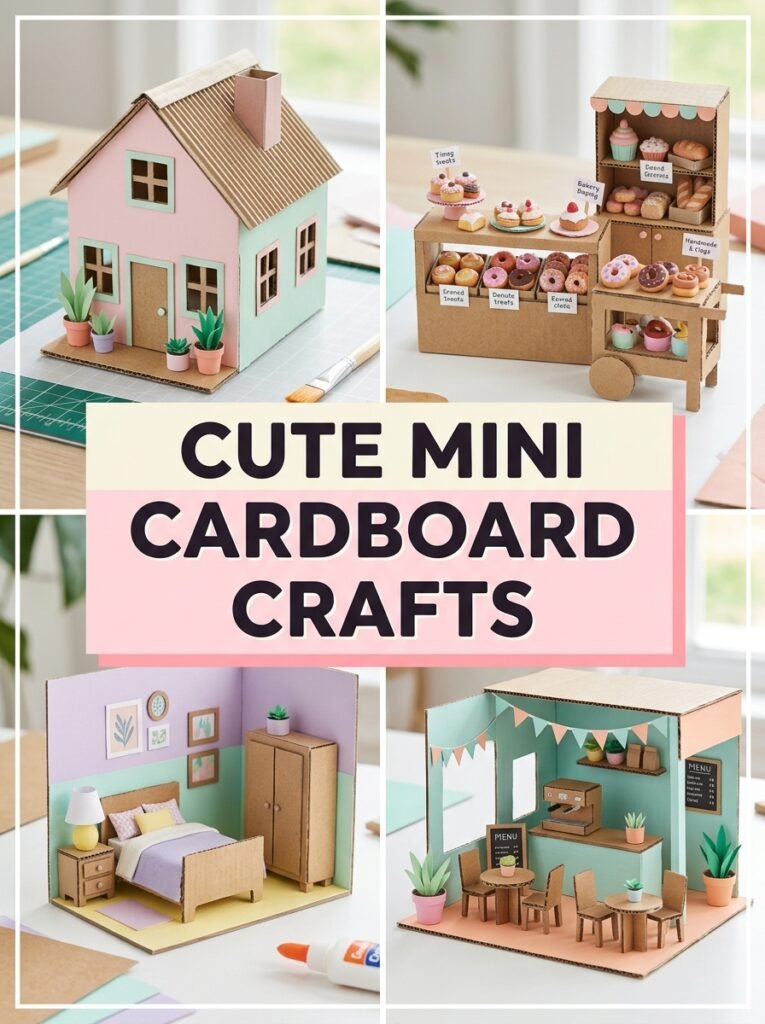
A miniature cardboard house is a lovely starting project because you can experiment with its shape, colors, and details. Cut cardboard panels for the walls and roof, then join them carefully to create a small house structure. Add tiny windows, a front door, a chimney, and a little pathway made from extra cardboard. Paint the exterior in pastel pink, cream, or sage green for a cute aesthetic. You can even decorate the inside with miniature furniture and use the finished house as a desk ornament or part of a tiny village.
2. Cute Mini Cardboard Food Collection
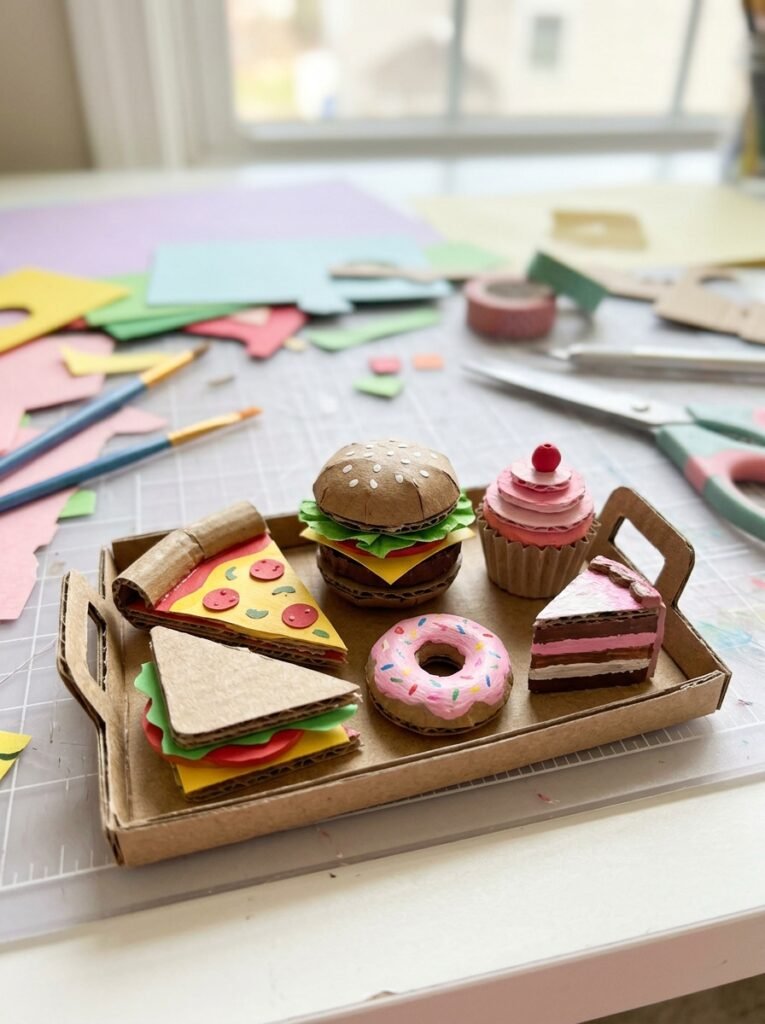
Miniature food is perfect for anyone who enjoys tiny, colorful crafts. Make miniature pizzas, burgers, cupcakes, sandwiches, donuts, or slices of cake by cutting cardboard into small shapes and layering the pieces. Use paint or colored paper to represent different ingredients, such as green lettuce, red tomato, yellow cheese, and pink frosting. You can display your collection on a miniature tray or inside a tiny cardboard café. These small food models are also great props for dollhouses, photography, and pretend-play setups.
3. Mini Cardboard Bedroom for Dolls
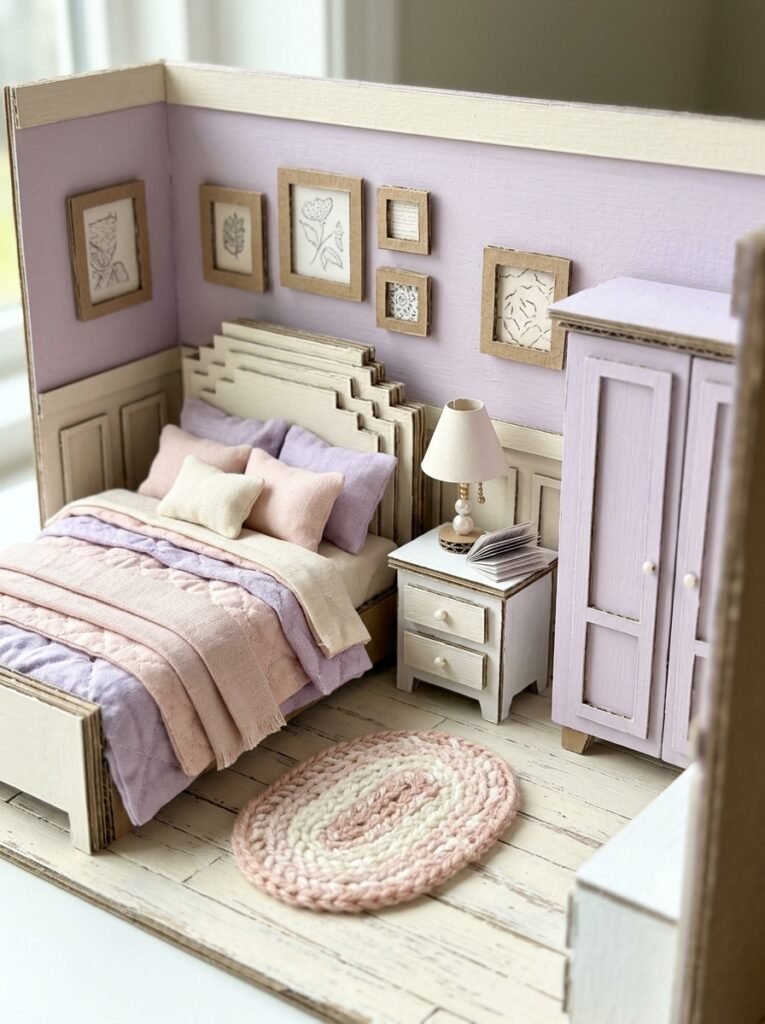
Create a tiny bedroom for your favorite dolls using cardboard as the main building material. Make a small bed with a layered headboard, a bedside table, a wardrobe, and a miniature rug from colored paper. You can use fabric scraps for bedding and paint the furniture in coordinated shades. Adding tiny wall pictures, a floor lamp, or a cardboard mirror makes the room look more realistic. This project encourages creative storytelling and allows you to design a completely personalized space for your dolls.
4. Aesthetic Mini Cardboard Desk Organizer
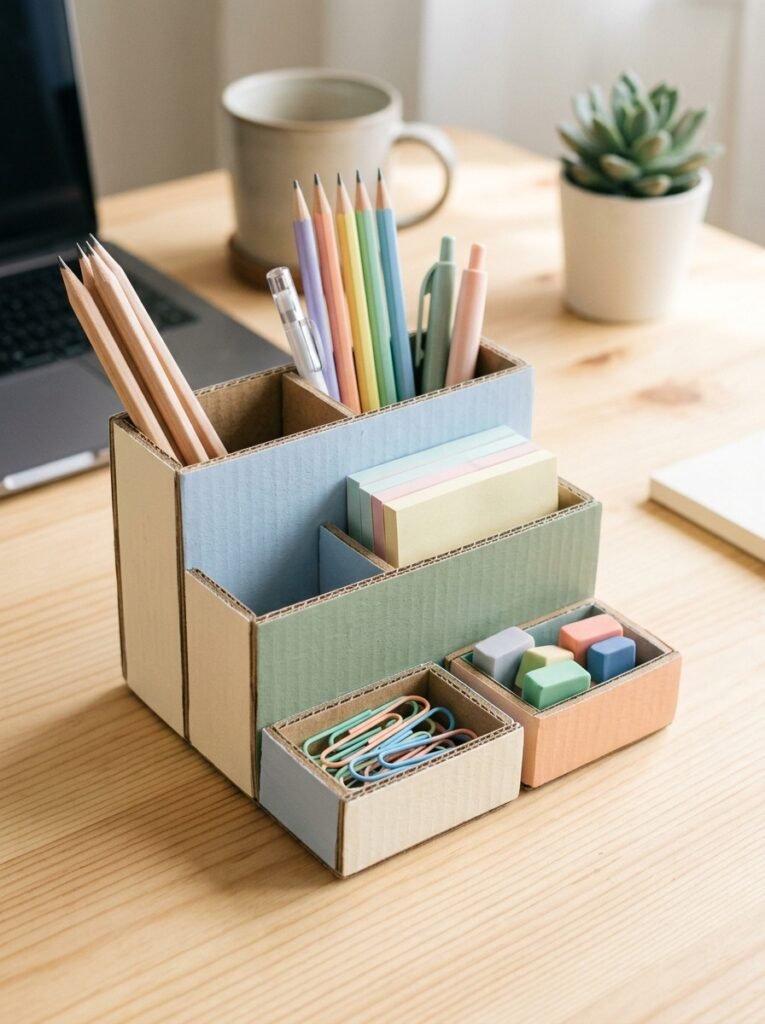
A tiny desk organizer can make your study area look neater while giving you a useful DIY project. Build small compartments from cardboard to hold paper clips, erasers, sticky notes, or other lightweight stationery. Cover the outside with decorative paper or paint it in your favorite aesthetic colors. You can create separate sections for different supplies and add a small label area using plain paper. Keep the compartments proportionate to the items you plan to store so the organizer remains practical as well as attractive.
5. Mini Cardboard Wall Hanging with Flowers
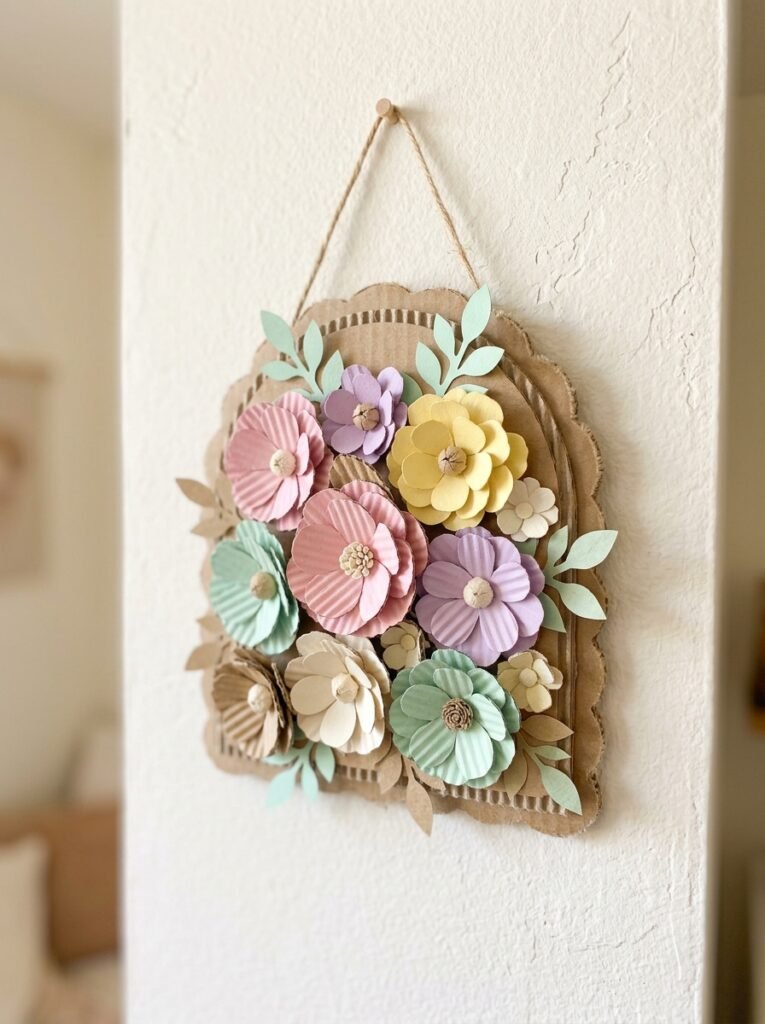
If you want a small decoration that makes a room feel more cheerful, create a floral cardboard wall hanging. Cut a small circular or arched base, then layer cardboard flowers and leaves across the surface. You can make simple daisies, tulip-inspired shapes, or abstract blooms using different colors. Attach a short ribbon or string at the back for hanging. Choose colors that match your bedroom or craft corner, and keep the arrangement balanced so the flowers remain the main feature. The result is lightweight, personalized wall decor.
6. Tiny Cardboard Café
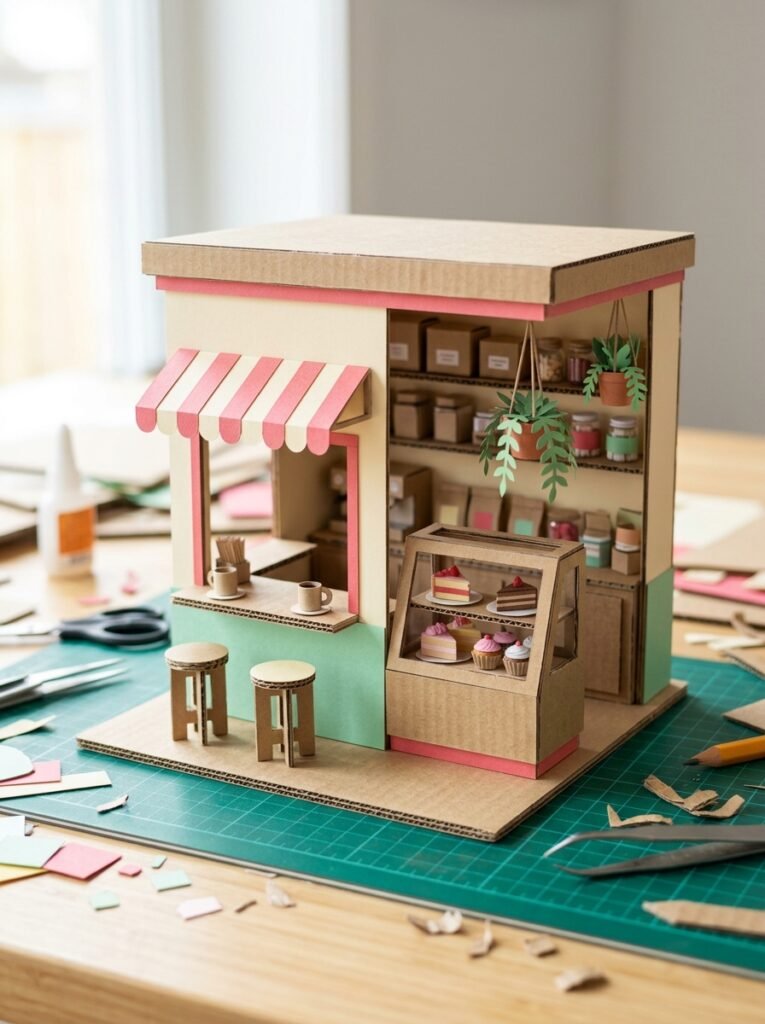
A miniature café is a creative project that combines a tiny building with adorable food decorations. Start with a small cardboard counter and a simple backdrop, then add a tiny menu board, shelves, stools, and miniature pastries. Use colored paper to create an awning or decorative front panel. You can design the café around a bakery, coffee shop, ice cream stand, or dessert bar. Keep the furniture small enough to fit the space, and choose a coordinated color scheme to give your miniature café a polished appearance.
7. Mini Cardboard Gift Boxes
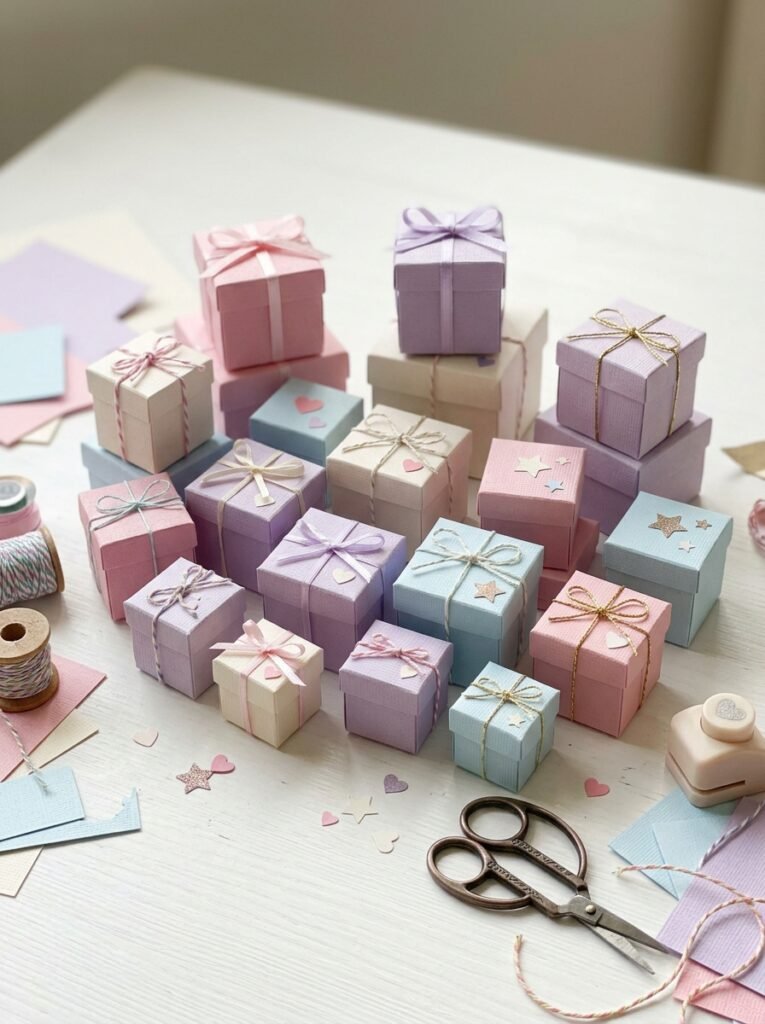
Handmade mini gift boxes are useful for small presents, jewelry, notes, or decorative surprises. Cut cardboard into matching panels, fold the edges carefully, and assemble a box with a separate lid. You can cover it with patterned paper, paint tiny hearts or stars on the surface, and add a ribbon made from a narrow strip of fabric. Make several boxes in different sizes for a coordinated collection. Because these boxes are handmade, you can adjust their dimensions to fit the gift you want to place inside.
8. Mini Cardboard Sofa and Living Room Set
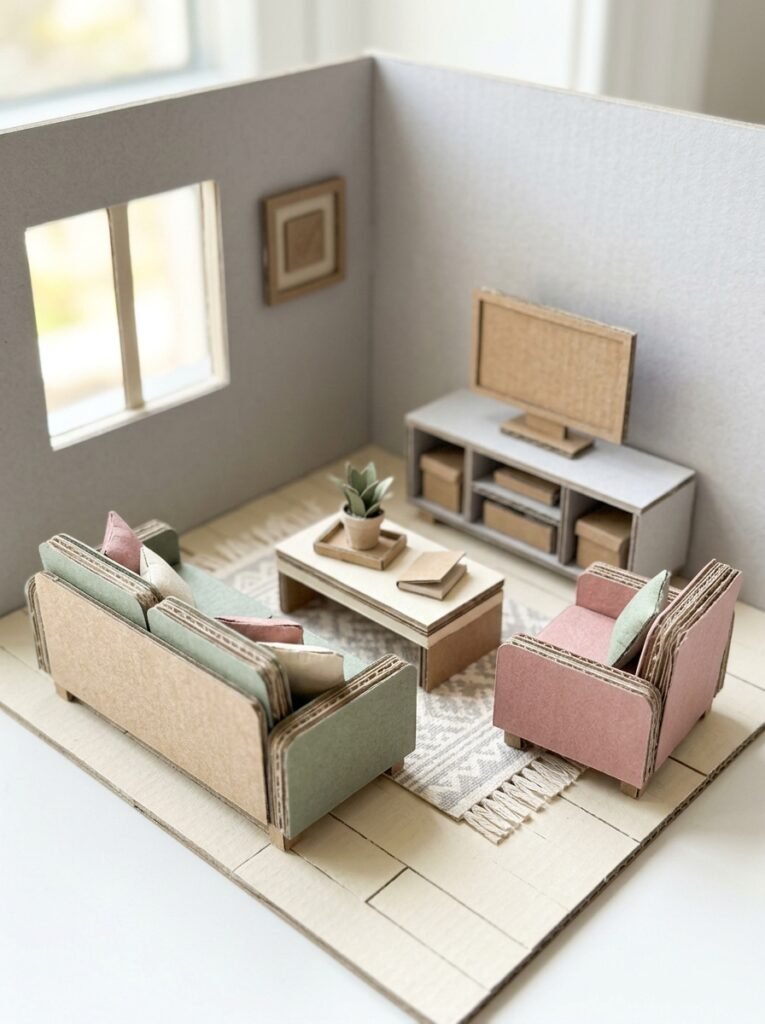
Create a tiny living room by building a cardboard sofa, armchair, coffee table, and small television stand. Cut the furniture pieces separately, then layer the cardboard to make the seats and backs thicker. Cover the sofa with soft fabric scraps or colored paper to create an upholstered look. A small rug and a few miniature cushions will make the scene feel more complete. This set works beautifully inside a dollhouse or as a standalone miniature display on your desk.
9. Cute Mini Cardboard Phone and Laptop
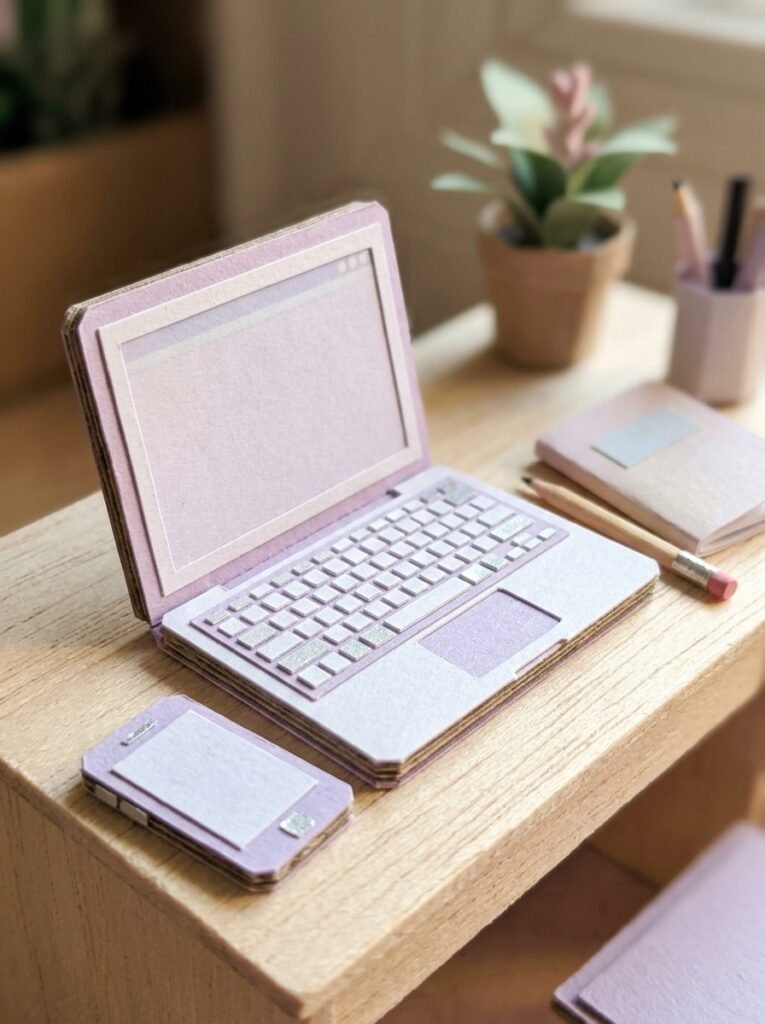
A miniature phone and laptop are simple crafts for dollhouses, toy scenes, or desk decorations. Cut thin cardboard into small rectangles and layer the pieces to create realistic device shapes. Use black, silver, white, or pastel paper to cover the surfaces. Add a blank screen, tiny keyboard shapes, and simple decorative details. If you want a playful version, create a pastel laptop with miniature stickers drawn by hand. These accessories are decorative rather than functional, but they can add a fun modern touch to a miniature room.
10. Anime-Inspired Mini Cardboard Display
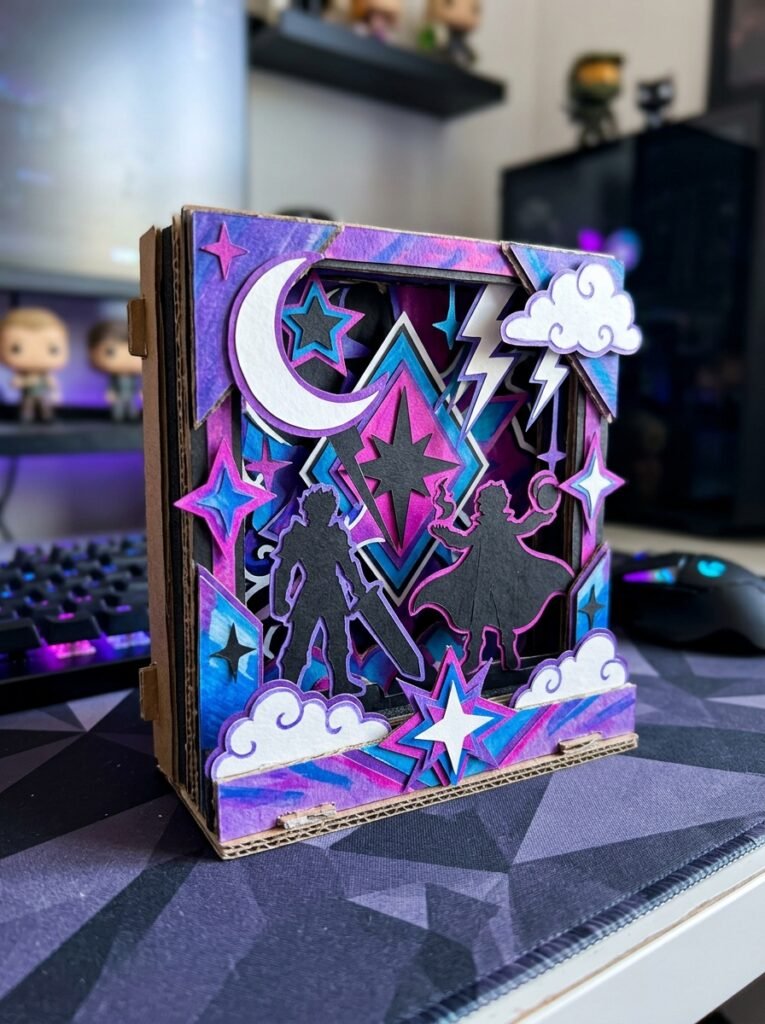
Anime fans can create a personalized miniature display inspired by the colors and atmosphere of their favorite genres. Build a small cardboard backdrop, then decorate it with original stars, clouds, lightning shapes, moons, and colorful panels. You can draw your own fantasy characters on paper and place them inside the display, or use simple silhouette shapes for a dramatic look. Choose a theme such as magical fantasy, futuristic adventure, or a pastel school setting. Creating original designs makes the craft personal while avoiding the need to reproduce copyrighted artwork.
11. FNAF-Inspired Mini Cardboard Room
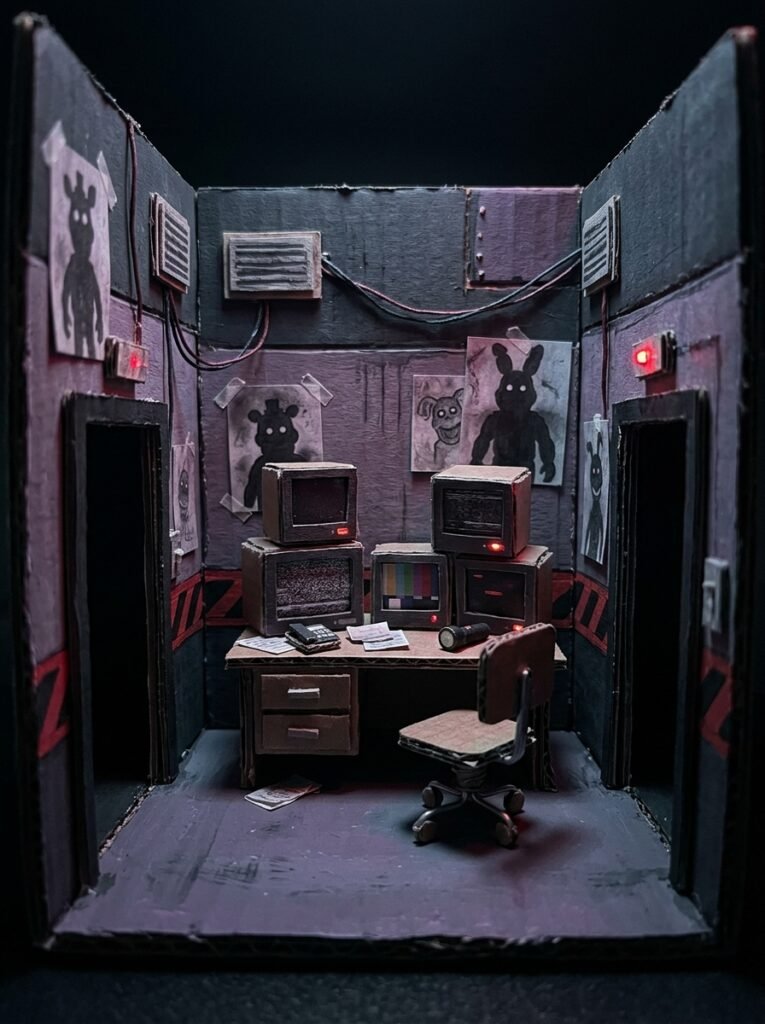
For fans of spooky games, create a miniature security room inspired by the atmosphere of survival-horror games such as Five Nights at Freddy’s (FNAF). Build a small room with a desk, two doorways, wall panels, a tiny monitor, and a chair. Use dark gray, black, muted purple, and occasional red accents to create a dramatic setting. You can add original cardboard mascot silhouettes or handmade game-inspired decorations. Keep the design creative and recognizable through its spooky atmosphere rather than copying official artwork or exact character designs.
12. Mini Cardboard Christmas Tree
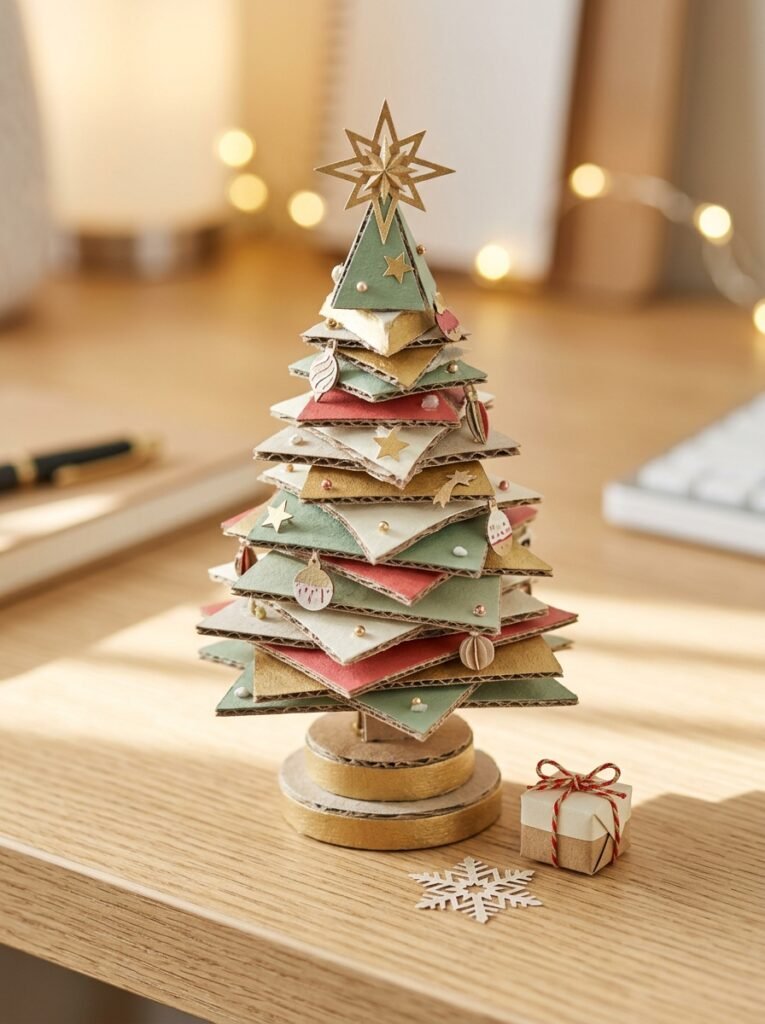
A miniature Christmas tree is a delightful seasonal craft for a desk, shelf, or dollhouse. Cut several triangular cardboard pieces and layer them to create a tree with dimension. You can paint the tree green or choose a modern white, pink, or gold design. Add tiny paper stars, small cardboard ornaments, and a little base so it stands upright. Make several trees of different heights to create a miniature winter village or a festive display for your room.
13. Mini Cardboard Snowflakes and Christmas Ornaments
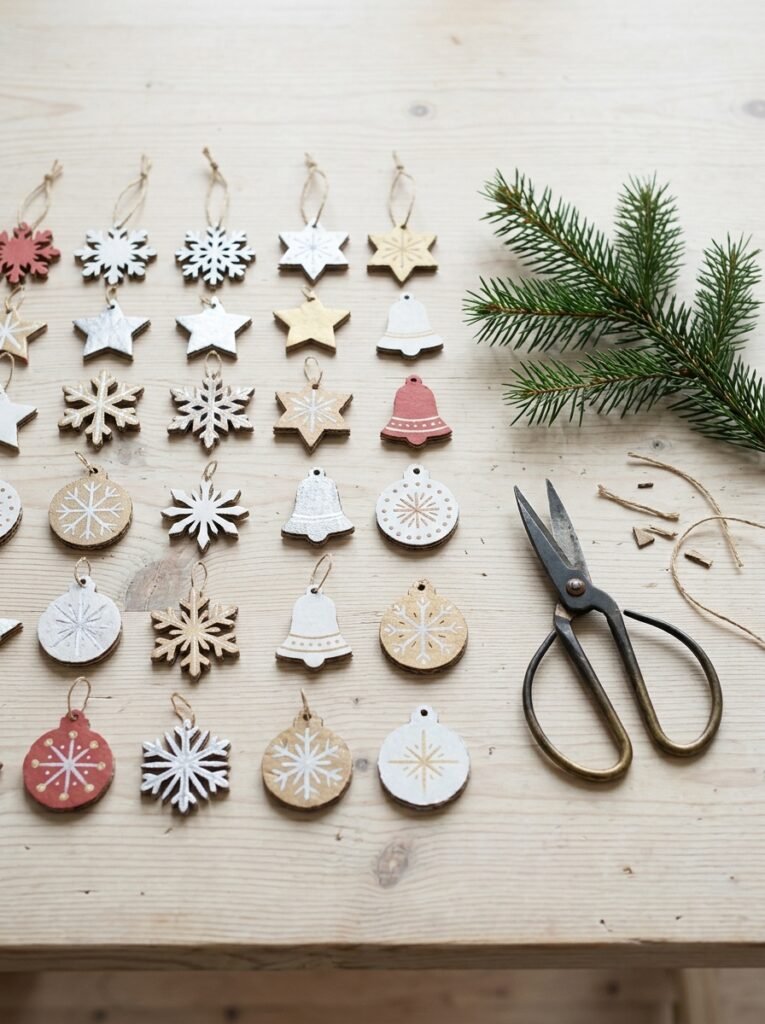
If you prefer quick seasonal projects, make tiny cardboard snowflakes, stars, bells, and circular ornaments. Draw the shapes before cutting so the pieces look balanced, then paint them white, silver, gold, or festive colors. You can punch a small hole near the top and attach a thread for hanging, or glue the ornaments onto a small cardboard display. These decorations are inexpensive, easy to customize, and suitable for making a matching set for a miniature Christmas tree or a small festive corner.
14. Mini Cardboard Doll Wardrobe
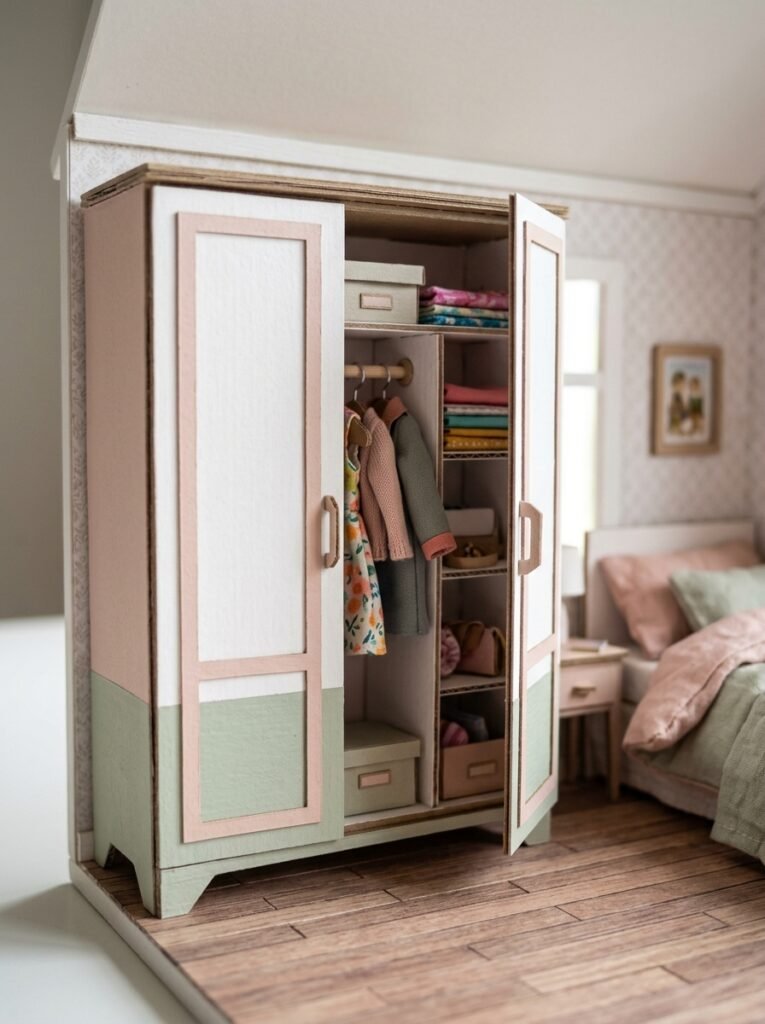
A tiny wardrobe adds another layer of realism to a dollhouse bedroom. Build a narrow rectangular structure with side panels, a top, a base, and two small doors. Inside, add a miniature hanging rail made from a suitable lightweight stick or sturdy paper tube, plus shelves for tiny accessories. Decorate the doors with small cardboard handles and paint the wardrobe to match the bedroom furniture. You can also make a miniature open wardrobe to display tiny handmade clothes and accessories.
15. Mini Cardboard Picture Frames and Drawings
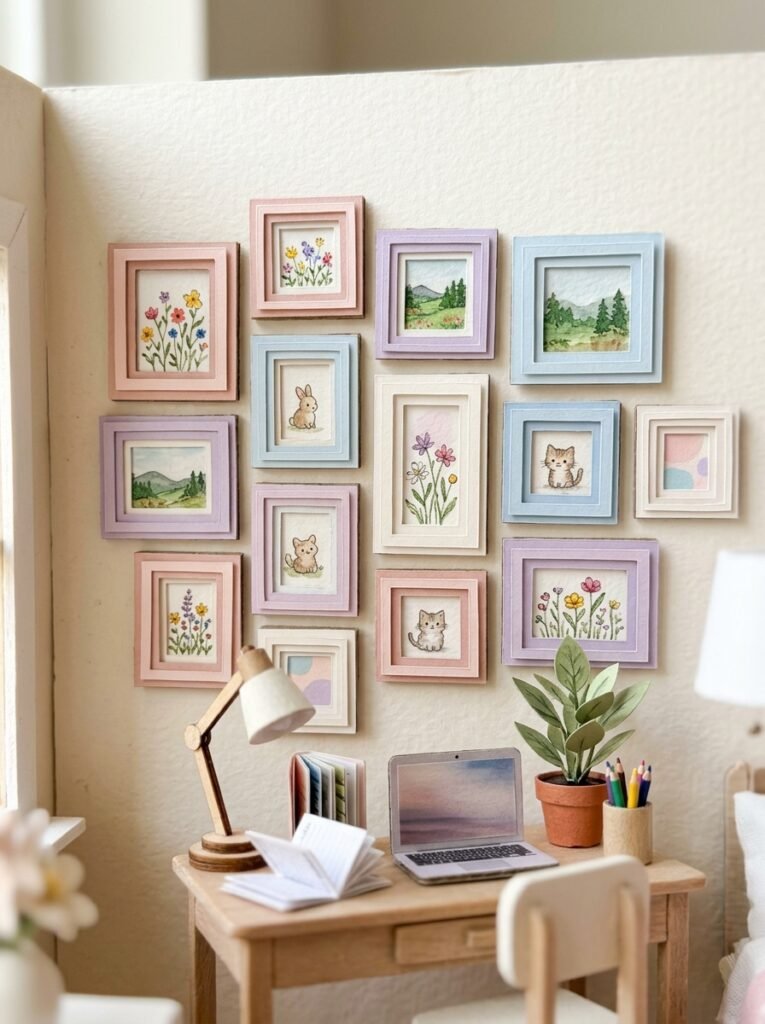
Tiny picture frames are an easy way to decorate a dollhouse, miniature bedroom, or craft shelf. Cut small rectangles from cardboard and create an opening in the center of each front piece. Add a second layer around the edge to create a raised frame, then place your own tiny drawings or abstract patterns behind the opening. You could draw miniature flowers, landscapes, cute animals, or simple geometric art. Make several matching frames and arrange them in a miniature gallery for a coordinated, handmade look.
16. Mini Cardboard Table and Chairs
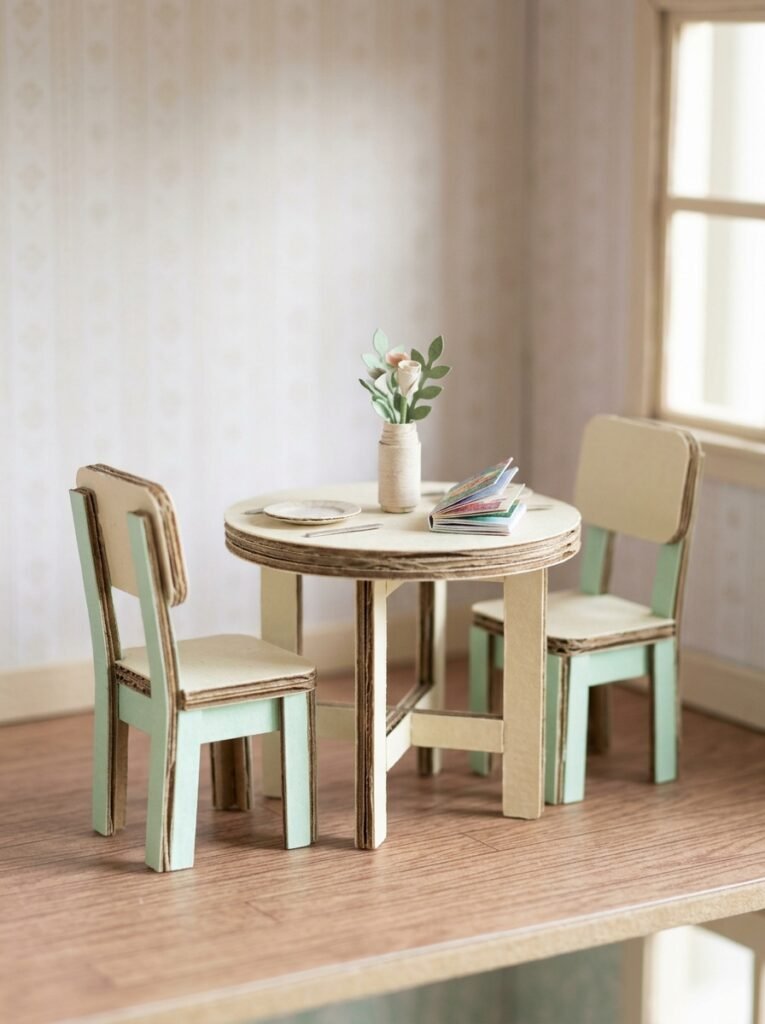
A tiny table-and-chair set is a useful addition to a dollhouse, miniature café, or handmade cardboard room. Cut a square or round tabletop, then build a reinforced base and four small legs. Make the chairs from layered cardboard pieces so the seats and backs remain stable. You can paint the set in white and wood-inspired colors, or create a bright pastel design for a playful miniature. Add a tiny book, plate, or flower vase to make the scene feel lived-in.
17. Mini Cardboard House-Shaped Wall Hanging
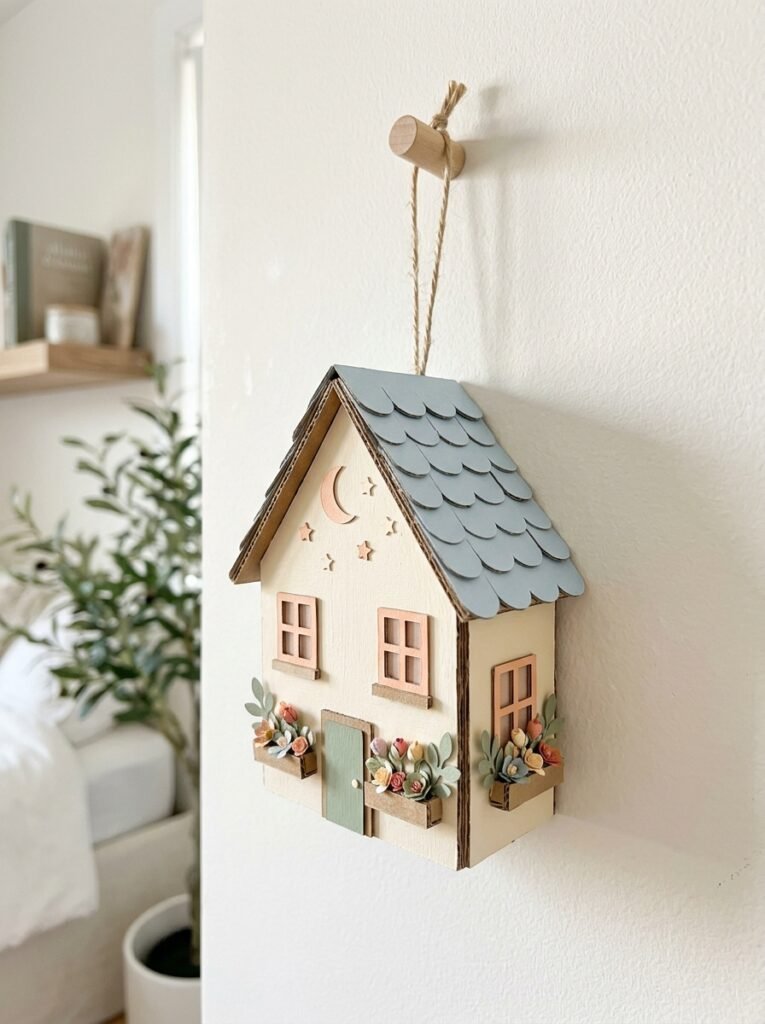
A house-shaped wall hanging combines a miniature-house design with simple room decoration. Cut a small house silhouette from cardboard, add a second layer for the roof, and decorate the center with flowers, a tiny window, or a small moon and stars. You can paint it in colors that complement your room and attach a ribbon or string at the top. A group of three house-shaped hangings can create a coordinated display above a desk, bed, or reading nook.
18. Mini Cardboard Gift Shop or Bakery
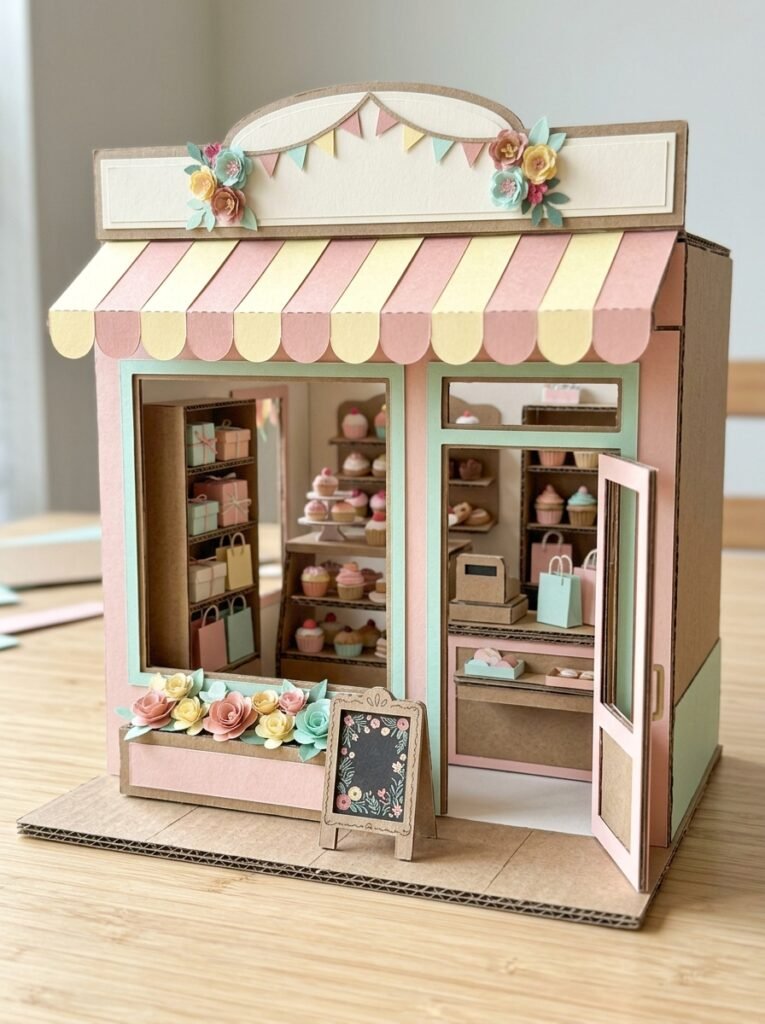
Combine several miniature ideas by creating a tiny gift shop or bakery from cardboard. Build a small storefront with a counter, shelves, a display window, and a simple sign area where you can add your own handwritten shop name. Inside, place miniature cardboard gift boxes, cupcakes, tiny bags, or decorative accessories. Choose a consistent theme, such as a pastel bakery or a colorful stationery shop. This project takes more time than a single miniature, but it offers plenty of opportunities to customize every small detail.
How to Make Mini Cardboard Crafts Step by Step
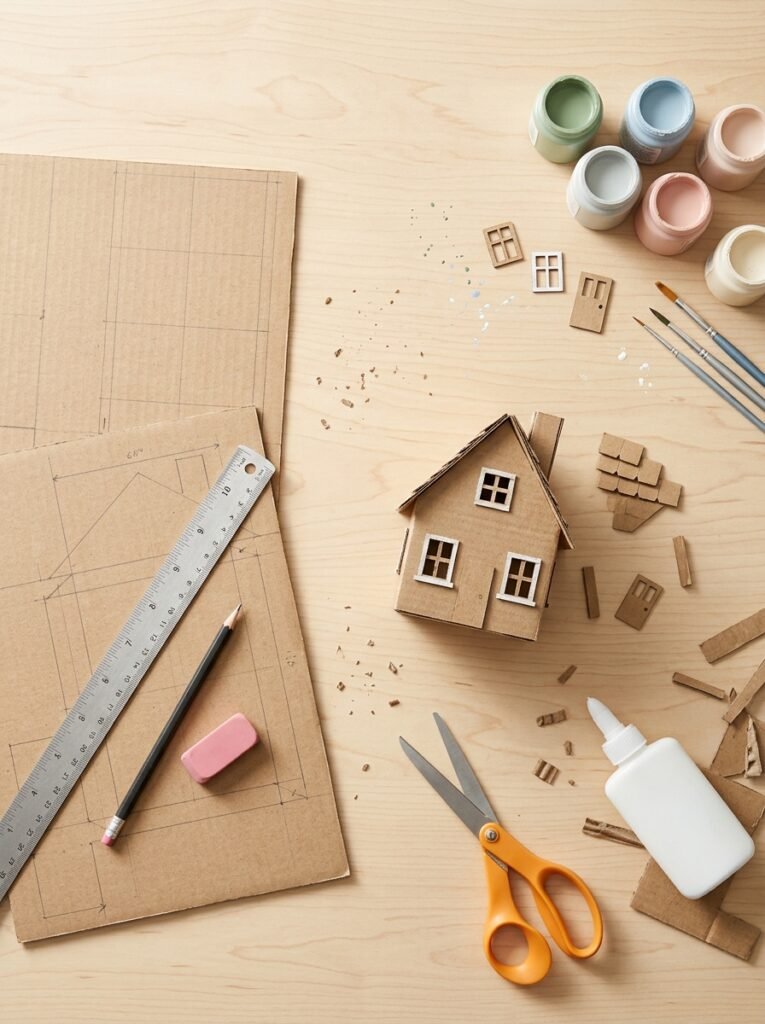
Making miniatures becomes much easier when you build the main structure first and add decorative details afterward. Follow these steps for tiny houses, furniture, food models, and other small projects.
Step 1: Choose a Simple Design
Start with one small object, such as a gift box, table, miniature food item, or house. Look at its basic shapes and sketch them on paper. Decide how large the finished piece should be before cutting your cardboard.
Step 2: Collect Your Materials
Gather clean cardboard, a pencil, ruler, scissors, craft glue, paint, colored paper, and small decorative materials. Thin cardboard is useful for tiny details, while thicker pieces are better for bases and structural parts.
Step 3: Measure and Cut Carefully
Miniature projects need accurate measurements because even small differences can affect how the pieces fit together. Draw each piece clearly, cut along the outlines, and test-fit the parts before applying glue. Adults should handle craft knives and supervise children during cutting.
Step 4: Assemble the Main Structure
Build the main body first. For a house, attach the walls before adding the roof. For furniture, assemble the base and supports before adding the seat or tabletop. Hold the pieces in place until the glue sets, and add extra cardboard supports where needed.
Step 5: Add Color and Tiny Details
Paint the finished structure or cover it with colored paper. Add small windows, doors, miniature drawings, decorative patterns, or paper accessories. Use a limited color palette to create a more coordinated and attractive result.
Step 6: Display or Gift Your Creation
Place your finished miniature on a desk, shelf, dollhouse, or display tray. If you are making a gift, place it inside a small handmade box. Keep cardboard crafts dry and away from open flames, and do not give tiny detachable pieces to young children who might swallow them.
Tips for Making Your Mini Cardboard Crafts Look Better
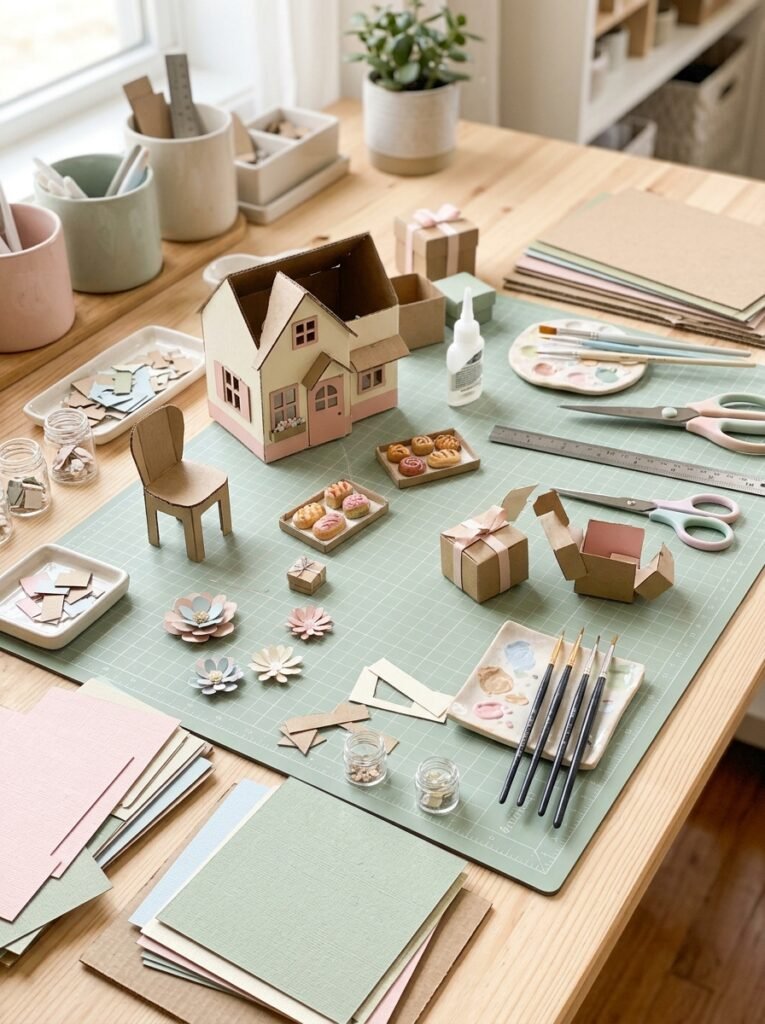
- Use a cutting template: Draw one accurate shape first, then trace it to make matching parts.
- Keep proportions consistent: Measure furniture and accessories against the miniature room so everything looks like it belongs together.
- Choose a color theme: Pastels create a cute aesthetic, while black, gray, and purple work well for spooky or game-inspired designs.
- Cover rough edges: Use narrow paper strips or a little paint to make visible cardboard edges look neater.
- Reinforce important joints: Double-layer the bases of houses, tables, and display pieces so they stand more securely.
- Add details gradually: Tiny windows, flowers, handles, and cushions can make a simple design look much more realistic.
- Reuse materials creatively: Small box pieces, packaging inserts, and clean cardboard scraps are useful for miniature furniture and accessories.
- Make gifts personal: Choose colors, themes, and decorative details that match the recipient’s interests.
- Work safely: Use child-safe scissors where appropriate, supervise younger crafters, and keep sharp tools and small pieces away from toddlers.
Final Thoughts
You do not need expensive supplies to create beautiful miniatures. A few clean cardboard pieces can become tiny houses, miniature cafés, doll furniture, cute food models, decorative wall hangings, and thoughtful handmade gifts. The best mini cardboard crafts are simple enough to enjoy making but detailed enough to reflect your personal style. Choose one project that matches your interests, gather a few basic materials, and begin with simple shapes. As your skills improve, you can combine several miniatures into a complete dollhouse, tiny shop, themed display, or personalized room decoration.