Fixing plumbing under the sink can seem daunting. But it’s doable with the right guidance.
Plumbing issues under the sink are common in many households. Leaks, clogs, and worn-out pipes can cause major headaches. Understanding the basics can save time and money. This guide will help you tackle these problems. You’ll learn how to identify issues and what tools you need.
Fixing minor plumbing problems yourself can be satisfying. It can also prevent bigger issues later. So, let’s dive in. Learn how to fix plumbing under the sink with ease.

Credit: www.youtube.com
Tools And Materials Needed
When it comes to fixing plumbing under the sink, having the right tools and materials at your disposal can make the job much easier and faster. Whether you’re dealing with a leaky pipe or a clogged drain, being prepared with the essential tools and materials will help you tackle the problem efficiently. Let’s dive into what you’ll need to get started.
Essential Tools
The right tools can make all the difference when fixing plumbing issues. Here’s a list of essential tools that will help you handle most under-sink plumbing problems:
- Pipe Wrench: This is used to grip and turn pipes, providing the leverage you need to tighten or loosen them.
- Adjustable Wrench: Versatile and handy, it can adjust to different sizes of nuts and bolts.
- Plunger: Perfect for clearing clogs in your sink’s drain.
- Pliers: Useful for gripping, twisting, and cutting wires or small pipes.
- Pipe Cutter: Ensures clean and precise cuts in pipes, which is essential for fitting new pieces.
- Bucket: To catch any water that might spill when you disconnect pipes.
- Plumber’s Tape: This helps create a watertight seal on threaded pipe joints.
Required Materials
Besides tools, you’ll also need some materials to complete your plumbing repair. Here are the must-have materials:
- Replacement Pipes: In case the old pipes are damaged or corroded.
- Pipe Fittings: Elbows, connectors, and other fittings to join pipes together.
- Sealant: Such as plumber’s putty or silicone, to seal joints and prevent leaks.
- Rubber Washers: To replace any worn-out washers that might be causing leaks.
- Cleaning Supplies: Rags, sponges, and cleaners to tidy up after the repair.
Having these tools and materials ready will not only save you time but also reduce the stress of running back and forth to the store. Imagine starting a repair only to find out you’re missing a crucial tool! Been there, done that – and it’s no fun.
Remember, each plumbing job is unique, so you might need additional tools or materials depending on the specific issue. However, with the essentials listed above, you’ll be well-prepared to handle most common problems under the sink.
Safety Precautions
Fixing plumbing under the sink can be tricky. Safety precautions are vital. They prevent injuries and ensure the task goes smoothly. Let’s discuss some important steps to keep you safe.
Protective Gear
Always wear protective gear. Gloves protect your hands from sharp objects and chemicals. Safety glasses shield your eyes from splashes. Knee pads can save your knees from hard floors. Make sure your gear is in good condition.
Turn Off Water Supply
Before starting, turn off the water supply. Locate the shut-off valves under the sink. Turn them clockwise to close. This prevents water from gushing out. It also makes the work area dry and safe. Check if the water has stopped by turning on the faucet. If water still flows, the valve might be faulty. Fix it before proceeding.
Identify The Problem
Fixing plumbing under the sink can seem like a daunting task, especially if you have no prior experience. But before you can fix anything, you need to know what the problem is. Identifying the problem is the first and most important step. It can save you time, money, and a lot of frustration. Let’s dive into some common issues and signs of leaks that you should look out for.
Common Issues
Under-sink plumbing problems can come in many forms. Here are some common issues you might encounter:
- Clogged Drains: Food scraps, grease, and soap can build up in the drain, causing blockages.
- Leaky Pipes: Joints can loosen over time, leading to water escaping from the pipes.
- Faulty Faucets: Worn-out washers or O-rings can cause faucets to drip.
- Garbage Disposal Problems: If your disposal is jammed or malfunctioning, it can affect the entire sink system.
These issues are quite common and can be fixed with some basic tools and a bit of patience. But how do you know which problem you have? Let’s look at the signs of leaks next.
Signs Of Leaks
Leaks can be tricky to spot, especially if they are small. Here are some signs that you might have a leak under your sink:
- Water Stains: Check for water stains or discoloration on the cabinet floor or walls.
- Mold or Mildew: Damp areas are breeding grounds for mold. If you see or smell mold, there’s likely a leak.
- Puddles of Water: This is the most obvious sign. If you see water pooling under your sink, you have a leak.
- High Water Bills: An unexplained increase in your water bill can indicate a hidden leak somewhere in your plumbing.
By keeping an eye out for these signs, you can catch leaks early and avoid more significant damage. Remember, a small leak can turn into a big problem if not addressed promptly. If you’re unsure about what you’re looking for, don’t hesitate to consult a professional. Sometimes a fresh set of eyes can make all the difference.
Identifying the problem is half the battle. Once you know what you’re dealing with, you can move on to the next steps of fixing it. Stay tuned for more tips and tricks on how to repair common under-sink plumbing issues. Happy fixing!

Credit: m.youtube.com
Removing The Old Pipes
Dealing with a leaky sink can be a real headache, but fixing it is easier than you might think. The first step in fixing plumbing under the sink is to remove the old pipes. This process might seem daunting, but with a little patience and the right instructions, you can get the job done. Let’s dive into the specifics of how to remove the old pipes under your sink.
Disconnecting The Pipes
First things first, you need to turn off the water supply. This is crucial to avoid any unwanted water spills. Look for the valves under the sink and turn them clockwise to shut off the water. If you can’t find these valves, you might need to turn off the main water supply to your home.
Next, place a bucket under the sink to catch any water that might still be in the pipes. Using a wrench, loosen the nuts connecting the pipes to the sink and the wall. If the pipes are old and corroded, this might take a bit of effort. Don’t be afraid to use a bit of elbow grease!
Once the nuts are loose, gently pull the pipes away from the sink and the wall. You might need to wiggle them a bit to get them free. Remember to be gentle to avoid damaging the plumbing or the sink itself.
Cleaning The Area
With the old pipes out of the way, take a moment to clean the area. Use a rag or a sponge to wipe away any grime or debris that has accumulated over time. This step is important because it ensures a good seal when you install the new pipes.
If there is any mold or mildew, now is the time to address it. A mixture of water and vinegar can work wonders in getting rid of these unwanted guests. Simply spray the mixture on the affected areas, let it sit for a few minutes, and then wipe it away.
Finally, inspect the area for any signs of damage or wear. Look for cracks or holes that might need to be repaired before you proceed with installing the new pipes. It’s better to fix these issues now rather than dealing with a bigger problem down the road.
By following these steps, you’ll have your sink back in working order in no time. Remember, patience and attention to detail are key. Happy plumbing!
Installing New Pipes
So, you’ve decided to take on the challenge of fixing the plumbing under your sink. Good for you! Whether it’s due to a leaky pipe or just an upgrade, installing new pipes can seem like a daunting task. But don’t worry, it’s easier than you think. Let’s walk through the process step-by-step, focusing on the essential parts like measuring, cutting, and connecting the pipes.
Measuring And Cutting
First things first, you need to measure the pipes. Accurate measurements are crucial. As the saying goes, “Measure twice, cut once.” Grab your tape measure and jot down the length of each pipe section you need. Remember, it’s better to have a little extra length that you can trim off later.
Once you have your measurements, it’s time to cut the pipes. Use a pipe cutter for the best results. Here’s a quick tip: if you’re using PVC pipes, a fine-toothed hacksaw can also do the trick. Always wear safety goggles to protect your eyes from flying debris. And don’t forget, smooth out the edges with sandpaper to avoid any rough spots that could cause leaks.
Connecting The Pipes
Now comes the fun part—connecting the pipes! Start by dry-fitting the pieces together to make sure everything lines up properly. This is like putting together a puzzle. Once you’re confident with the fit, it’s time to make it permanent.
For PVC pipes, use PVC primer and cement. Apply the primer first, which cleans and prepares the surface. Then, apply the cement and quickly join the pipes together. Hold them in place for a few seconds to ensure a strong bond.
If you’re dealing with metal pipes, you’ll need some pipe joint compound (also known as pipe dope) or Teflon tape. Wrap the Teflon tape around the threads of the pipe, or apply the compound, and then screw the pipes together tightly. Use a wrench to ensure a snug fit, but be careful not to over-tighten and damage the threads.
And there you have it! With your new pipes measured, cut, and connected, you’re well on your way to having a fully functional sink once again. Remember, practice makes perfect. The more you do it, the easier it gets. Happy plumbing!

Credit: www.wikihow.com
Sealing The Connections
When fixing plumbing under the sink, sealing the connections is crucial. It ensures that there are no leaks and everything runs smoothly. If you’ve ever experienced a leaky sink, you know how frustrating it can be. Proper sealing can save you from a lot of trouble. Let’s dive into the steps involved in this process. Remember, sealing is not just about stopping leaks; it’s about making sure your plumbing lasts longer.
Applying Sealant
First things first, let’s talk about applying the sealant. This step is essential for preventing leaks. You will need a good quality plumber’s sealant. Here’s how you can apply it effectively:
- Clean the Surface: Make sure the area you are working on is clean. Wipe off any dirt or old sealant.
- Apply Sealant Evenly: Put a thin layer of sealant around the pipe connections. Be careful not to use too much; a little goes a long way.
- Let it Dry: Allow the sealant to dry according to the manufacturer’s instructions. Usually, it takes a few hours.
Remember, patience is key. Don’t rush the drying process, or you might end up with leaks.
Tightening The Fittings
Next, let’s move on to tightening the fittings. This step is as important as applying the sealant. If the fittings are not tight, the sealant won’t be effective. Here’s a simple guide:
- Hand Tighten: Start by tightening the fittings with your hands. Make sure they are snug but not overly tight.
- Use a Wrench: Once hand-tightened, use a wrench for an extra turn. Be careful not to over-tighten, as this can damage the fittings.
- Check for Leaks: After tightening, run some water to check for leaks. If you spot any, tighten a bit more if necessary.
It’s always better to check twice than to deal with a mess later. A personal tip: I once over-tightened a fitting and cracked it. Trust me, you don’t want to go down that road.
Sealing the connections under your sink doesn’t have to be a daunting task. With the right sealant and proper tightening, you can ensure a leak-free plumbing system. Follow these steps, and you will be good to go. Happy plumbing!
Testing For Leaks
Testing for leaks is a crucial step when fixing plumbing under the sink. Imagine spending hours tightening pipes and securing connections, only to find a puddle of water on the floor the next day. Not cool, right? To avoid this, you need to ensure everything is sealed tight. Below, we’ll guide you through the process of testing for leaks with simple steps.
Turning On The Water
First things first, you need to turn on the water. But, there’s a smart way to do it. Start by slowly opening the faucet. You don’t want to flood your kitchen or bathroom. Here’s a step-by-step guide:
- Turn the faucet handle slowly to let the water flow.
- Check if the water pressure is normal. If it’s too high, it might cause leaks.
- Let the water run for a minute or two to ensure it reaches all parts of the plumbing.
Checking For Drips
Now, it’s time to play detective. Look closely under the sink to spot any drips. Here’s what you should do:
- Use a dry cloth: Wipe the pipes and connections to make them dry. This helps you spot even the tiniest drip.
- Inspect all joints: Look at every joint and connection. Even a small drop can lead to bigger problems later.
- Check the P-trap: This is the U-shaped pipe under the sink. It’s a common place for leaks.
If you find any drips, tighten the connections a bit more. If the leaks persist, you might need to replace some parts. Remember, patience is key here. Fixing leaks now will save you a lot of trouble later.
In conclusion, testing for leaks is not just about turning on the water and waiting. It’s about being thorough and careful. With these simple steps, you can ensure your plumbing under the sink is leak-free. And as always, if you’re unsure about anything, don’t hesitate to call a professional. After all, it’s better to be safe than sorry!
Maintenance Tips
Keeping the plumbing under your sink in good shape is important. It can save you from costly repairs and a lot of stress. Let’s dive into some maintenance tips that will help you keep things running smoothly under there. These tips are easy to follow and very effective.
Regular Inspections
Regular inspections are key to catching problems early. Here’s what you need to do:
- Check for Leaks: Look for any water droplets or damp spots. Even a small leak can become a big problem.
- Examine Pipes: Make sure the pipes are not rusty or corroded. If they are, they might need replacing.
- Inspect Seals: The seals around your sink drain and pipes should be tight. Loose seals can cause water to leak.
Regular checks can help you spot issues before they get worse. Trust me, it’s worth the time!
Preventive Measures
Prevention is better than cure, right? Here are some simple steps you can take to prevent plumbing problems:
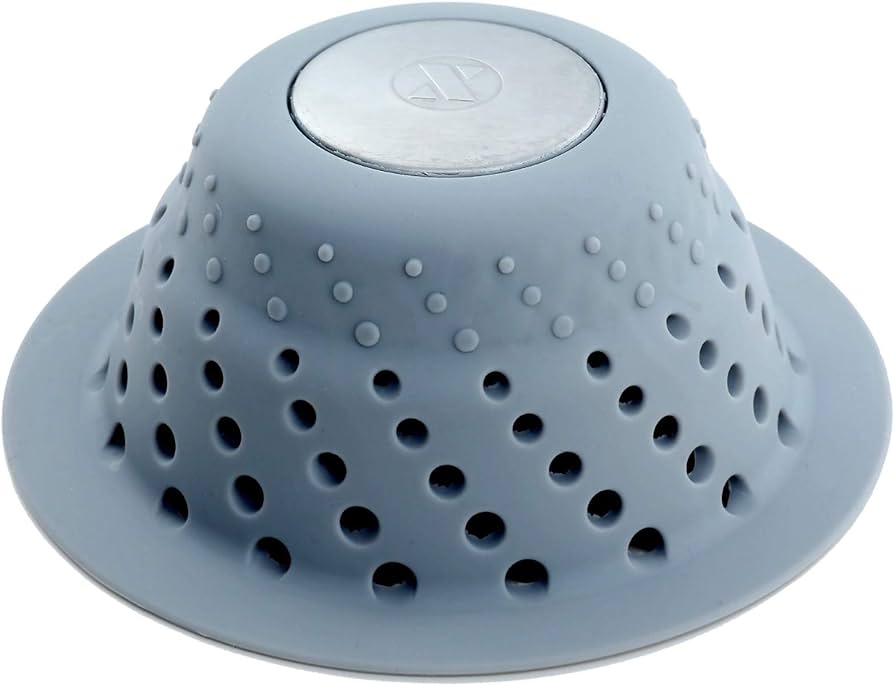
- Use Drain Covers: These can catch food particles, hair, and other debris. It prevents clogs.
- Avoid Pouring Grease: Grease can solidify and block your pipes. Dispose of it properly.
- Regular Cleaning: Clean your sink and pipes regularly. It helps remove any buildup that can cause blockages.
Following these steps can keep your plumbing in top condition. Plus, it’s easier than dealing with a plumbing emergency later on.
Remember, taking care of your plumbing doesn’t have to be hard. With these simple maintenance tips, you can keep everything running smoothly under your sink. Happy plumbing!
Frequently Asked Questions
How To Fix A Water Pipe Under A Sink?
To fix a water pipe under a sink, first turn off the water supply. Unscrew the damaged section, replace with a new pipe, and secure tightly. Turn water back on to check for leaks.
Why Is The Plumbing Under The Sink A Common Area For Leaks?
The plumbing under the sink is prone to leaks due to frequent use, joint connections, and aging pipes.
Why Is The Pipe Under My Sink Leaking At The Connection?
The pipe under your sink may be leaking due to loose connections, worn-out washers, or damaged seals. Tighten connections and replace any faulty parts to fix the issue.
How Much Does It Cost To Fix A Pipe Under The Sink?
Fixing a pipe under the sink typically costs between $150 and $350. The price varies based on location and complexity.
Conclusion
Fixing plumbing under the sink can seem daunting, but it’s doable. Follow these steps, and you’ll handle common issues with ease. Remember, a little patience and the right tools make a big difference. Regular maintenance helps prevent future problems. Don’t hesitate to call a professional if the task feels too challenging.
Your sink will be back in working order in no time. Happy plumbing!