
This post may contain affiliate links. Please read my disclosure policy.
In This Article Show
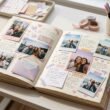
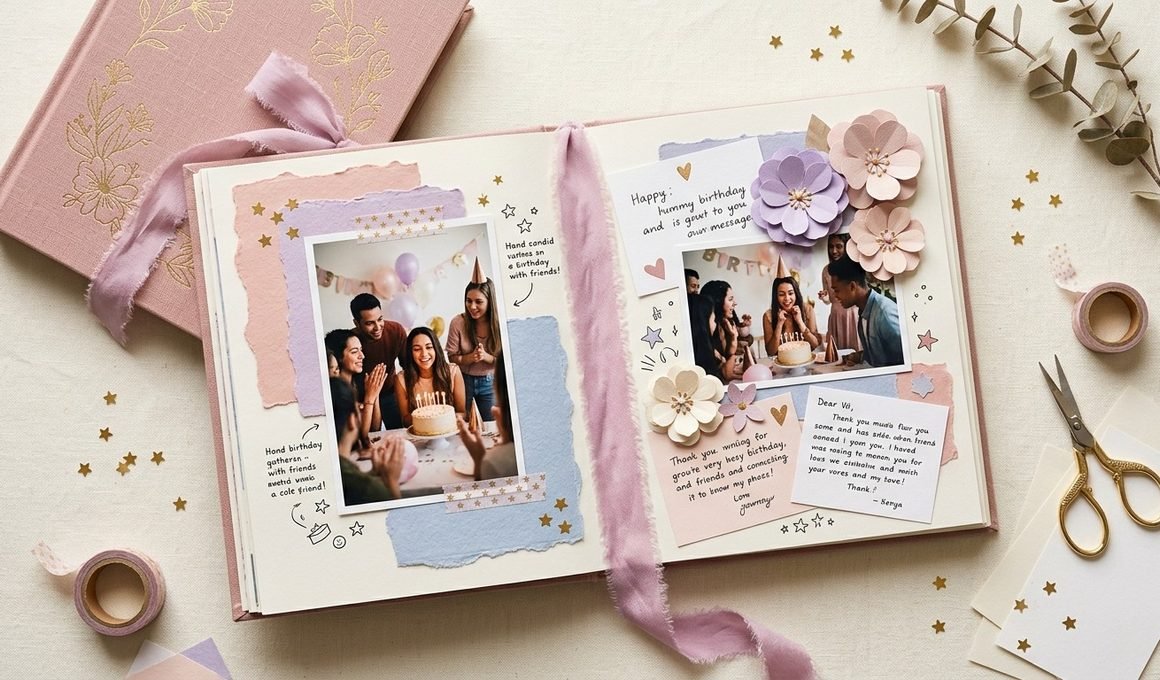
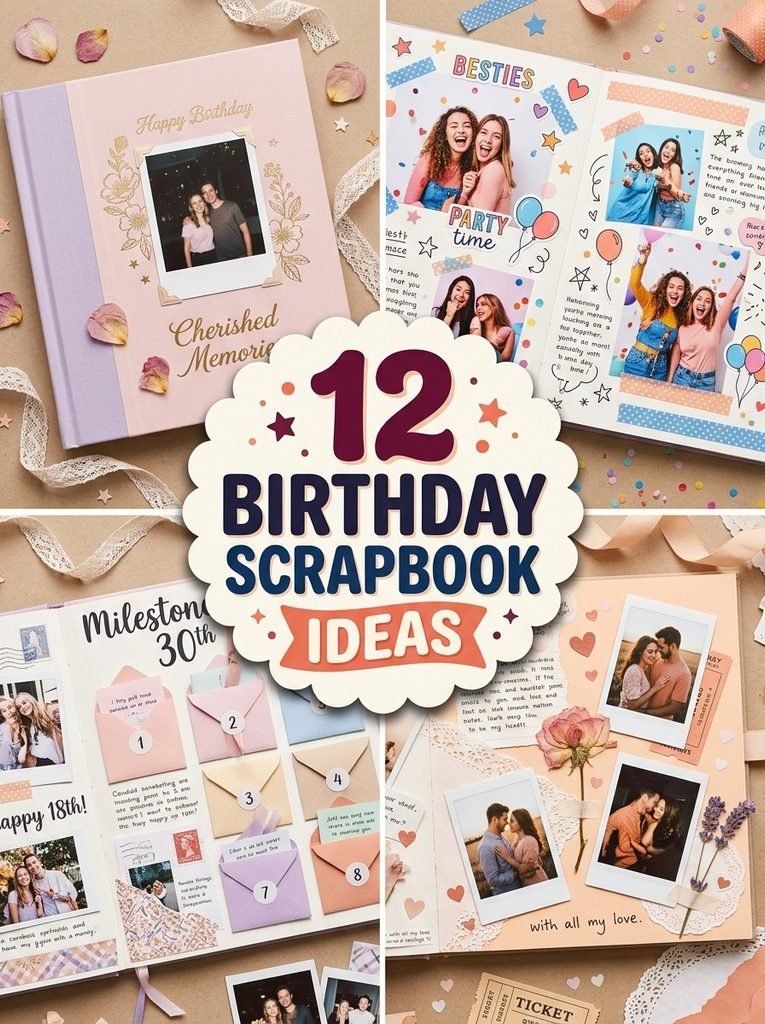
A handmade birthday scrapbook can turn favorite photographs, funny memories, and heartfelt messages into a gift someone will treasure for years. Whether you are making one for your best friend, boyfriend, sister, or another special person, the best designs reflect their personality and your relationship. You do not need expensive supplies or advanced crafting skills. With printed photos, colored paper, stickers, and a little creativity, you can make a beautiful memory book. These 12 ideas include aesthetic covers, milestone birthday letters, creative page layouts, printable decorations, and digital templates, so you can choose a style that suits your time, budget, and recipient.
1. Aesthetic Cover with a Favorite Photo
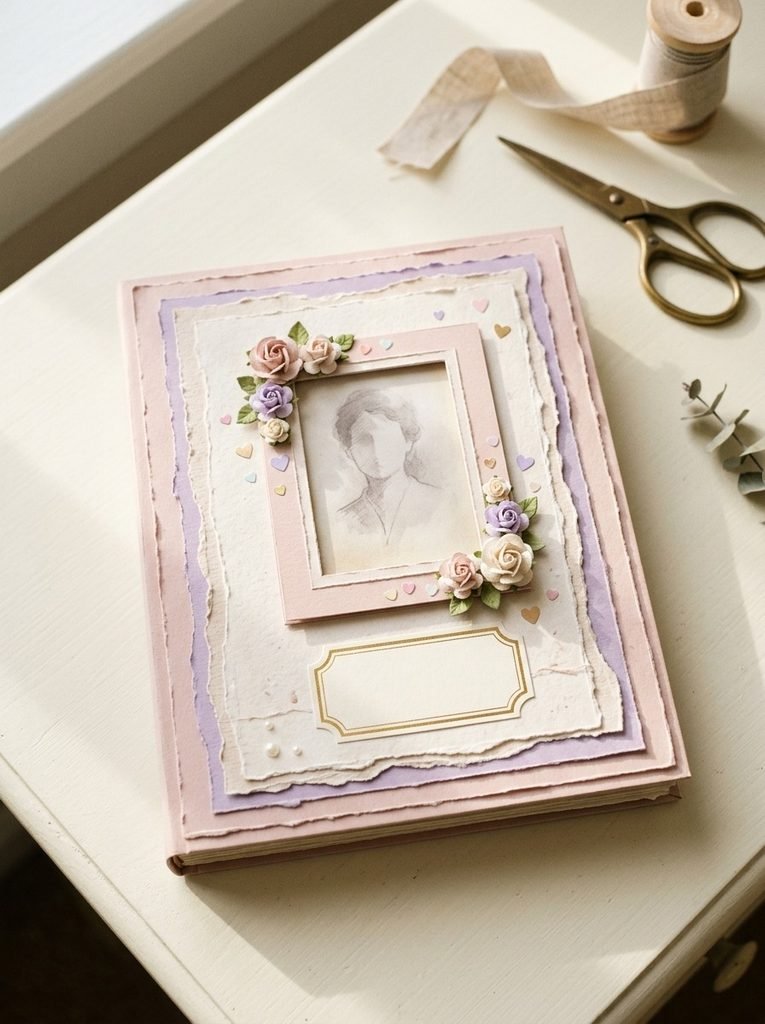
The cover creates the first impression, so choose one photograph that captures a happy memory. Place it in the center of a cream, blush-pink, or lavender cardstock cover, then add small stars, hearts, or paper flowers around the edges. Write the recipient’s name and birthday year on a neat label. Avoid using too many decorations because the photograph should remain the main focus. This design works especially well for someone who prefers a clean, elegant, and personal gift.
2. Best Friend Memory Scrapbook
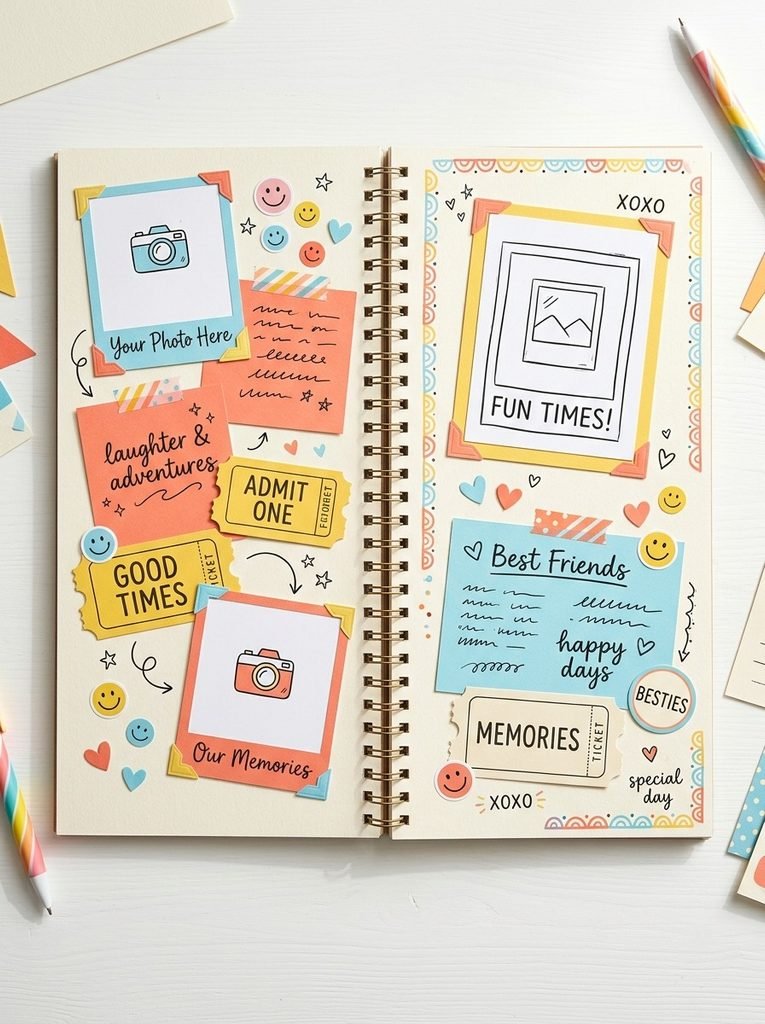
Celebrate your friendship with photographs, inside jokes, favorite places, and small notes about memorable moments. Give different pages their own themes, such as “Our Funniest Memories,” “Things We Always Say,” and “Places We Have Been.” Use colorful stickers and small decorative borders to make the pages cheerful, but keep the overall color palette consistent. You can also add ticket stubs or printed song titles that remind you of time spent together. The personal details make this an especially meaningful birthday gift for a close friend.
3. “18 Letters for an 18th Birthday”
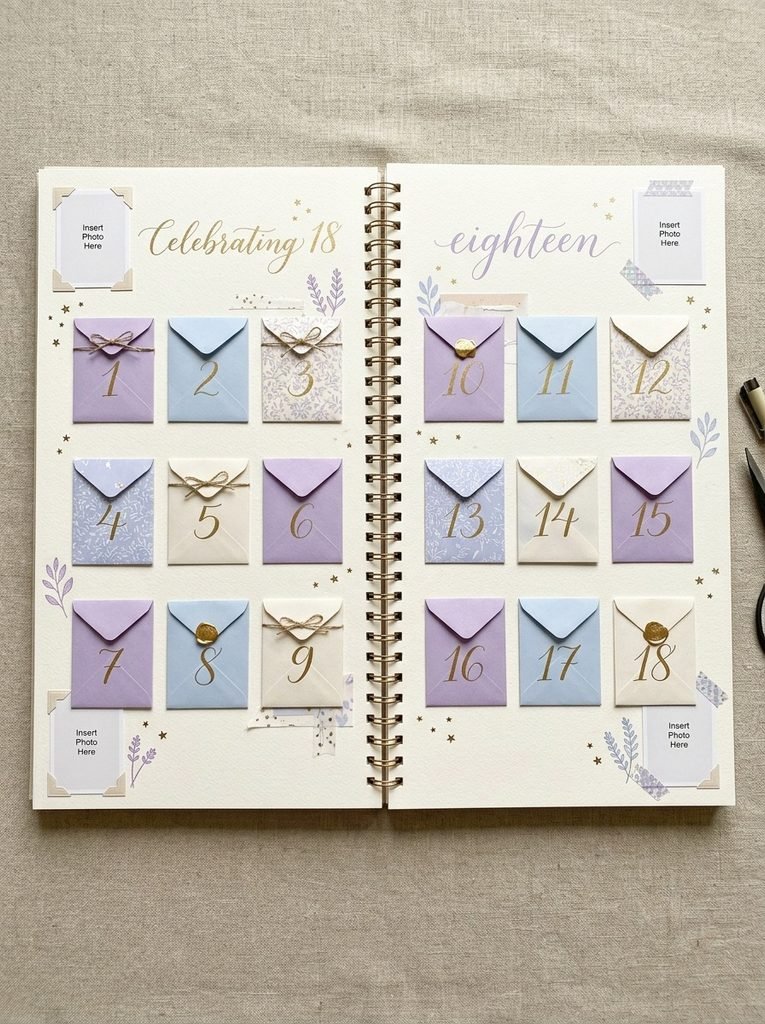
For an eighteenth birthday, prepare 18 short letters that celebrate the recipient and encourage them as they enter a new stage of life. Each letter can share a favorite memory, a quality you admire, a piece of advice, or a wish for the future. Place the messages in numbered mini envelopes and arrange them across several pages. Choose lilac, soft blue, white, or gold accents for a polished look. Make every message personal so the collection feels more thoughtful than a set of generic birthday wishes.
4. Romantic Scrapbook for a Boyfriend
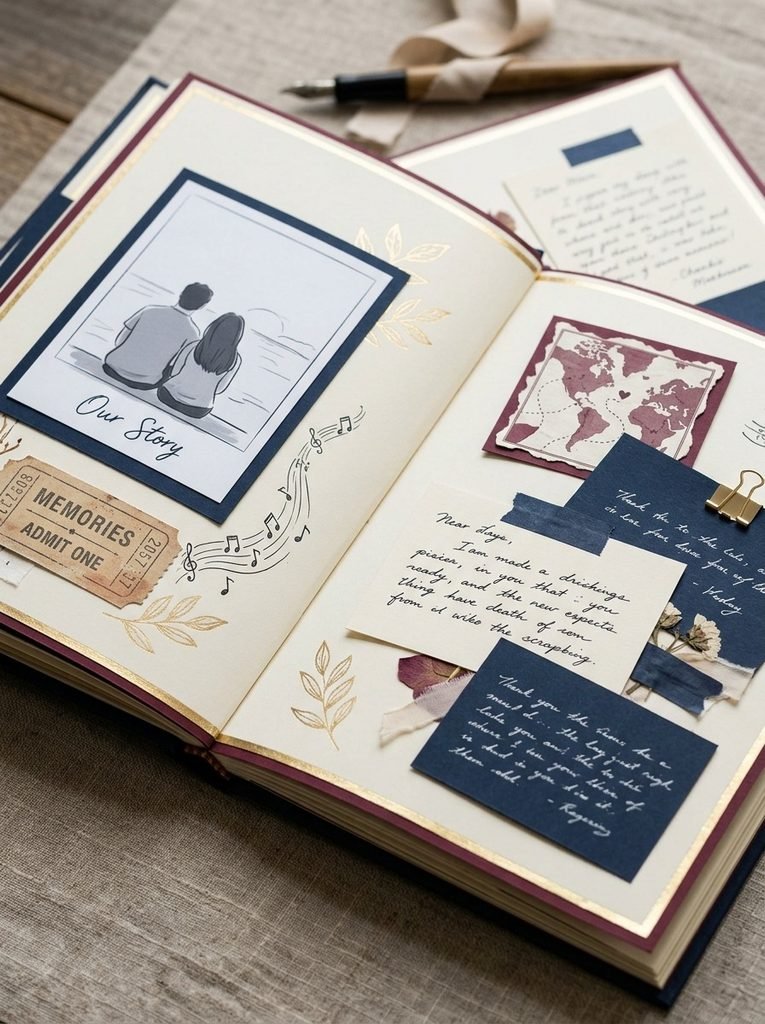
Make a romantic memory book with photos, thoughtful messages, and little reminders of your relationship. Include pages for your first meeting, favorite dates, special conversations, and things you appreciate about him. Navy, cream, burgundy, or muted green can create a mature look without relying on bright red hearts on every page. Add a small map of a meaningful place, a favorite song reference, or a ticket from an event you attended together. Personal memories will make the gift feel more genuine than copied romantic quotes.
5. “21 Letters for a 21st Birthday”
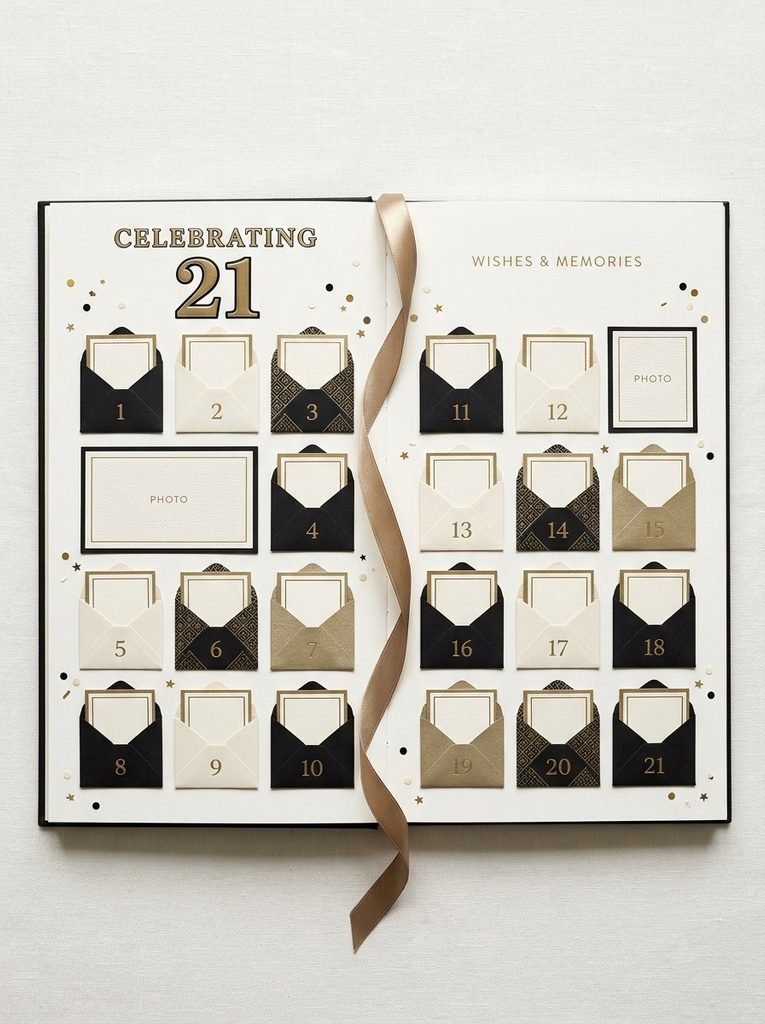
A twenty-first birthday offers a fun opportunity to create 21 short messages, each celebrating a memory, sharing encouragement, or expressing a birthday wish. Arrange the letters in mini pockets, numbered cards, or small folded notes across the book. Black, ivory, and muted gold give the pages a sophisticated style, while bright colors can suit someone with a playful personality. Vary the message lengths and subjects so each note feels different. Before decorating, count the cards carefully to make sure all 21 are included.
6. Simple Scrapbook with Birthday Stickers
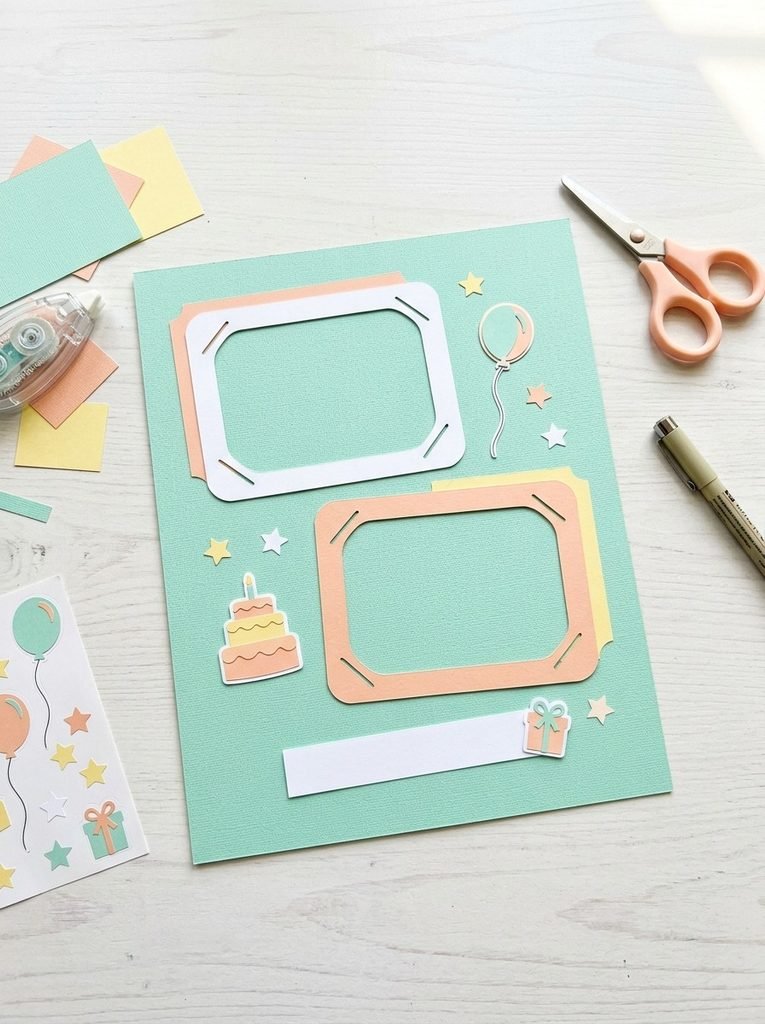
If you are new to crafting, keep each page simple: one or two photographs, a short caption, and a few stickers. Balloons, birthday cakes, stars, candles, and gift boxes are easy decorations to use. Choose two or three main colors and repeat them throughout the book so the pages look connected. Leave some empty space around the photographs instead of filling every corner. This beginner-friendly approach saves time and makes the finished book easier to read. It is also a good choice when you have many photos but limited supplies.
7. Layered Cover with Decorative Paper
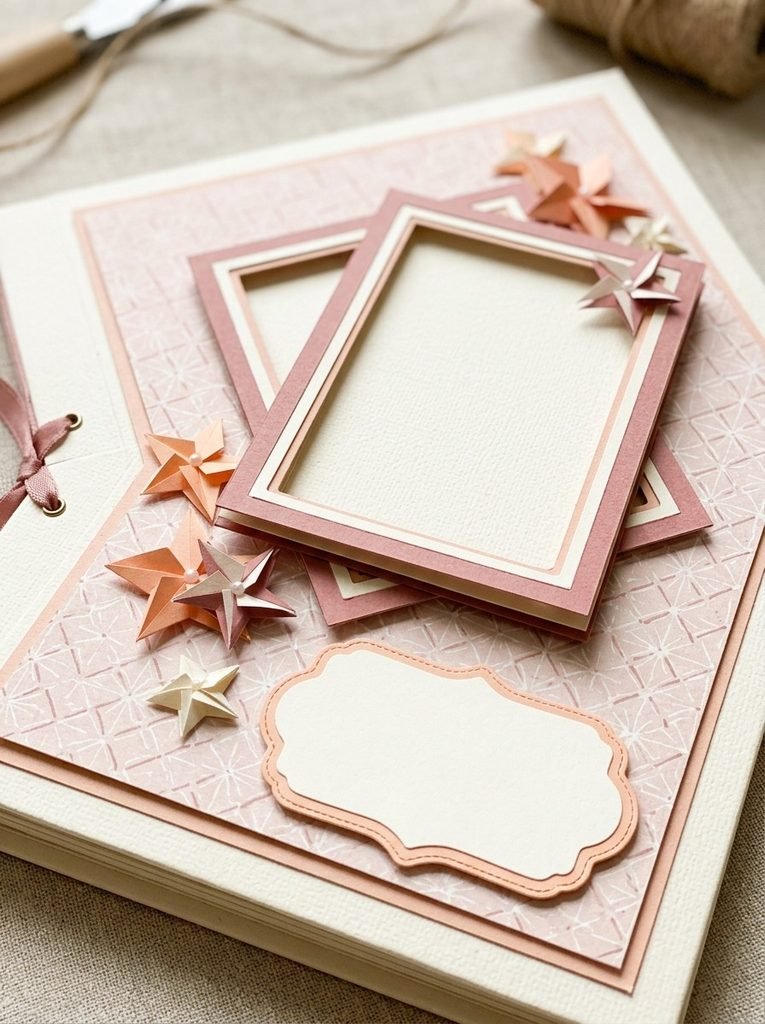
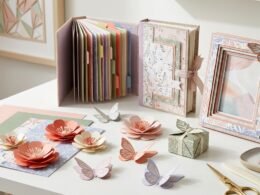
A layered cover adds depth without requiring advanced crafting skills. Start with a sturdy cardstock base, add a rectangle of patterned paper, and place a photo frame or decorative label on top. Foam adhesive dots can lift a few elements slightly, creating natural shadows and a three-dimensional effect. Choose floral paper for a soft design or geometric patterns for a modern one. Keep the decorations concentrated around the edges or in one corner. A clear focal point helps the cover look polished rather than crowded.
8. “Happy Birthday” Greeting Page

Create one page that serves as the main birthday greeting. Place a large “Happy Birthday” heading at the top, a favorite photograph in the middle, and a personal message underneath. Decorate the corners with small paper balloons, stars, or a simple cake illustration. Choose colors that suit the recipient, such as coral and turquoise for a cheerful style or lavender and cream for a softer look. Keep the greeting easy to read and leave enough space around it. You can place this page at the beginning or use it as a surprise later in the book.
9. Photo Timeline Layout
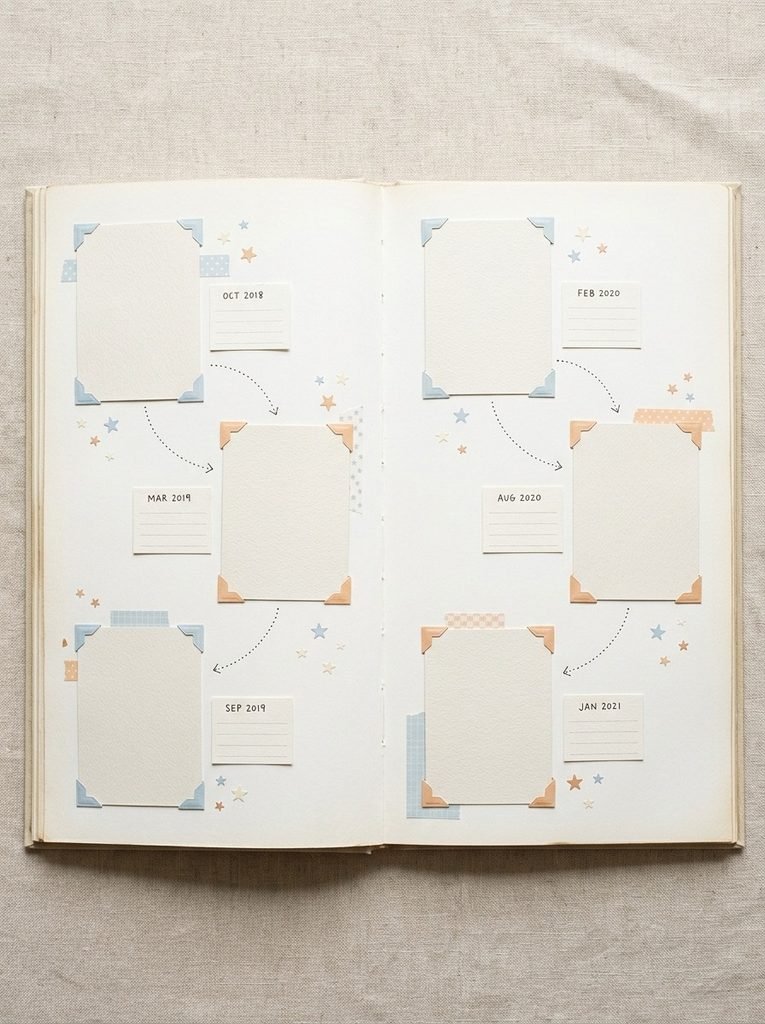
A timeline tells the story of your relationship through photographs arranged in chronological order. Start with an early memory and gradually move toward more recent moments. Small date labels, arrows, and short captions help explain what happened without filling the page with long paragraphs. You might include school memories, trips, celebrations, or everyday moments that became important over time. Use a consistent photo size and leave space between each image. This layout is especially helpful when you want to include many photographs while keeping the story easy to follow.
10. Printable Birthday Sticker Sheet
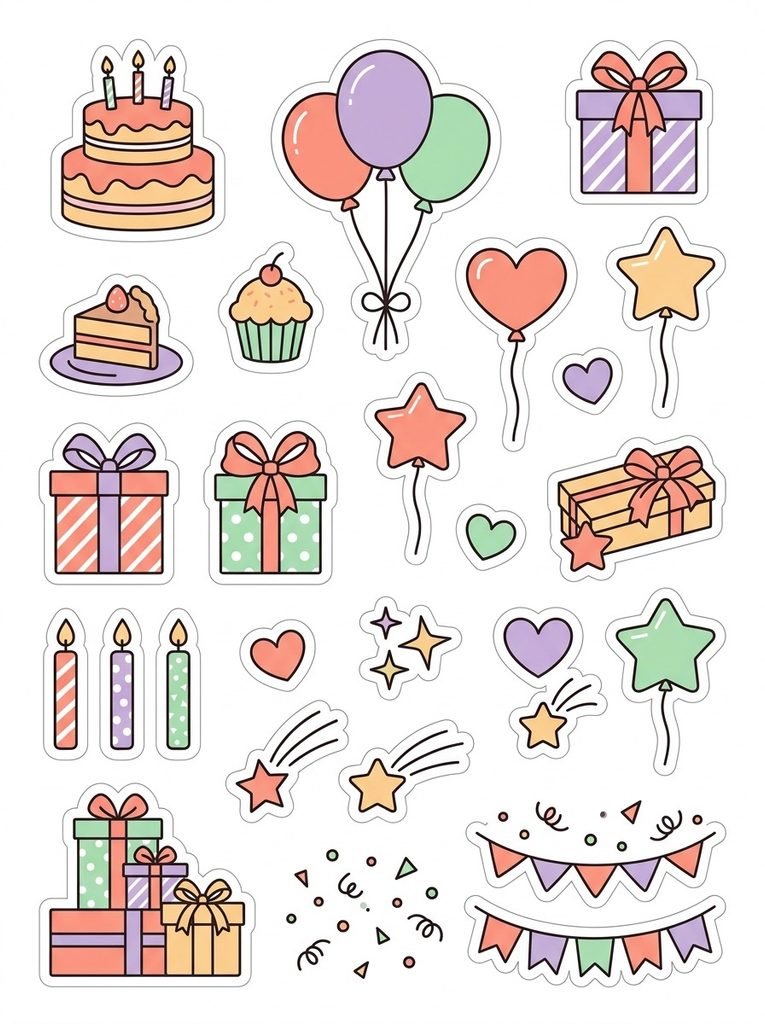
Printable stickers are an easy way to decorate pages without drawing every detail yourself. Create or print separate illustrations of balloons, birthday cakes, candles, hearts, stars, and gift boxes in colors that match your theme. For a handmade project, use sticker paper and cut out each shape carefully. For a digital book, place the graphics beside photos and message boxes. Keep the illustration style consistent so the pages look coordinated. Print a test sheet first to check the colors and size before using the stickers in the final design.
11. “Things I Love About You” Page
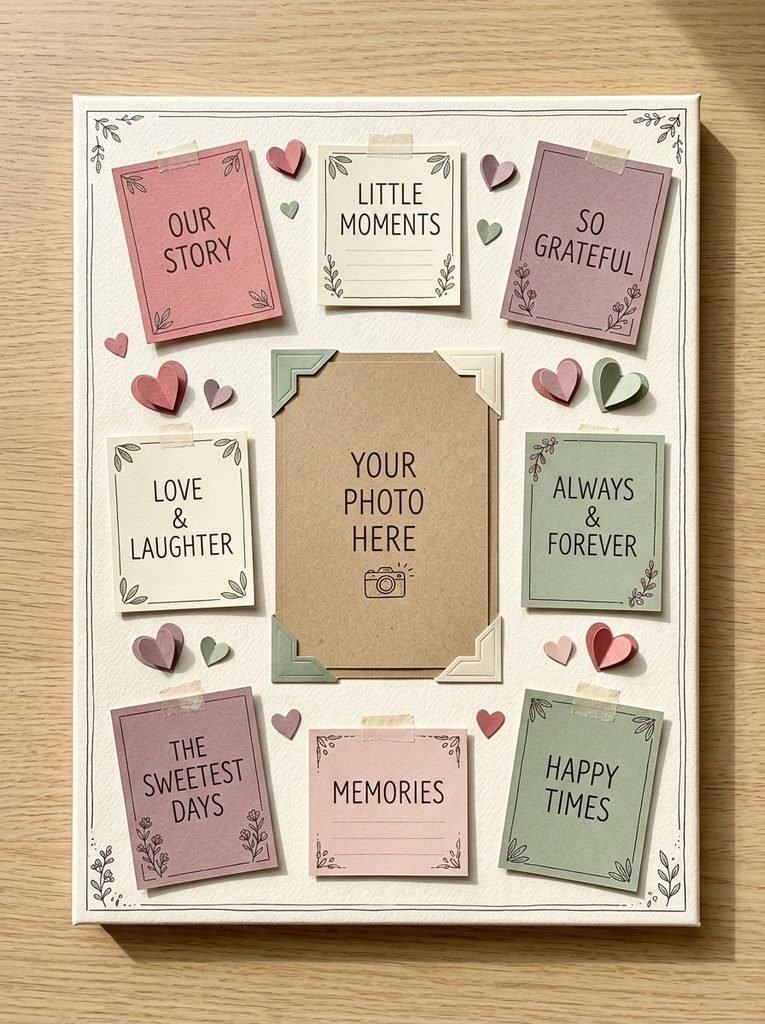
Use one page to describe the qualities that make the birthday person special. Write specific statements instead of general compliments. For example, mention how they supported you during a difficult time or made an ordinary day memorable. Arrange the messages in small cards, circles, or heart-shaped paper pieces around a central photograph. You can add a few tiny illustrations, but keep the words easy to read. This idea works for a best friend, boyfriend, girlfriend, or family member and gives the gift a personal meaning beyond the birthday celebration.
12. Digital Scrapbook Template
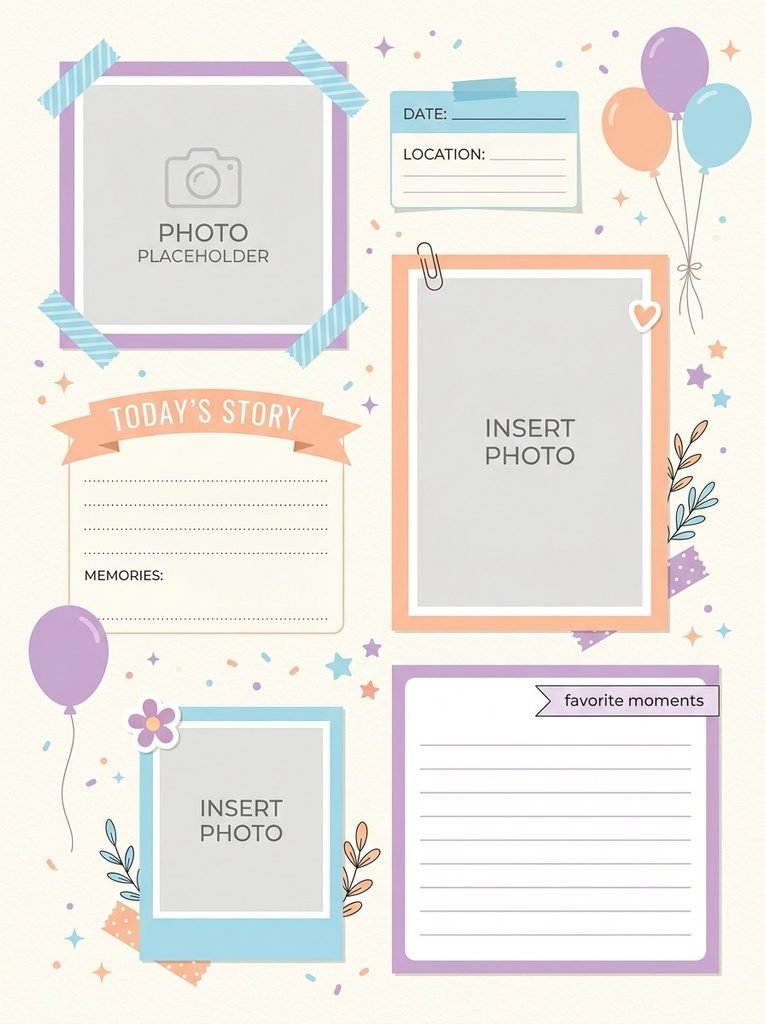
A digital design is ideal if you prefer working on your phone or computer. Use Canva or a similar design tool to arrange photo frames, background colors, decorative graphics, and short captions. Choose one page size and duplicate layouts to keep the book consistent. Replace sample photographs with your own, personalize the messages, and adjust the colors to match the recipient. When the pages are complete, export them as a high-quality PDF for sharing or printing. Check spelling, image clarity, and page margins before saving the final version.
Practical Tips for Creating a Beautiful Scrapbook
To make your birthday scrapbook look polished and personal, plan the pages before you start decorating.
- Choose a theme first: Decide whether the book will celebrate friendship, romance, family memories, or a milestone birthday.
- Select photos before arranging pages: This helps you choose layouts that fit the photographs instead of cutting them to fit.
- Limit your color palette: Two or three main colors and one accent color usually create a coordinated look.
- Use personal messages: Specific memories and sincere wishes are more meaningful than copied quotes.
- Avoid overcrowding: Leave enough space around photographs, captions, and stickers so each page is easy to enjoy.
- Check milestone details: For an eighteenth or twenty-first birthday, confirm the age and count your letters before printing.
- Protect the finished pages: Use suitable adhesive, allow glue to dry, and store the book away from moisture.
- Review digital designs: For a digital birthday scrapbook, check spelling, image quality, margins, and page order before exporting the final PDF.
Conclusion
A memorable birthday scrapbook does not need expensive supplies or professional crafting skills. A collection of favorite photographs, heartfelt letters, creative layouts, and small personal details can become a gift the recipient will want to keep. Choose the style that suits their personality, then fill each page with genuine memories and thoughtful messages. Whether you make it by hand or design it digitally, the care you put into the details is what makes the finished gift special.