
Fixing a plumbing leak in a wall may seem daunting. But with some guidance, you can handle it.
Plumbing leaks in walls can cause serious damage if not addressed quickly. Water seeping through walls may lead to mold, structural damage, and high repair costs. Before you panic, know that fixing a plumbing leak in a wall is a task you can manage with the right steps and tools.
This guide will help you identify the leak, assess the damage, and fix it properly. By following these steps, you can prevent further damage and keep your home safe and dry. Let’s dive in and learn how to fix that leak efficiently.
Credit: bigblueplumbing.au
Identify The Leak
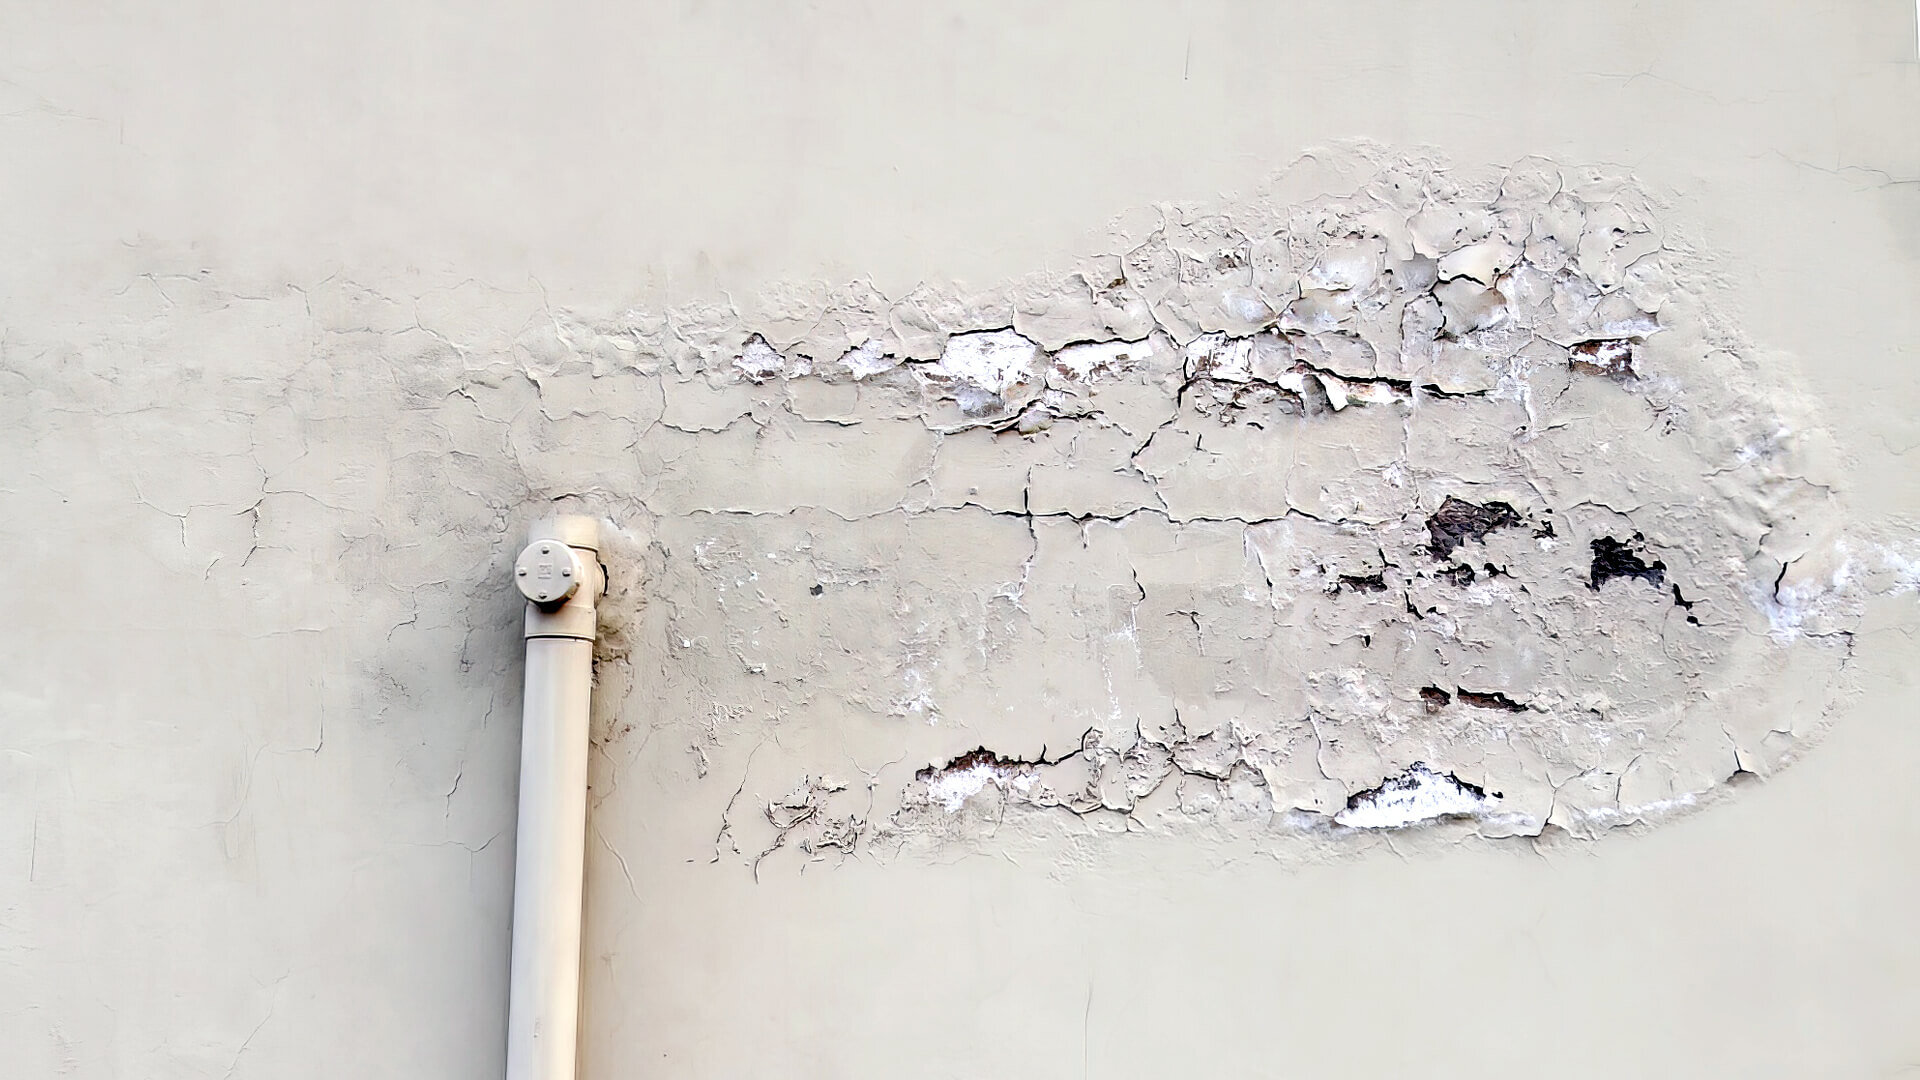
Detecting a plumbing leak inside a wall requires careful observation. Look for damp spots or mold growth. Listen for unusual dripping sounds.
Fixing a plumbing leak in the wall starts with identifying the leak. This step is crucial to prevent further damage and costly repairs. Knowing where to look and what to look for can save time and money.Signs Of A Leak
Water stains on walls or ceilings are common signs of a leak. Look for discoloration or damp patches. Listen for sounds of dripping water. A musty smell can also indicate a hidden leak. Increased water bills without extra usage might signal a leak.Locating The Source
Once you notice the signs, finding the exact leak source is next. Check areas around sinks, showers, and toilets. Inspect the drywall for soft spots or bubbles. Use a moisture meter to detect hidden dampness. Open up the wall if necessary to trace the leak to its origin. “`Turn Off Water Supply
Discovering a plumbing leak in your wall can feel like a nightmare. Imagine the water damage, the potential mold growth, and not to mention, the costs! But don’t panic just yet. The first step to fixing any plumbing leak is to turn off the water supply. This simple but crucial step can save you from a lot of unnecessary headaches and further damage. Let’s dive into the details of how you can achieve this, starting with locating the main water valve and then draining the system.
Main Water Valve
First things first, you need to find the main water valve. This is like the master switch for your home’s water supply. Usually, it’s located near the water meter, which could be inside or outside your home. If you’re unsure, check in the basement, crawl space, or near the perimeter walls of your house. If you live in an apartment, the valve might be in a utility room or a similar space.
Once you’ve located it, turn the valve clockwise to shut it off. Some valves might require a wrench, while others can be turned by hand. Don’t worry if it feels a bit stiff; that’s normal. Just give it a firm twist, and you should be good to go.
Drain The System
Now that the main water supply is off, it’s time to drain the system. This step ensures that there’s no water left in the pipes that could leak out while you’re fixing the problem. To drain the system, follow these simple steps:
- Open all the faucets in your home, starting from the top floor and working your way down.
- Flush all the toilets to empty the tanks.
- Don’t forget to check appliances like washing machines and dishwashers. They might also have water that needs to be drained.
By doing this, you ensure that all the water is out of the pipes, making it easier and less messy to fix the leak. It’s like giving your plumbing system a reset before you start your repairs.
And there you have it, the first essential steps to fixing a plumbing leak in your wall. By turning off the water supply and draining the system, you set the stage for a more manageable repair process. Stay tuned for our next section on how to locate and fix the actual leak. Happy plumbing!
Access The Leak
When you suspect a plumbing leak inside your wall, quick access is crucial. First, you need to locate the exact spot of the leak. This usually involves removing some drywall and inspecting the pipes. Follow these steps to access the leak safely and efficiently.
Removing Drywall
Start by turning off the water supply to prevent further damage. Use a stud finder to locate the wall studs. Mark the area between the studs where you suspect the leak. Cut along these marks using a drywall saw. Take care to cut only the drywall and not the pipes behind it. Remove the cut-out piece to expose the pipes. This will give you a clear view of the damaged area.
Inspecting Pipes
With the drywall removed, inspect the pipes for any visible damage. Look for signs of corrosion, cracks, or loose joints. Pay special attention to the joints and connections. These are common areas for leaks. If you find a damaged section, note its location for repair. Check the surrounding area for water damage. This will help you understand the extent of the leak and plan the necessary repairs.

Credit: www.youtube.com
Prepare For Repair
Fixing a plumbing leak in a wall may seem daunting. But with the right preparation, it becomes manageable. Before diving into the actual repair, taking some key steps can make a huge difference. Let’s explore what you need to do to prepare for the repair.
Gathering Tools
First, gather all necessary tools. You will need a pipe wrench, pliers, pipe cutter, and a utility knife. Have a bucket and rags ready to catch any water. Using a flashlight helps to see inside the wall. Don’t forget safety gloves and goggles. This ensures you work safely and efficiently.
Safety Precautions
Next, think about safety. Turn off the main water supply to avoid flooding. Drain the pipes by opening faucets. This step is crucial to prevent further water damage. Ensure the area is well-ventilated. If mold is present, wear a mask to protect your lungs. Keep a first aid kit nearby. Accidents can happen, so it’s best to be prepared.
Fix The Leak
So, you’ve detected a pesky plumbing leak in your wall? Don’t worry, it’s more common than you think. The key is to take action quickly to avoid further damage. Fixing the leak might seem daunting, but with a bit of guidance, you can handle it like a pro. Below, we’ll walk you through two effective methods: using pipe repair clamps and replacing damaged pipe sections.
Using Pipe Repair Clamps
Pipe repair clamps are a lifesaver for minor leaks. They are easy to use and can provide a temporary fix until you can get professional help. Here’s how to use them:
- Locate the Leak: Ensure you’ve pinpointed the exact location of the leak.
- Turn Off the Water Supply: Shut off the main water valve to prevent water flow.
- Clean the Area: Dry the pipe and clean it with a cloth to ensure the clamp adheres properly.
- Install the Clamp: Place the clamp over the leak and tighten it according to the instructions. Make sure it’s snug but not overly tight.
- Check for Leaks: Turn the water back on and observe if the leak is contained.
Using a pipe repair clamp is quick and doesn’t require specialized tools, making it an excellent solution for a non-expert.
Replacing Damaged Pipe Sections
If the leak is more severe or the pipe is significantly damaged, replacing the affected section might be necessary. Here’s a simple guide to help you through the process:
- Identify the Damaged Section: Use a flashlight and carefully inspect the pipe to determine the extent of the damage.
- Gather Your Tools: You’ll need a pipe cutter, replacement pipe, pipe connectors, and a wrench.
- Turn Off the Water Supply: As always, ensure the water is turned off to avoid a mess.
- Cut Out the Damaged Section: Use the pipe cutter to remove the damaged part. Measure and cut the replacement pipe to the exact length.
- Install the Replacement Pipe: Secure the new pipe section using connectors. Make sure all connections are tight to prevent future leaks.
- Test the Repair: Turn the water back on and check for any leaks. If all is well, you’ve successfully replaced the damaged section.
Replacing a pipe section might seem intimidating, but with patience and the right tools, it’s achievable. Plus, you’ll feel like a superhero for tackling it yourself!
Remember, when in doubt, don’t hesitate to call a professional plumber. It’s better to be safe than sorry, especially when it comes to plumbing issues. Happy fixing!
Test The Repair
You’ve done all the hard work: identified the leak, fixed it, and now it’s time to test your repair. This step is crucial to ensure everything is working as it should. Imagine fixing a leak only to find out it still drips! Testing helps you avoid future headaches and unexpected surprises.
Restoring Water Supply
First things first, you need to restore the water supply. If you turned off the water to work on the leak, it’s time to turn it back on. Here’s how you do it:
- Go to the main water valve.
- Slowly turn the valve counterclockwise to open it.
- Listen for the sound of water flowing through the pipes.
Remember, turn the valve slowly to prevent sudden pressure that could damage your pipes.
Checking For Leaks
Now that the water is back on, it’s time to check for leaks. This is a crucial step. Here are some simple steps to follow:
- Look at the area where the leak was. Is it still dry?
- Place a dry paper towel or cloth around the repaired area.
- Wait for a few minutes and check the towel. Is it wet?
If you see any water, you might need to tighten the connections or reapply the sealant. No one’s perfect on the first try, right?
Testing your repair might seem like an extra step, but it’s a small effort compared to dealing with another leak. Plus, it gives you peace of mind knowing your pipes are in good shape.
Seal And Patch Wall
Fixing a plumbing leak inside a wall can seem daunting. Yet, sealing and patching the wall after the repair is vital. This step ensures the wall looks good as new. Let’s walk through the process of sealing and patching the wall.
Drywall Repair
First, cut out the damaged drywall. Ensure you remove any wet or soft areas. Use a drywall saw for precise cuts. Next, measure the hole’s dimensions. Cut a new piece of drywall to fit the hole. Apply a layer of joint compound around the hole’s edges. Place the new piece of drywall into the hole. Secure it with drywall screws.
Use a putty knife to spread joint compound over the seams. Smooth it out as much as possible. Allow the compound to dry. This usually takes about 24 hours. Sand the dried compound until smooth. Apply a second coat of compound if needed. Sand again after it dries.
Painting And Finishing
Now, it’s time to paint and finish the repaired wall. First, apply a coat of primer to the patched area. Let the primer dry completely. This step helps the paint adhere better. Choose a paint that matches your existing wall color. Use a brush or roller to apply the paint.
Apply thin, even coats. Two coats usually provide good coverage. Let the first coat dry before applying the second. Inspect the wall after the paint dries. Make sure the patched area blends in seamlessly. Touch up any areas as needed. Your wall should now look as good as new.
Prevent Future Leaks
Fixing a plumbing leak in your wall is crucial. But, preventing future leaks is equally important. Regular maintenance and inspections can help you avoid costly repairs. Here are some tips to keep your plumbing system leak-free.
Regular Inspections
Inspect your plumbing system regularly. Look for signs of wear and tear. Check for any moisture or damp spots on your walls. Listen for any unusual sounds from your pipes. Early detection of issues can prevent major problems.
Maintenance Tips
Maintain your plumbing system to keep it in good condition. Clean your drains regularly to prevent clogs. Use strainers to catch debris. Avoid using harsh chemicals that can damage pipes. Ensure your water pressure is not too high.
Insulate your pipes, especially in colder months. This prevents them from freezing and bursting. Replace old or damaged pipes promptly. Use high-quality materials for repairs.

Credit: www.nuflowmidwest.com
Frequently Asked Questions
How Do Plumbers Fix Leaks Behind Walls?
Plumbers fix leaks behind walls by locating the source, cutting into the wall, repairing or replacing damaged pipes, and patching the wall.
How To Fix Pipe Leakage Inside Wall?
To fix pipe leakage inside a wall, turn off the water supply. Remove wall sections to access the pipe. Patch the leak using an epoxy putty or pipe repair clamp. Replace the damaged pipe section if necessary. Restore the wall and turn the water back on.
What To Do If Water Leaks Through The Wall?
Identify the source of the leak. Turn off water supply. Dry the area immediately. Contact a professional plumber. Seal any visible cracks.
How Much Does It Cost To Fix A Leaking Pipe Behind A Wall?
Fixing a leaking pipe behind a wall costs $150 to $500. Prices vary based on location, damage, and plumber rates.
Conclusion
Fixing a plumbing leak in the wall can seem daunting. But with the right steps, it’s manageable. Identify the leak source, turn off the water, and repair the pipe. Always check for water damage and mold. Remember, small leaks can cause big problems.
Act quickly to prevent further damage. If unsure, seek professional help. Keeping your plumbing in good shape saves time and money. With these tips, you can handle minor leaks confidently. Stay proactive and maintain your home’s plumbing system regularly.